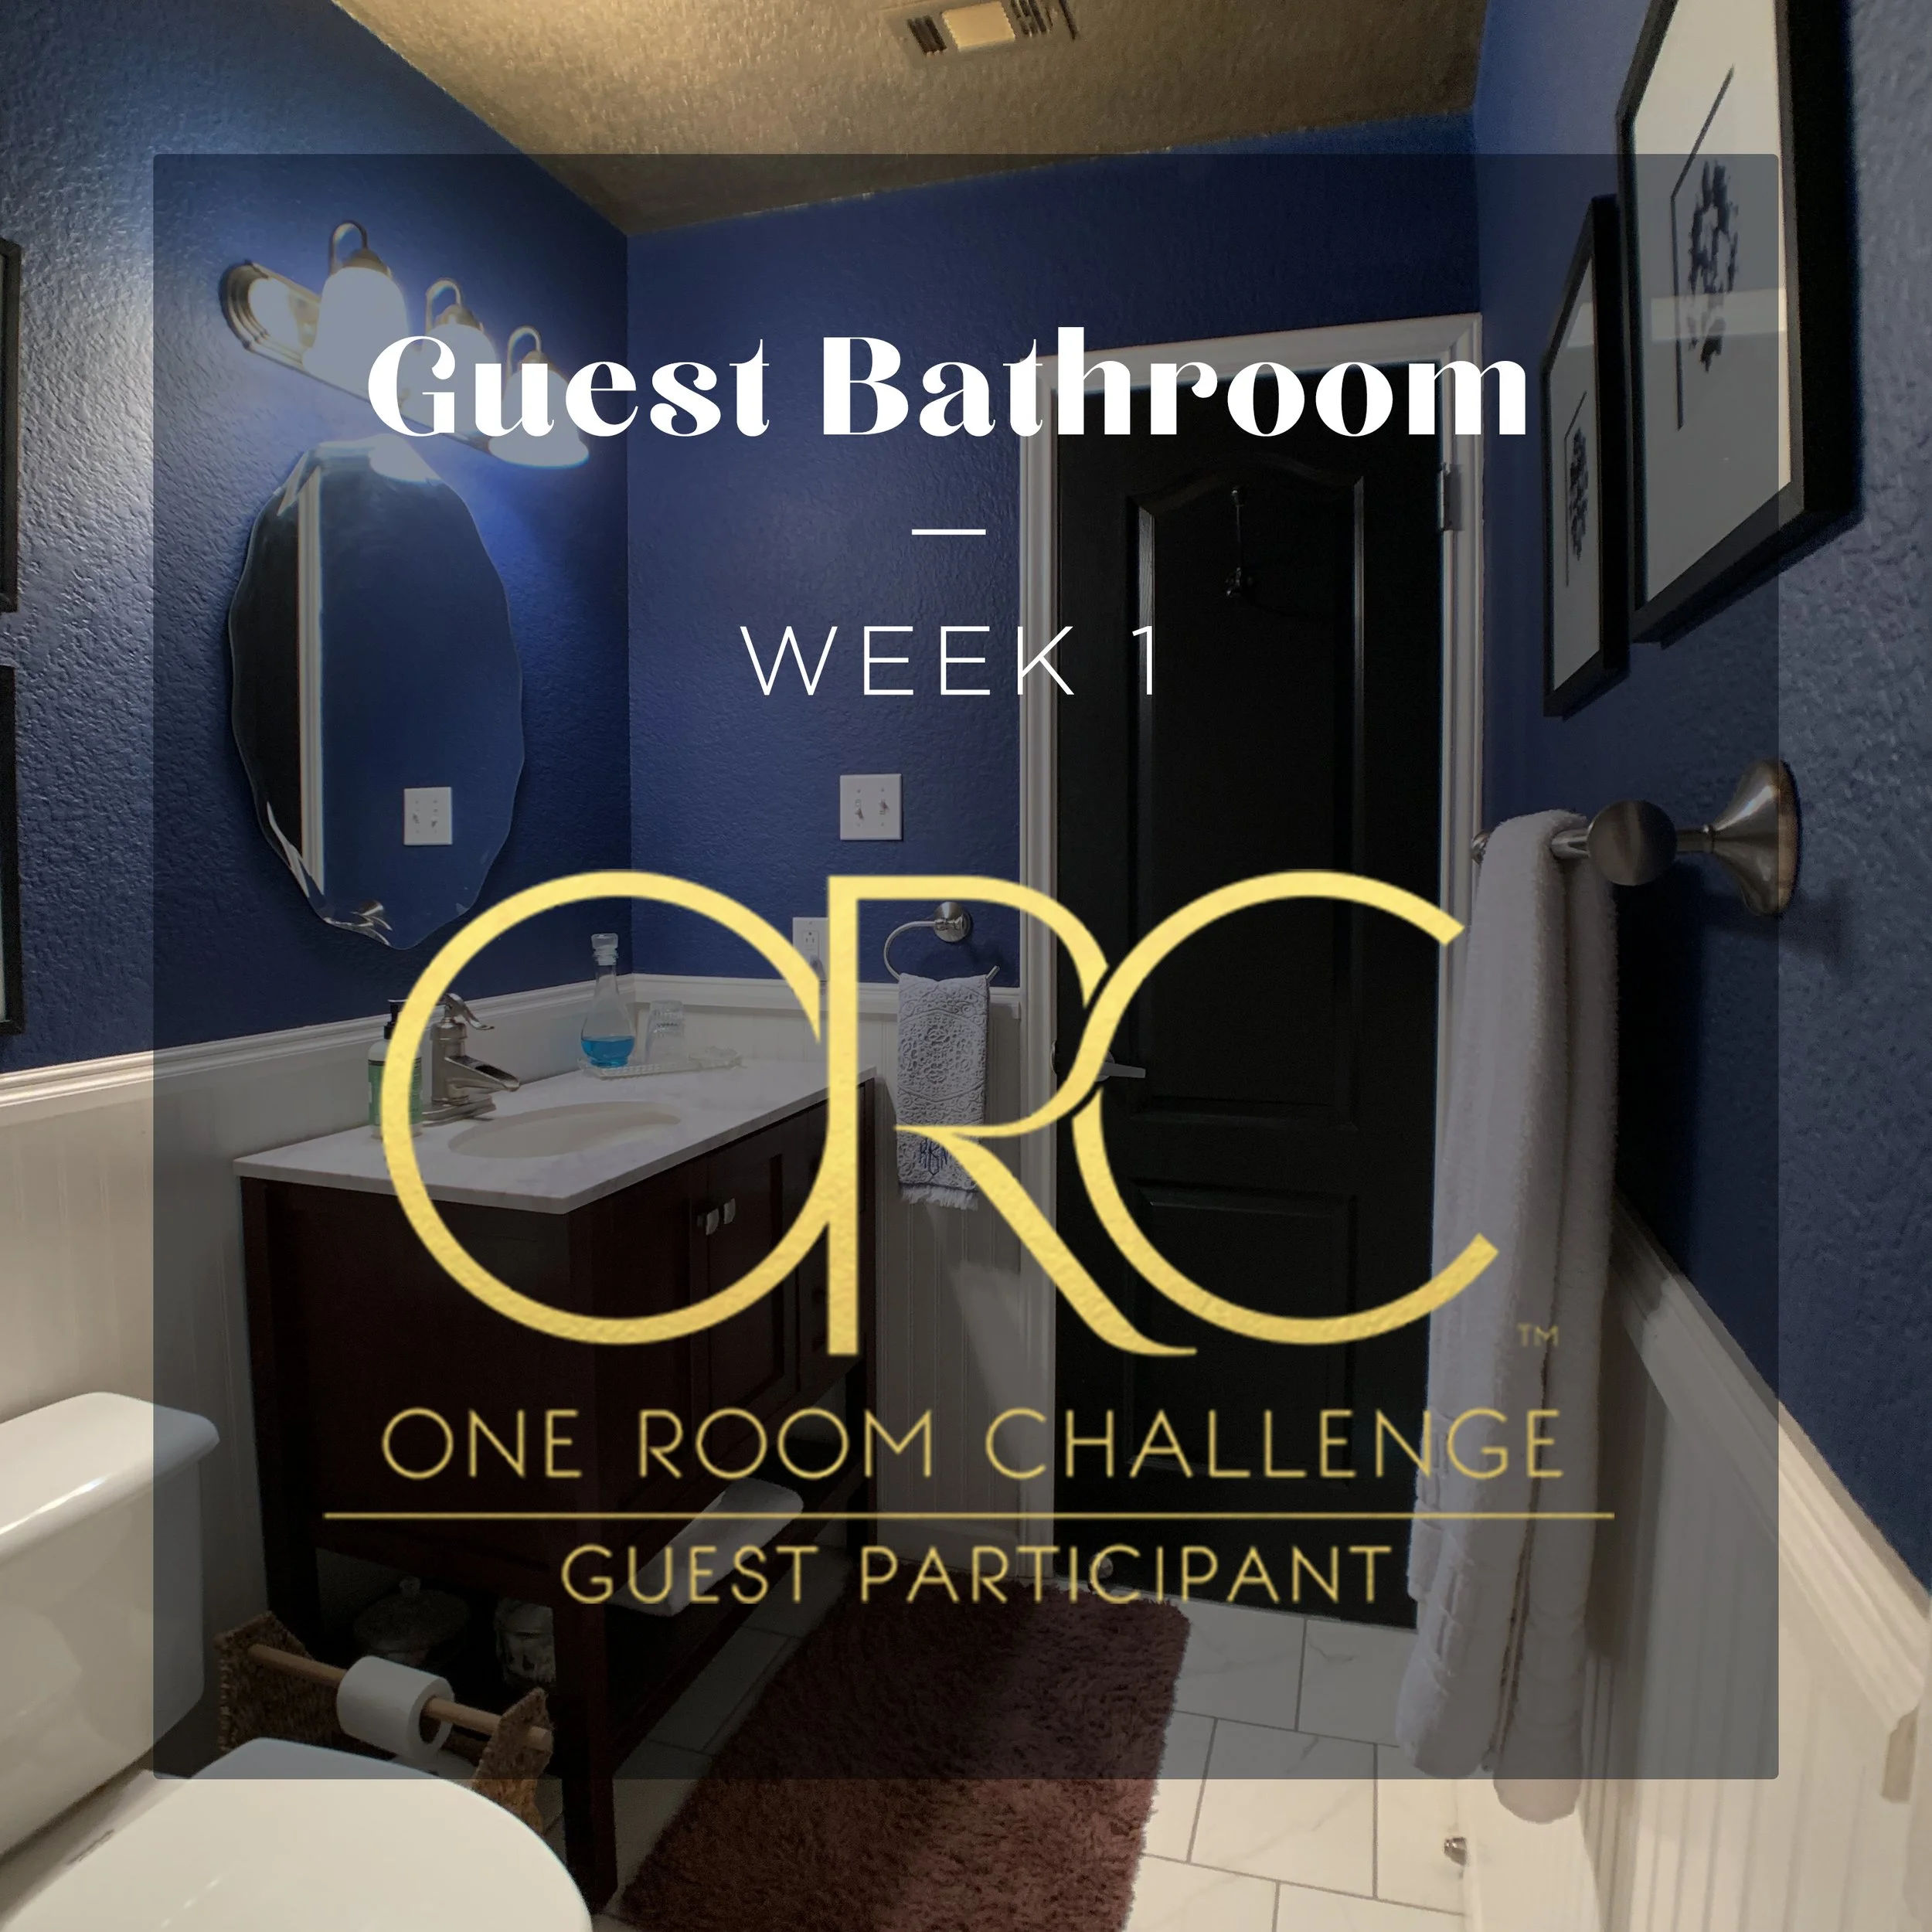
One Room Challenge: Guest Bathroom – The Reveal

I can’t believe we’re finally (and somehow also already) here – revealing our new guest bathroom, done for our very first One Room Challenge!
To recap
If this is your first visit, firstly, hello and welcome! While I highly recommend you go back up to the top of this post and check out each individual weekly post to get caught up on the details, here’s the TLDR highlights of our 8-week guest bathroom renovation:
Week 1: Introduction, before photos, design plan
Week 2: Demolition, tub skirt framing, building the faux beam and columns, staining and prepping wood planks for feature ceiling
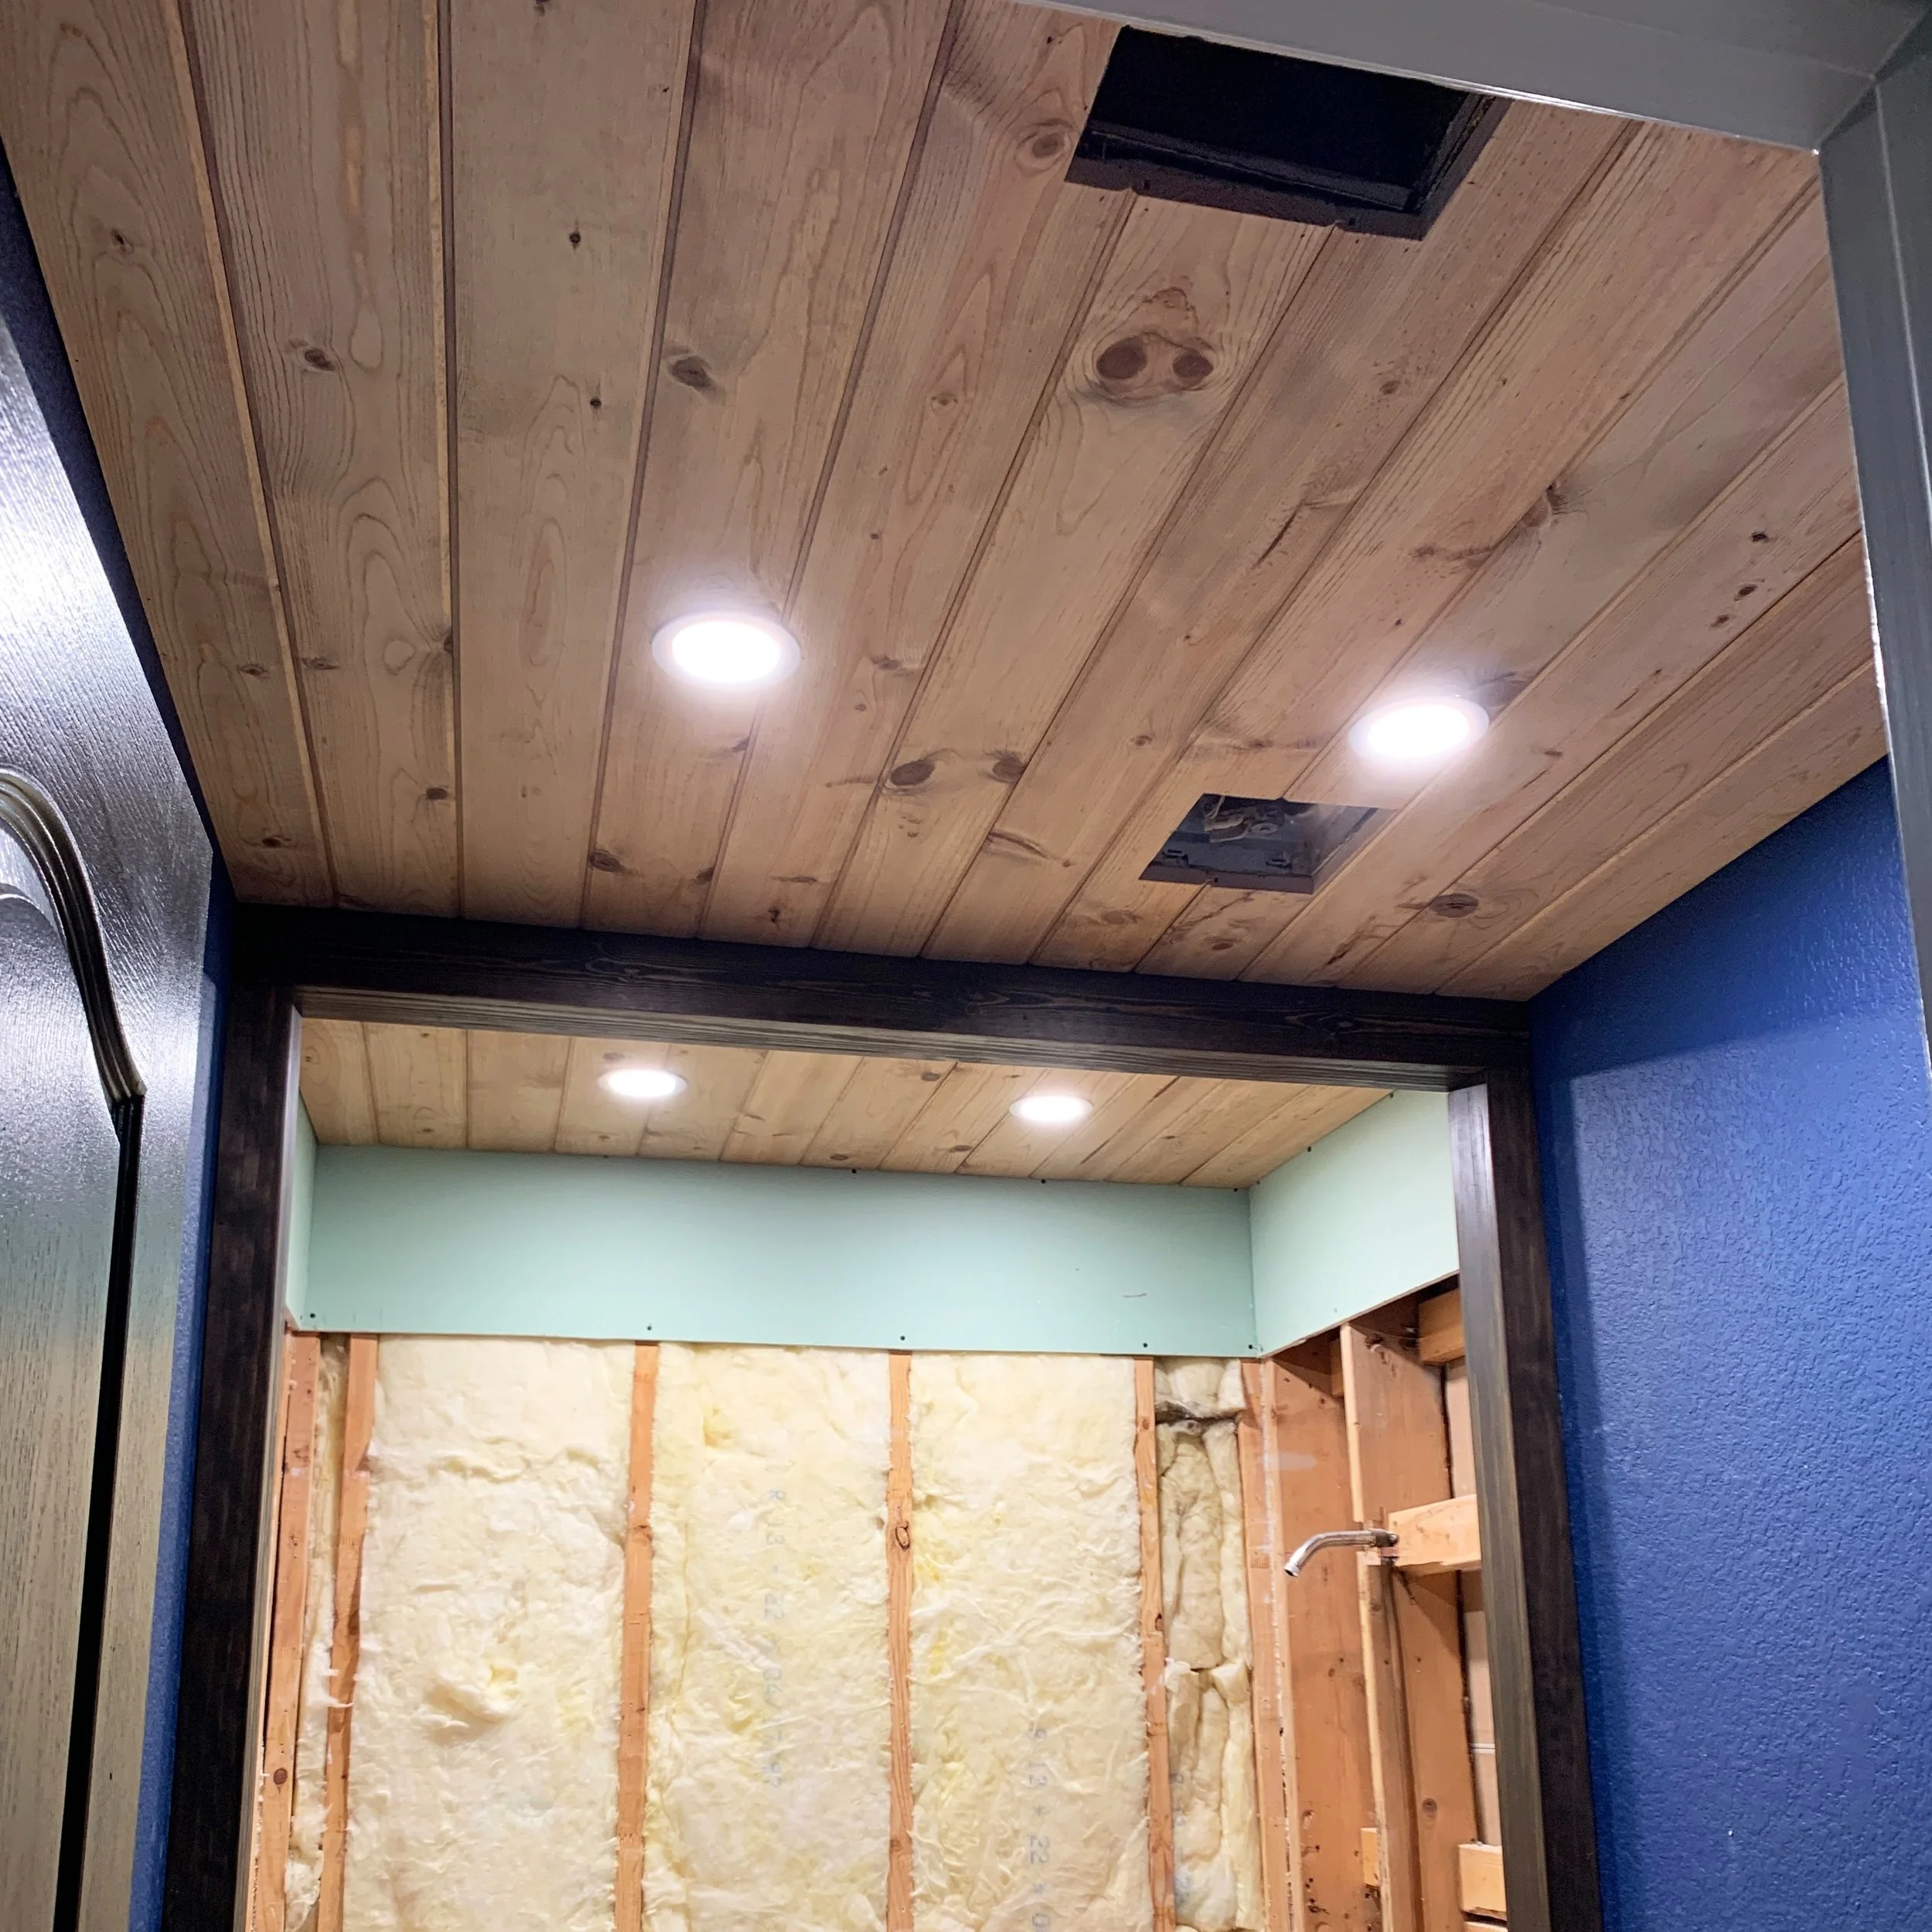
Week 3: Recessed LED lighting, wood feature ceiling and customized ceiling vents installs, faux beam and columns installs
Week 4: Custom shower niche build, moving vanity electrical, shower drywall and waterproofing
Week 5: Vanity makeover begins, modern gridded wainscoting install and painting, new vanity light install and electrical work
Week 6: Vanity install and sink plumbing, wall moulding and tub skirt finished, plumbing leak fixed and drywall completed, detail work begins with DIY brass and marble shelves, mirror makeover
Week 7: Fixing a shower niche fail, shower tiling starts, shopping all of the rugs
Week 8: We are here … and I still can’t really believe it. Over the course of the last two months we’ve had our ups and downs and time has been both slow and fast depending on the week, day, or sometimes even the minute with some of these projects. We have done our fair share of renovations and projects over the years, and mostly always on our own, but I have to say (along with our house flip) I am maybe the most proud I’ve been with this project knowing it was done completely by us and in a set amount of time (which as any DIYer can attest truly is a challenge).
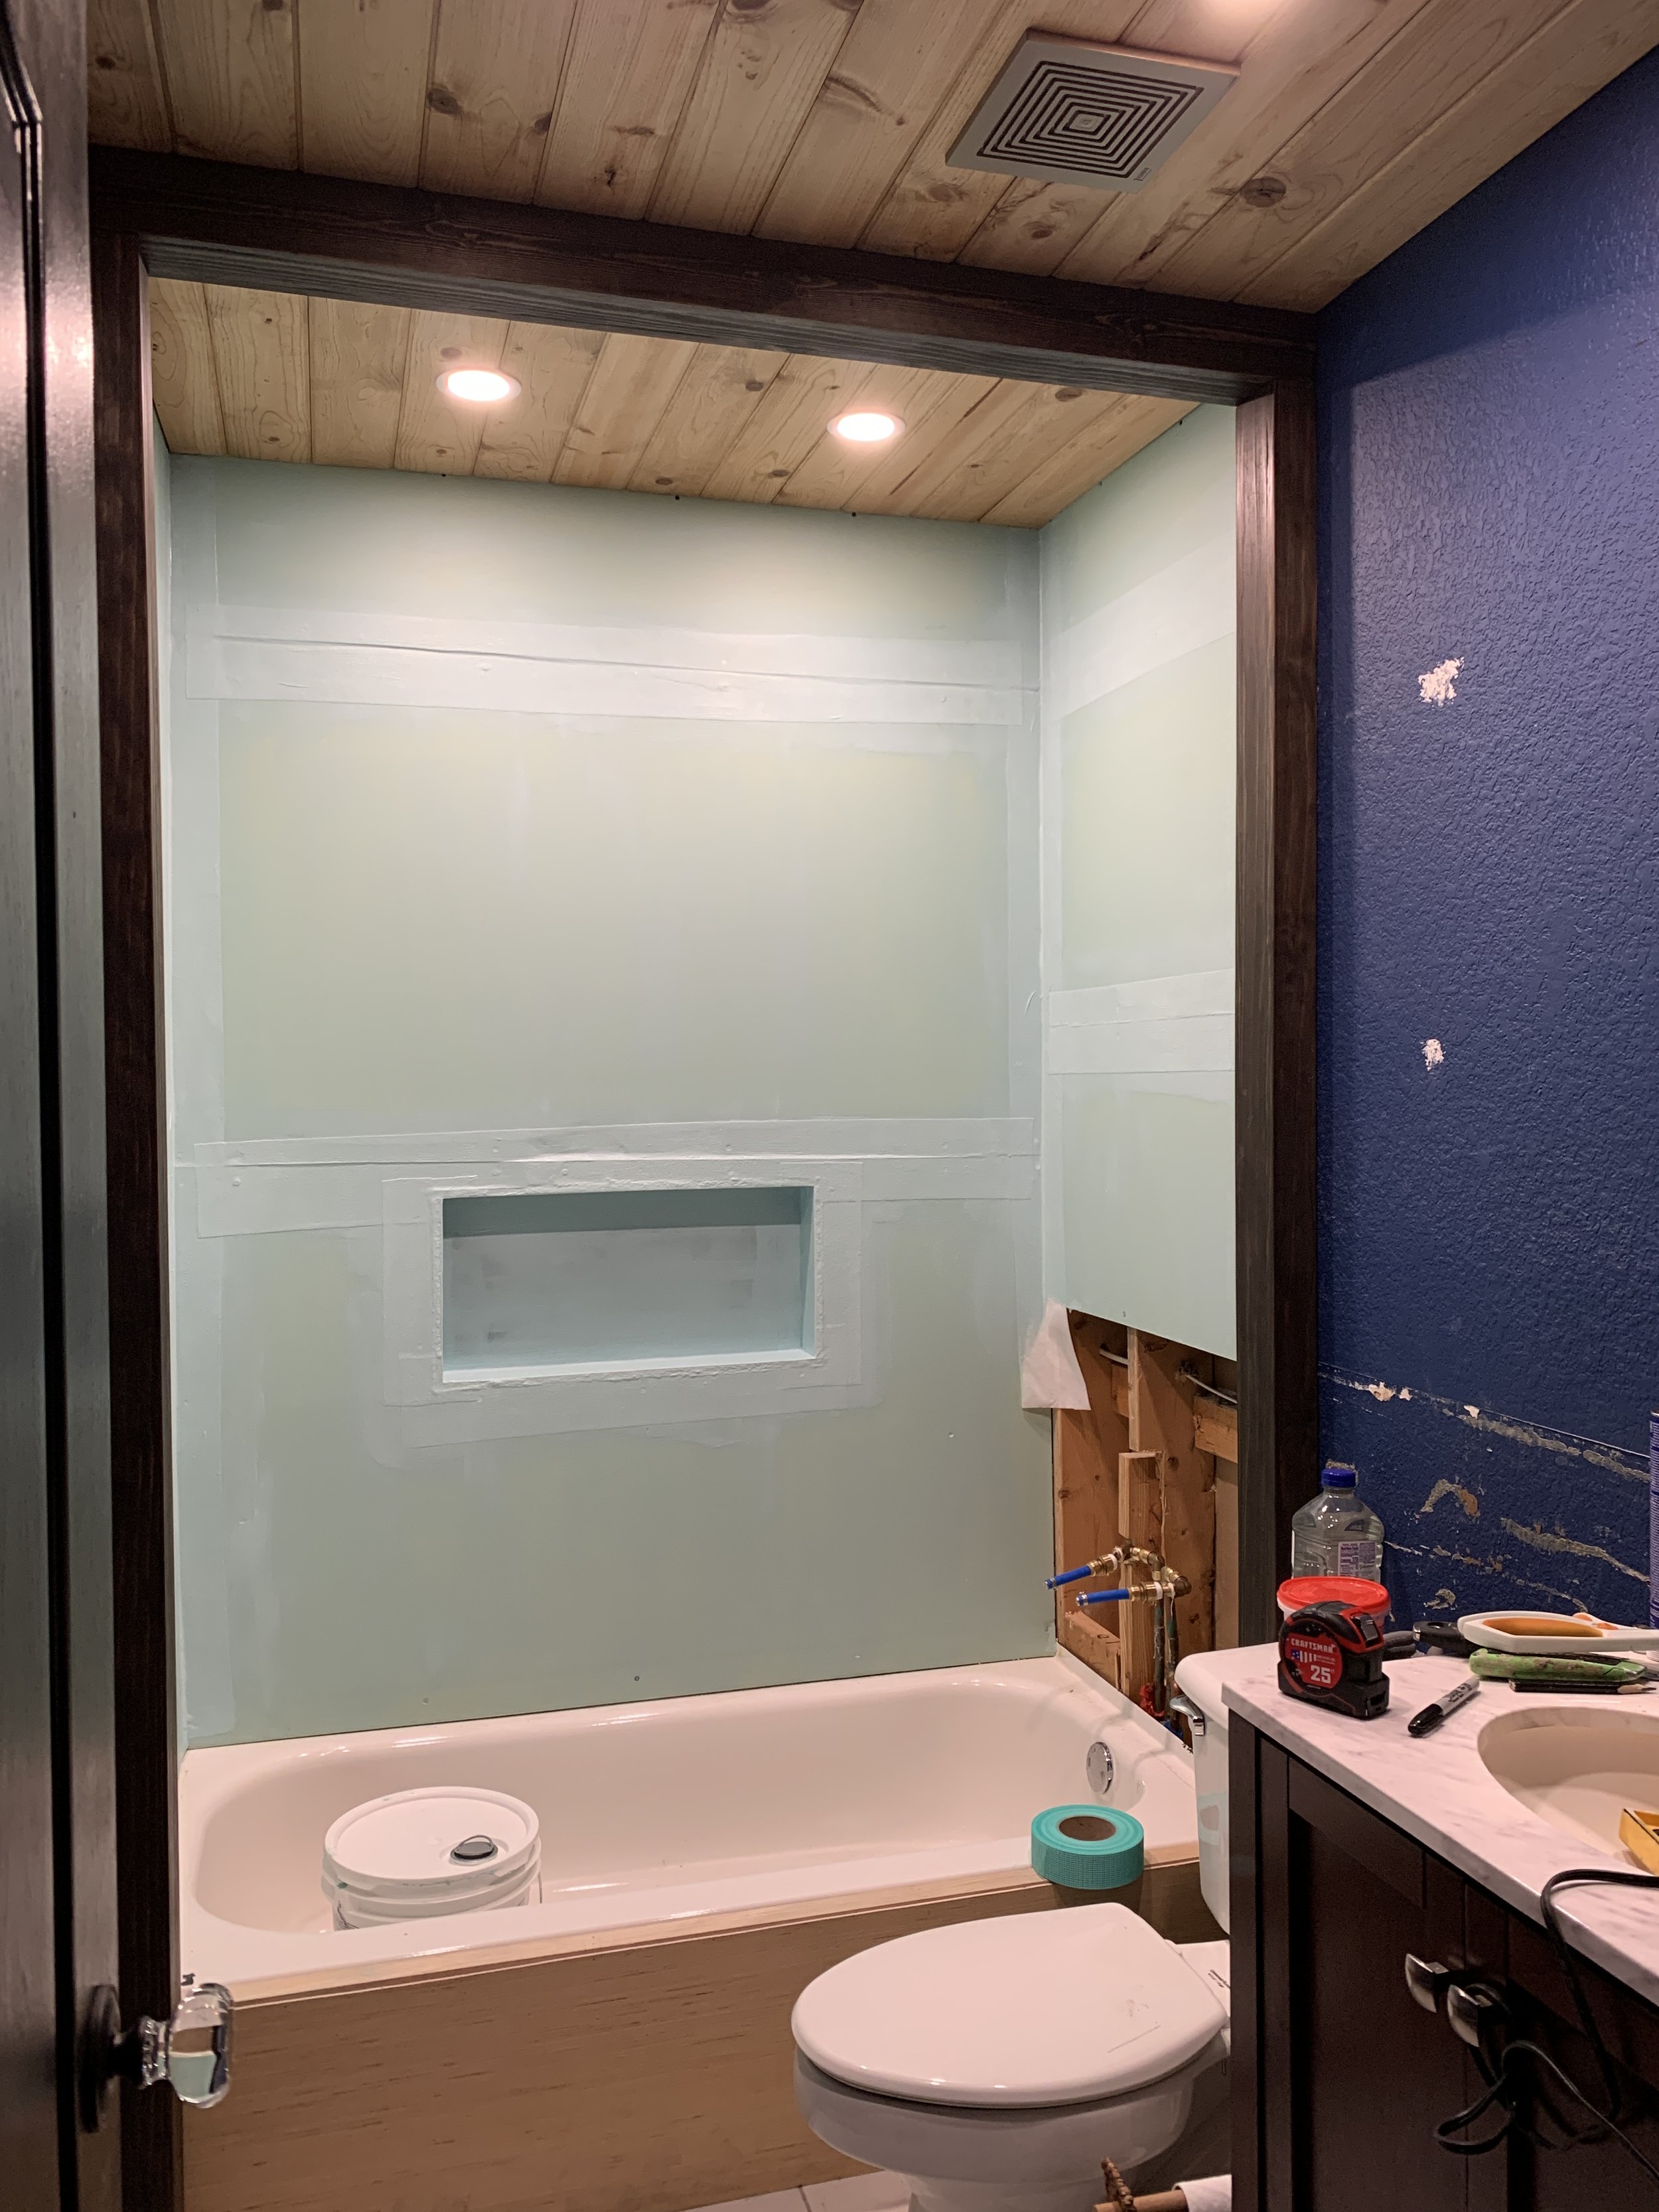
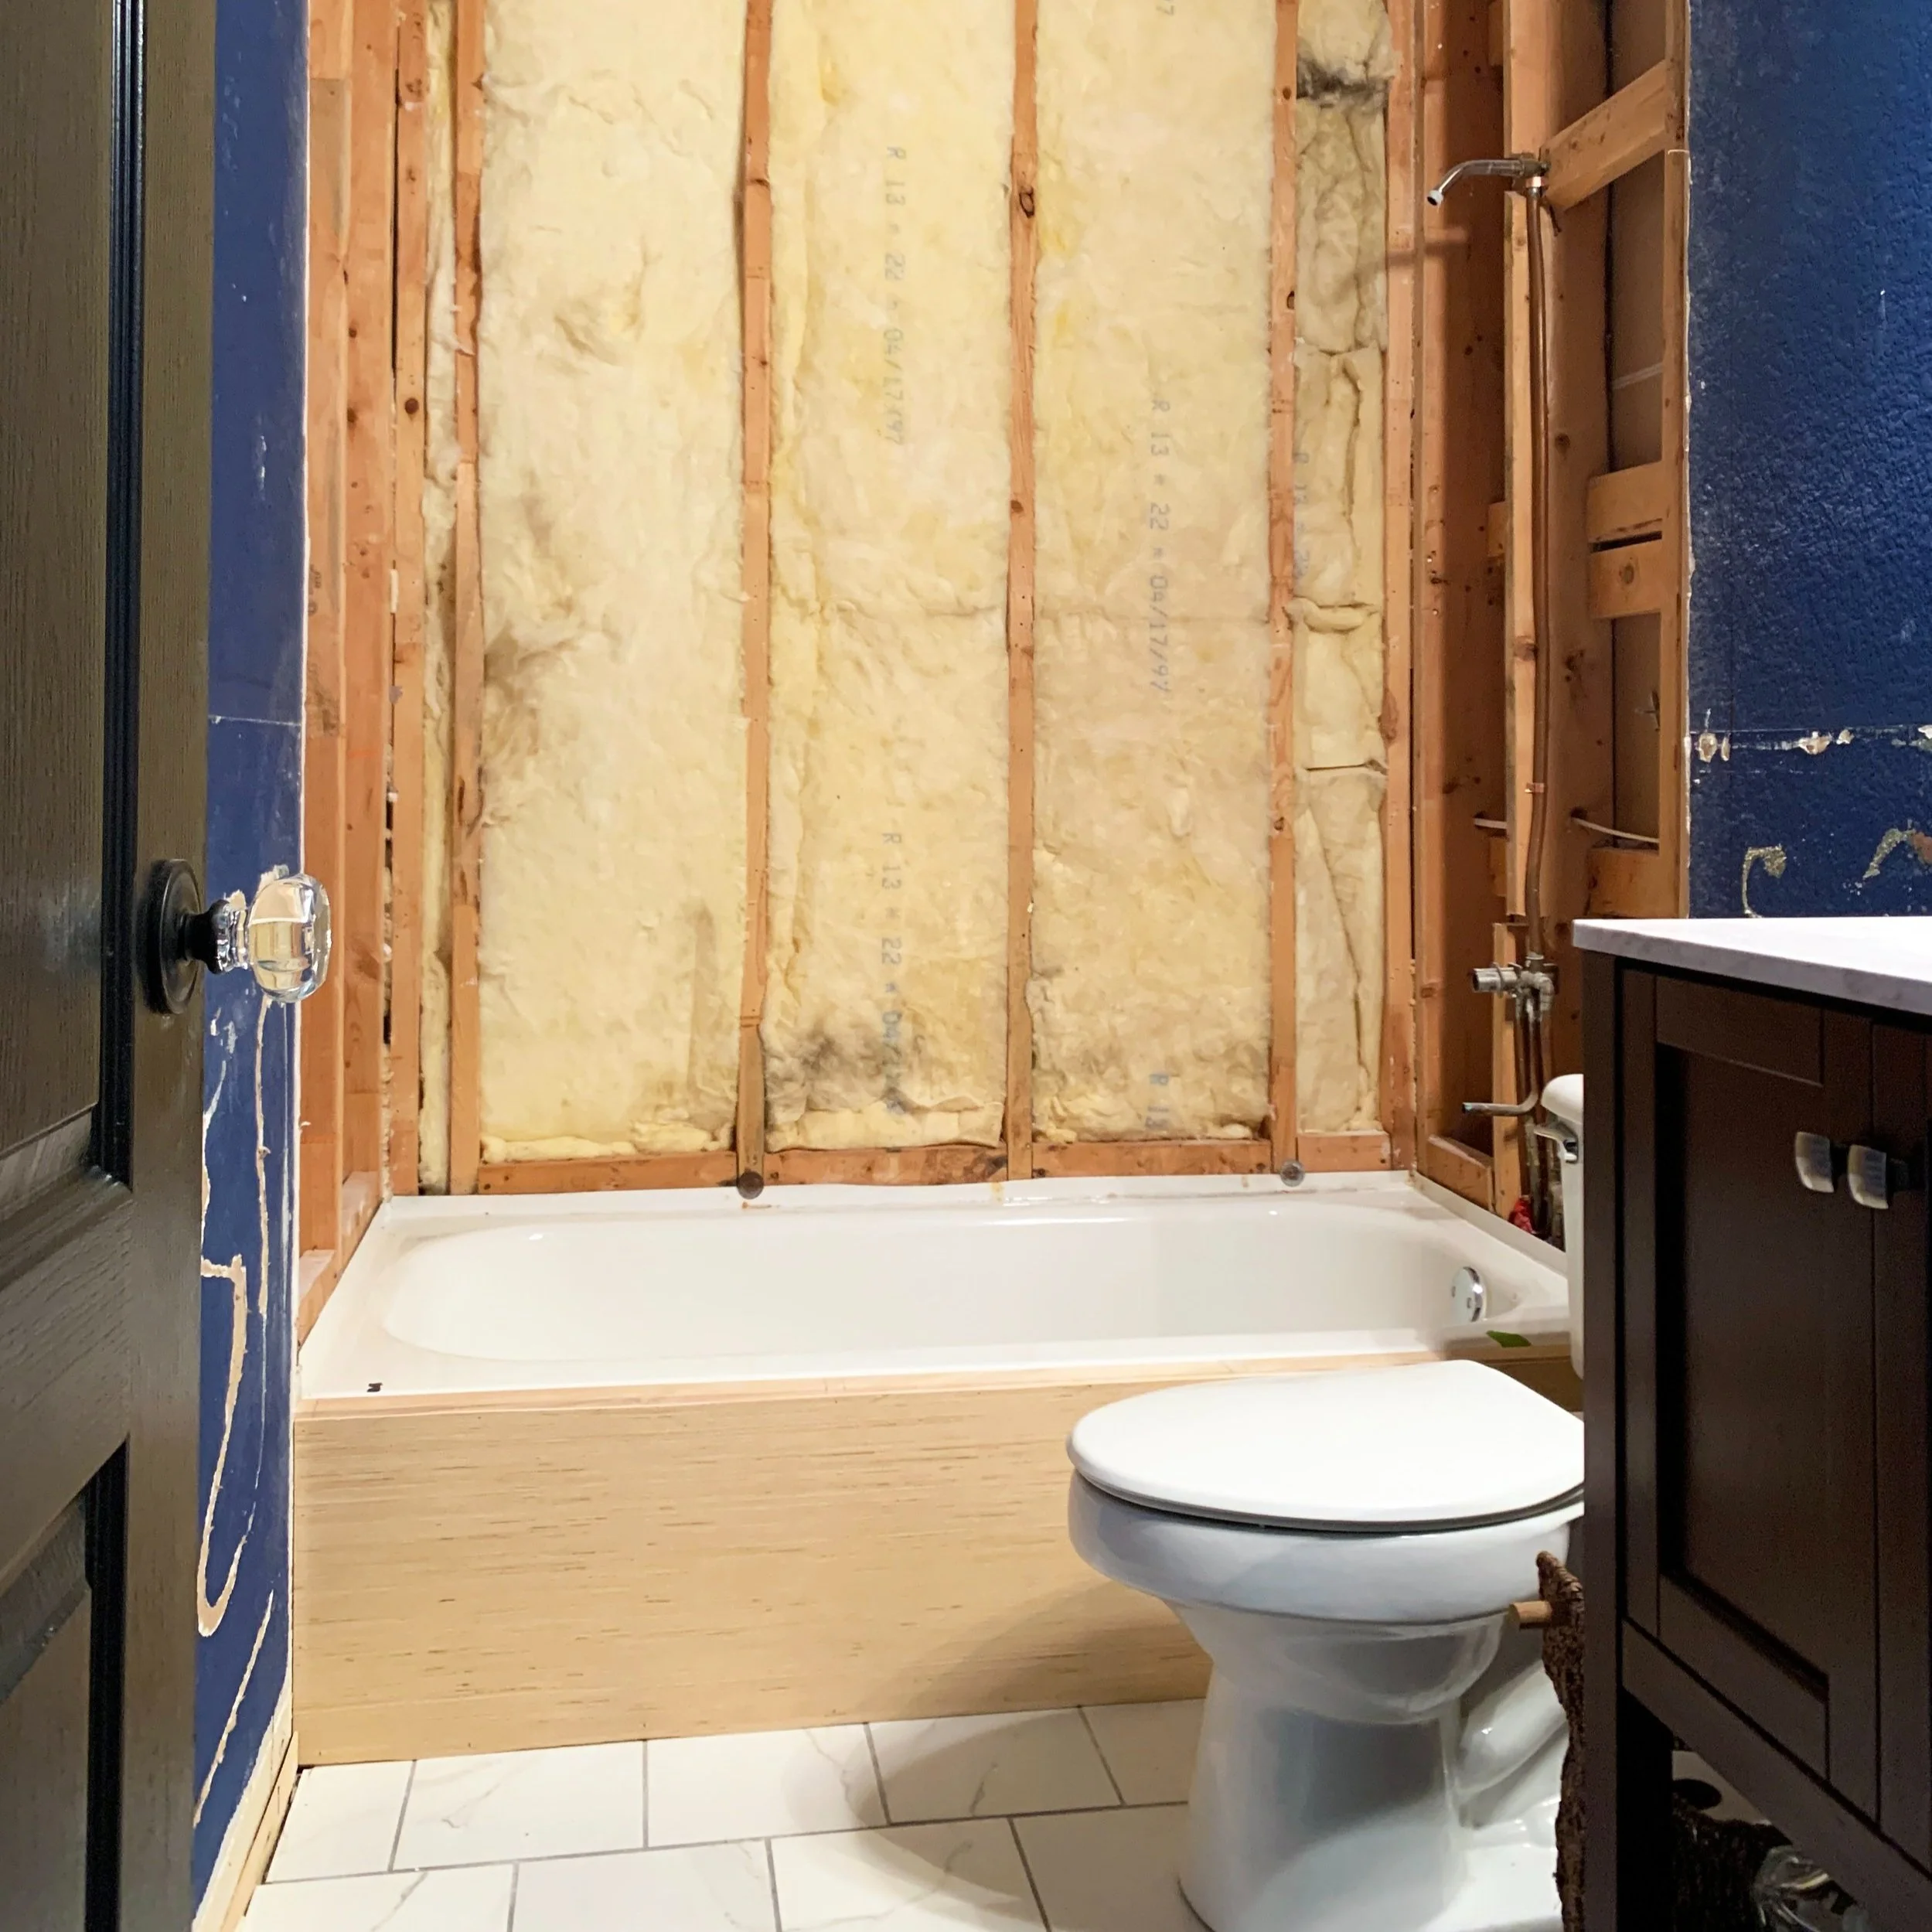
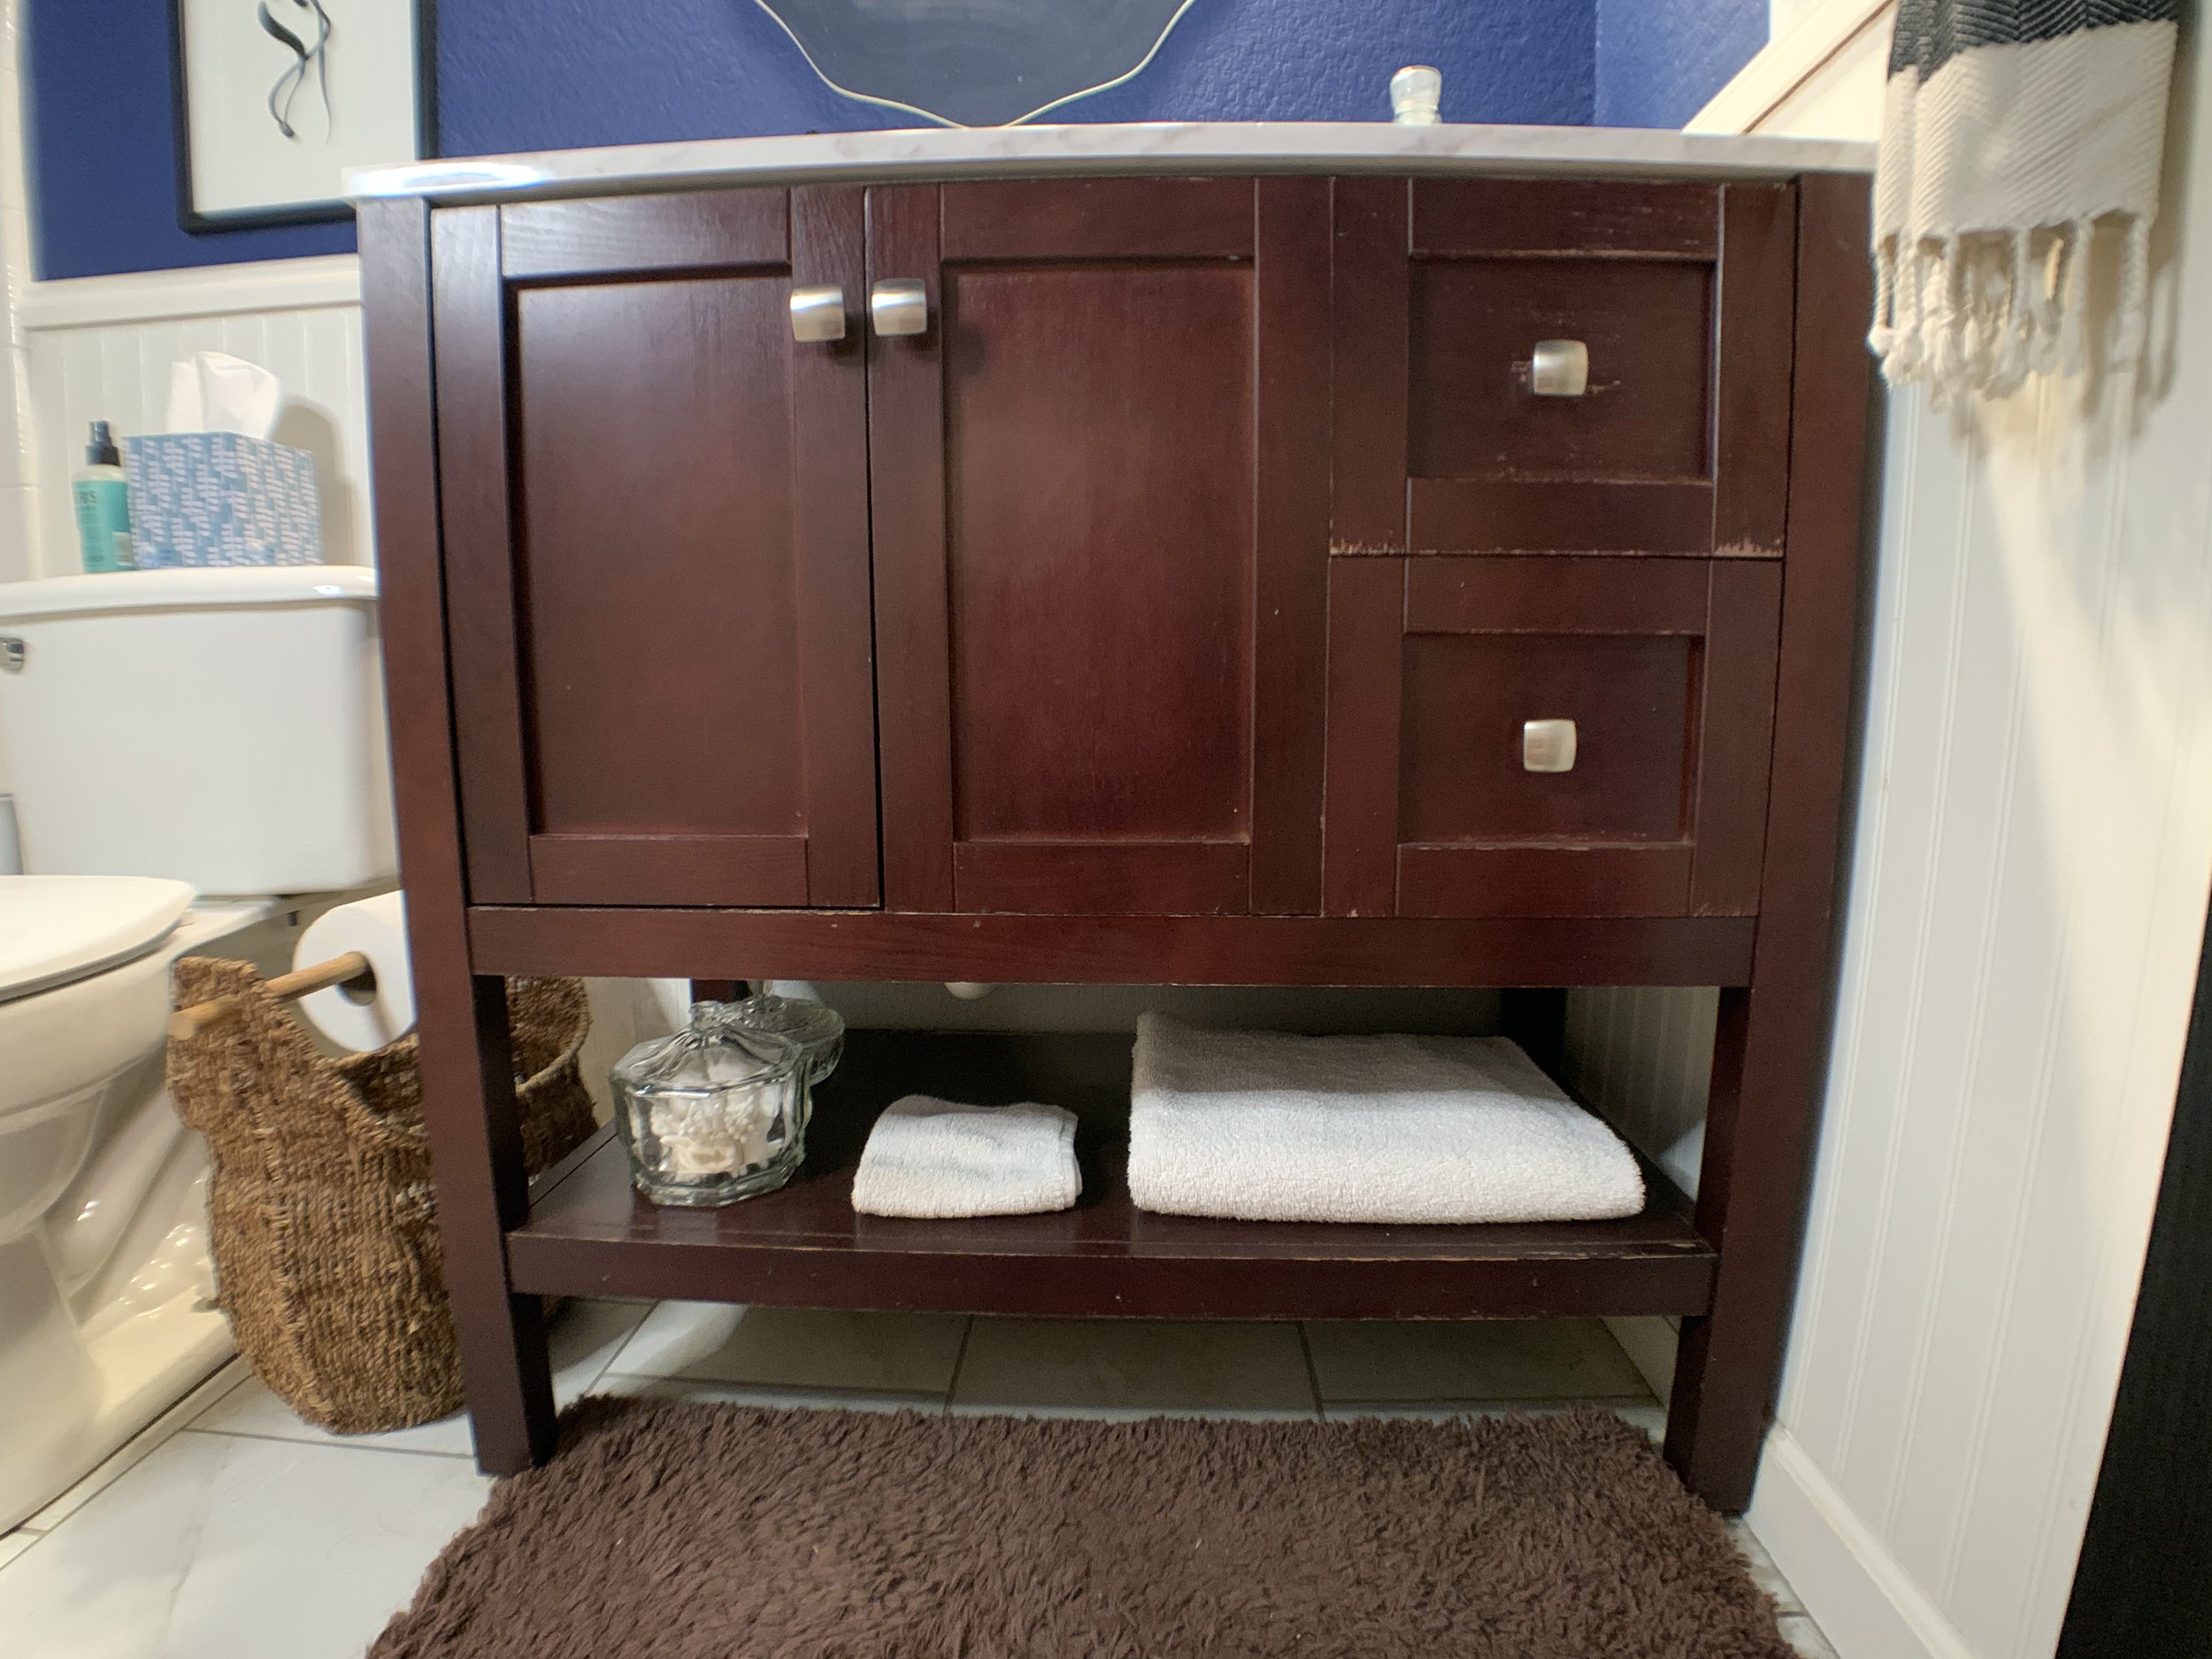
Now let’s get to it! Reminder, here’s what we were working with just 8 short weeks ago…


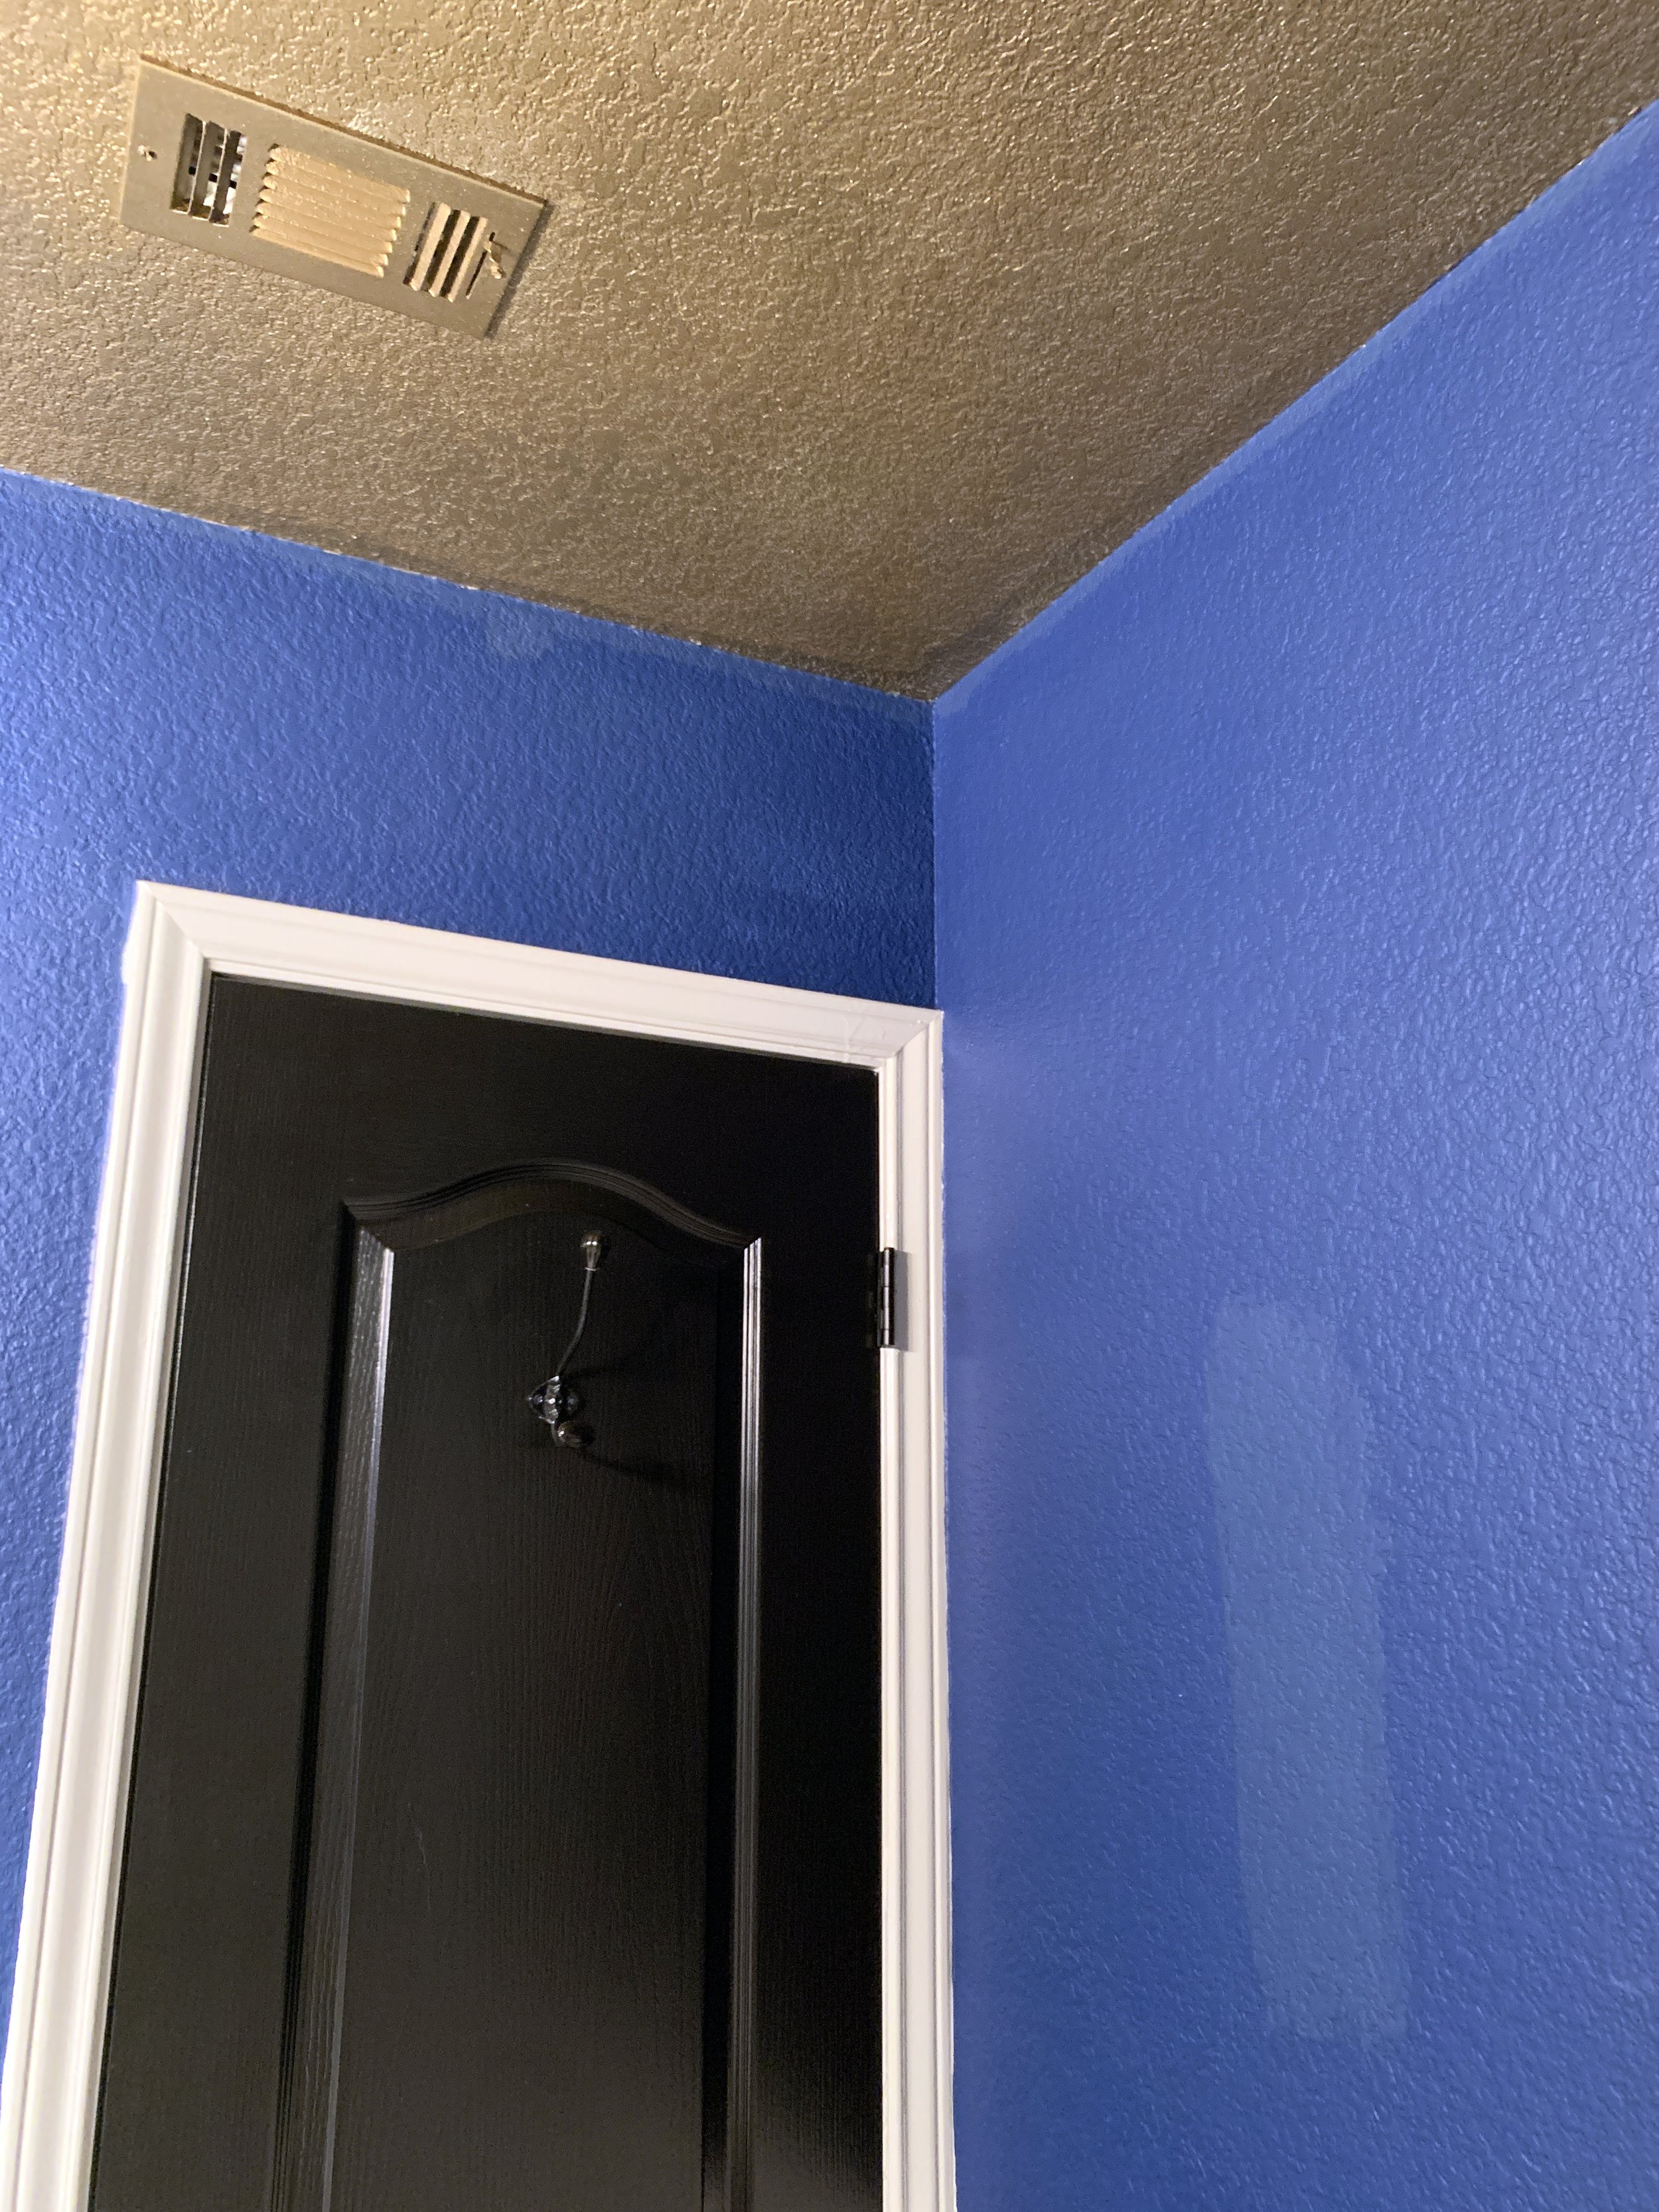
So much accidentally Smurfy blue, a gold ceiling that was not as originally envisioned, and some imperfections that have plagued me for years.
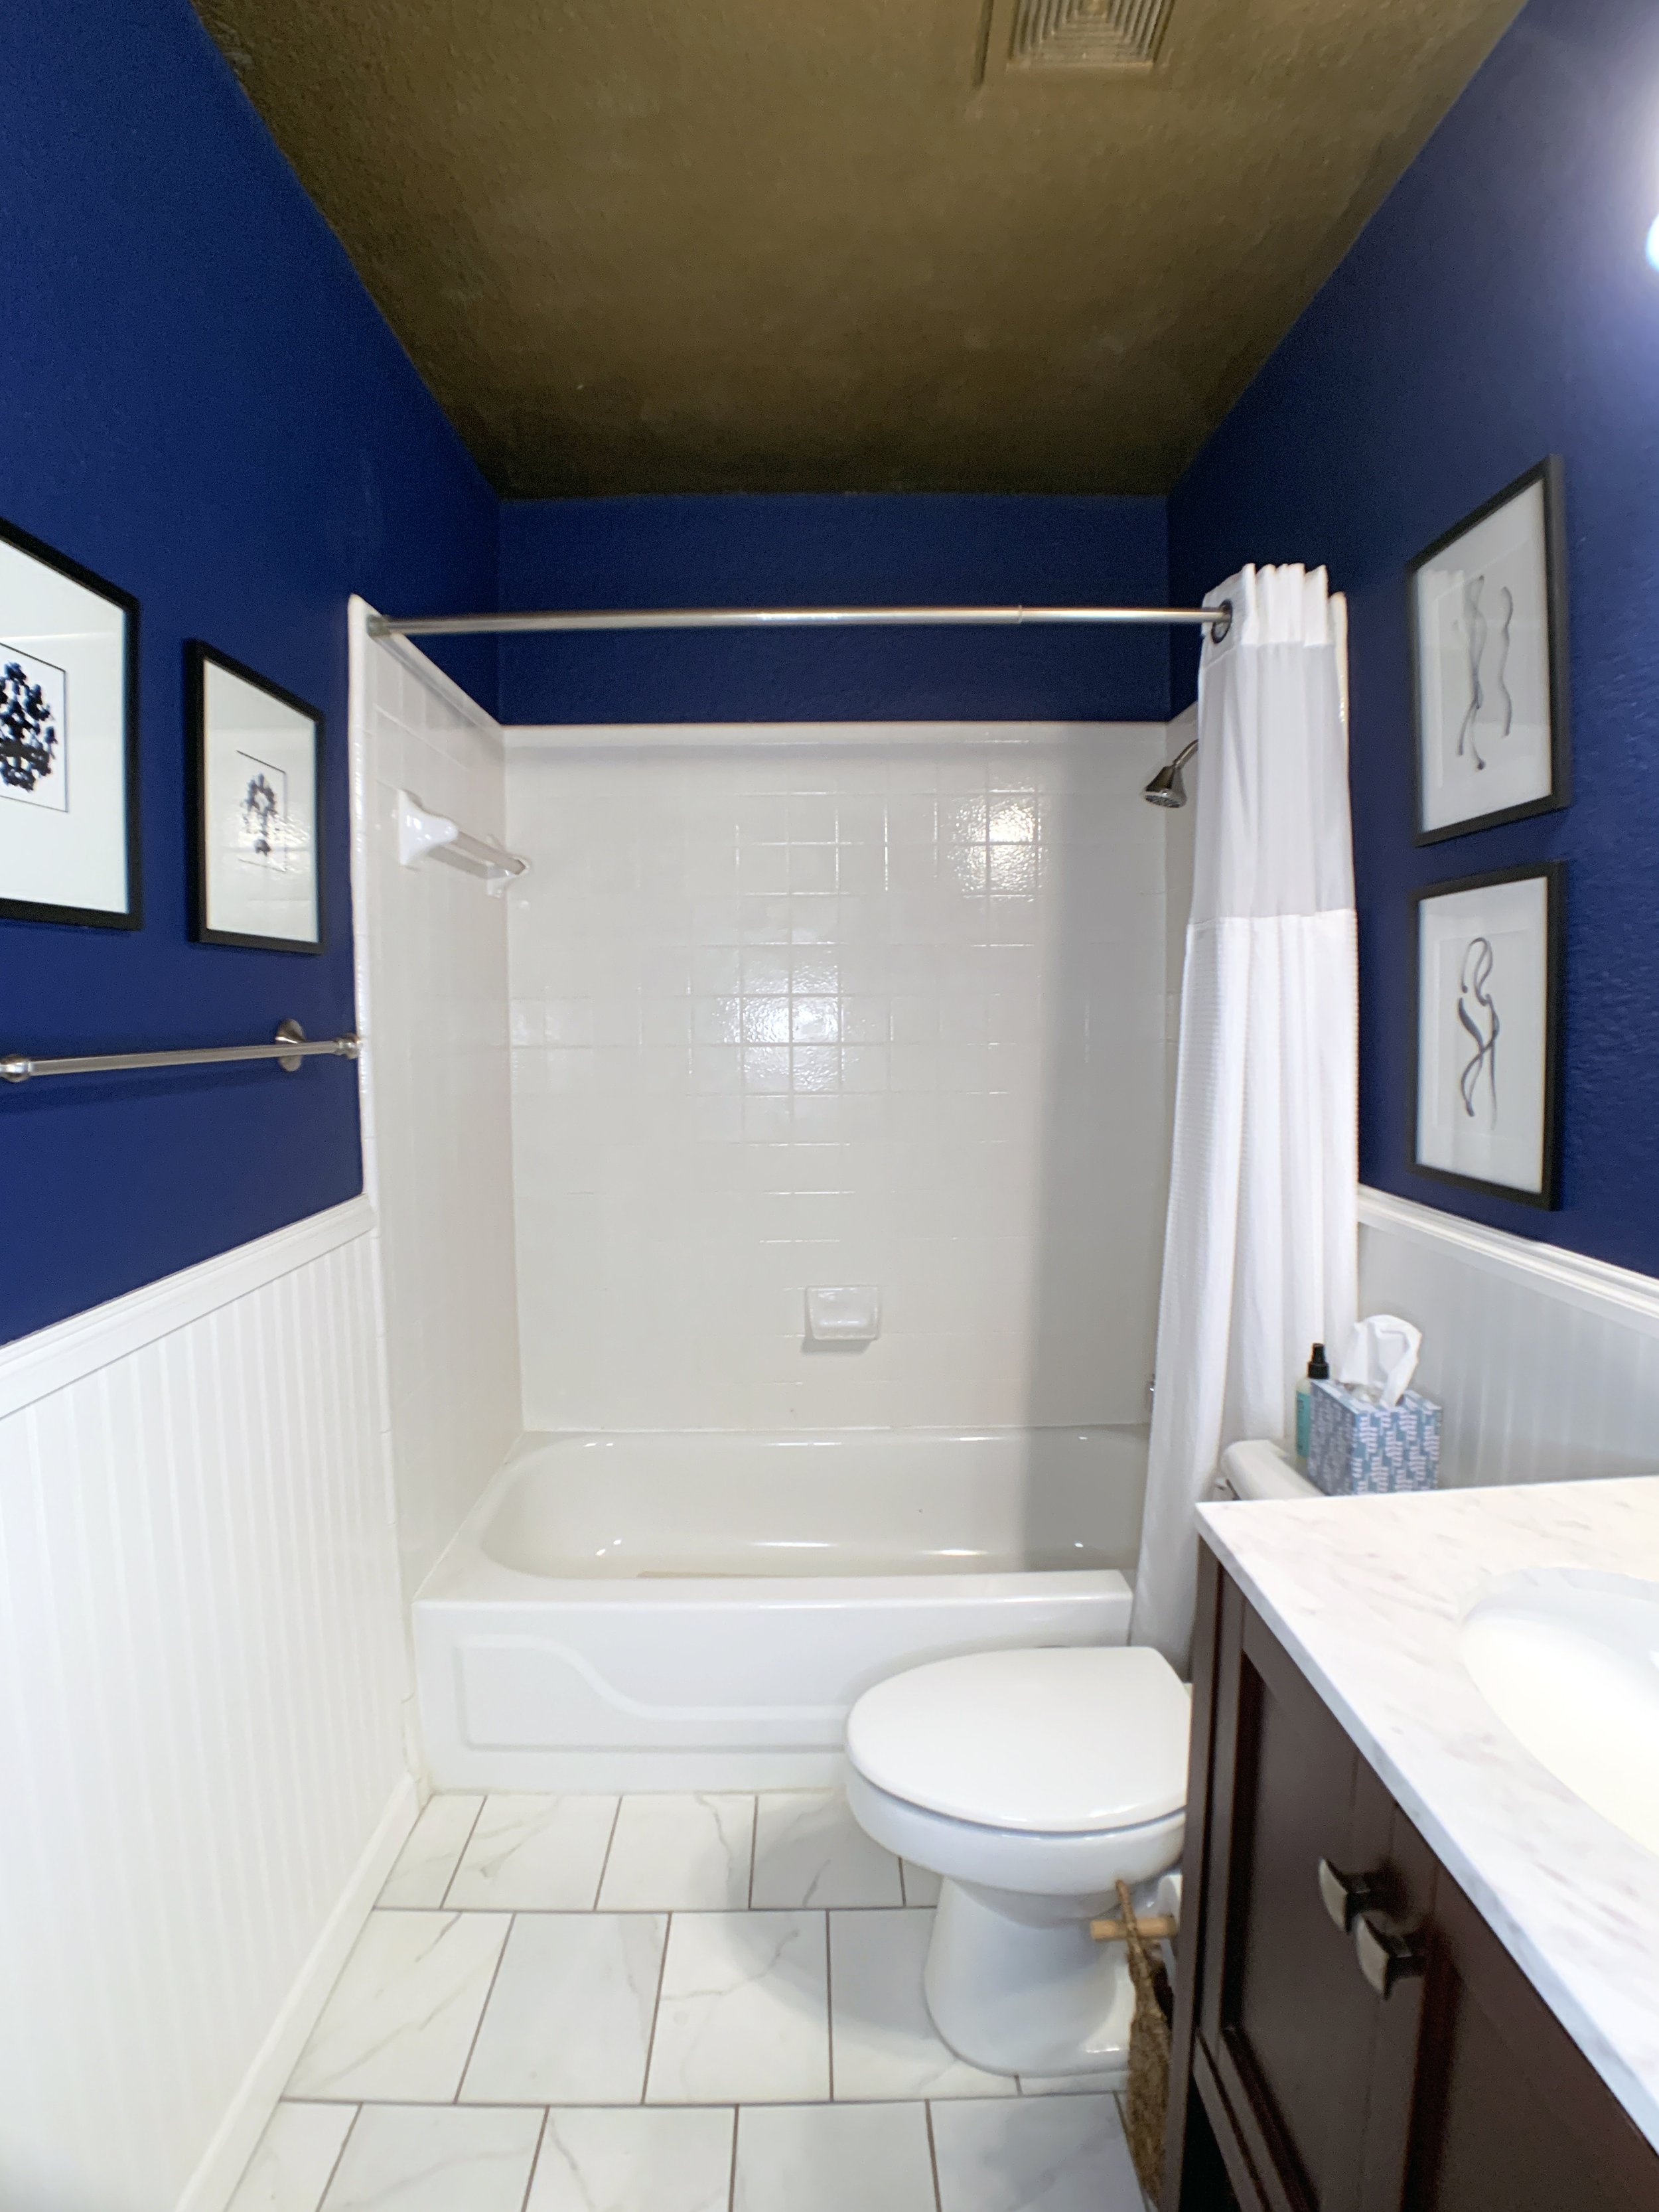
Plus some finishes that screamed ‘dated’ and had seen better days.


The Reveal
After many weeks of blood, sweat and tears (and I mean literally for all three), it’s time for THE BEST part!
I present to you our new guest bathroom:
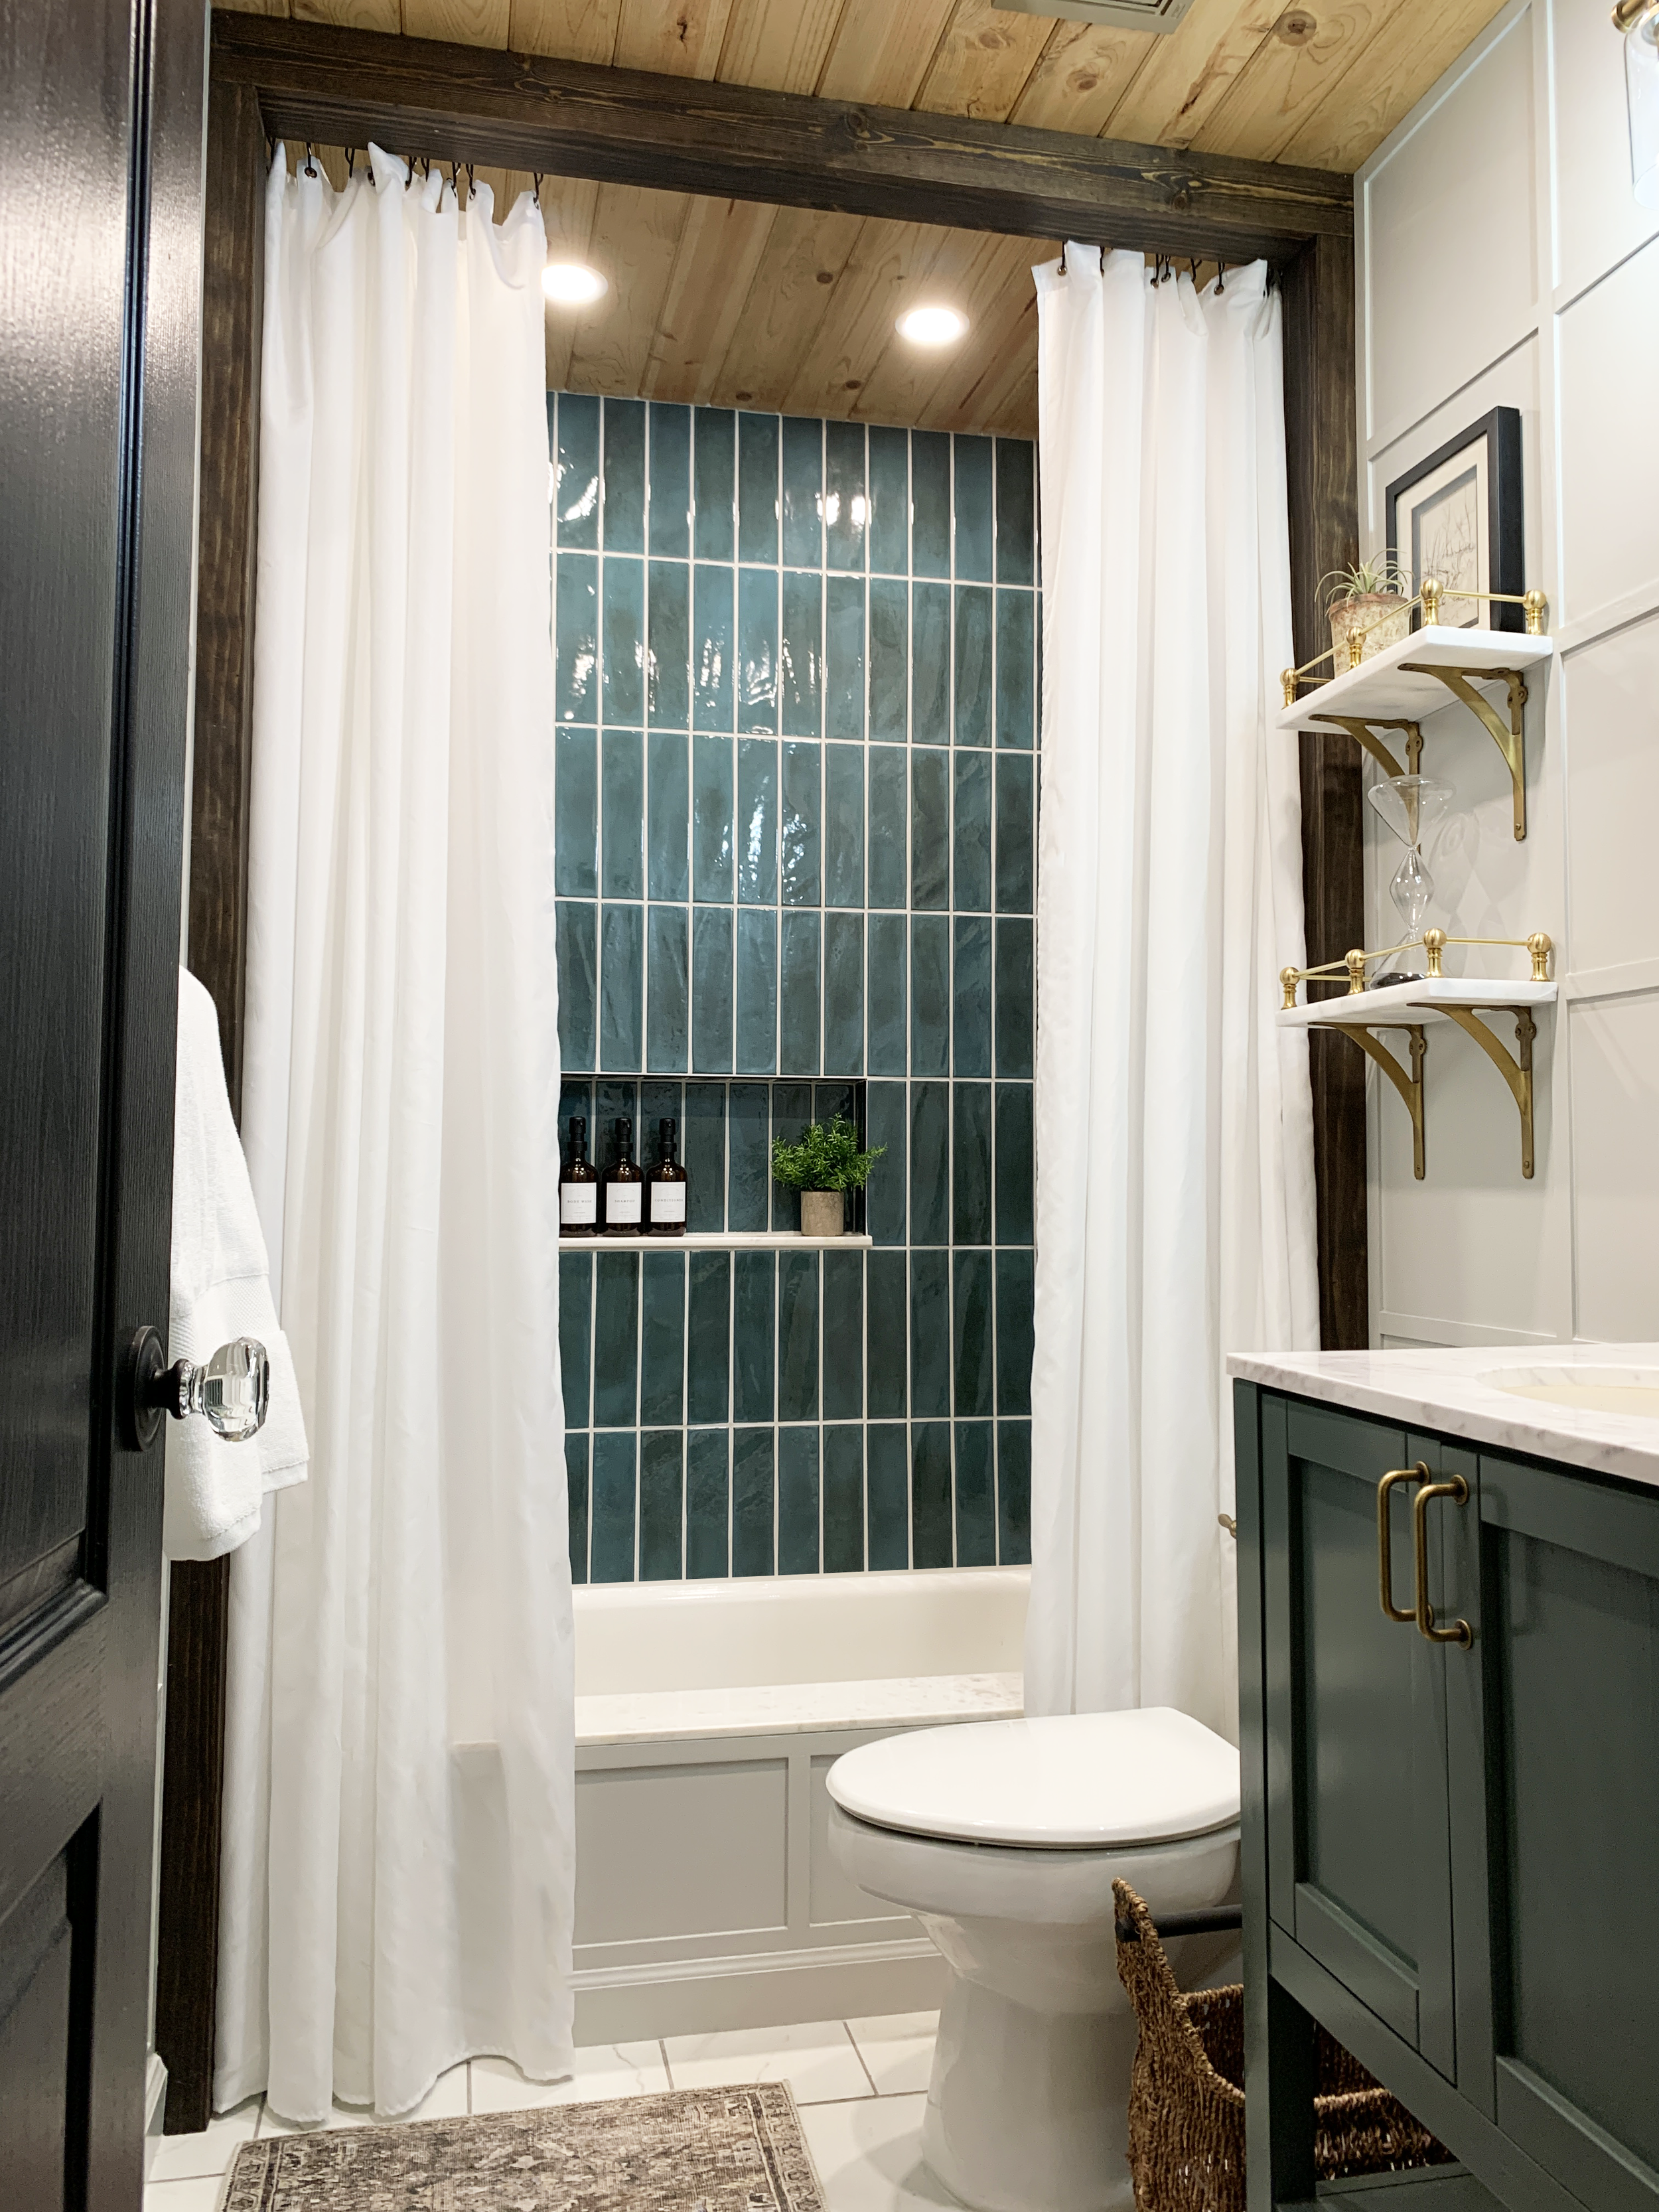
At the start, we wanted a bathroom that was a bit moody, felt cozy and luxurious for guests, however was made of materials that are accessible and family-friendly.

It’s exactly how I’d envisioned it, only better because it’s real life!
::: SWOON :::
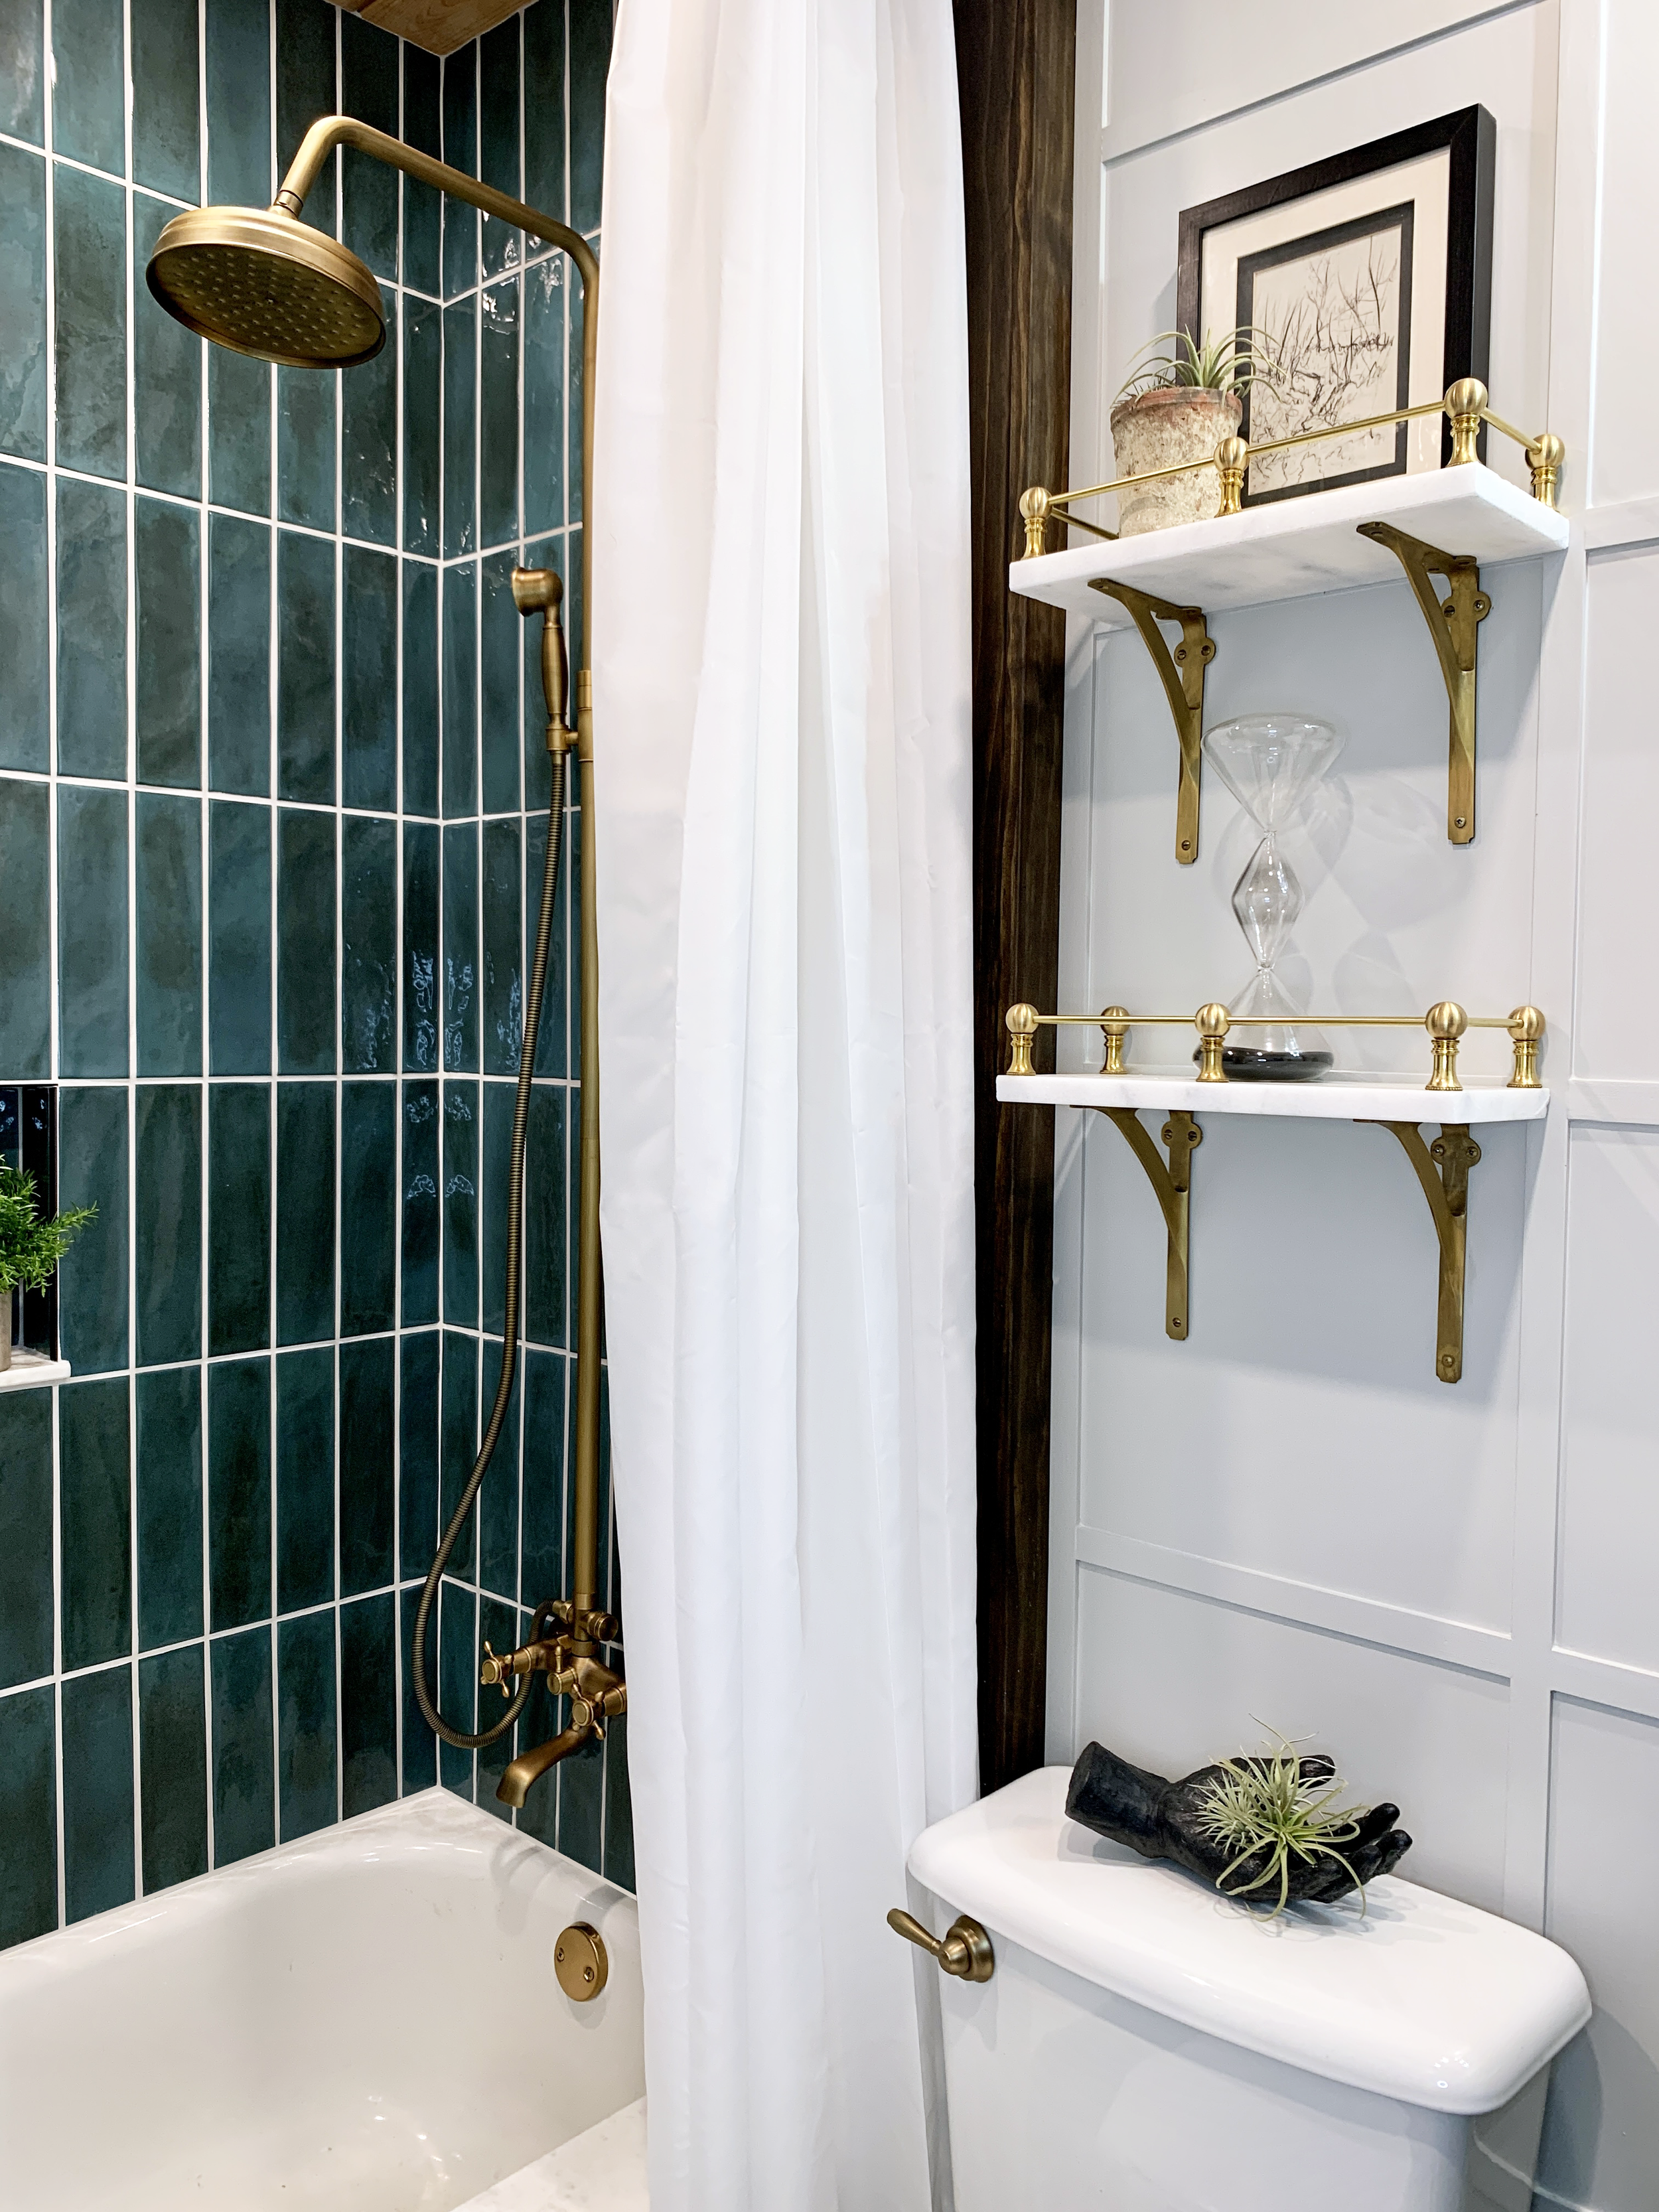
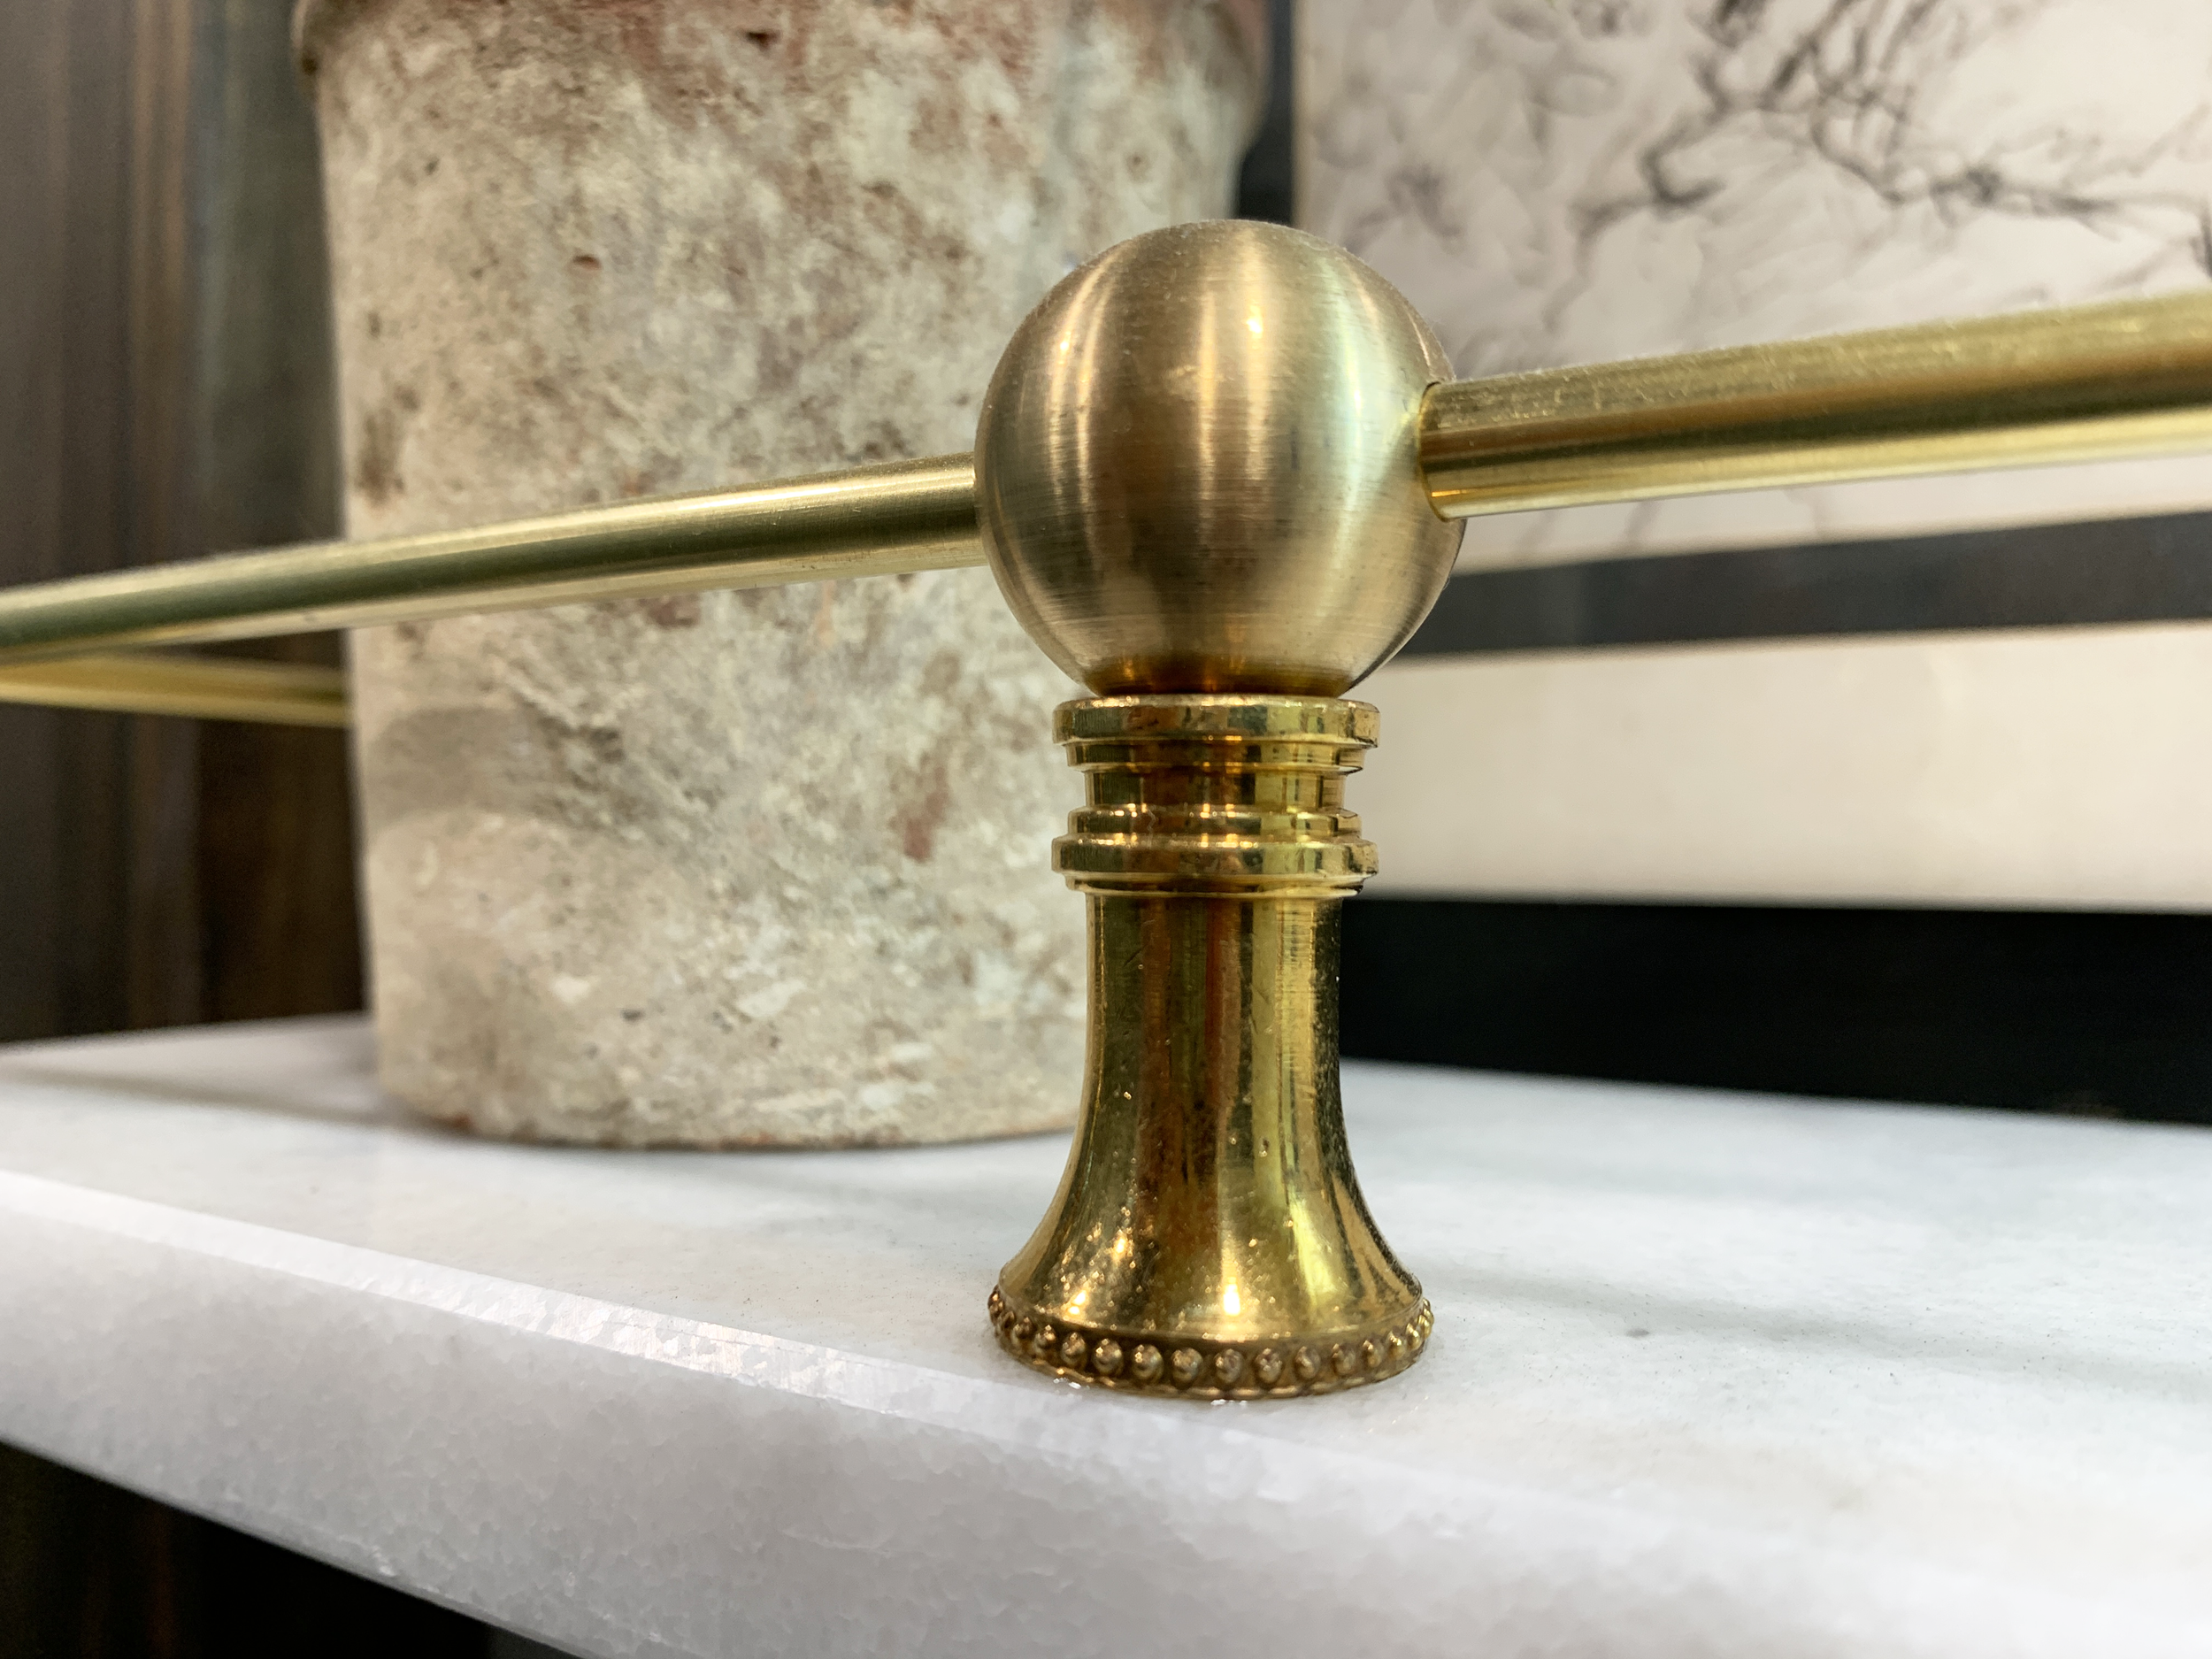
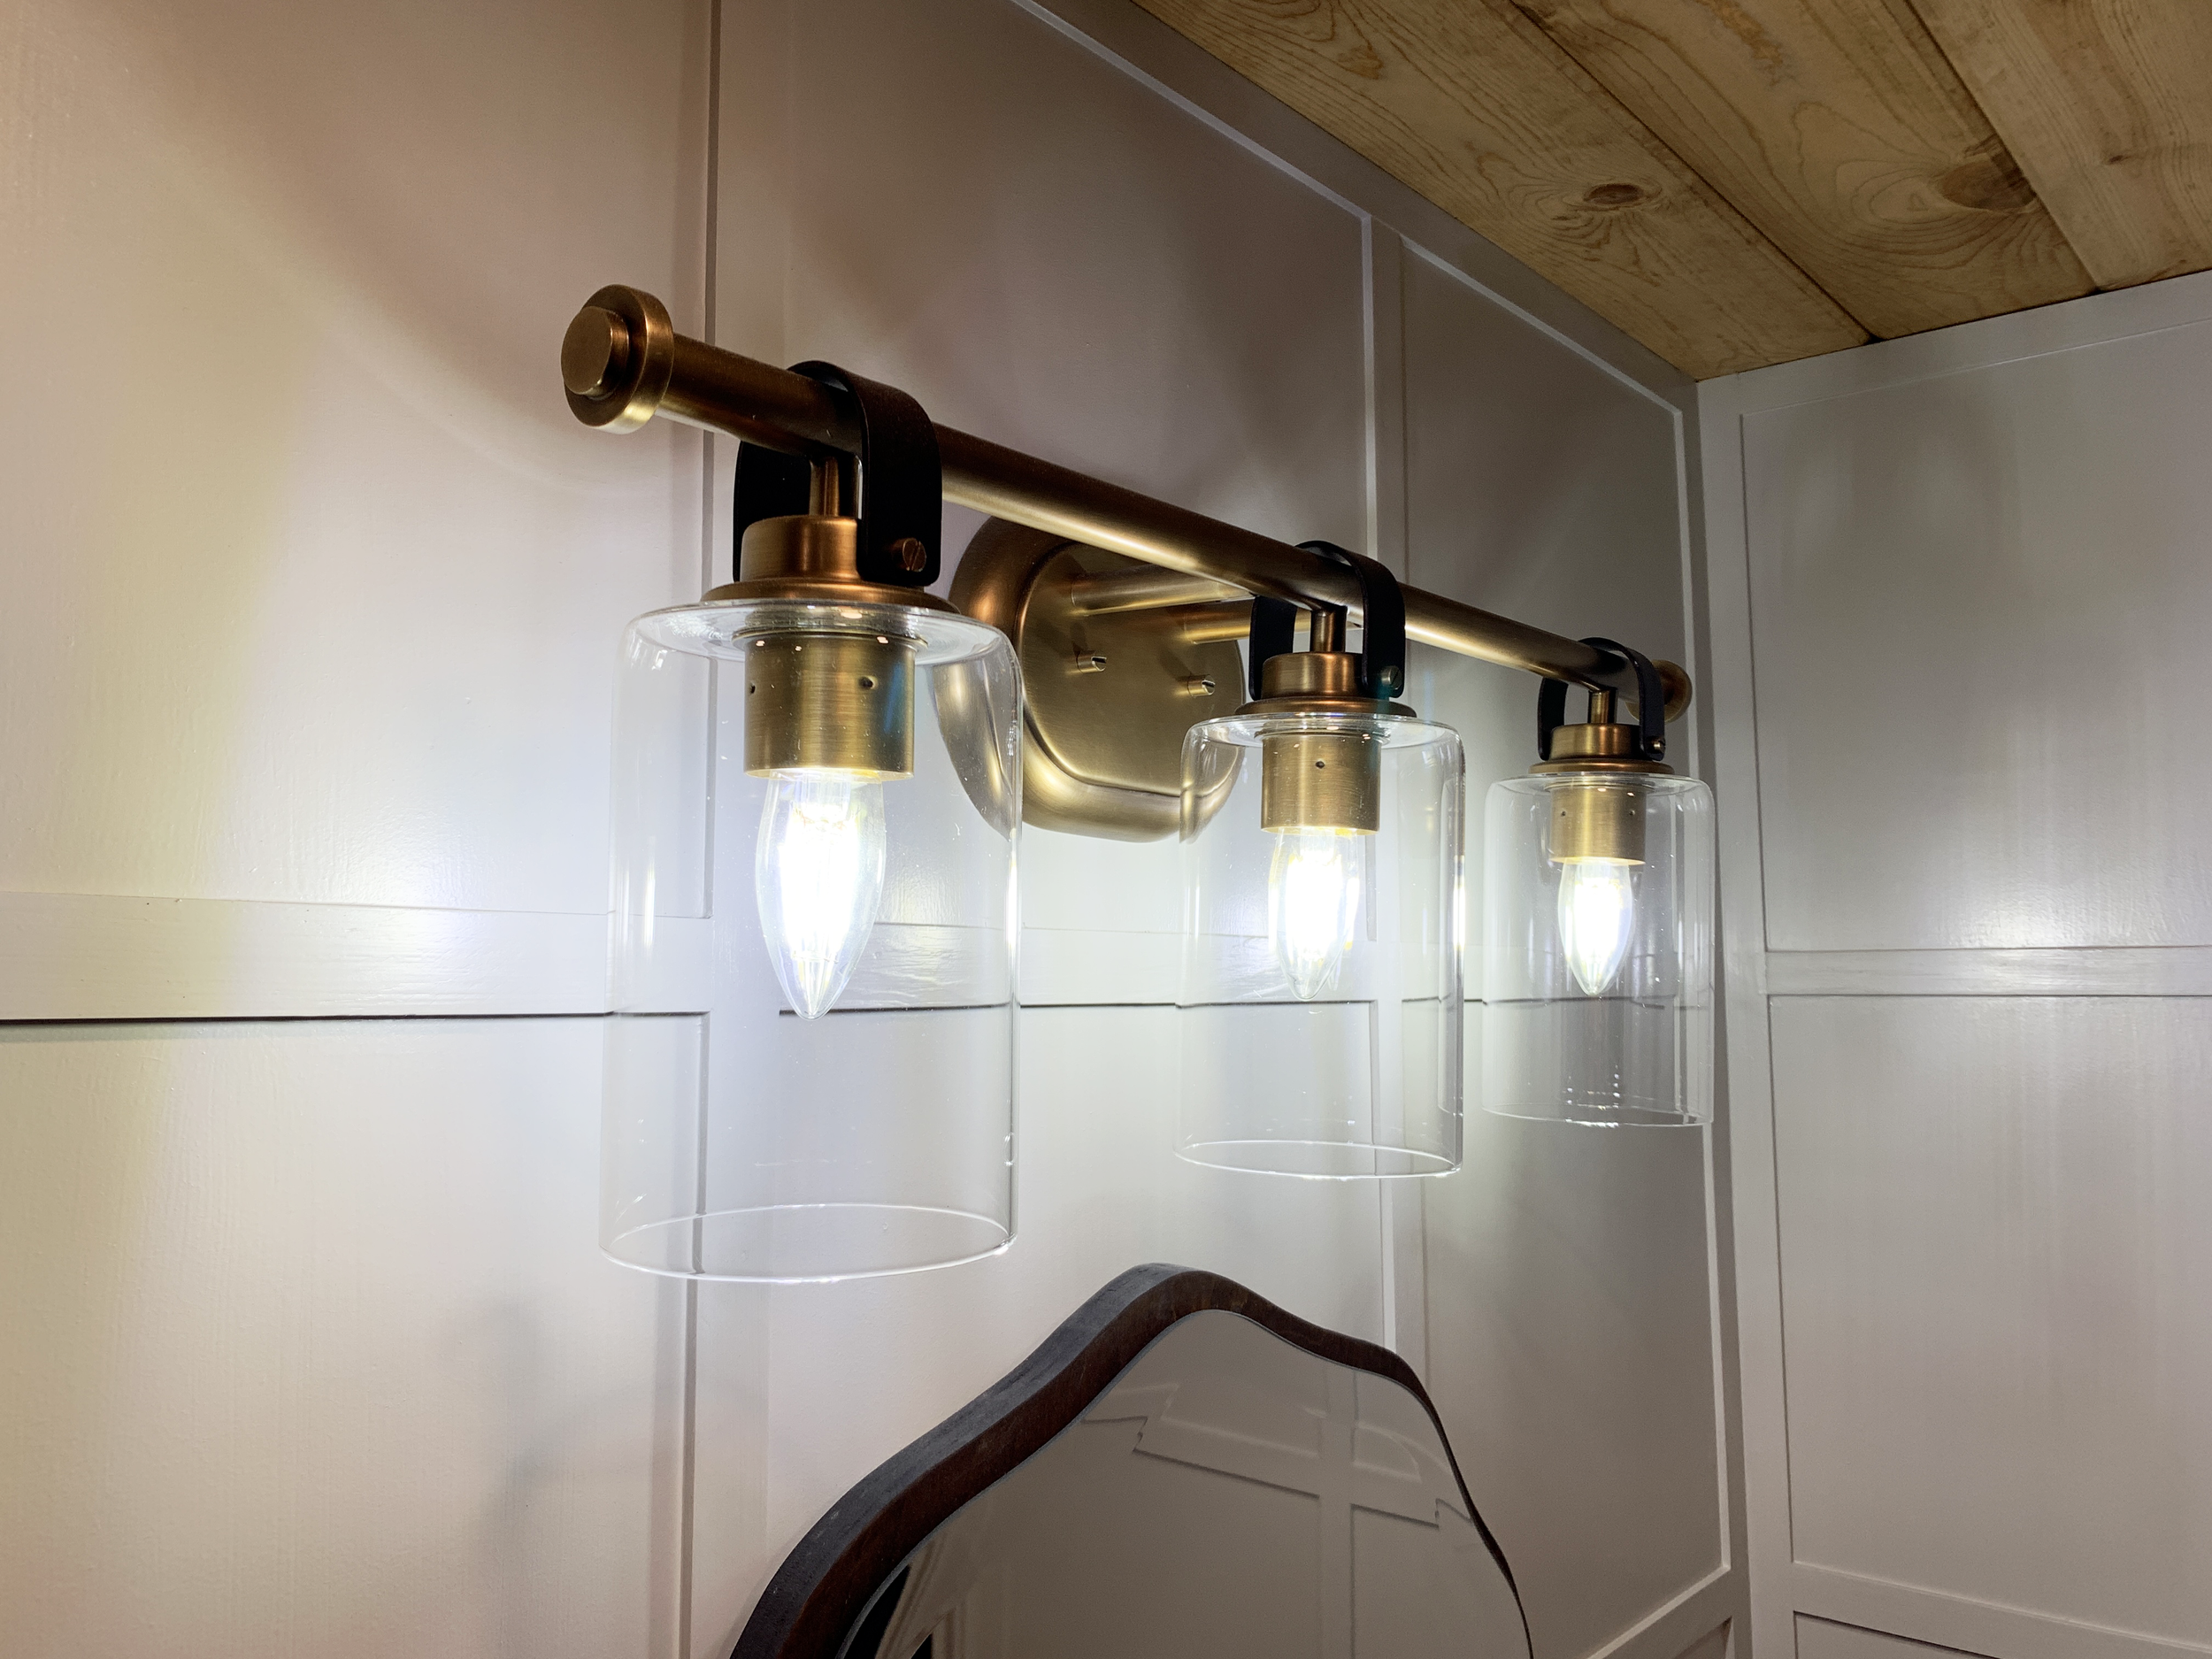
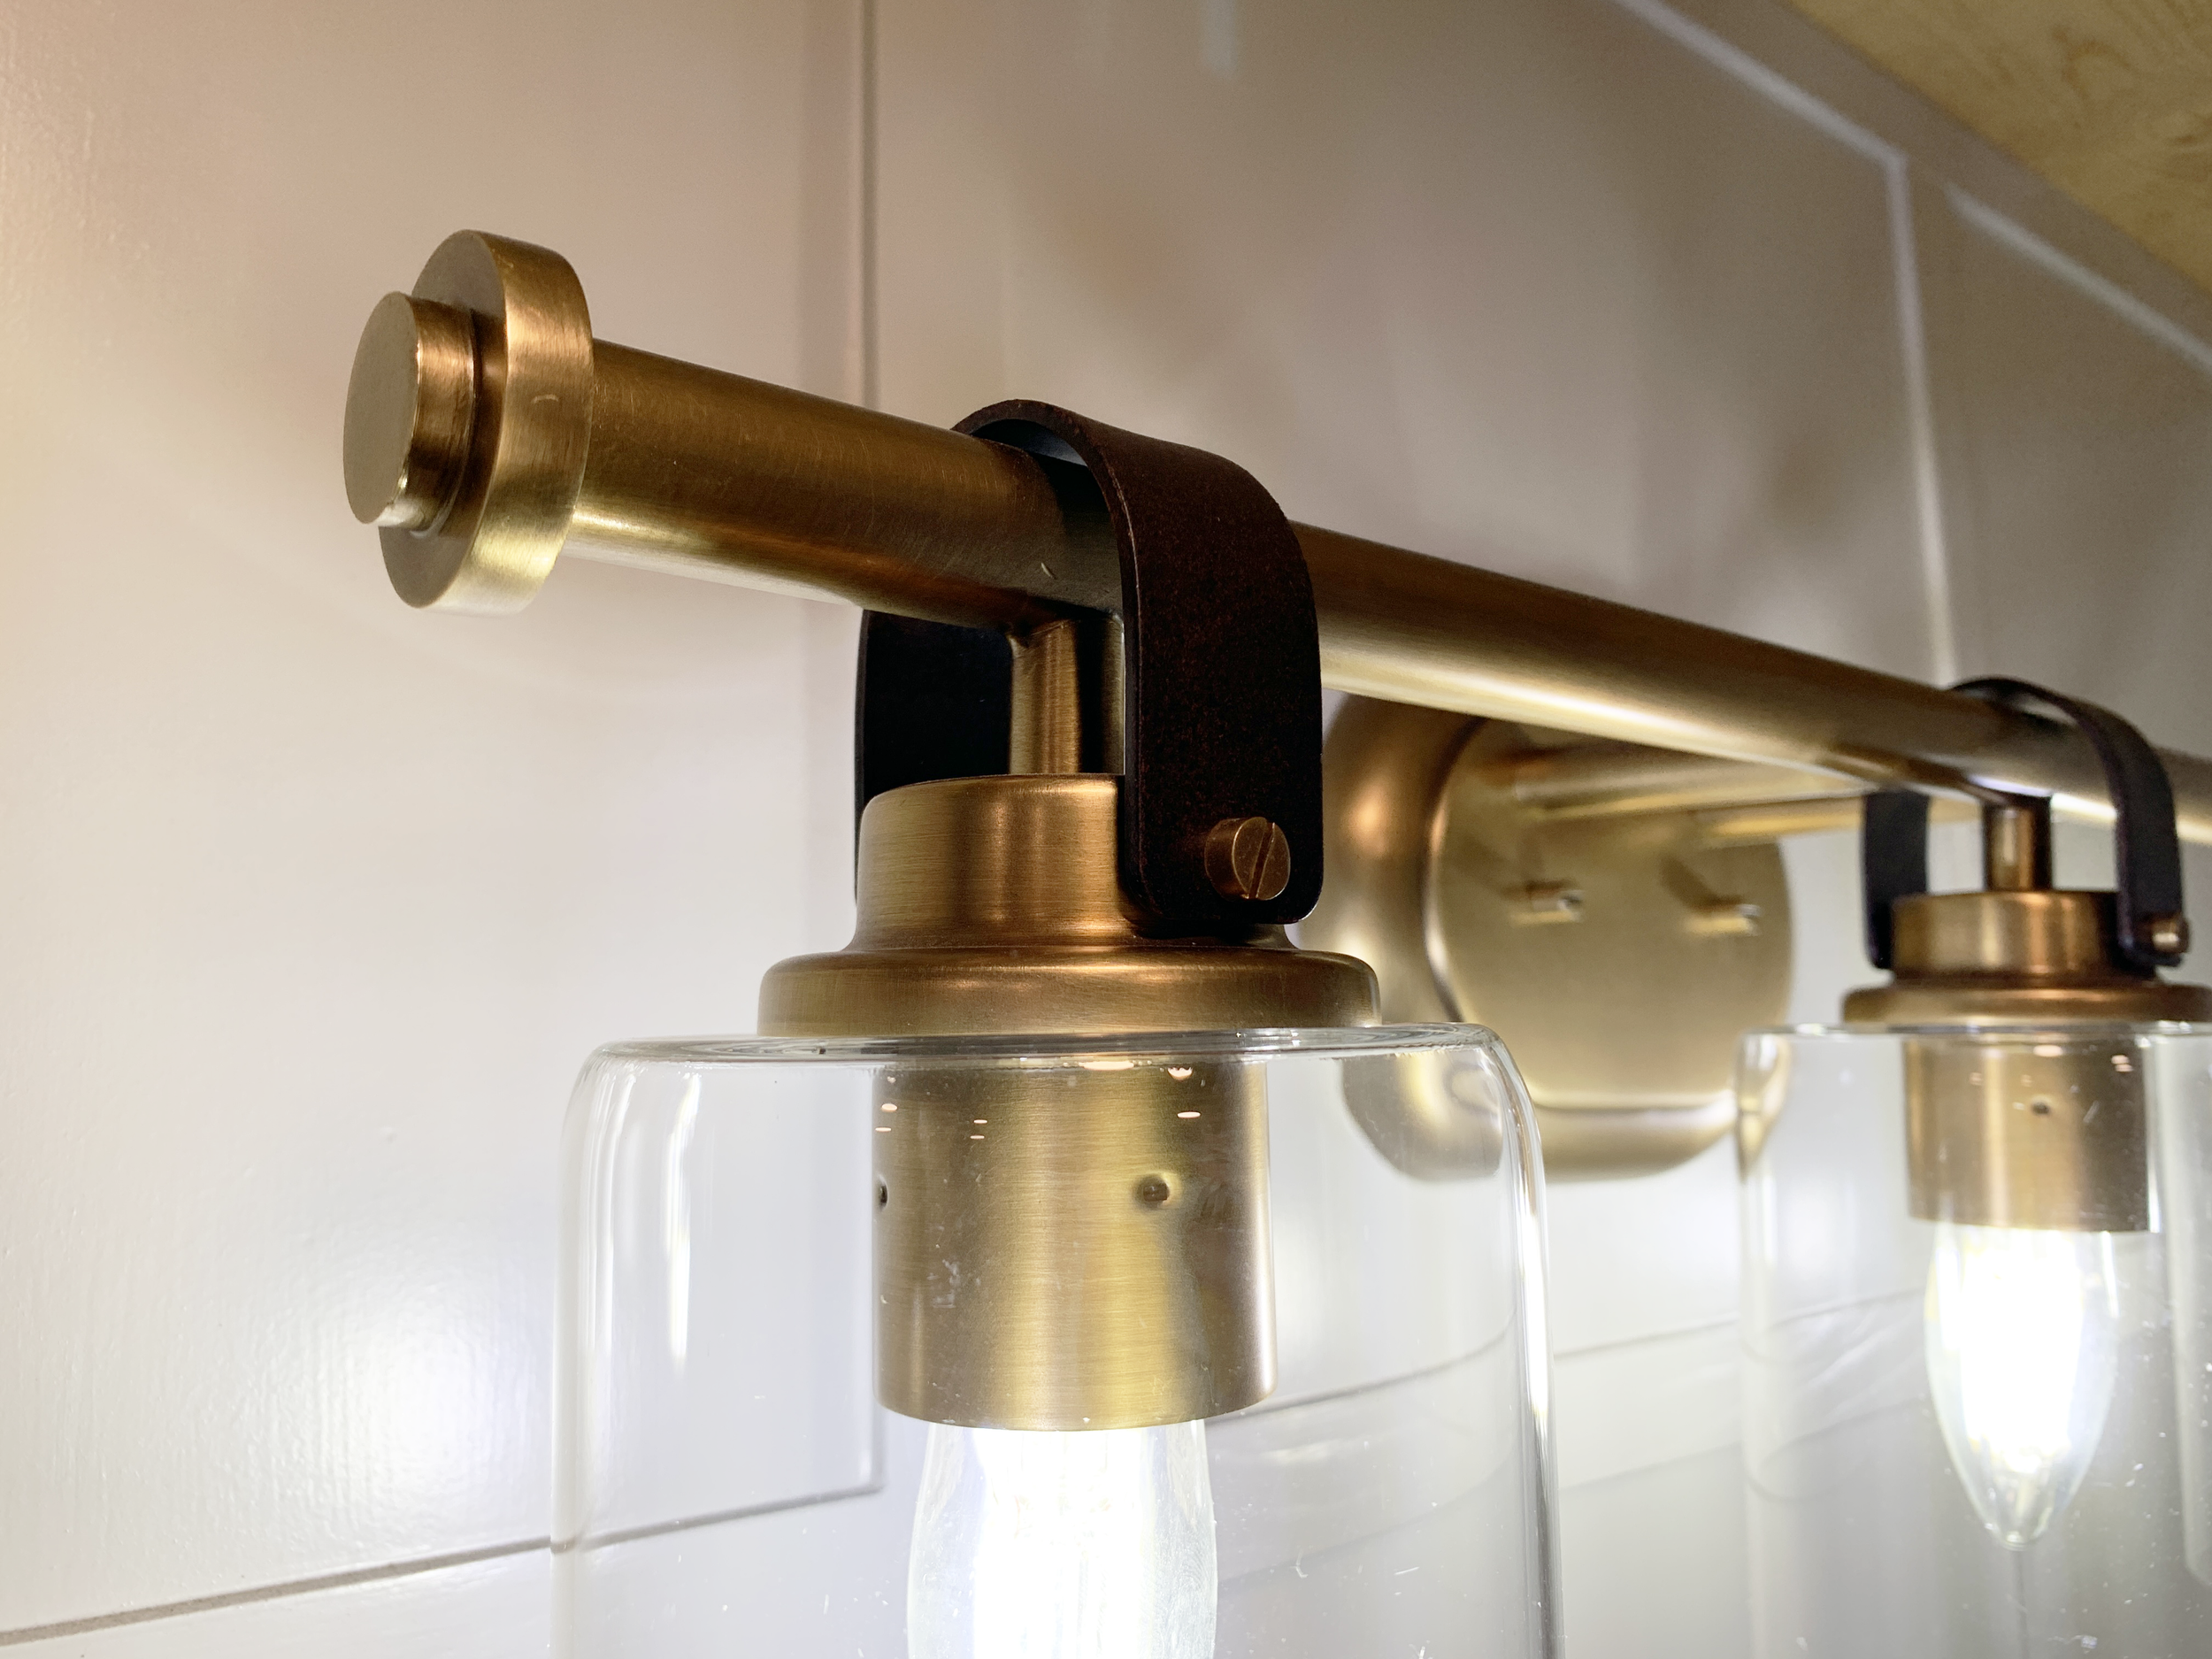
I love layering a mix of textures and finishes that add interest to spaces – like with the natural stone, leather, high-gloss ceramic, wood and mixed metals – and the thing about using raw, un-lacquered brass is that it will only continue to patina and get more beautiful over time. Mixing the brass and matte black finishes helps to modernize the room and also ties into the finishes throughout the rest of our home.
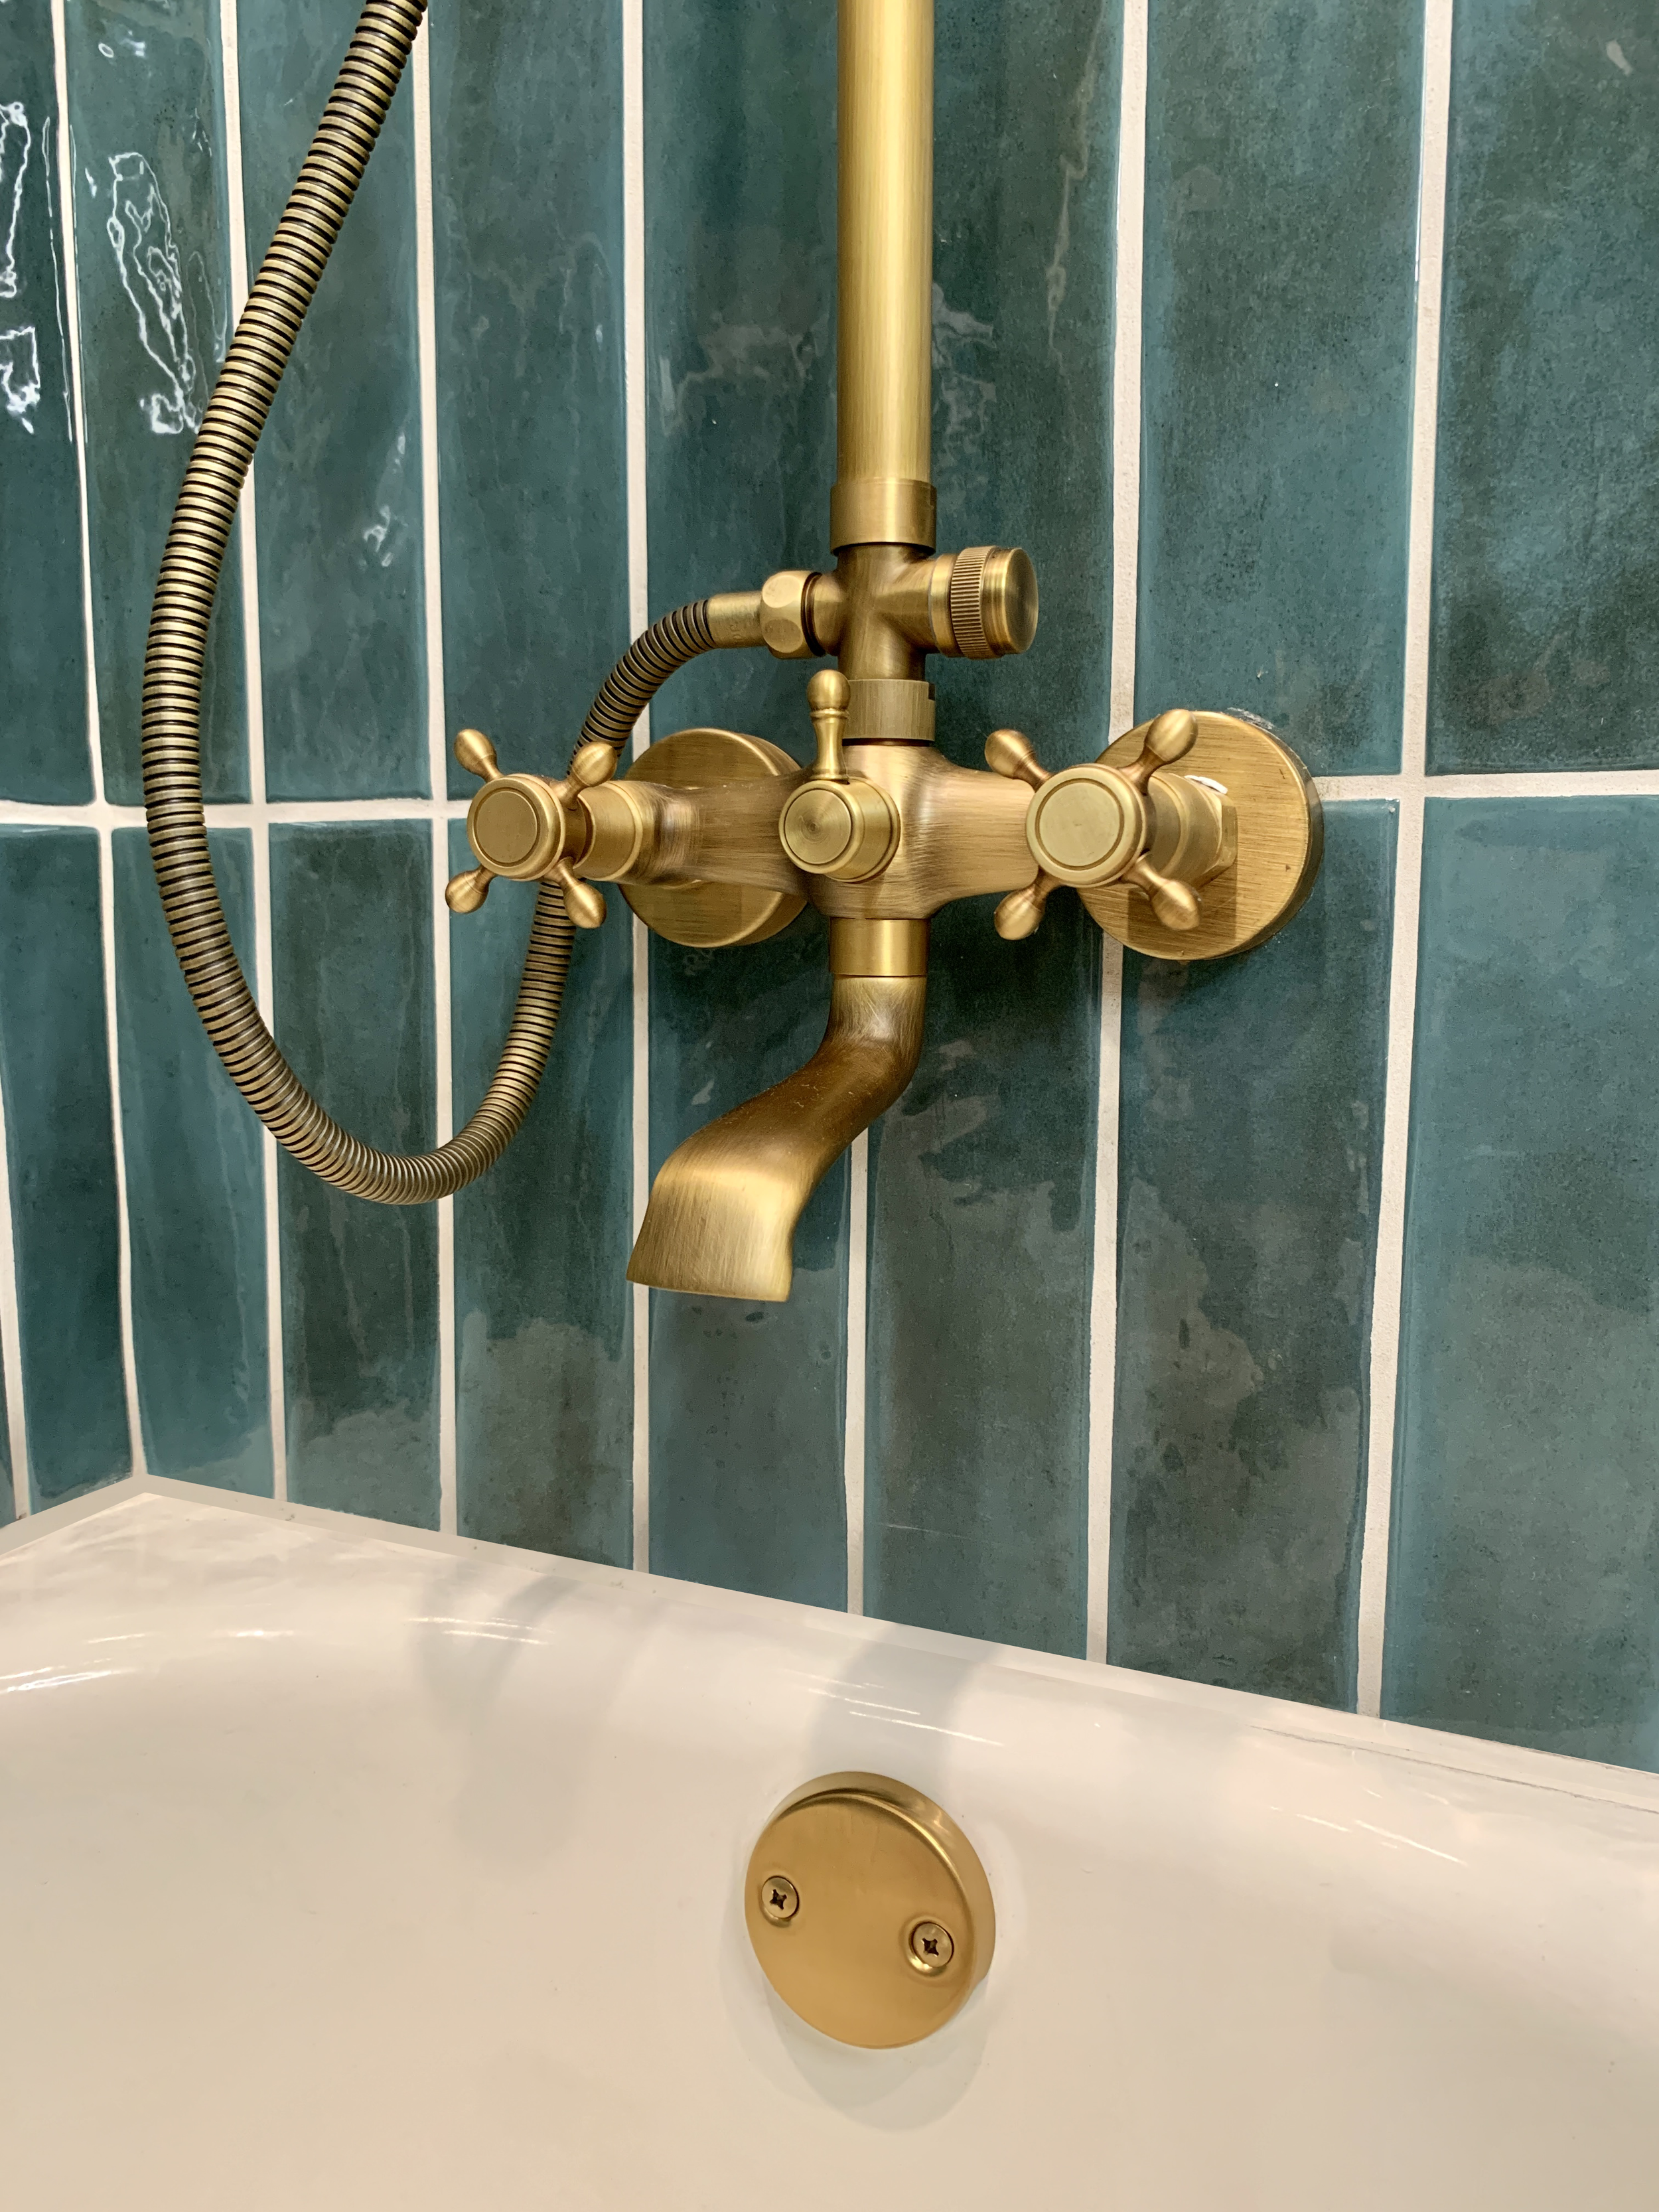
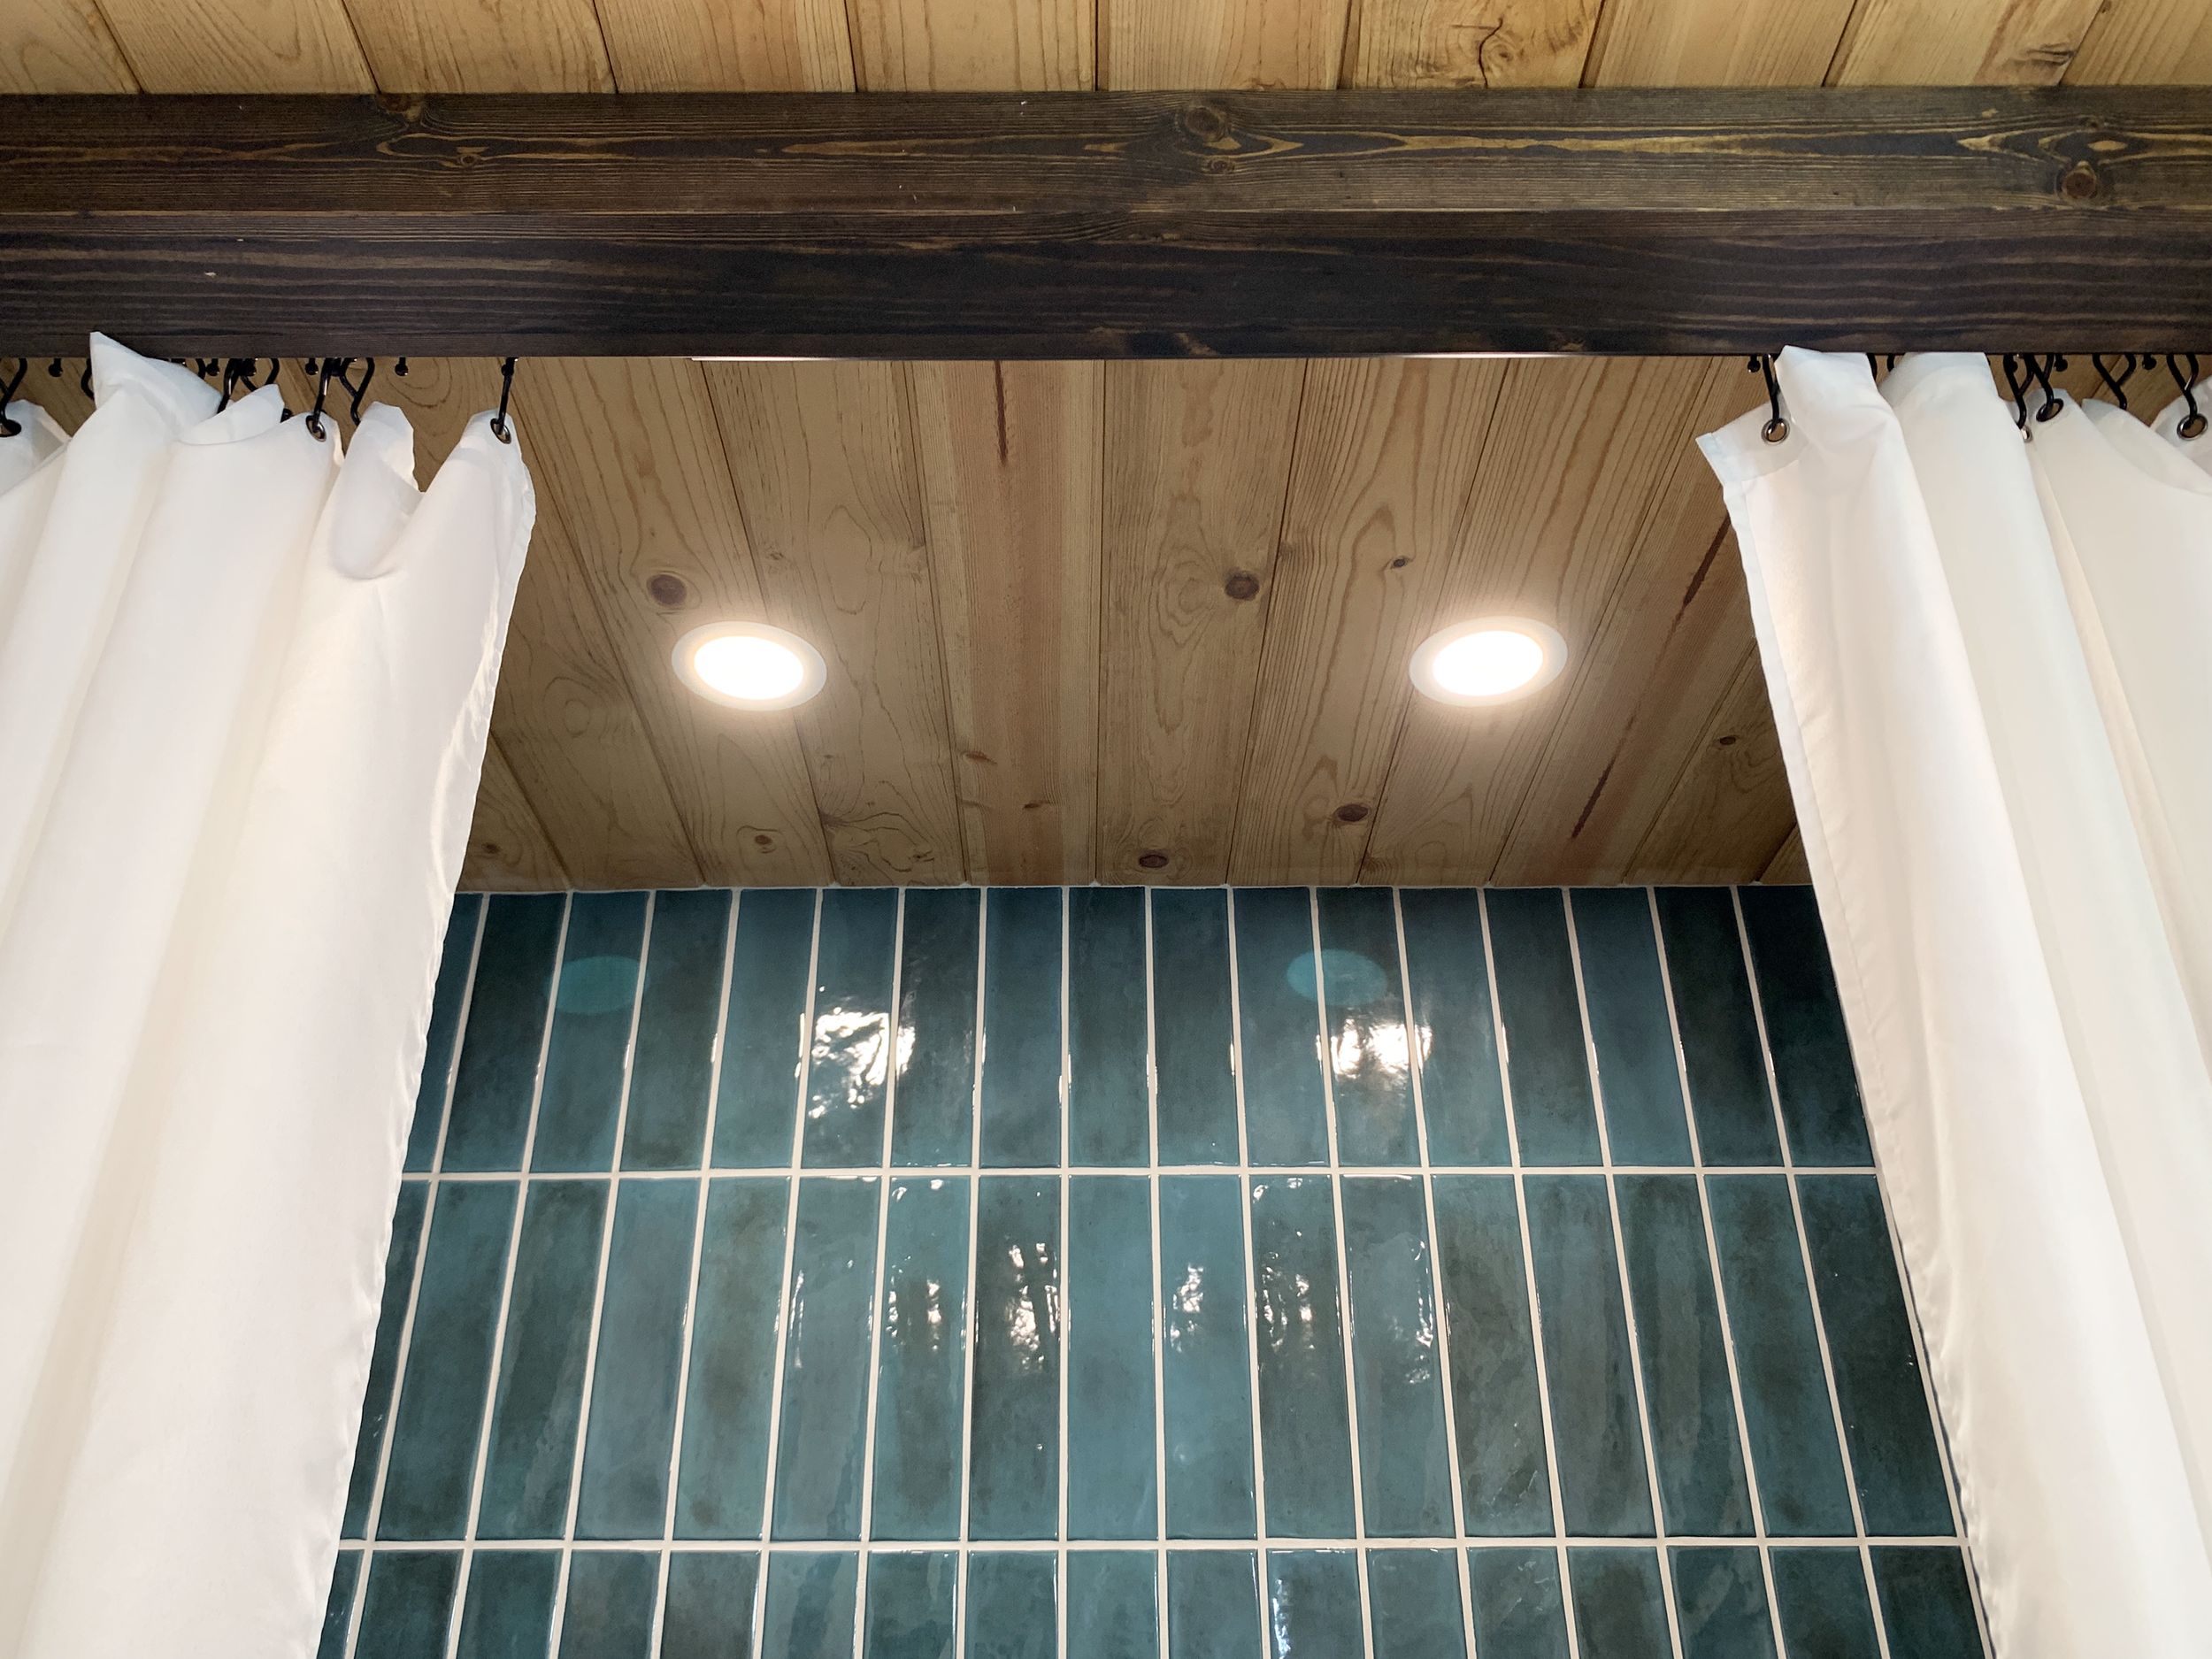
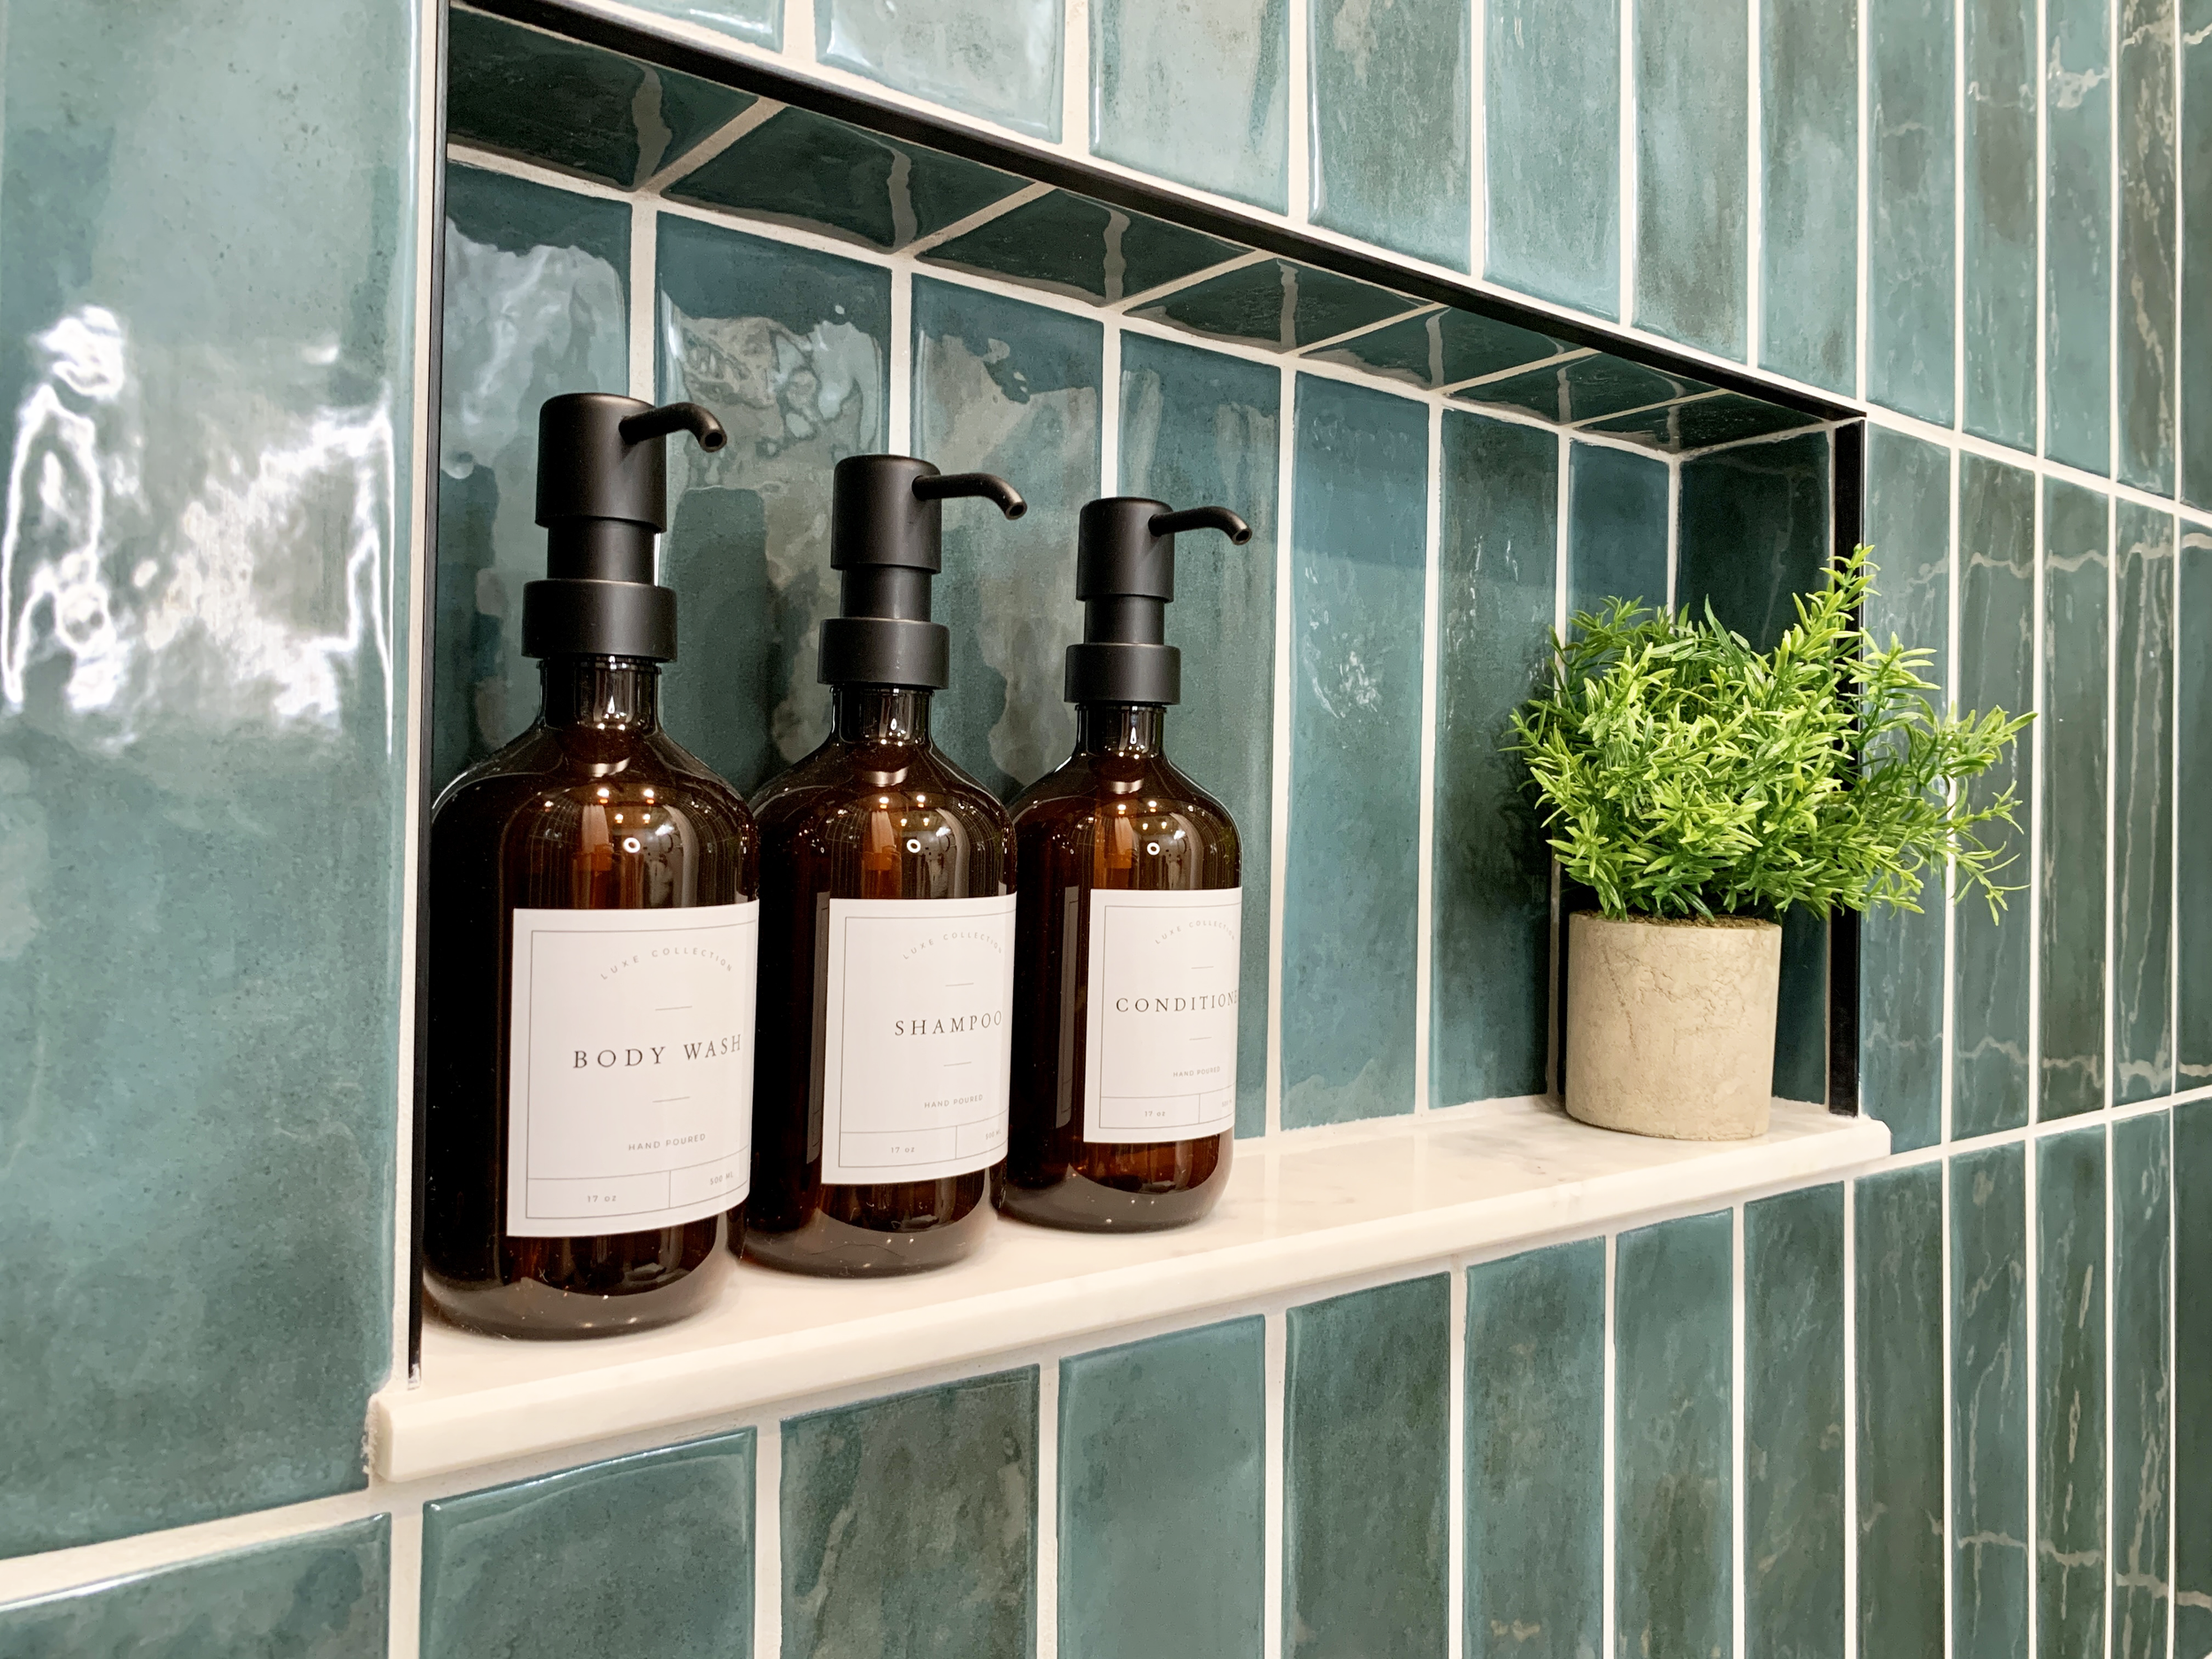
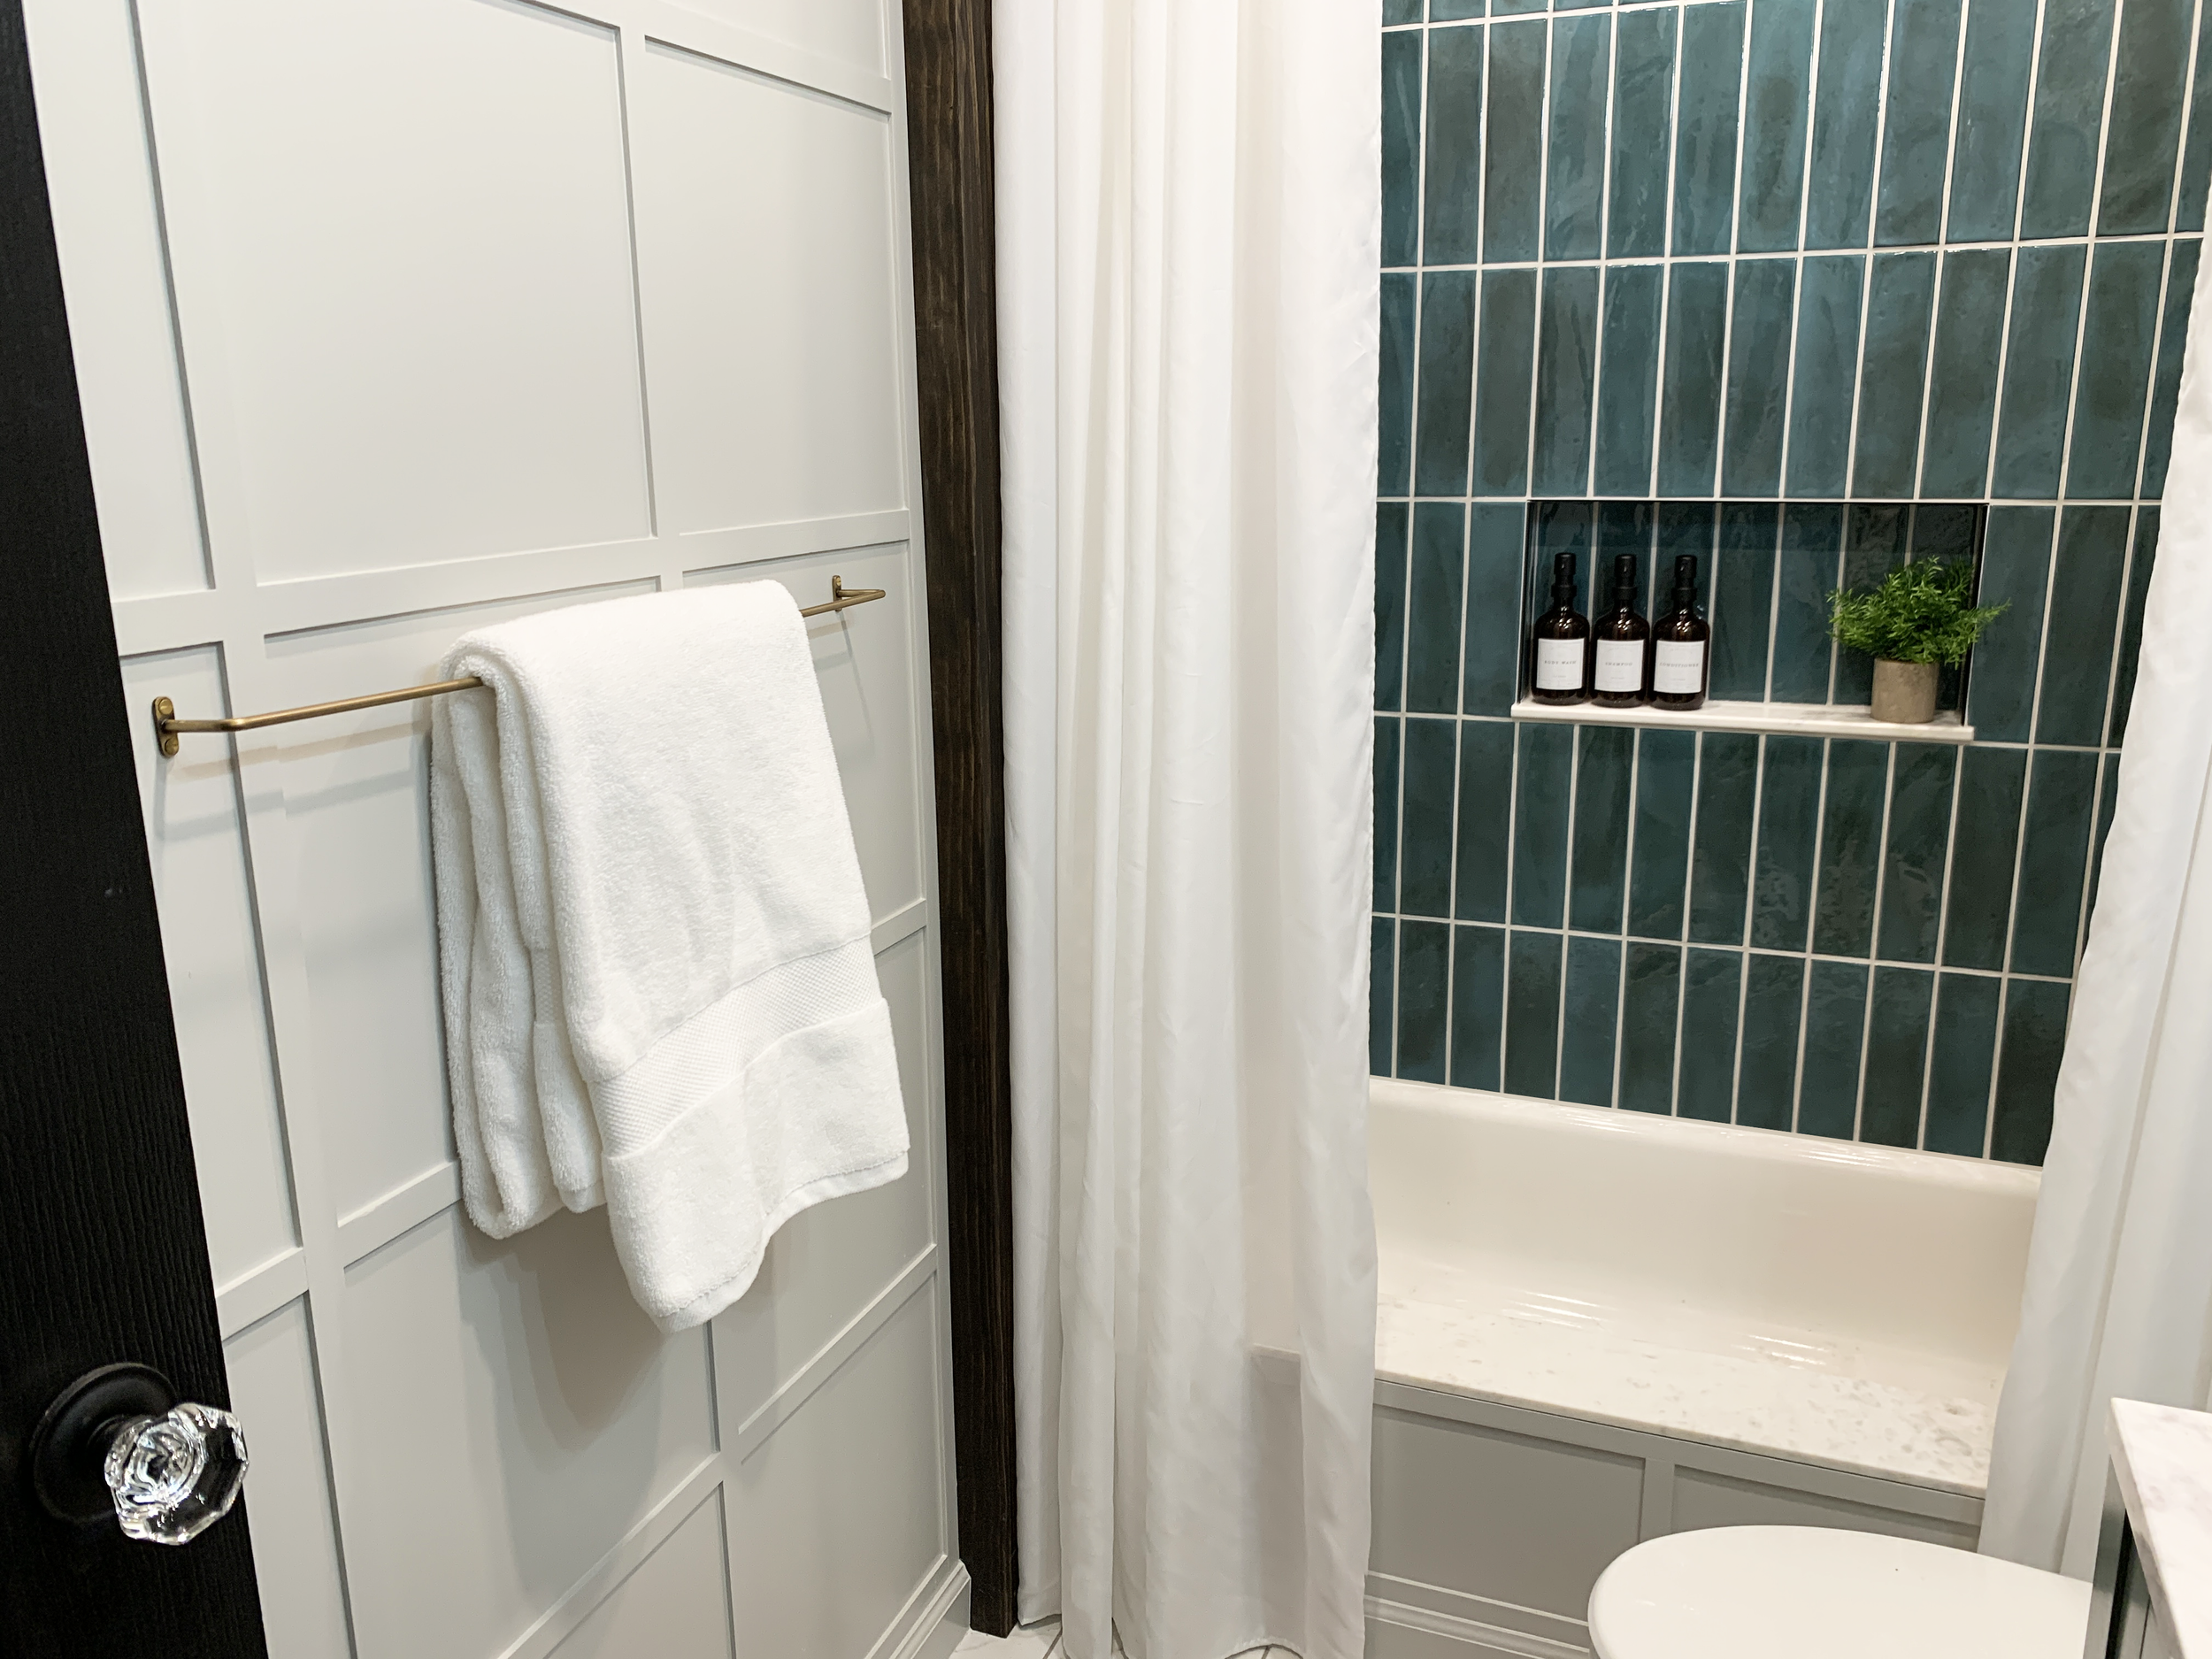
Using perfectly-imperfect irregular teal tiles adds some color that makes a bold statement drawing the eye through to the other side of the room, but when paired with plenty of warm neutrals isn’t so vibrant that it feels overwhelming in the small space.
Timeless materials like Carrara marble (and durable, budget-friendly marble-looking dupes like our floor and countertop), raw brass, and stained woods make the new space feel cozy and lived in, and like nothing is too precious to use and touch daily – perfect for our home where nothing is ever perfect or spotless.
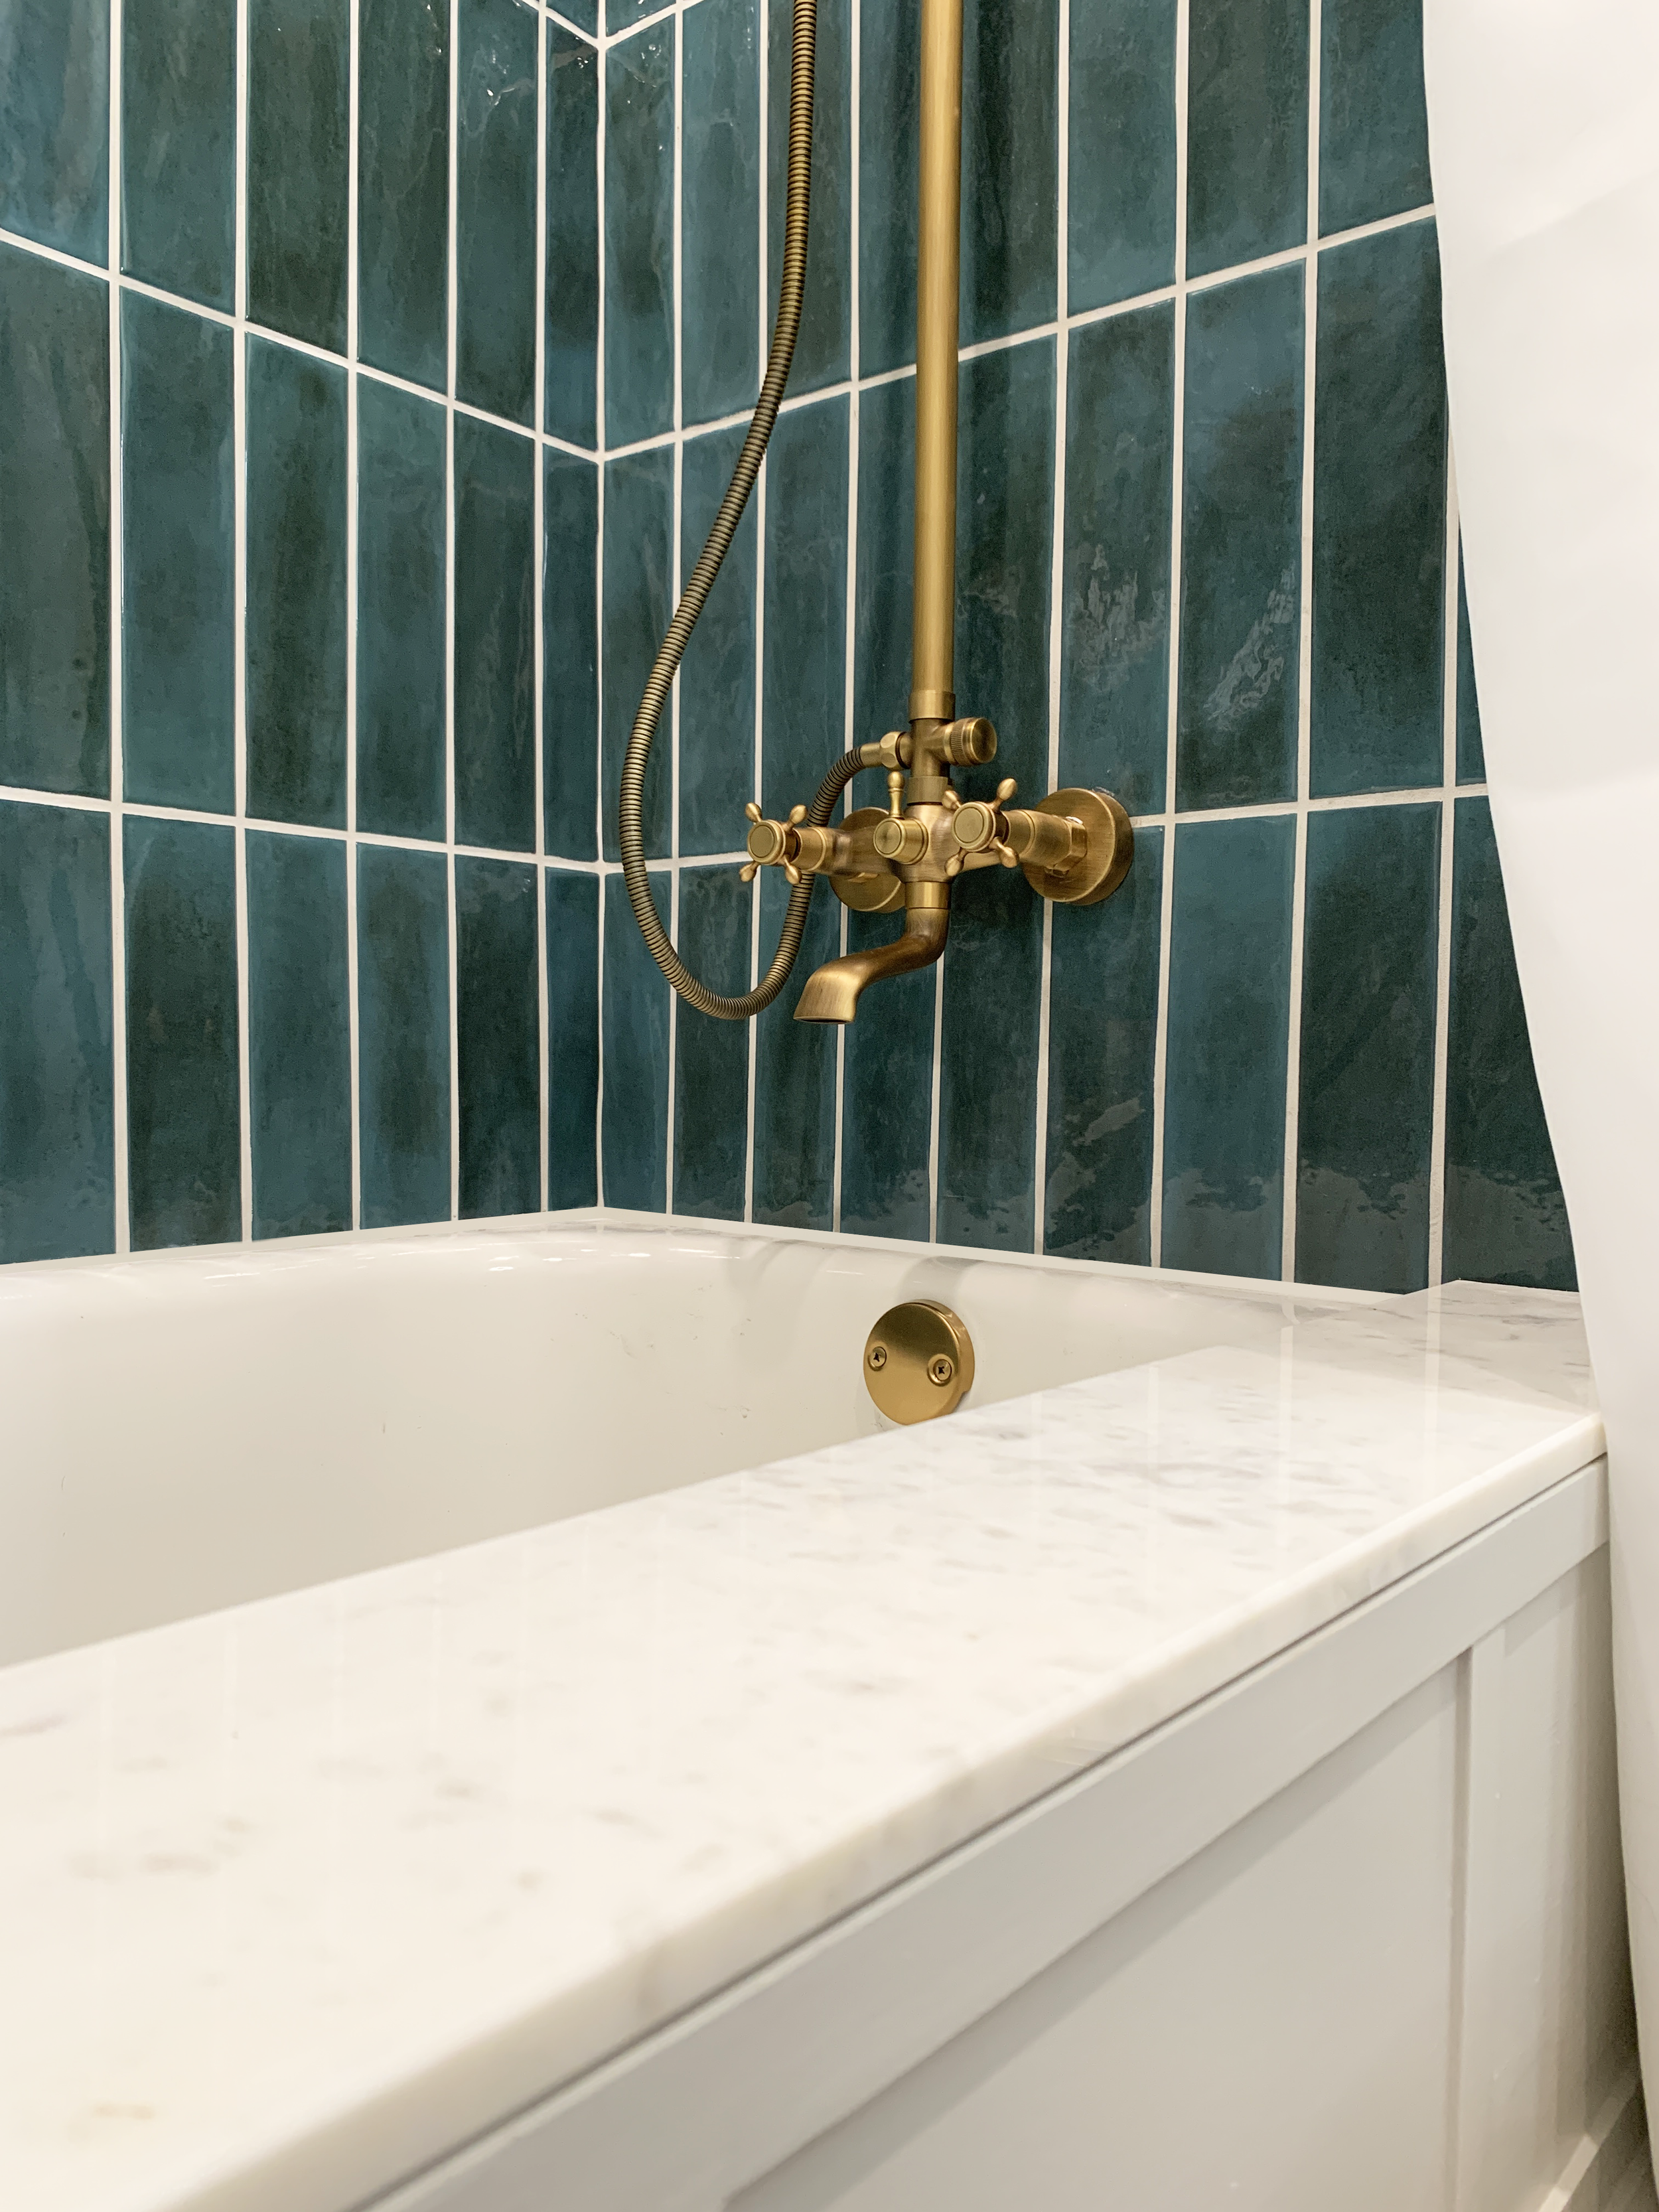
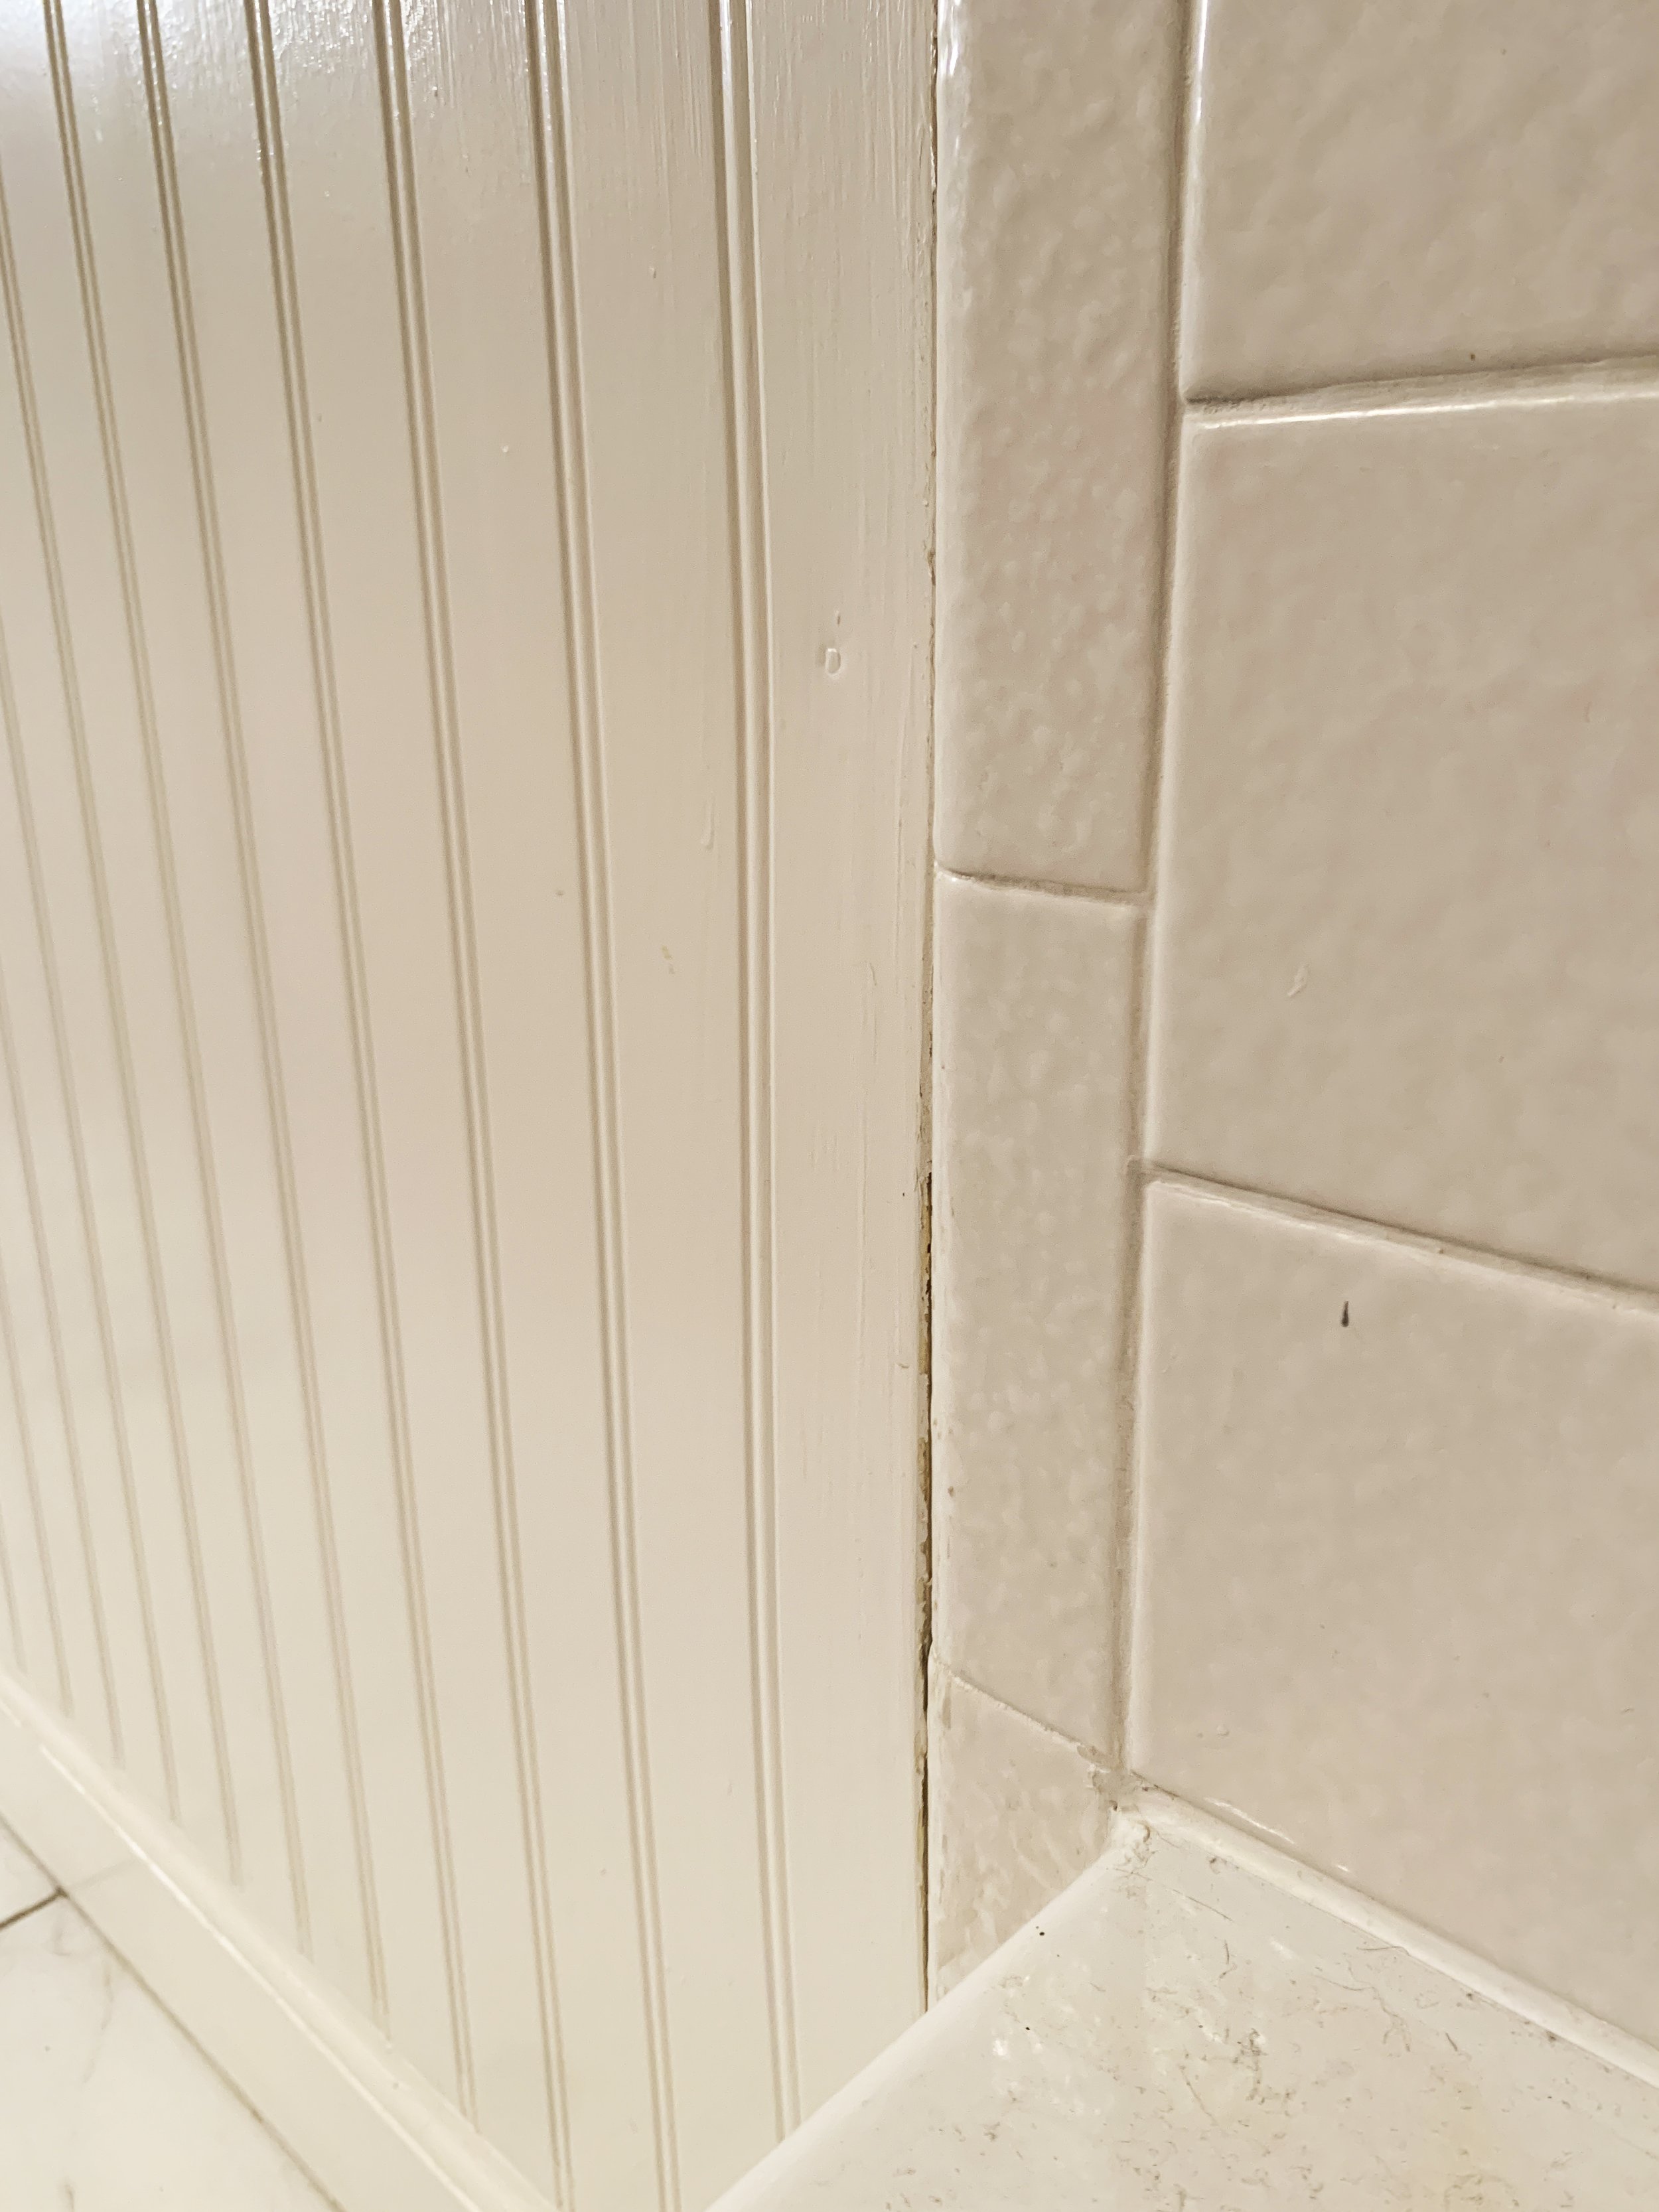
It’s a small 5’ x 8’ space (with an 8’ ceiling), but stacking the tile vertically and taking it all the way up to a feature ceiling that runs the long length of the room (from door to shower), adding linear lines throughout the room with the gridded wall moulding and wood columns flanking the shower, along with hanging the shower curtains all the way to the ceiling, really help make the room feel so much larger.

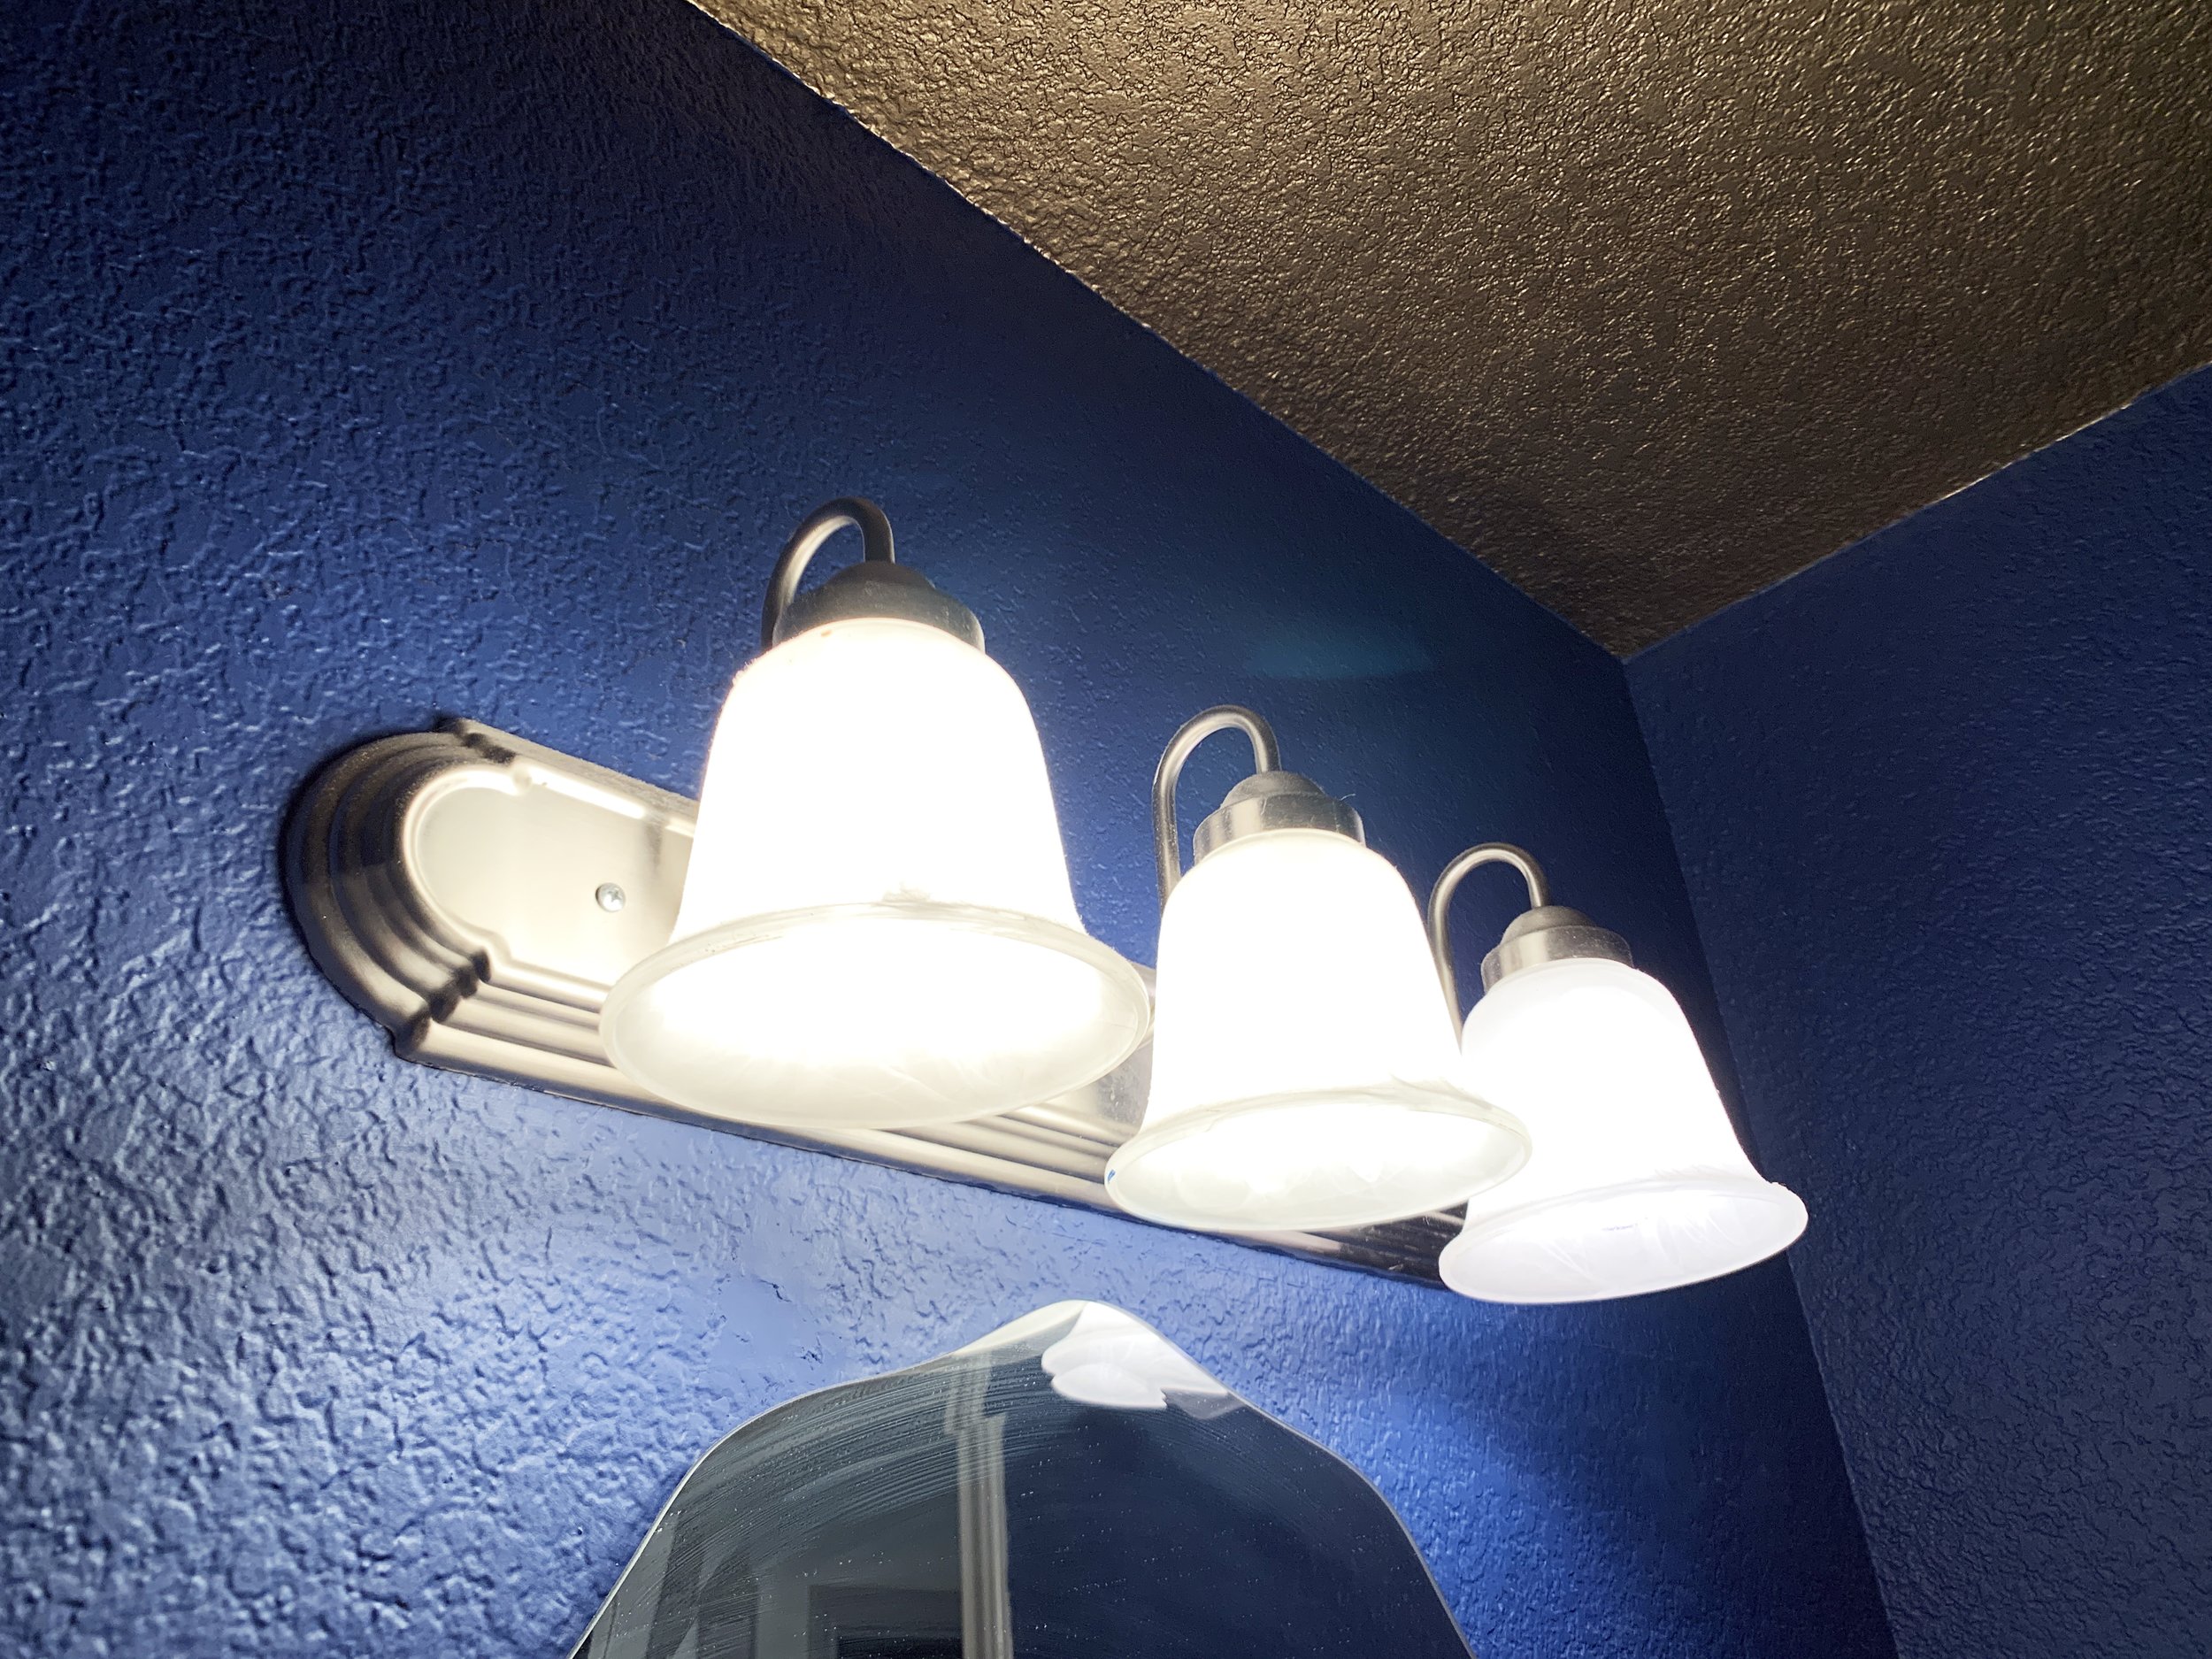
Adding more lighting to the room also makes such a huge impact, and putting all of the lighting on a dimmer switch really helps set the mood of the room for any occasion. It’s been so nice to be able to use the lowest barely-there light for those middle-of-the-night restroom trips (you know the ones where you’re half asleep) and will be perfect for anyone unwinding at the end of a long day with a good bath.
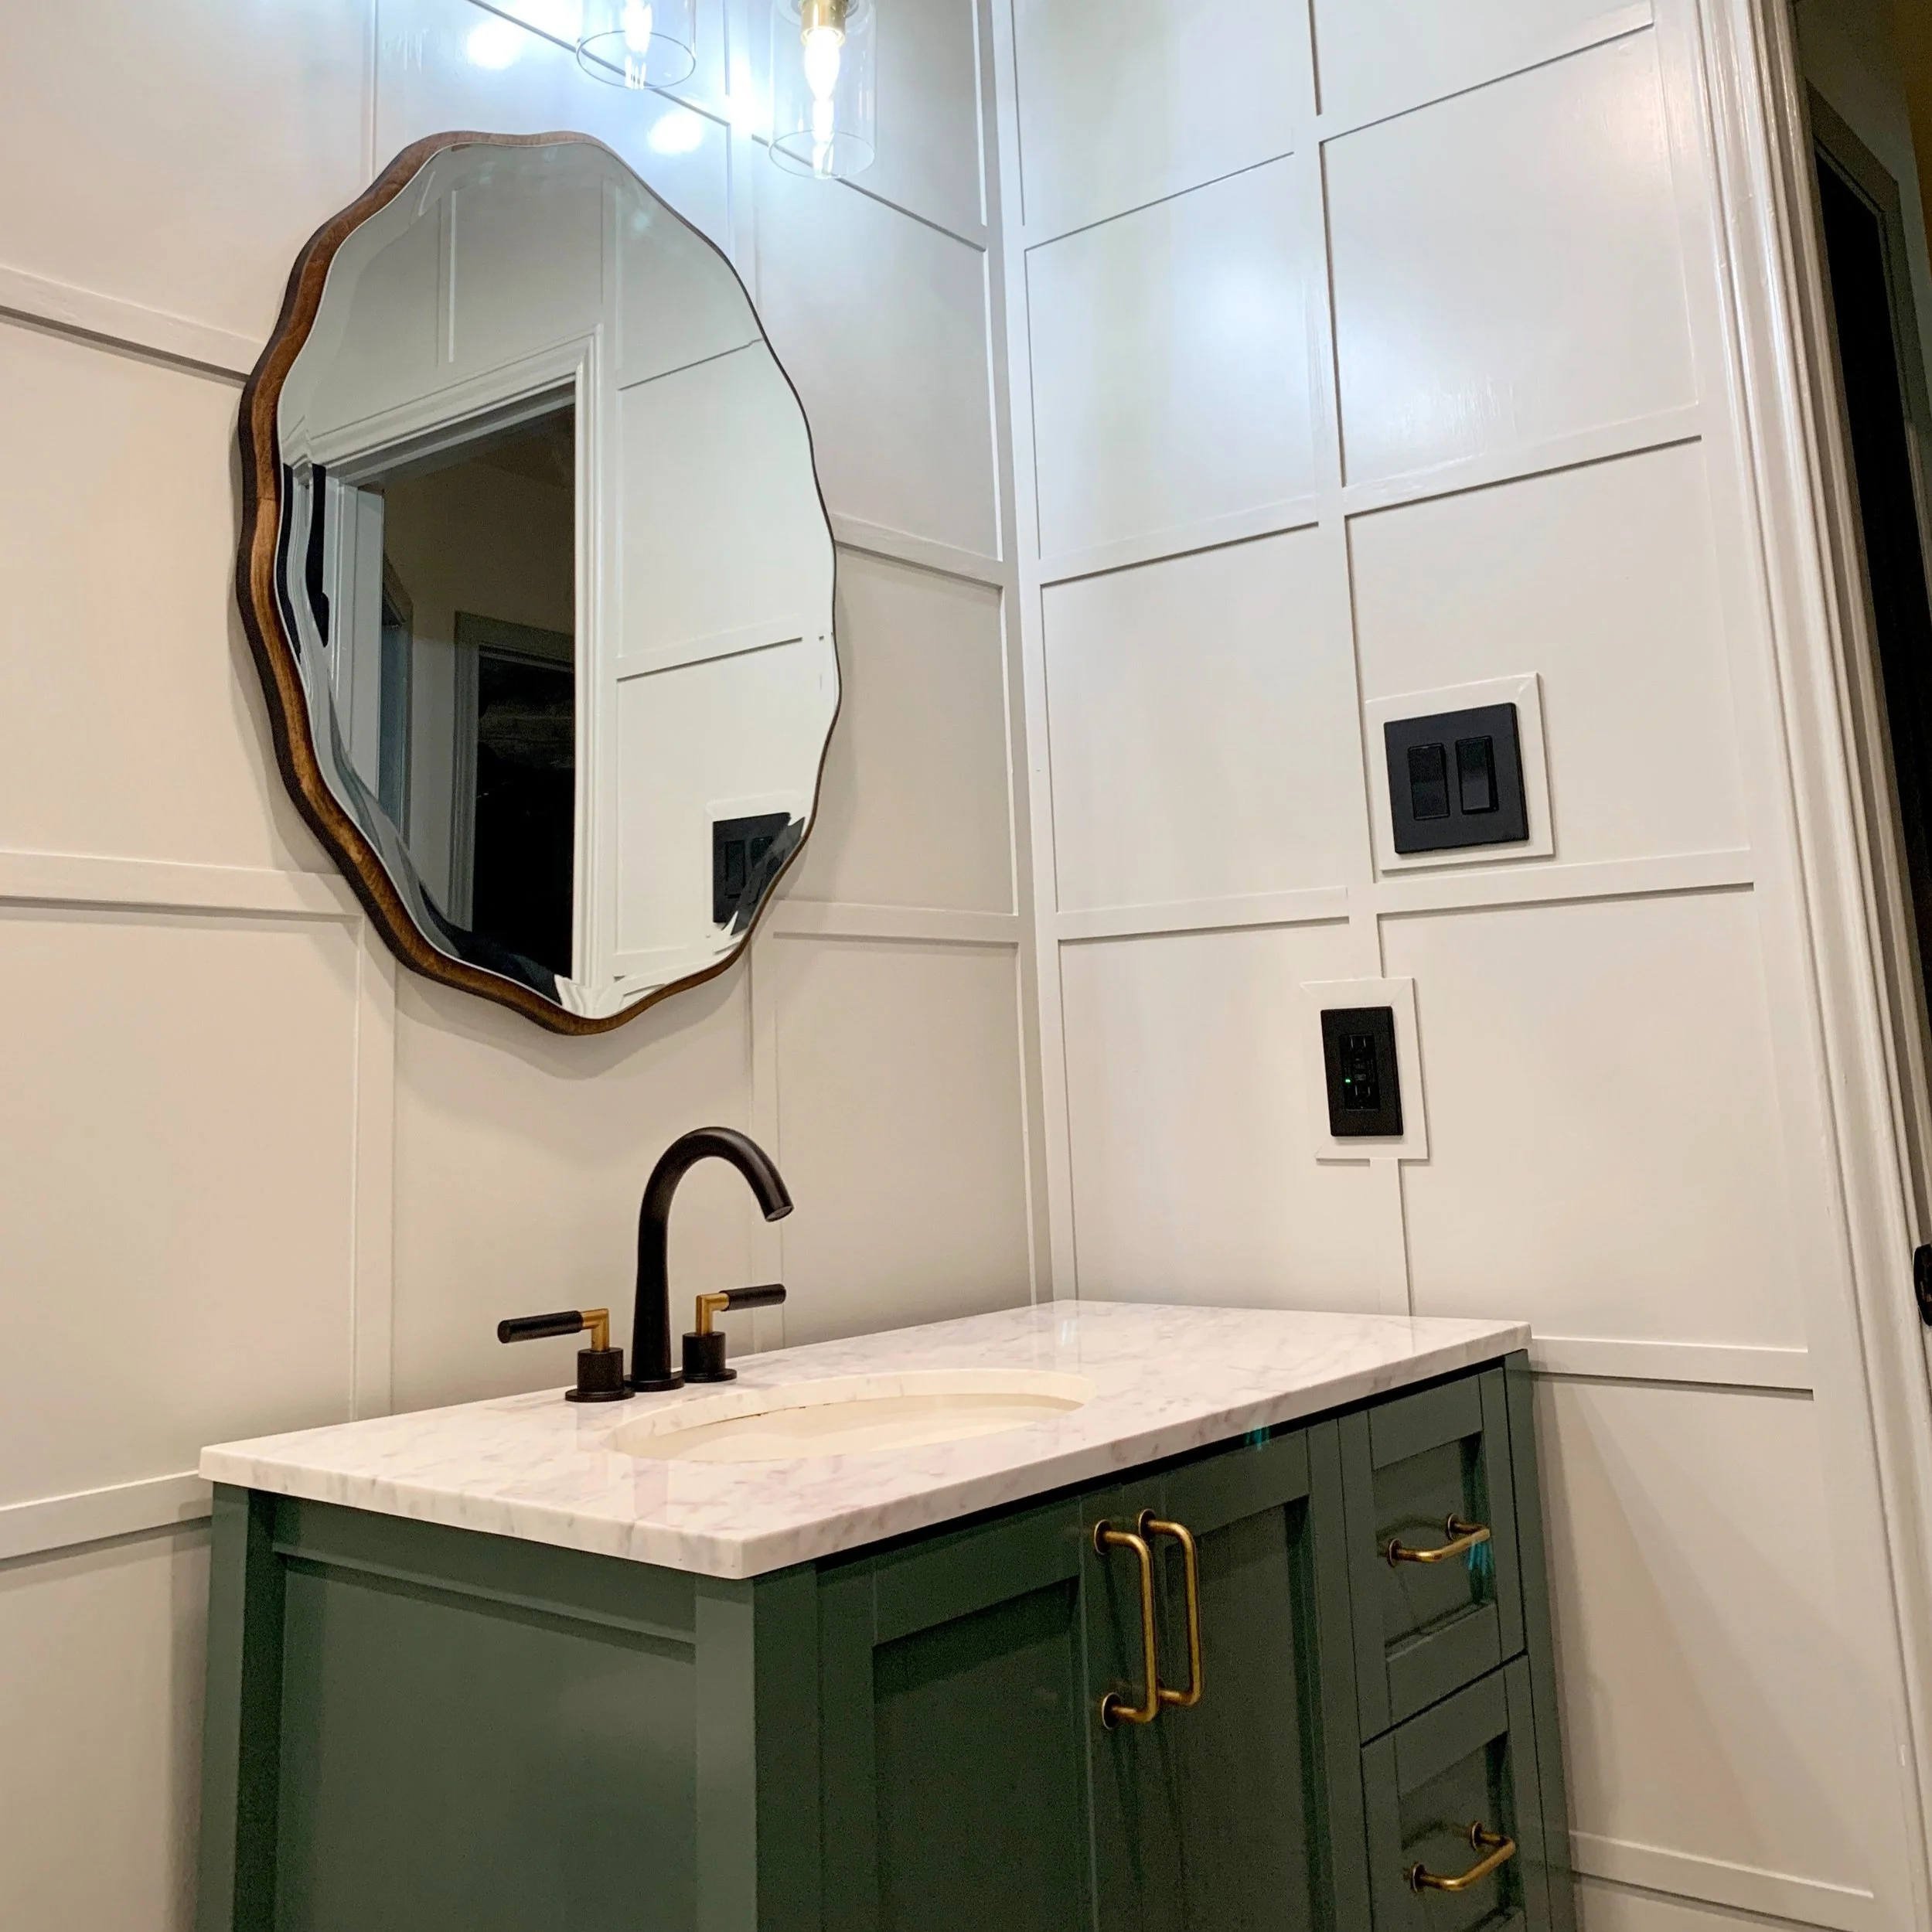
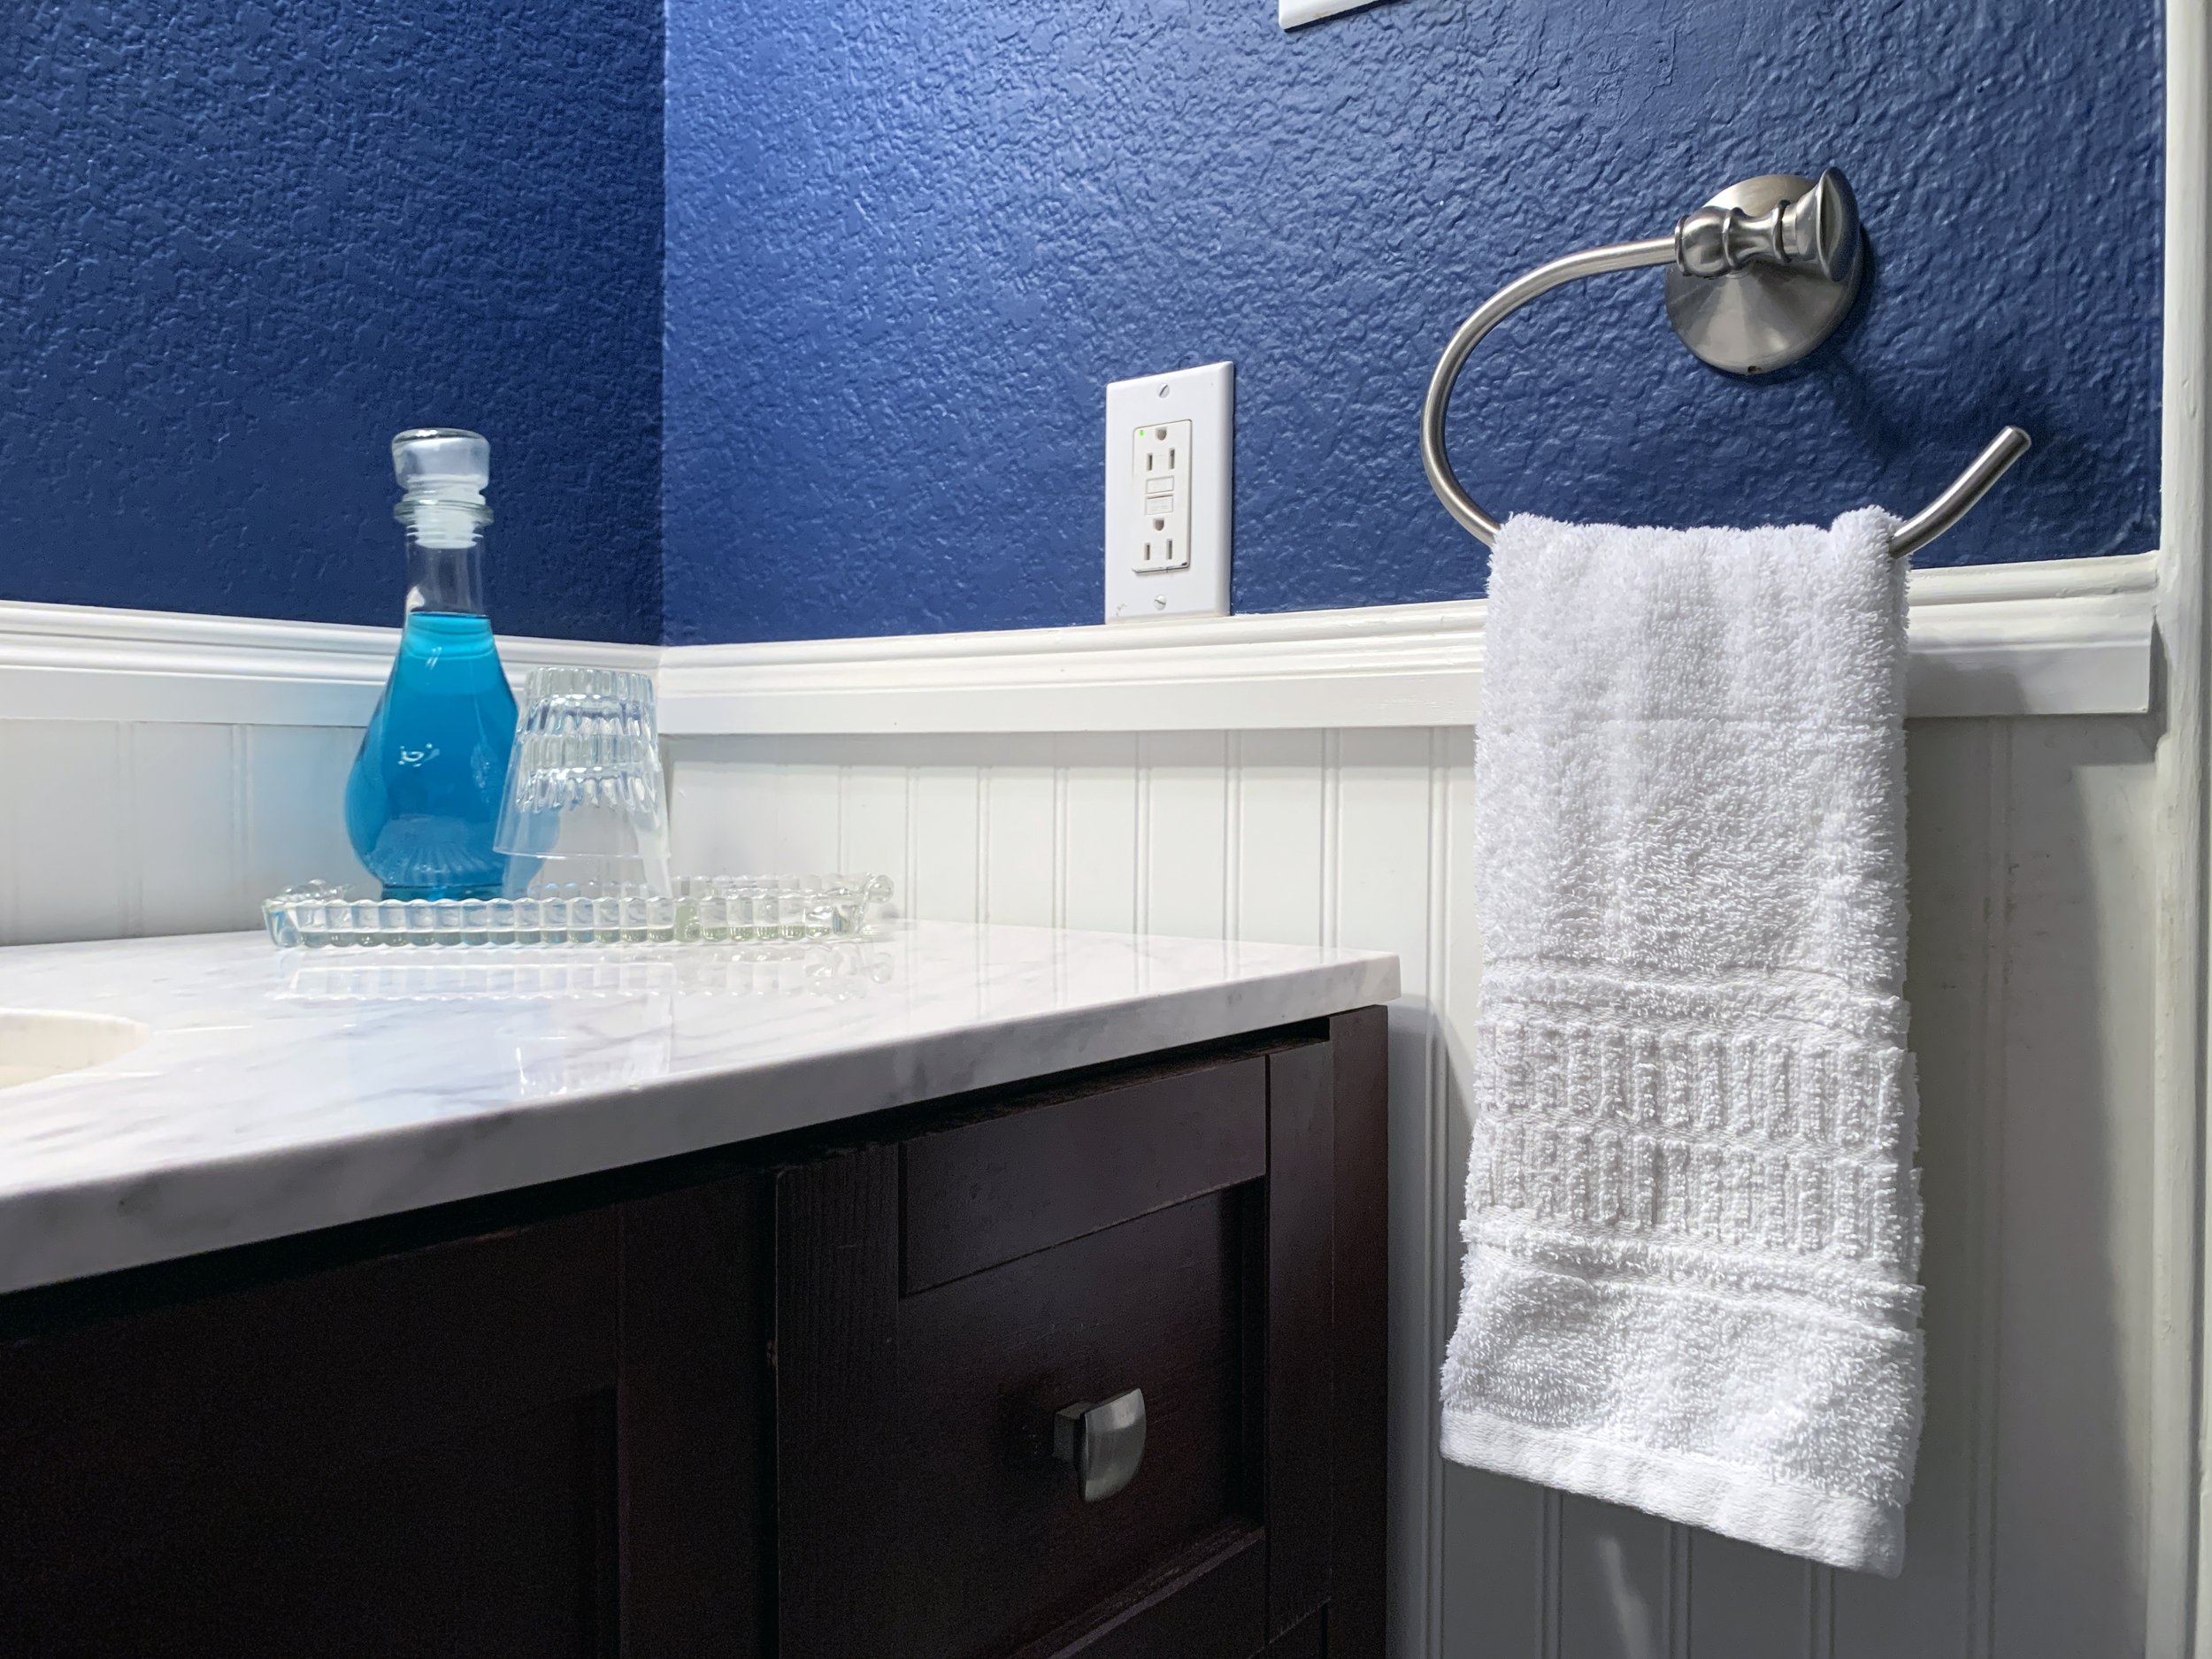
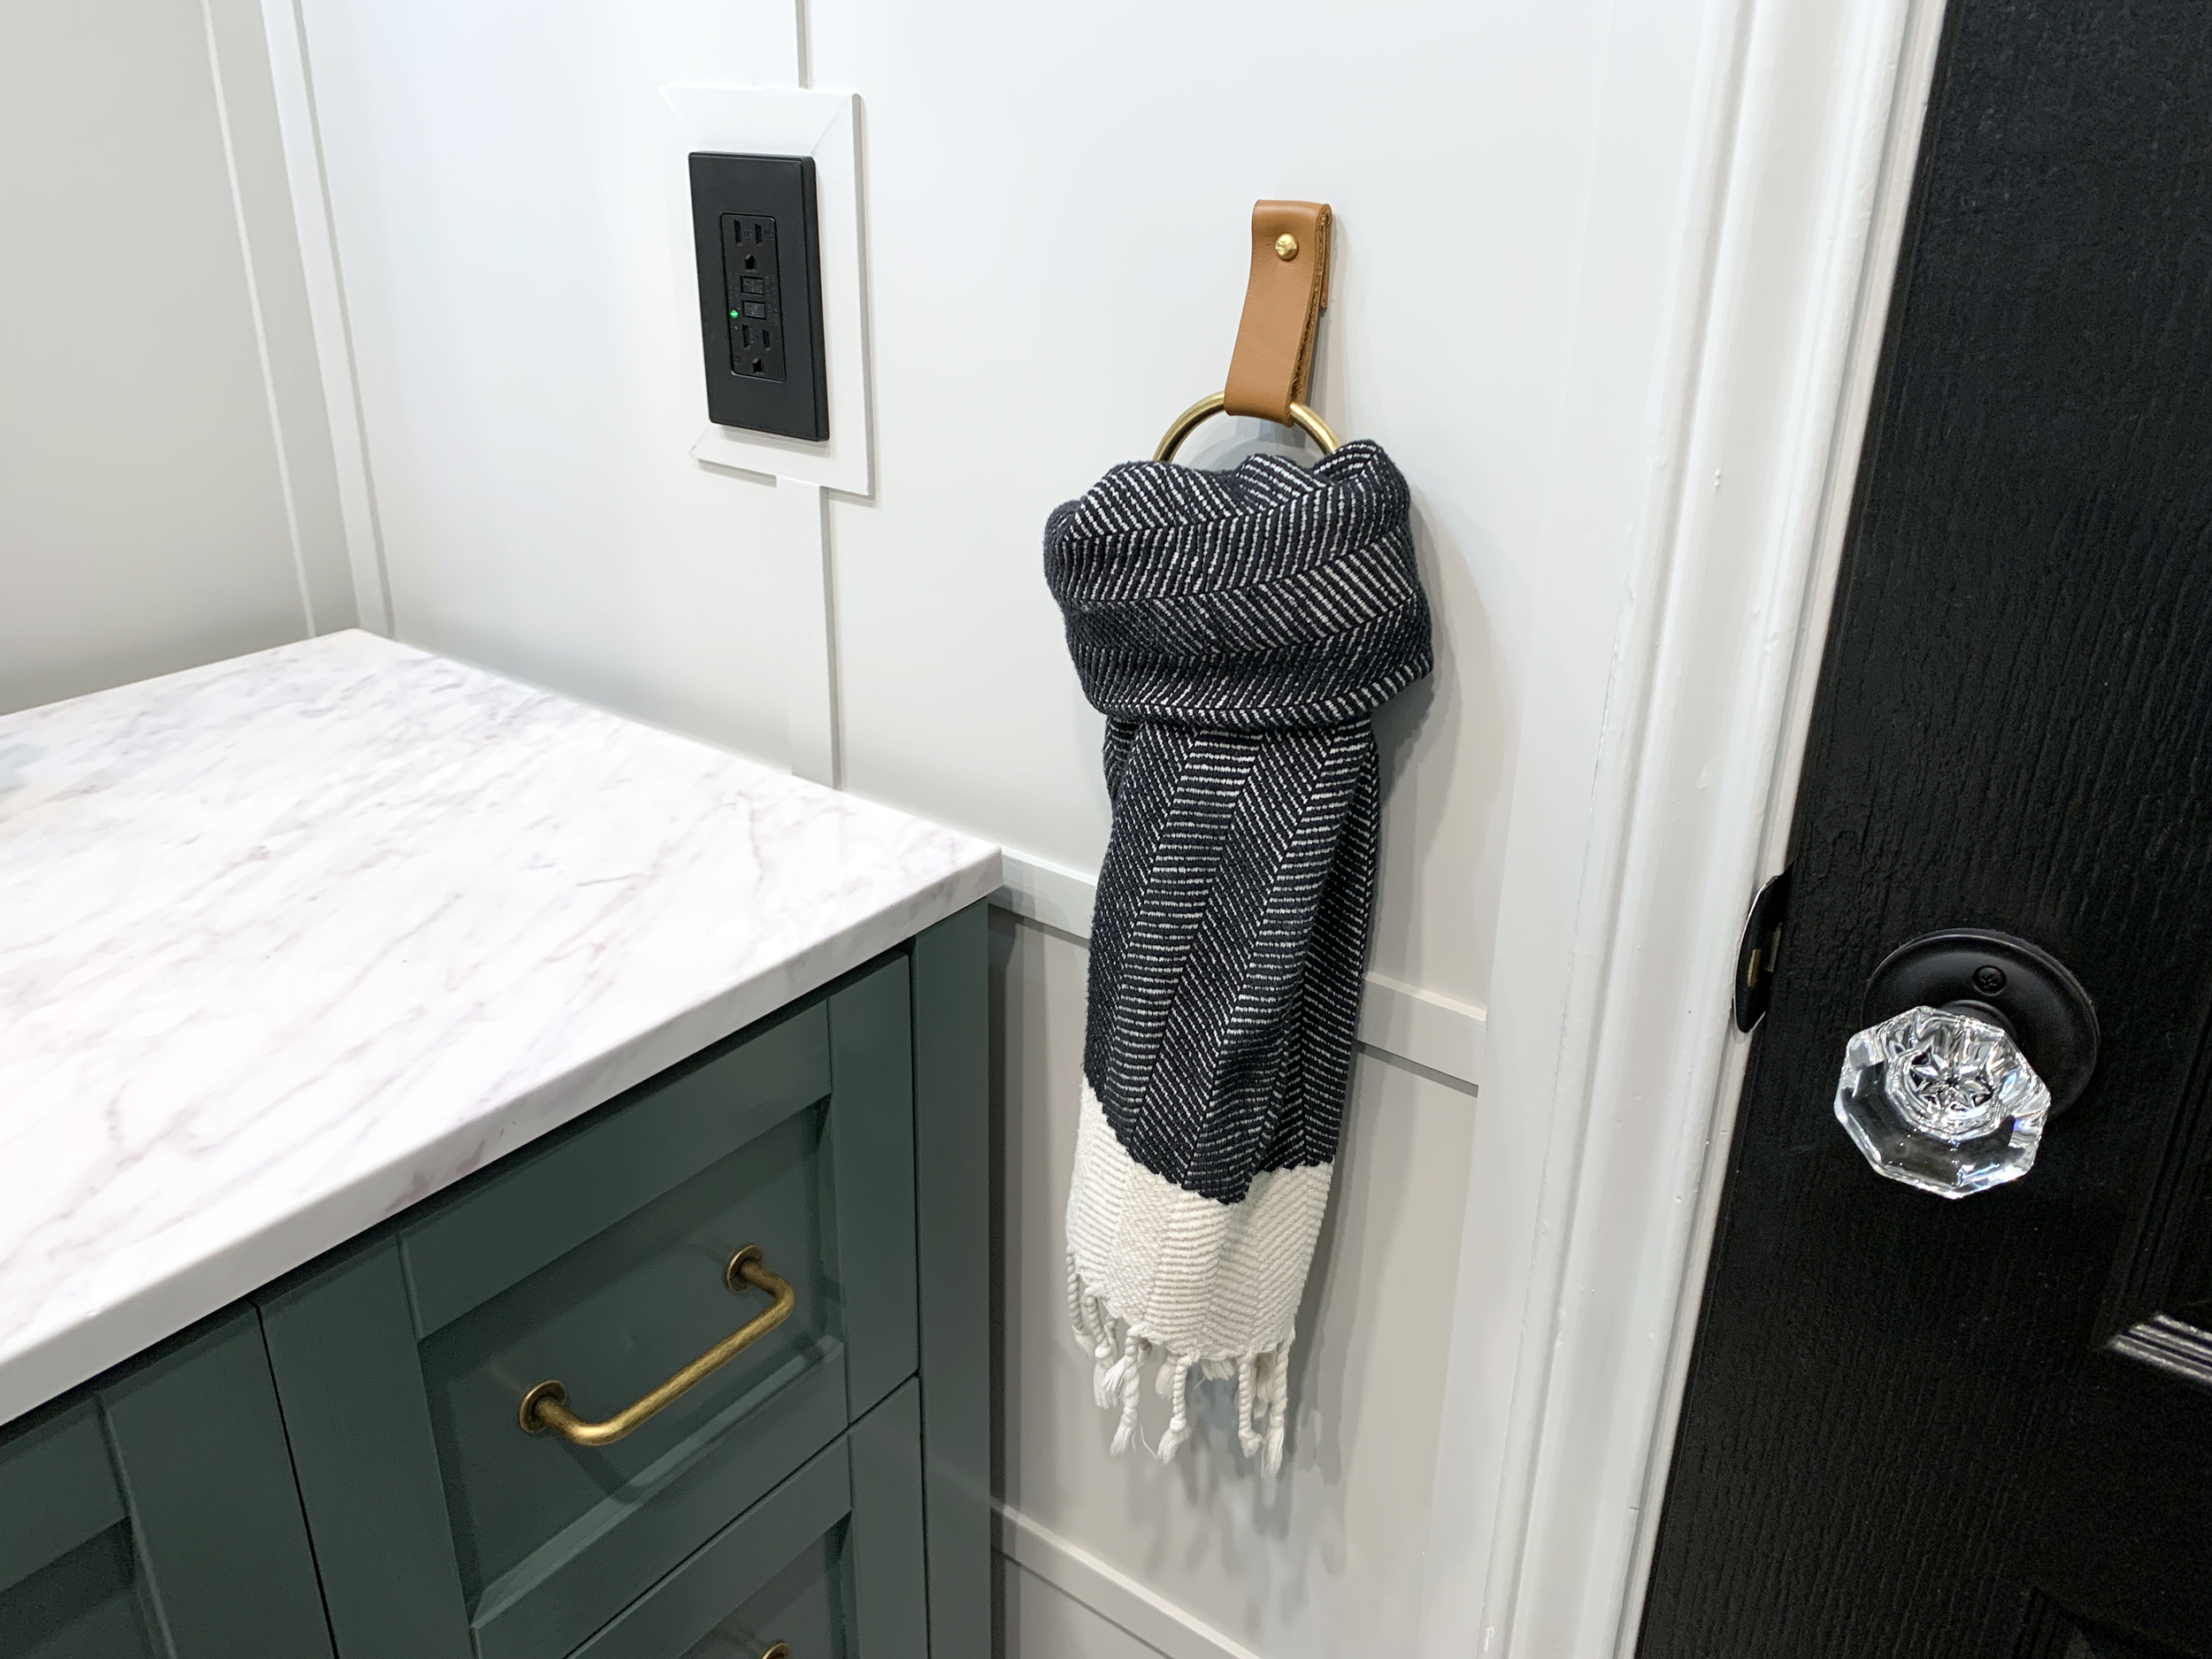
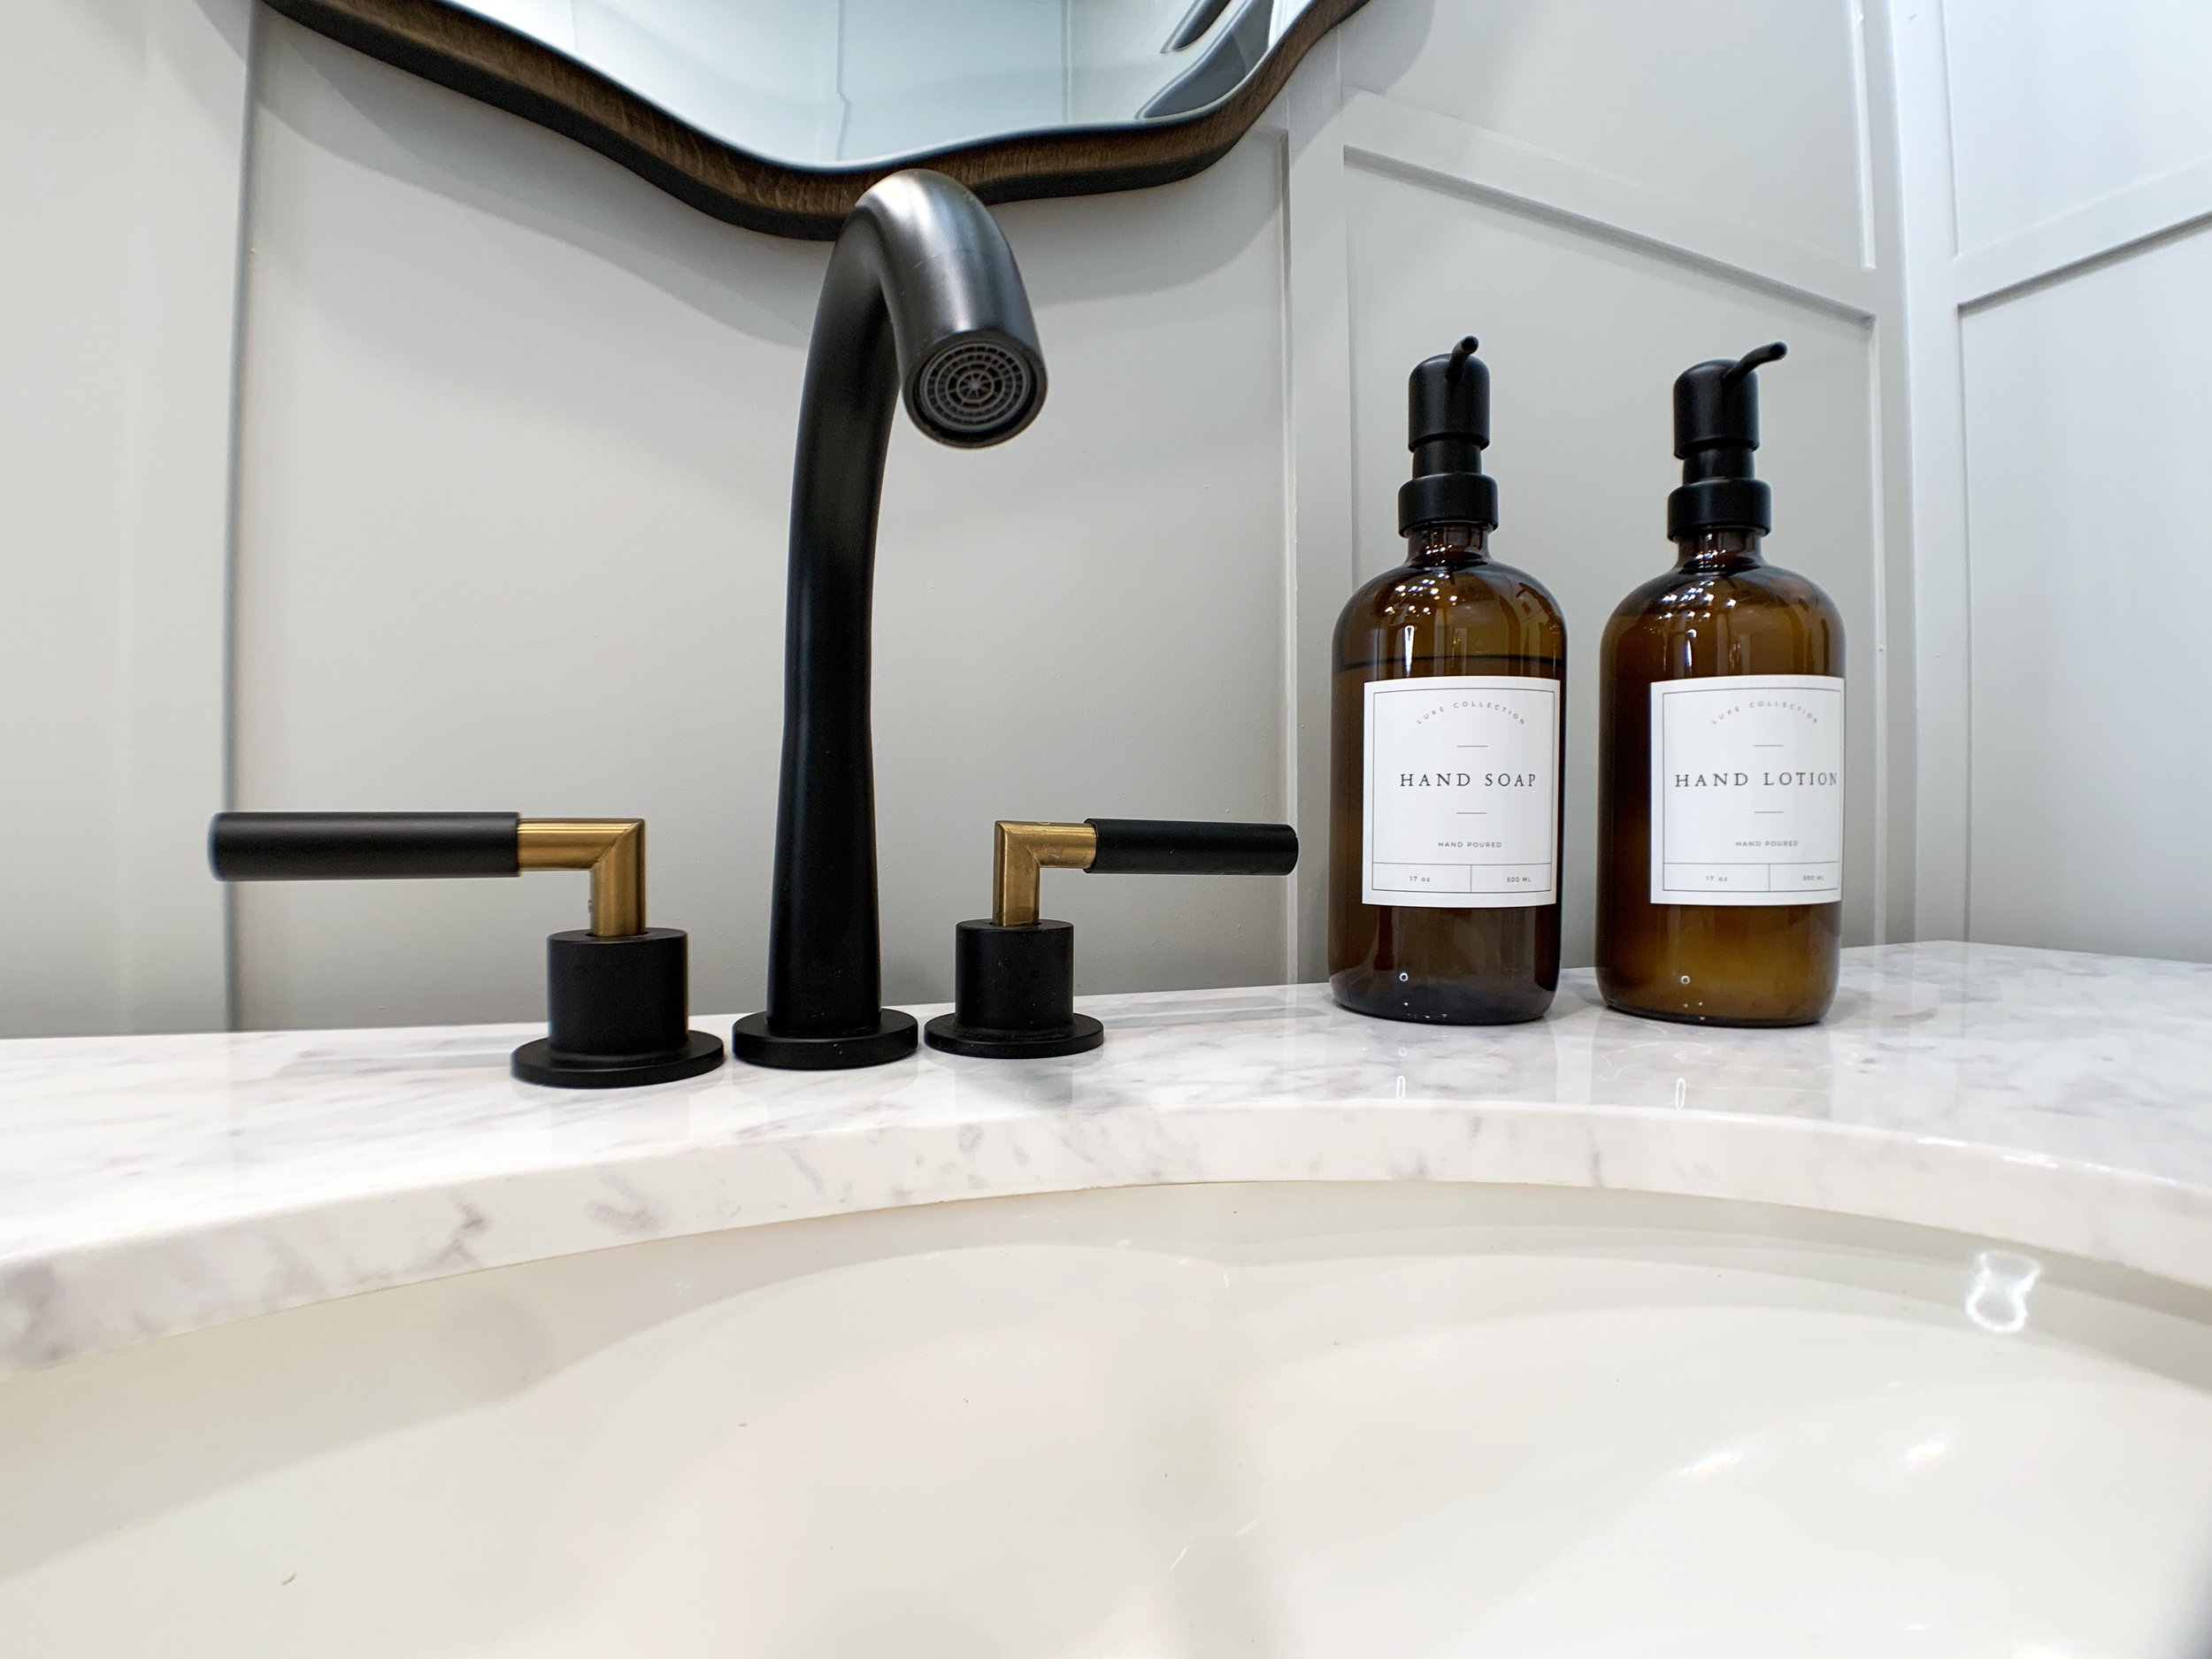
I’m so pleased I was able to rehab the existing vanity with some paint, new aged brass hardware and mixed metal faucet.


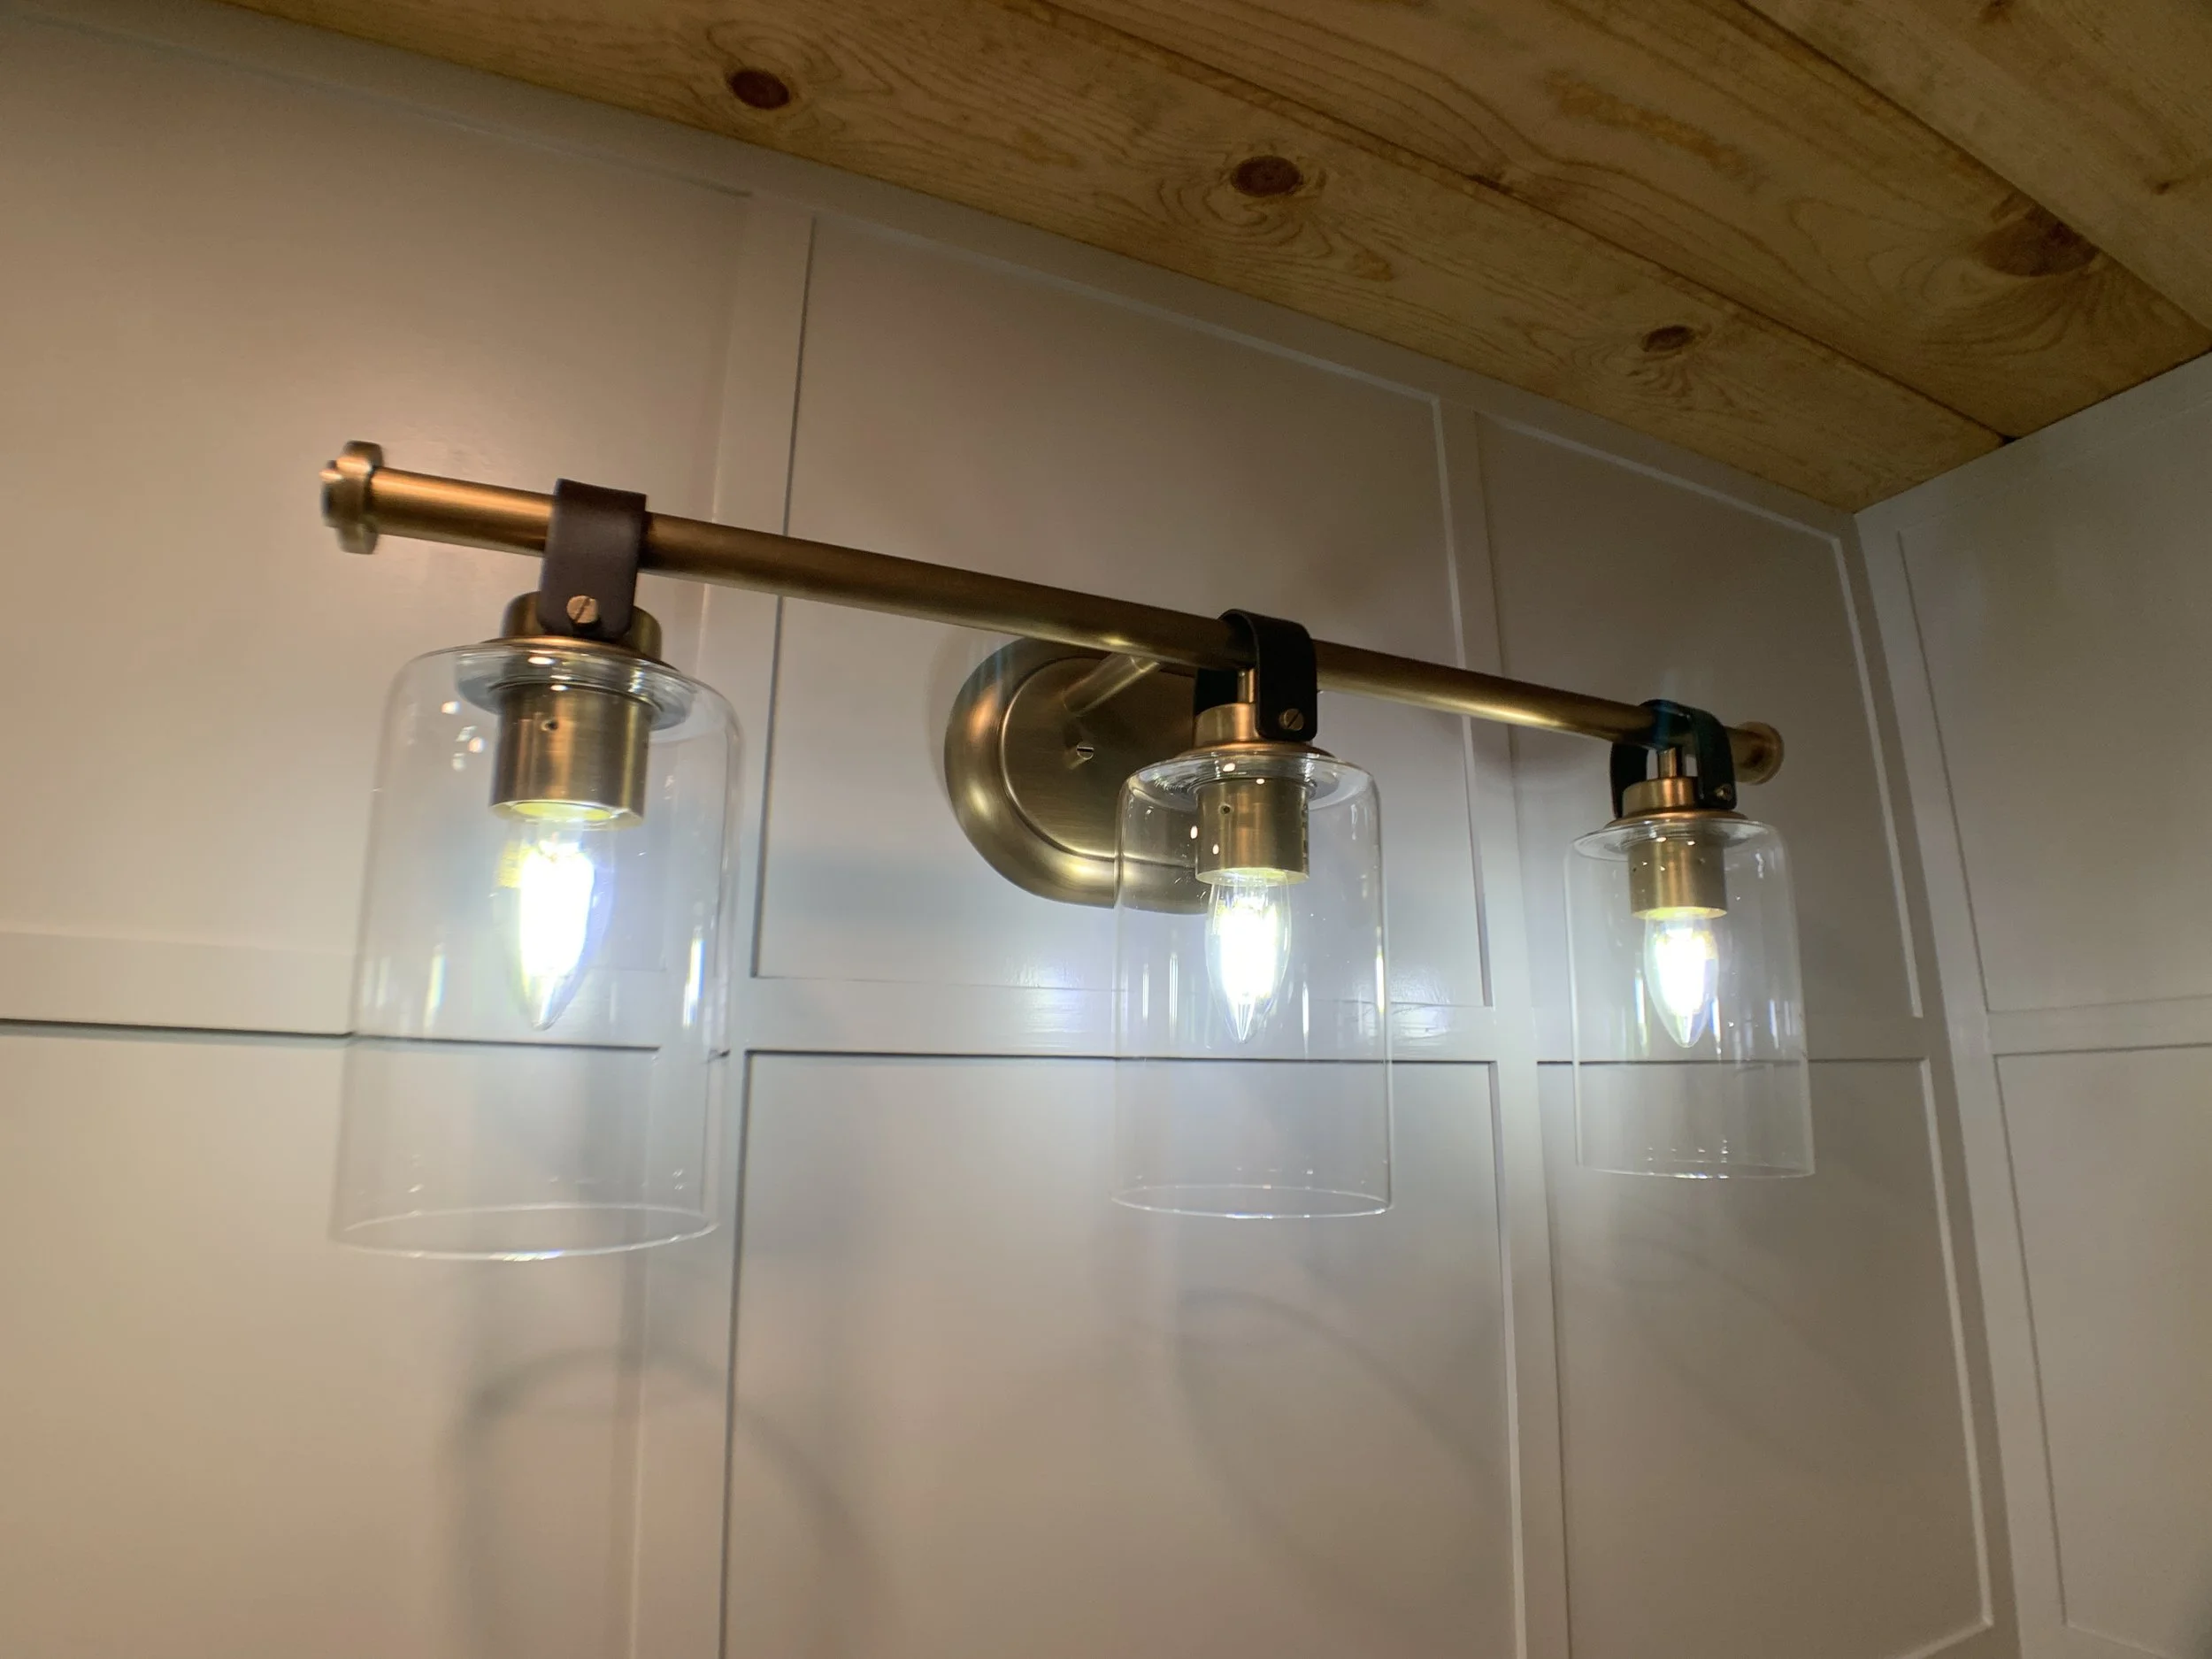
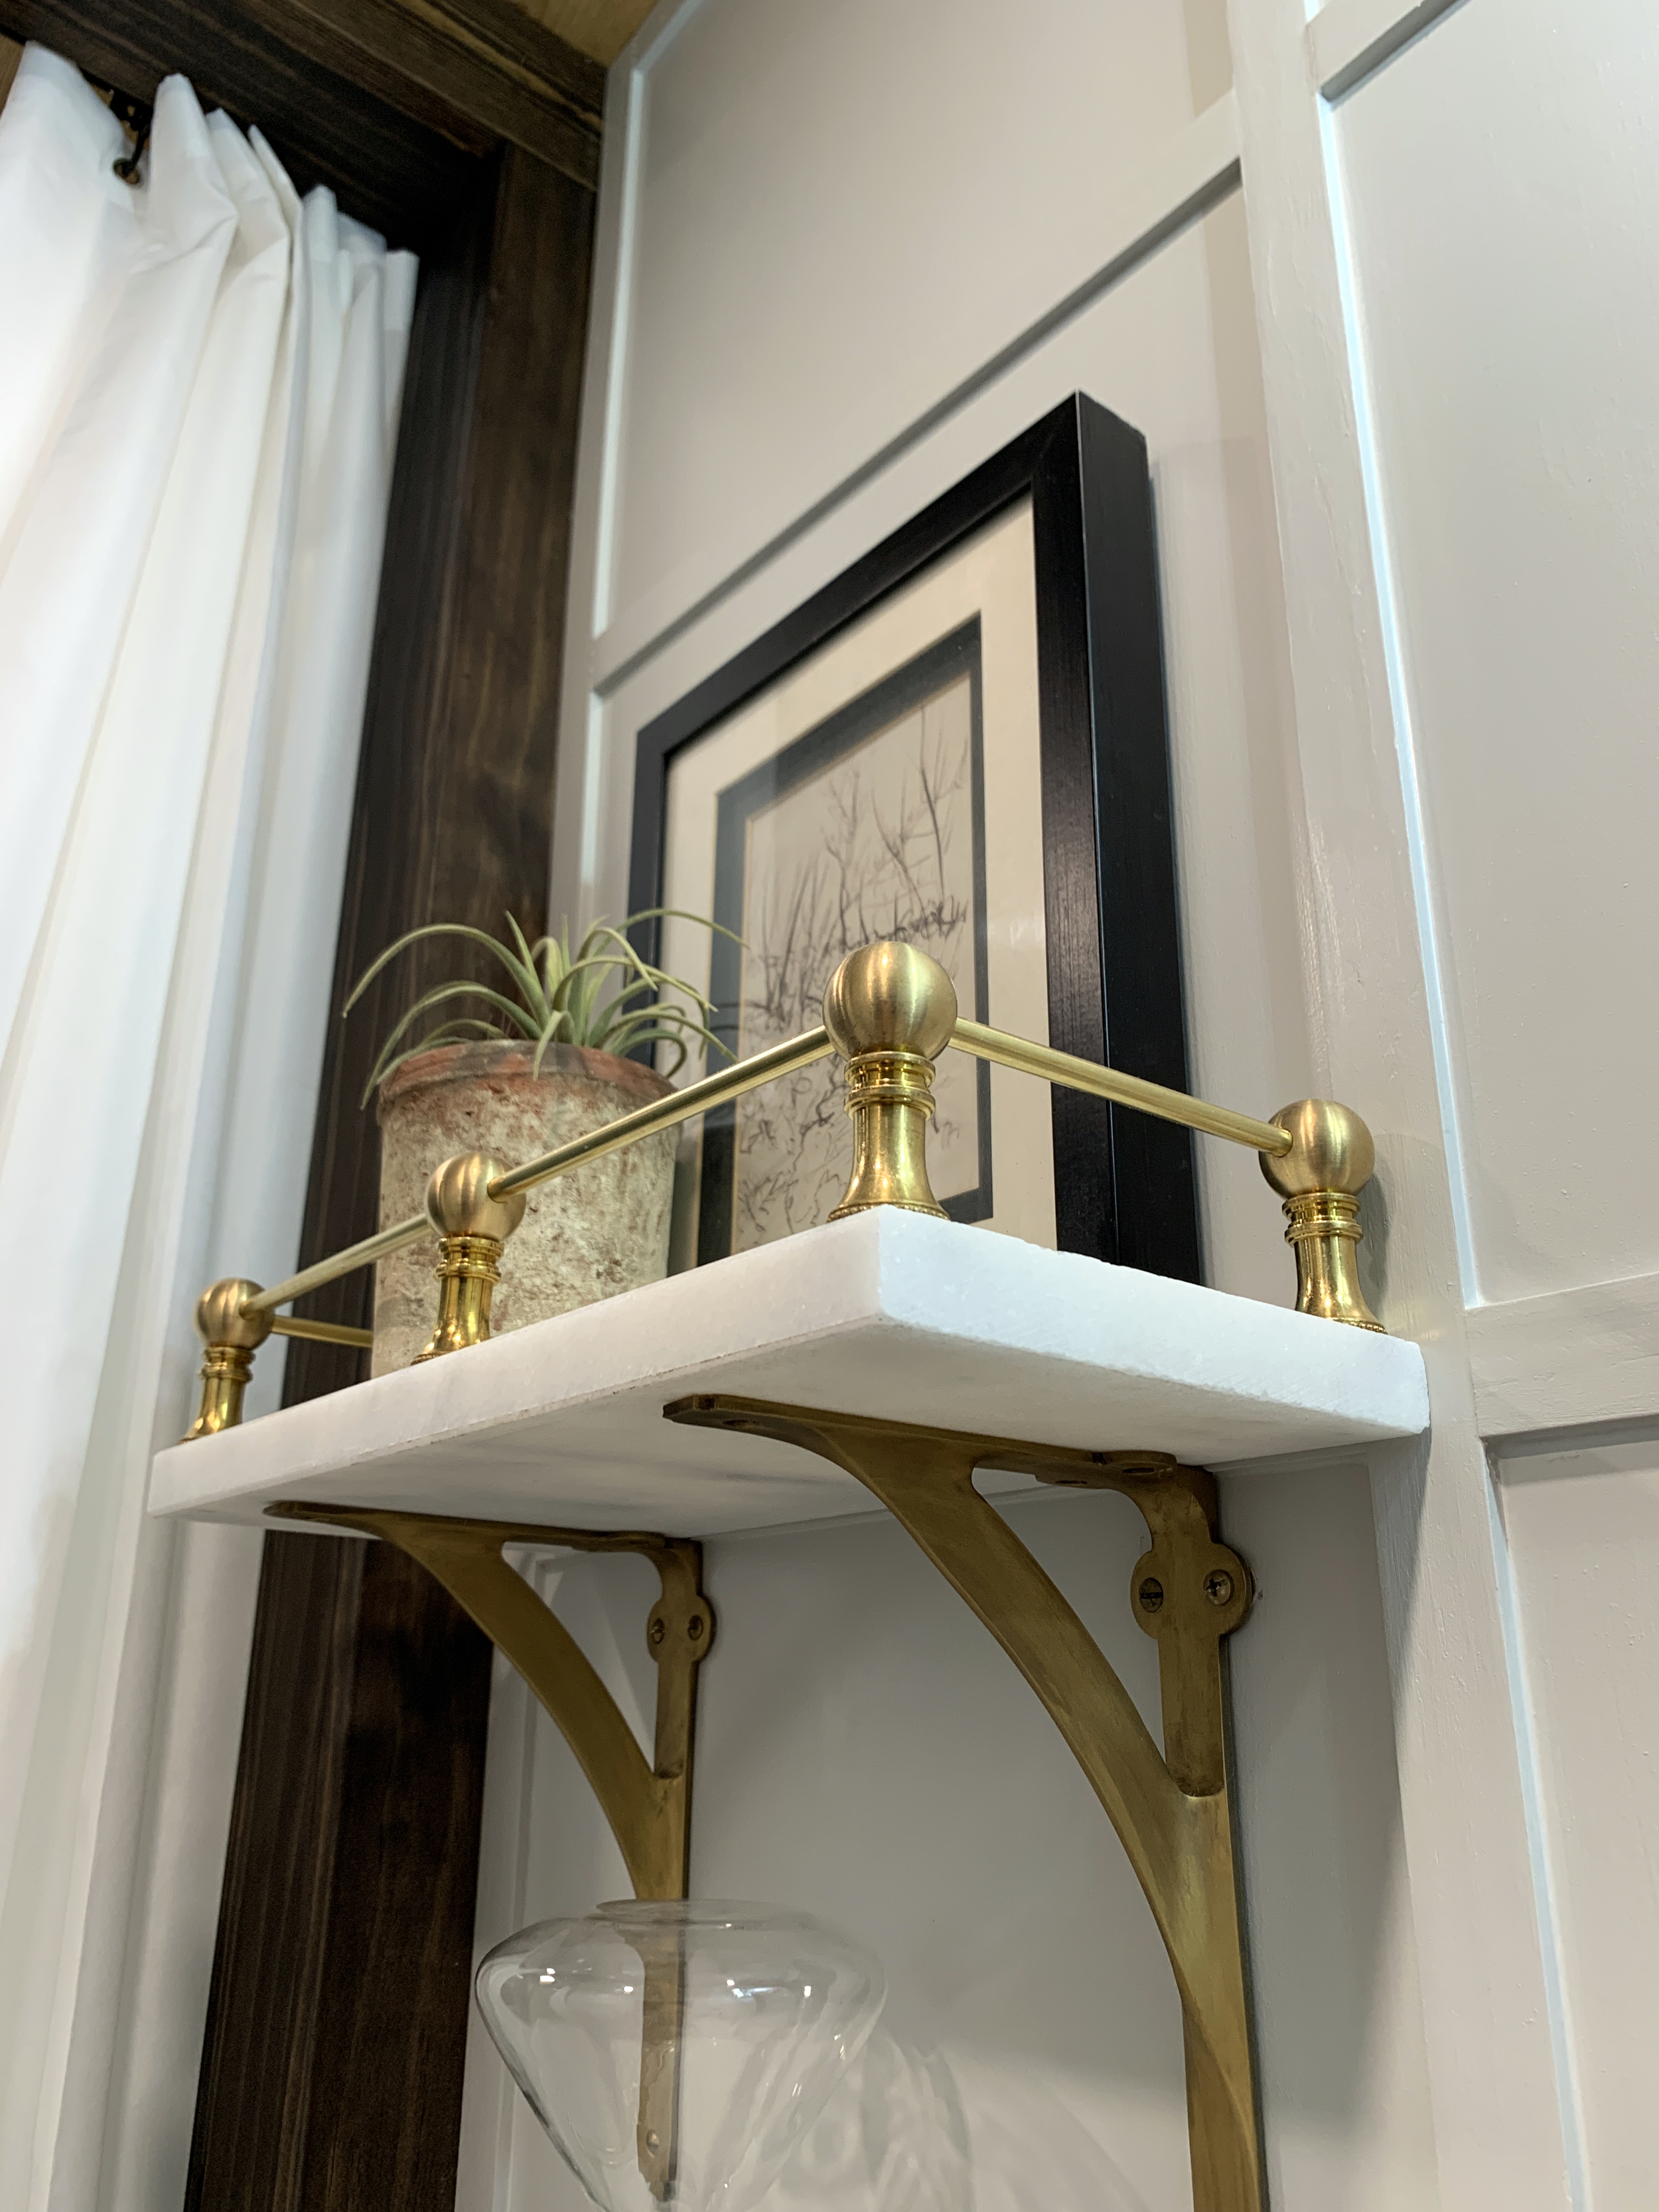
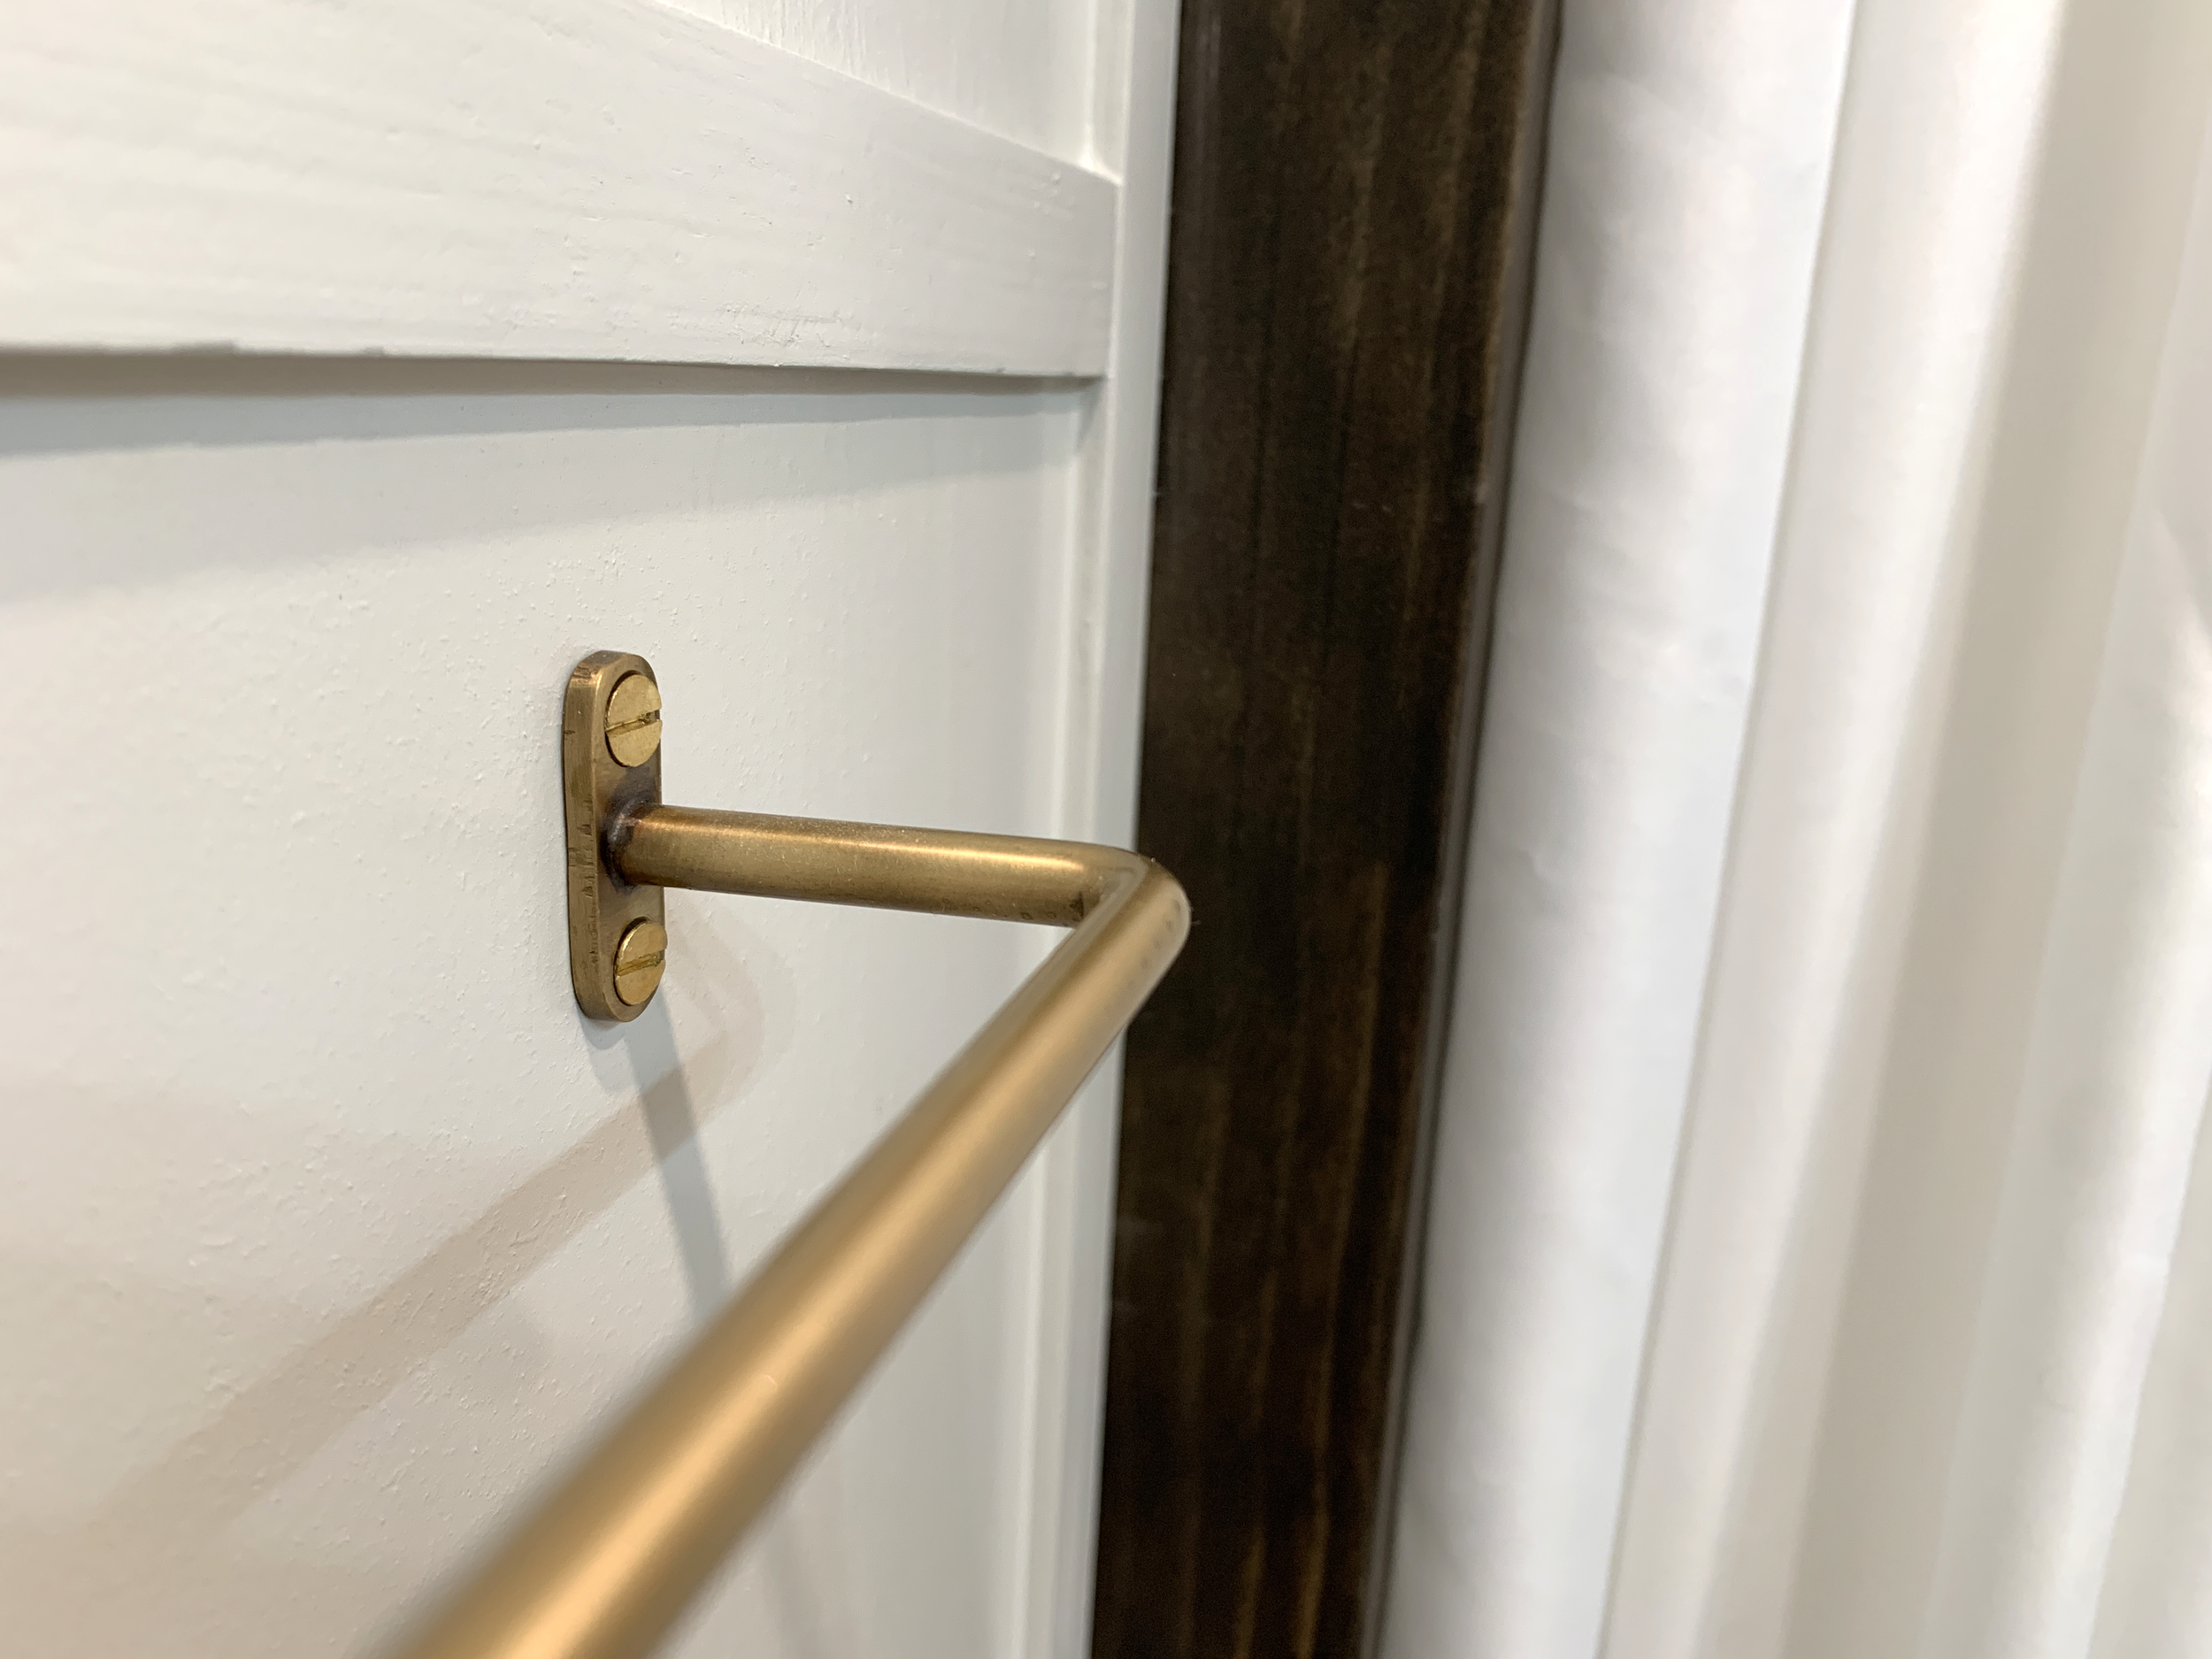
All the small things – like the DIY brass and marble shelves, amber soap bottles, vanity light with leather-looking strapping detail, our stained scrap-wood makeover mirror with black edges, and a minimal unique towel bar – help push the design over the edge.
And you know how much I love any time I can combine form and function, like with our new custom shower niche – framed out in matte black metal trim and accented with a Carrara marble sill – that lines up perfectly with our wall of tile.
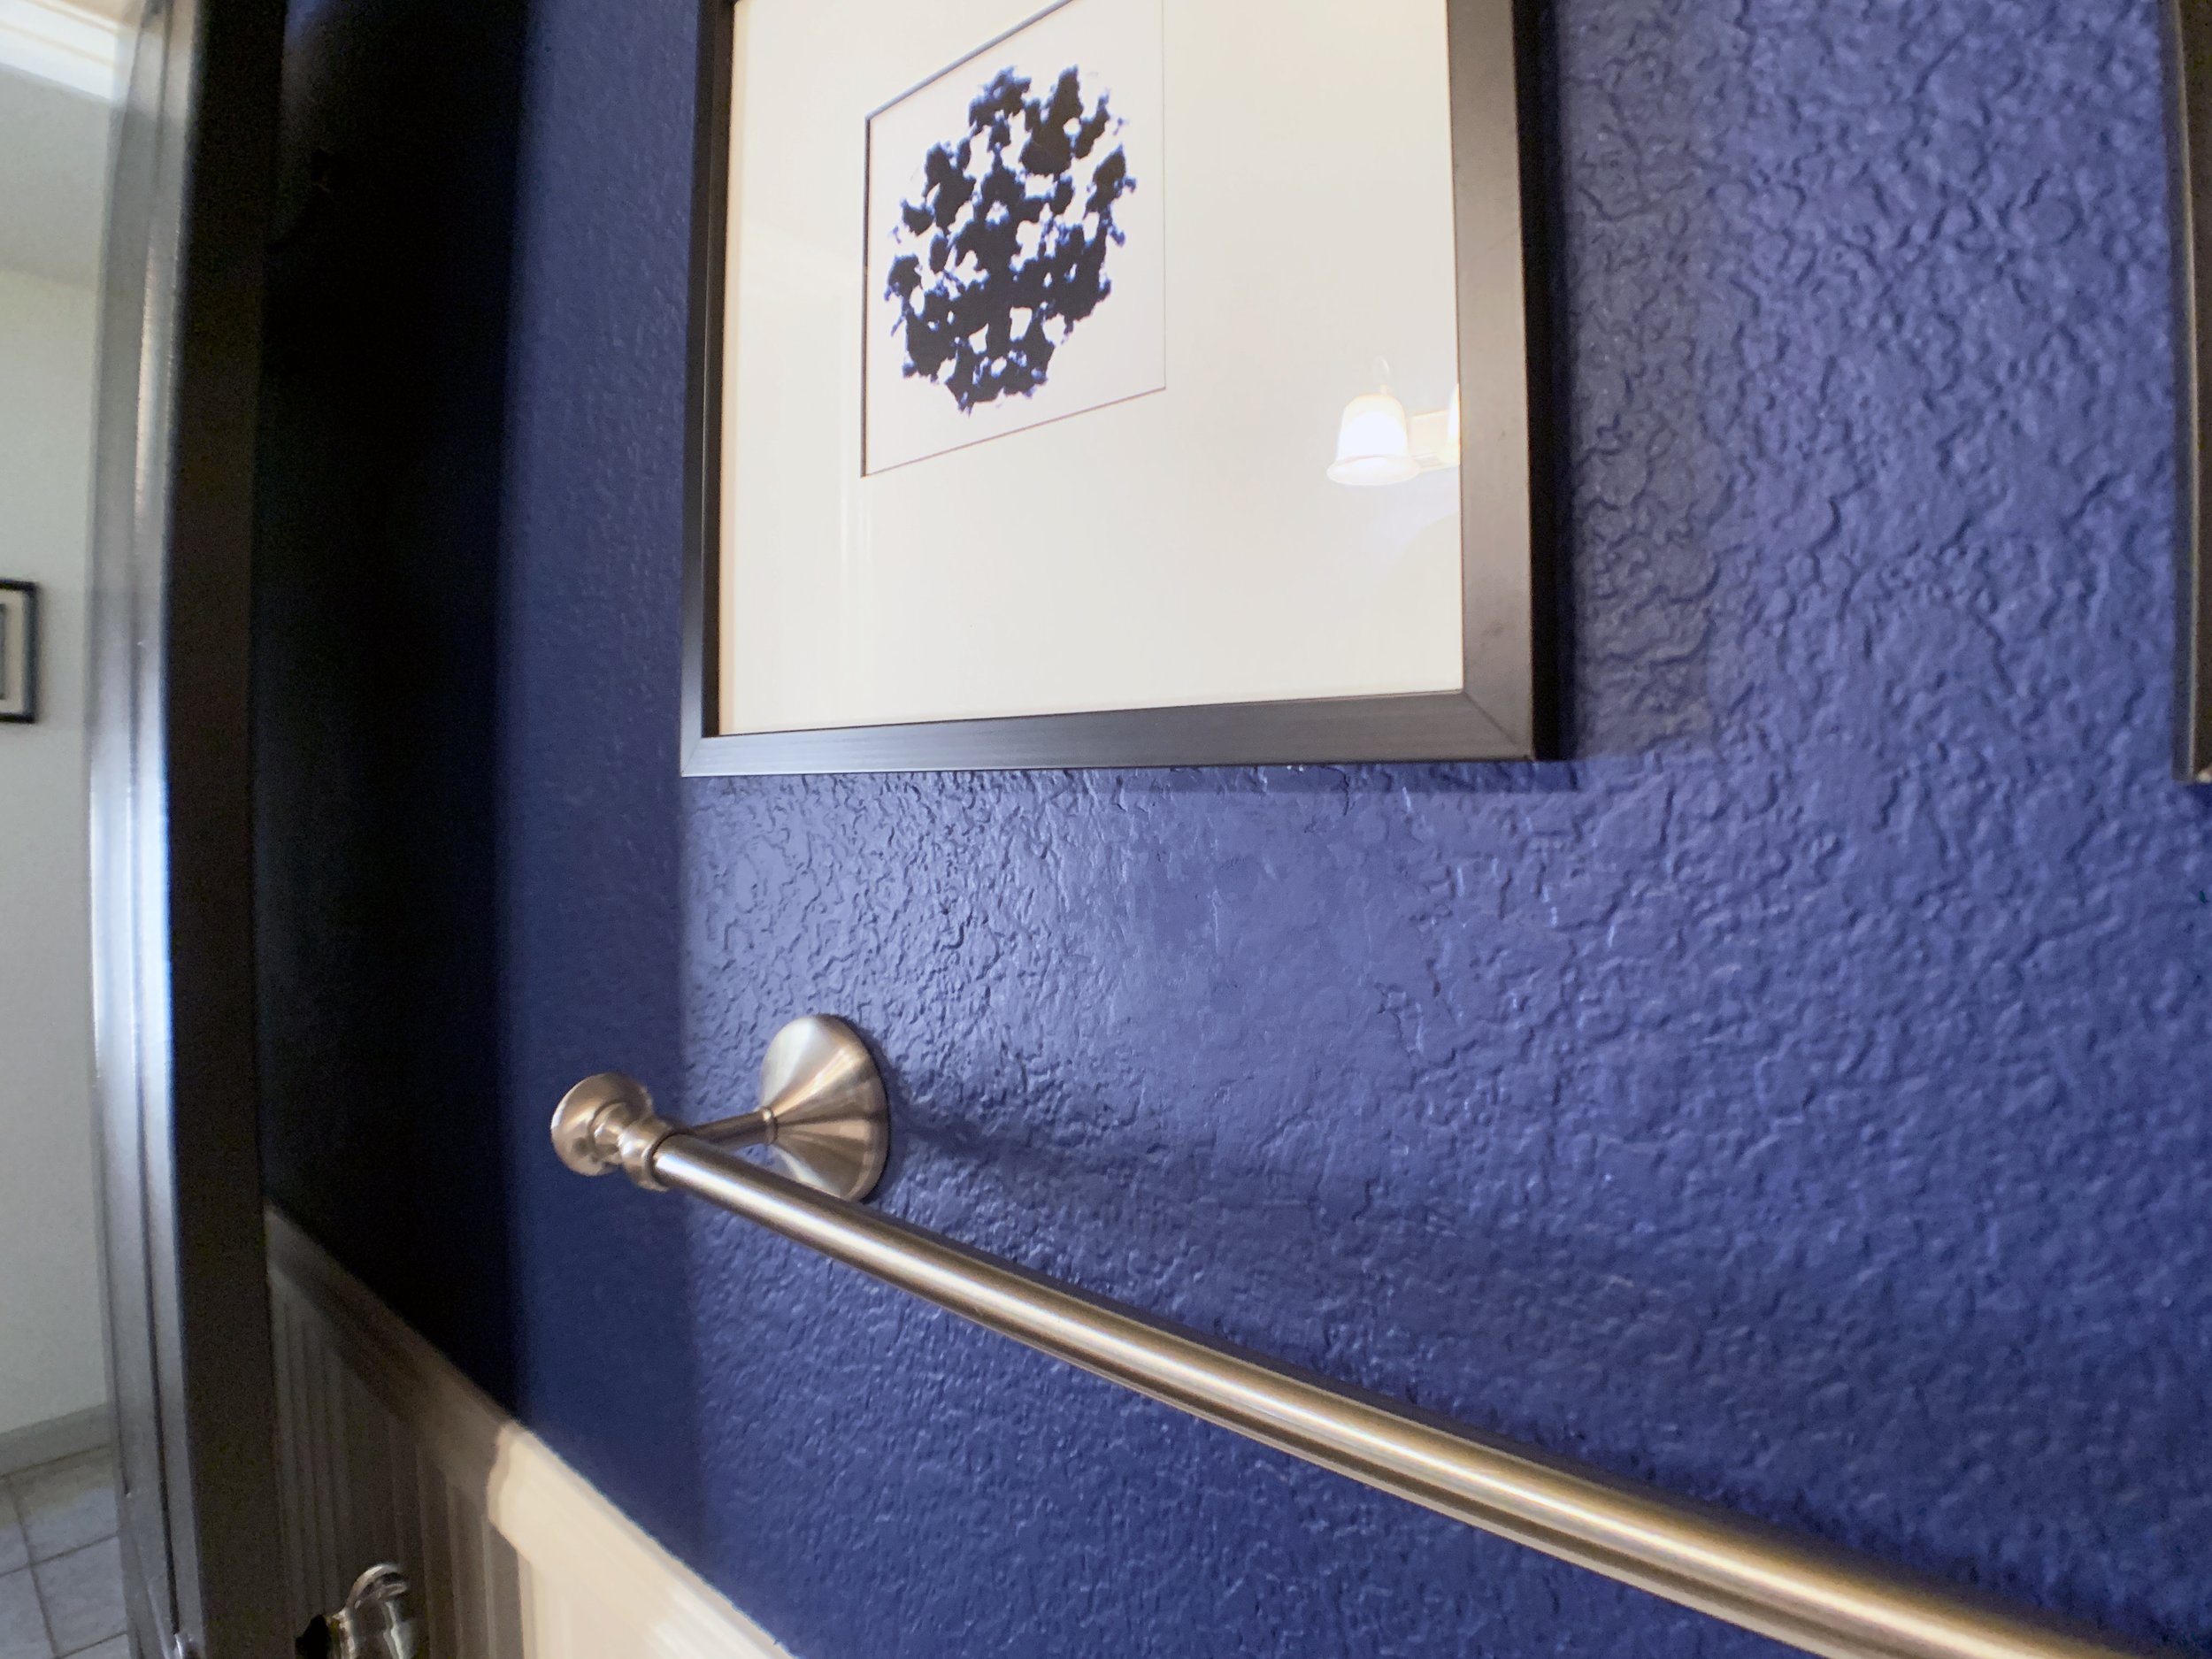
While the room is basically done and we are very much enjoying it, I am still on the lookout for the perfect piece(s) of art to go on the wall above the towel rack.
Update:
Since our original reveal, we’ve found and hung art (and added waffle knit shower curtains)!

Framed in a mix of metal and wood frames, we created a little 3-piece collection above our brass towel rack.
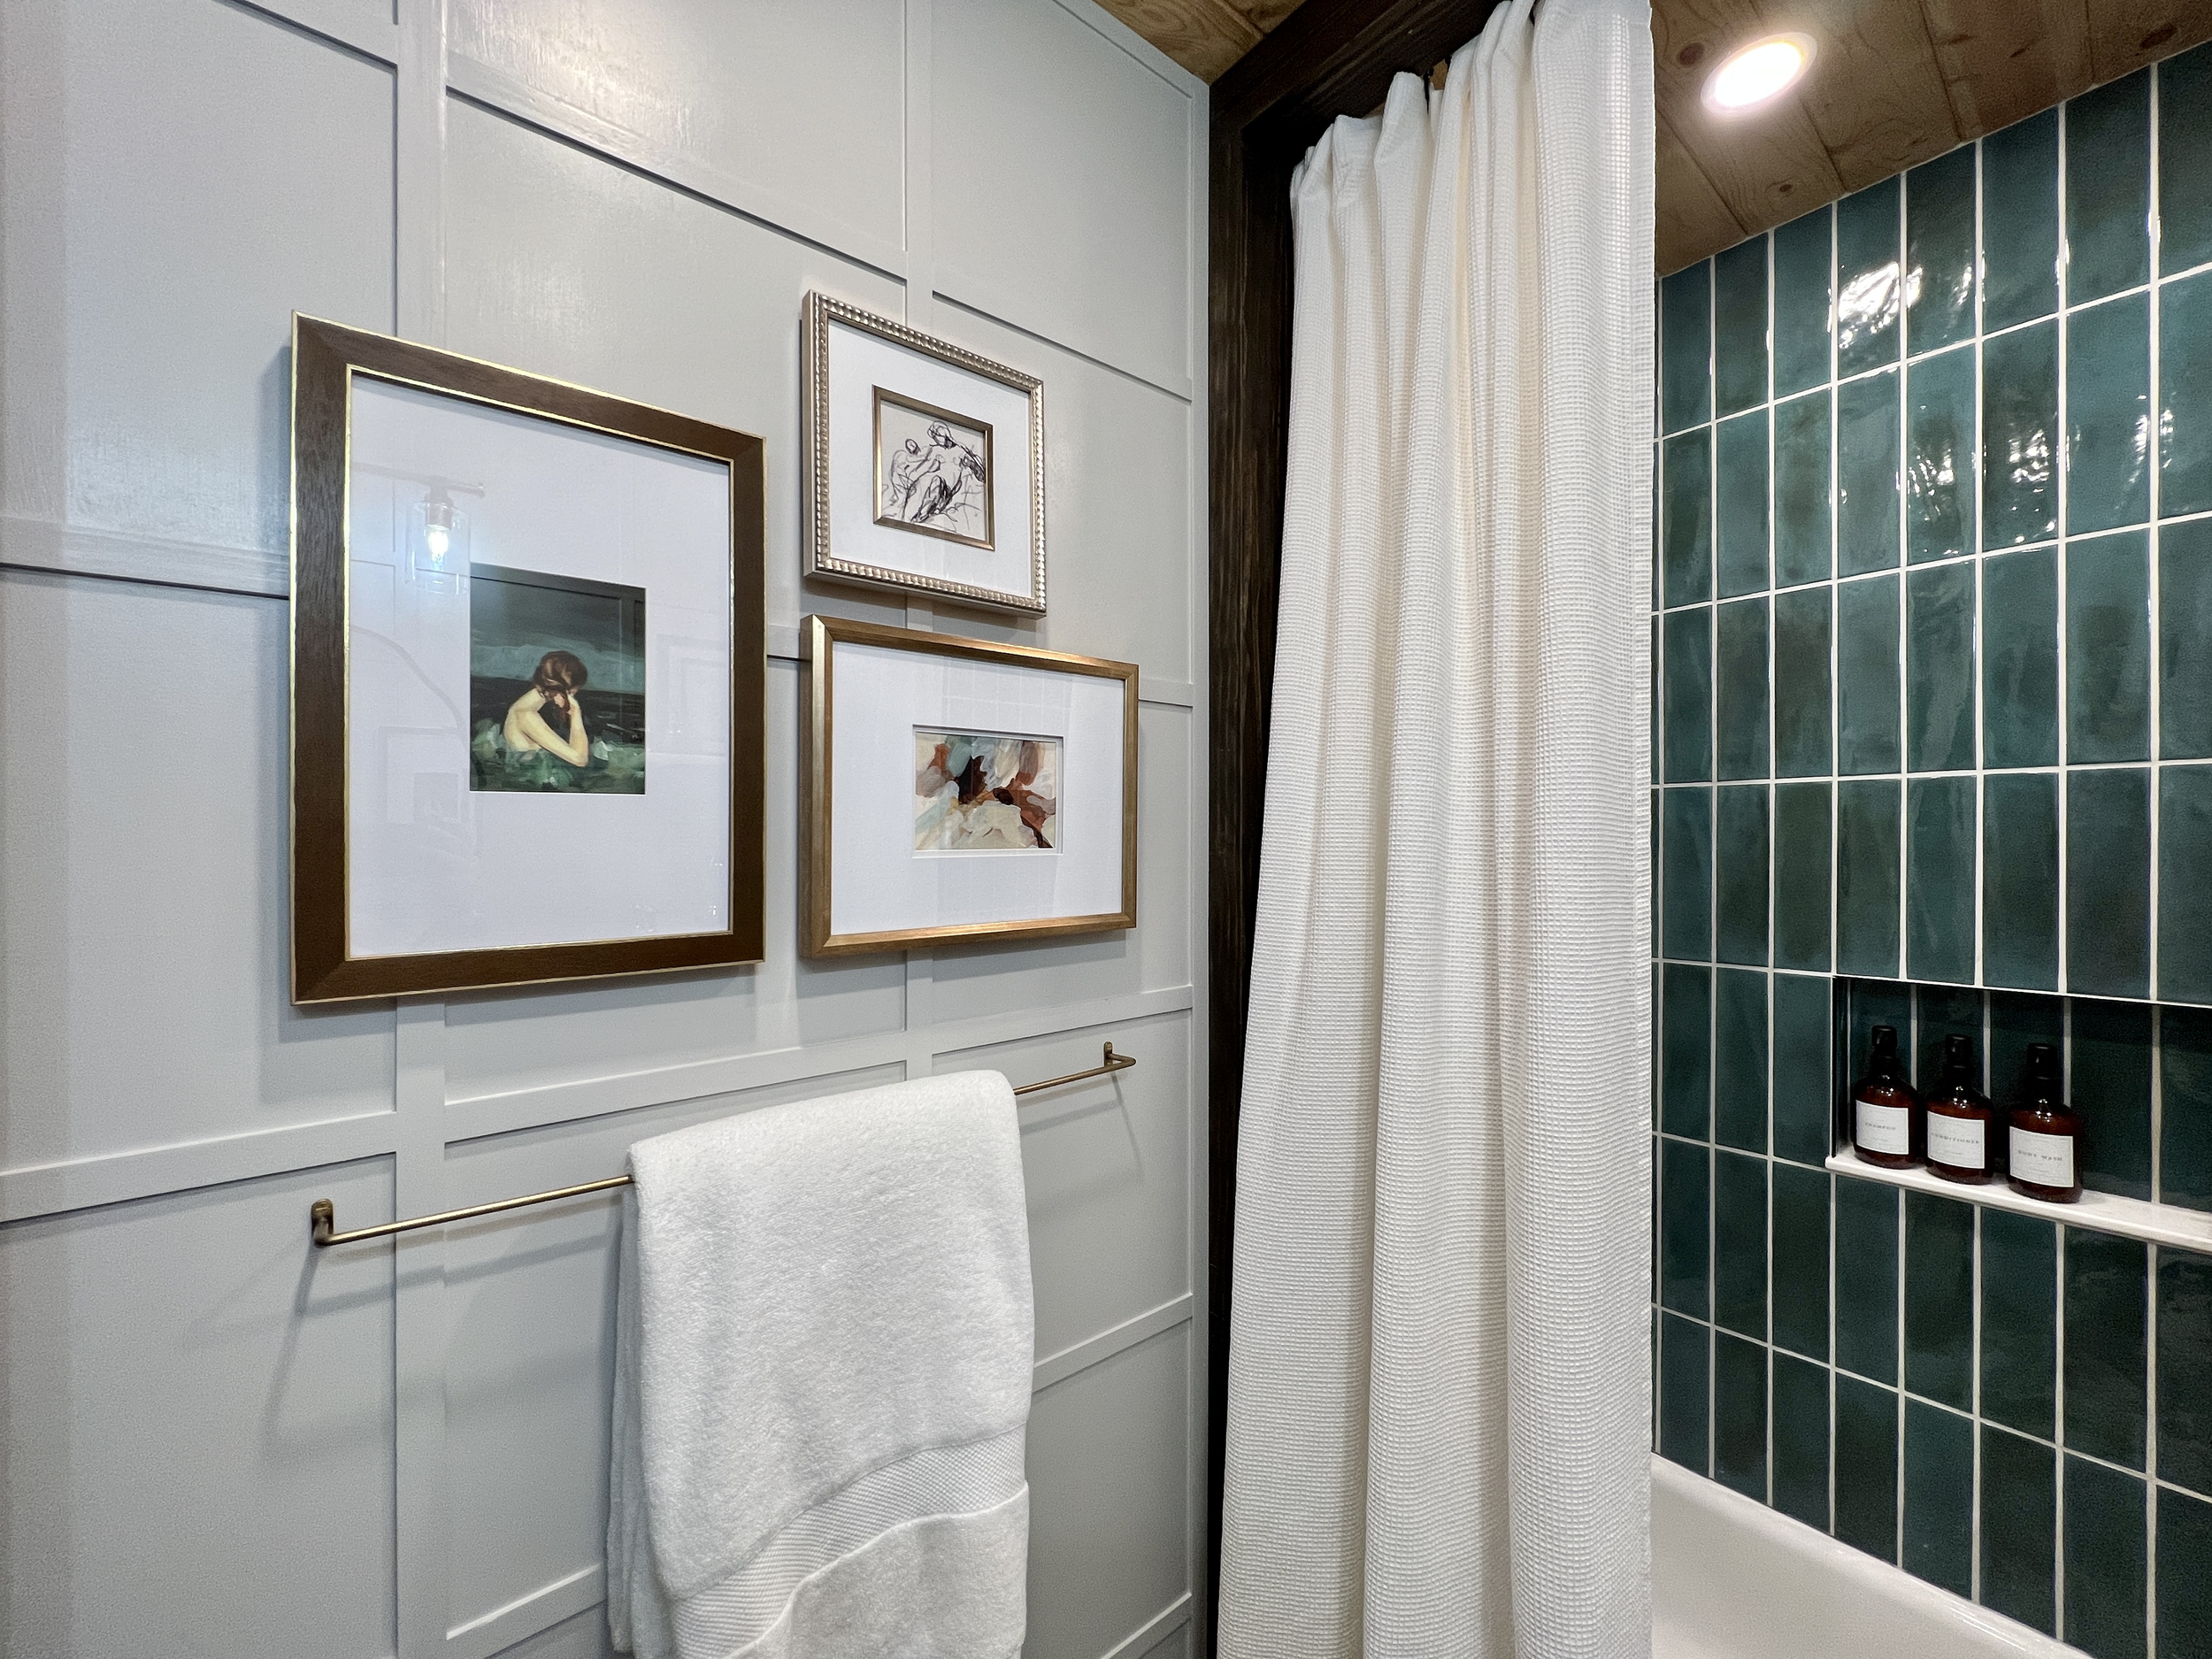
I love how the warm dark wood frame with gold accent helps tie the collection into the wood tones of the beam + columns, as well as our DIY mirror frame across the room. Mixing different frames in tones of varied warm metals helps it feel cozy and curated.
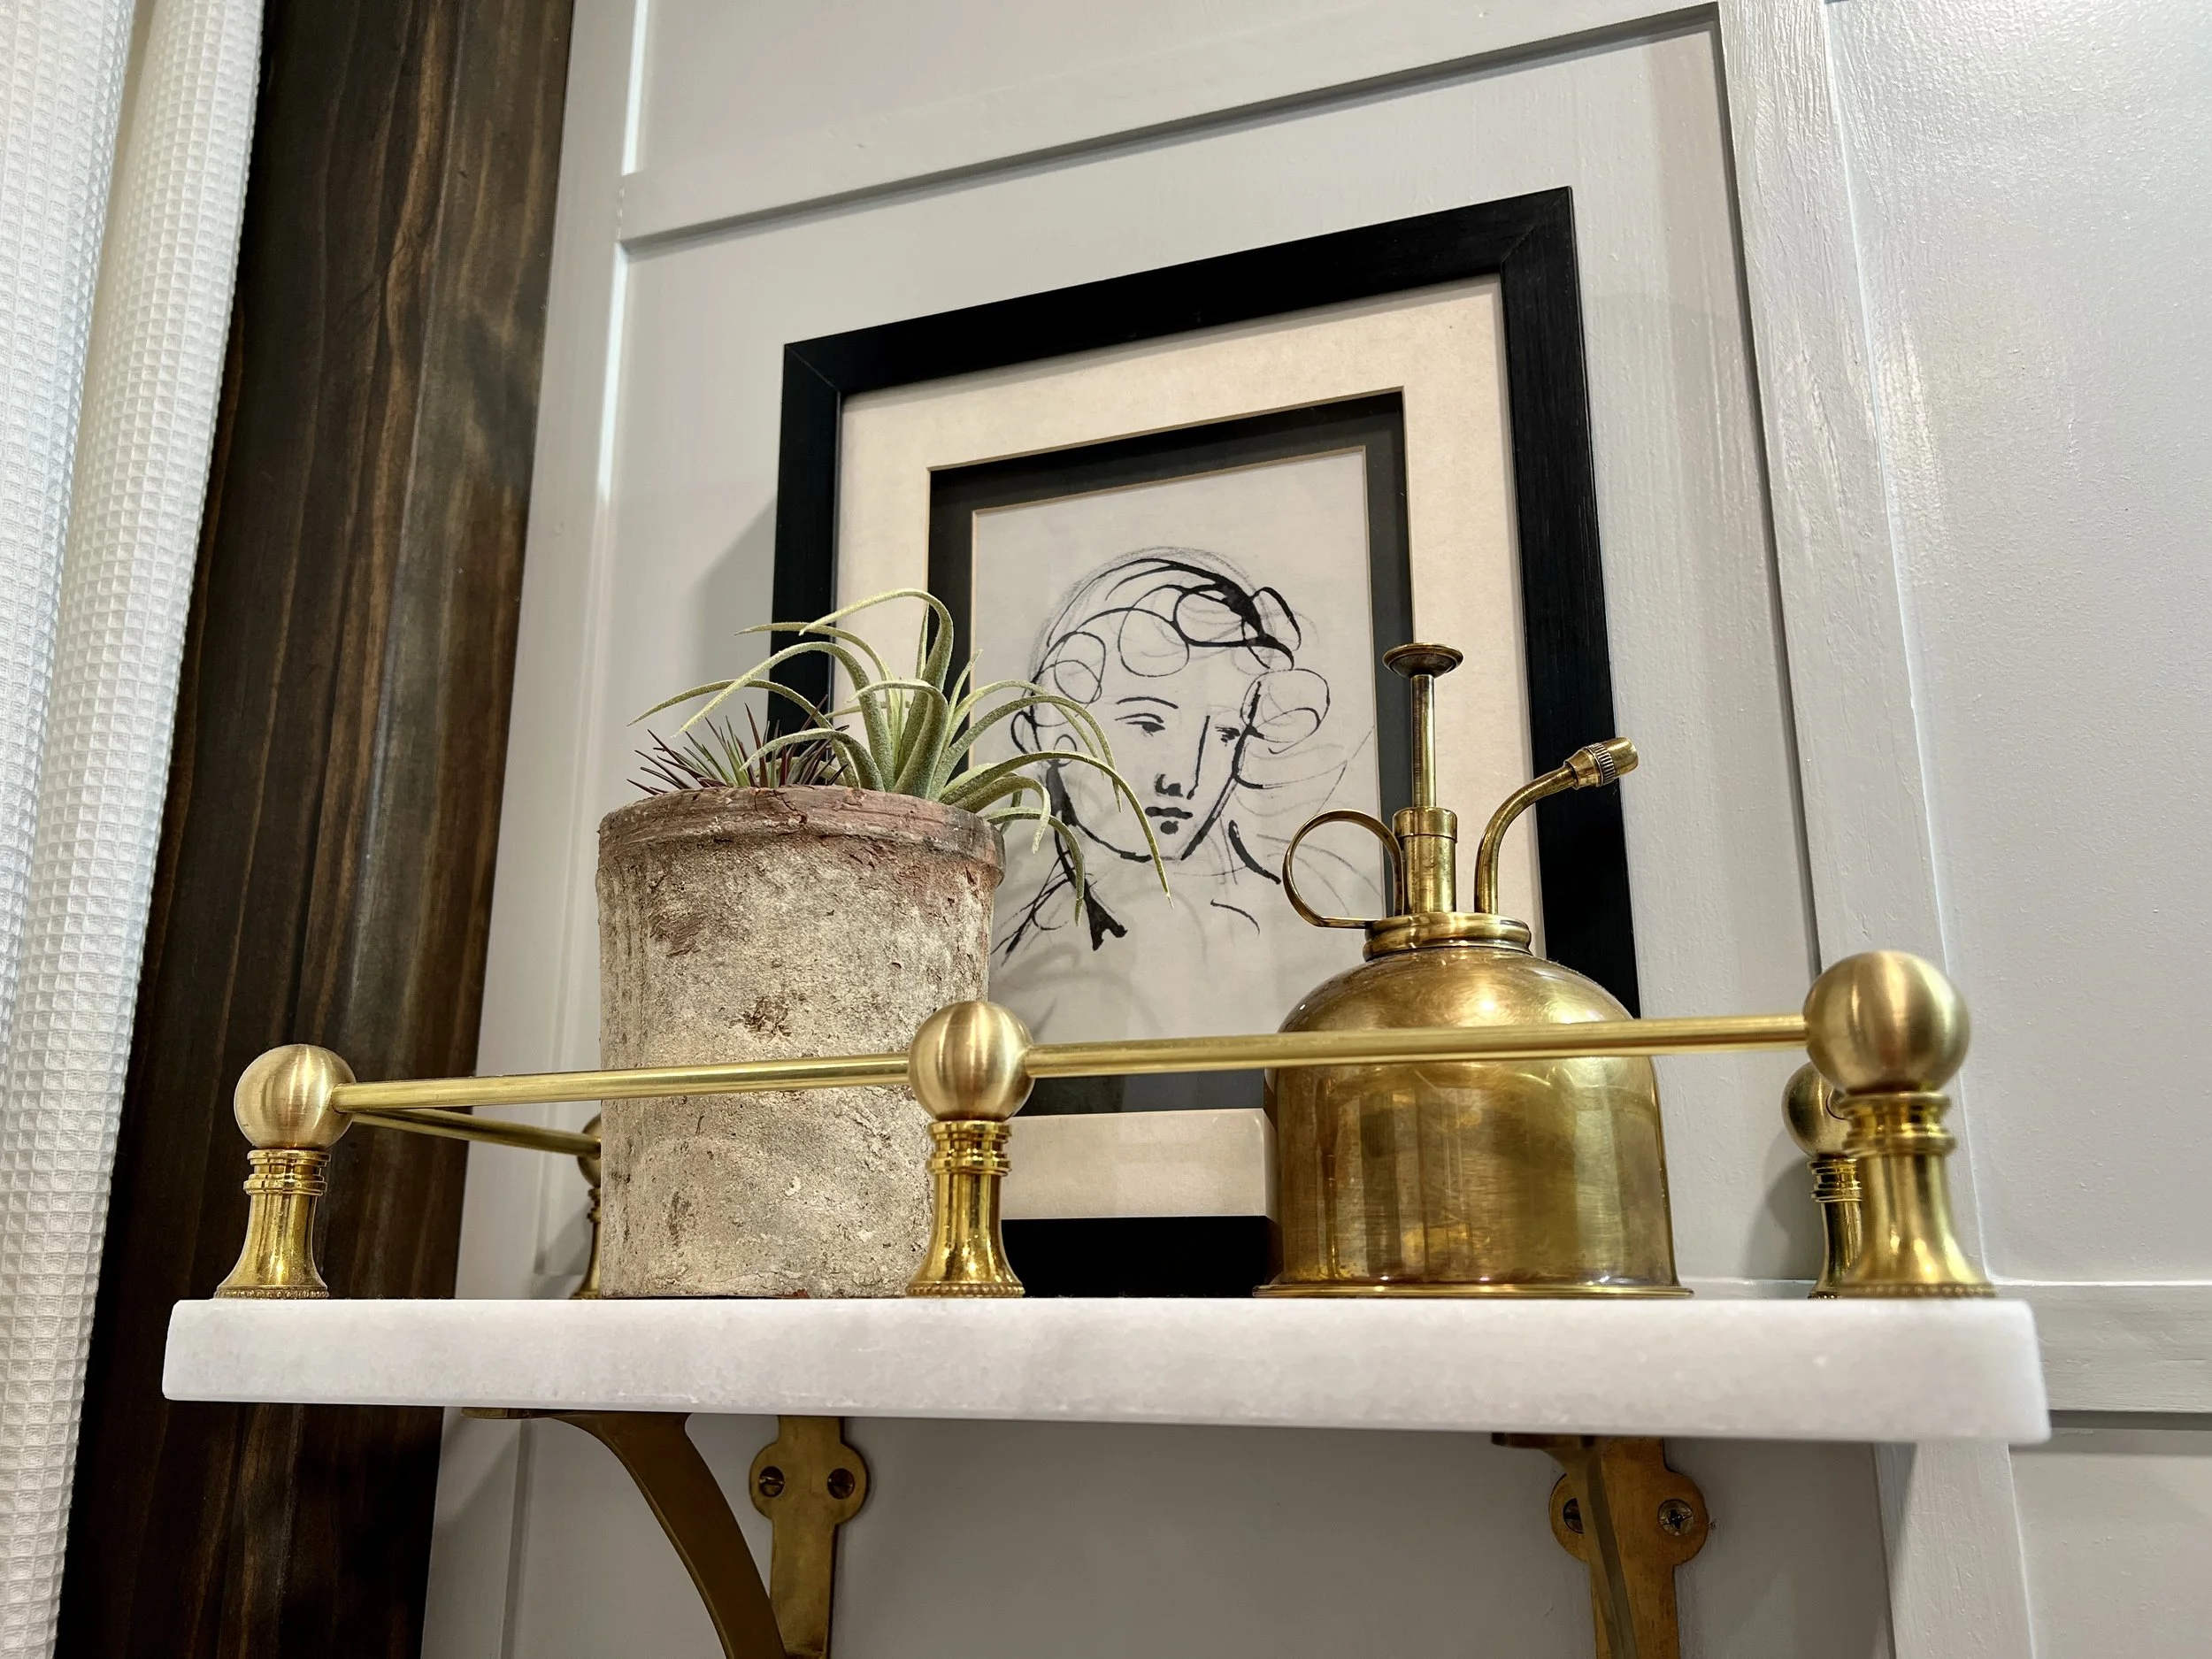
I also repurposed (AKA stole) a black and white frame from another wall in our house to frame the ink drawing on the marble shelf.
Shop our art, frames, and other sources for our bathroom, below!
What’s your favorite part?
Some of the links on this page are affiliate links, meaning at no cost to you we may earn a small commission on the purchases you make through that click. Learn more.
Sources
Shower tile: Floor and Decor
Black (Brushed Graphite) metal niche trim: Floor and Decor
Shower grout: Lowe’s
Brass exterior mount shower fixture: Amazon
Shower drain: Amazon
Tub skirt ledge: Floor and Decor
Ceramic Carrara marble-look floor tile (done previously, discontinued): Lowe’s
Vanity light: Lights Online
Vanity color: Sherwin Williams Succulent, Emerald Urethane Trim Enamel in semi-gloss
Vanity hardware: Amazon
Sink faucet: Amazon
Brass toilet lever: Amazon
Turkish hand towel: Amazon
Leather and brass hand towel ring: Etsy
Towel bar: LD Shoppe
Wall + tub skirt color: Sherwin Williams Repose Gray, Emerald Urethane Trim Enamel in semi-gloss
Wall moulding (lattice): Lowe’s
Door color: Sherwin Williams Tricorn Black, Emerald Urethane Trim Enamel in semi-gloss
Door hook: Amazon
DIY marble shelves: Marble | Brass gallery rail | Brass brackets (+ Gold Leaf Rub ‘n Buff)
Area rug: Amazon
Shower curtains: Waffle knit | Liners
Mirror: DIY using scrap plywood on an old mirror
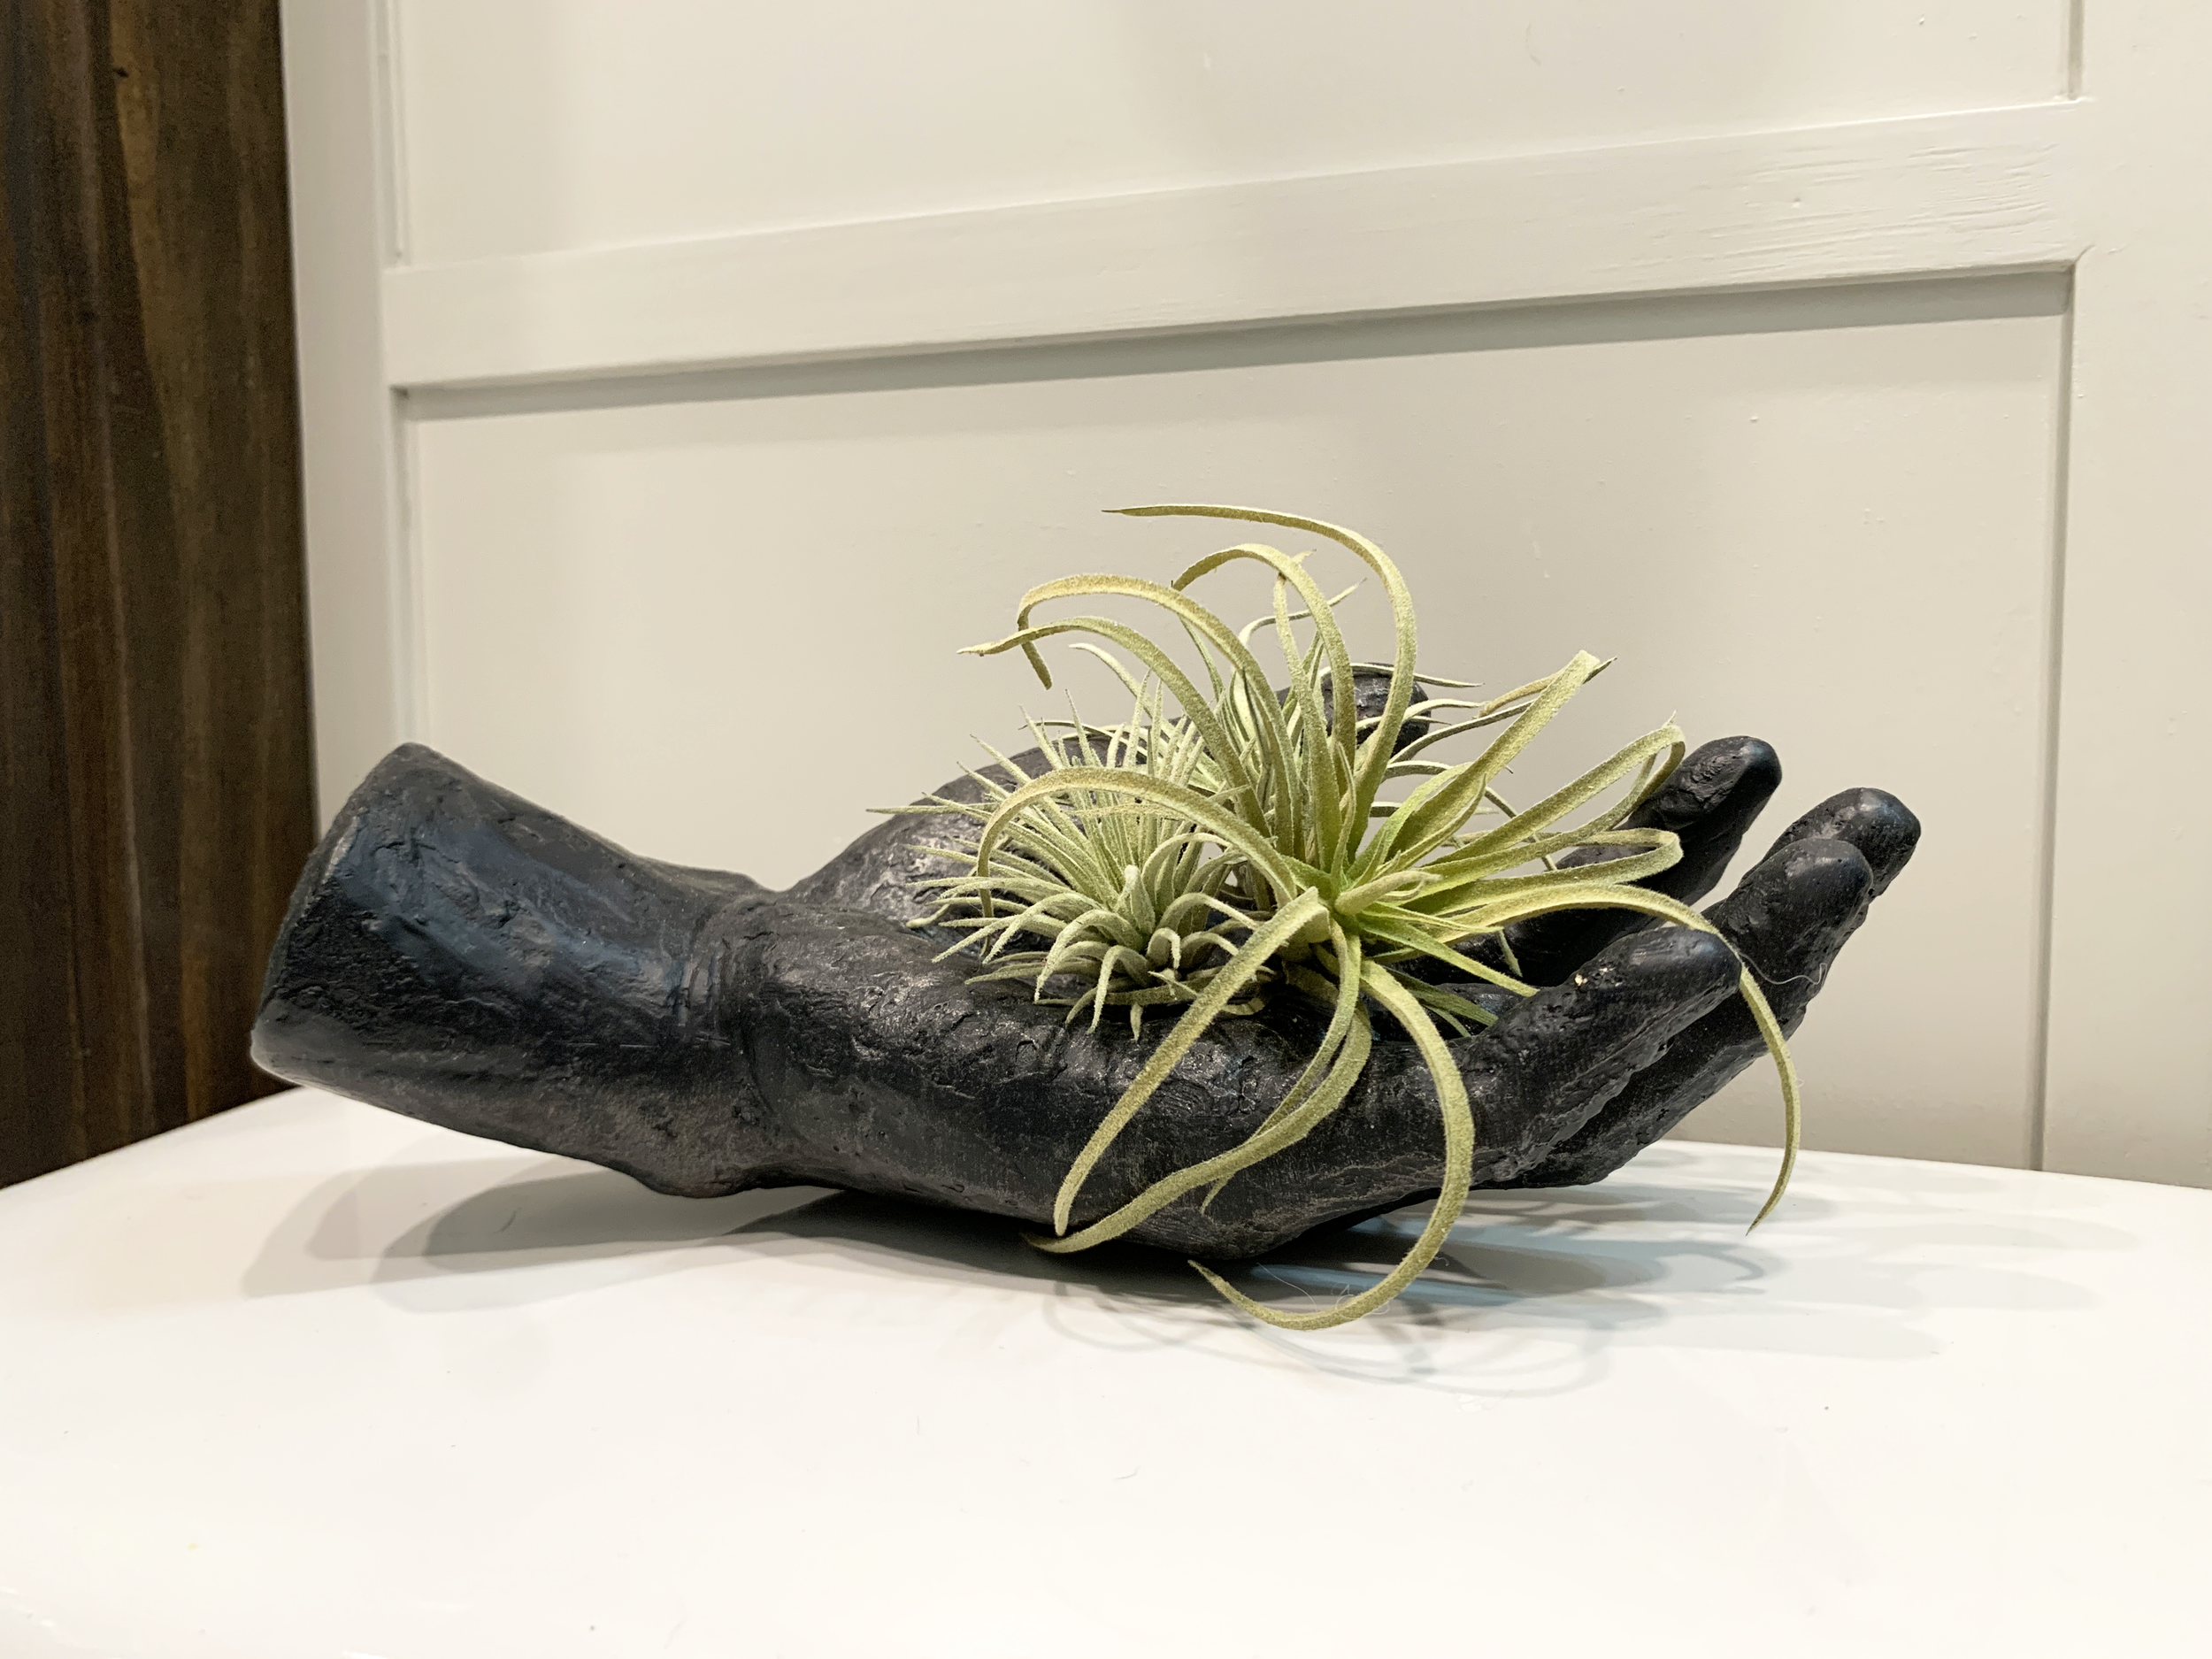
Decorative hand: Amazon
Door knob: Amazon
Aged terracotta pot: Michael’s
Brass plant mister (I aged it myself with brass ager): Terrain
Art:
3-piece collection:
Married to the Sea giclee art print, 5x7”: Clare Elsaesser | Frame, 5x7”: Michael’s
Brown and Mossy Teal Abstract Painting print, 5x7”: Prints by Jetty Home | Frame, 5x7”: Michael’s
Figure sketch from Set of 5 Digital Printable Antique Gallery Prints – North Prints | Frame, 5x5”: Michael’s
Single print on marble shelf:
Vintage ink drawing of woman downloadable print: Circa Art Collection | Frame, 5x7”: Hobby Lobby
Because this renovation moved a lot faster than our usual, I want to take some time coming up to go more in depth about anything you want to know about how to recreate this look – any questions about the design process, finishes/products we chose, costs, tips/advice, specific DIYs for anything seen here, etc. If you have any questions, please leave them below in the comments and I’ll cover them coming up!
HUGE thank you to those who have been following along on this journey since the beginning! I’ve really appreciated your encouragement (here on the blog, in person, and on Instagram and Facebook). All of your kind words and encouragement have been so helpful in continuing to motivate me to keep going on the tough days and pushed me to end up with a result we truly love and hope our guests will enjoy for years to come.
As usual I will continue to share our projects here and on social so make sure to follow along if you’re not already. And don’t forget to go check out all of the other talented One Room Challengers who just tackled their spaces this season!!