The Cameo Camper Renovation: Installing Hidden Air Conditioning in a Vintage Camper
Updates:
See how well our A/C is working so far here.
This is part one of a two-part series. Don’t forget to check out part two.
We LOVE the vintage charm of our 1969 camper. That is what started this whole thing, after all, and why we didn’t just buy a new one. We also love modern amenities, like air conditioning. In fact, we need air conditioning here in Texas. We’re in that nice time of year when we’re breaking records left and right with consistent “feels like” 108-degree-days.
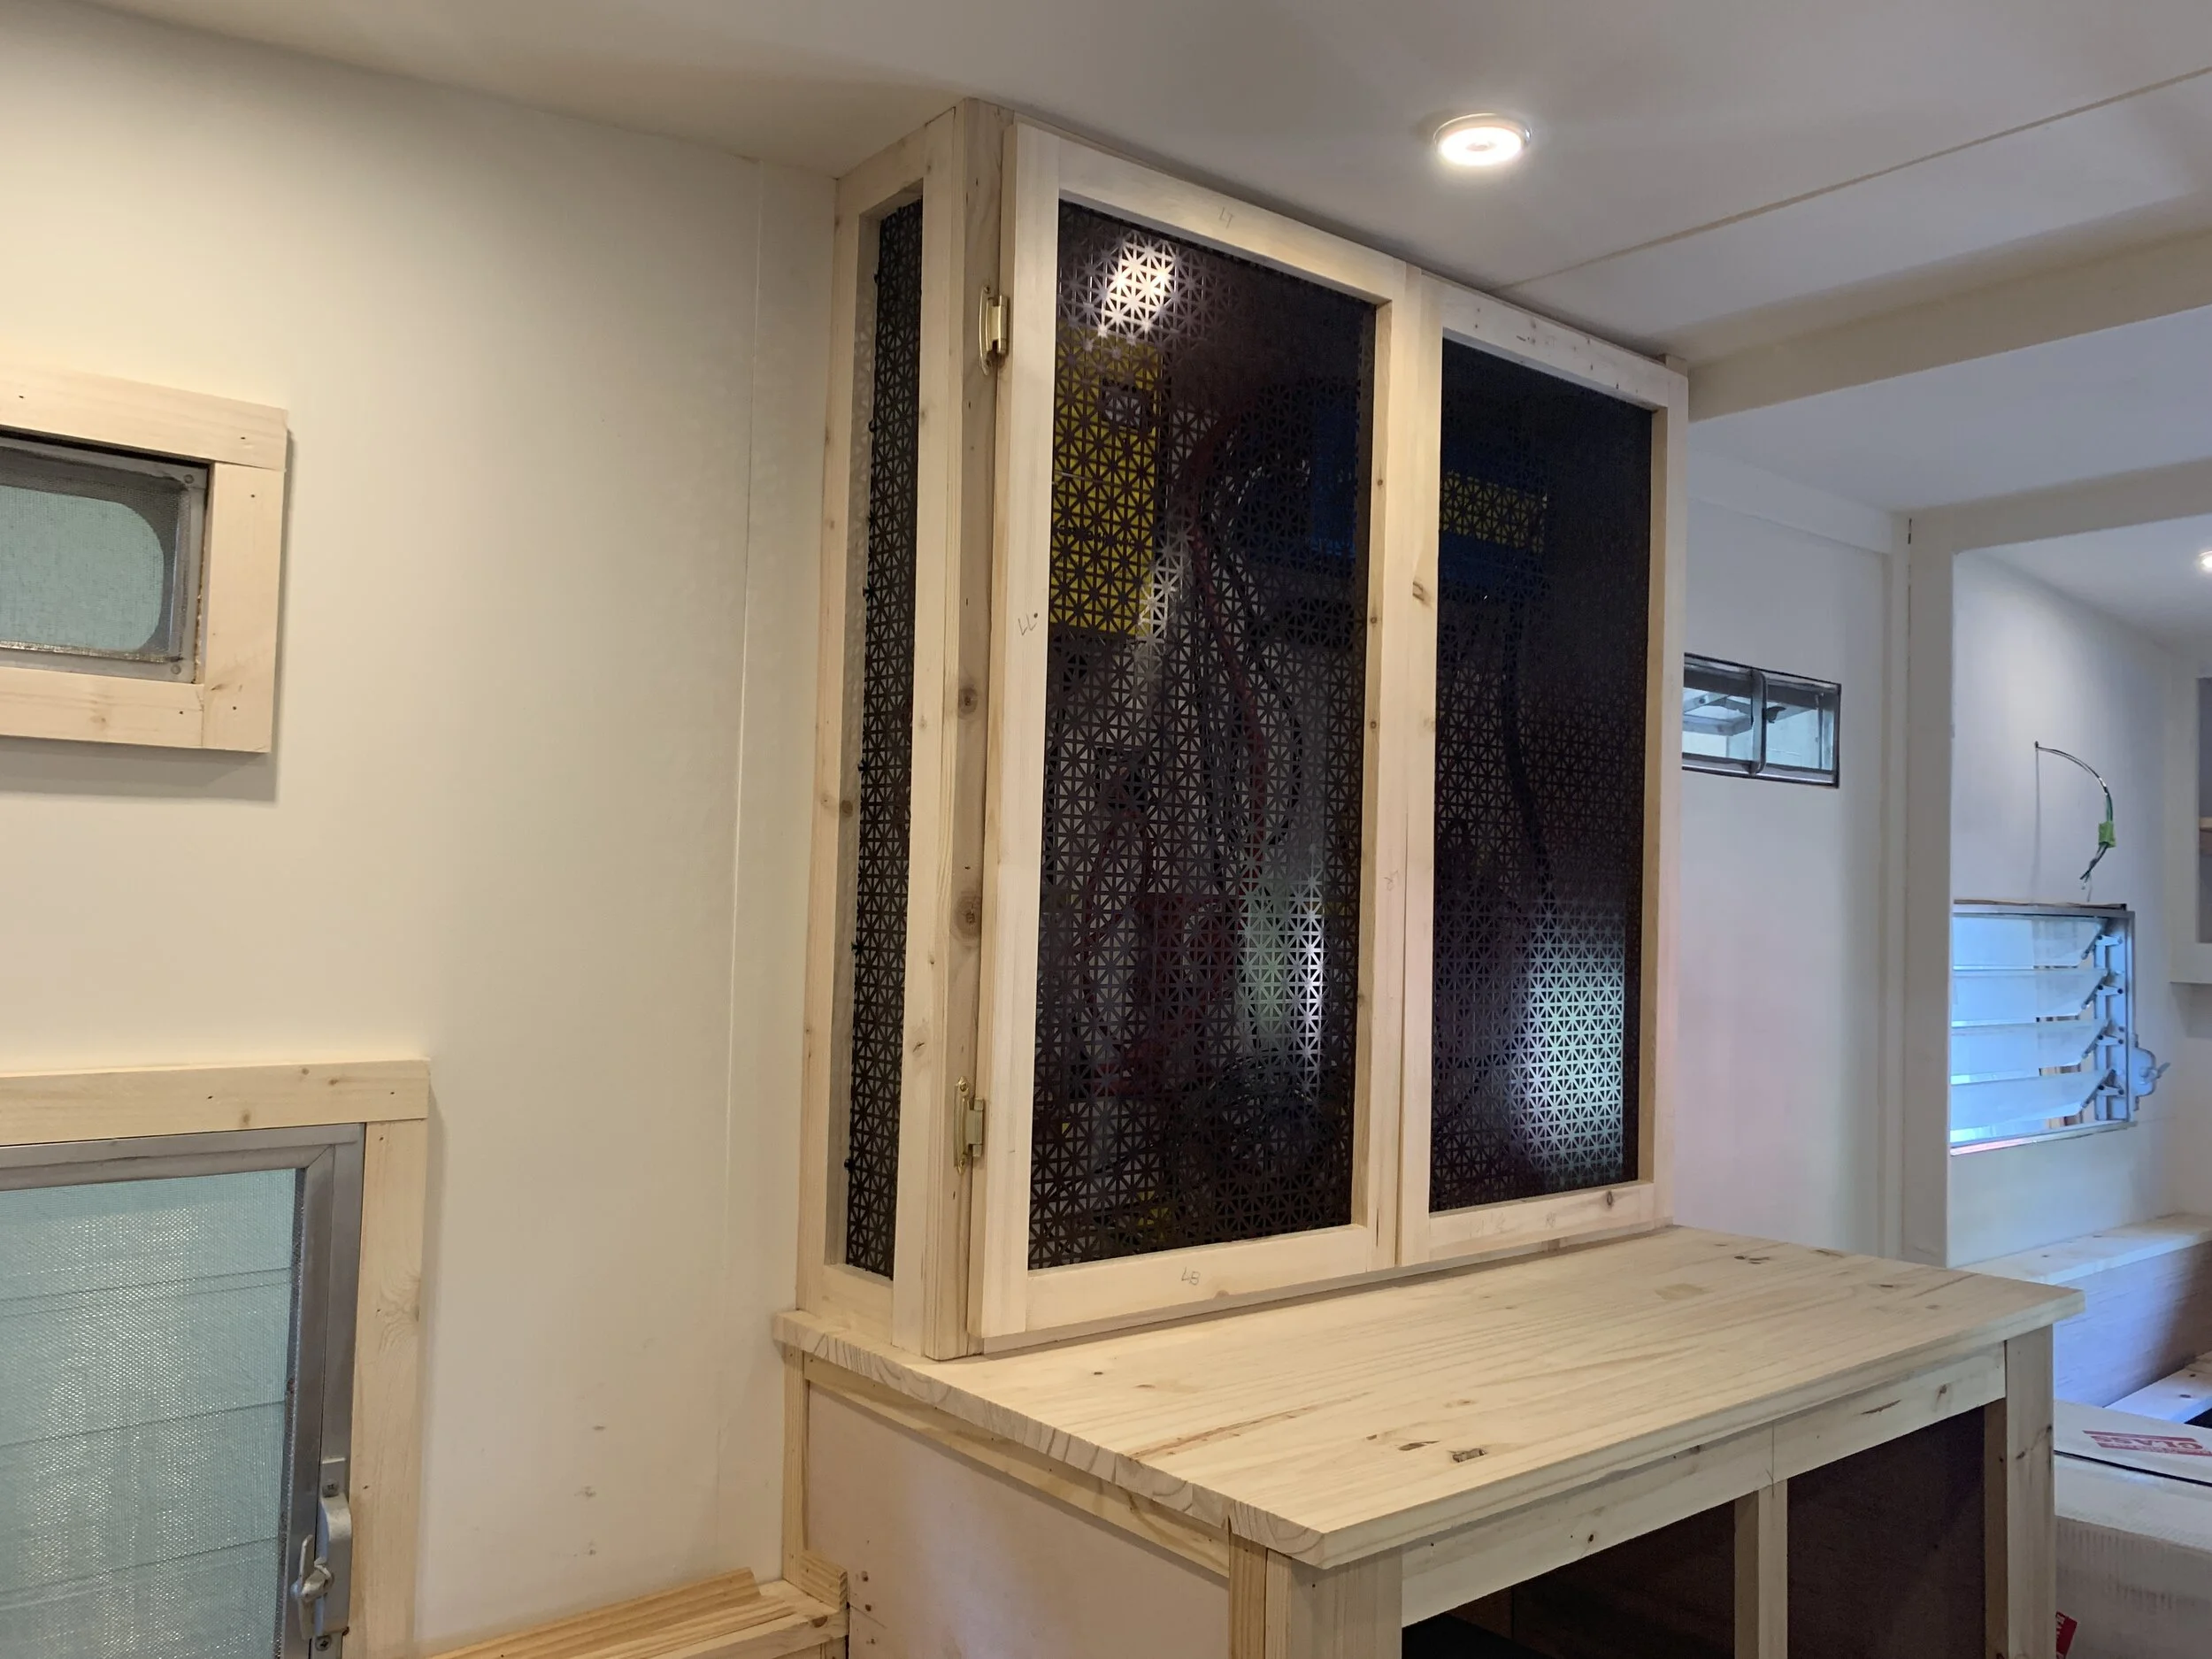
Knowing we wanted to get A/C in The Cameo but unwilling to sacrifice the cute vintage exterior (read: not adding one of those big modern units to the roof, replacing a beautiful original louvered jalousie window or cutting a big hole in the metal wall to install a window unit) we came up with another solution we haven’t seen done before.* Our technique doesn’t require cutting into the exterior metal or hanging an unsightly unit out the back, front, sides or top of the camper. It does require cutting a good size hole into the floor and to do some building, but nothing too bad.
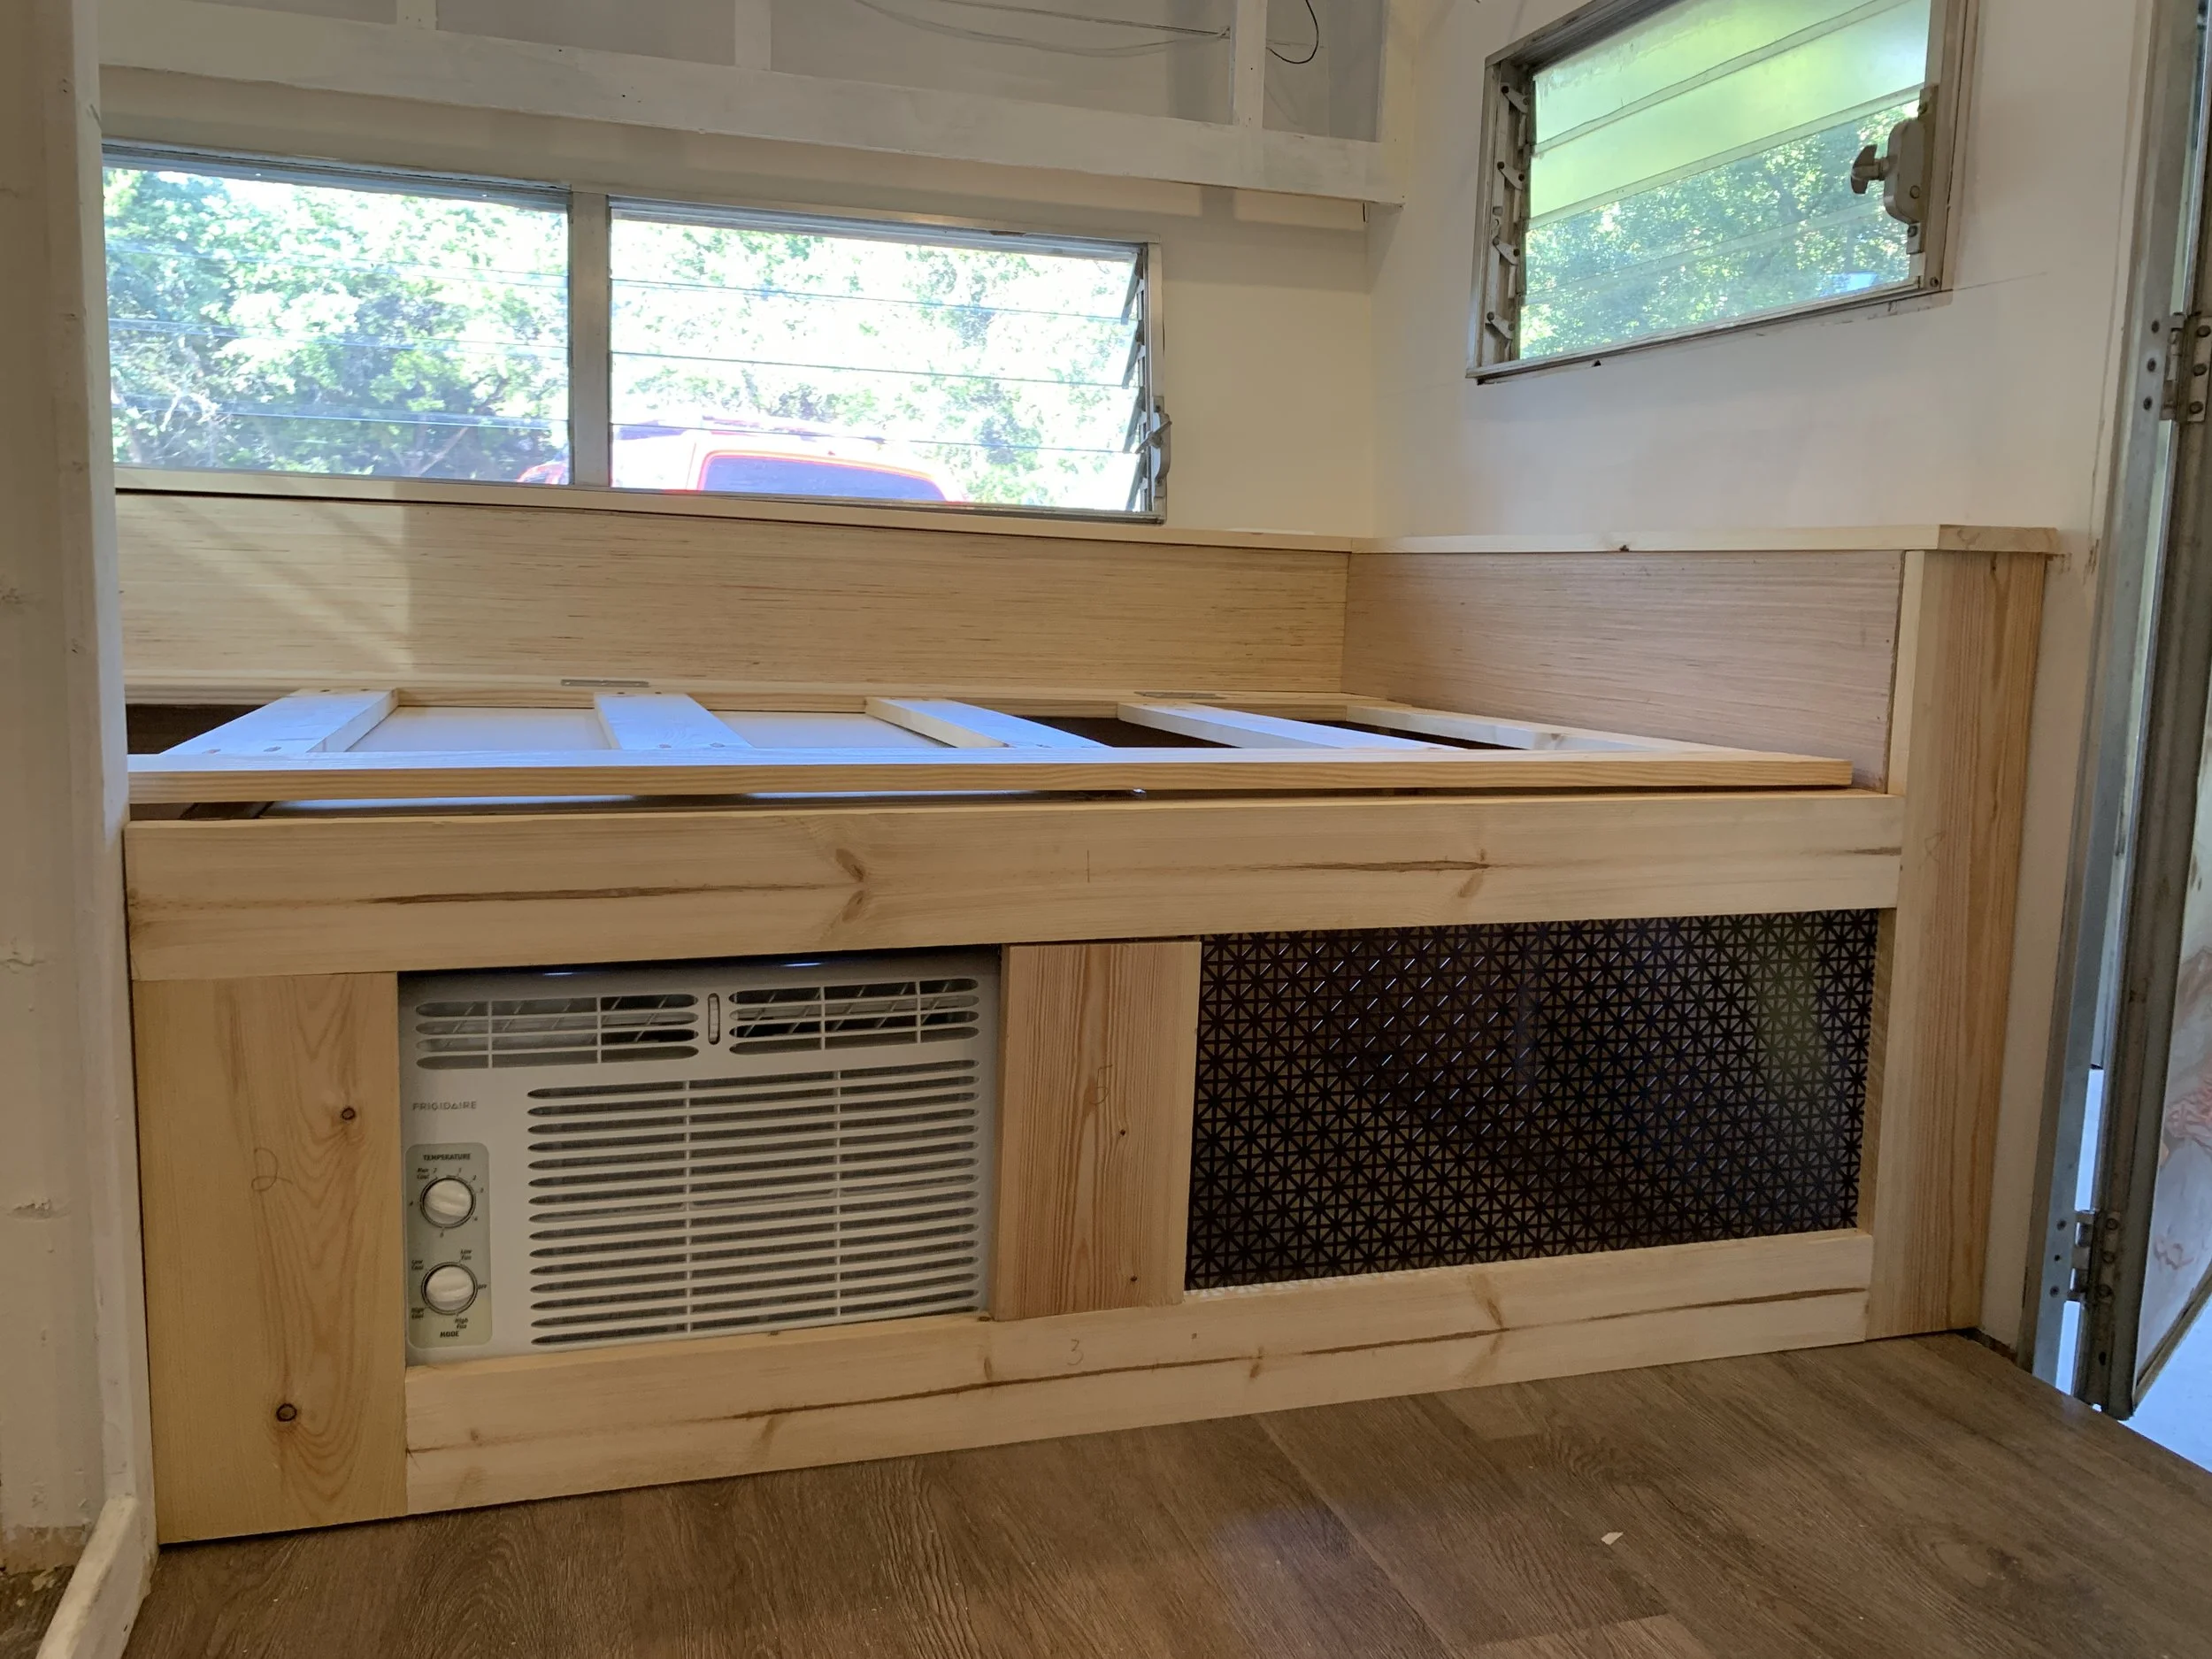
So how’d we do it? We hid it in the furniture and stealthily vented it out through the floor.
*This is the disclaimer part where I tell you we’ve never seen this done before. Maybe that’s for a reason, or maybe it’s because no one’s done it (or shared it), I don’t know. What we do know is so far this has worked for us and solved the problem of keeping us cool(er) without worrying about a big modern unit weighing down the roof, hanging out the side of the camper, etc.
How to install a window unit not in a window
Our air conditioner install shopping list
Window unit – Be mindful of how much energy it pulls. You want it to play nice with your electrical system. (We calculated the one we wound up buying, as seen in our estimated power consumption chart from our electrical system post. It draws 3.5 amps. We calculated we’d use it about 6 hours per day, which puts this unit at 21 amp-hours a day, and that equals 400 watts of use.)
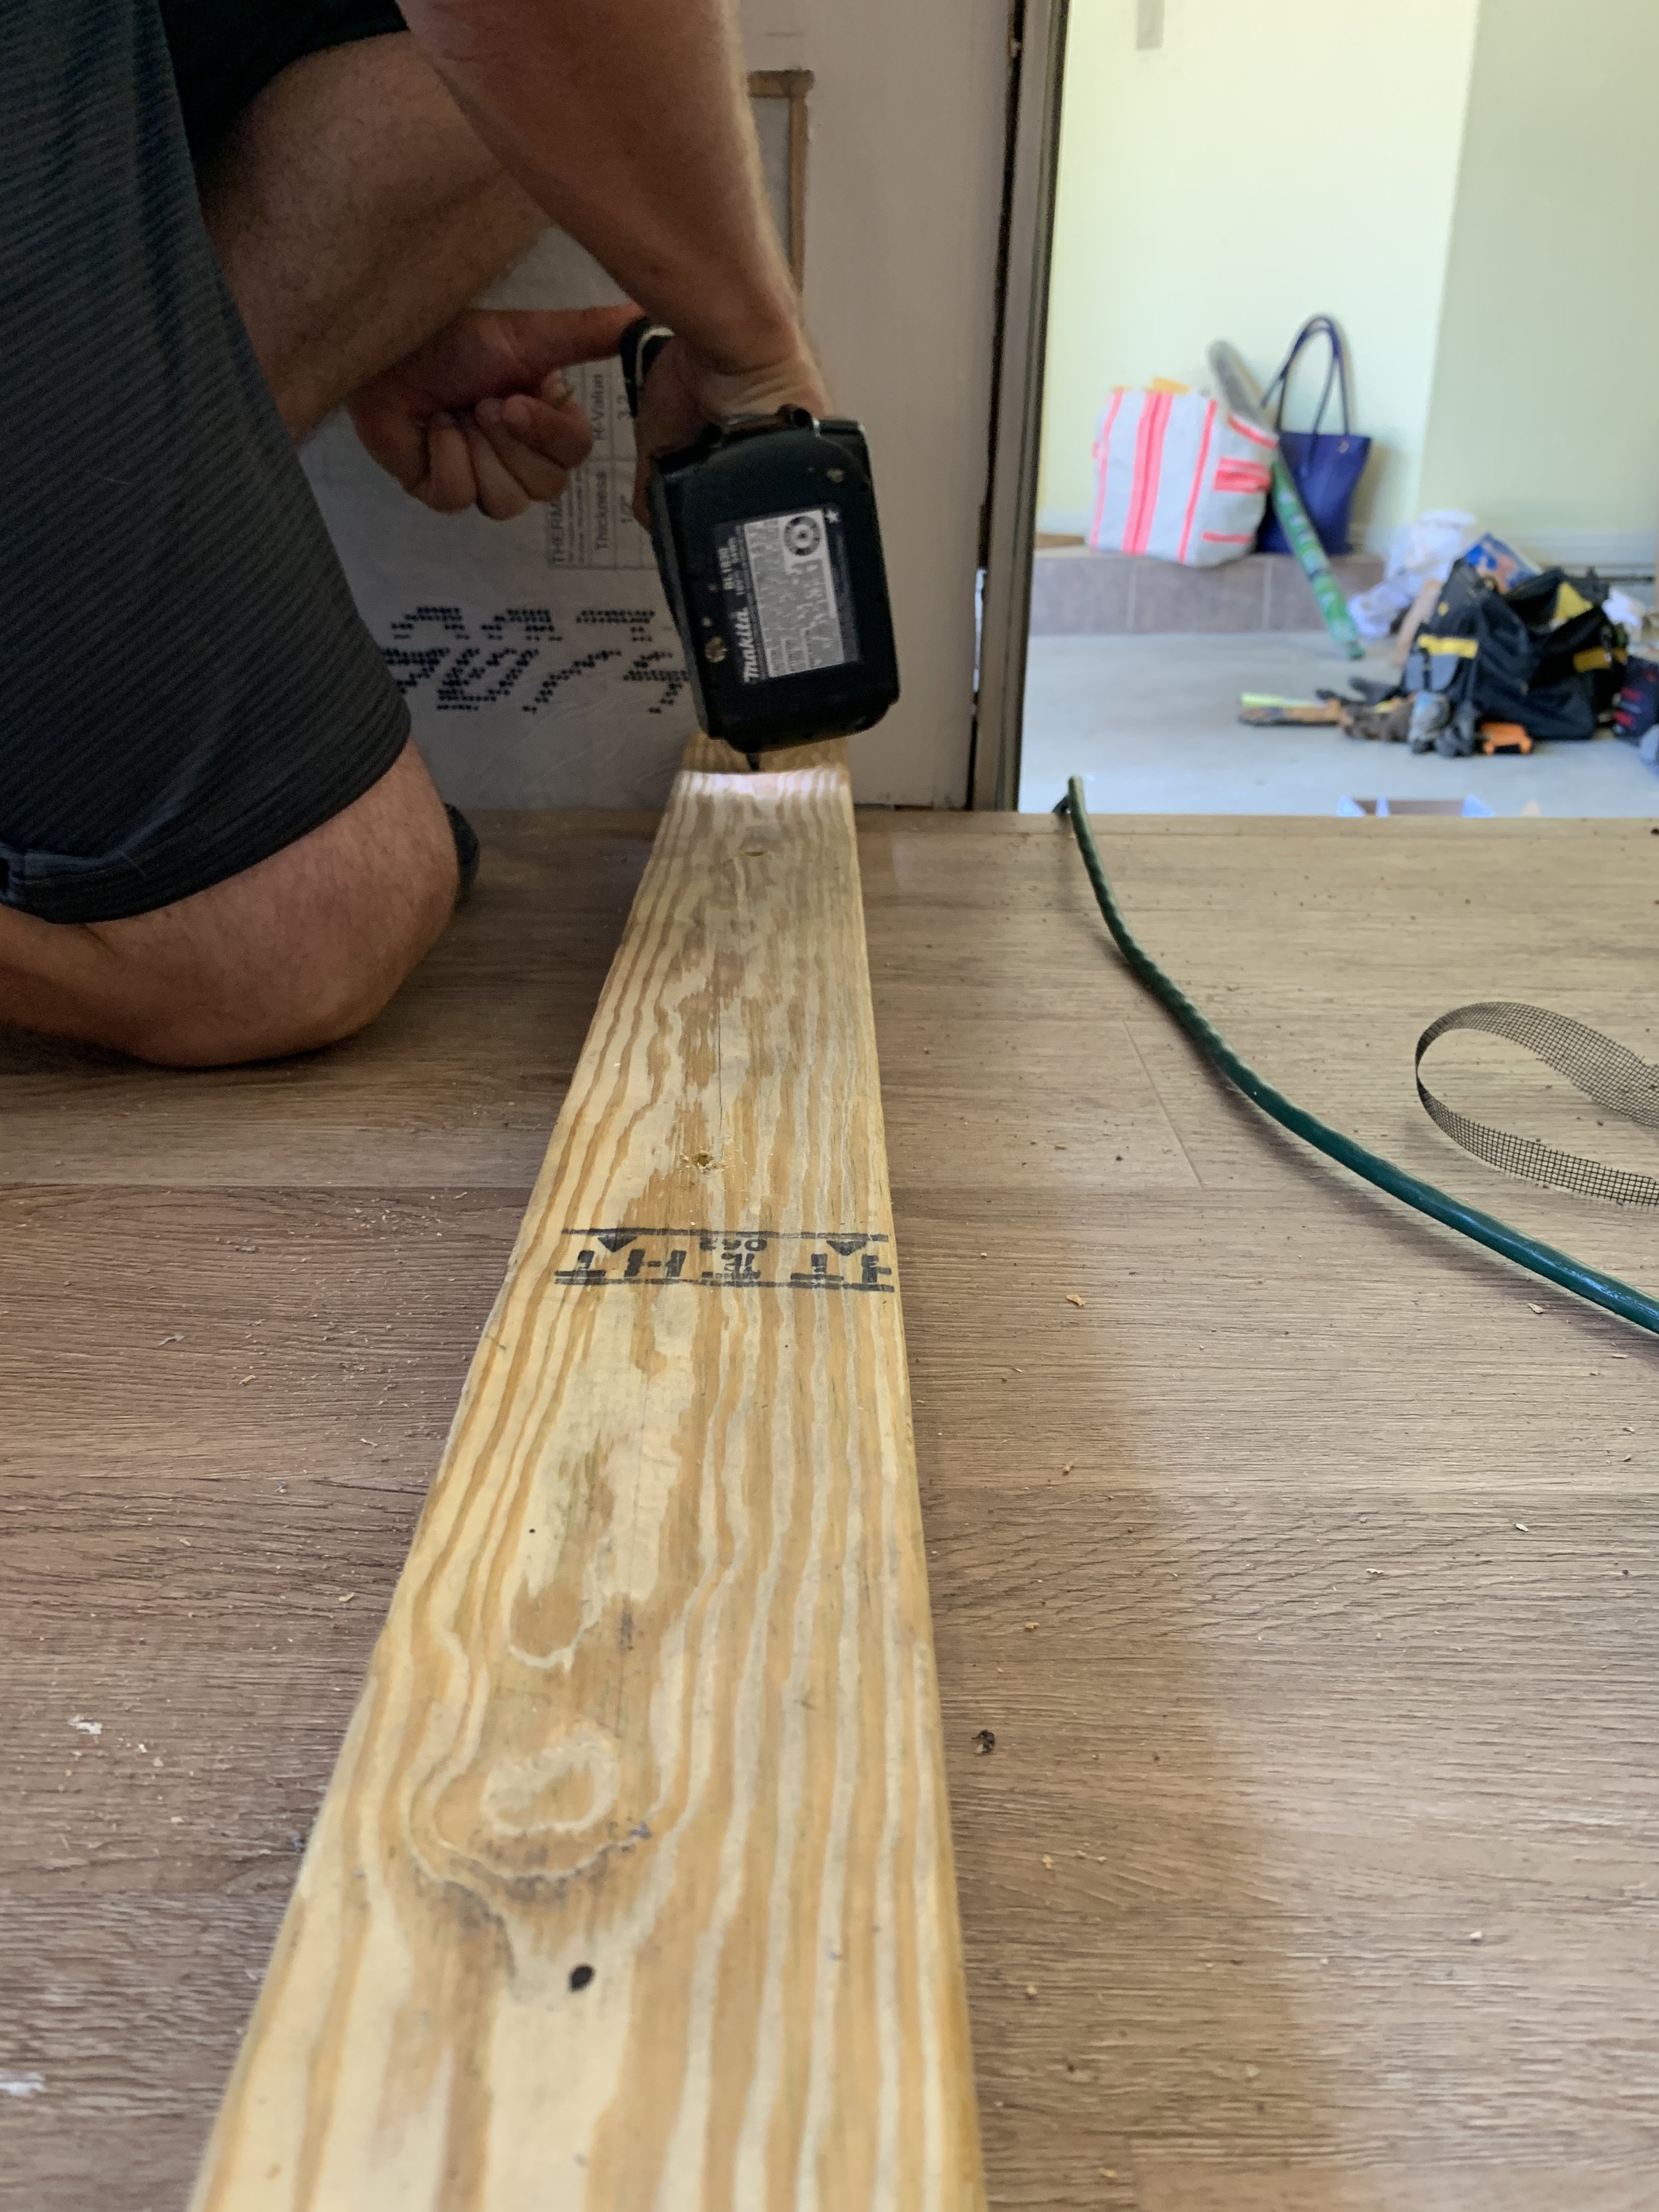
2x4x8 – to prop up the AC unit
Drill + bits
Tape measure
Jigsaw + blade(s)
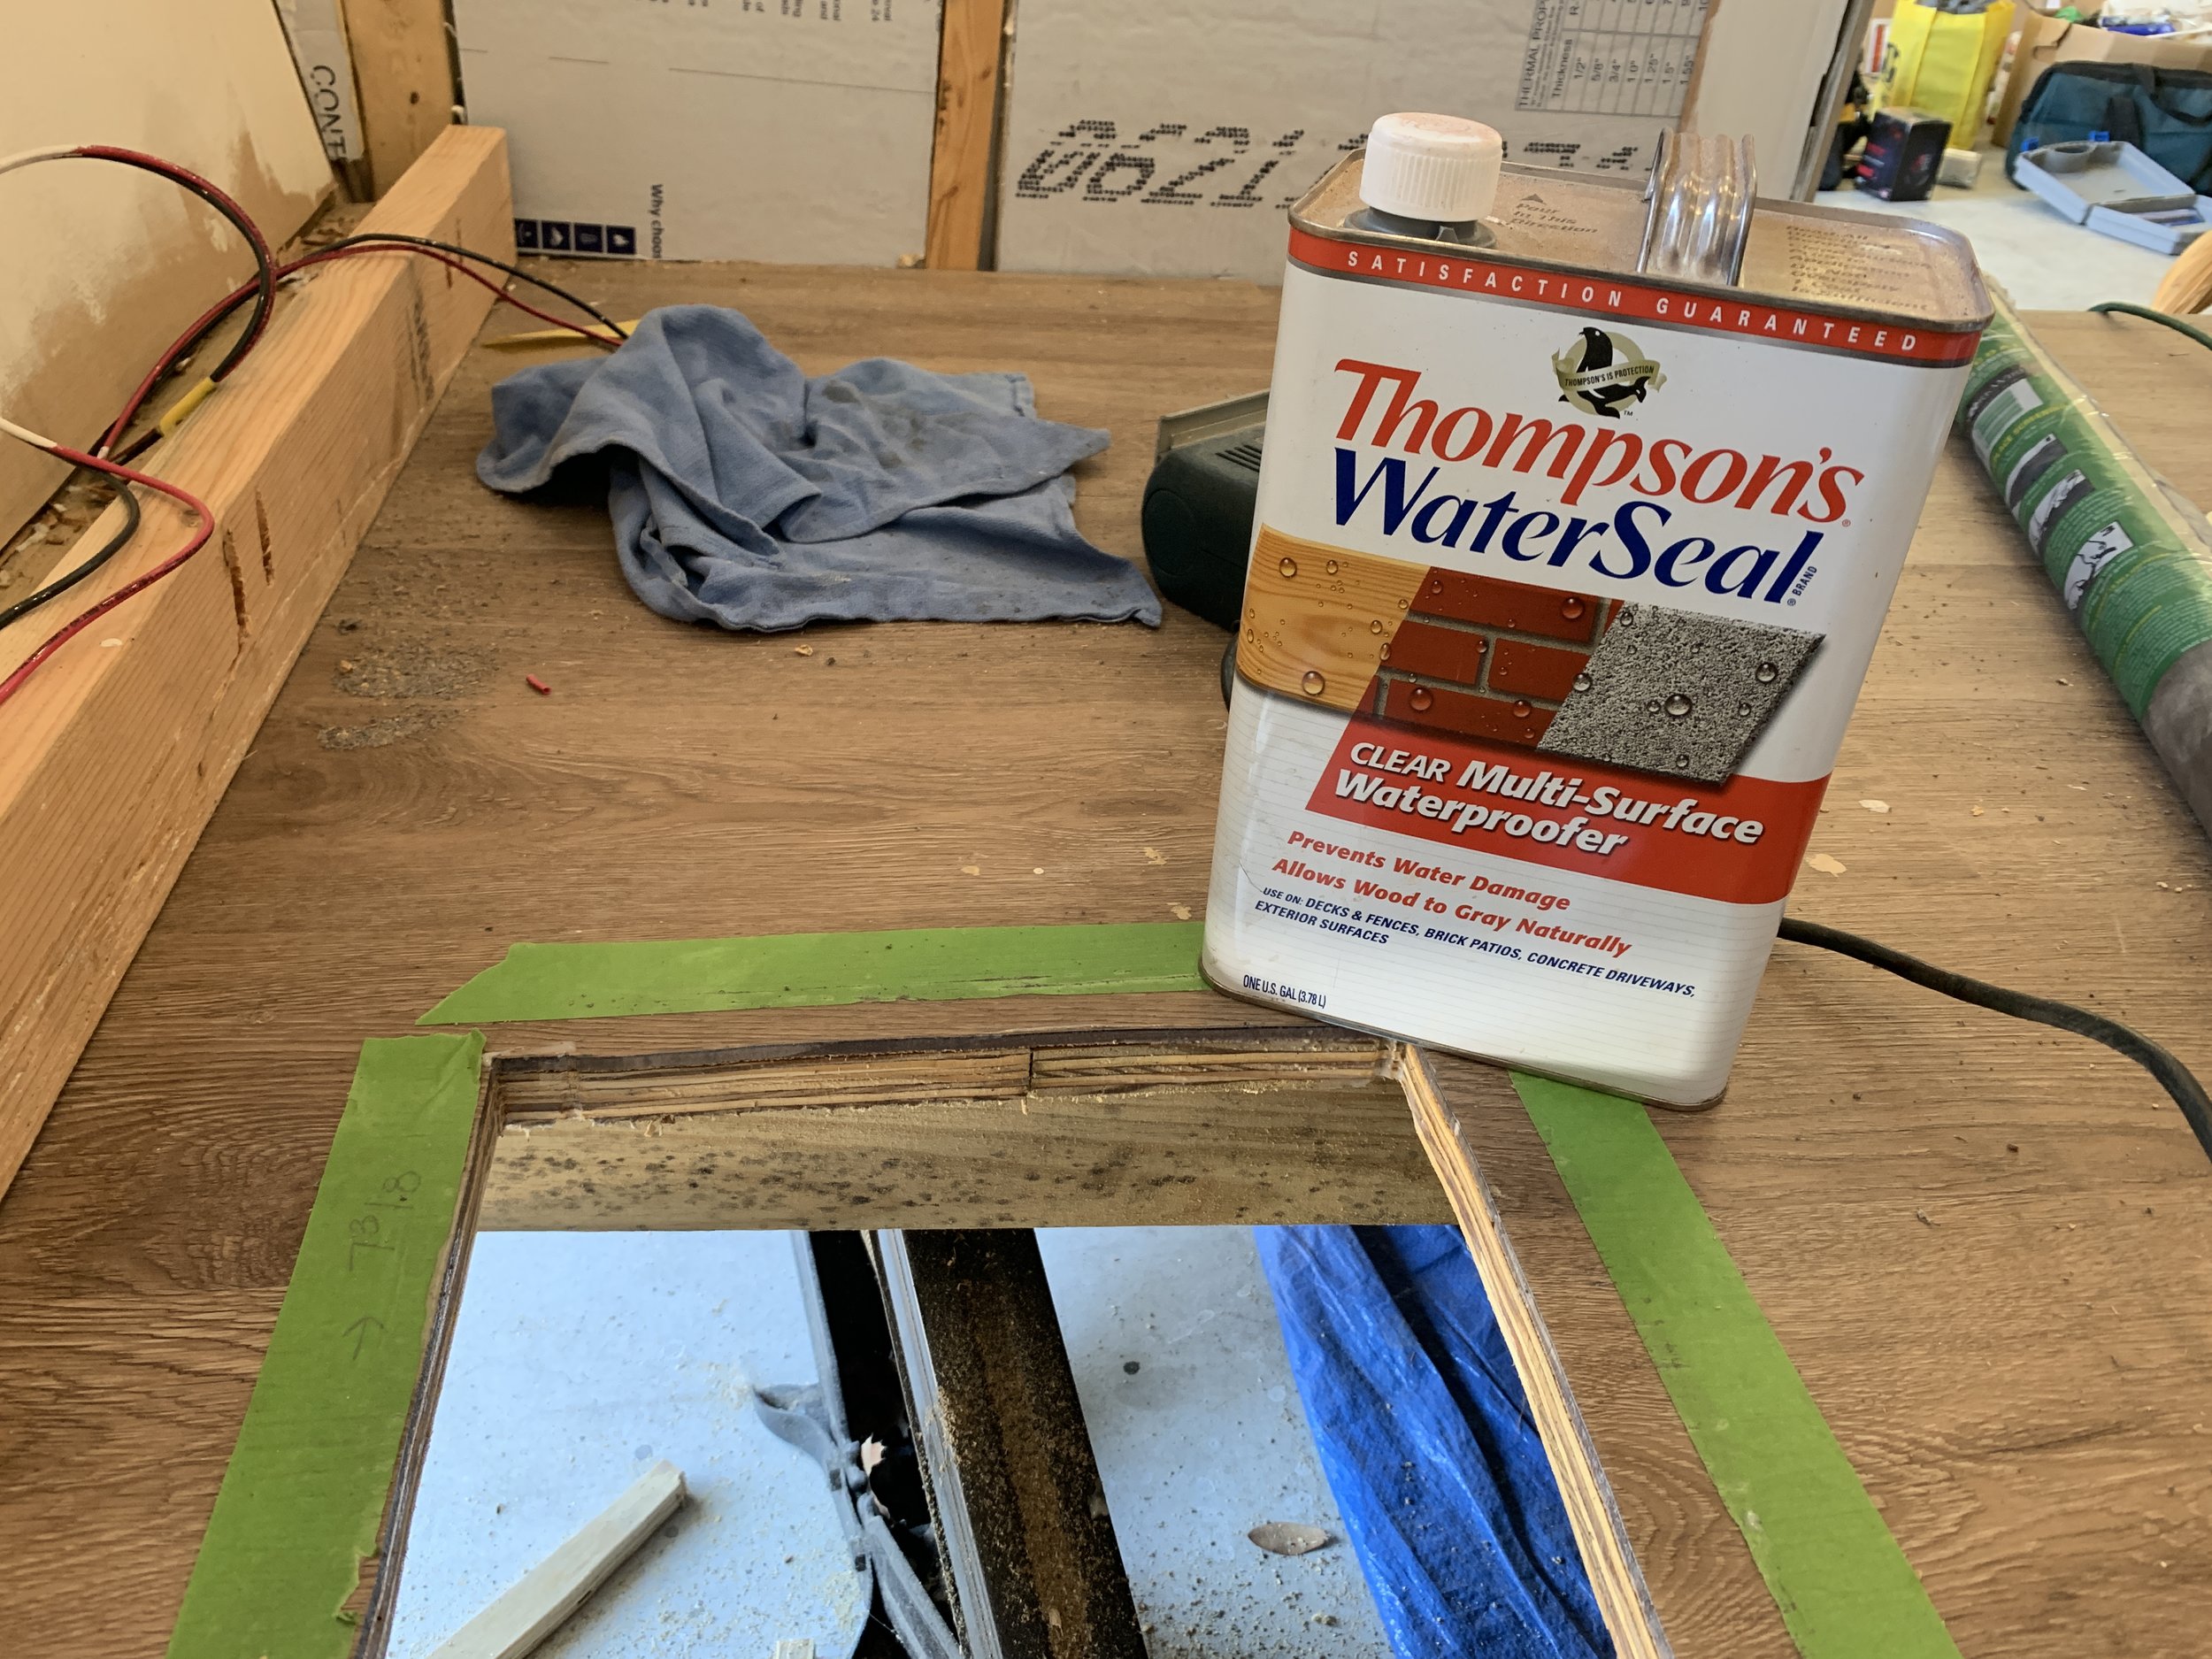
Thompson’s Water Seal + brush – we had this leftover from when we sealed the underside of the plywood subfloor
Painters tape
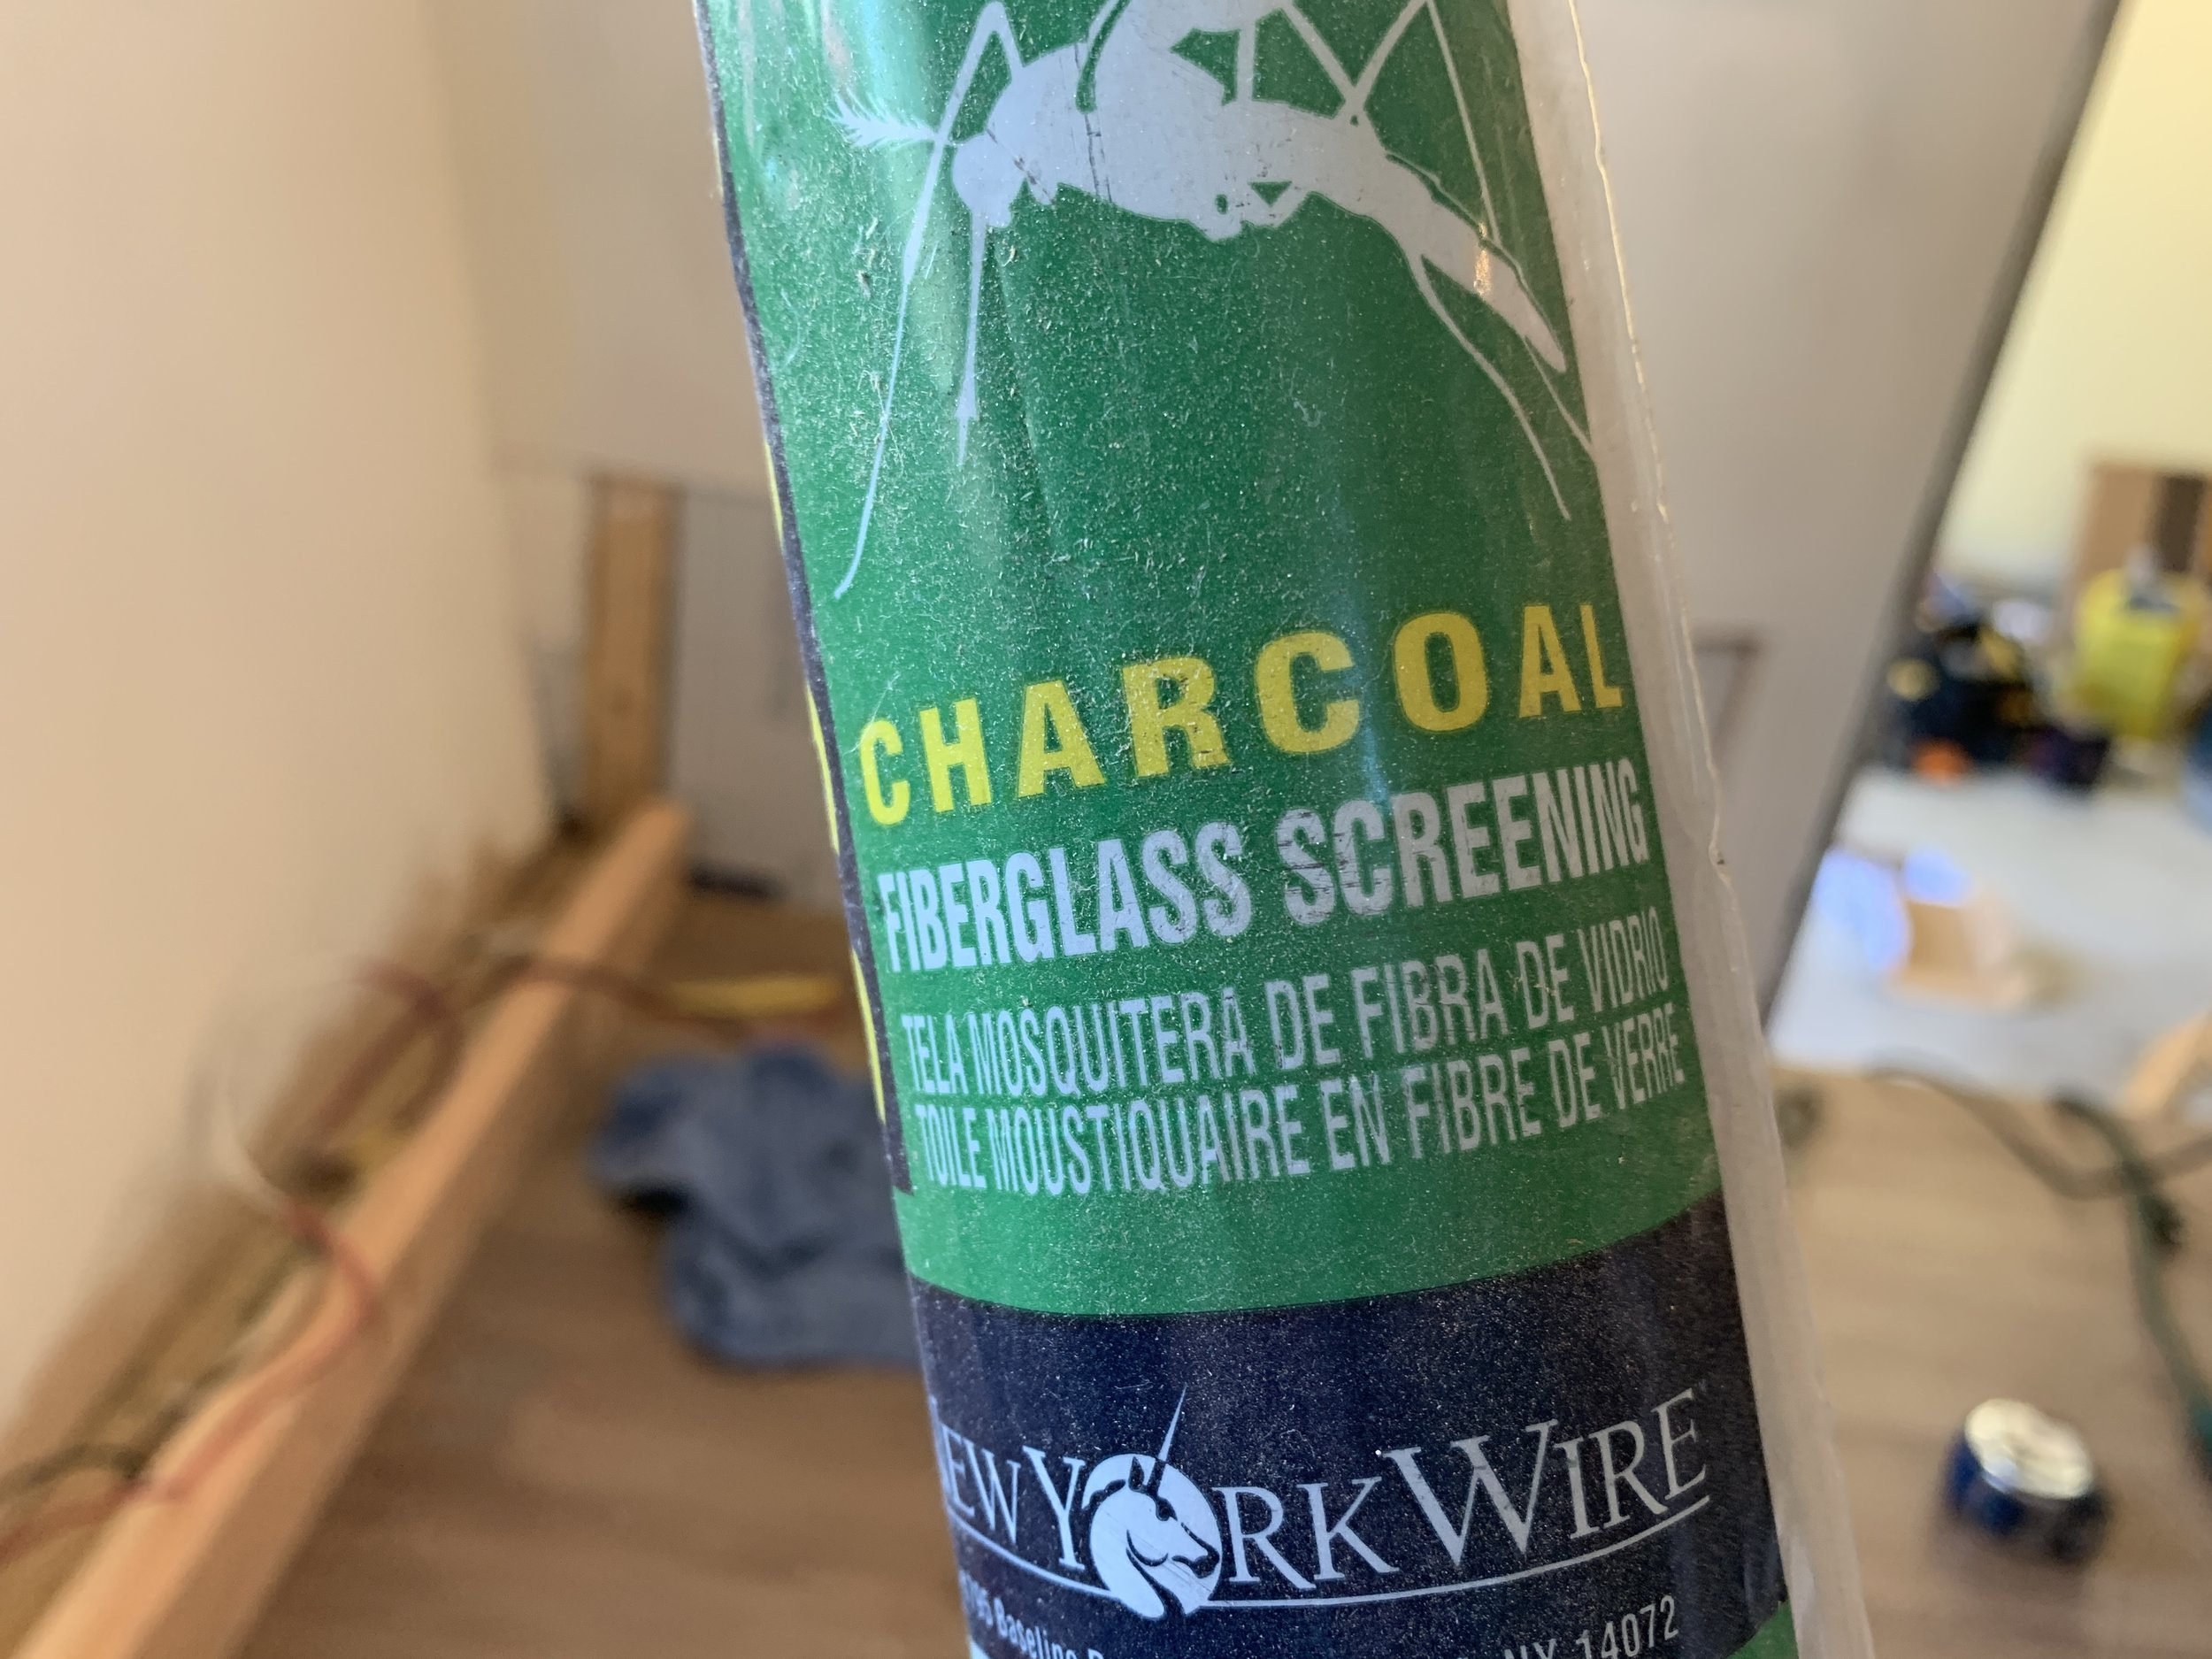
Vinyl window/bug screen
Scissors
Staple gun + staples
Foam strips (about 2” wide?) with adhesive on one side – we used what came with our A/C unit
Corner brackets (4)
Sheet metal (we used 22 gauge) – we were perfectly able to get by with one 24x48” sheet with little waste, but this will vary based on the size of your window unit, the angle of your ducting, etc.
Rubber mallet + work table with access to the edges
Stainless steel sheet metal screws – to build your duct/connect your pieces
Wood screws to screw bracket into floor – we used ones we had on hand
3/4" foam board insulation – we had plenty leftover from when we insulated our ceiling and walls
Metal return air vent cover – size will vary according to the exhaust hole size, but it should be slightly larger than the hole so there’s room to screw it into the floor

Drip testing the A/C before install.
Testing the air conditioning unit
First we did some testing to see where/if we needed to have a hole to allow for condensation/dripping water. Our particular unit has a slight angle/slope and water reservoir built in to catch condensation. It works so that the condensation is flung into the hot coils to help cool them down, which also helps evaporate the extra moisture meaning there’s no need for a drip hole.* Sweet!
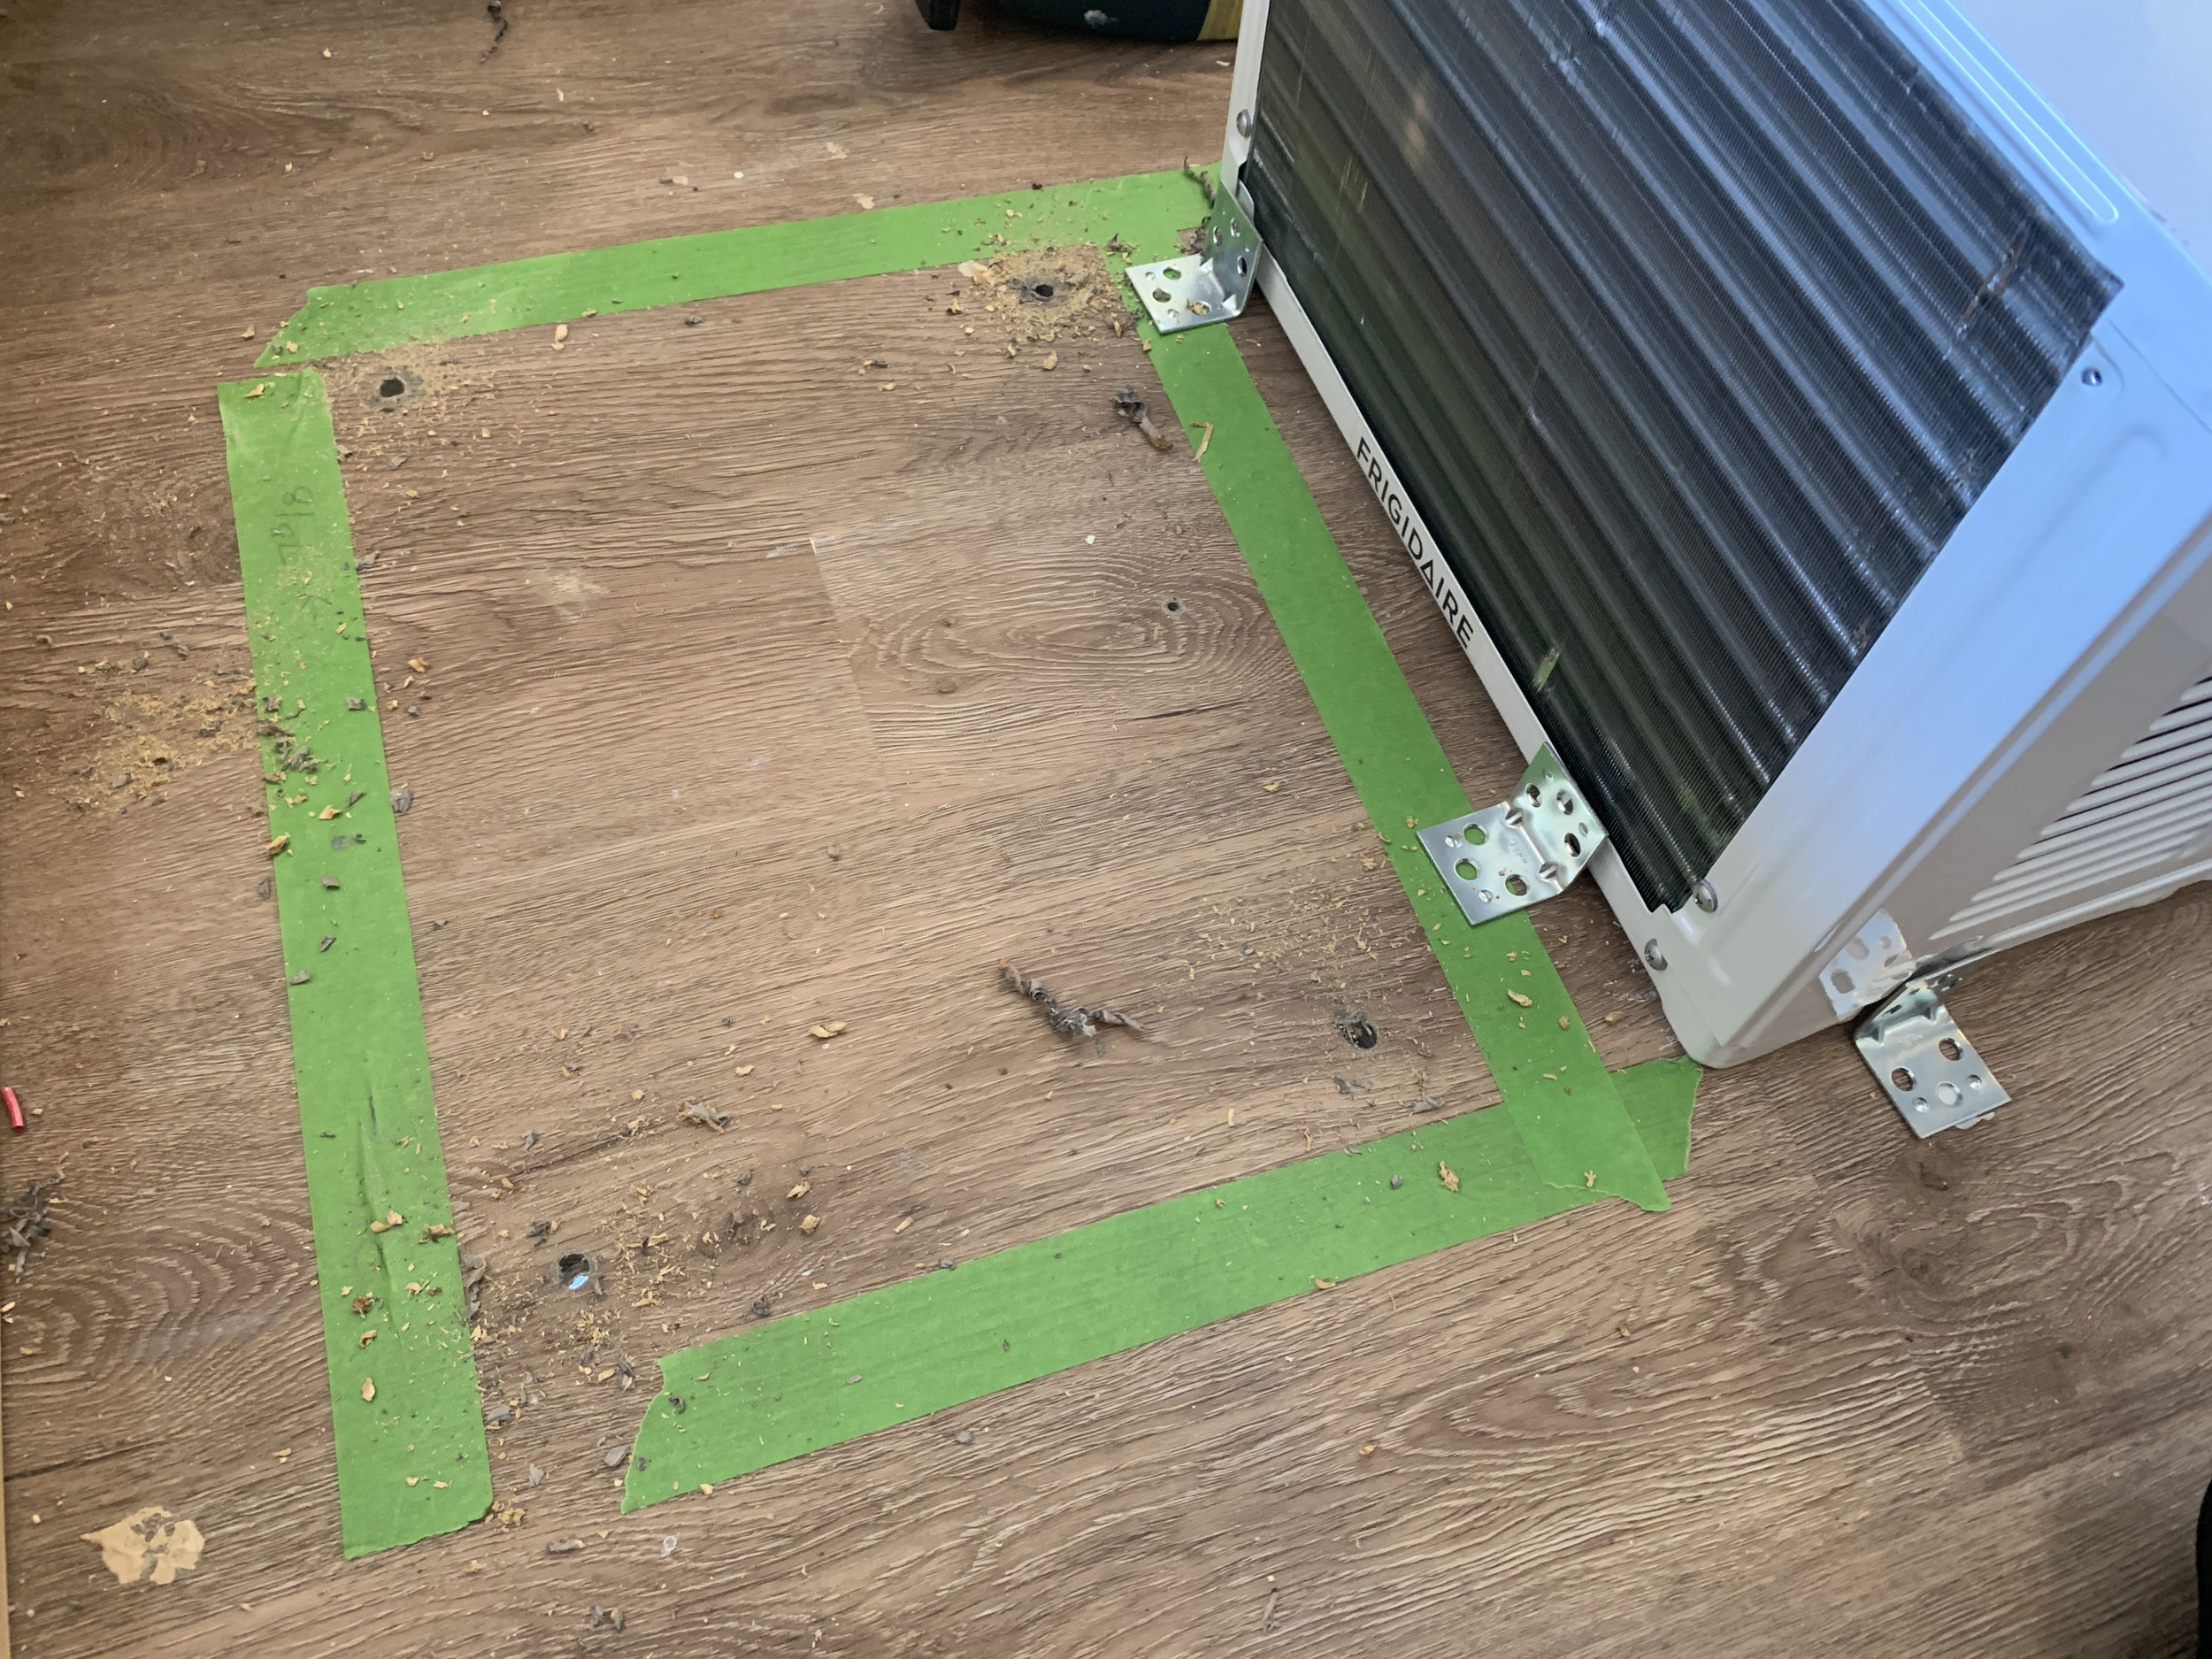
In order for the system to work, the unit needs to be slopped to drain properly into the contained reservoir. Not a problem for a window unit on a house that stays in place, however it could be a problem in a moving camper if we don’t park perfectly level every time we plan to use it. To counteract this, we used a 2x4 under the front edge of the unit to exaggerate the angle so that just in case we parked with the front of the camper higher (meaning the back of the window unit would be higher than the front), the window unit itself would still be slopped back, toward the front of the camper.
*Note: If we did need to account for condensation to be able to drip out of the bottom of the unit, we were talking about using a drip pan of sorts – basically a cookie sheet – to protect the floor from moisture on its way to drip out.
Cutting a huge hole in the floor - do it once & make it count

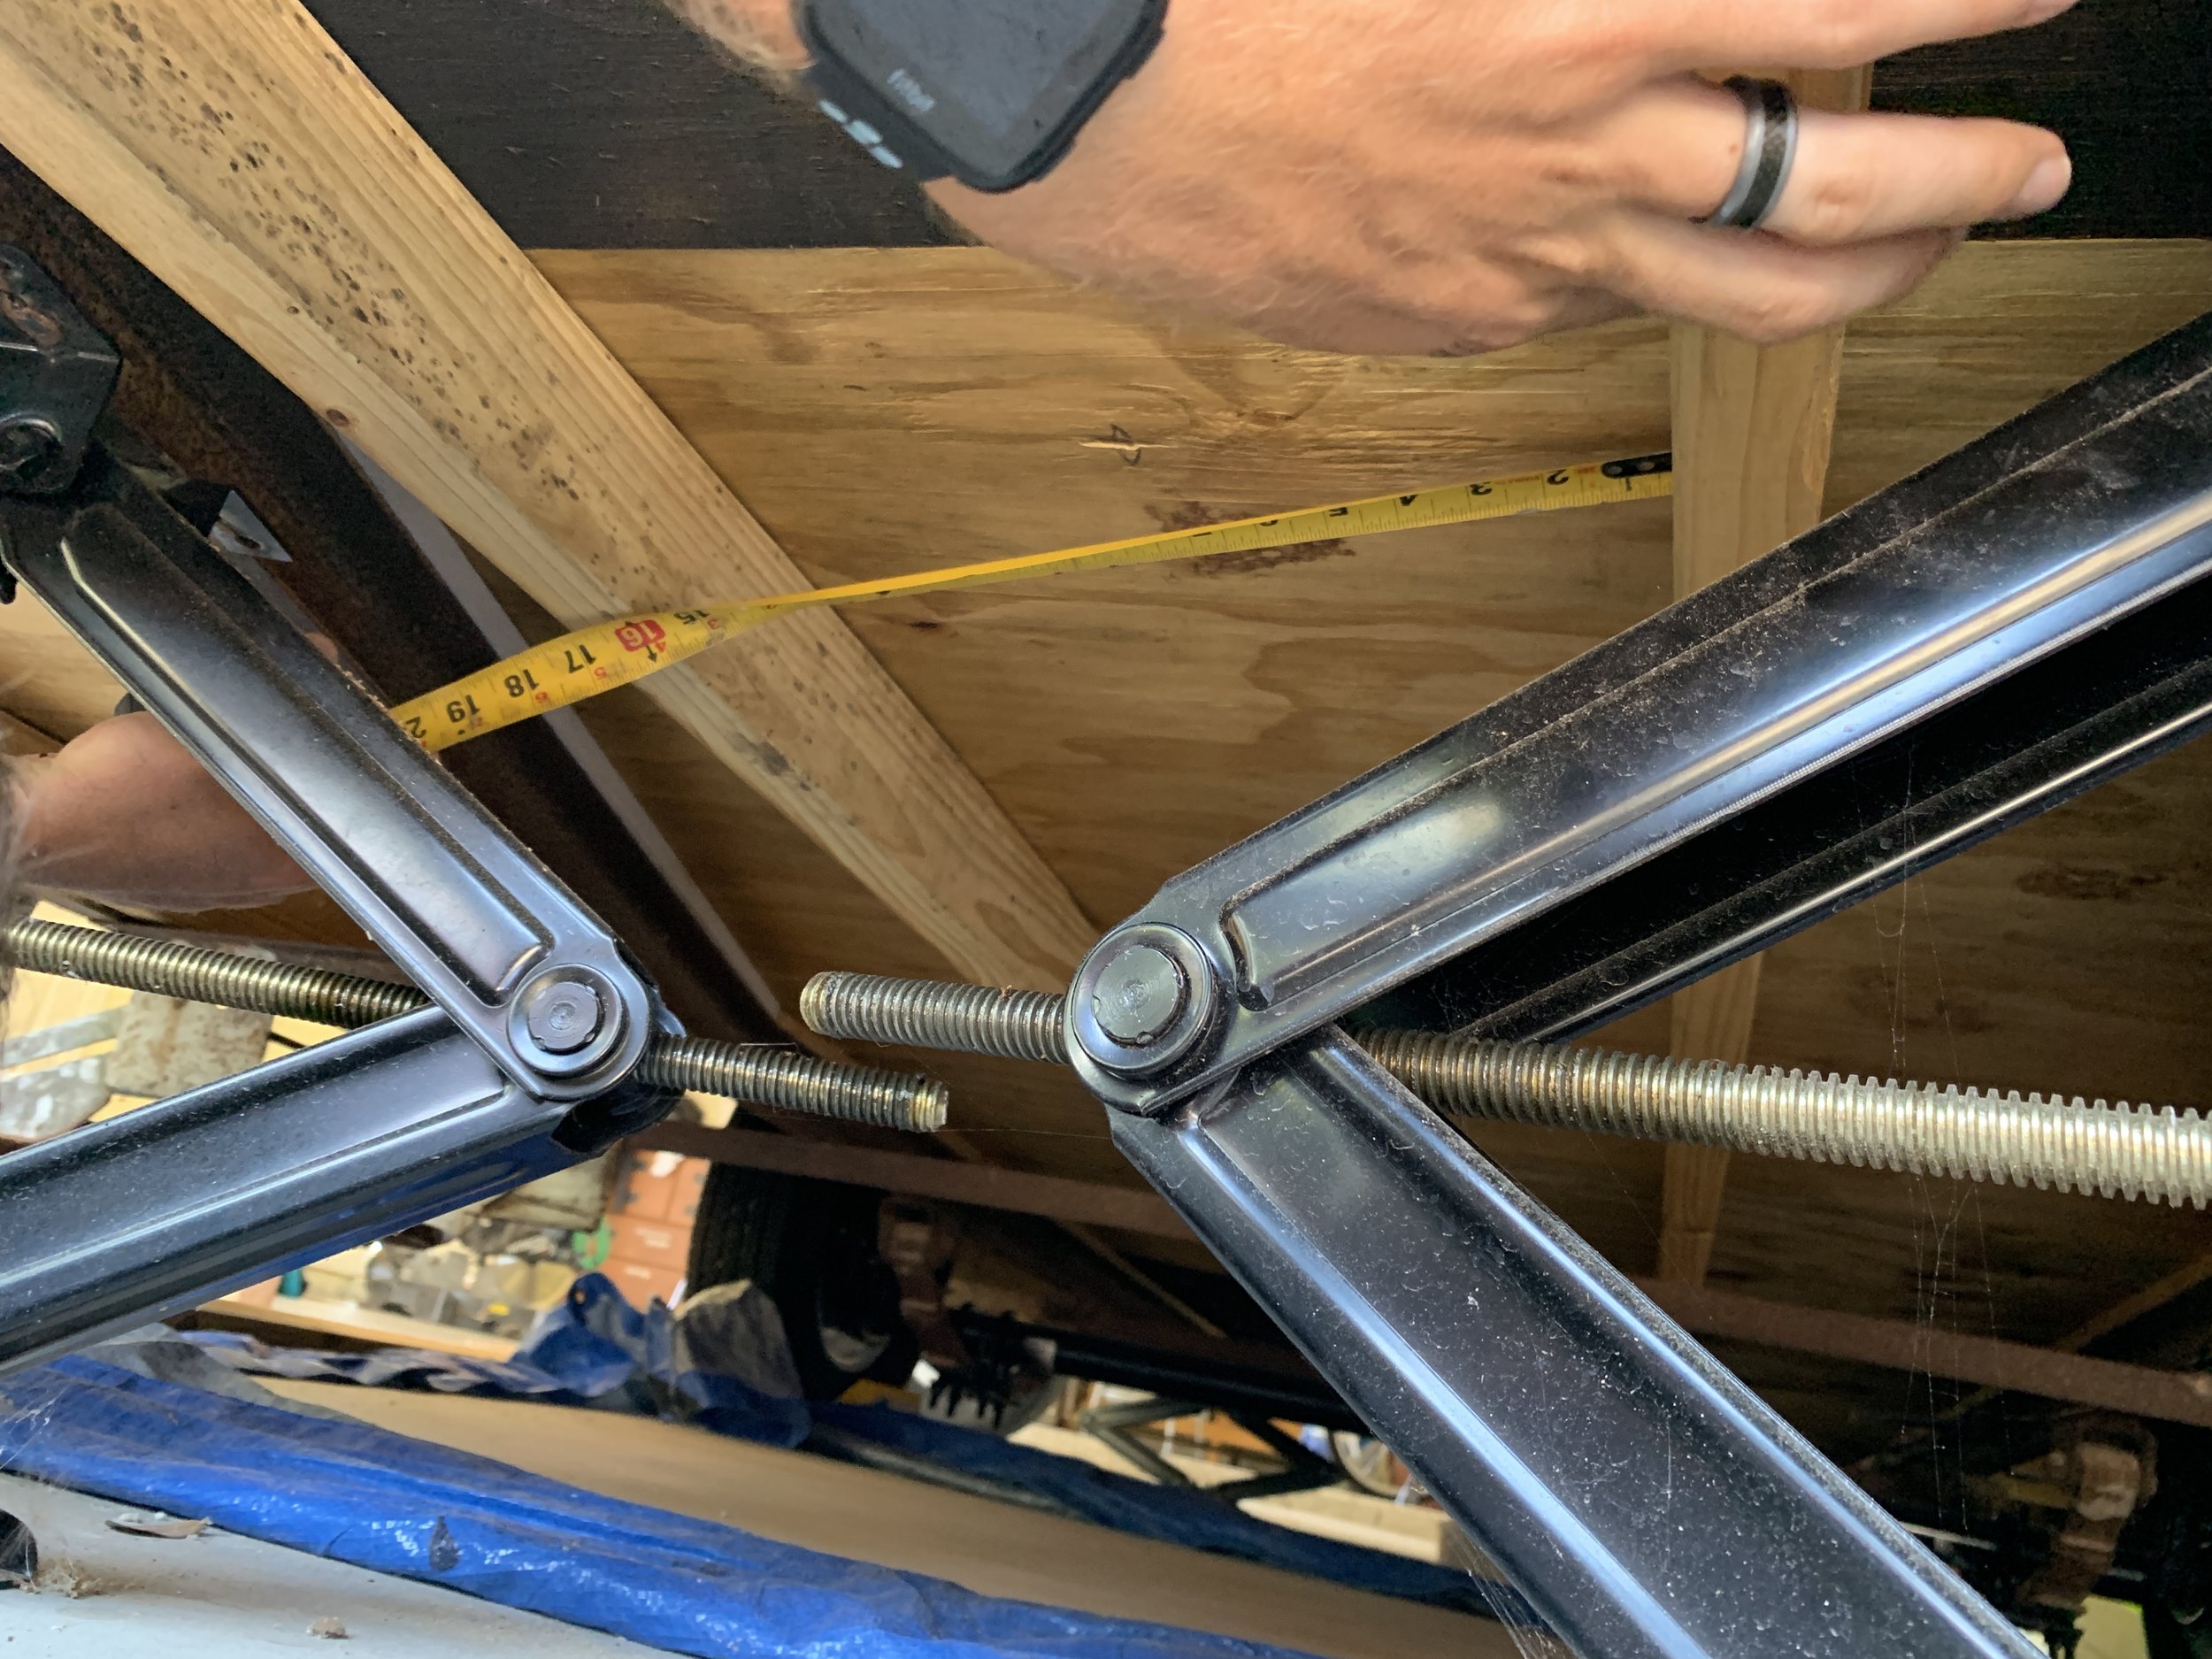
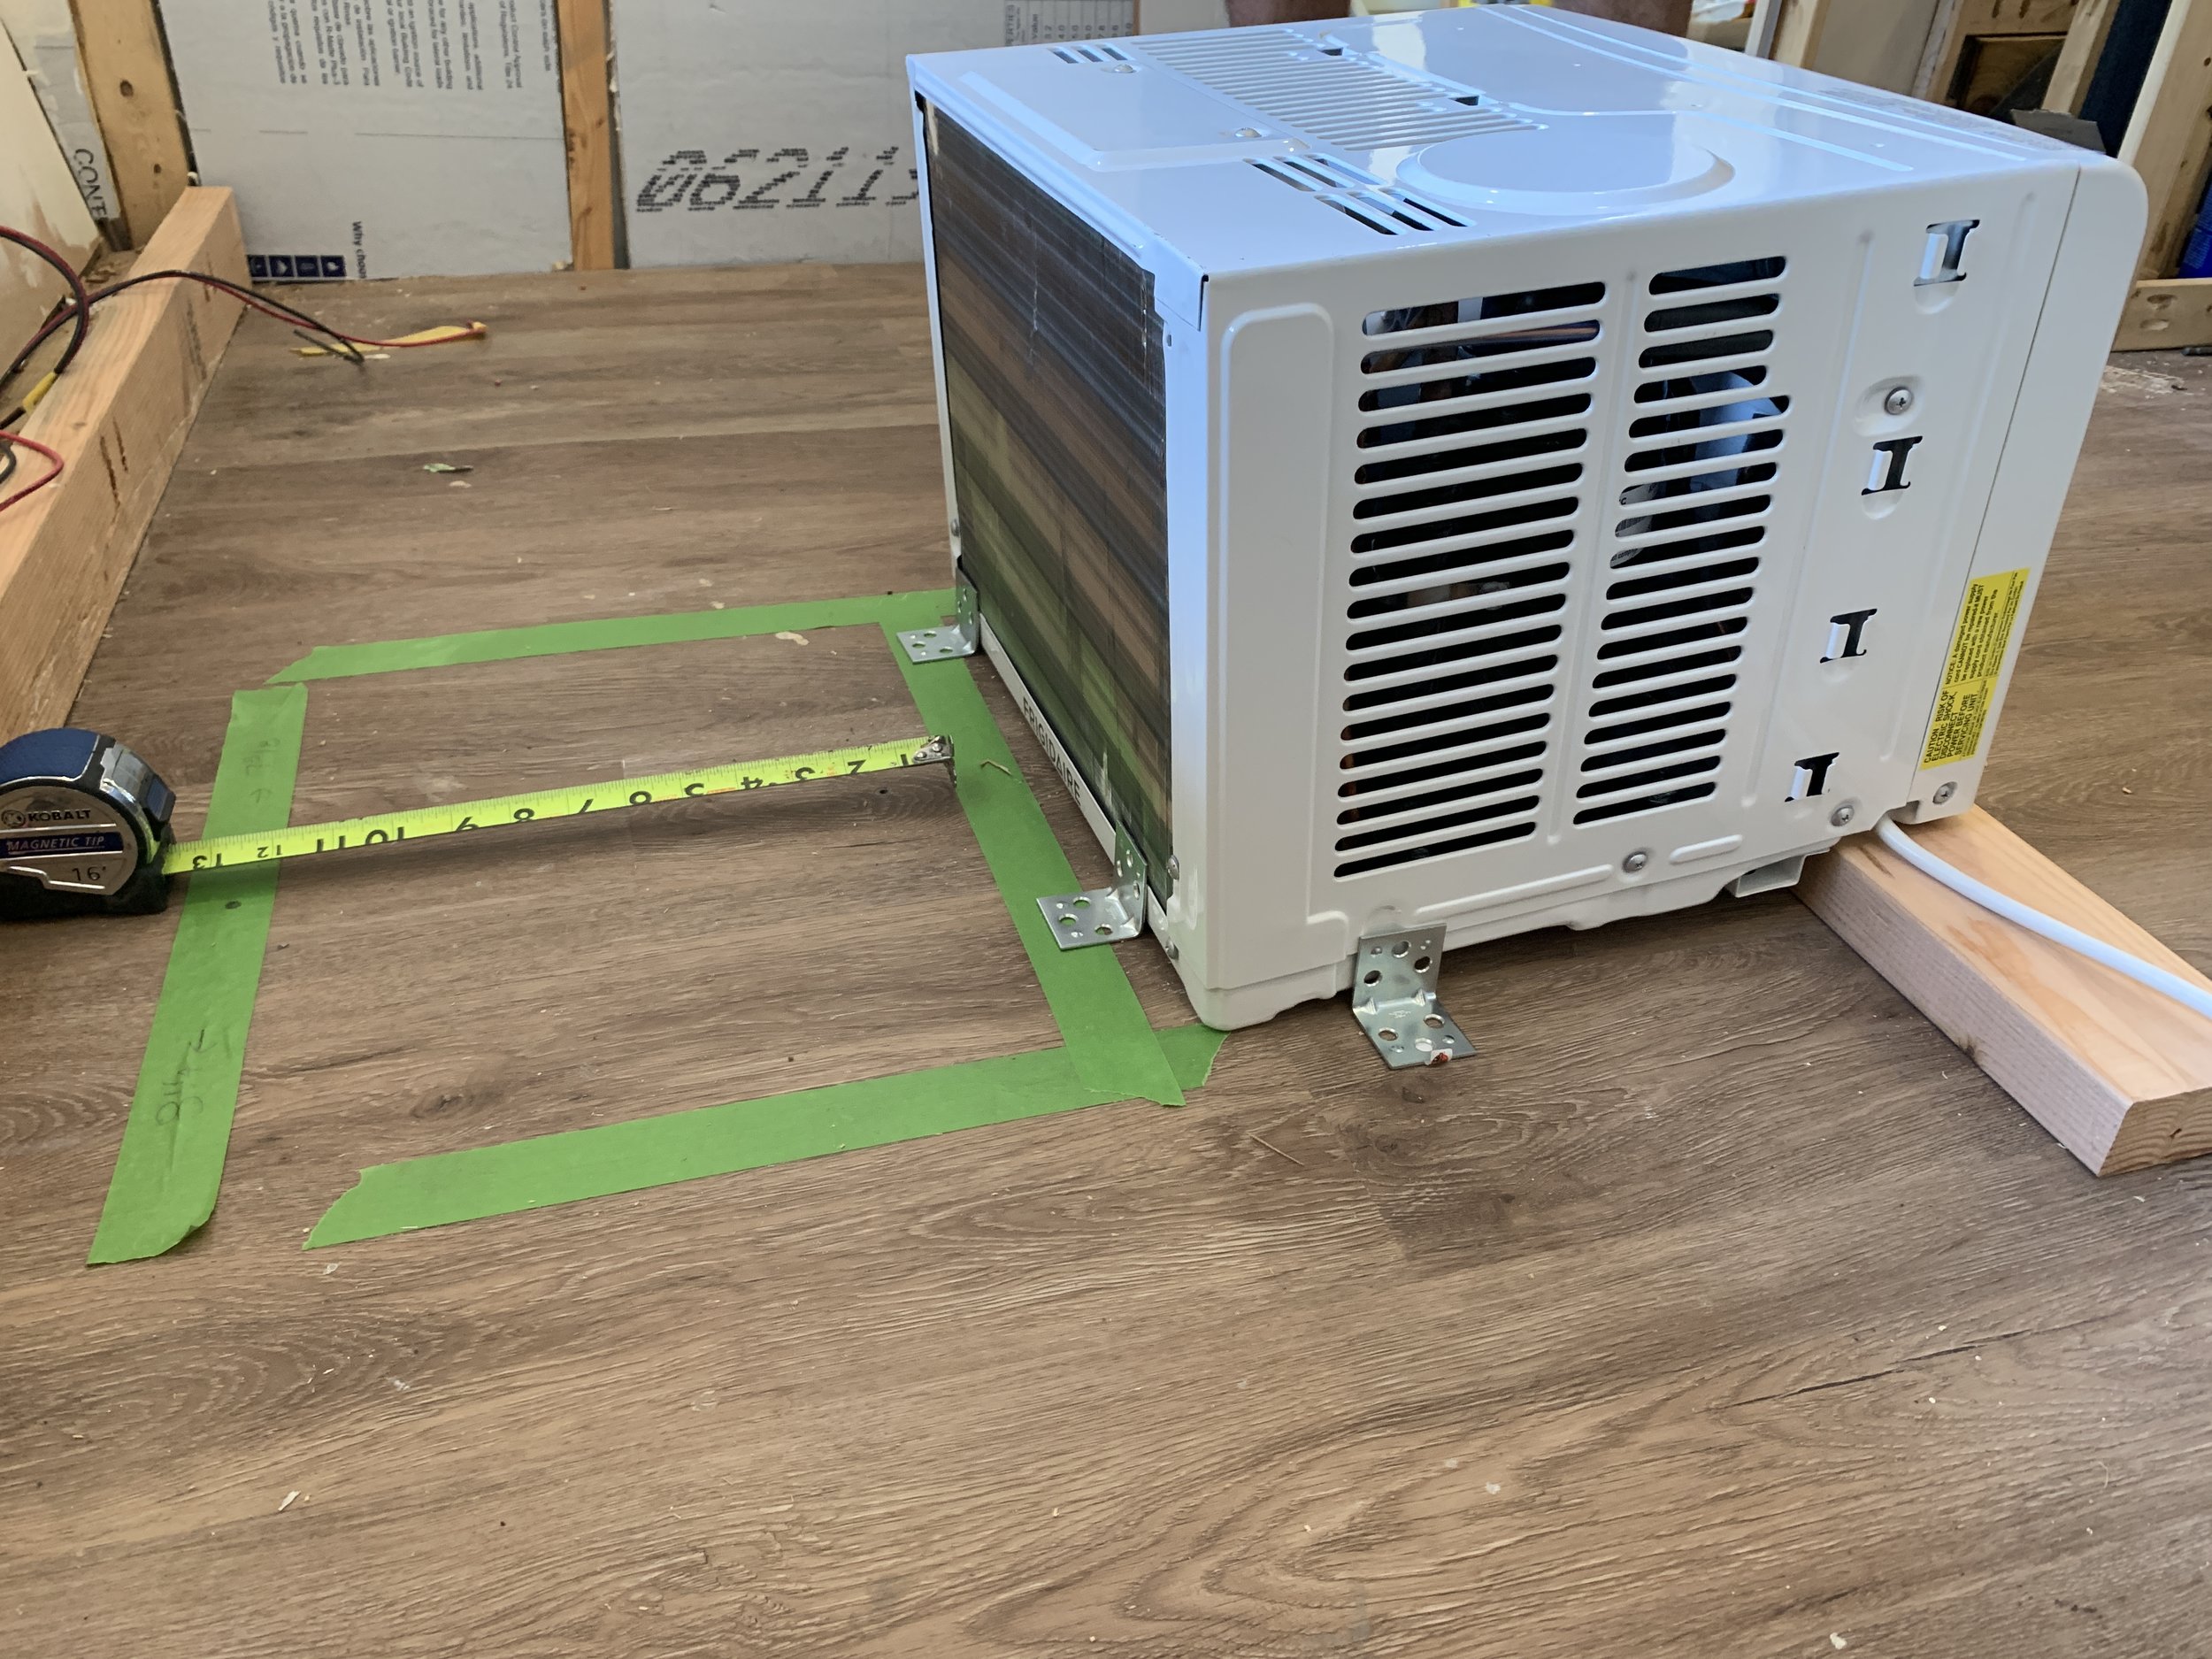
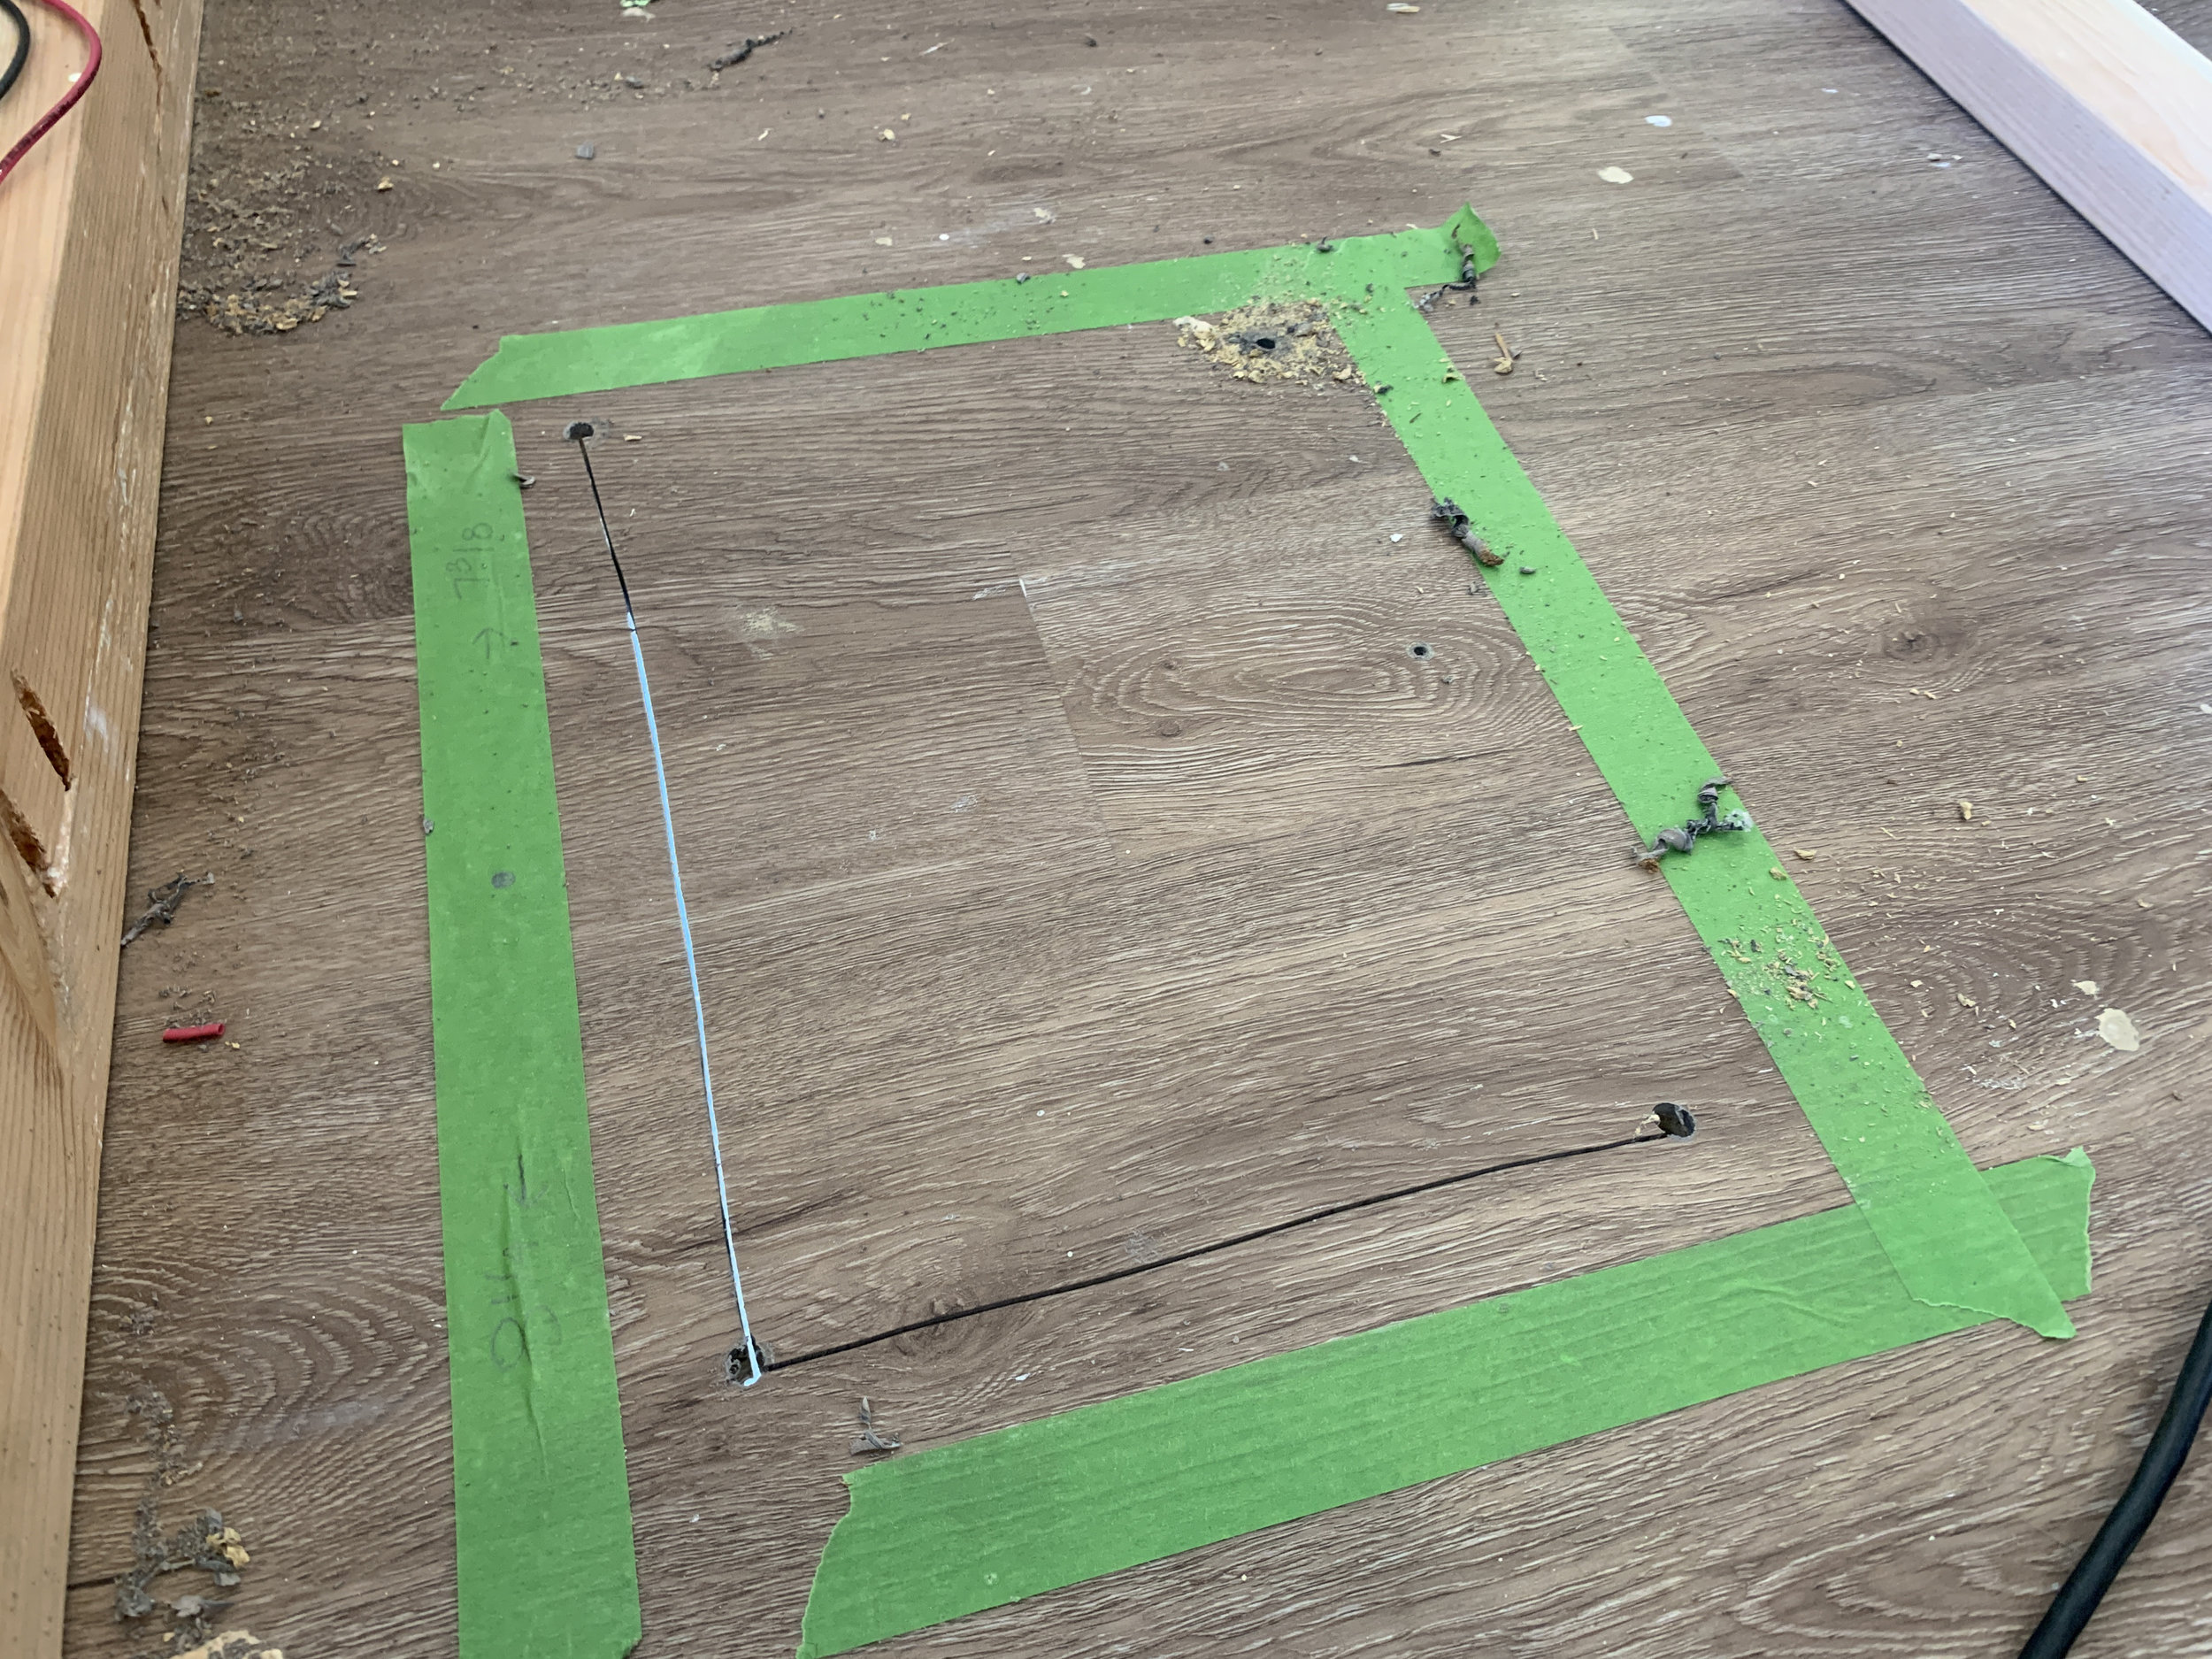
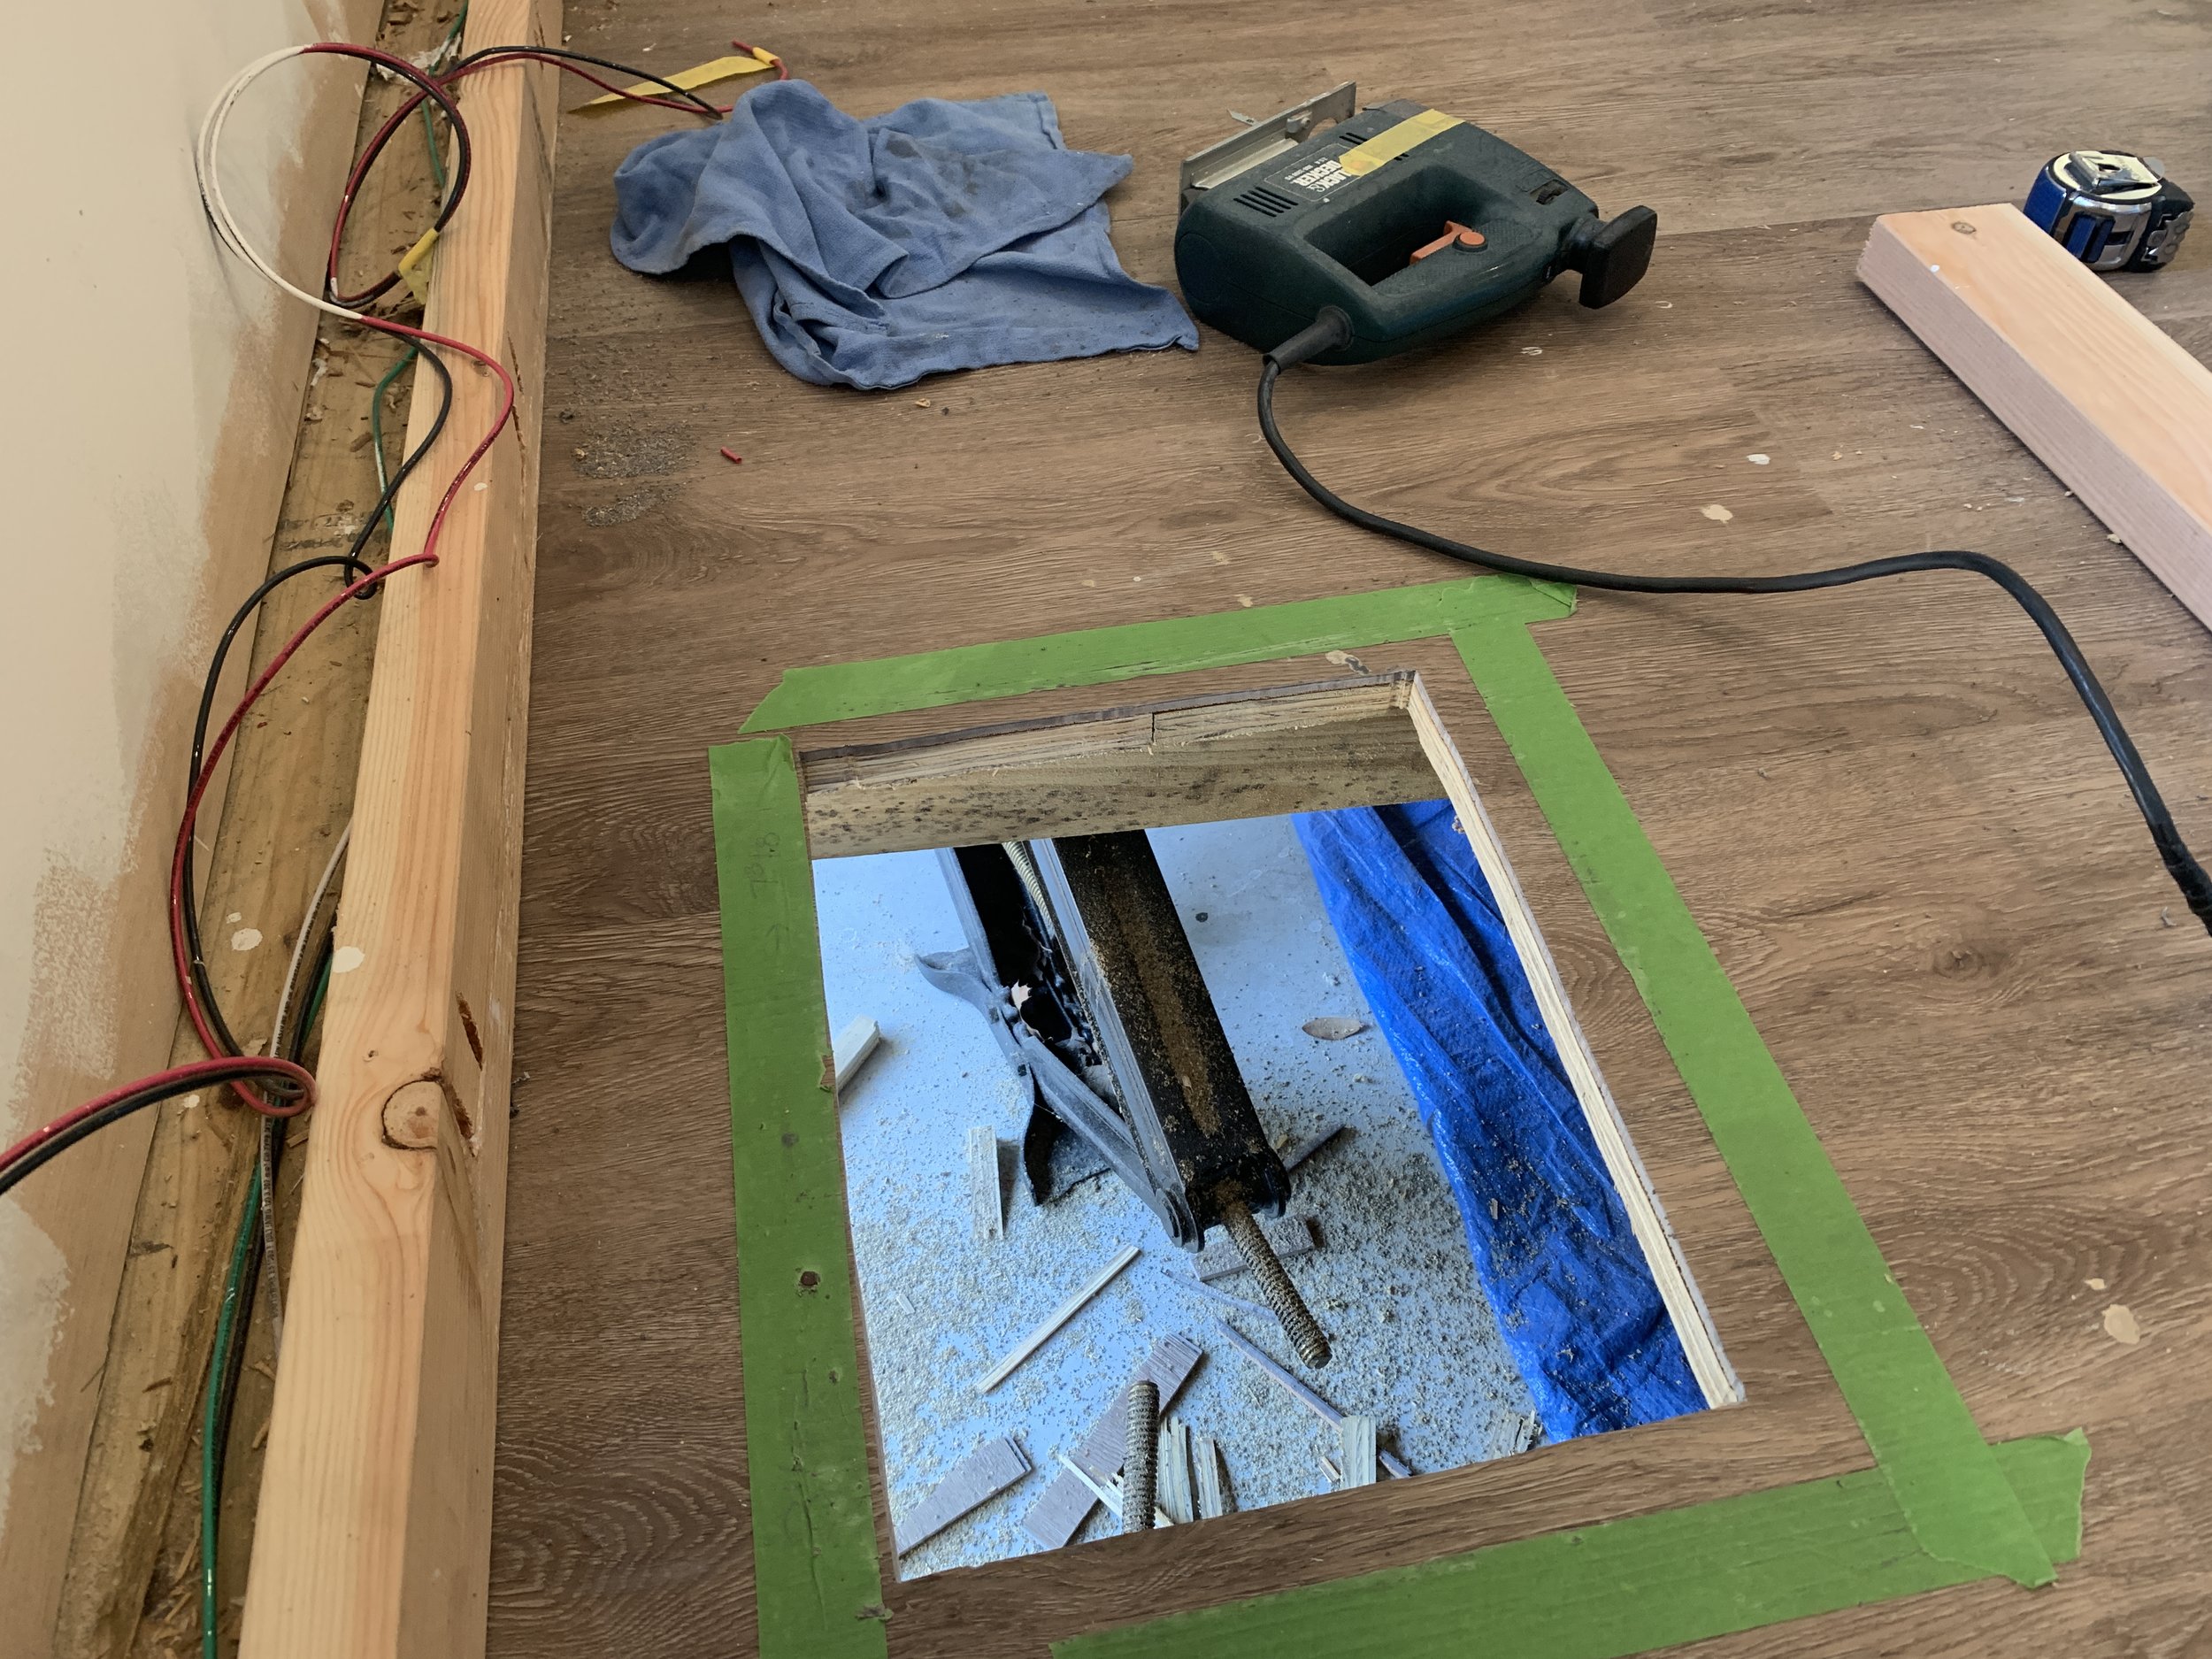
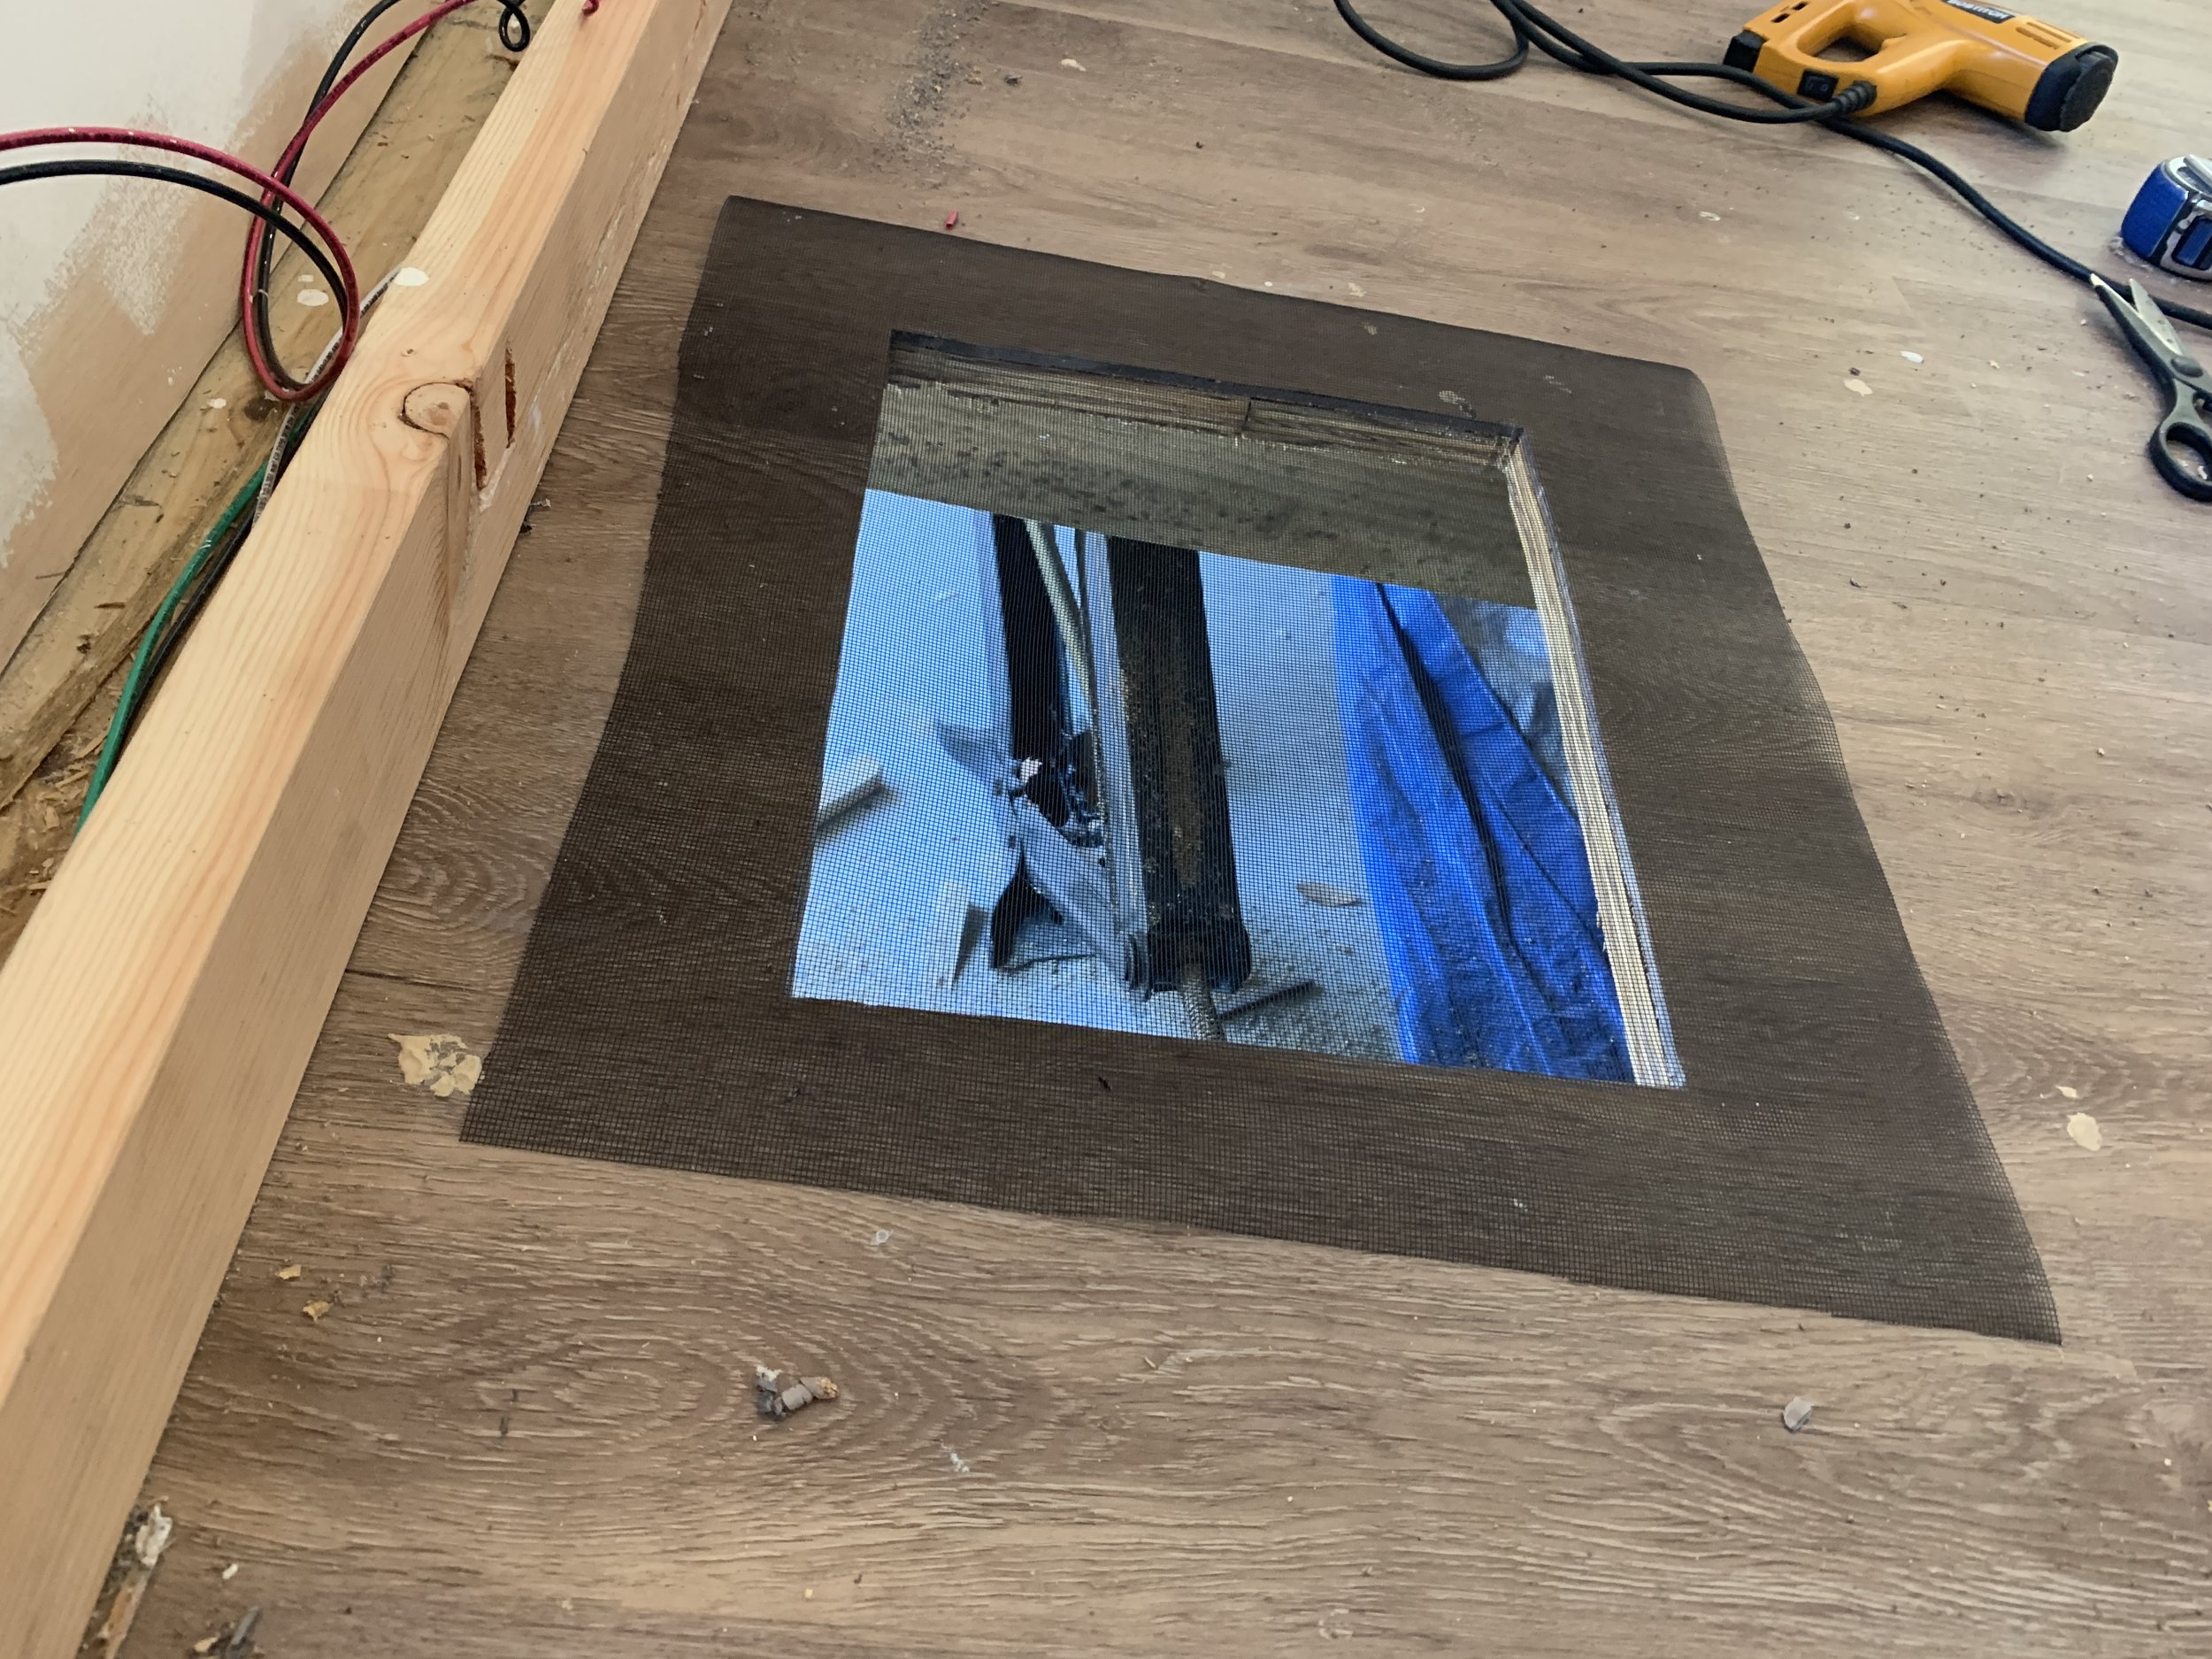
After deciding roughly where we wanted the A/C to go, we dry fit a 2x4 and used it to find the front placement of the A/C (and our L-shaped brackets) so we could began figuring out where we needed to cut the floor and still have enough floor left to secure the brackets into. We started by drilling a small pilot hole in the floor (making sure to avoid the joists) within the area we knew we’d be cutting so we had a reference point we could measure from from both the inside of the camper and the underside of the subfloor. We drilled from the inside, and then from the underside of the camper measured our clearance around that hole to the floor joists to find our safe zone. Using those measurements, we taped out our maximum allowable hole size on the floor inside the camper so we knew our guidelines without compromising the structural integrity of the floor joists. Also, so we don’t restrict airflow, we wanted the hole in the floor to be comparable to the size of the back of the window unit (about 16x12”), so we could as closely as possible mimic the amount of airflow it would have hanging out of a window.
Protecting the camper’s a/c from water damage & pests
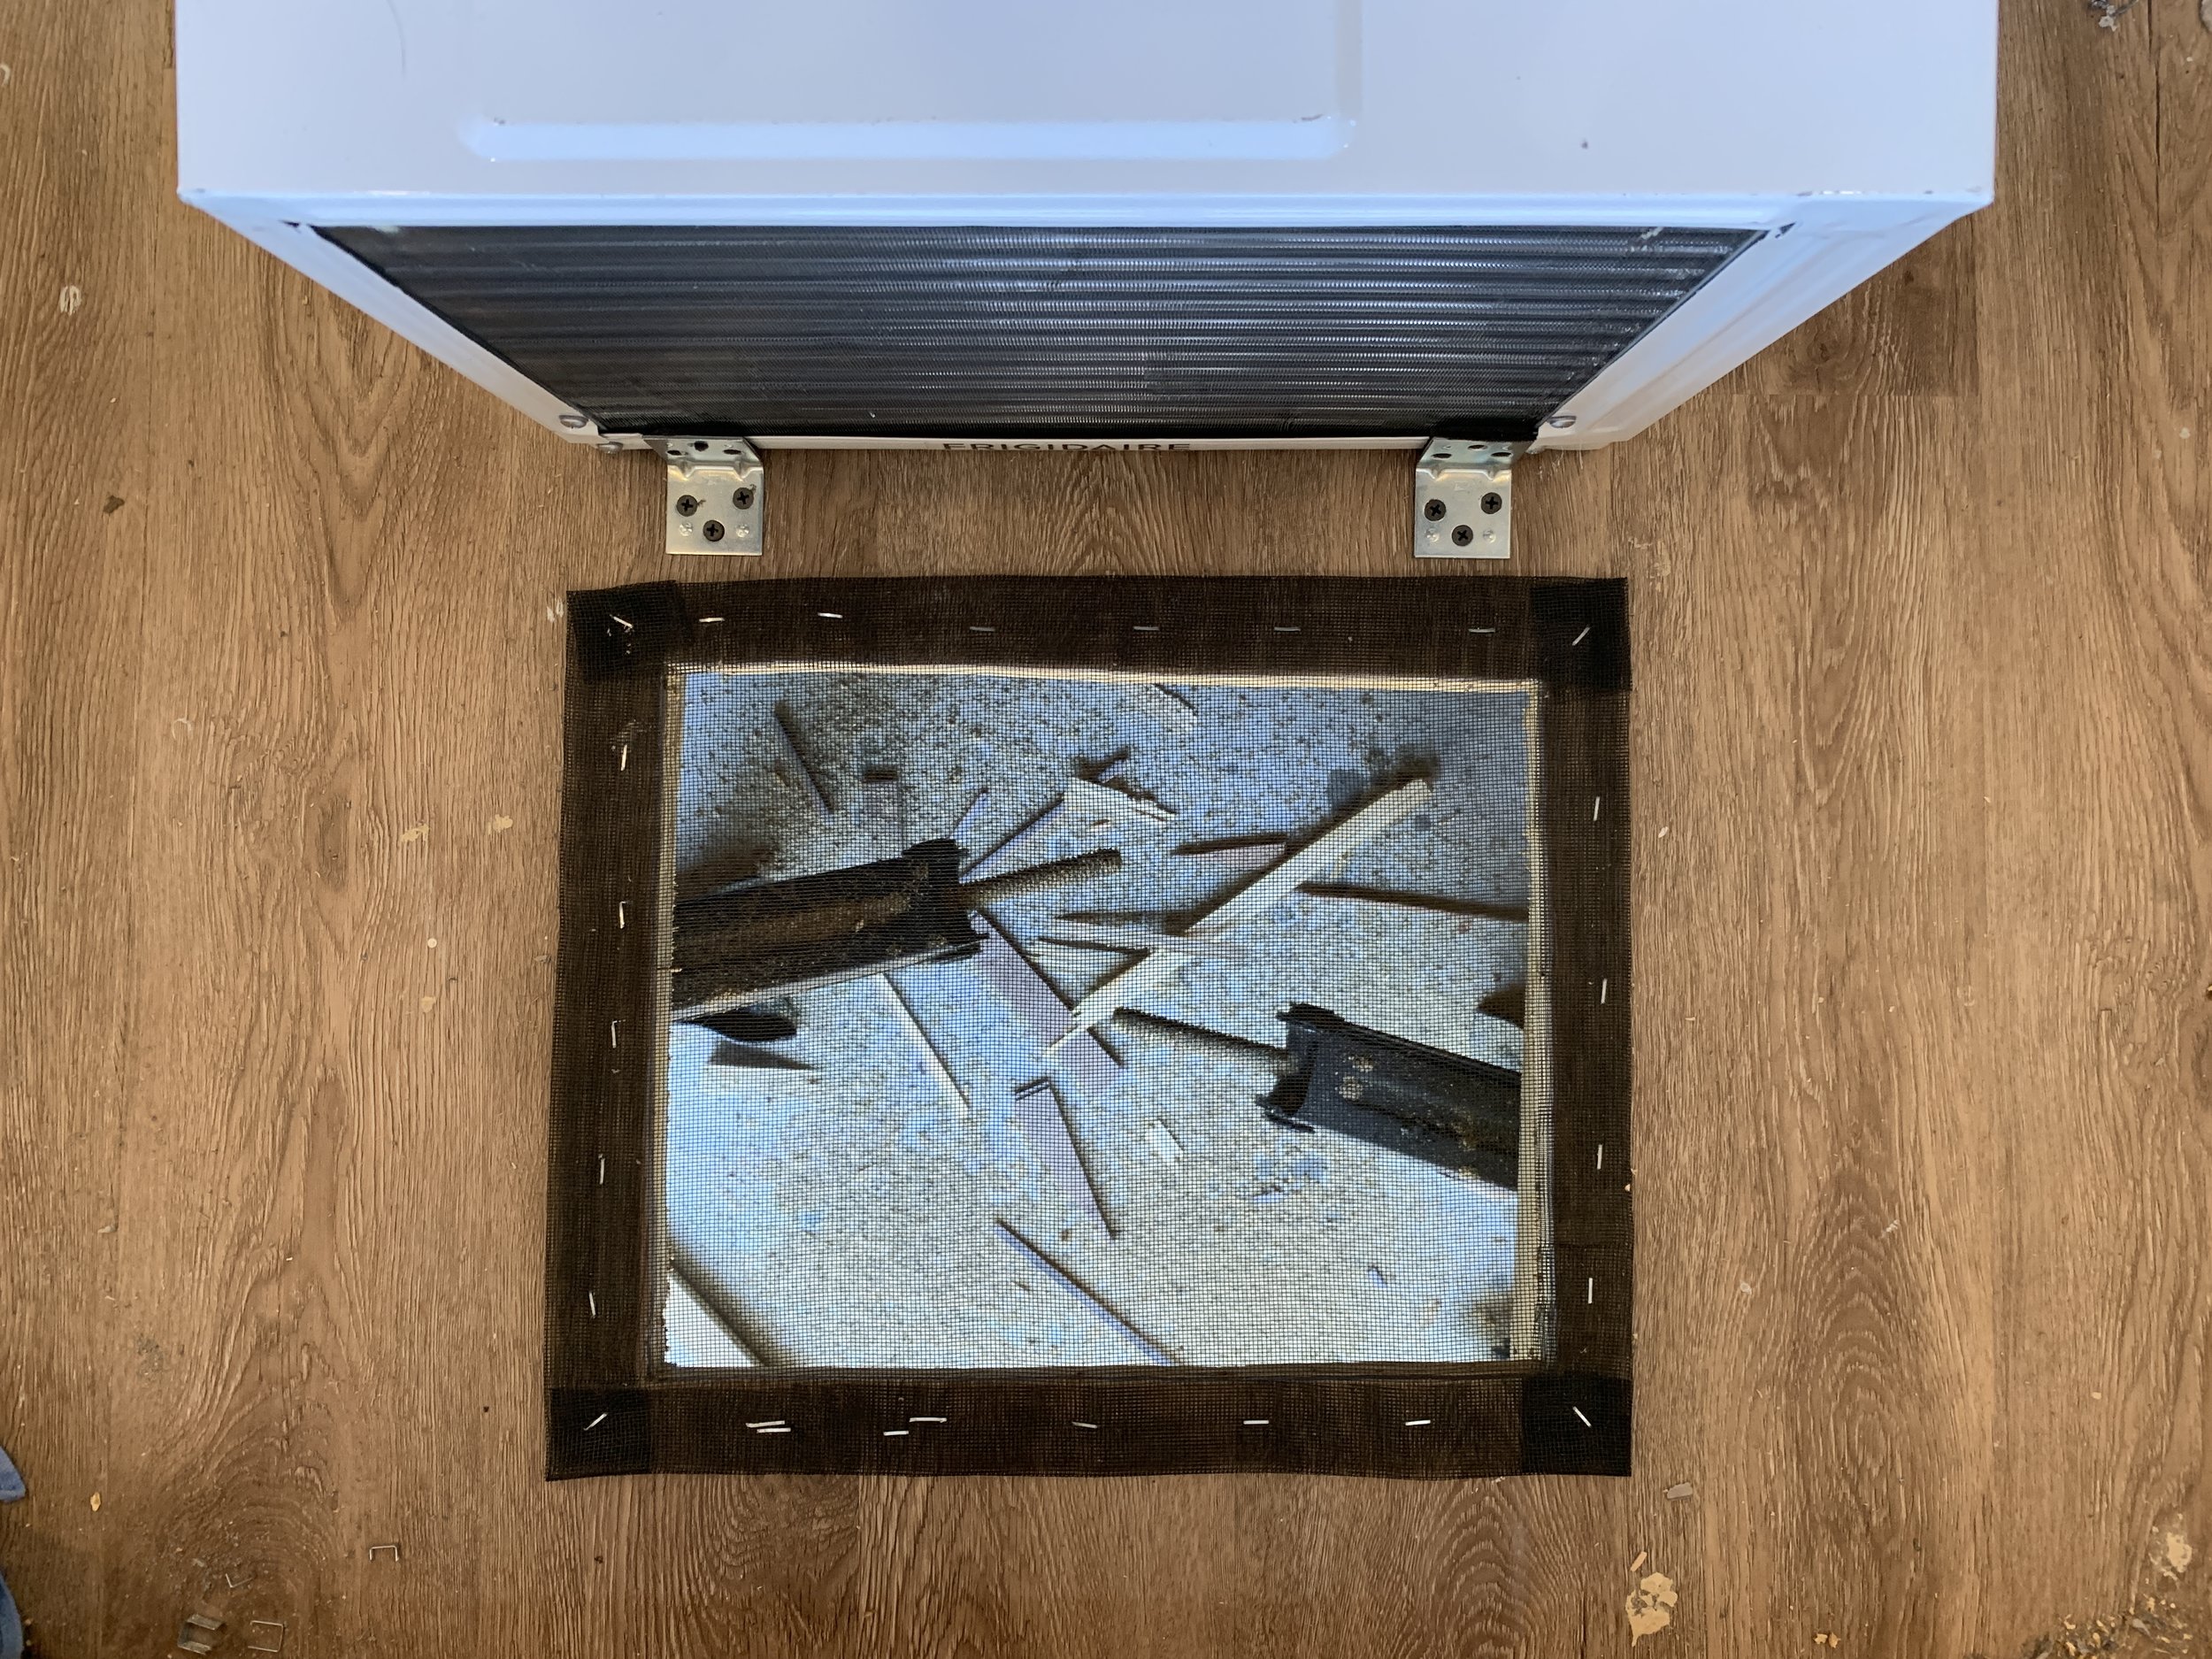
After we cut our hole, we prepped the fresh cuts with Thompson’s Water Seal to add protection against moisture – from the outside and the air conditioner. Then, using a staple gun, we installed a layer of vinyl window screen to keep the camper and exhaust duct free of bugs and critters. We cut the screen a little larger than the hole and doubled up the edges by folding it over to help keep the staples from ripping through the mesh. You can see in the last picture below what it looks like from under the camper once the screen was installed.
After everything was complete, we secured a slatted metal vent cover to the underside of the camper floor (in addition to the bug screen) to help protect against rocks that might kick up while we’re driving and keep out any critters that might easily cut through the vinyl mesh screen.


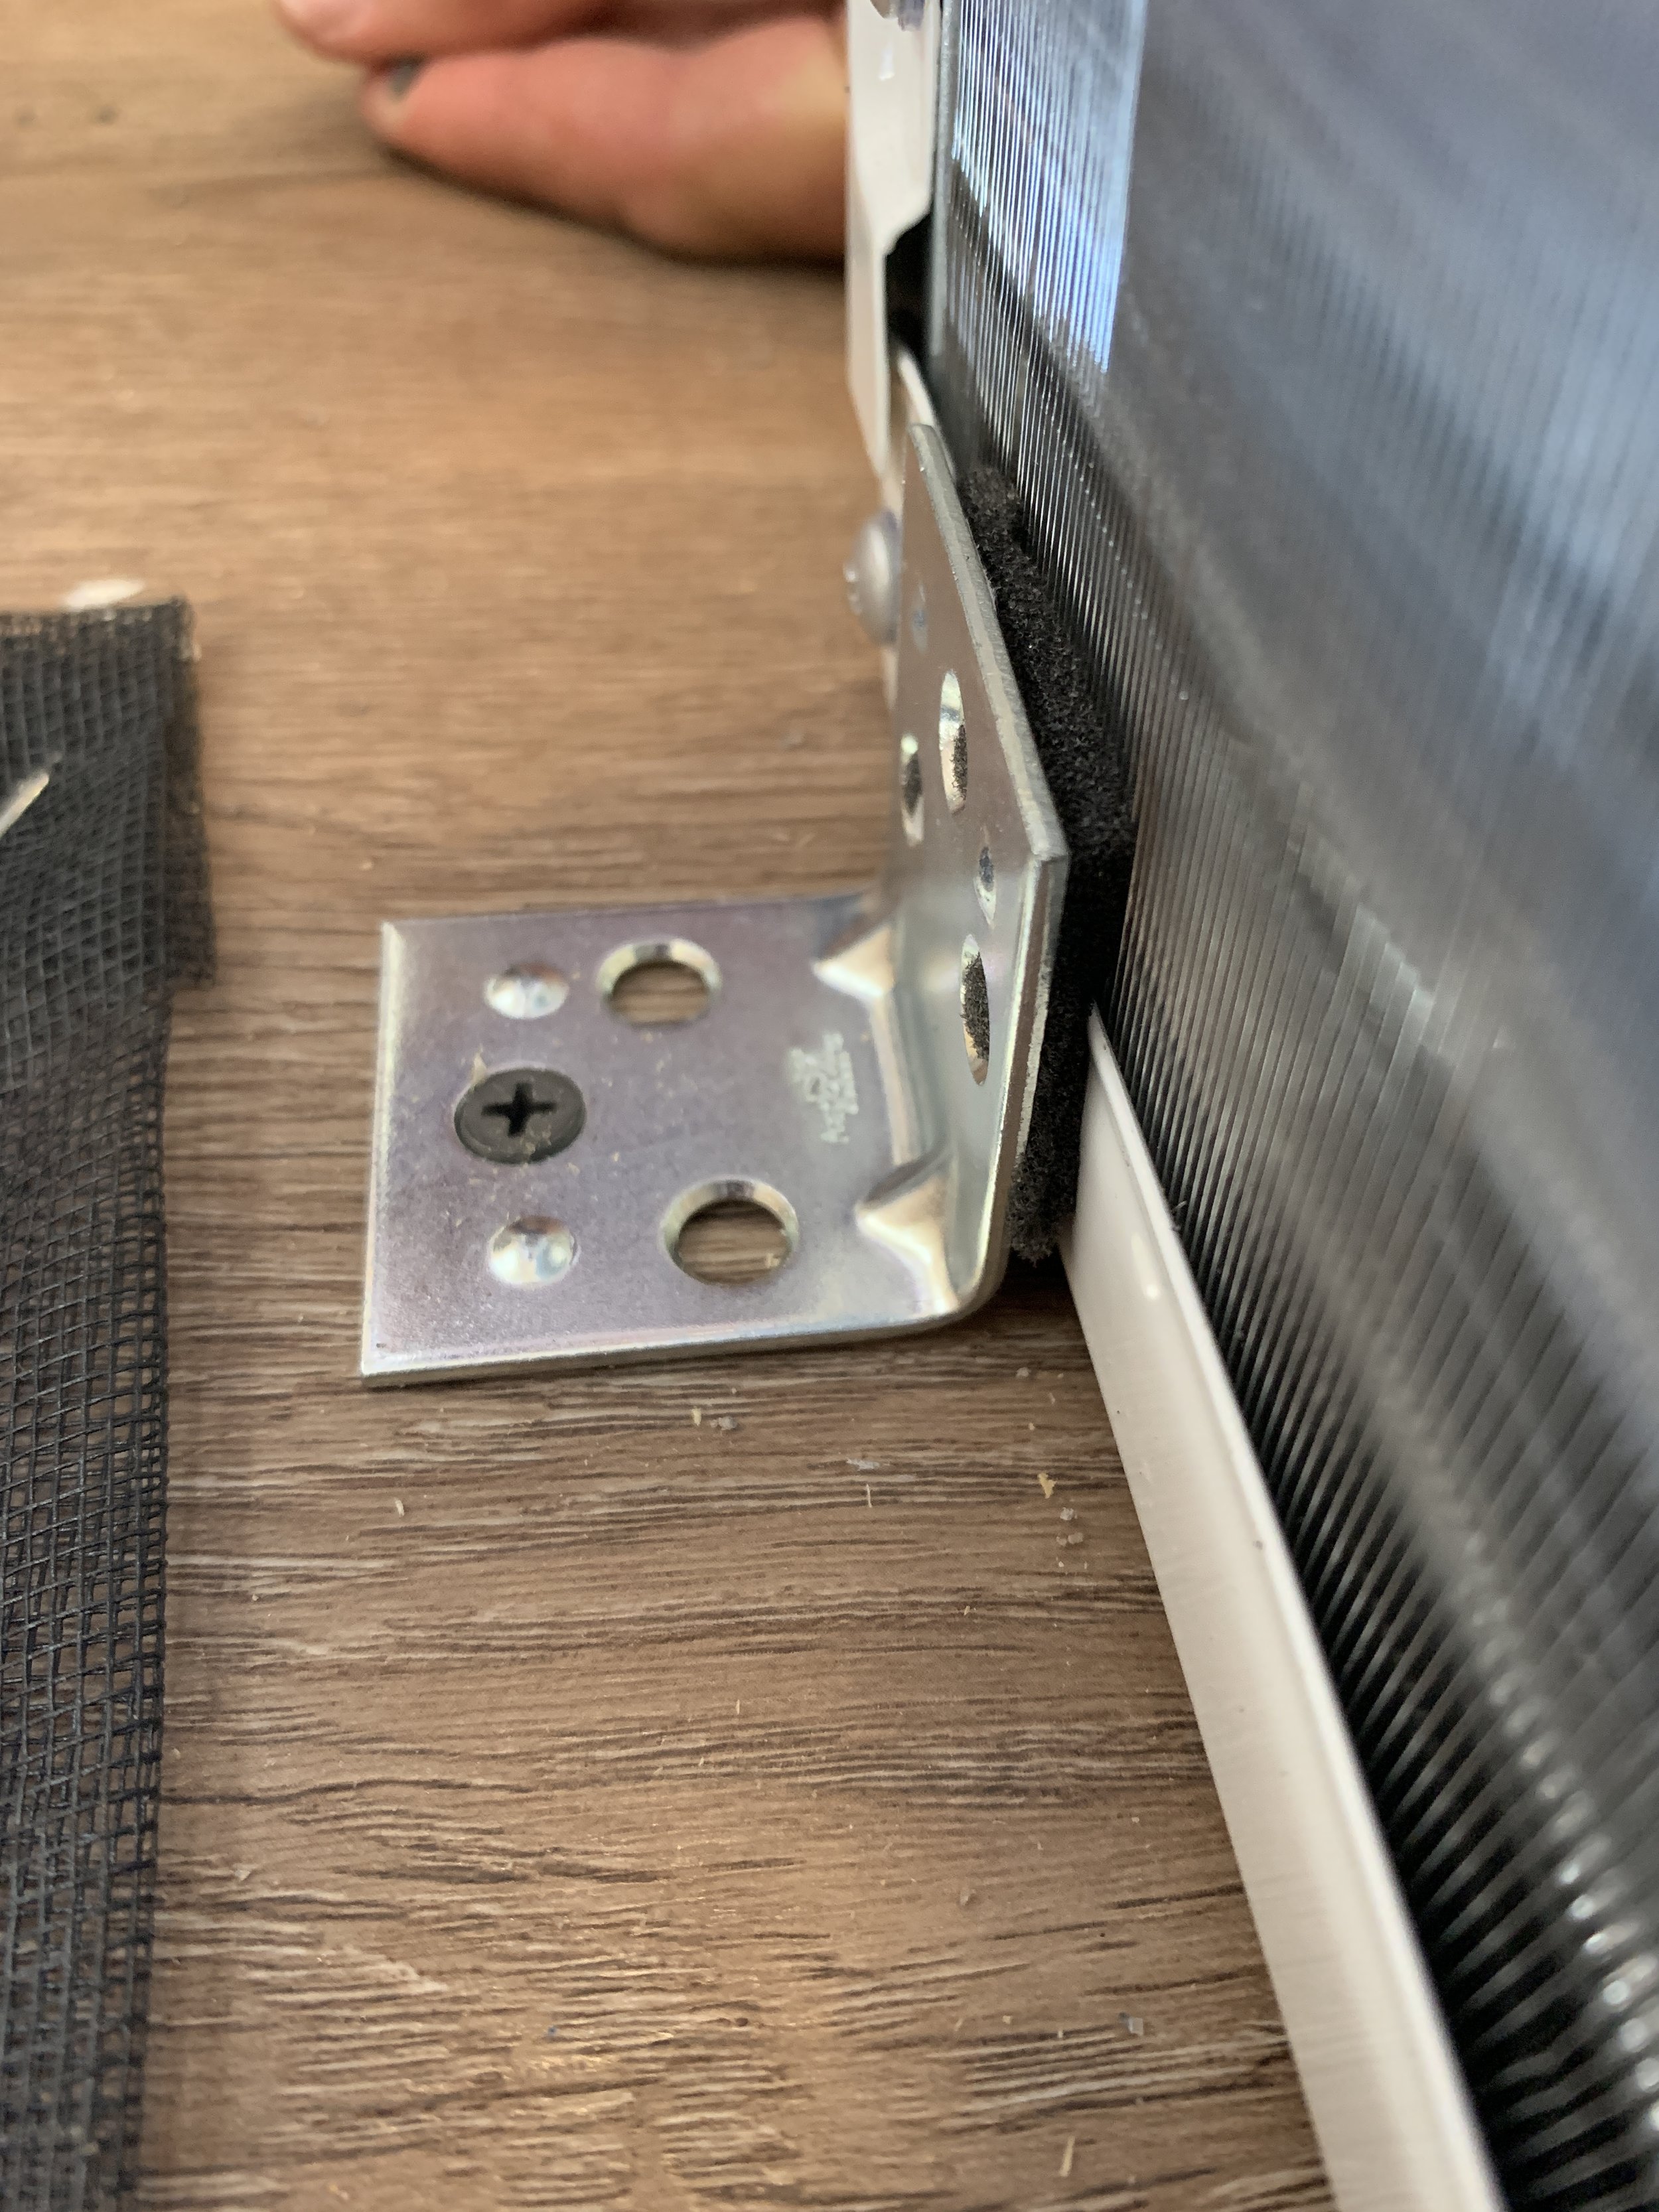
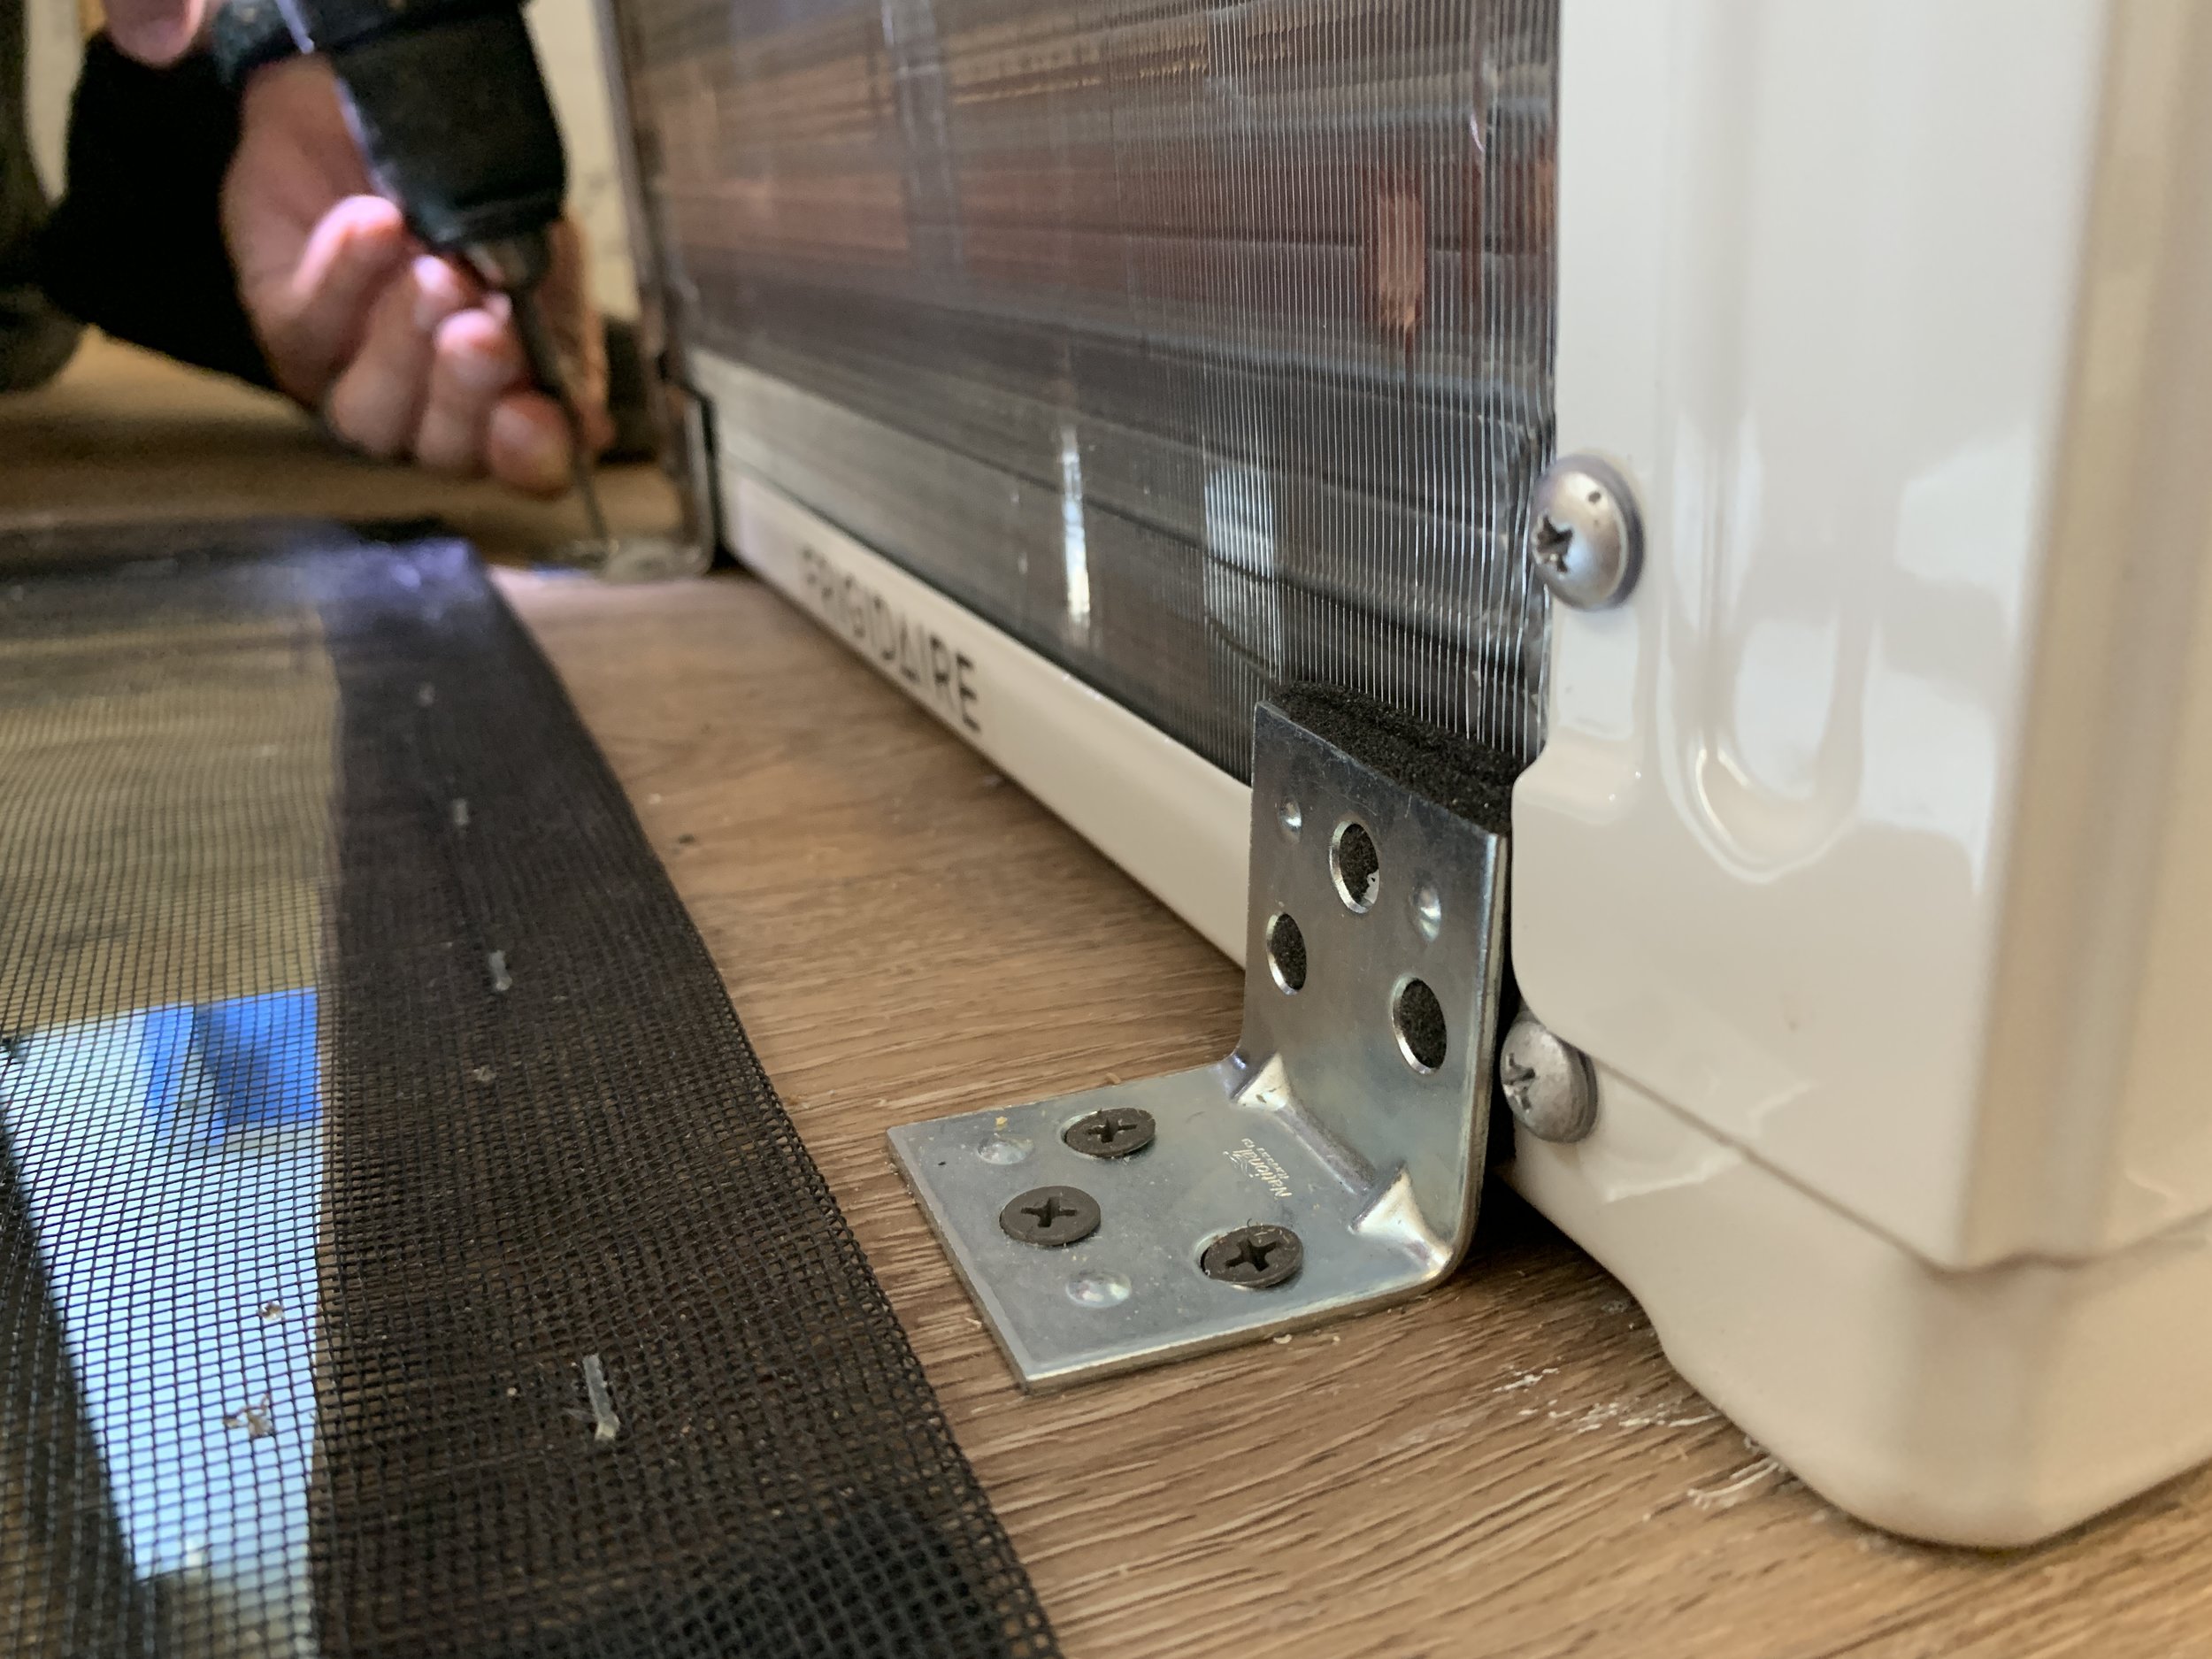
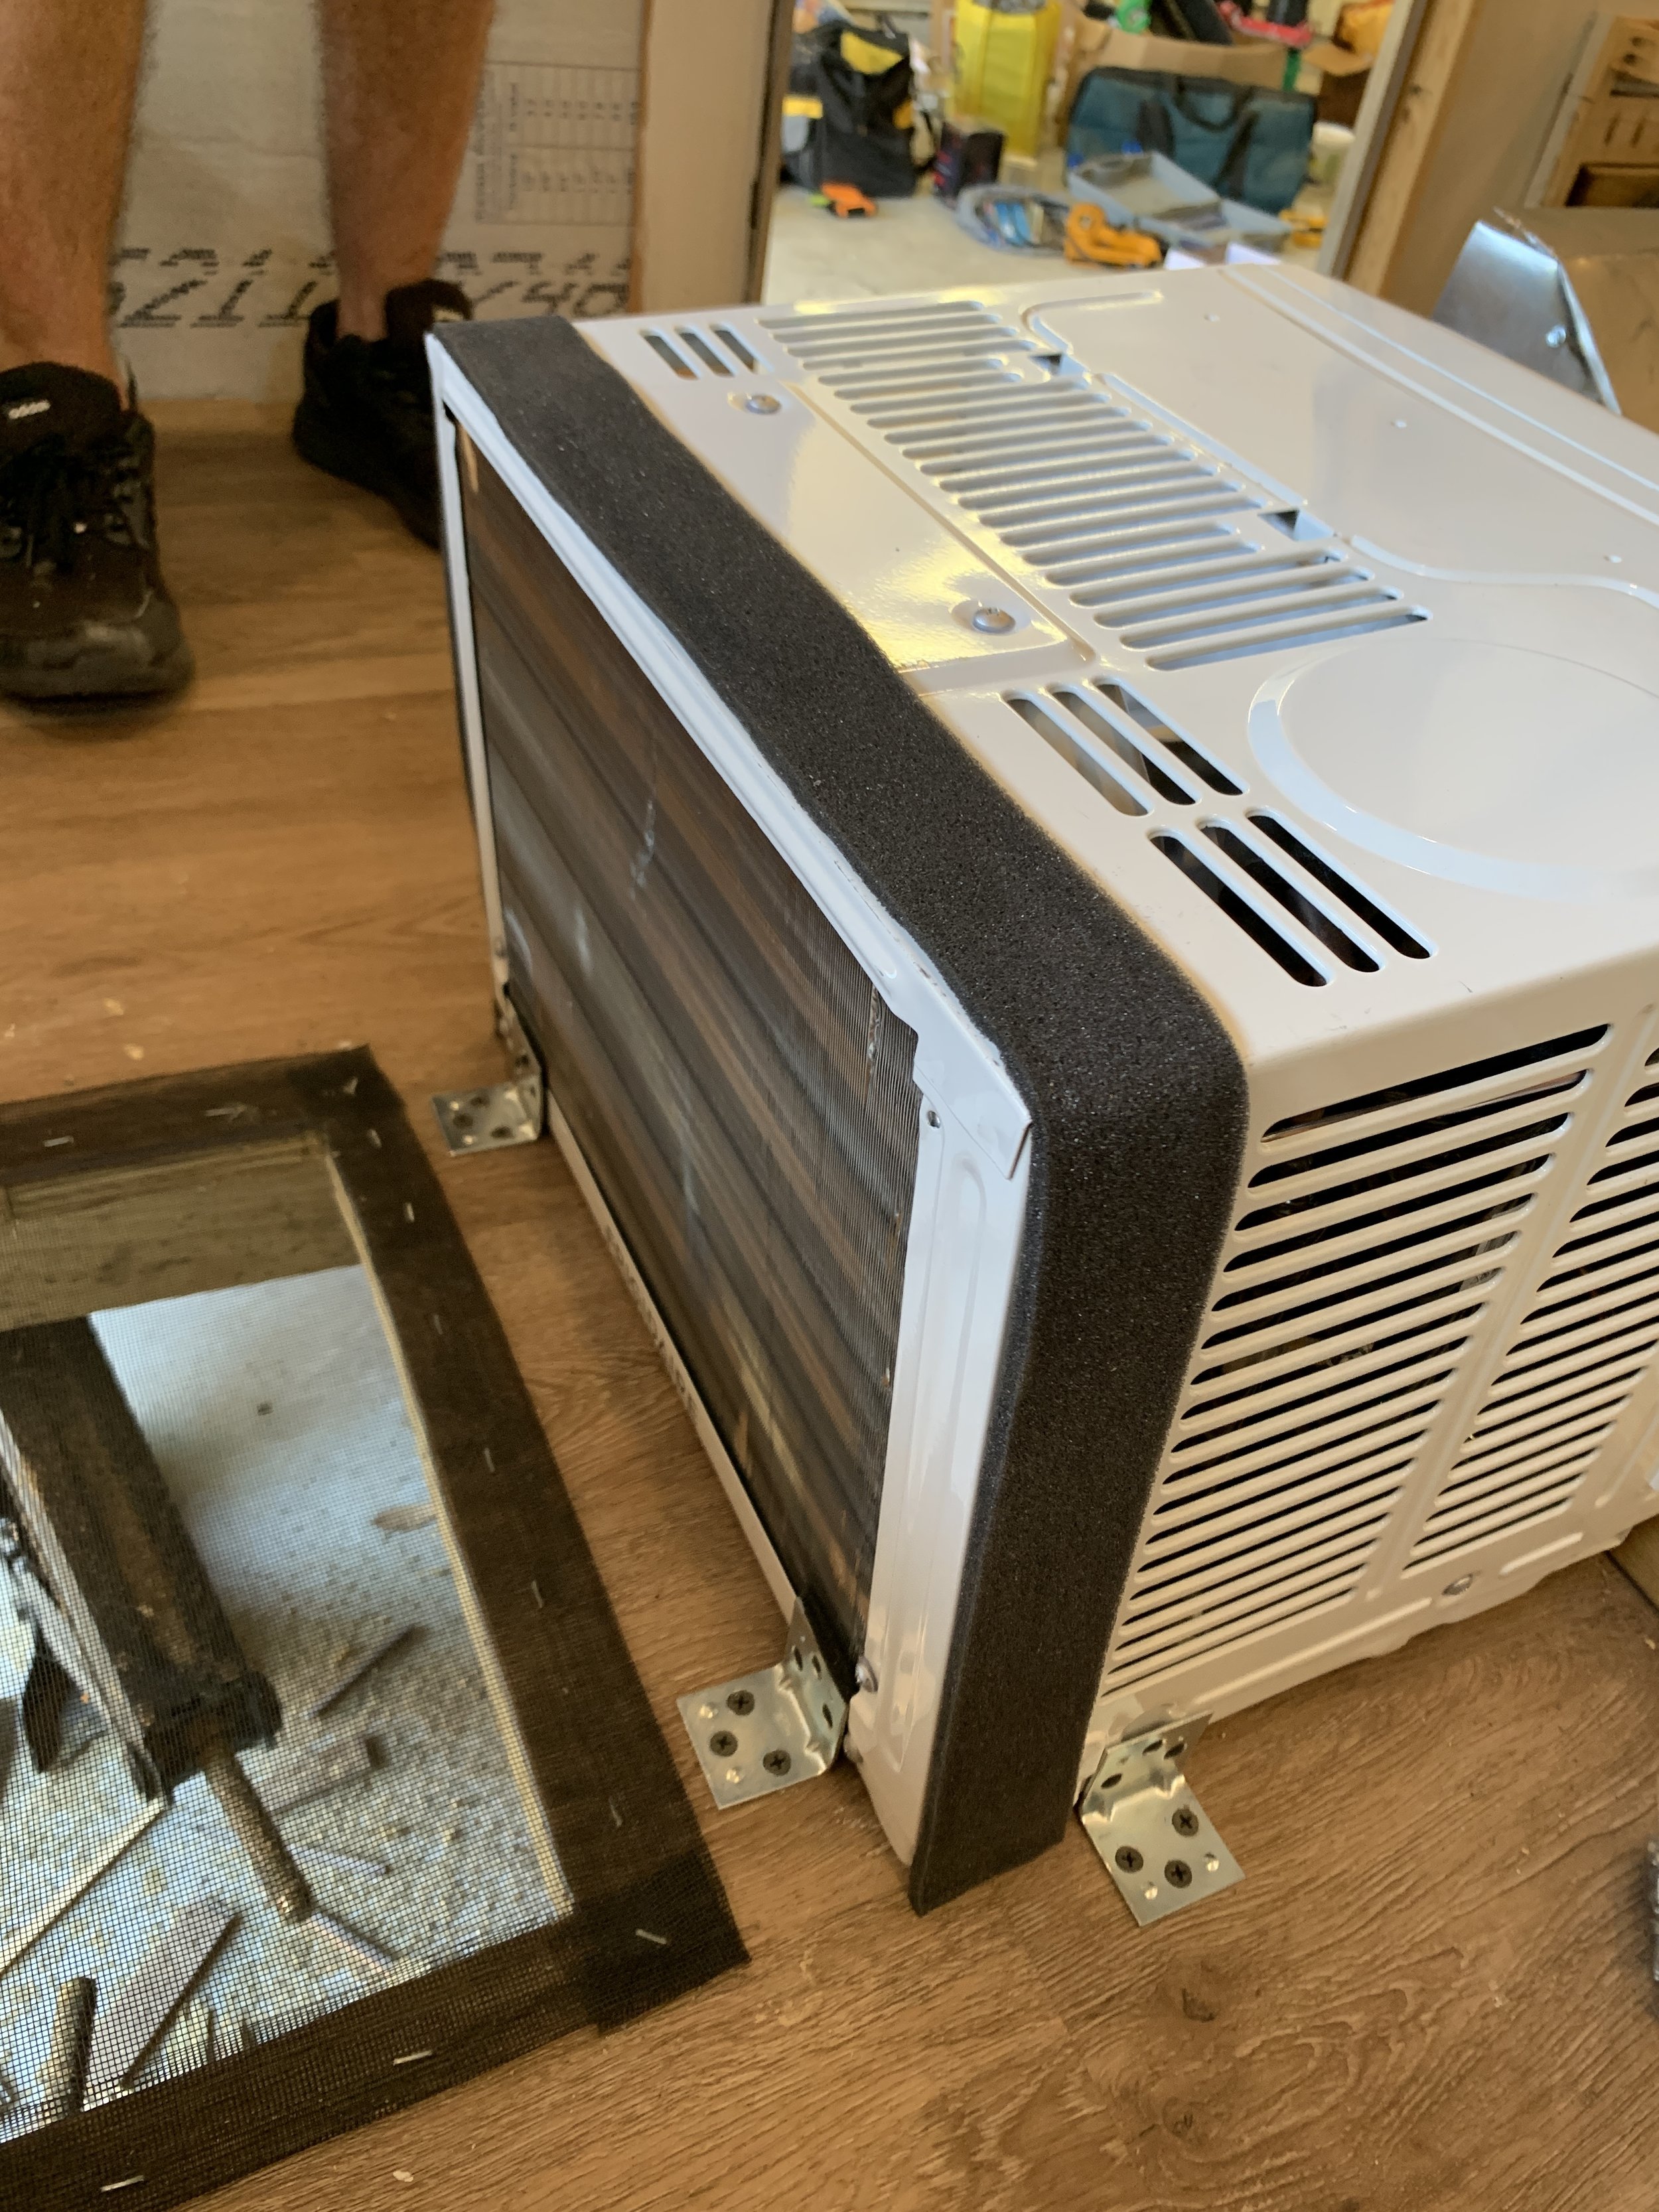
Reducing vibration noise & securing the window unit to the floor
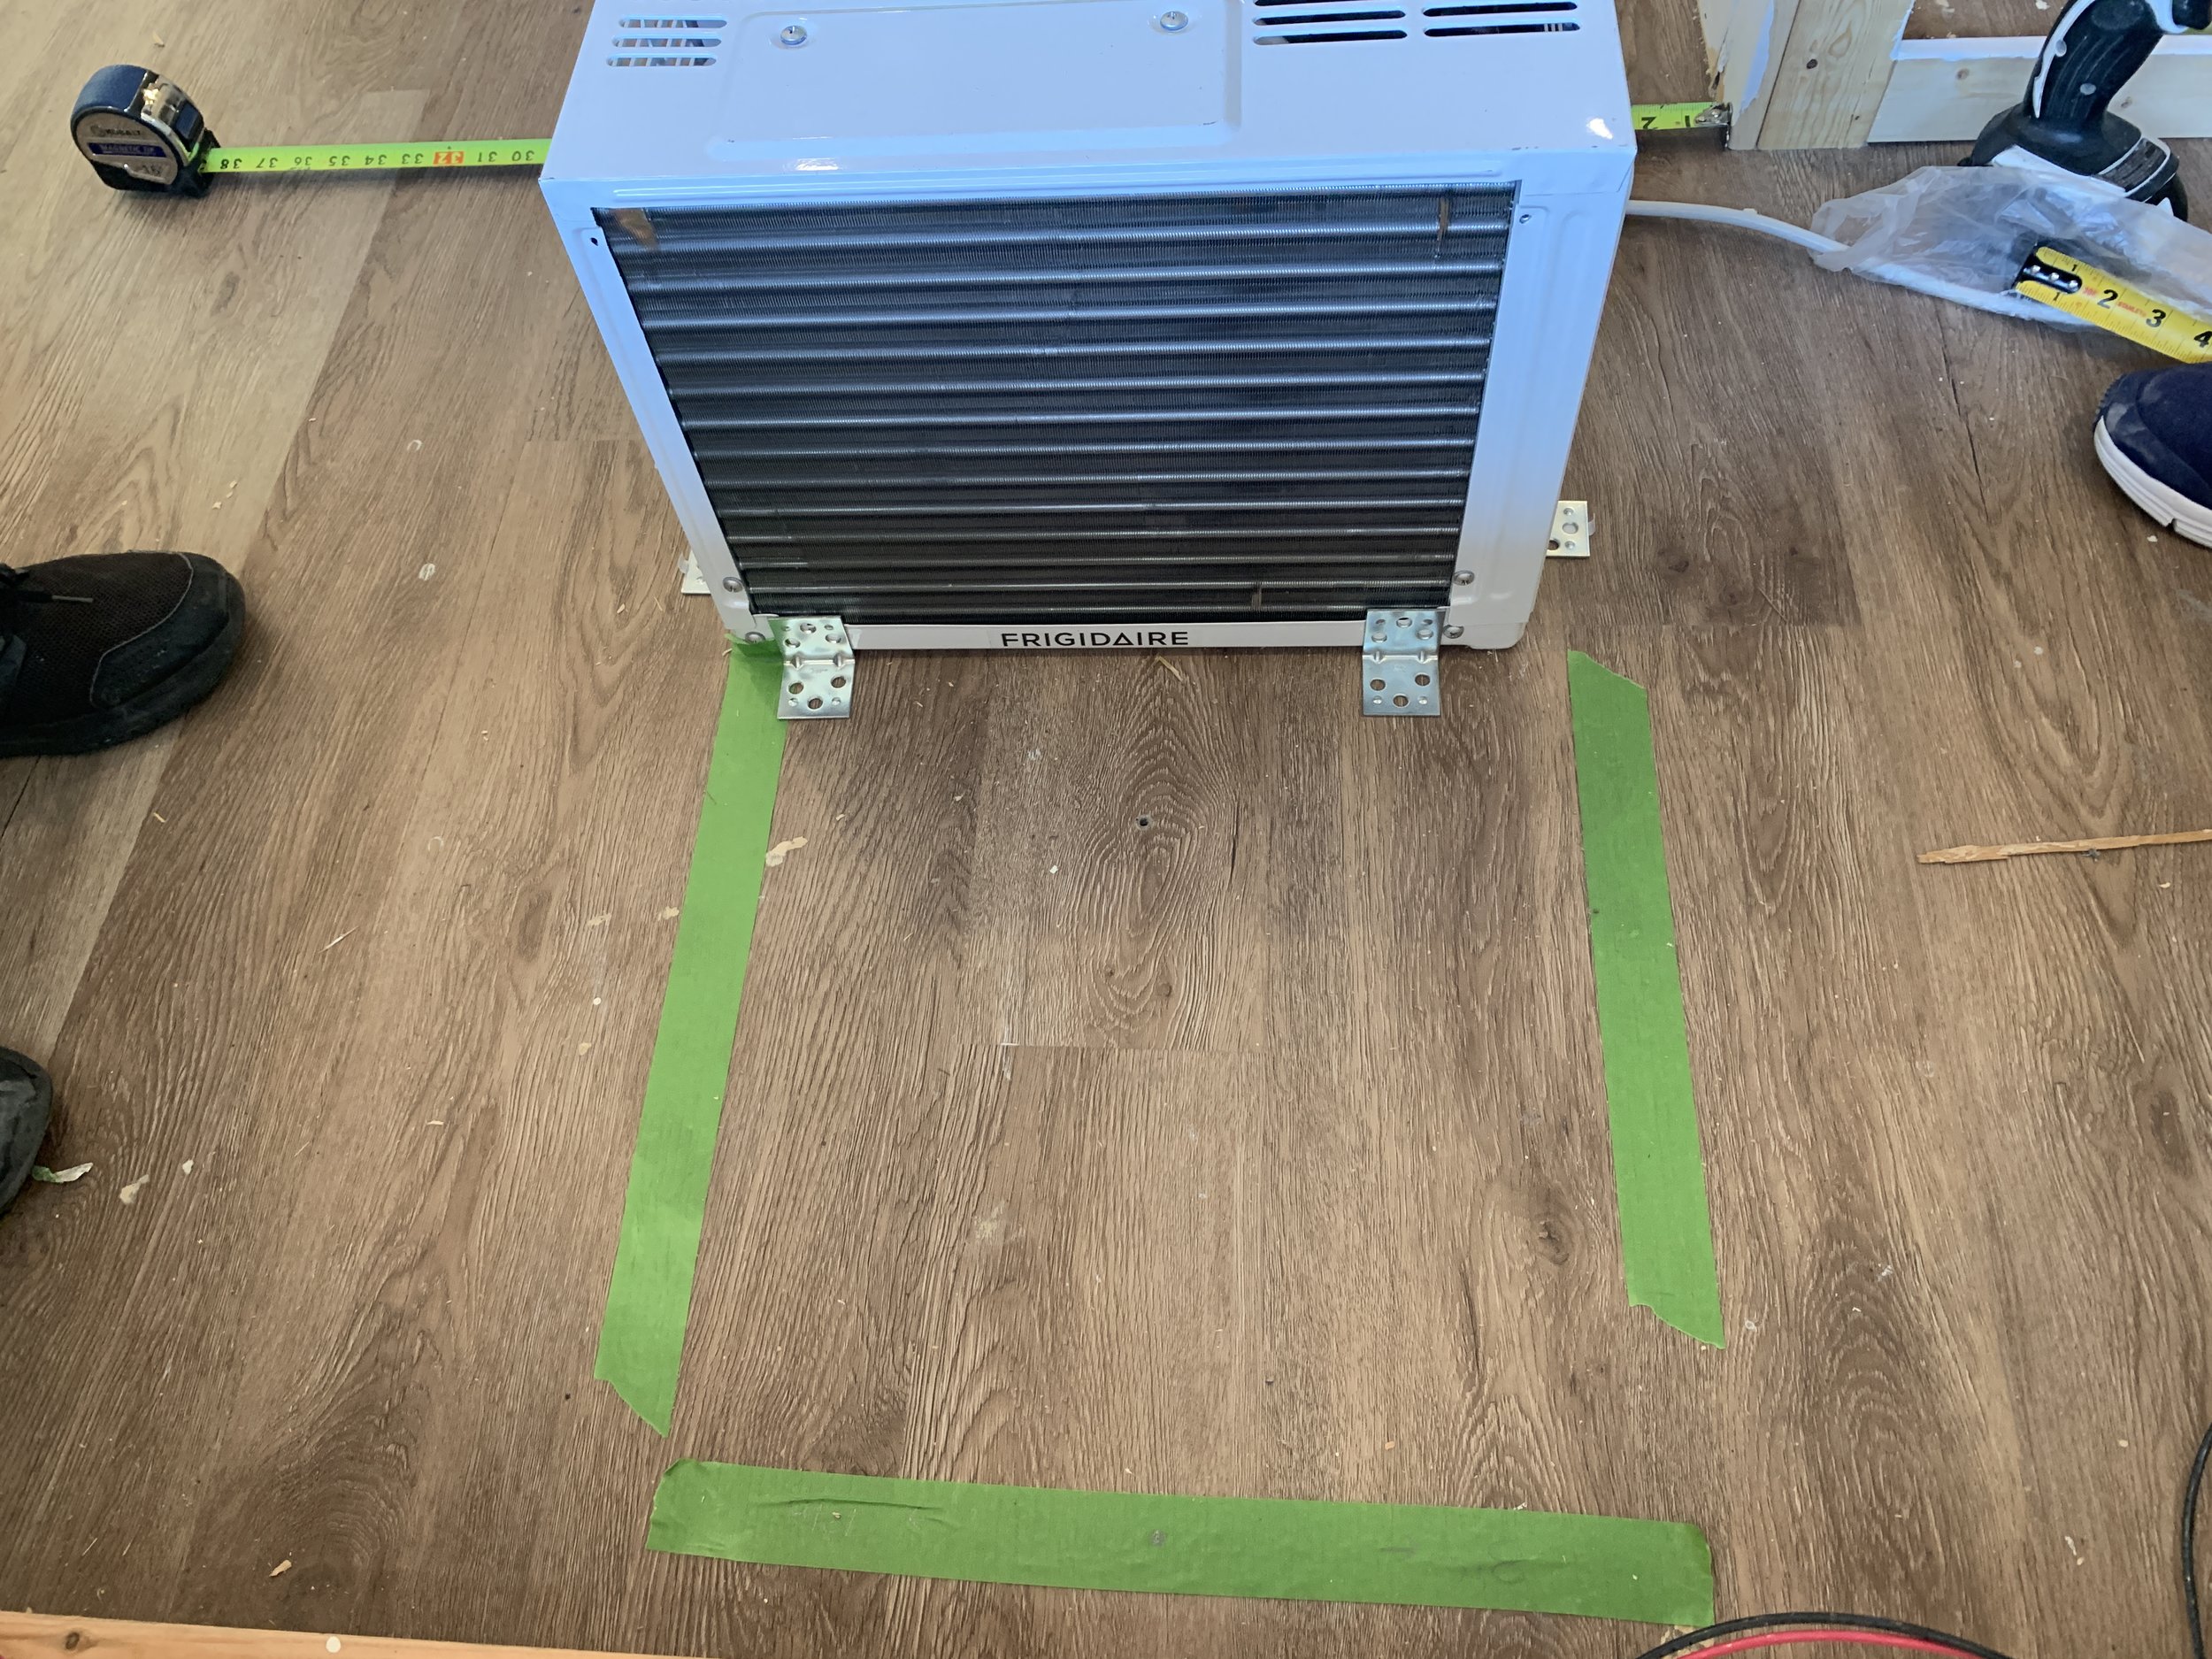
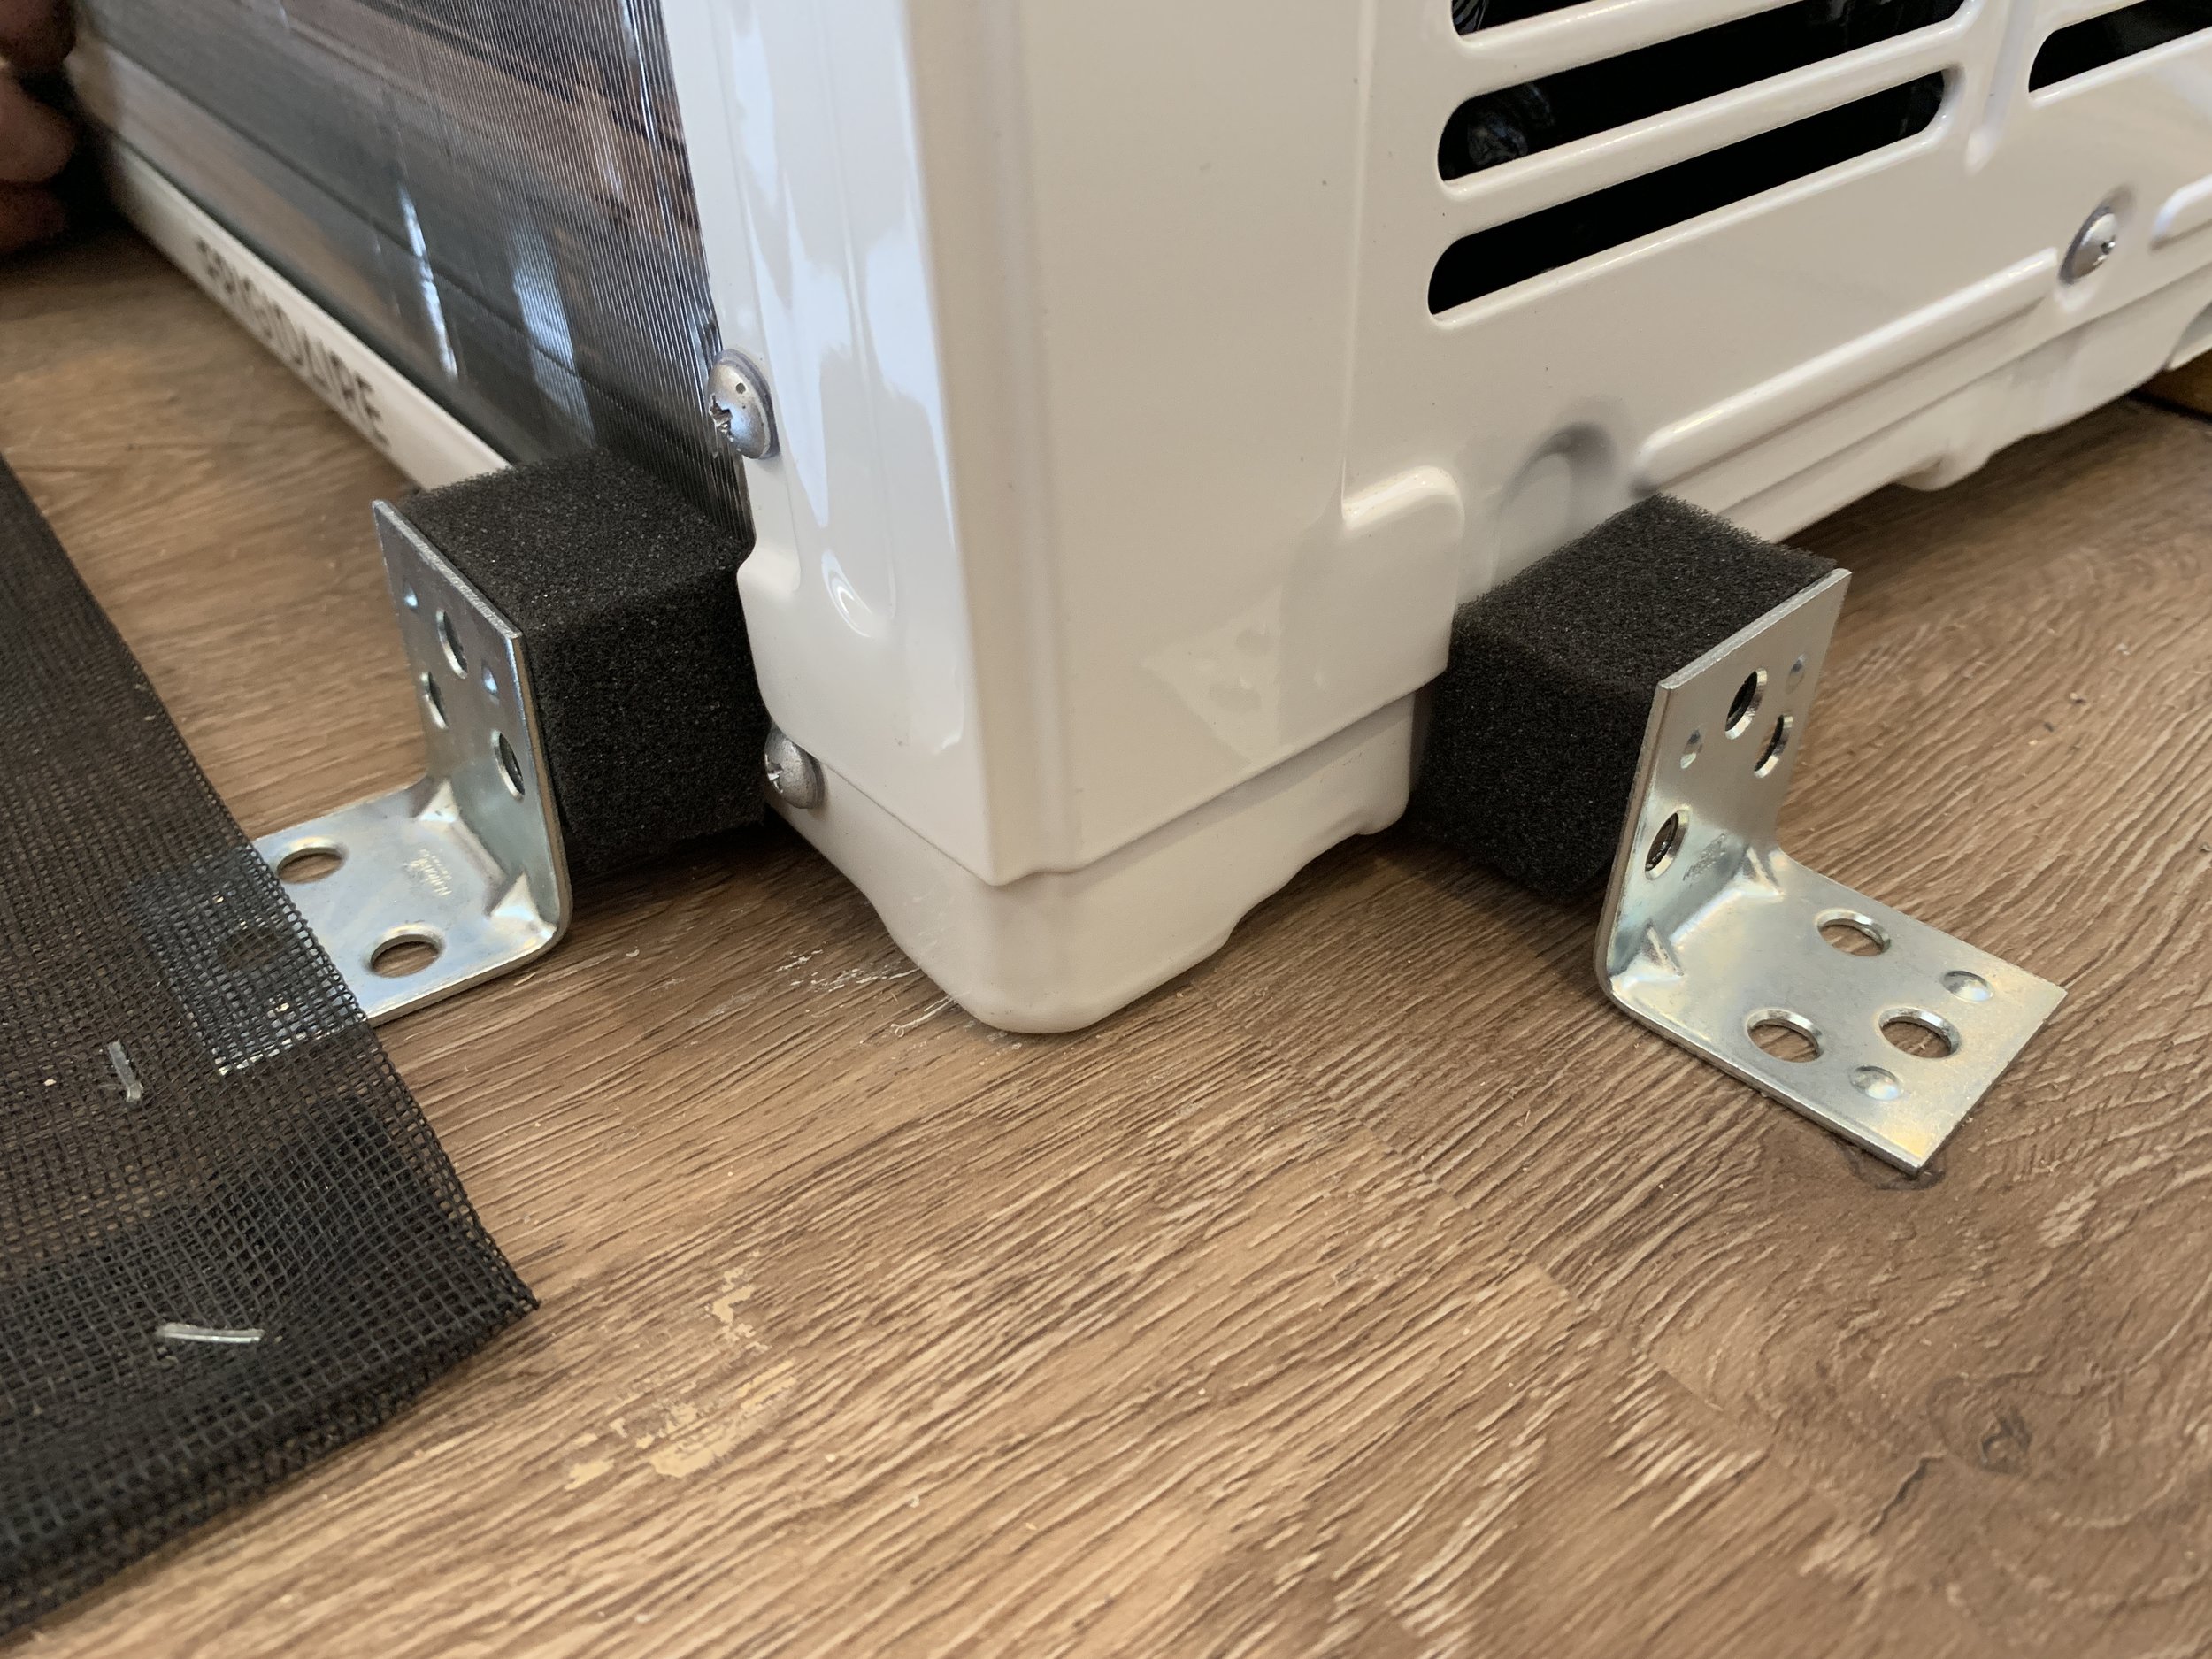
You might have noticed in some of the photos above, but to keep the unit from sliding around, we used 4 metal L-shaped brackets to secure the unit on the sides and from the back. We tightly pushed the brackets to the A/C itself and only attached the brackets to the floor using wood screws. We didn’t attach the brackets to the A/C itself since the duct work will help keep it down without drilling into/compromising the inside of the unit. We used foam to pad between the bracket and A/C unit (and a strip of adhesive foam around the top and sides where the metal ducting overlaps) so we don’t hear rattling metal when the unit is running, and in the case of the duct foam to help insulate it to minimize hot air entering the camper.
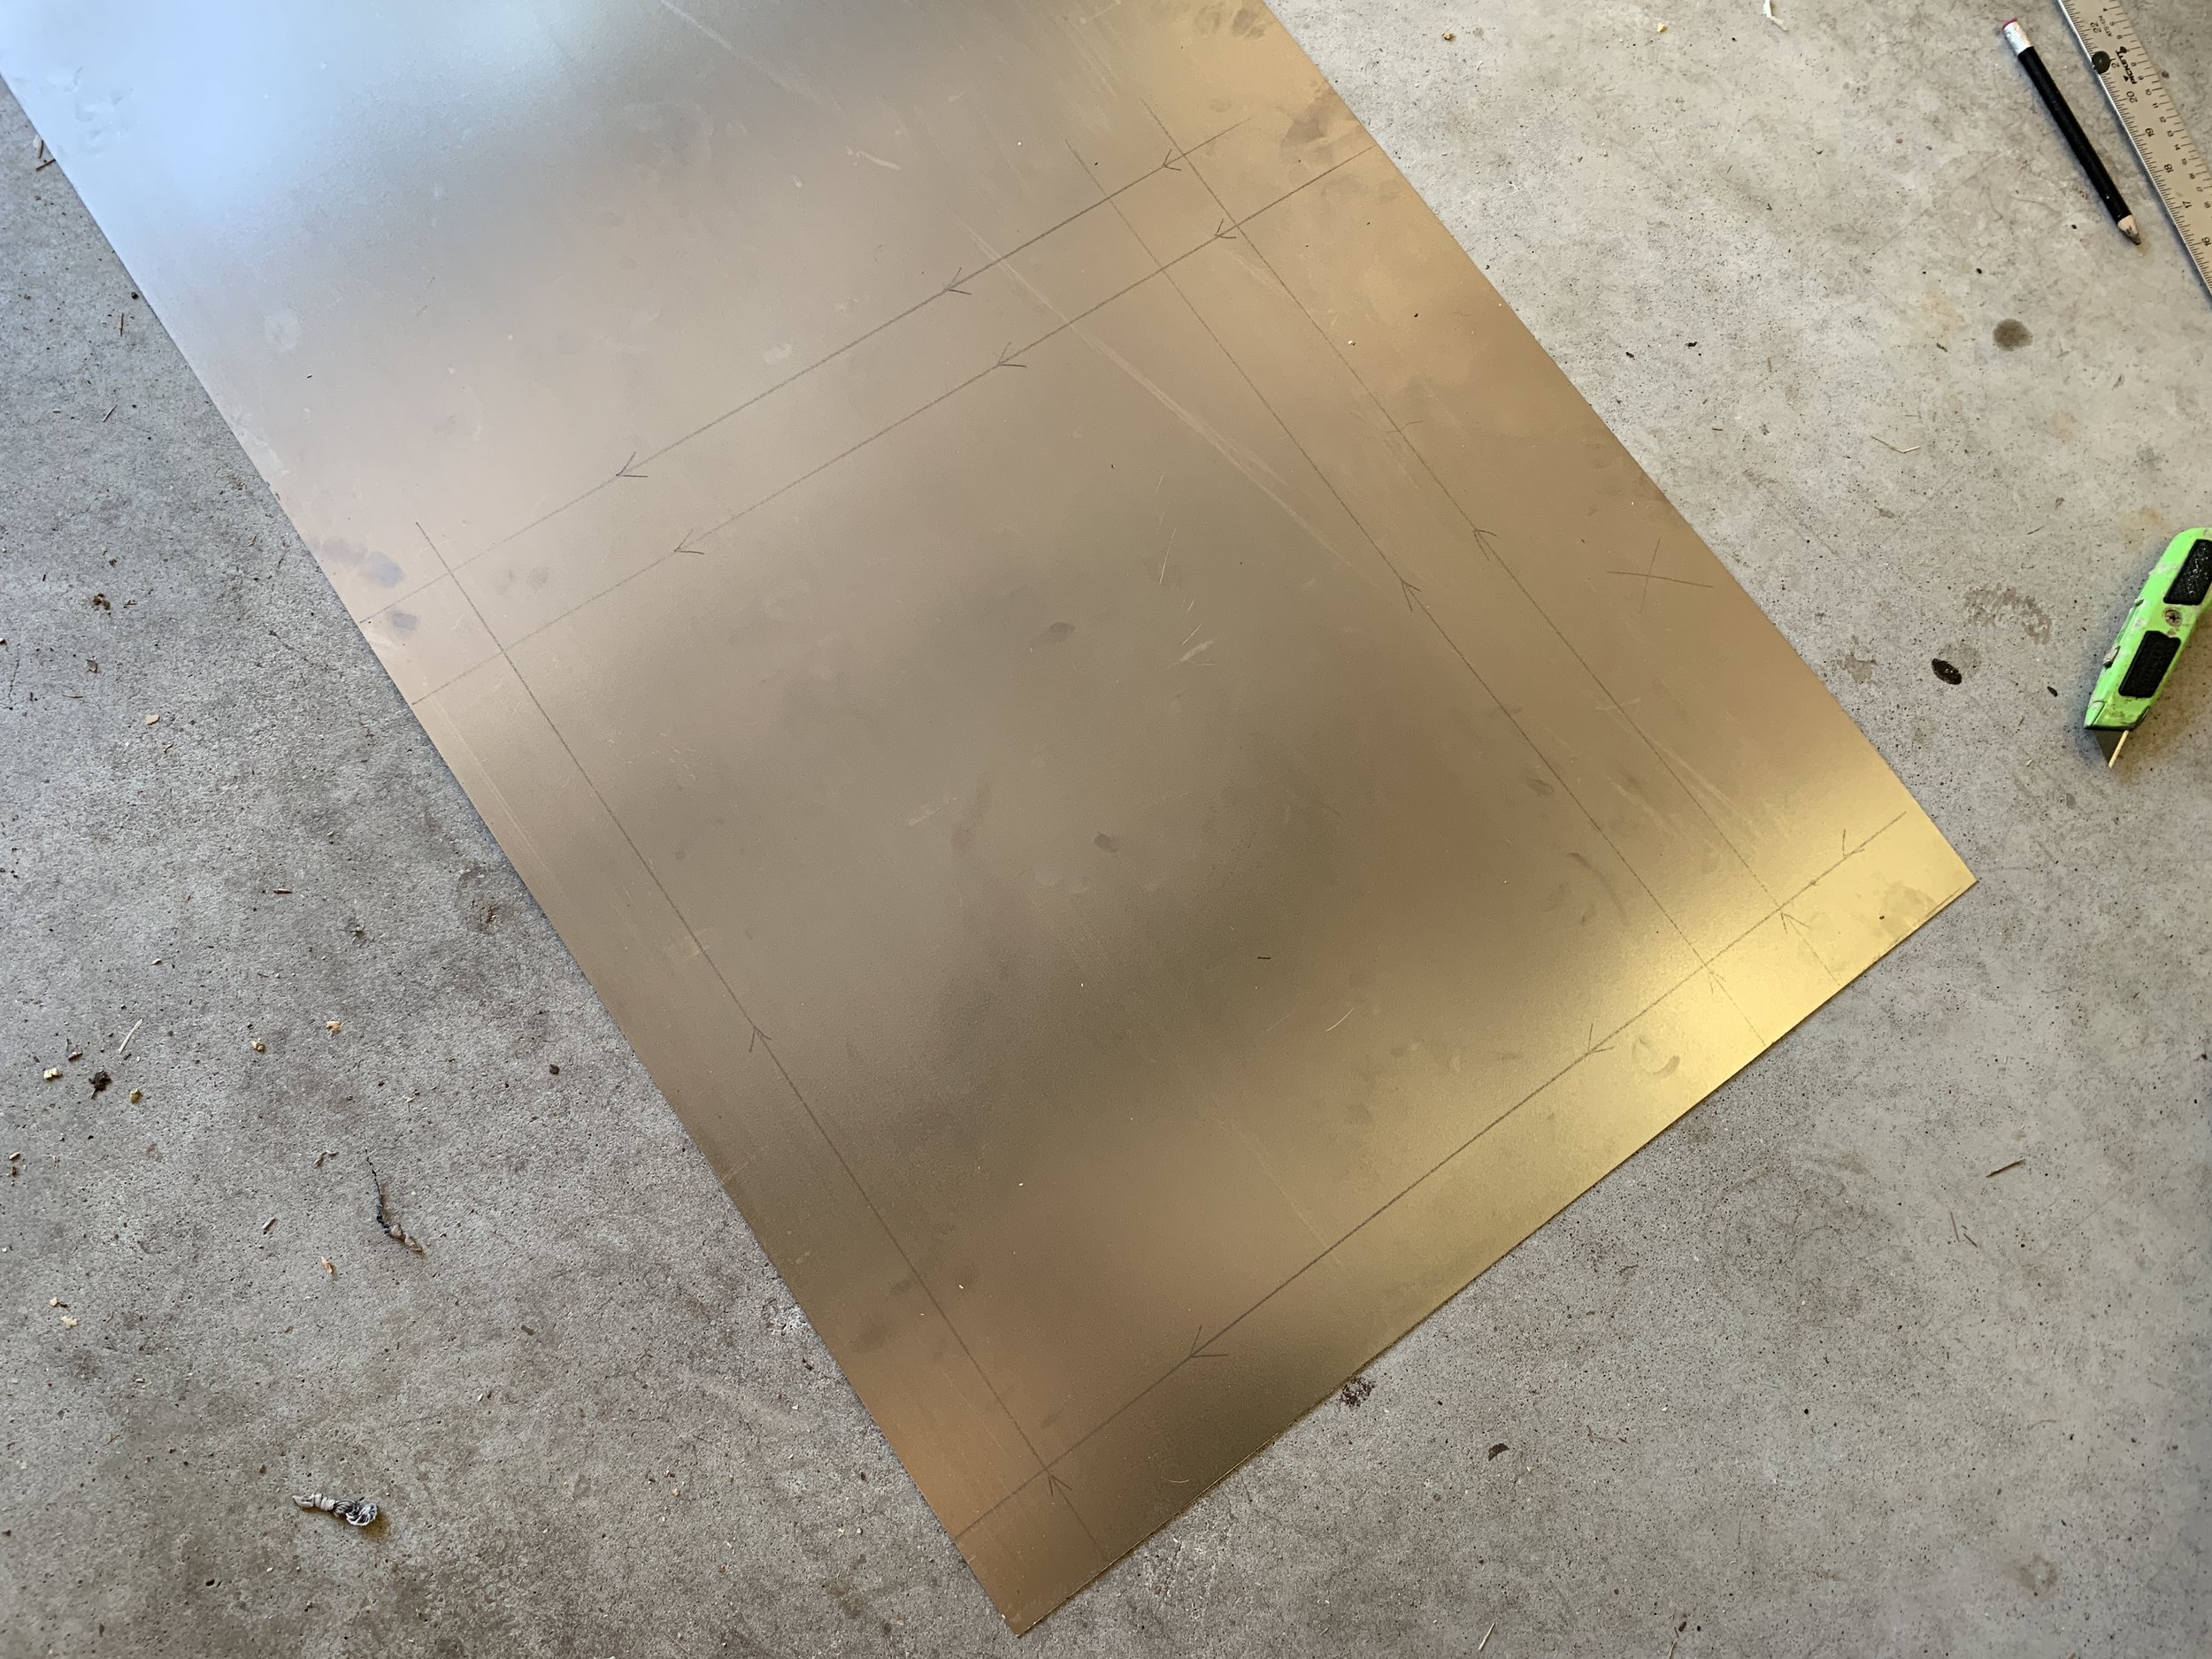
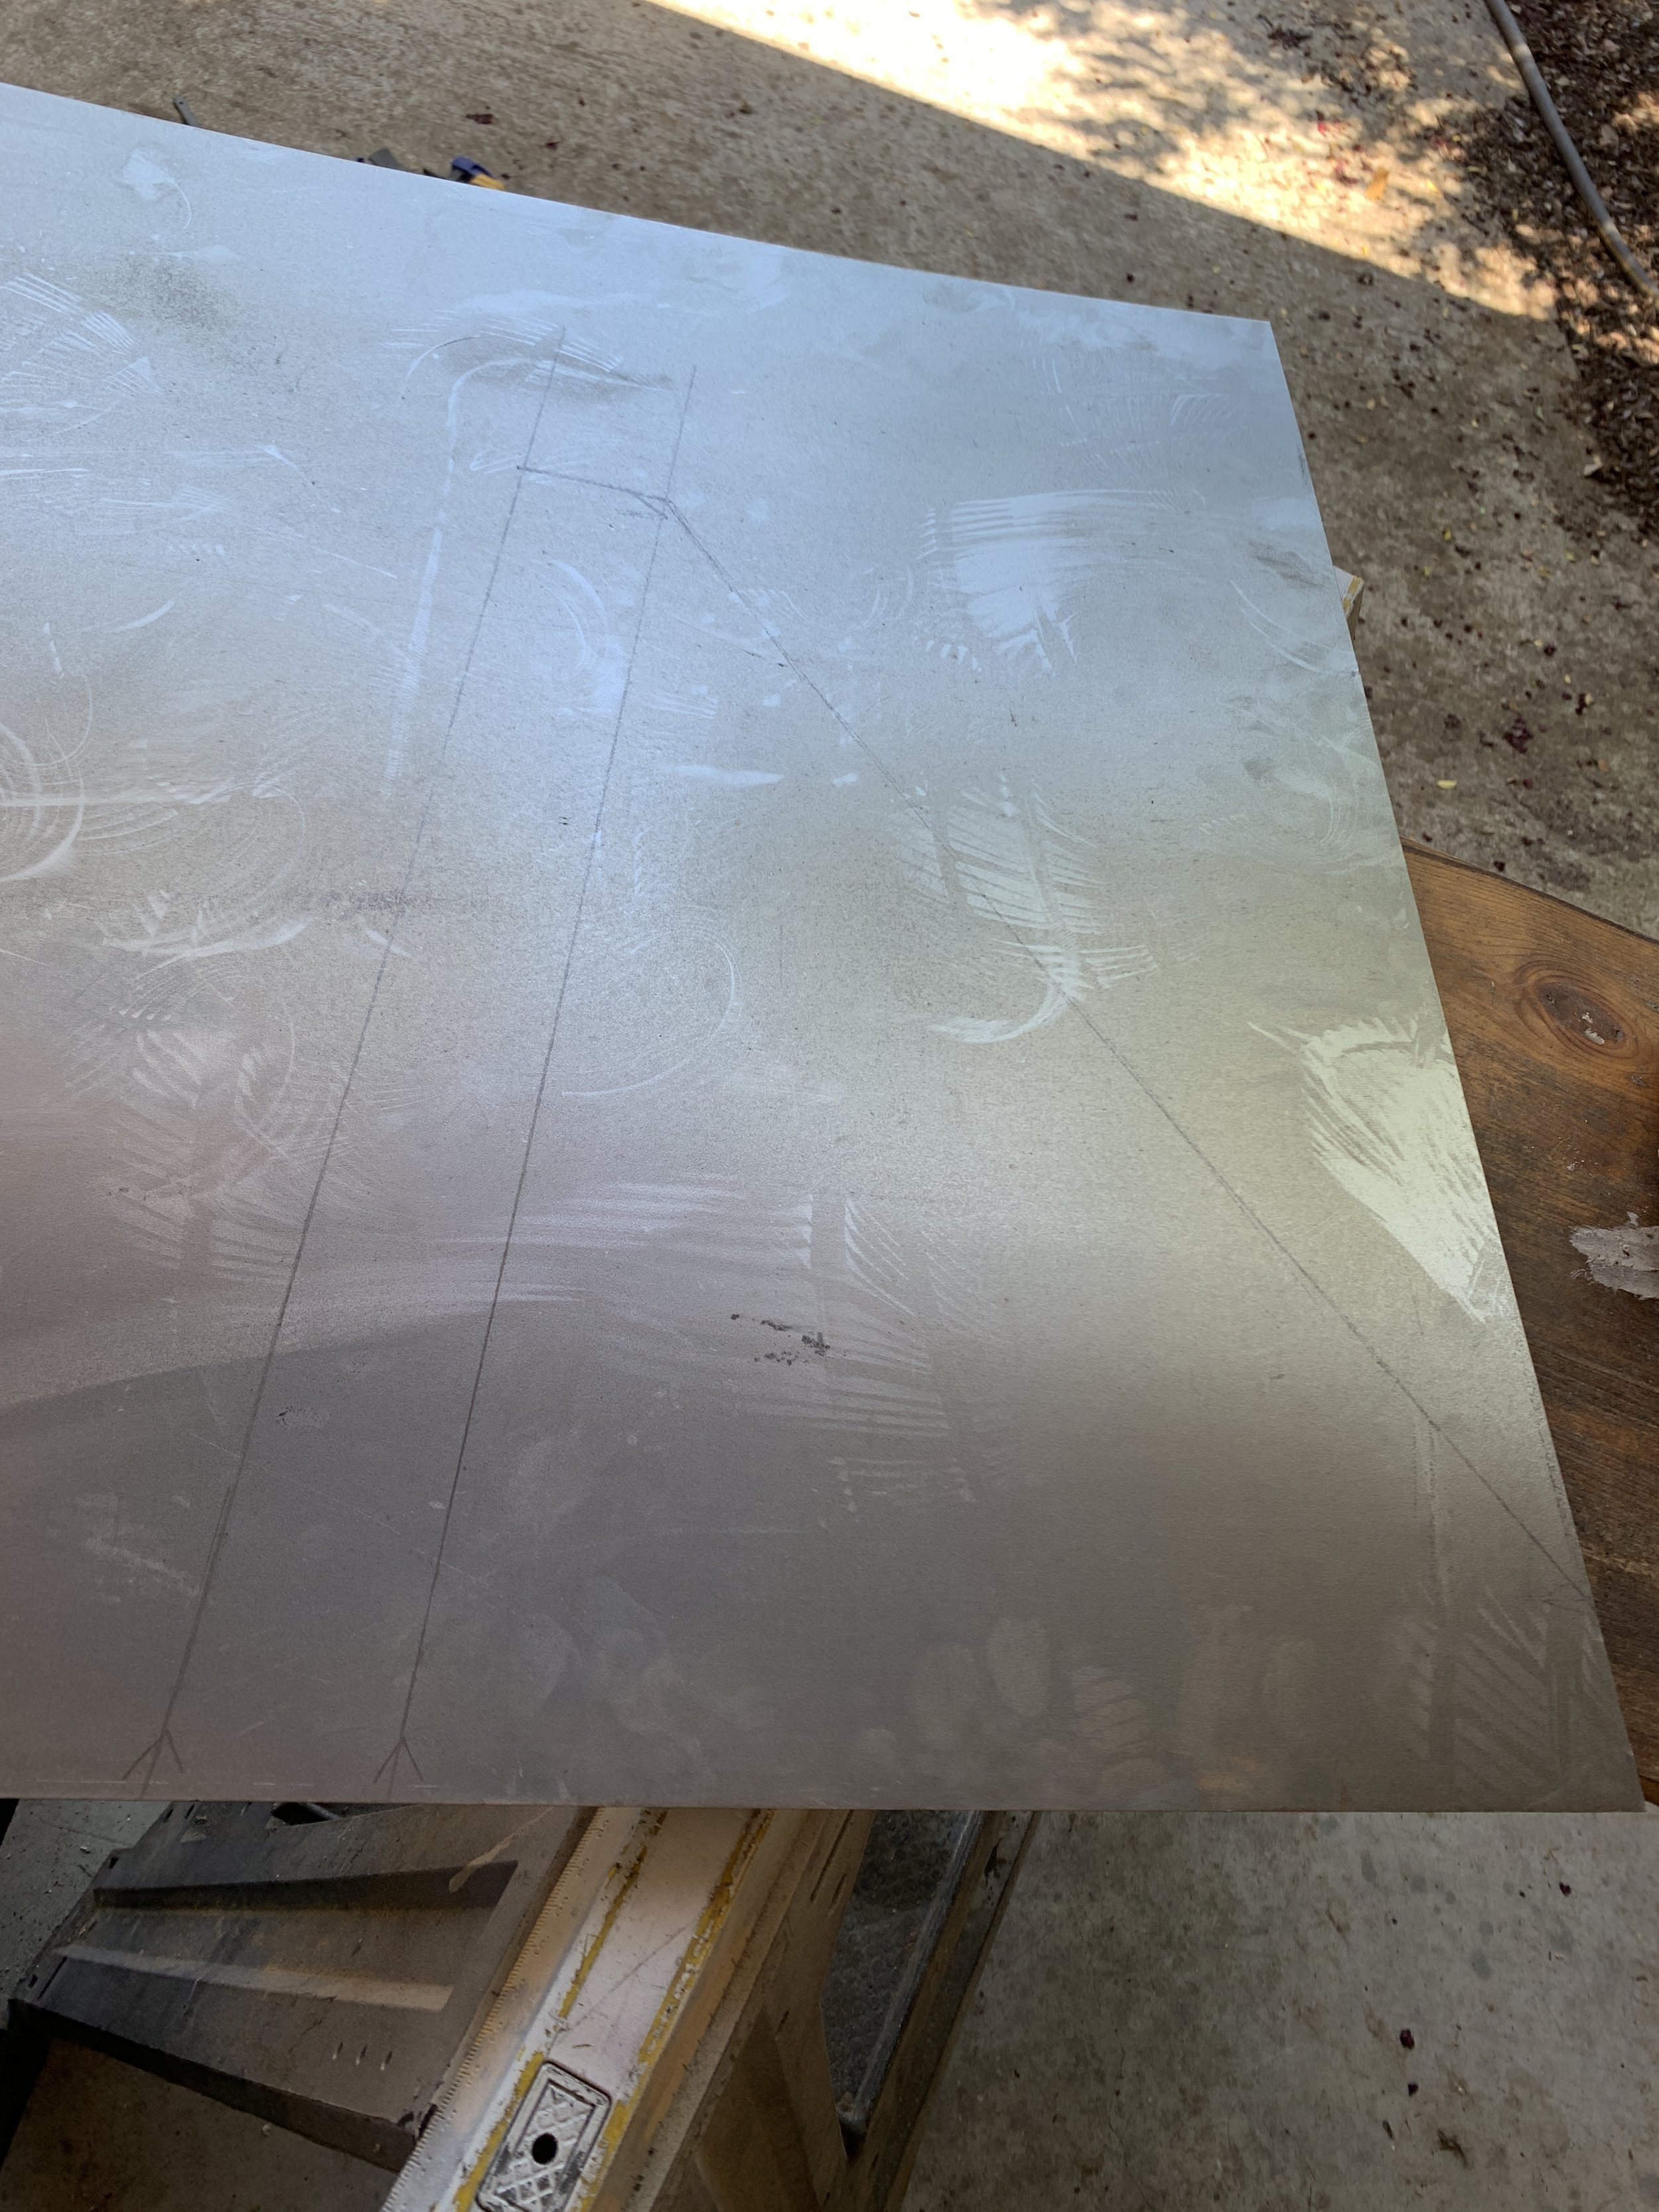
Building the exhaust air duct
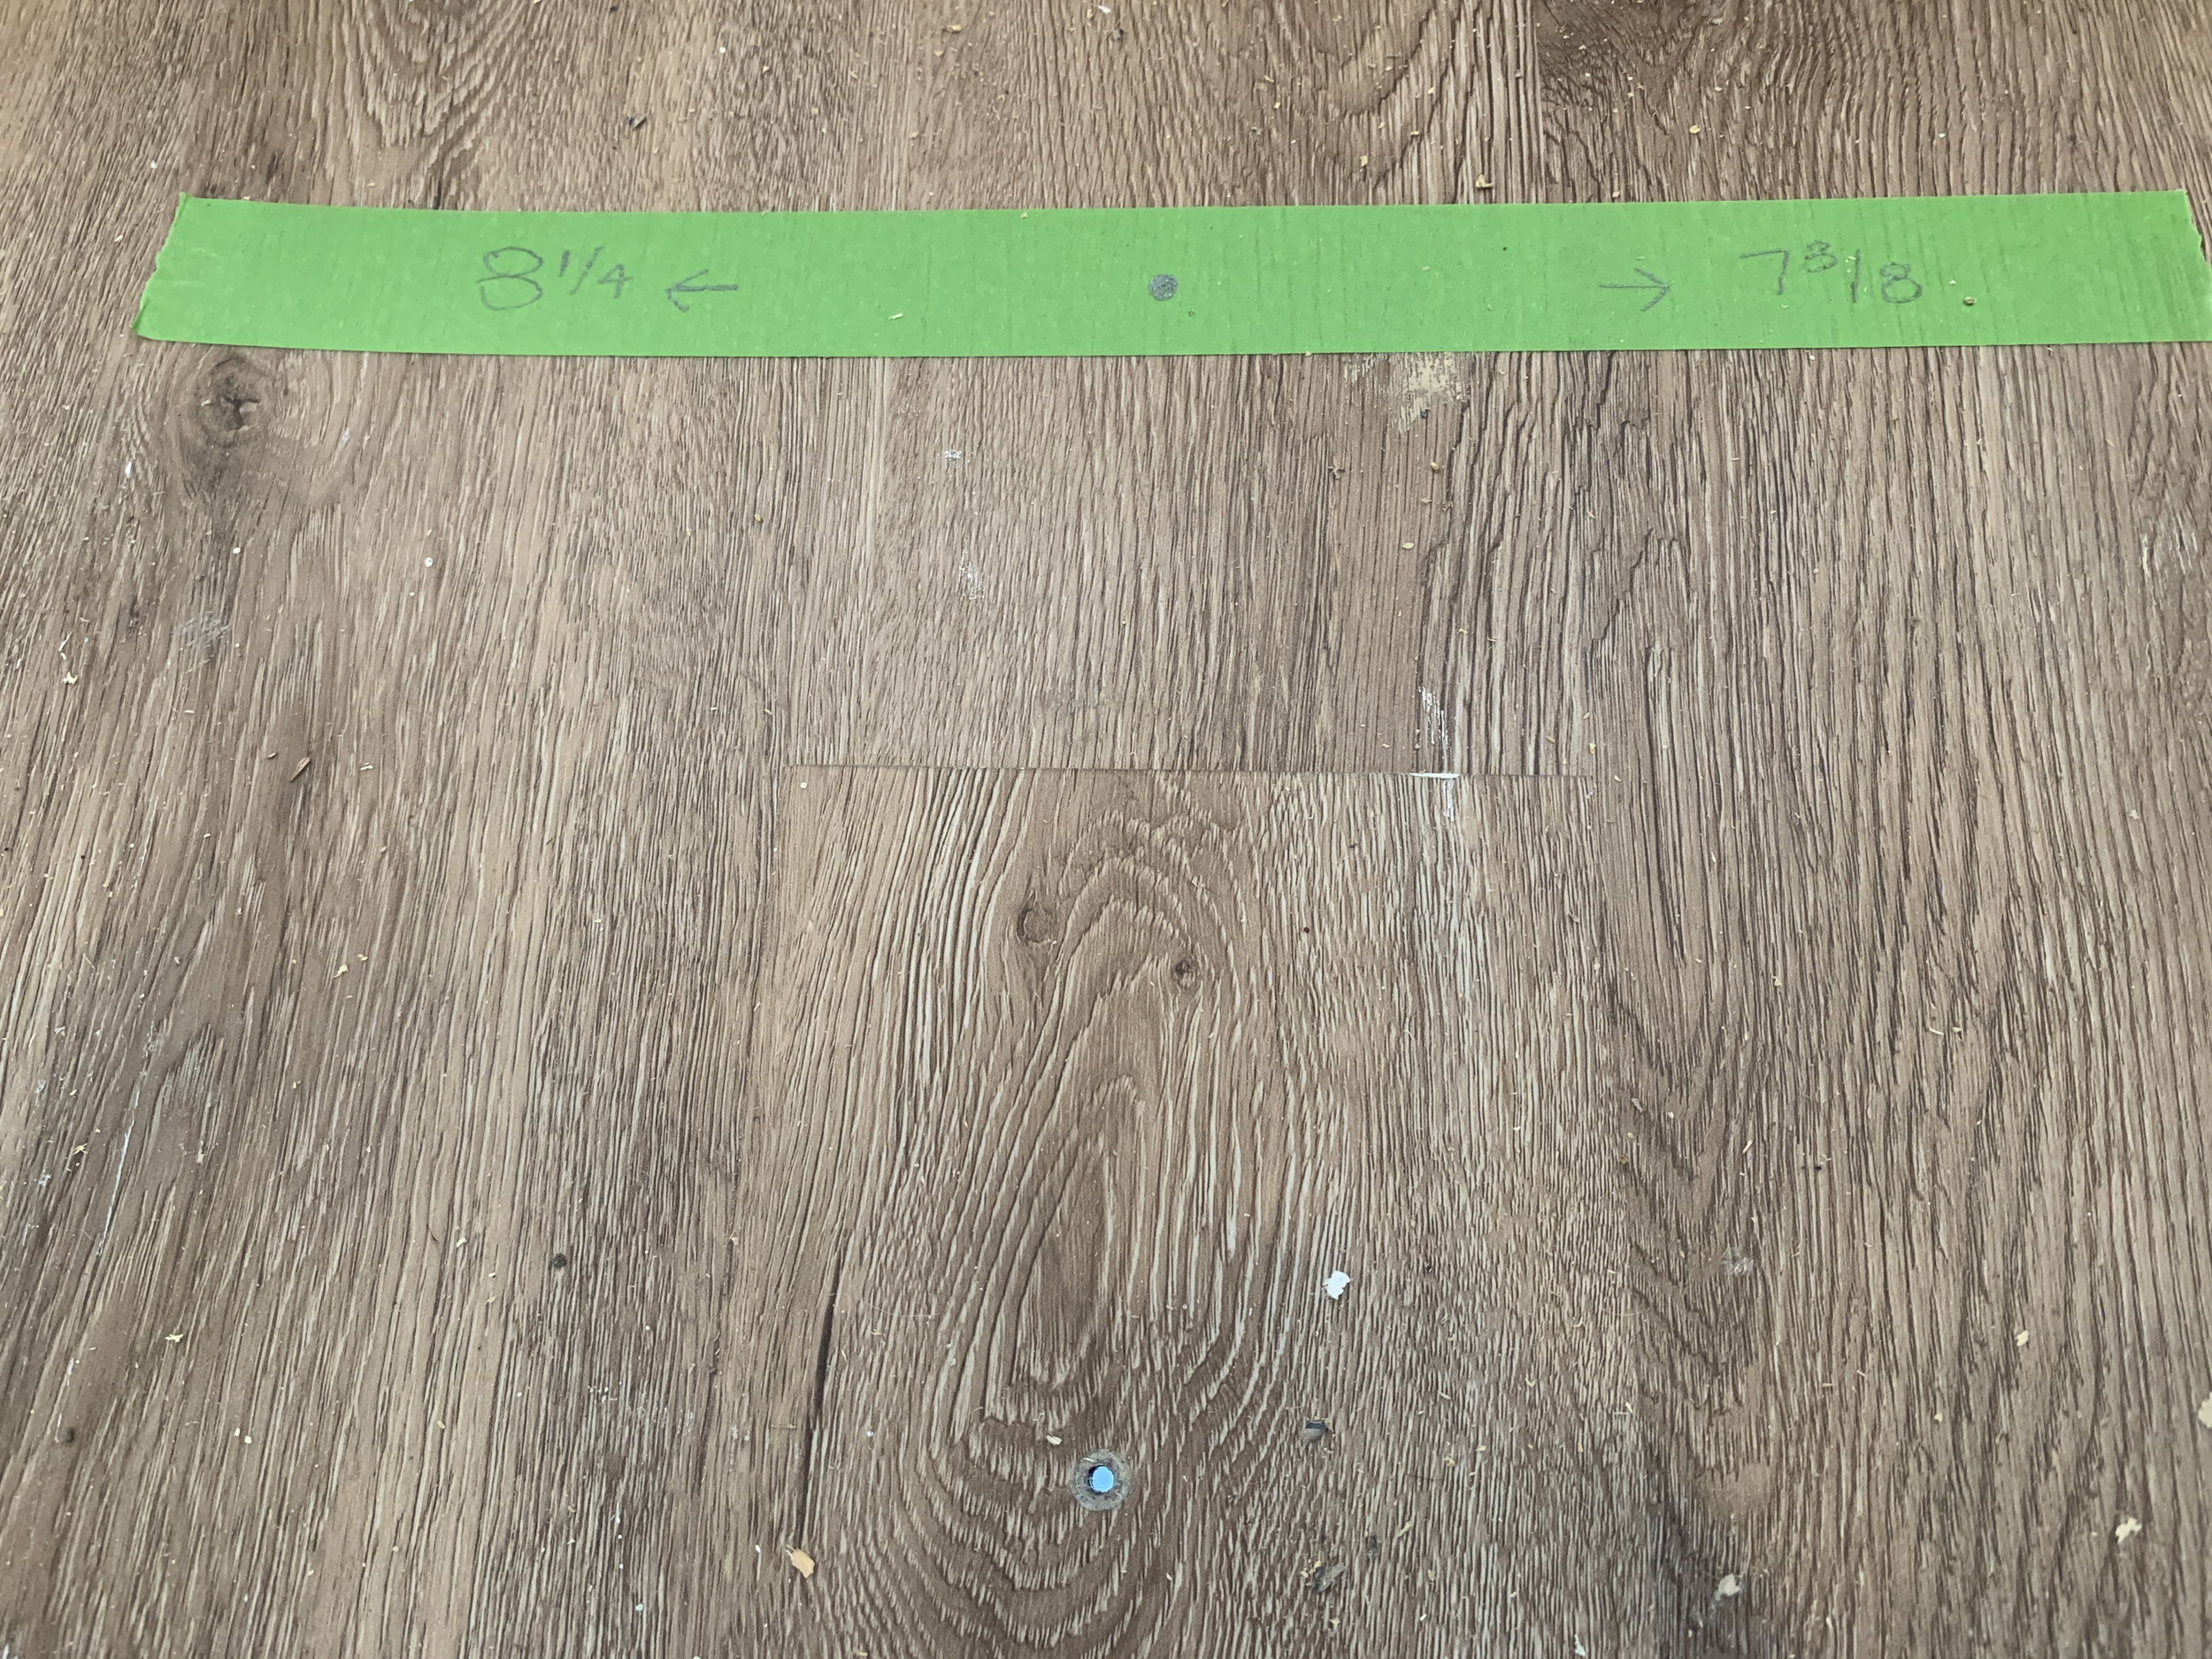
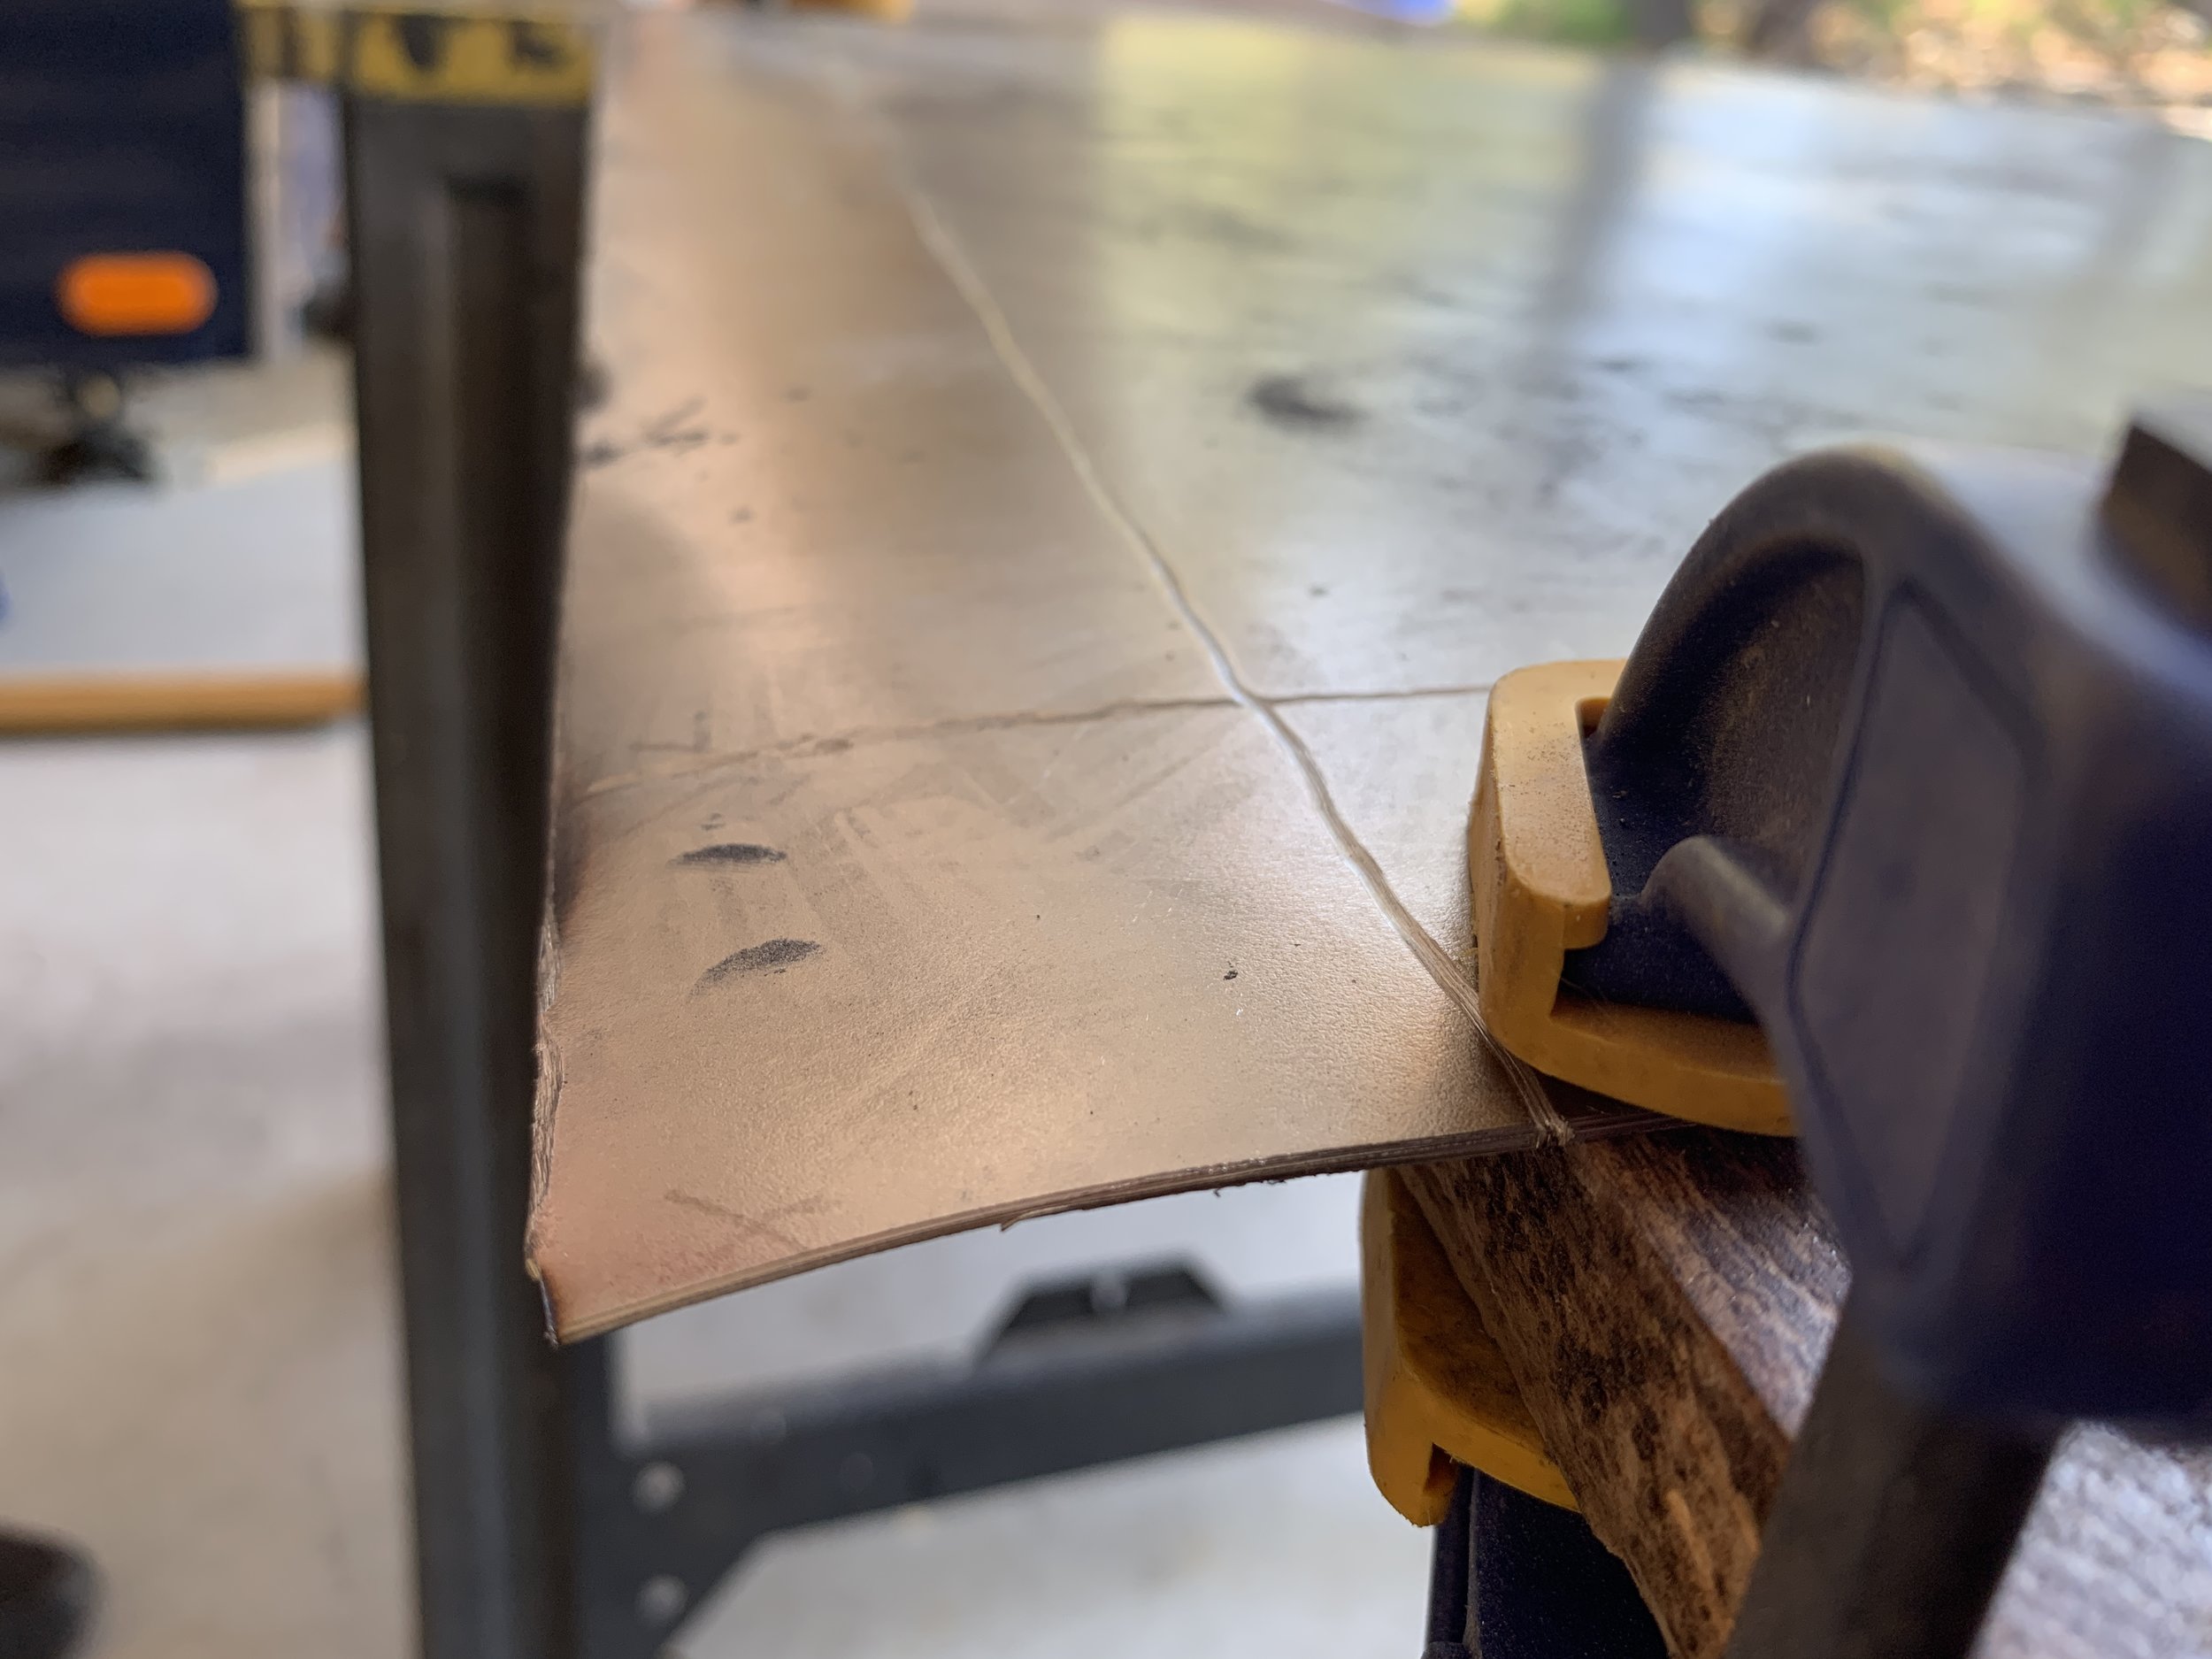
First, we measured the width of the back of the window unit – ours was about 16” wide – plus 2 extra inches per side for overlapping with the triangular side pieces. Then we measured from the top back edge of the unit to the far side of the floor hole to get our diagonal duct length, plus about 2 inches for the A/C unit attachment flange, and another 2 inches for the floor flange. We transferred our measurements to our sheet metal, scored the lines and cut out each shape. First we tried to score the line using a box knife and straightedge, but the metal we decided to go with was too thick to be able to fold it easily. We did our test runs with metal that was thinner and worked with the score and bend method, but it was so thin that it easily tore when folded too much and we didn’t want to take the chance that it would break over time as we traveled and it jiggled around. We used a combination of our Dremel and grinder to cut out this thicker metal when our Dremel ran out of battery. We clamped the metal pieces to our work table and carefully folded the metal/molded the flanges with a rubber mallet, using the edges of a work table to help get a bend on our score lines.

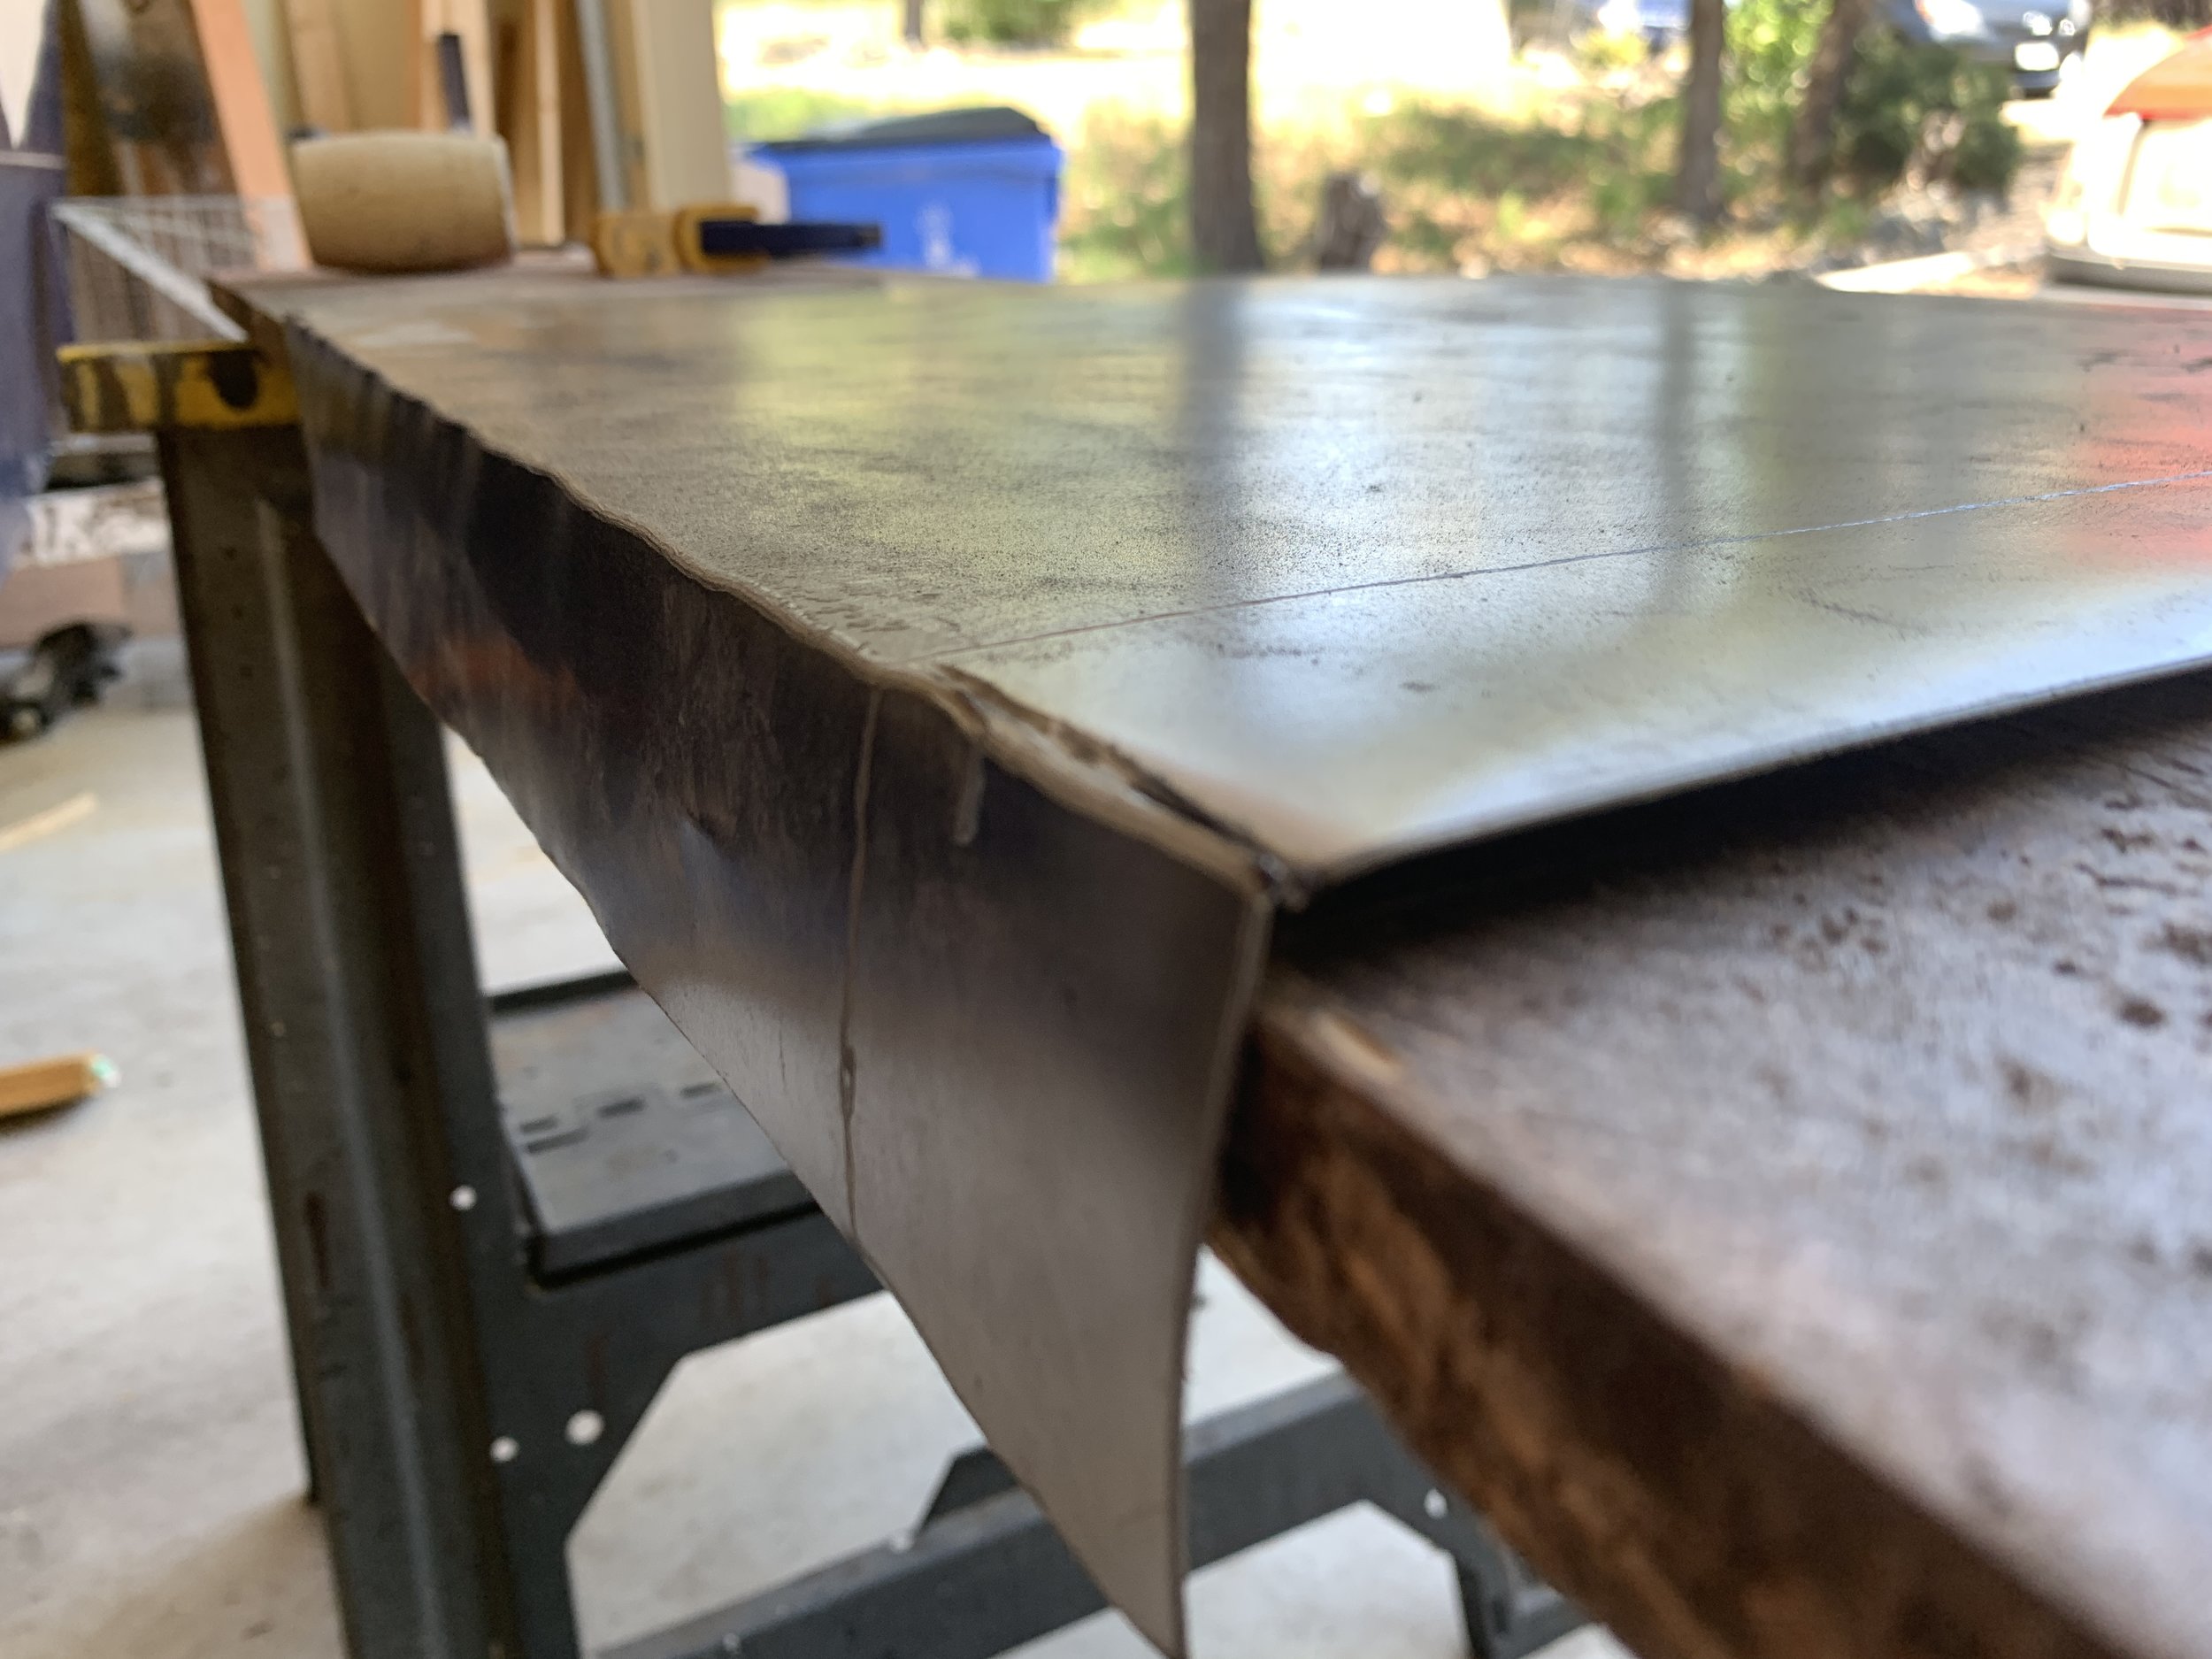
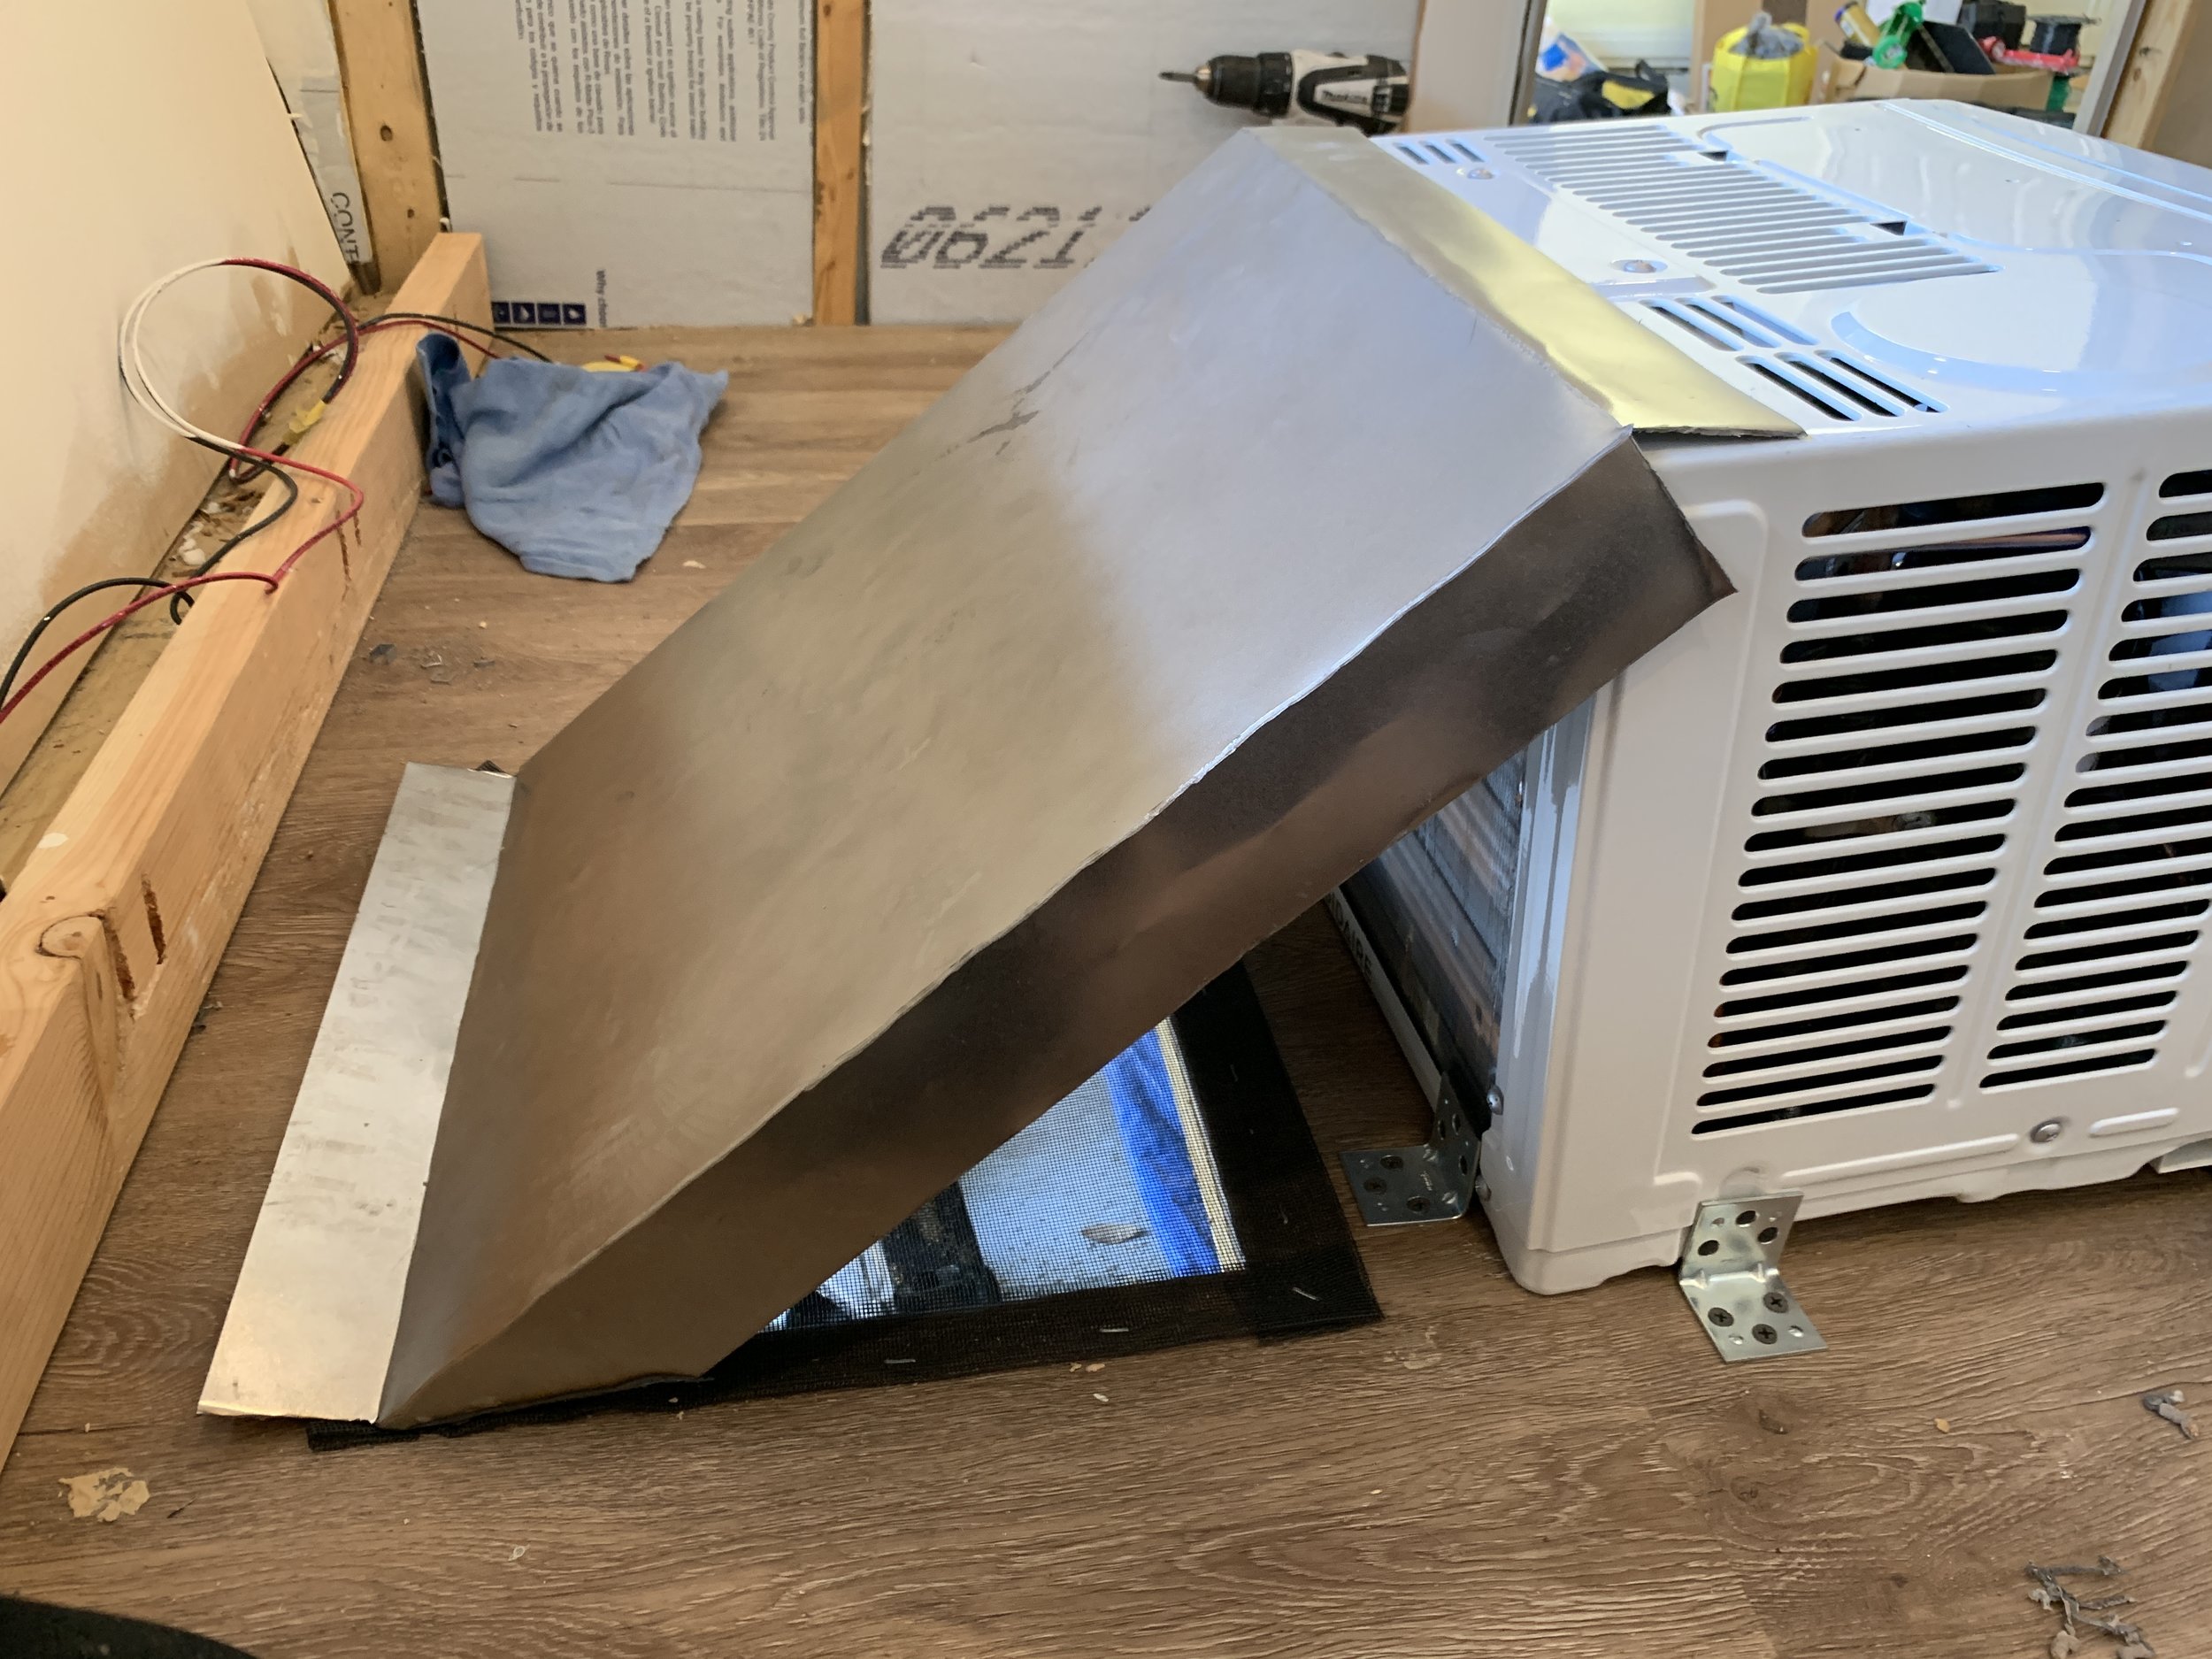


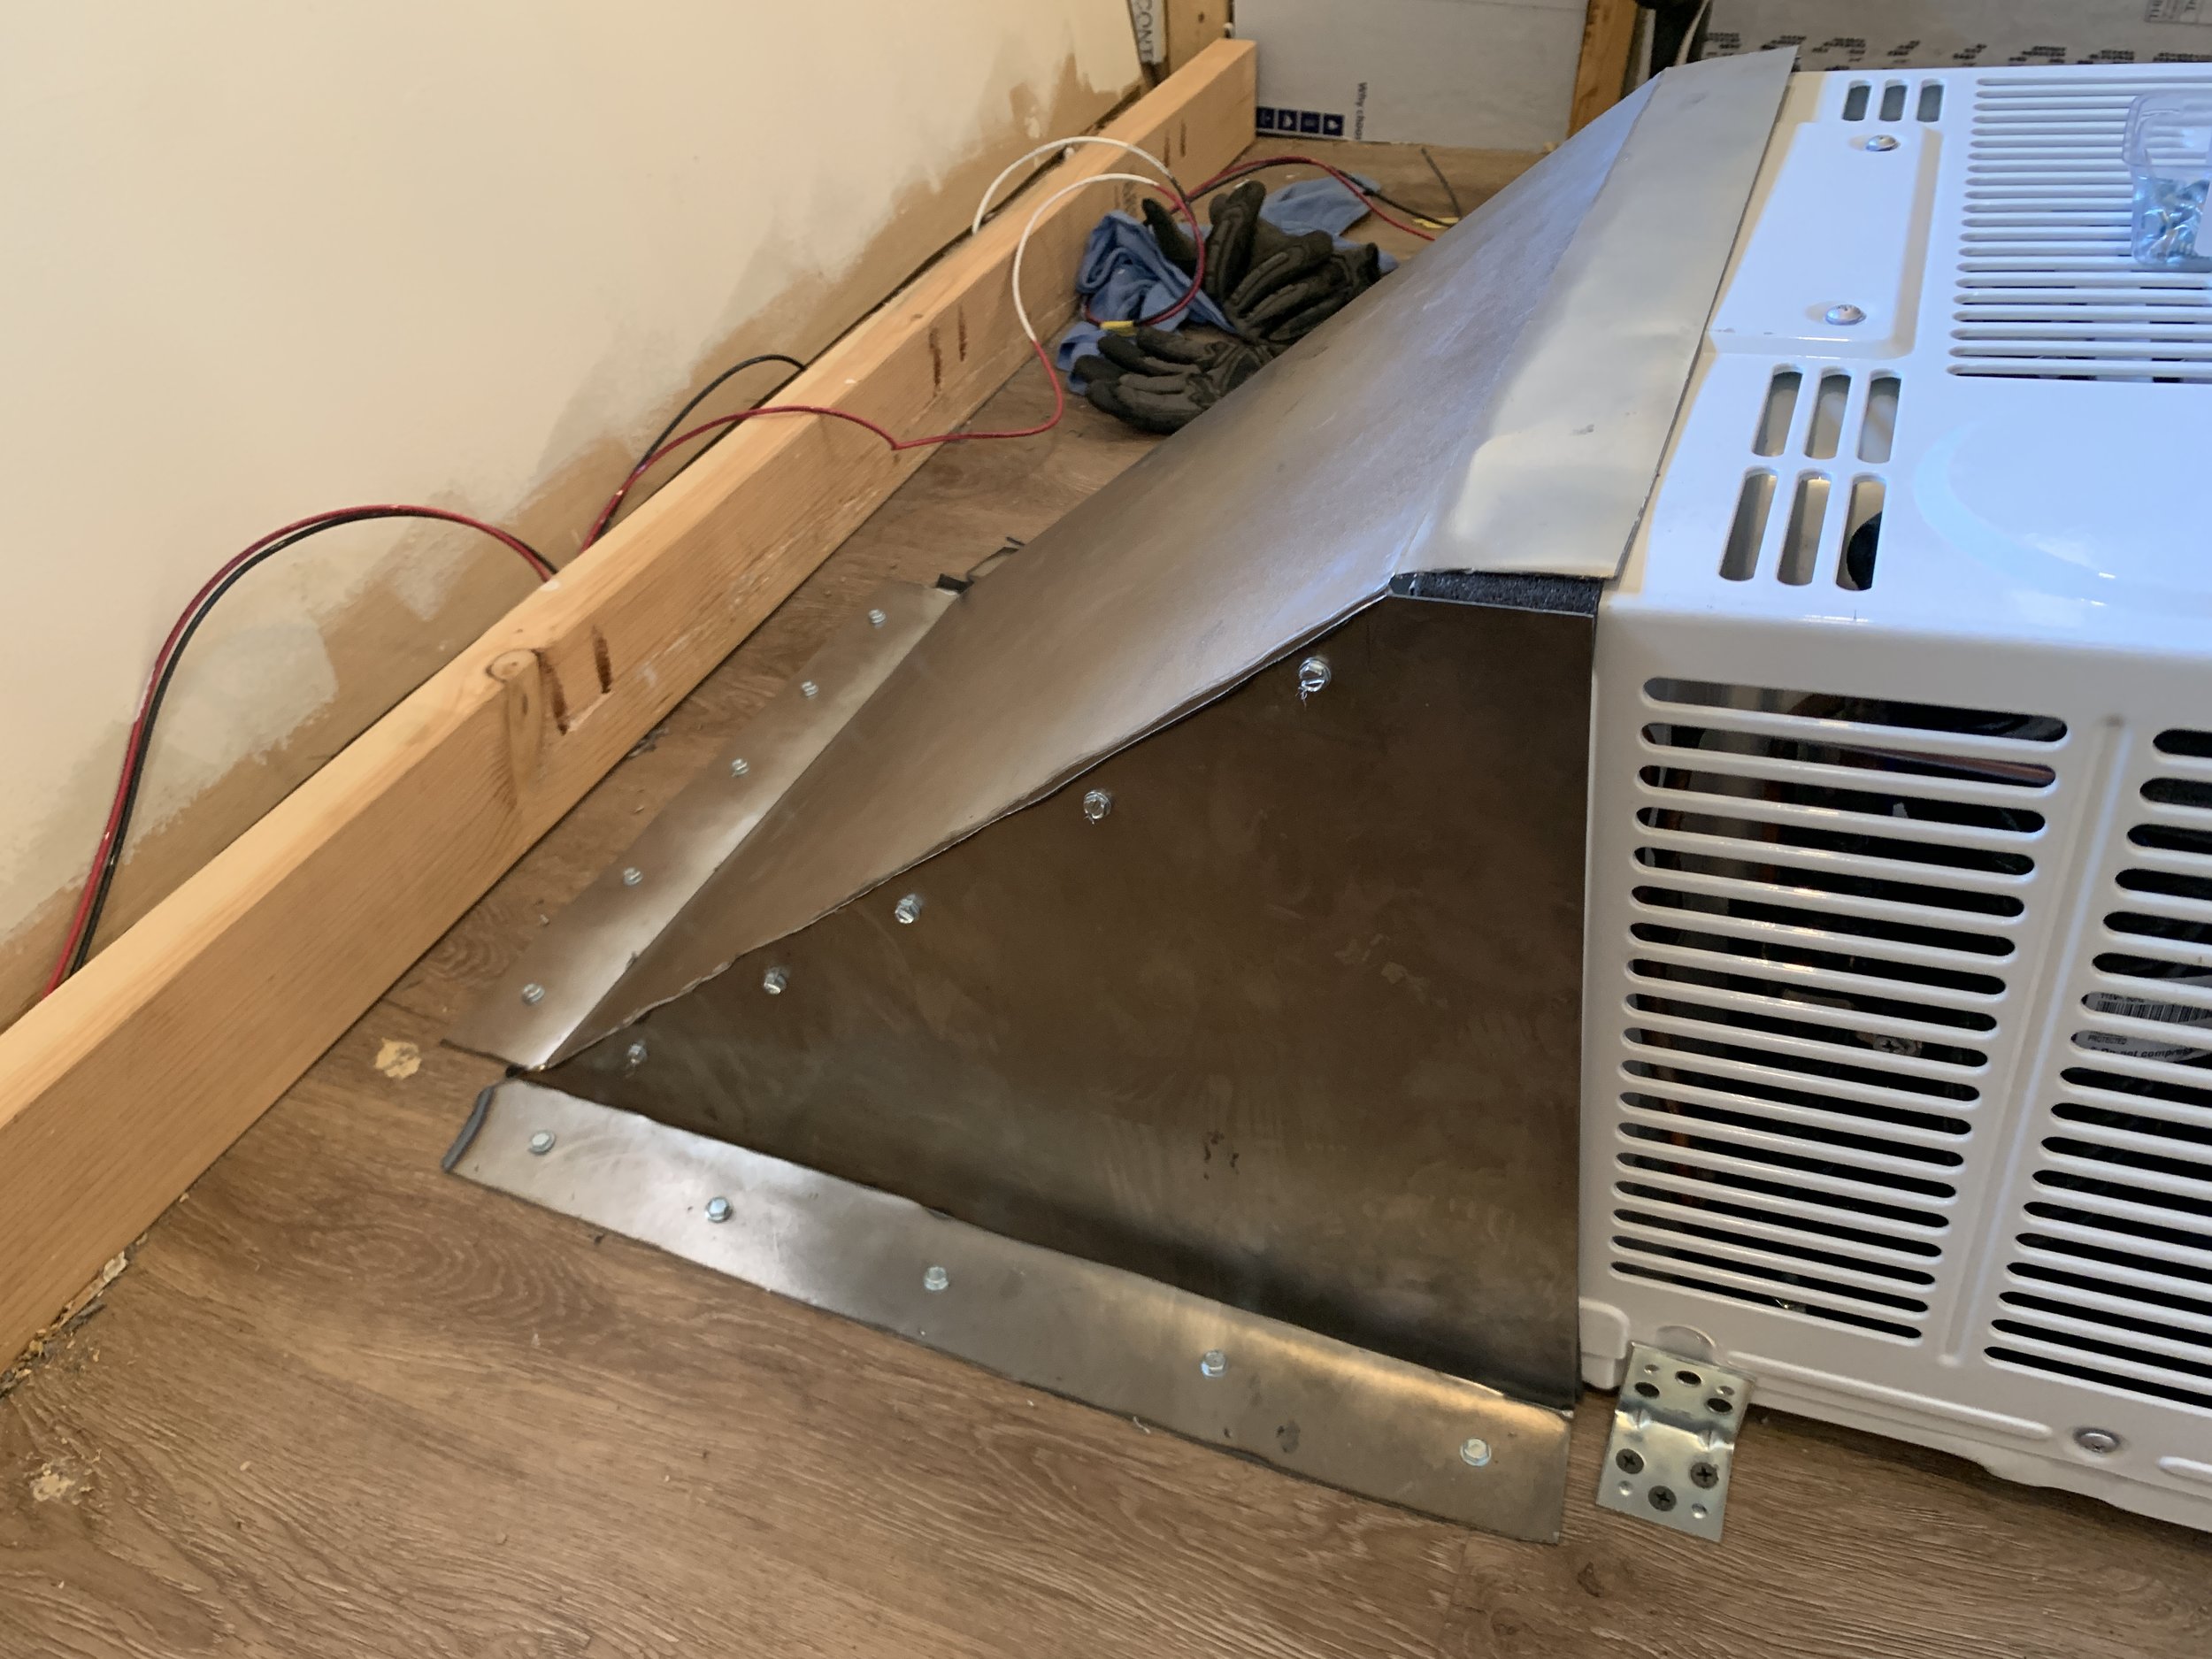
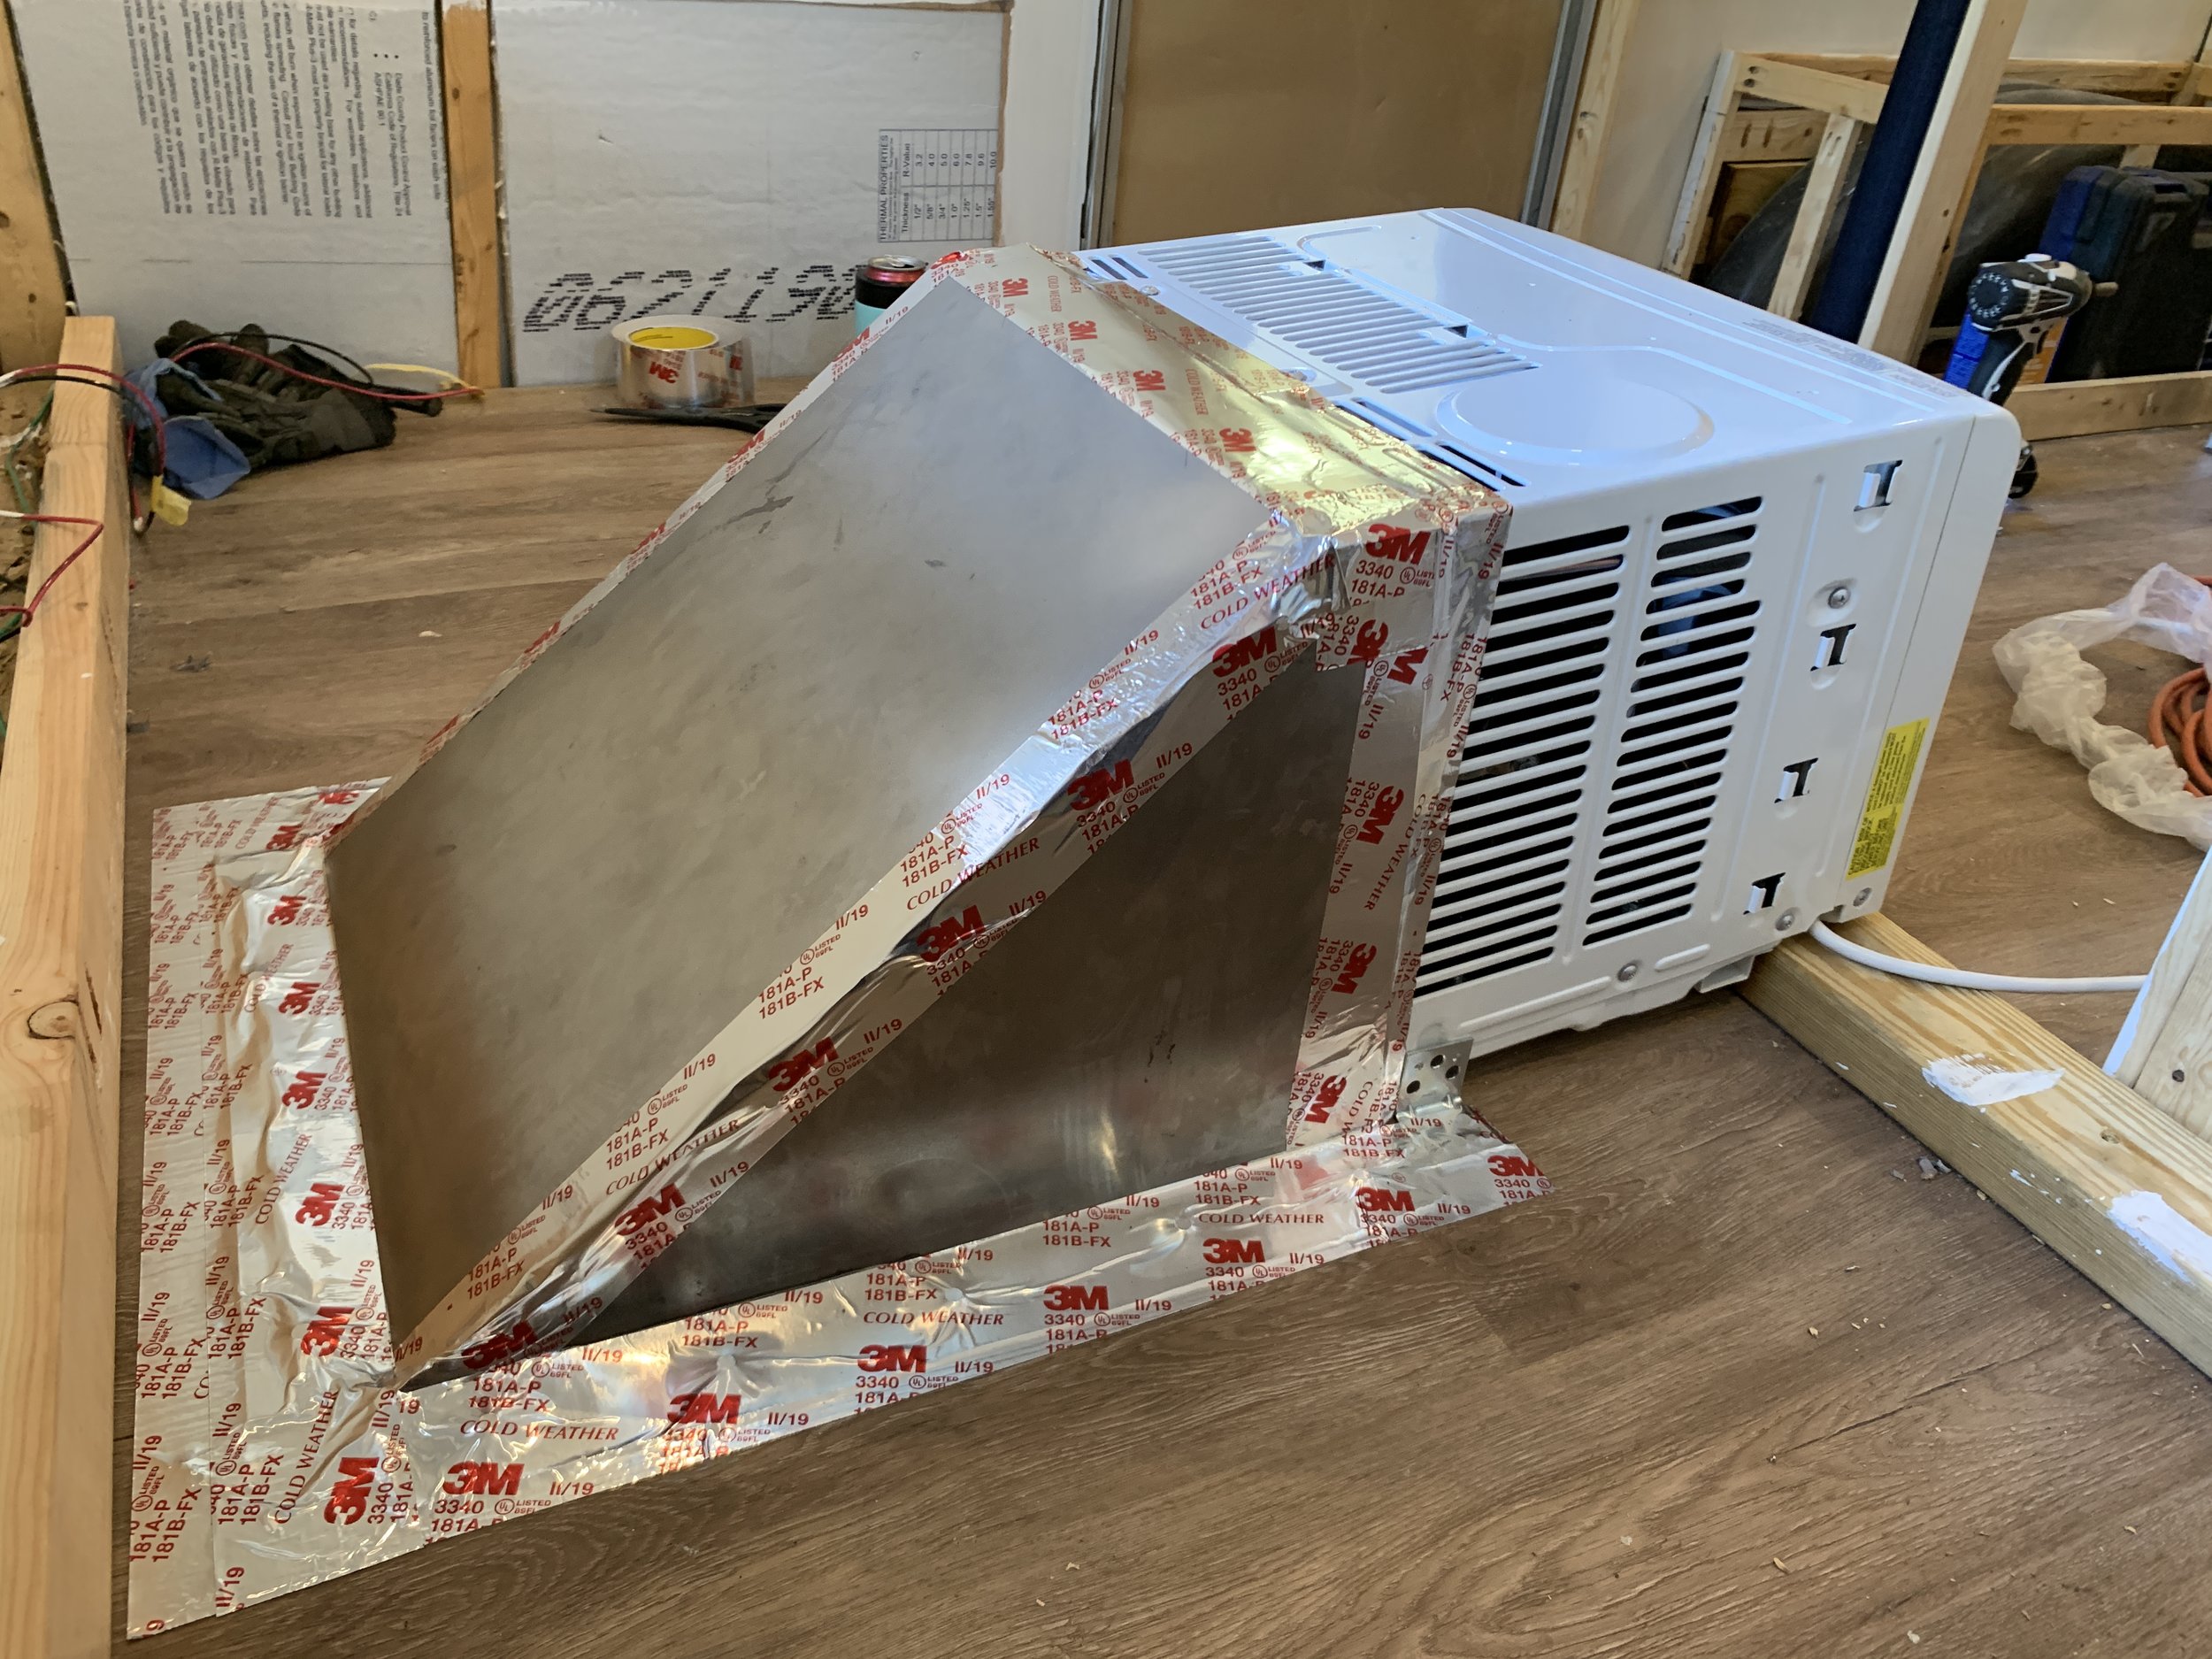
We used 3 metal duct pieces in total – one for the top/diagonal piece + the flanges on each side and 2 more for each triangular side + a floor flange on each. Once the pieces were all cut out and the flanges bent into place, we dry fit each of the pieces together in place (making sure we didn’t accidentally rip through the mesh screen). Then we screwed them all together using the sheet metal screws. It was helpful that one of us held the top piece flange firmly on the A/C unit and pushed back on the other side of the duct/held everything square while the other one of us screwed the screws in. We started at the top of the sides and went down the line. Once the duct pieces were all connected together, we confirmed we were lined up with the A/C unit and floor hole, and then screwed it to the floor alternating drilling the screws in on each side to help keep the duct square and tight to the floor as we went. We added a layer of aluminum tape on the seams to seal the edges from air loss but decided to take it another step further.
Sealing & insulating the exhaust duct
We weren’t sure if we were going to need to insulate the exhaust duct, but after we ran the A/C for a short time to test it, we realized just how hot it got and decided to wrap it in 3/4” insulation we had leftover from insulating the walls and ceiling. Similar to the ducting, we cut 3 pieces of foam board and used the remaining HVAC tape to create a tight seal on all the seams. This step should really help keep us from accidentally heating up the camper.

Ducting all wrapped up in insulation.
So that’s it
You’re ready to plug that bad boy in!
Why a window unit if it’s not installed in a window?
I know what you’re probably thinking – why go through all this when you could’ve just plugged in a portable air conditioner? We thought about it, but didn’t for a few reasons:
Some portable units are on wheels and we didn’t want it rolling/shifting around. (This is hardly a dealbreaker – we could just remove the wheels or find one without them in the first place.)
A lot of the ones we saw are kind of tapered and rounded on the top, making it a little more awkward to frame into furniture than a boxier one. (Again, not impossible to maneuver.)
They’re usually tall – much taller than the furniture we wanted to house it in. One could install it under a taller cabinet, but our cabinet areas are already half full with the wheel wells and the only floor to ceiling area we have is the bathroom/shower.
Portable units still have to be vented to the outside. If not, the hot exhaust is just warming the air you’re trying to cool.
Some things to consider

Grinding off the excess metal to smooth the edge of our duct.
Pay extra attention to the power usage of your A/C unit. Definitely don’t want to blow the electrical system.
You may need to make different plans for condensation produced by your chosen A/C unit.
Think about cutting your floor hole close to the edge of your camper to help the hot exhaust not sit right underneath the camper, warming up your floor from the underside.
Even though it’s tape, HVAC tape is made out of aluminum and will slice your fingertips when you’re rubbing on the edges to get a tight seal (as my fingers can attest). We recommend using gloves for the really-sticking-it-down stage.
Pay attention to any filters your A/C unit has and make sure you leave room to access it. Ours is on the side and slides out. We’ll be making sure to accommodate it when we finish building out the twin bed.
Edges of your ducting not line up perfectly? You can carefully remove the extra using a grinder.
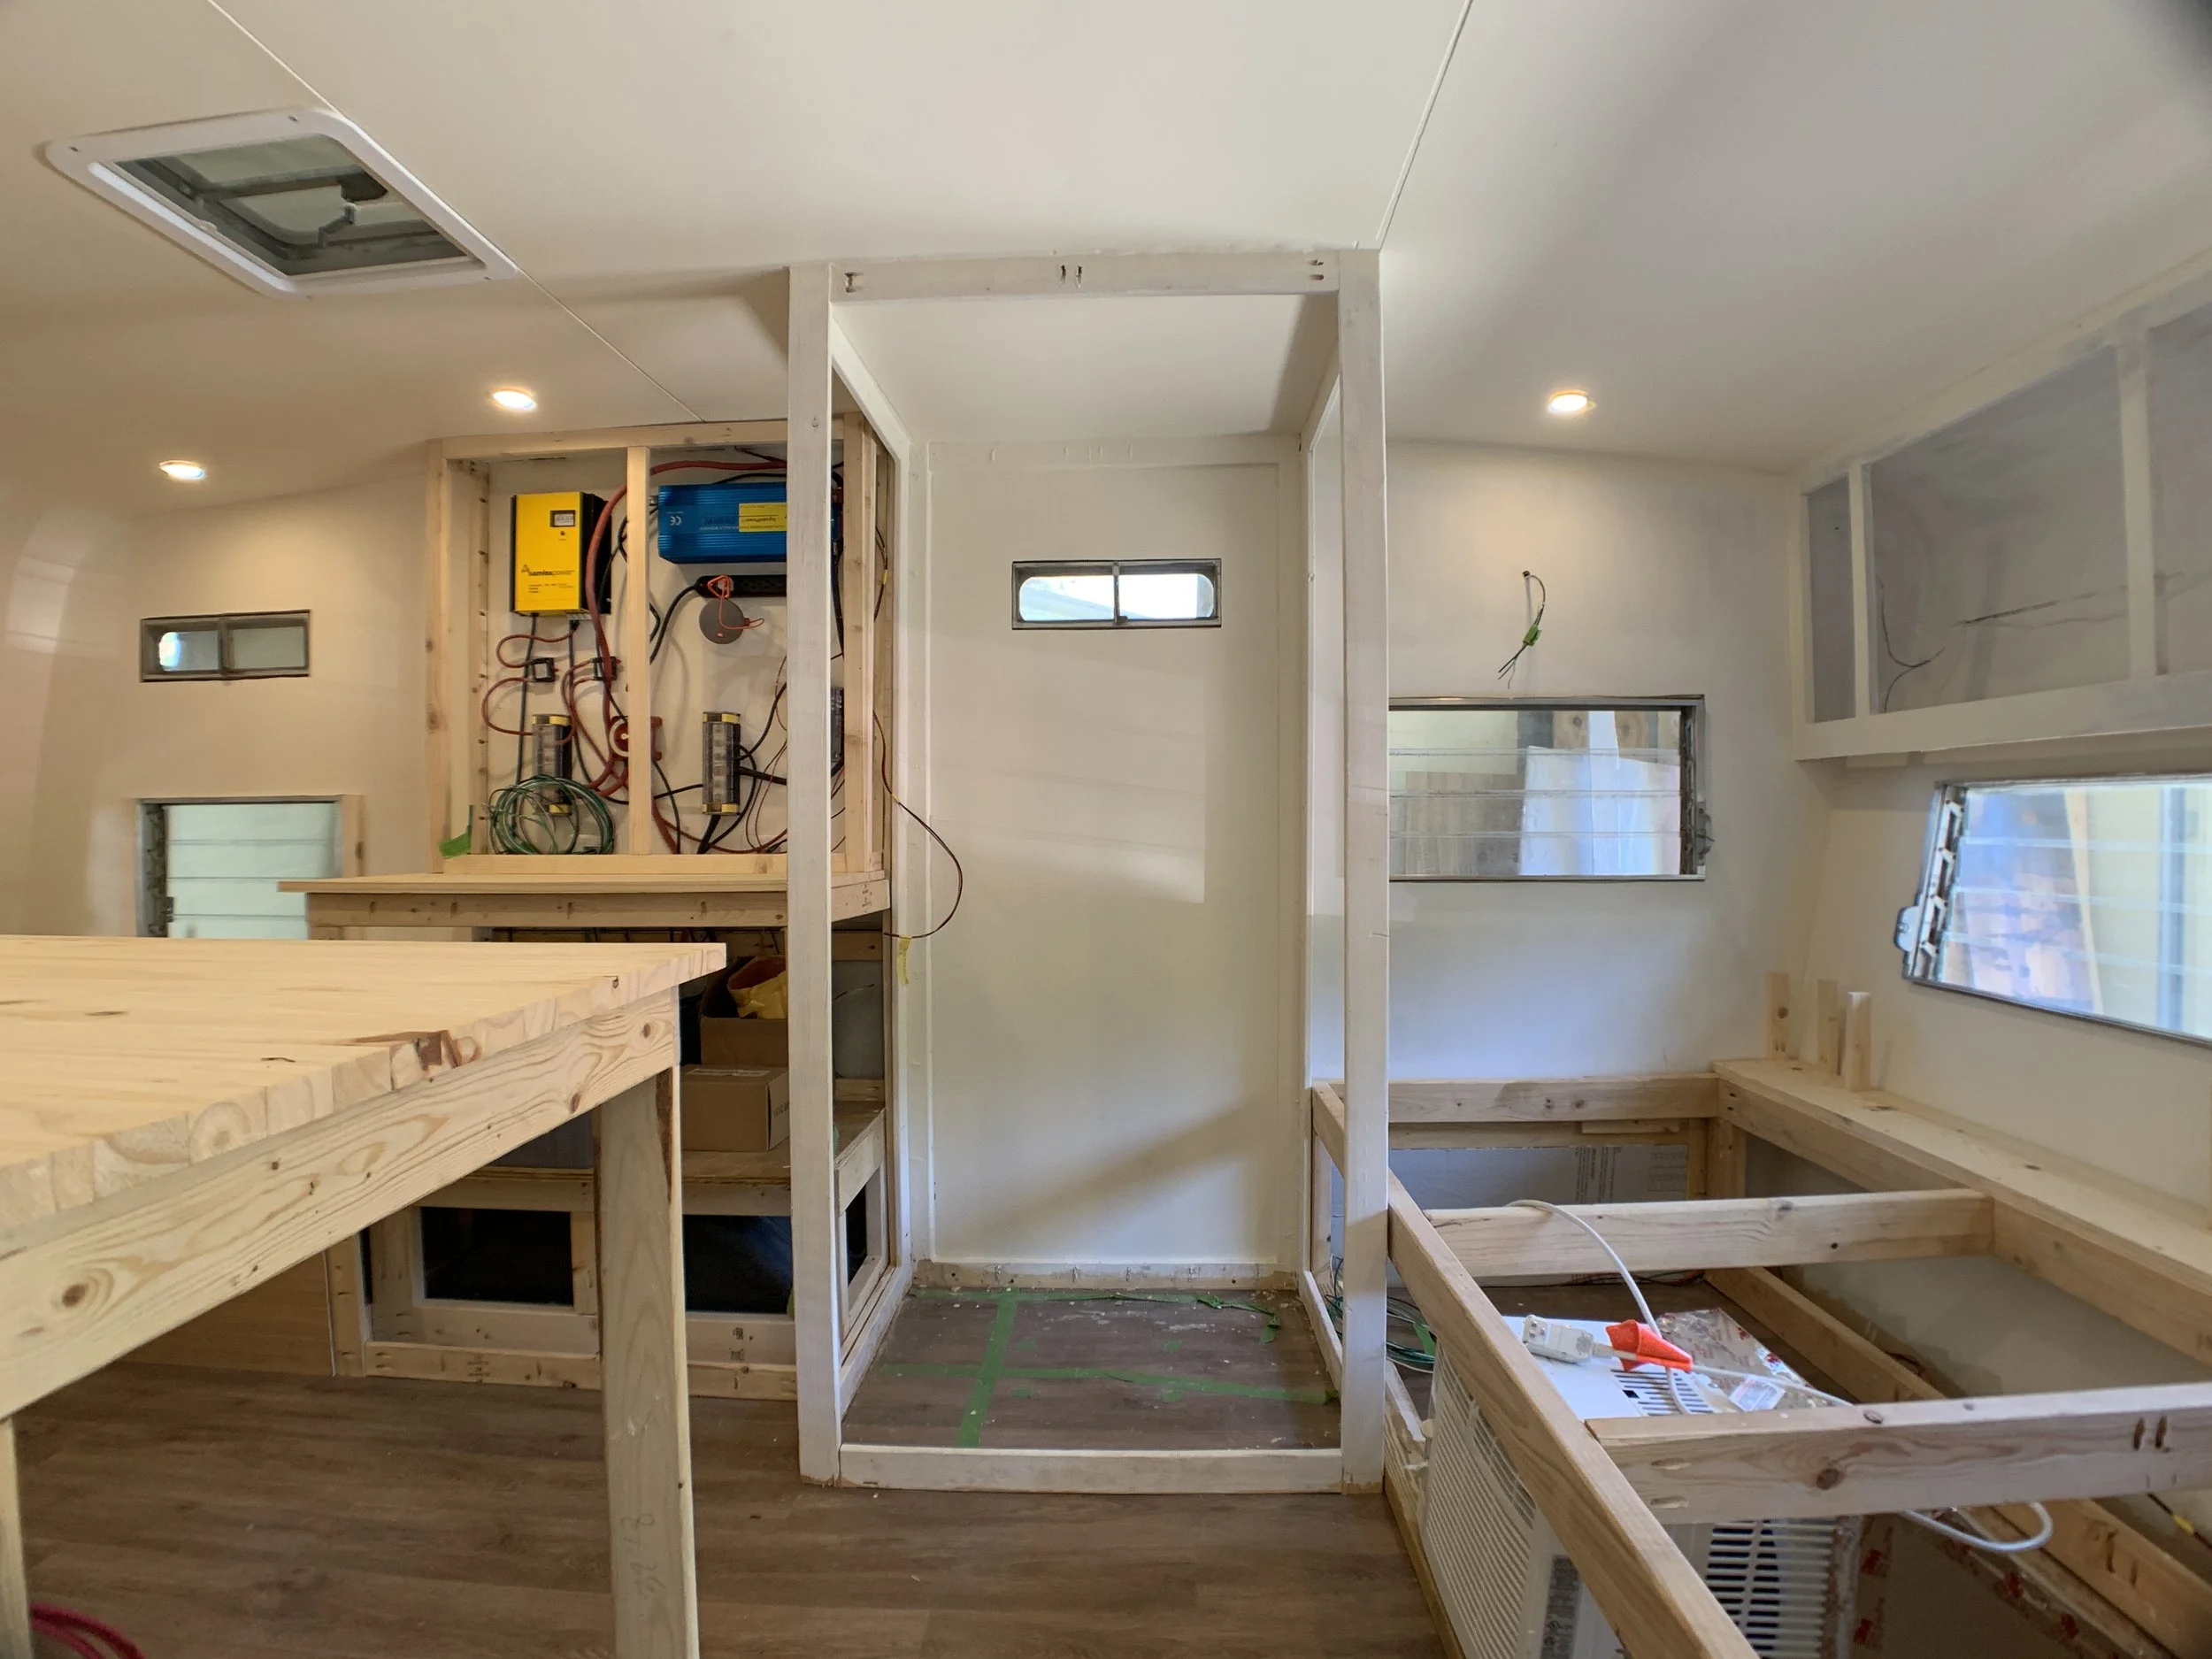
So what’s next on the list?

Next up is finishing out our furniture framing. That means building the twin bed that will go around this A/C unit, as well as our dinette-to-bed area (now relocated to the back of the camper) and cabinets, before moving onto all the plumbing and our bathroom. (Which I am soooo excited to do and share with y’all! We’ve had big/different plans for the shower for over a year now – also that we’ve not seen before – and I can’t wait to see if/how it works out!) The Cameo is starting to look more and more attractive by the project and I can hardly contain my excitement!
But first let’s kick back with a drink and finally enjoy some cool air in this heat.