The Cameo Camper Renovation: Changing the Floor Plan
So we haven’t posted in a while. Mainly because I don’t feel like we’ve really finished anything robust enough to write a cohesive post for you guys, but then I remembered you might like something short and sweet, and something that’s not a full on tutorial. So today we’re going to take a look at how we’ve changed up our camper’s floor plan to suit our needs a little better.
Camper Basics That Won’t Change
Cameo FD 17’ Travel Trailer
Livable camper is 14’
Keeping all of the windows and door as-is
General layout is staying the same due to things we can’t change, like window and door placement
The Cameo’s Original Layout
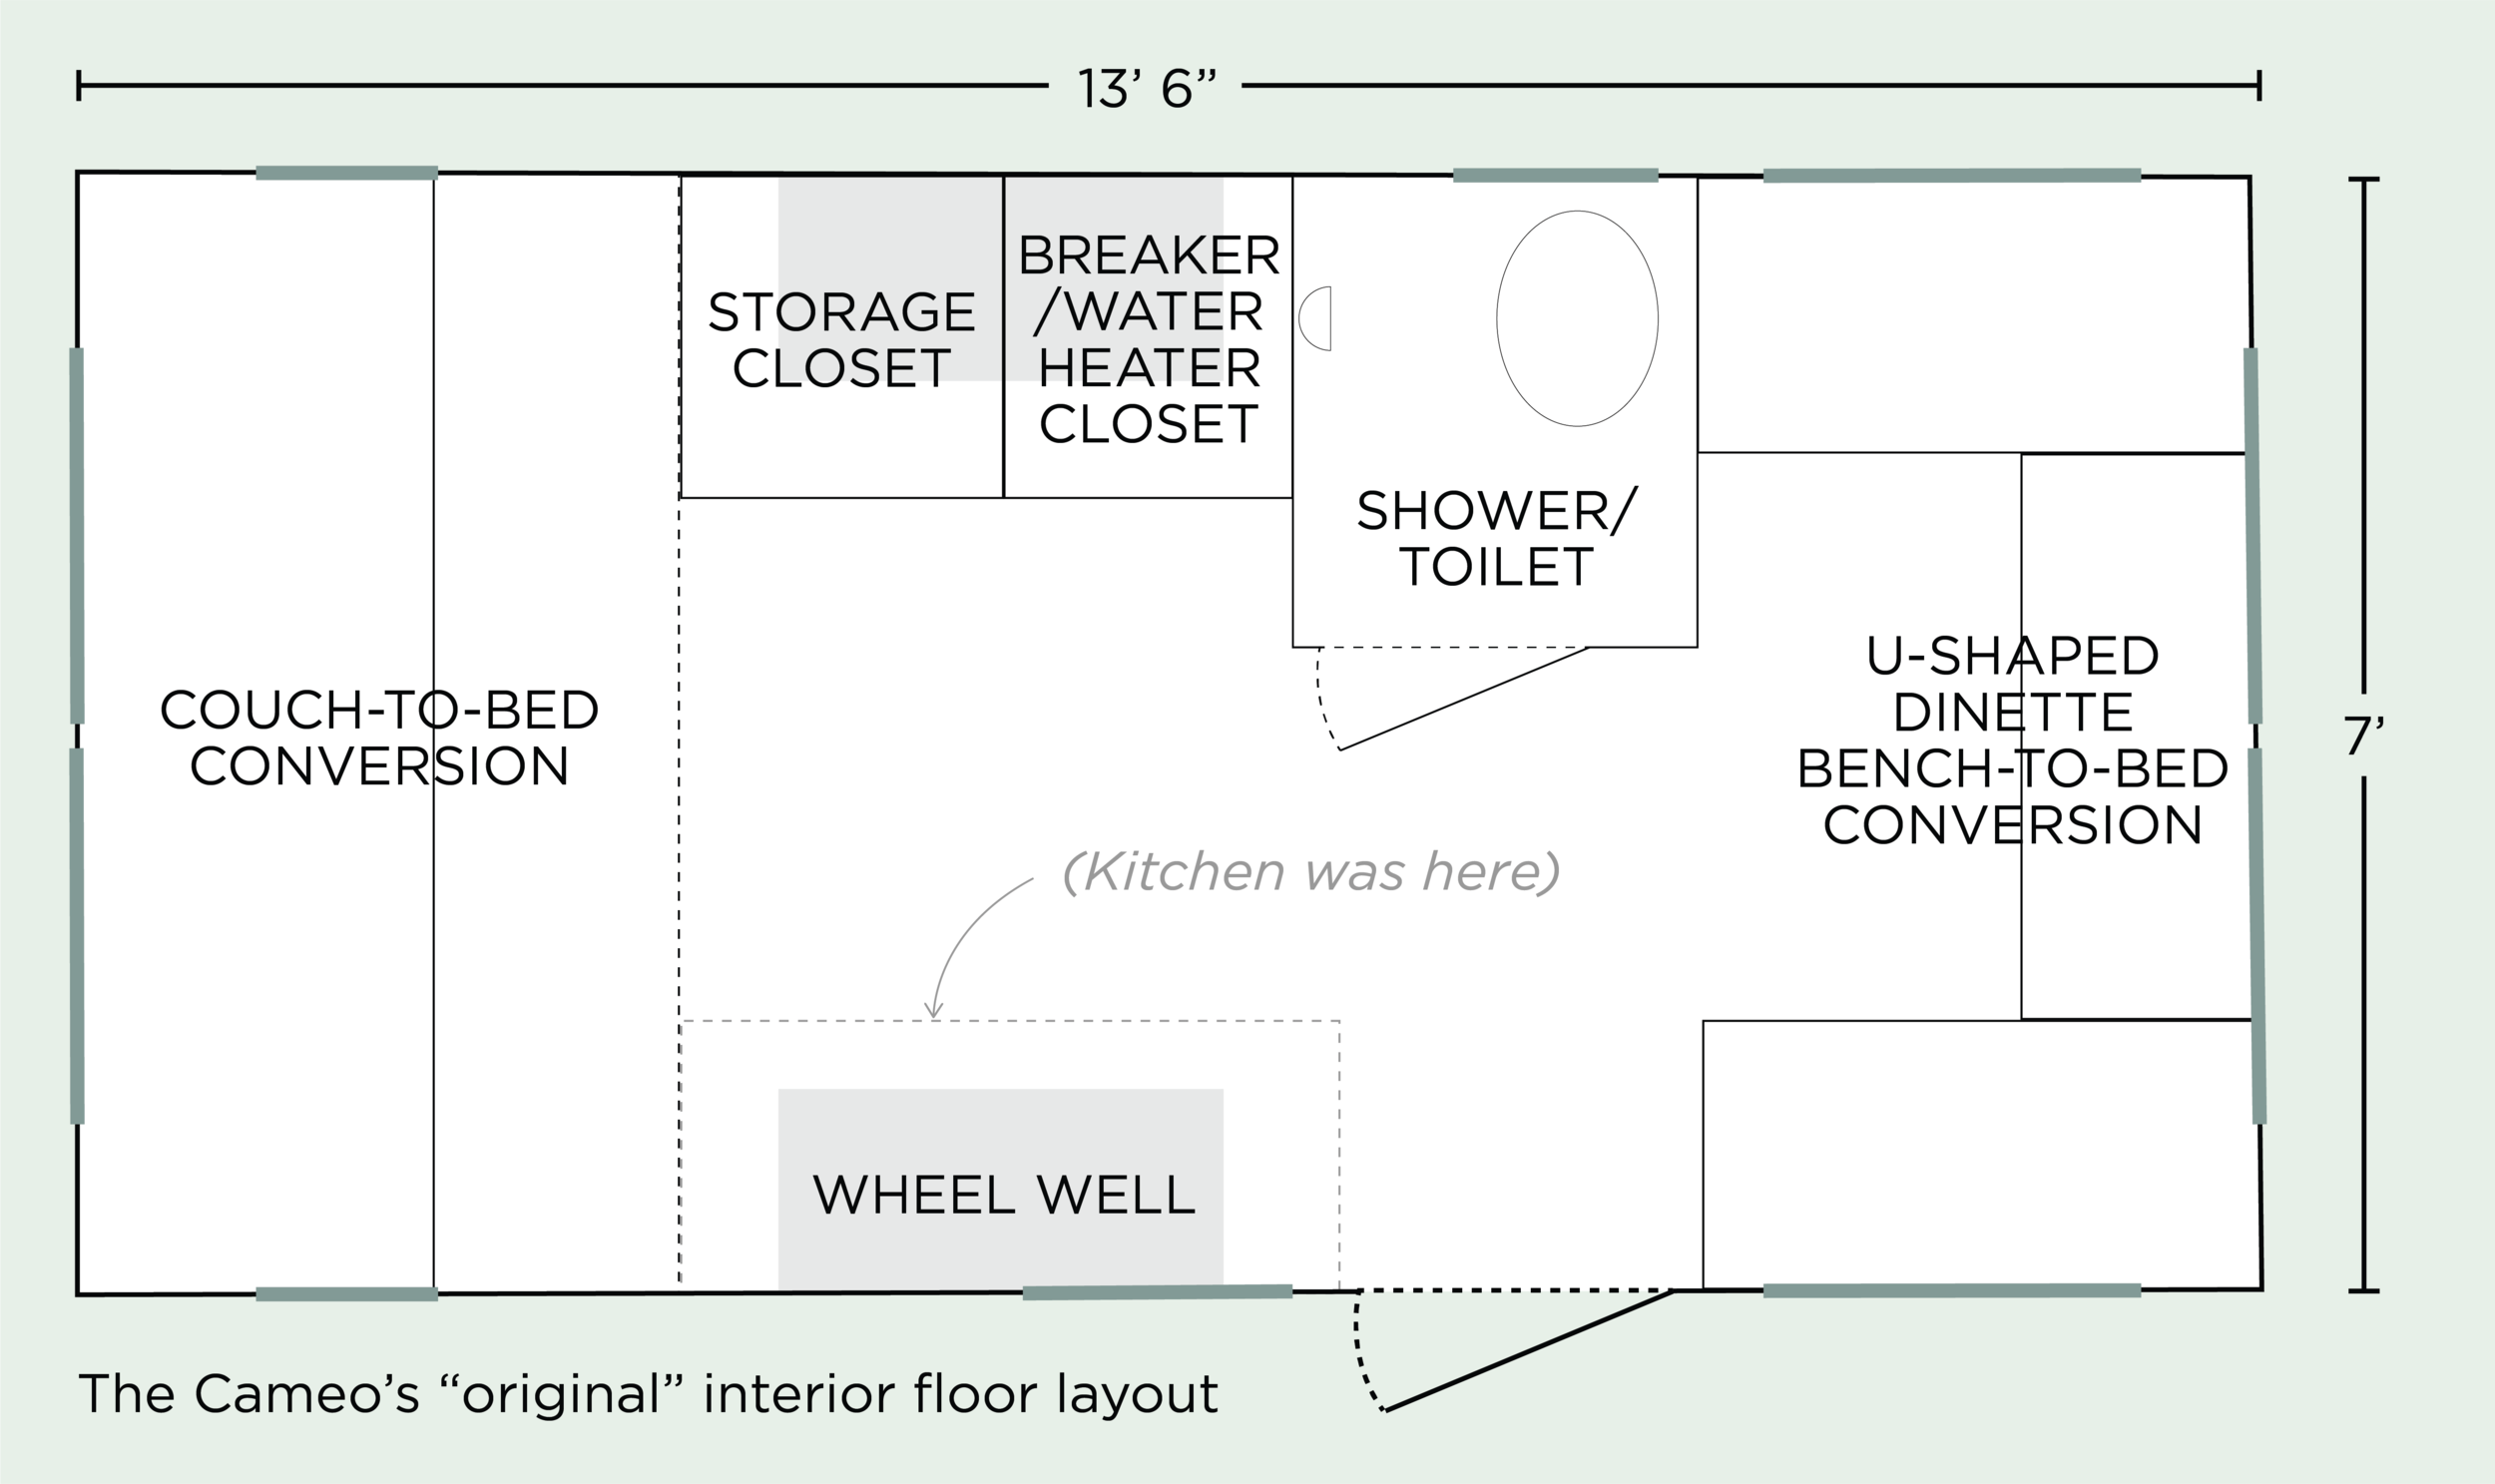
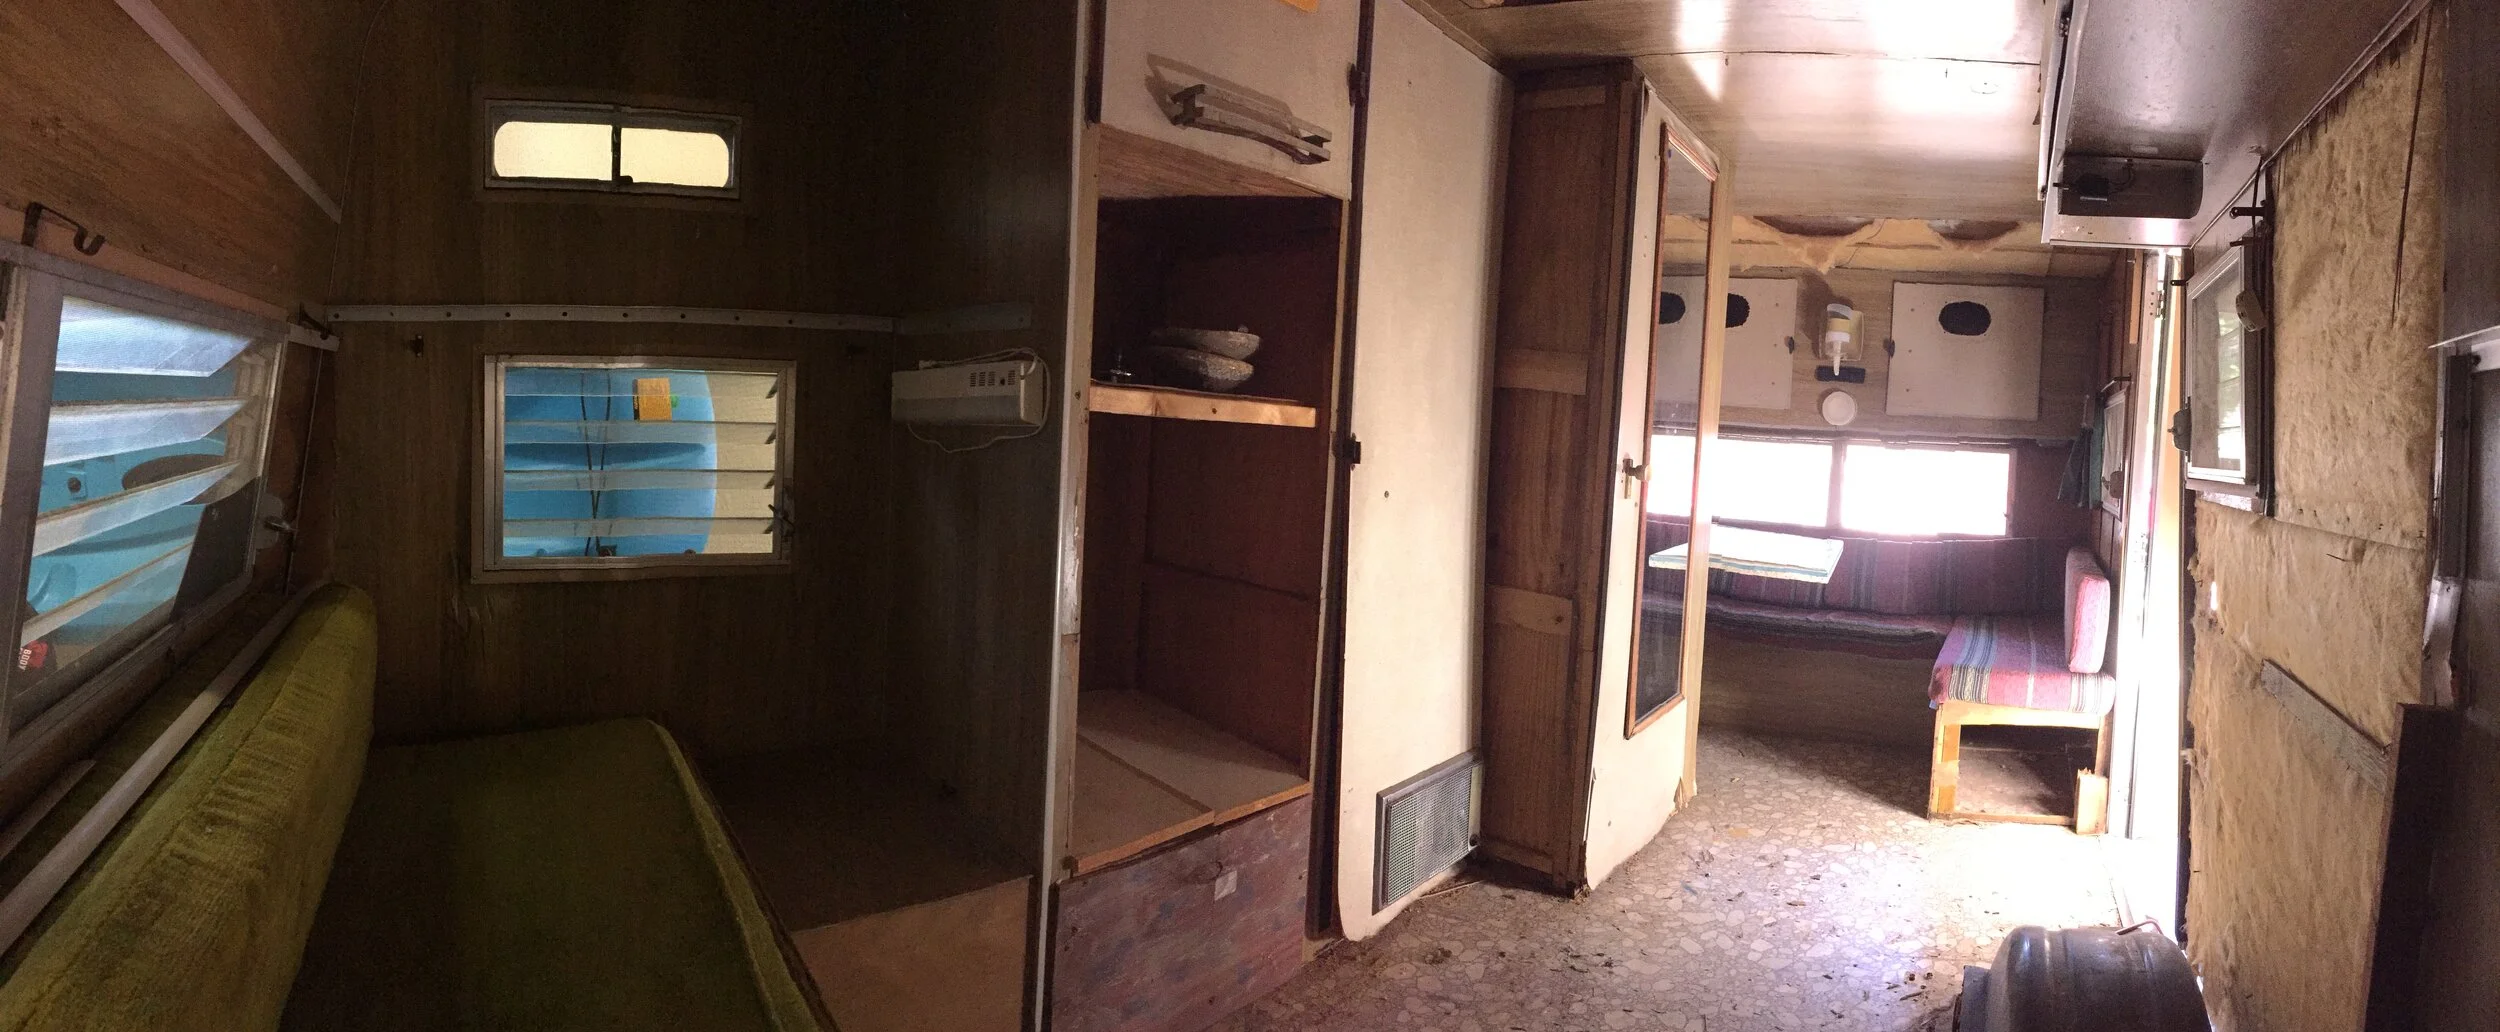
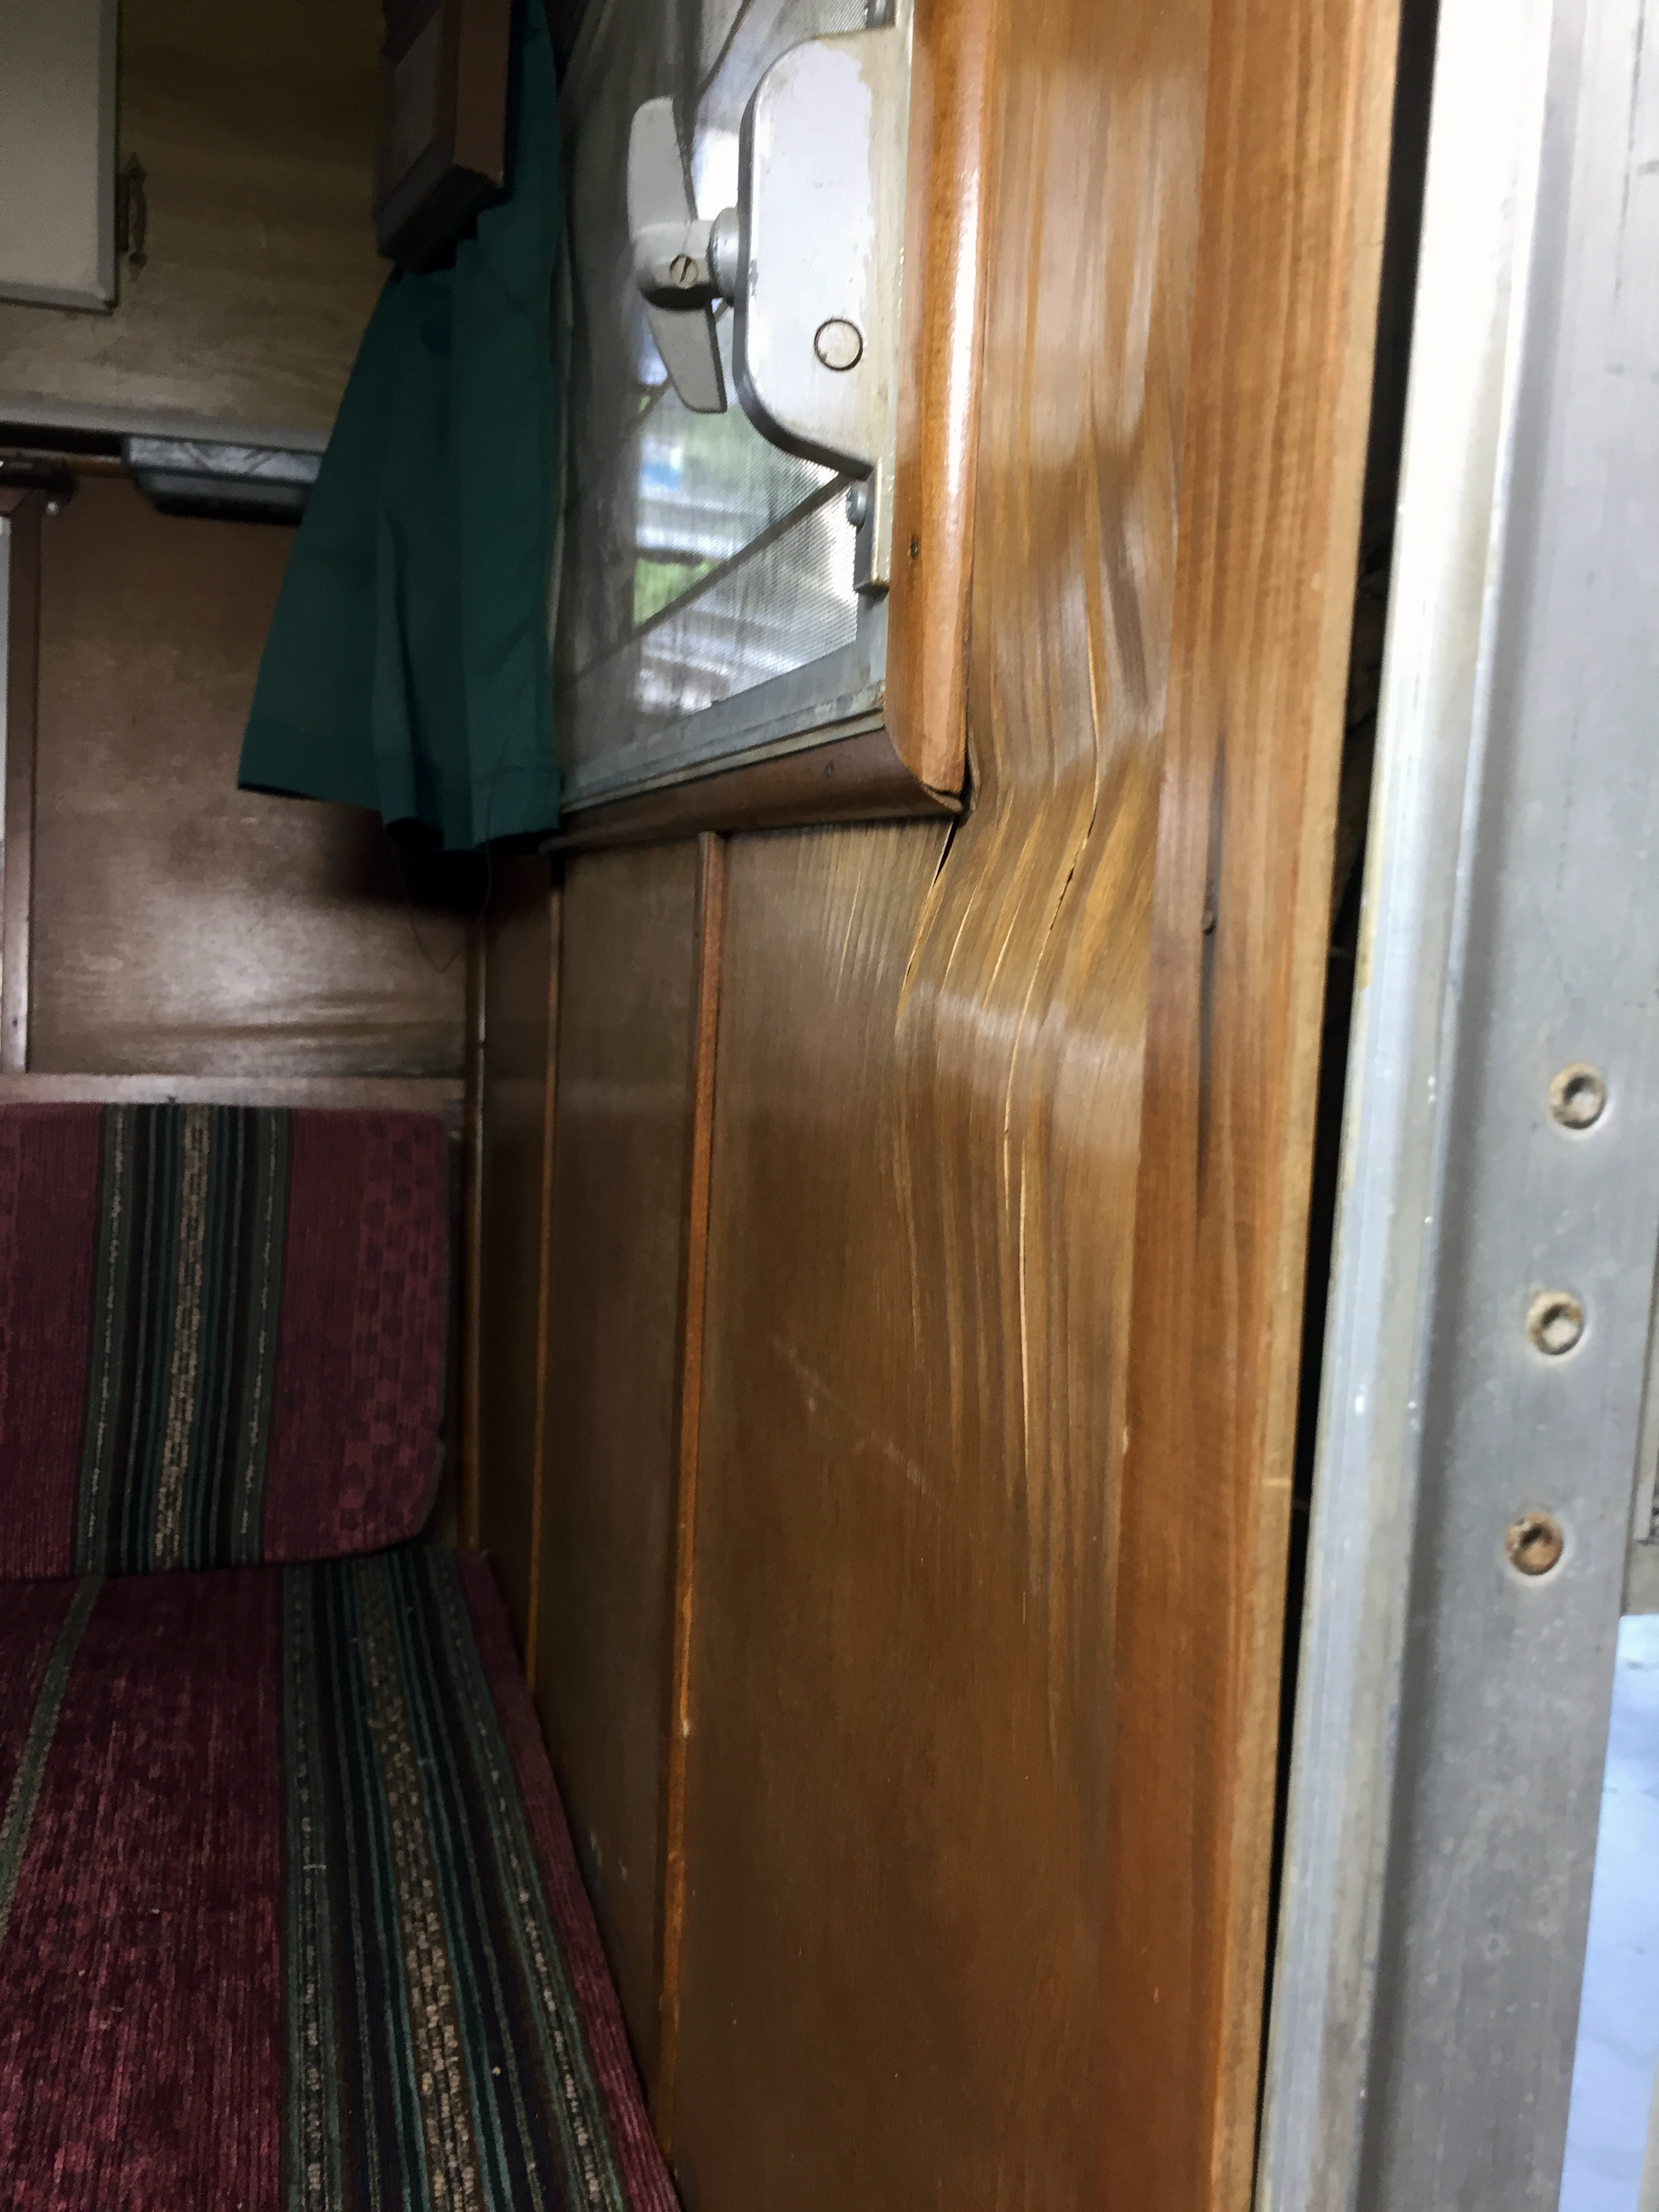
When we first bought The Cameo, a small dark U-shaped convertible dinette-to-bed area was immediately on the right as you walked in (toward the front of the trailer/truck). This is the maroon + teal striped number you’ll see in the before photos, that felt, in a word, gross. It had a bookshelf directly above it in the front bumpout of the camper and we could tell someone at some point had speakers cut into and subsequently removed from the front of the particle board doors.
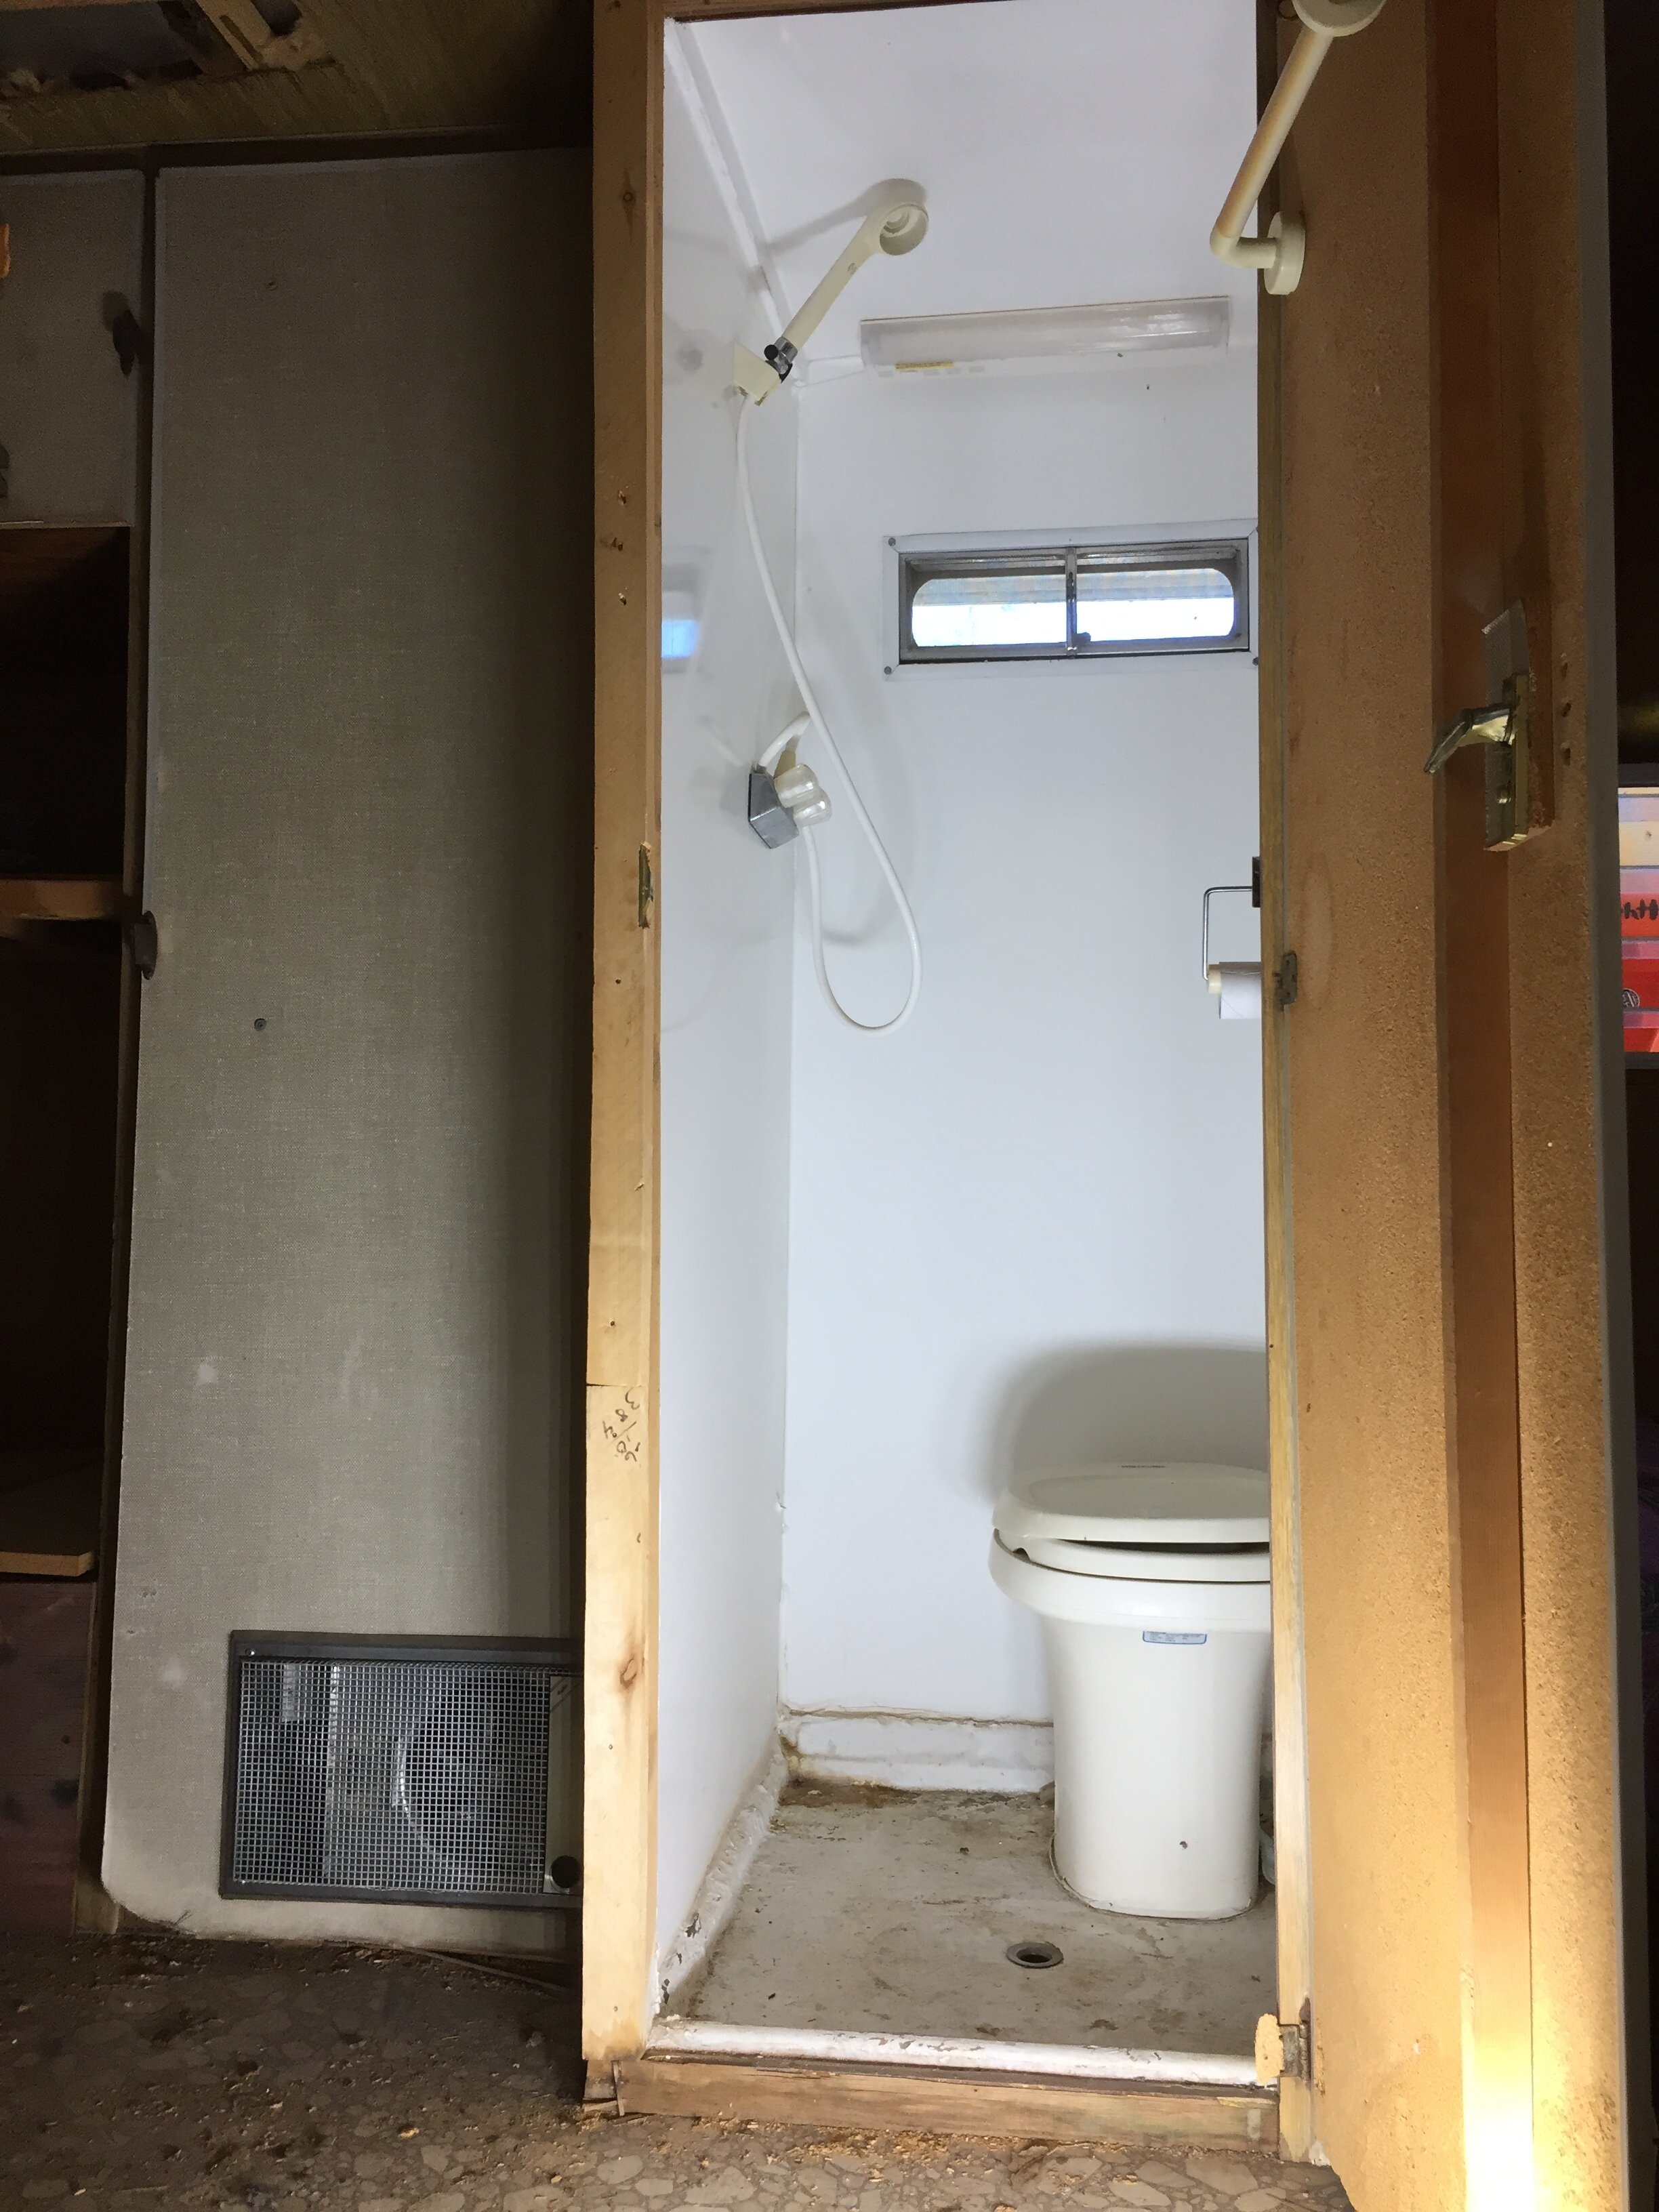
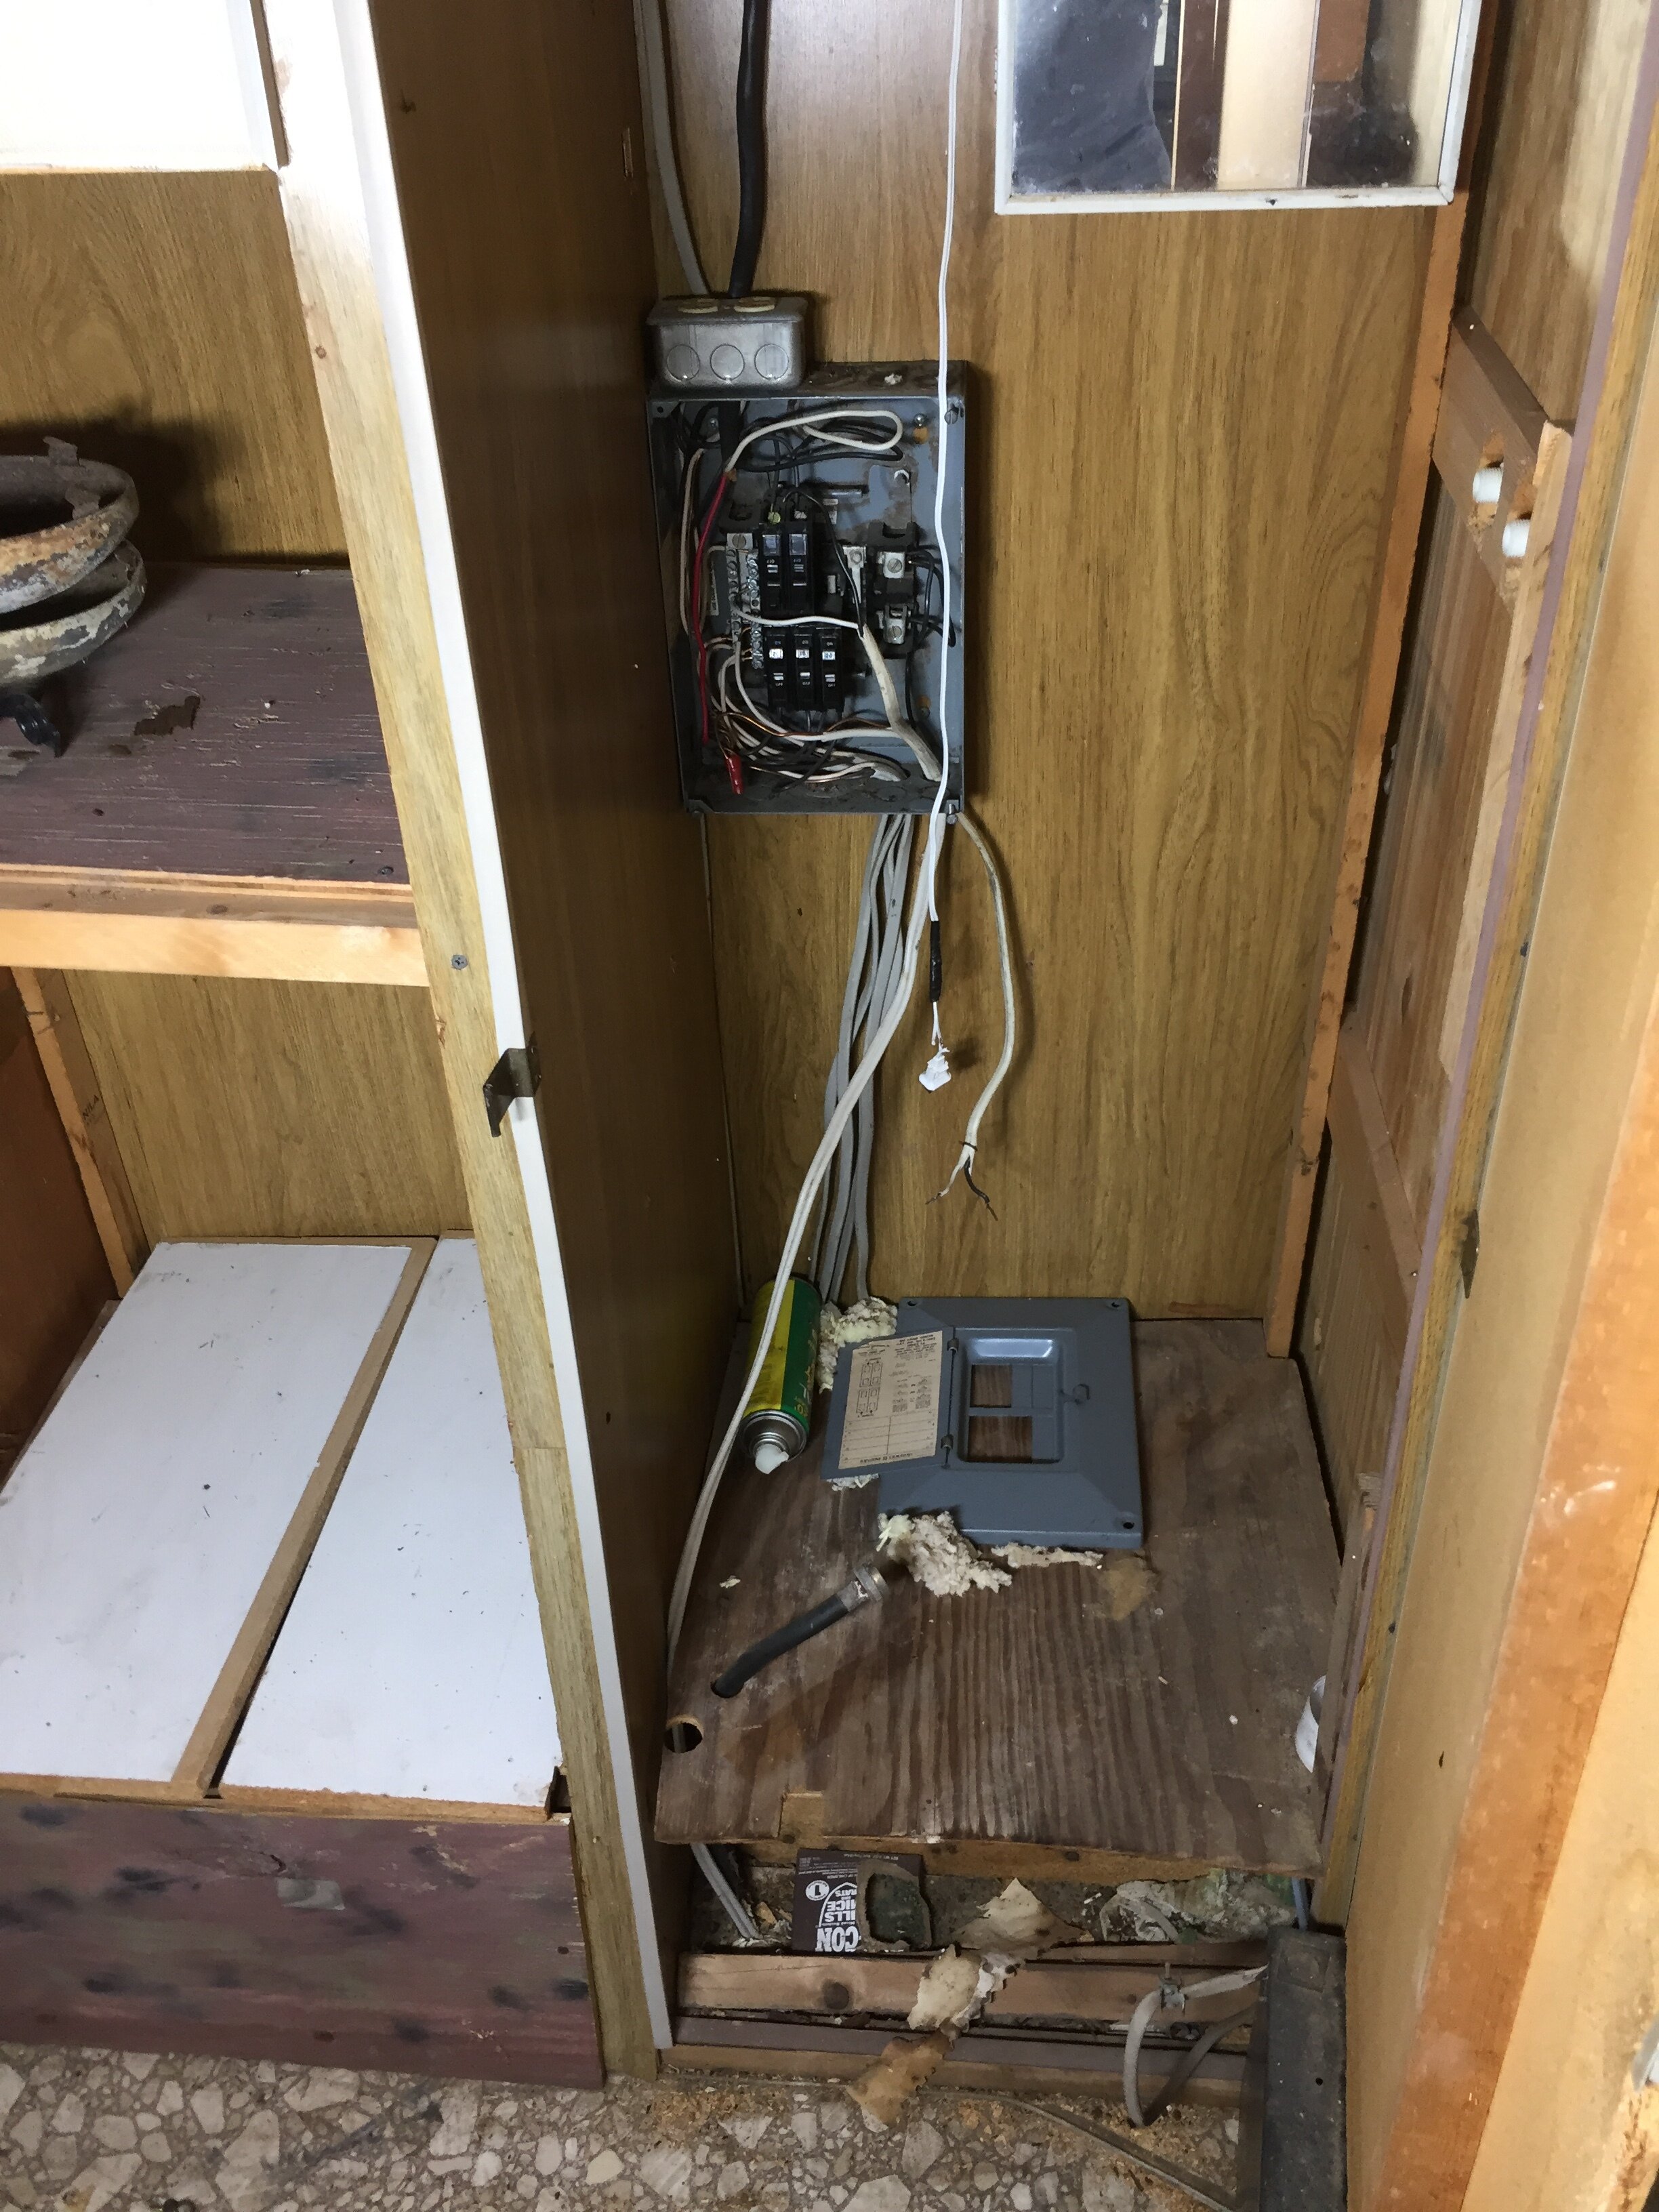
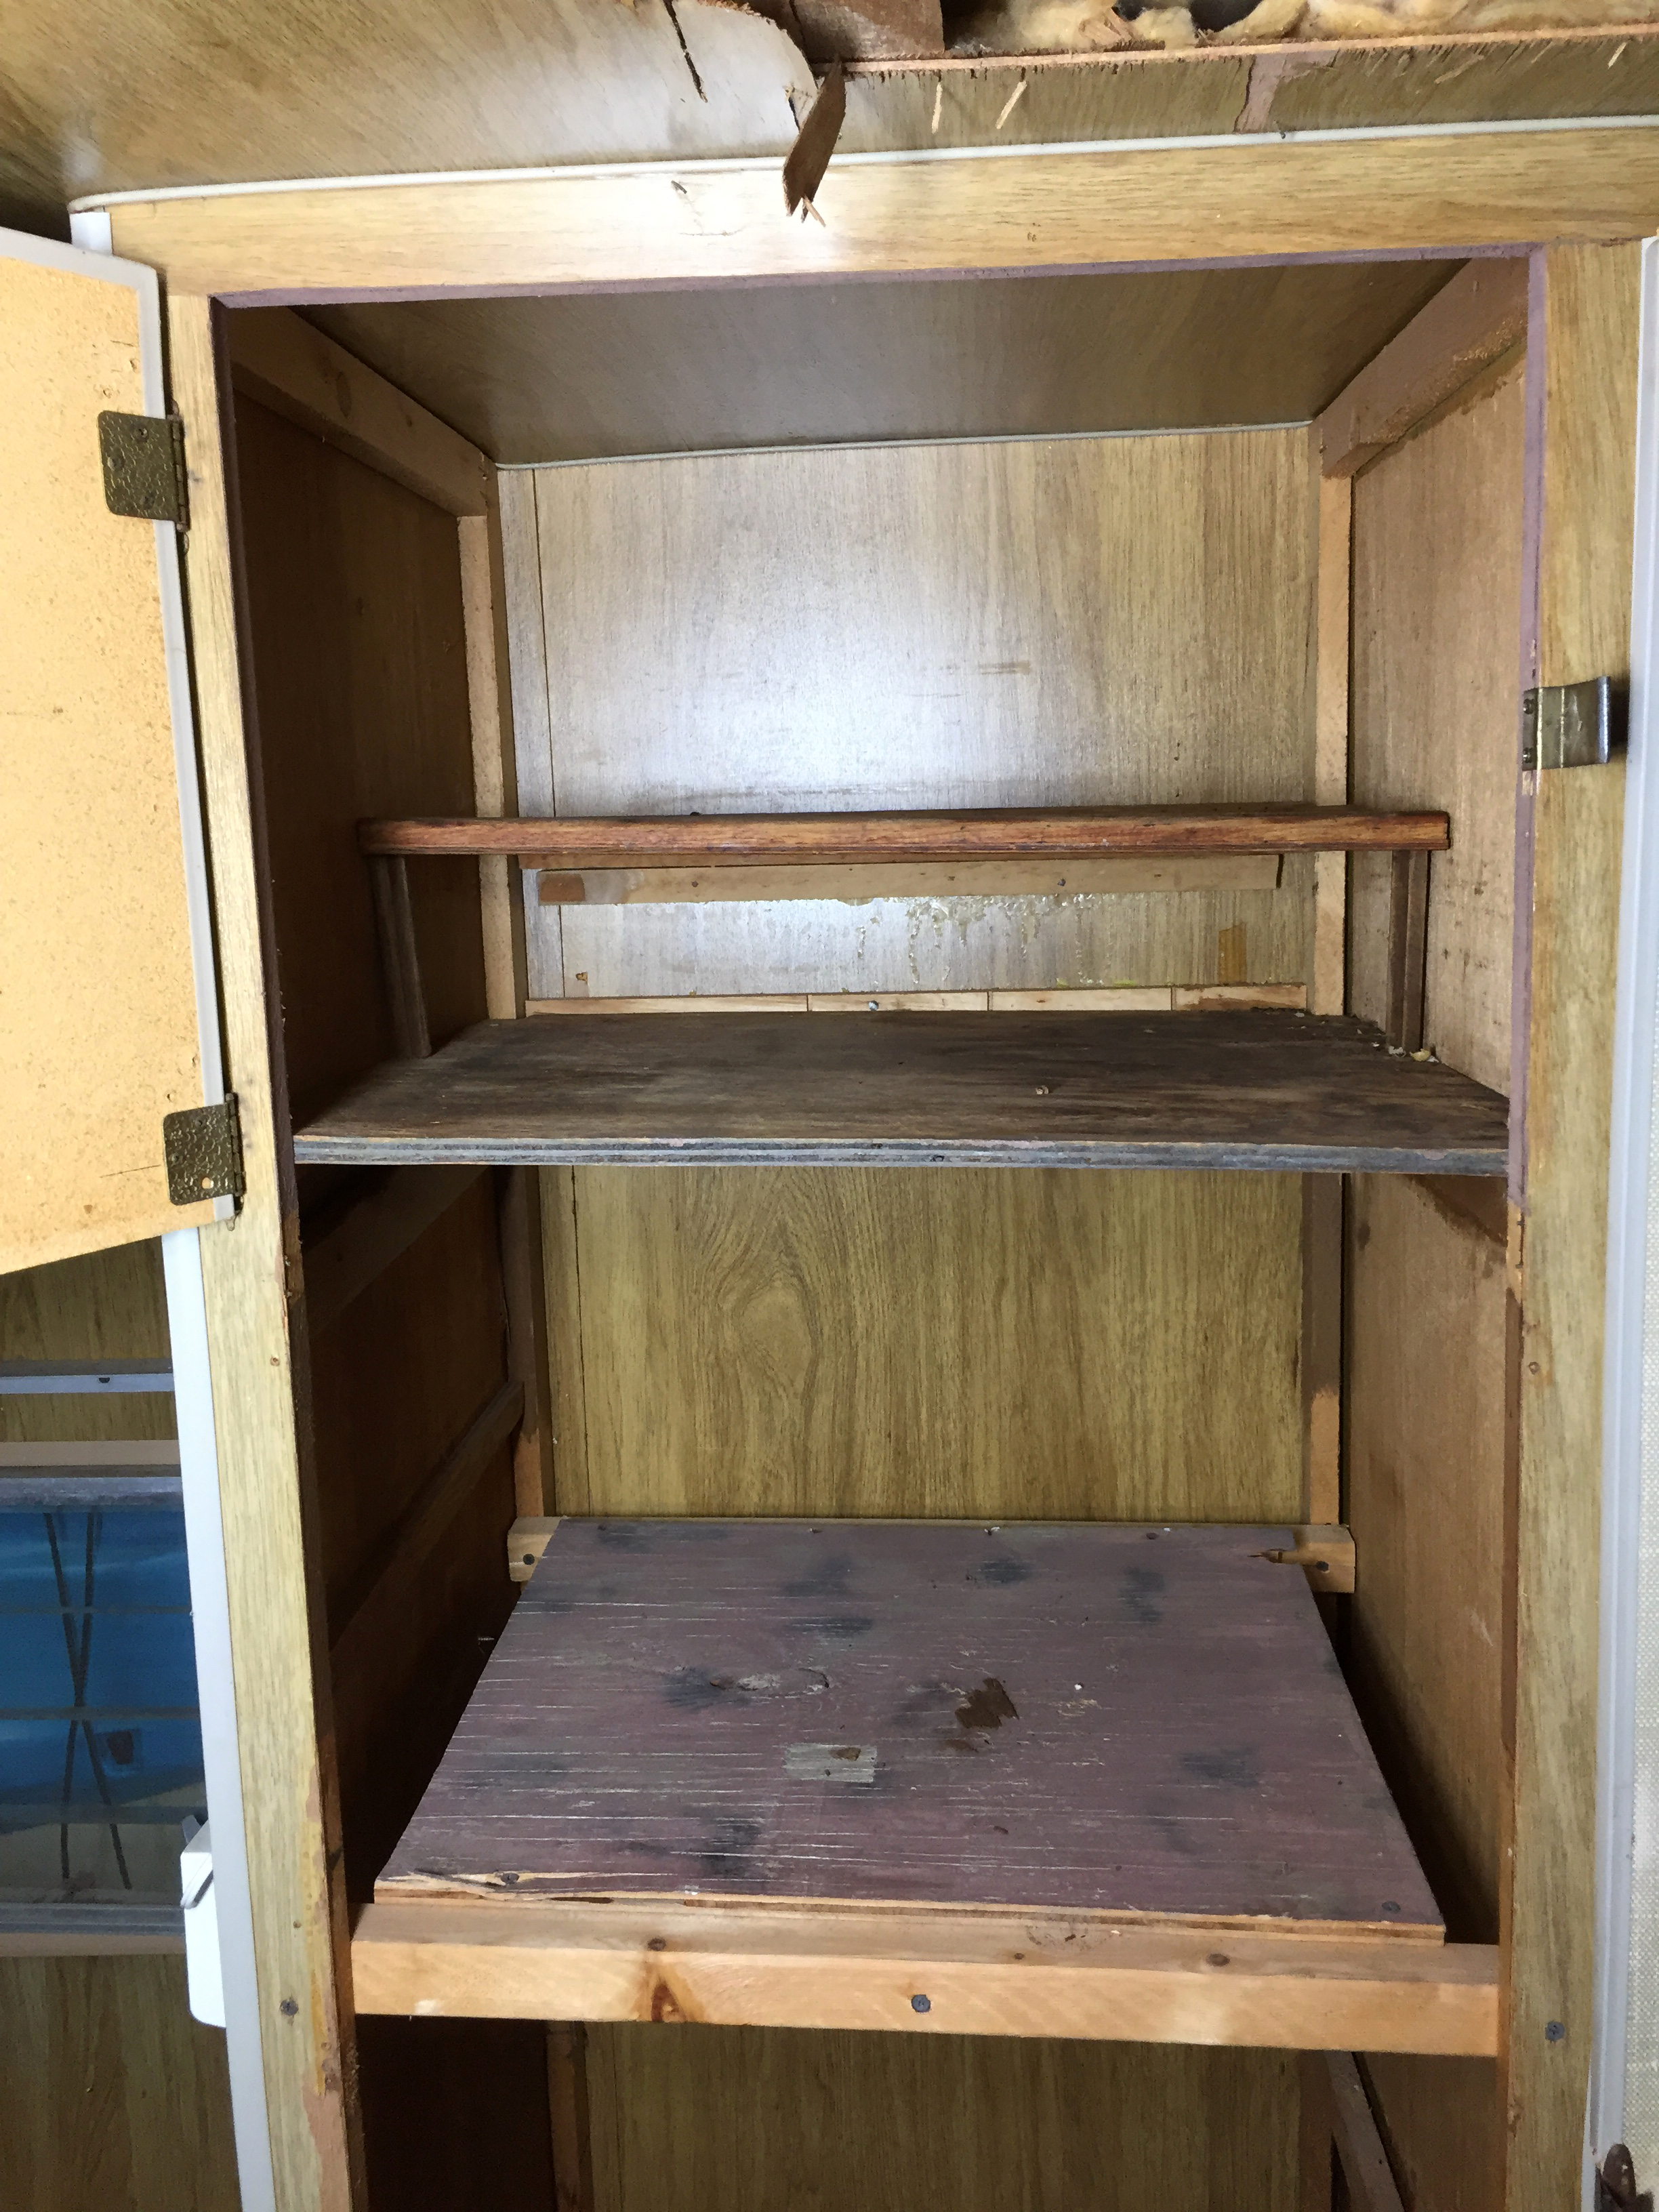
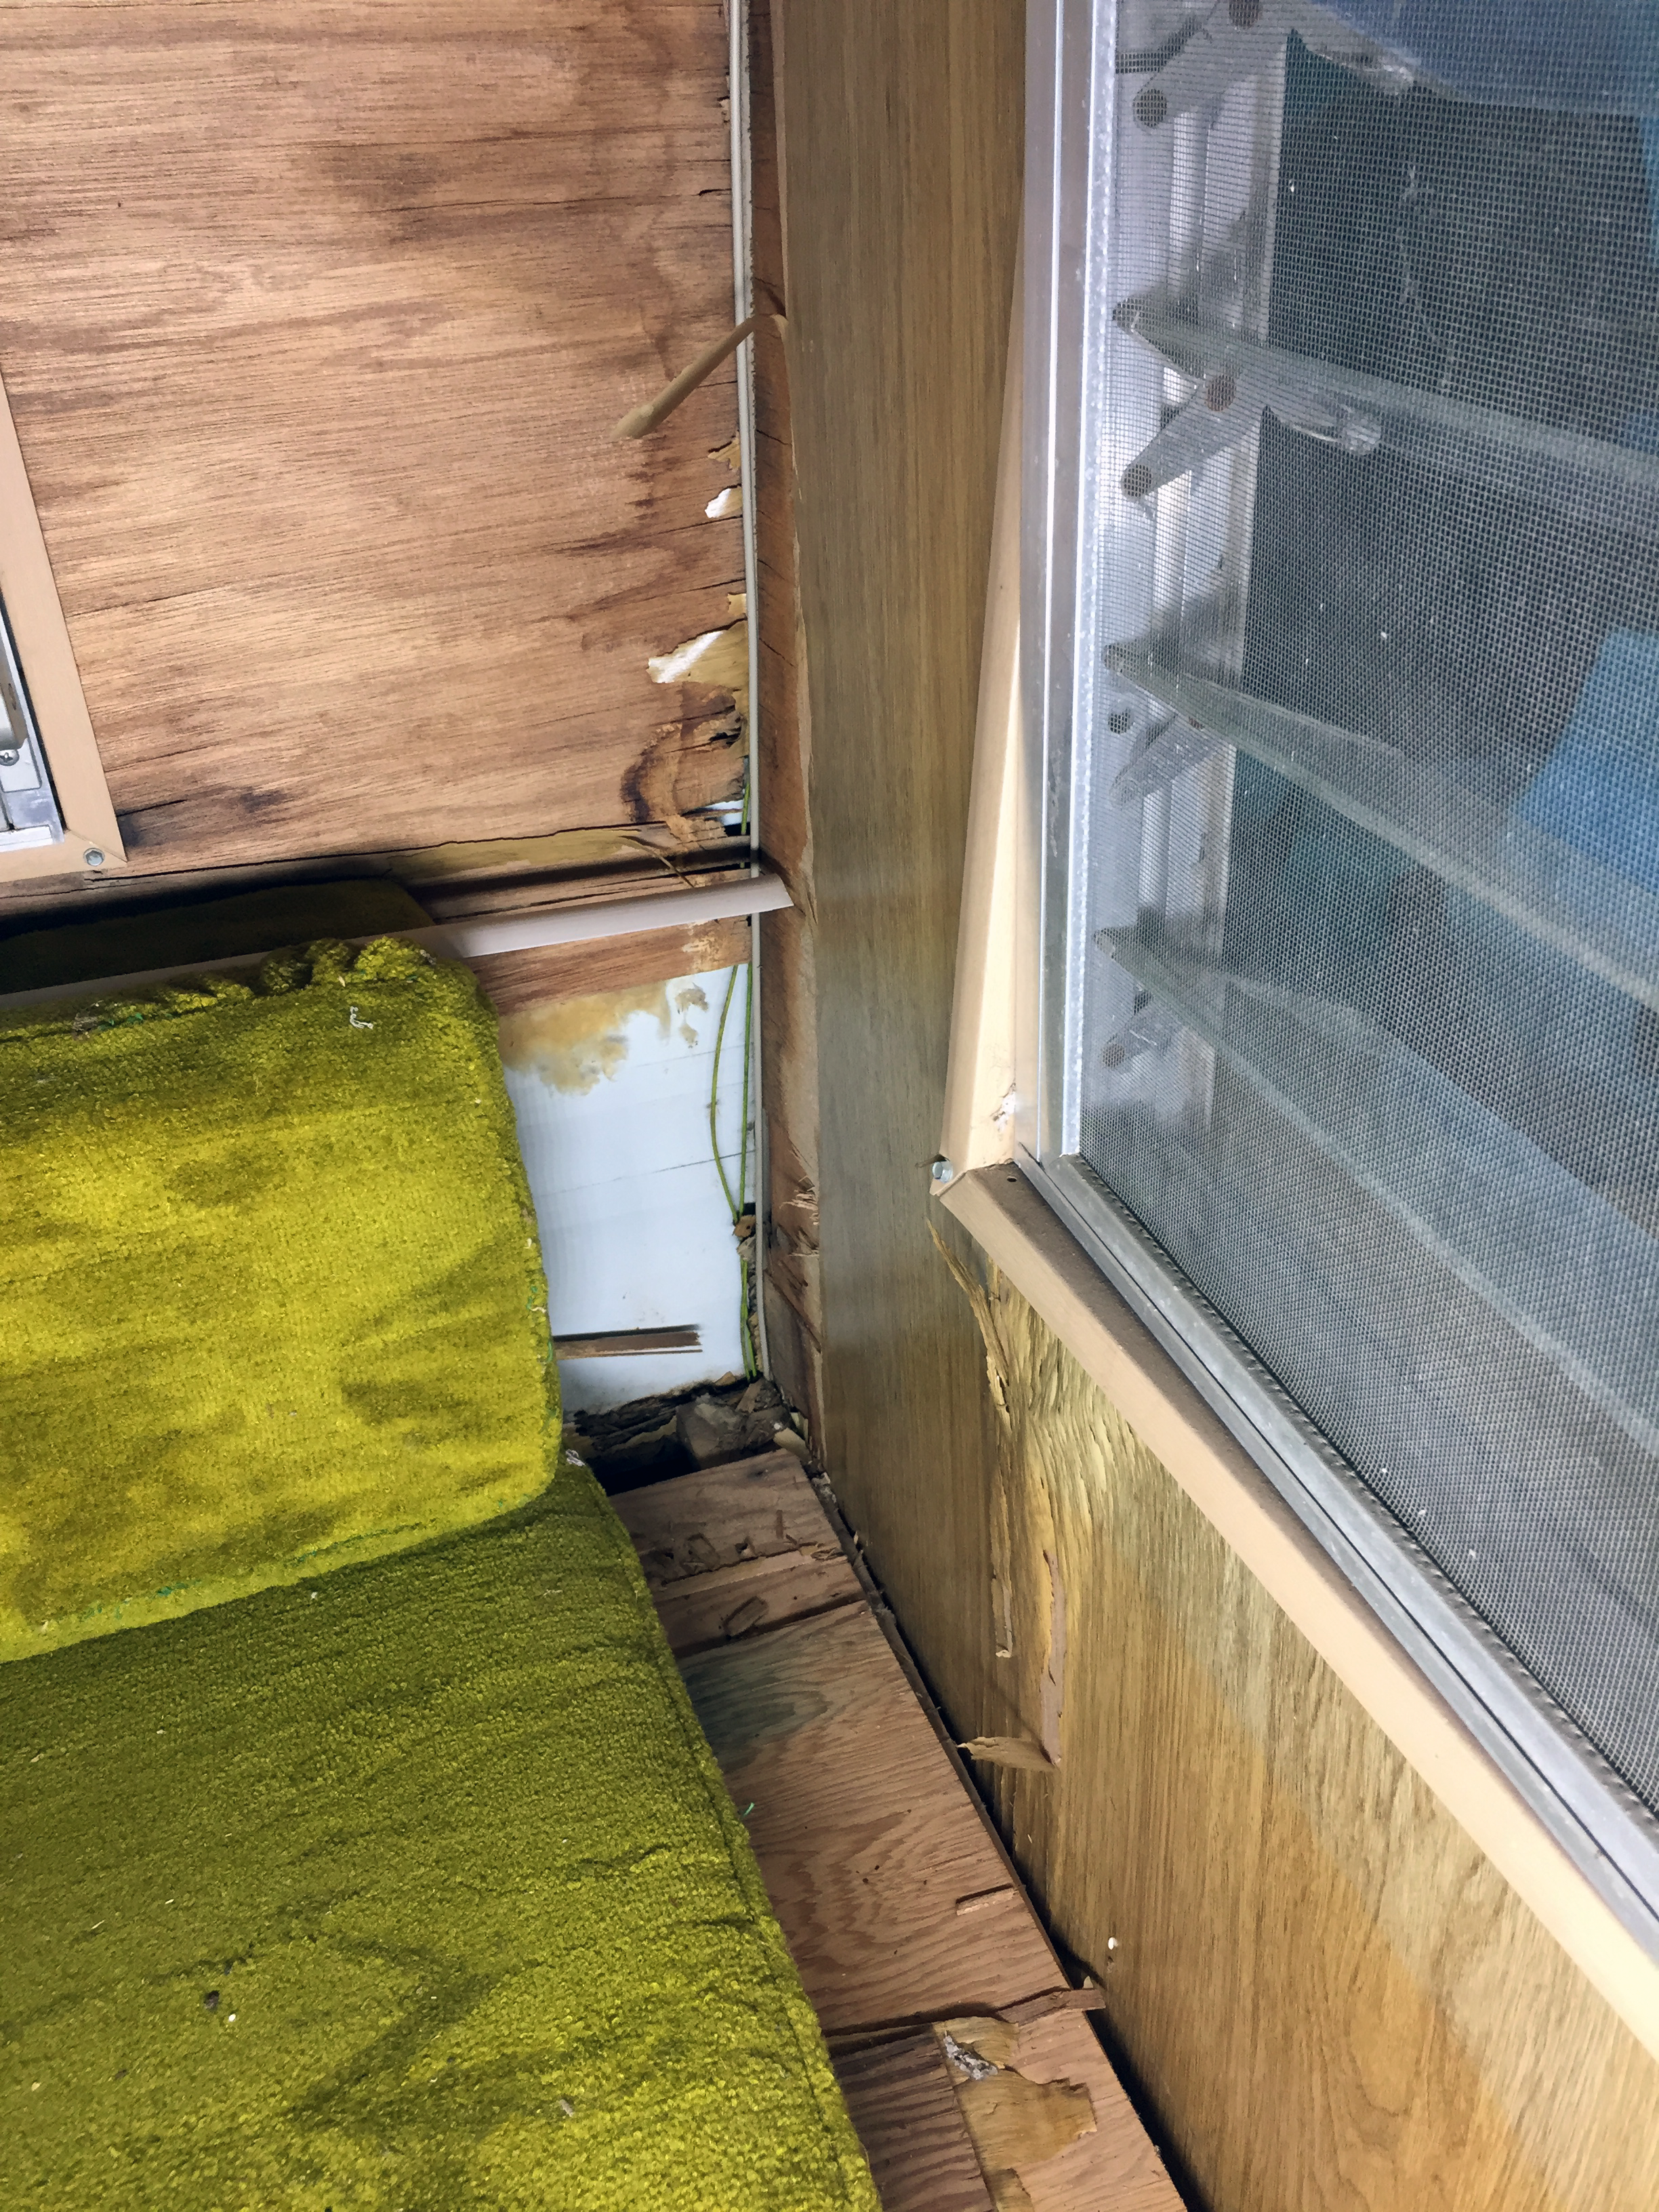
Directly across from the door was the wet bath area that contained a shower and toilet – a dirty confined space with a questionably exposed amount of electrical for a room meant for water, and as we later found an area where water leaked underneath the pan damaging the subfloor. On the same wall as the wet bath just to the left of it was a full-height breaker panel + water heater closet and a connected floor-to-ceiling storage closet area (that we’re guessing at one point maybe had an oven in it?). Immediately to the left of the door when you walked in on the door-side wall was where a kitchen counter + sink used to be before it was removed. (This is the “flappy wall” you maybe remember from our first post.) In the back of the trailer/camper was a gaucho bed, which is basically a fun word for a futon. It was a lovely green (now-matted maybe velour fabric) couch that slid out into a bed between the size of a twin and full.
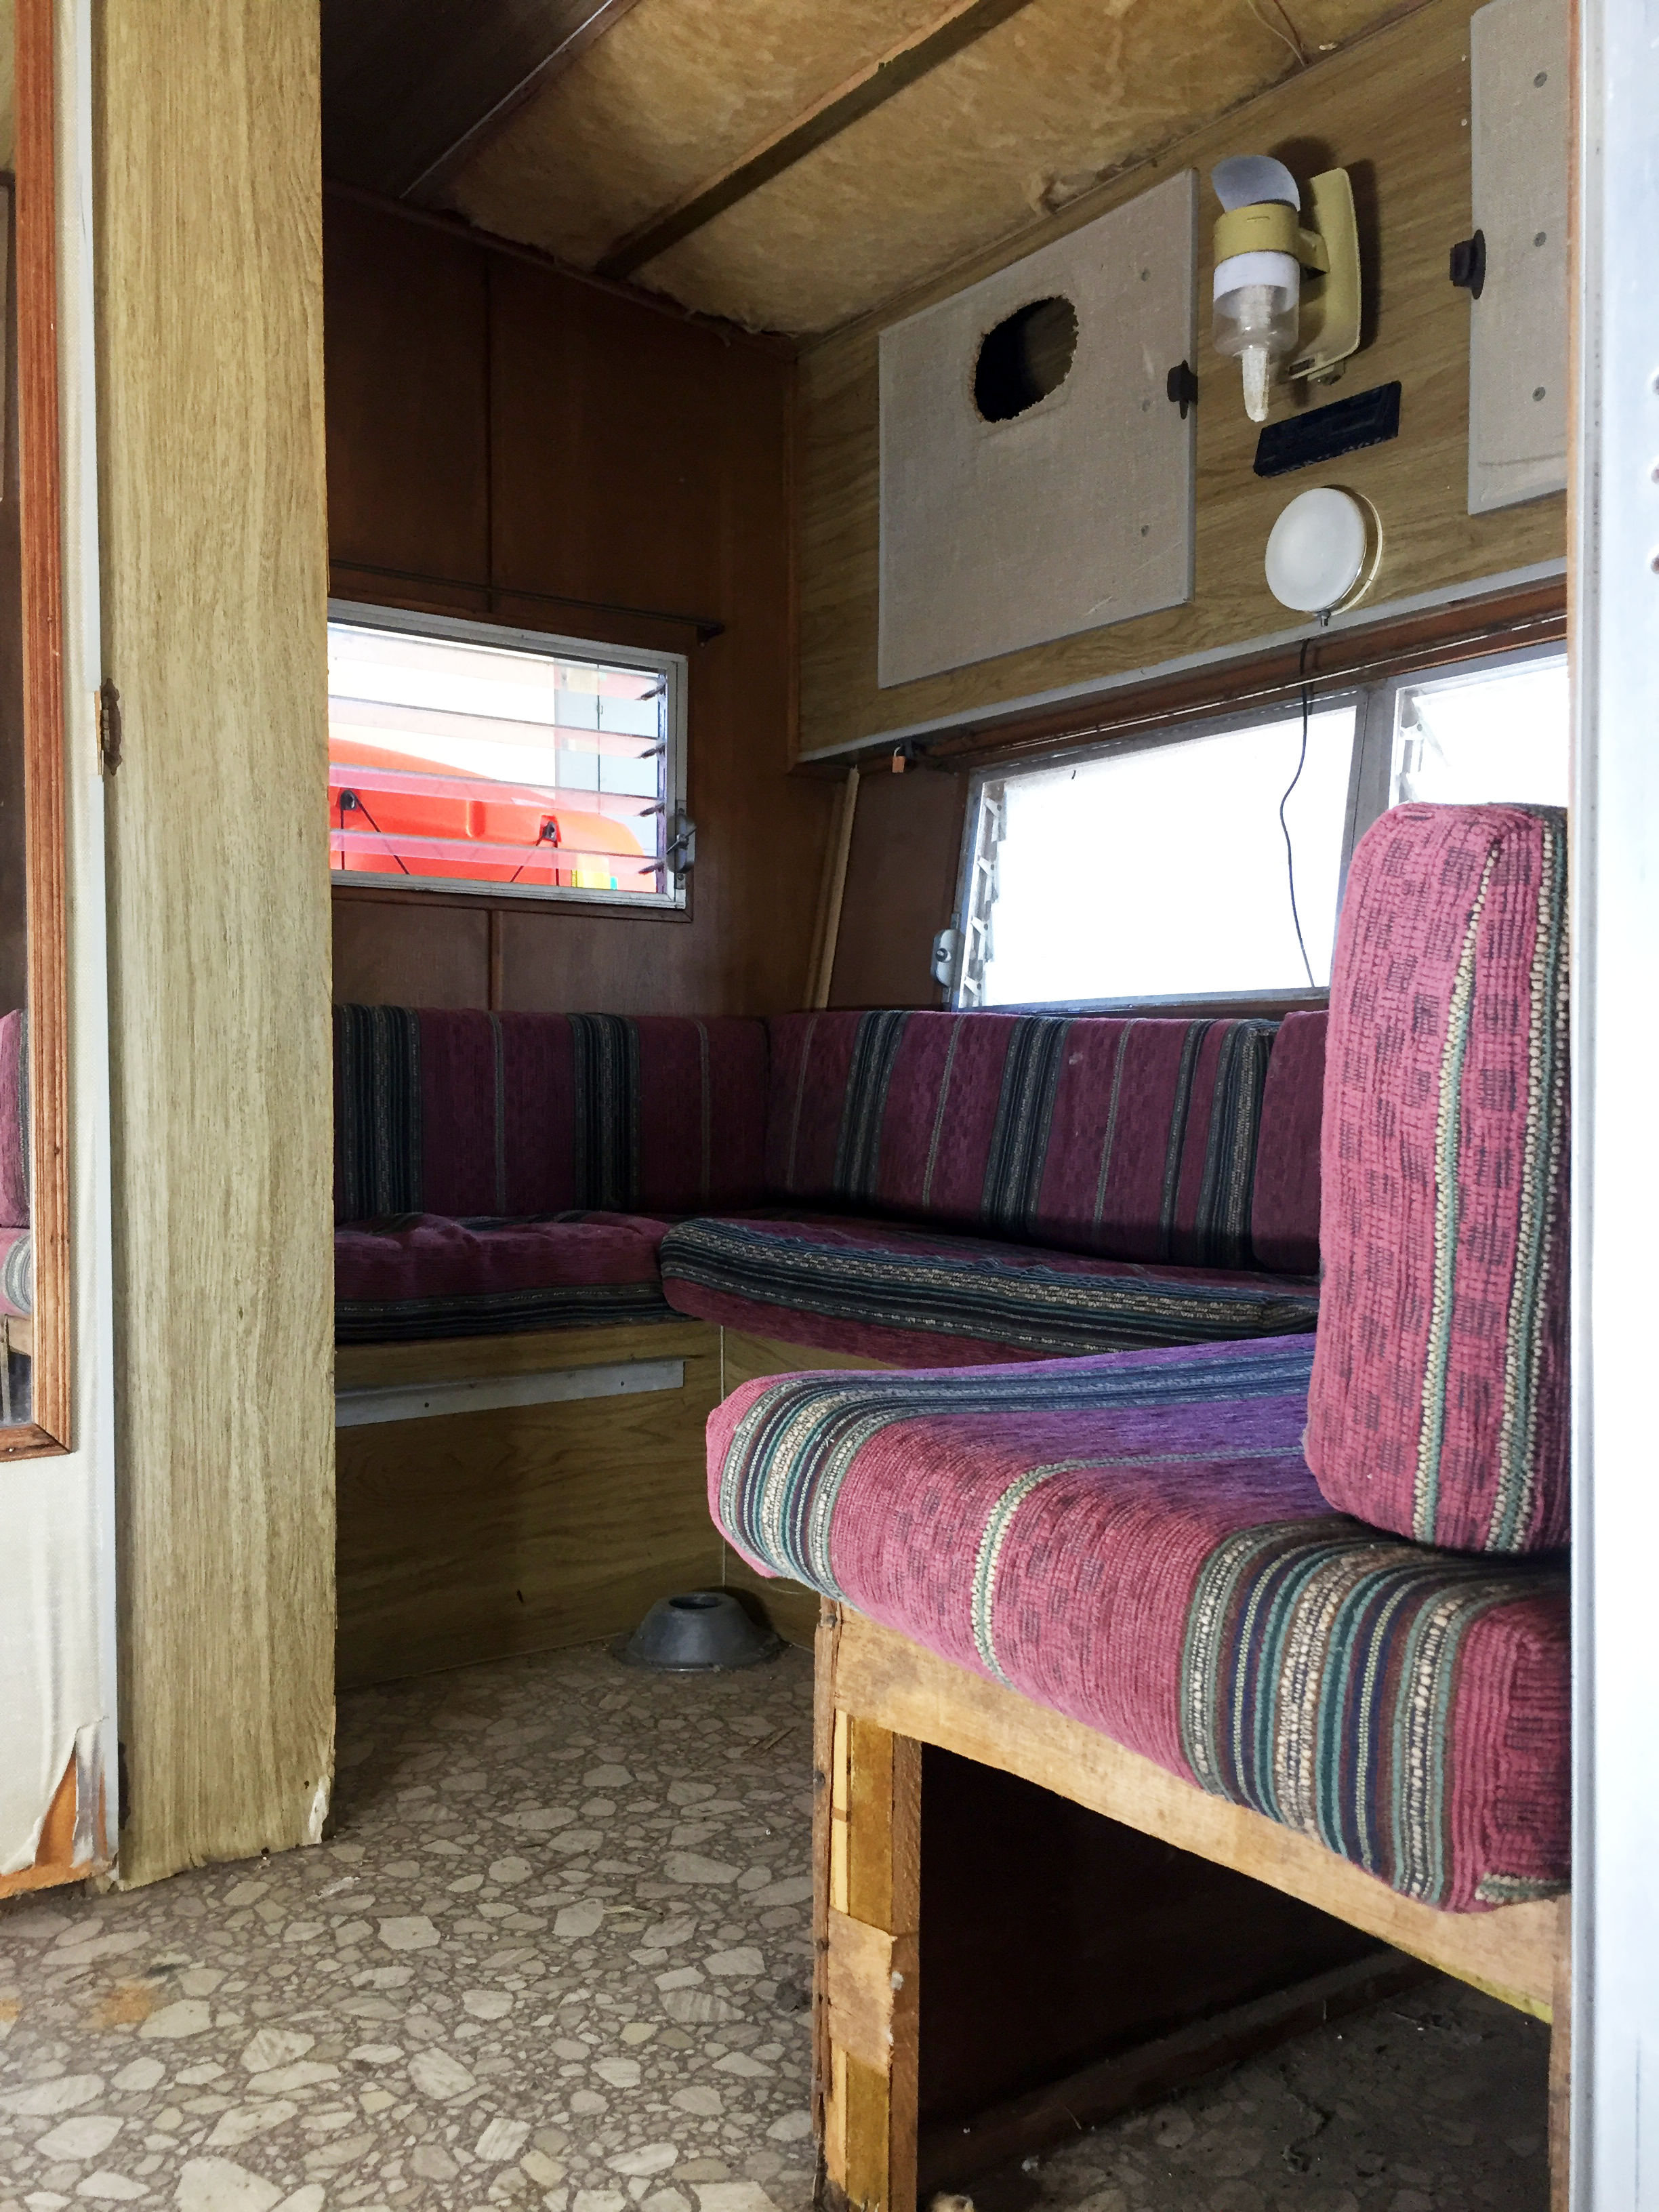
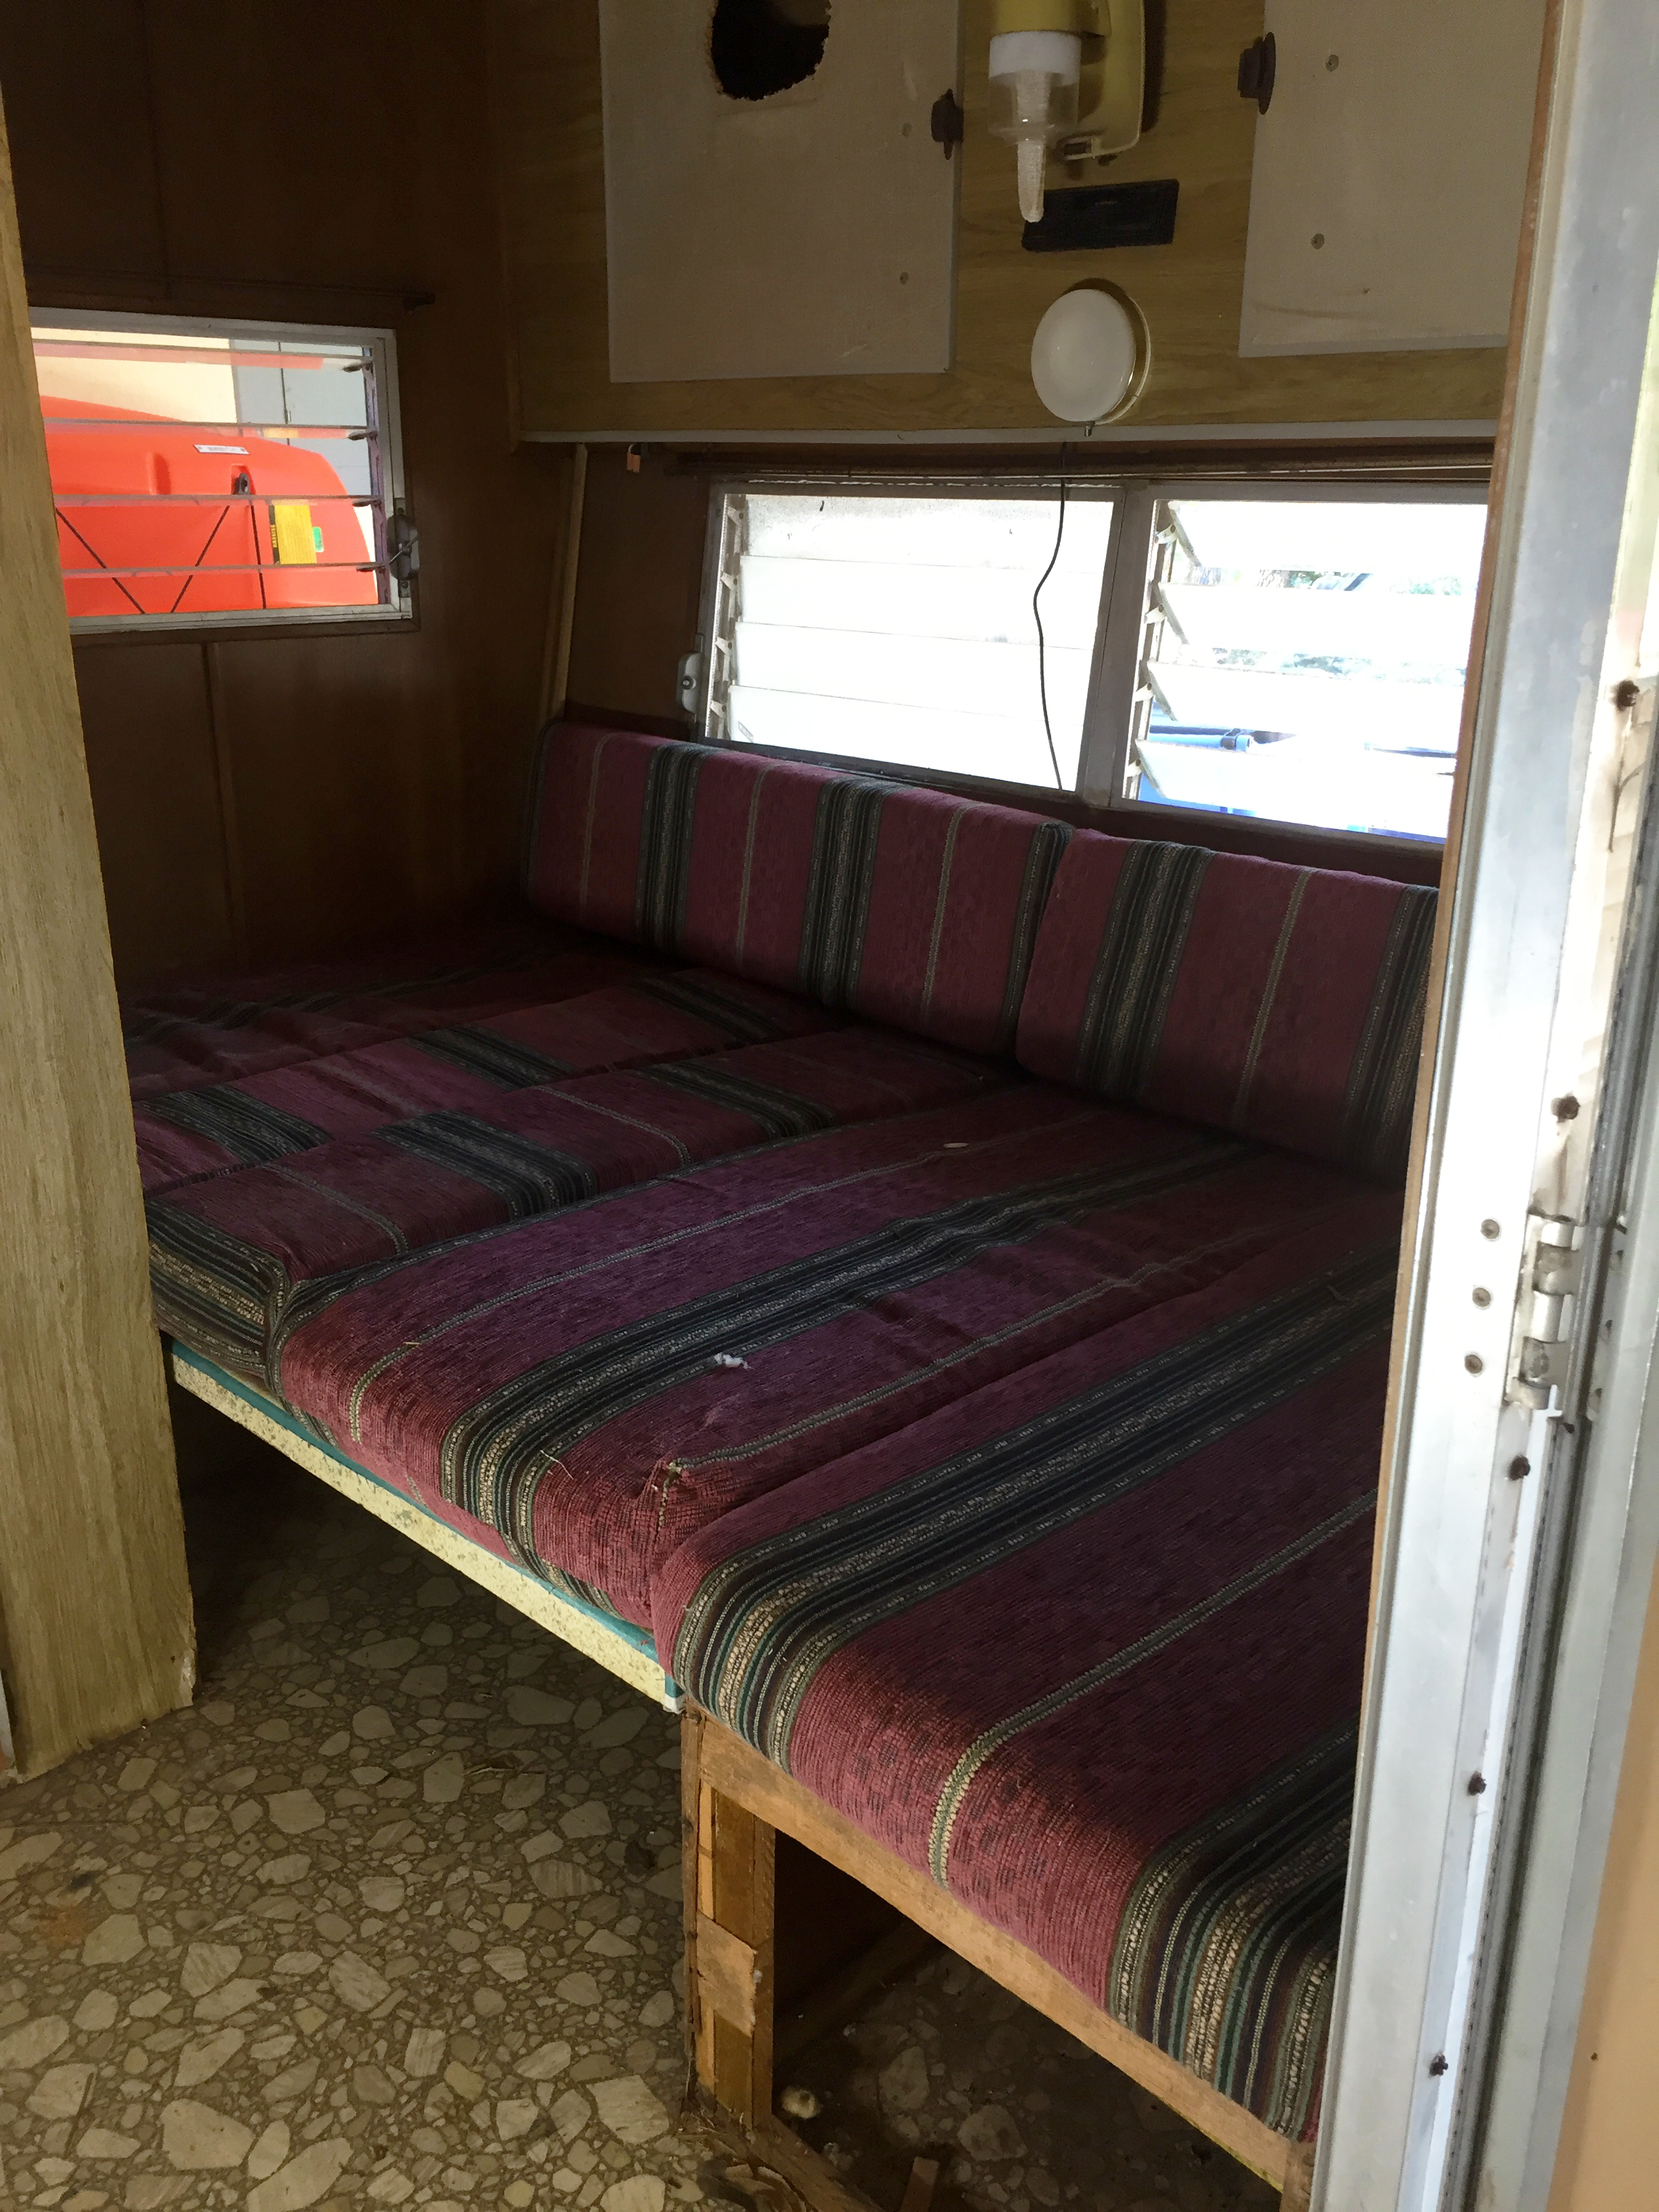
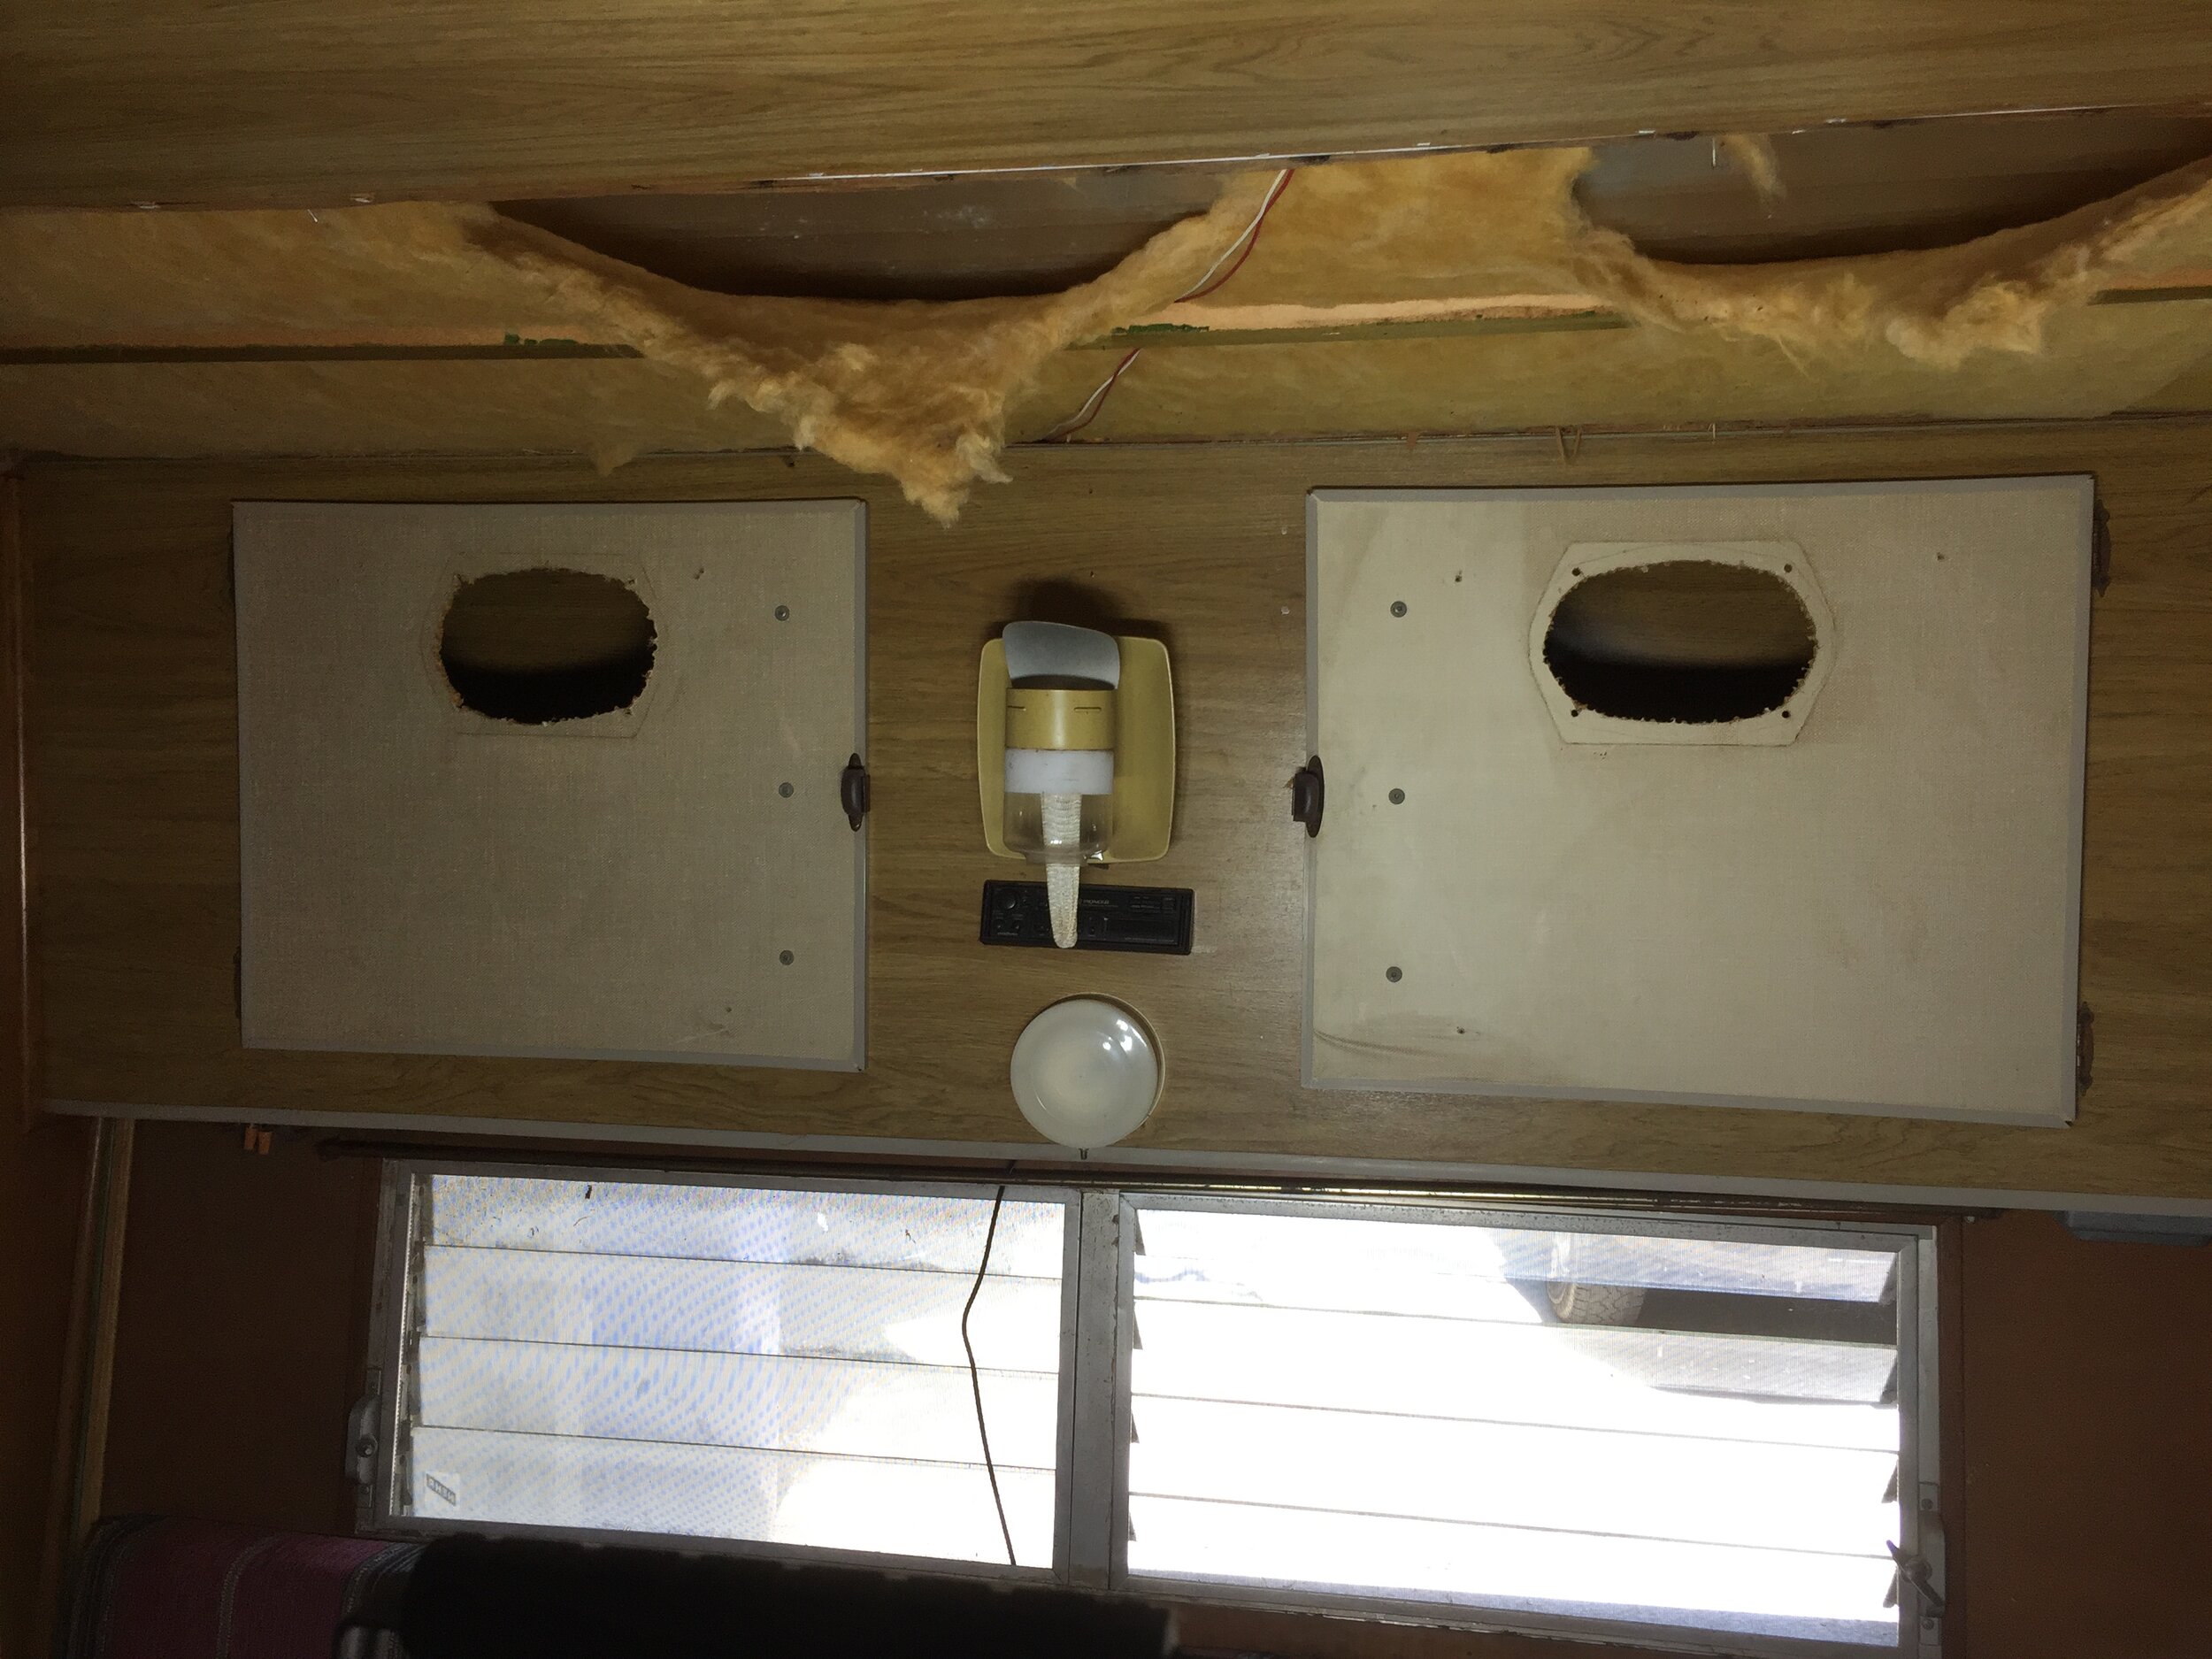

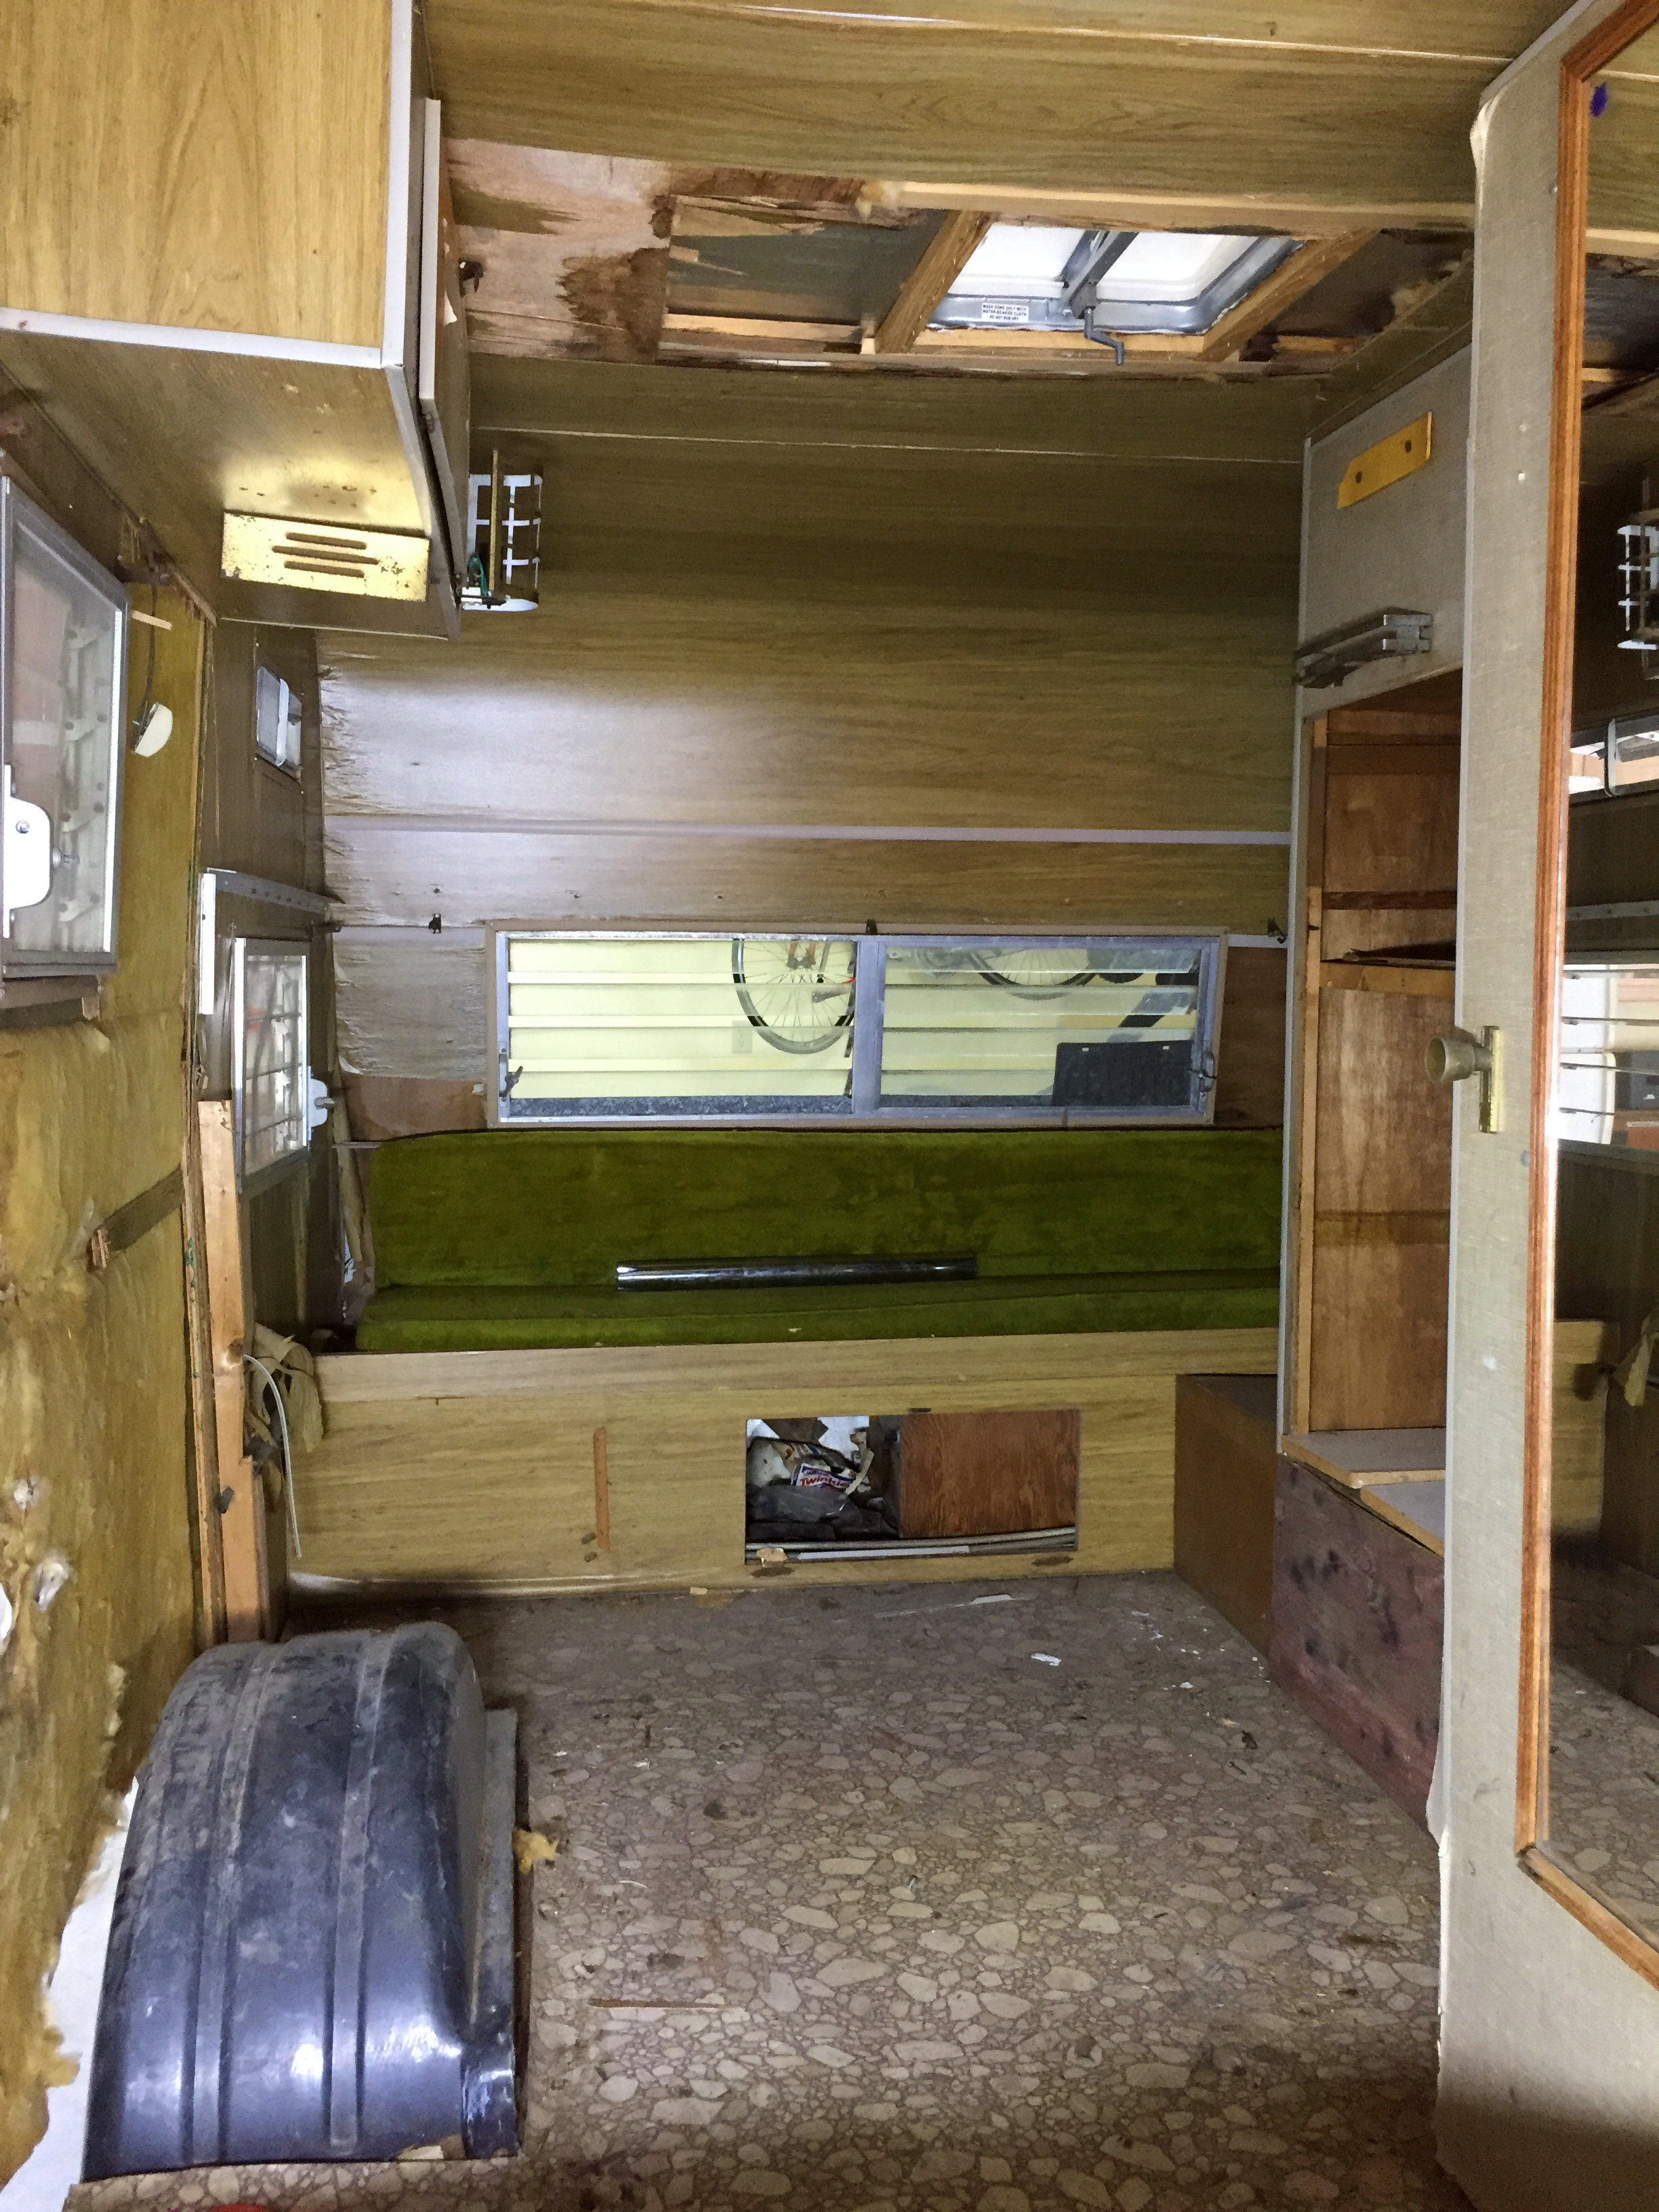
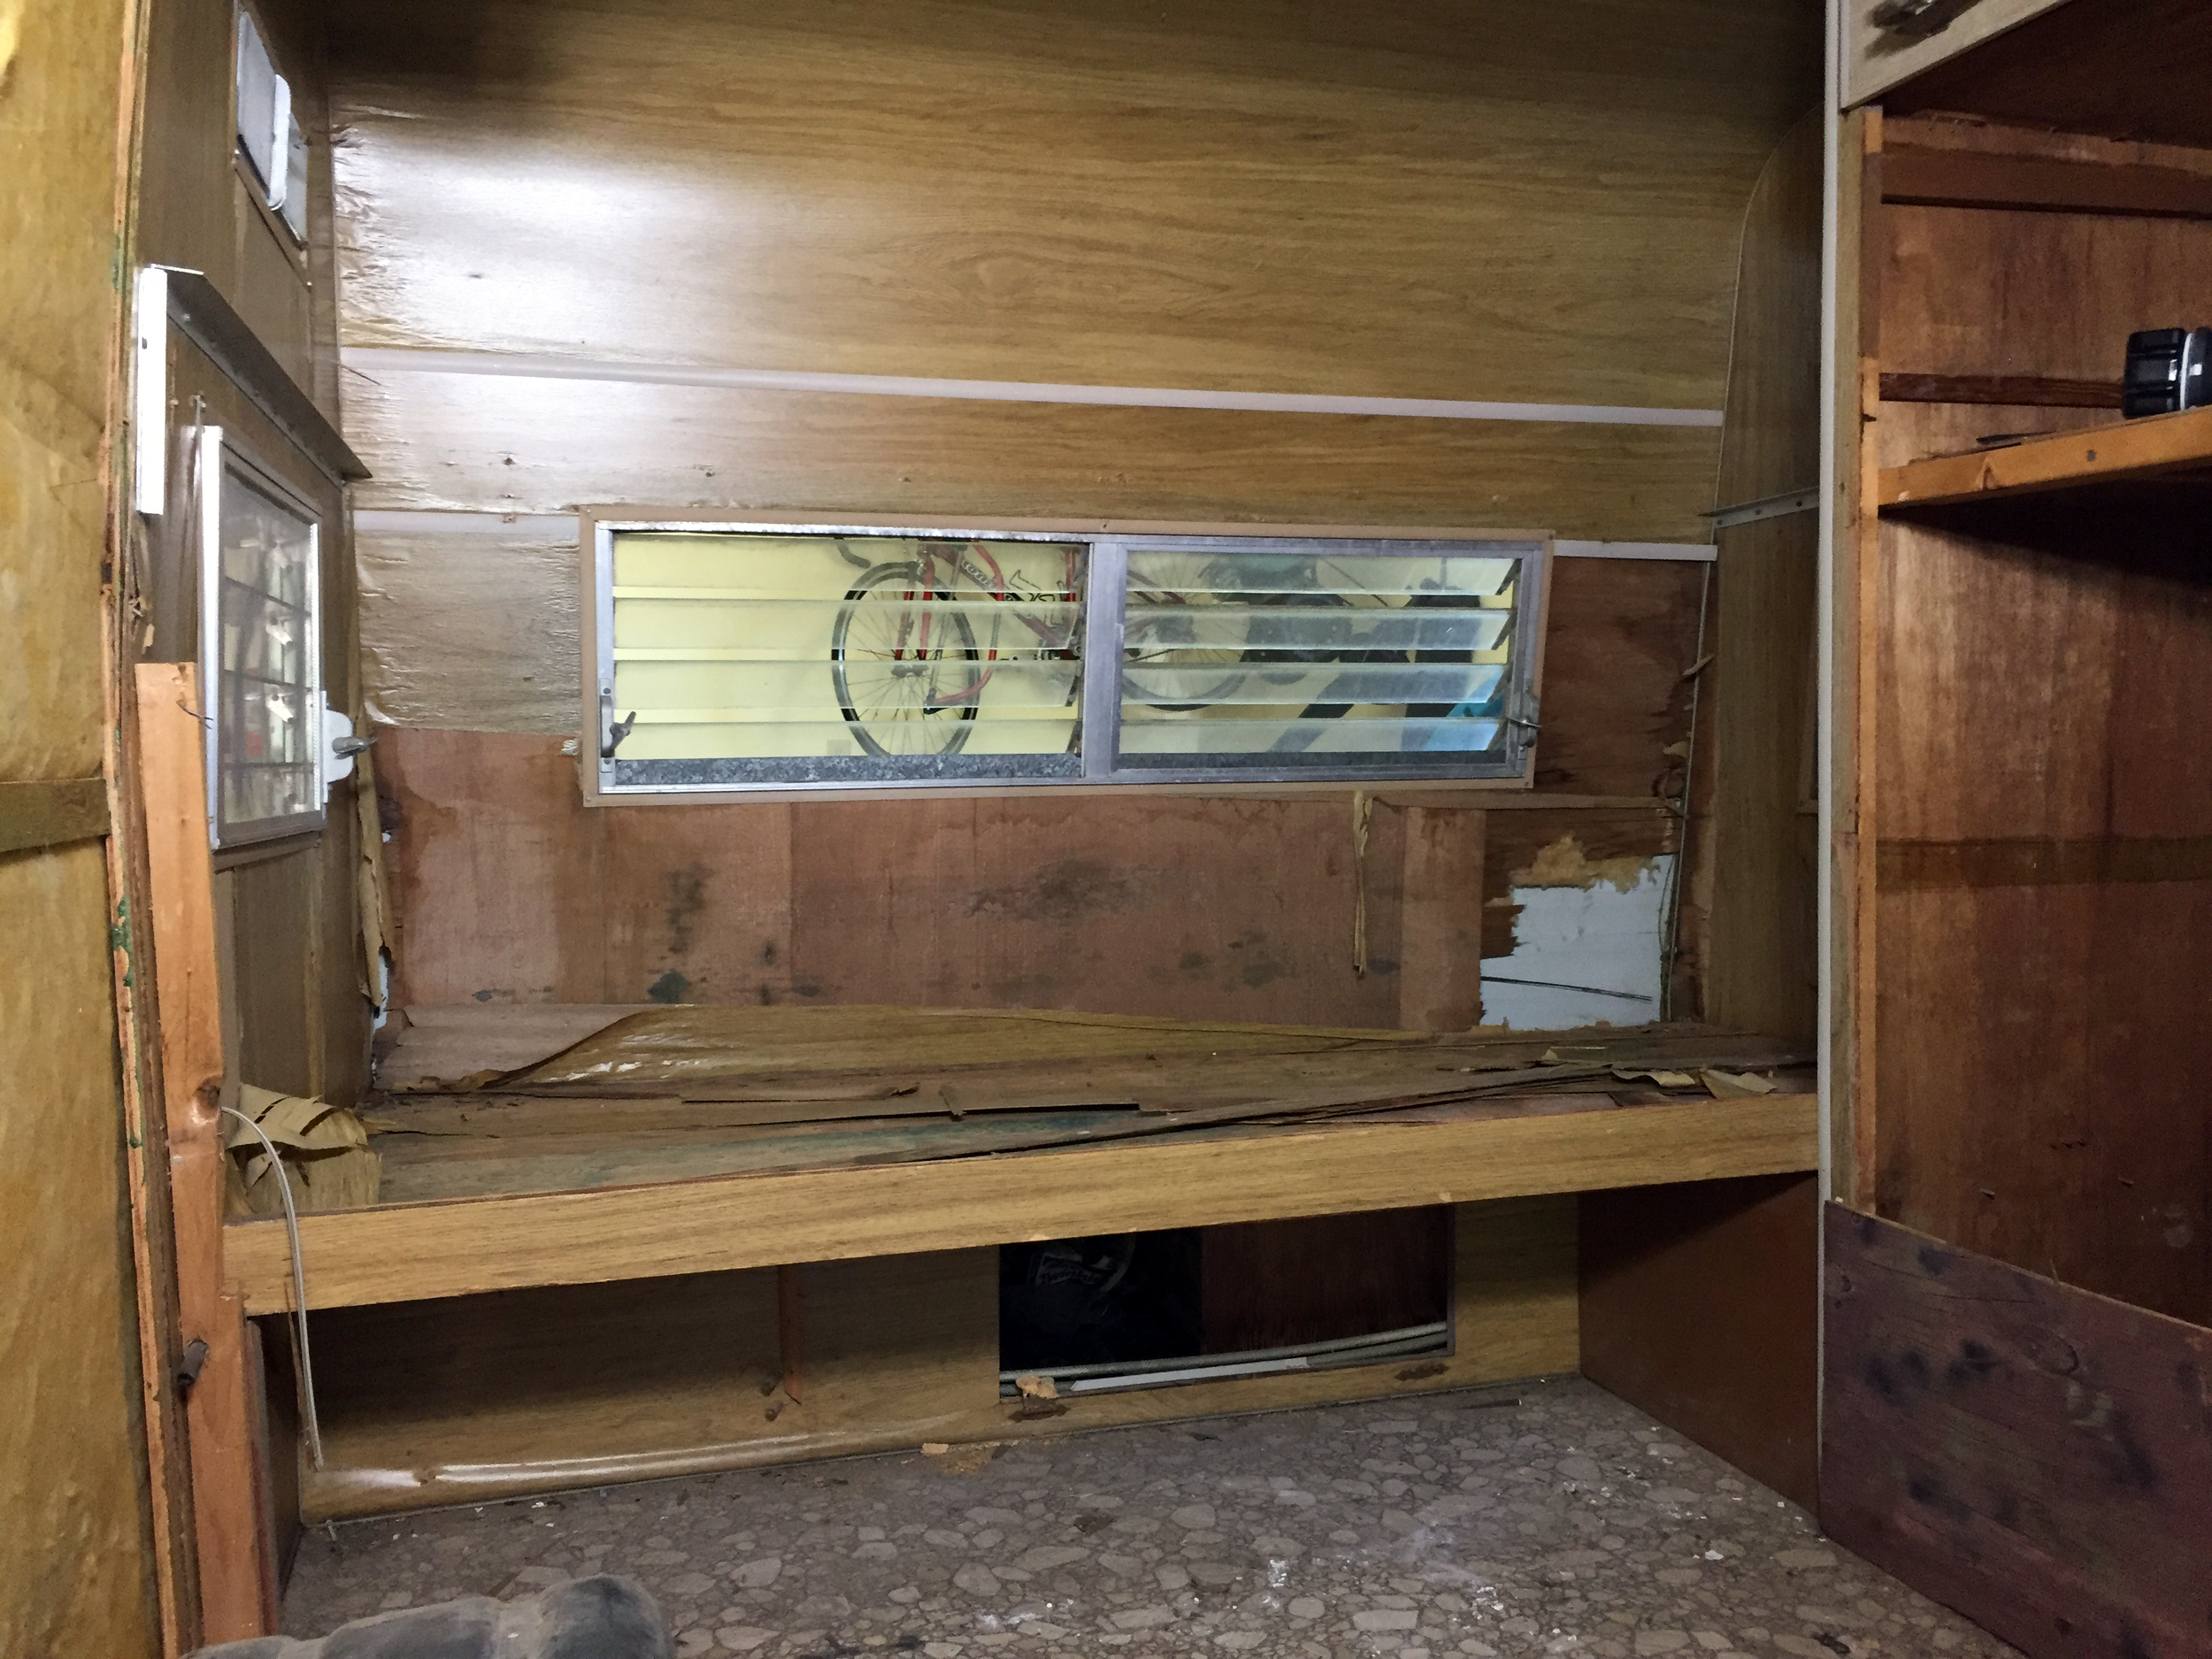

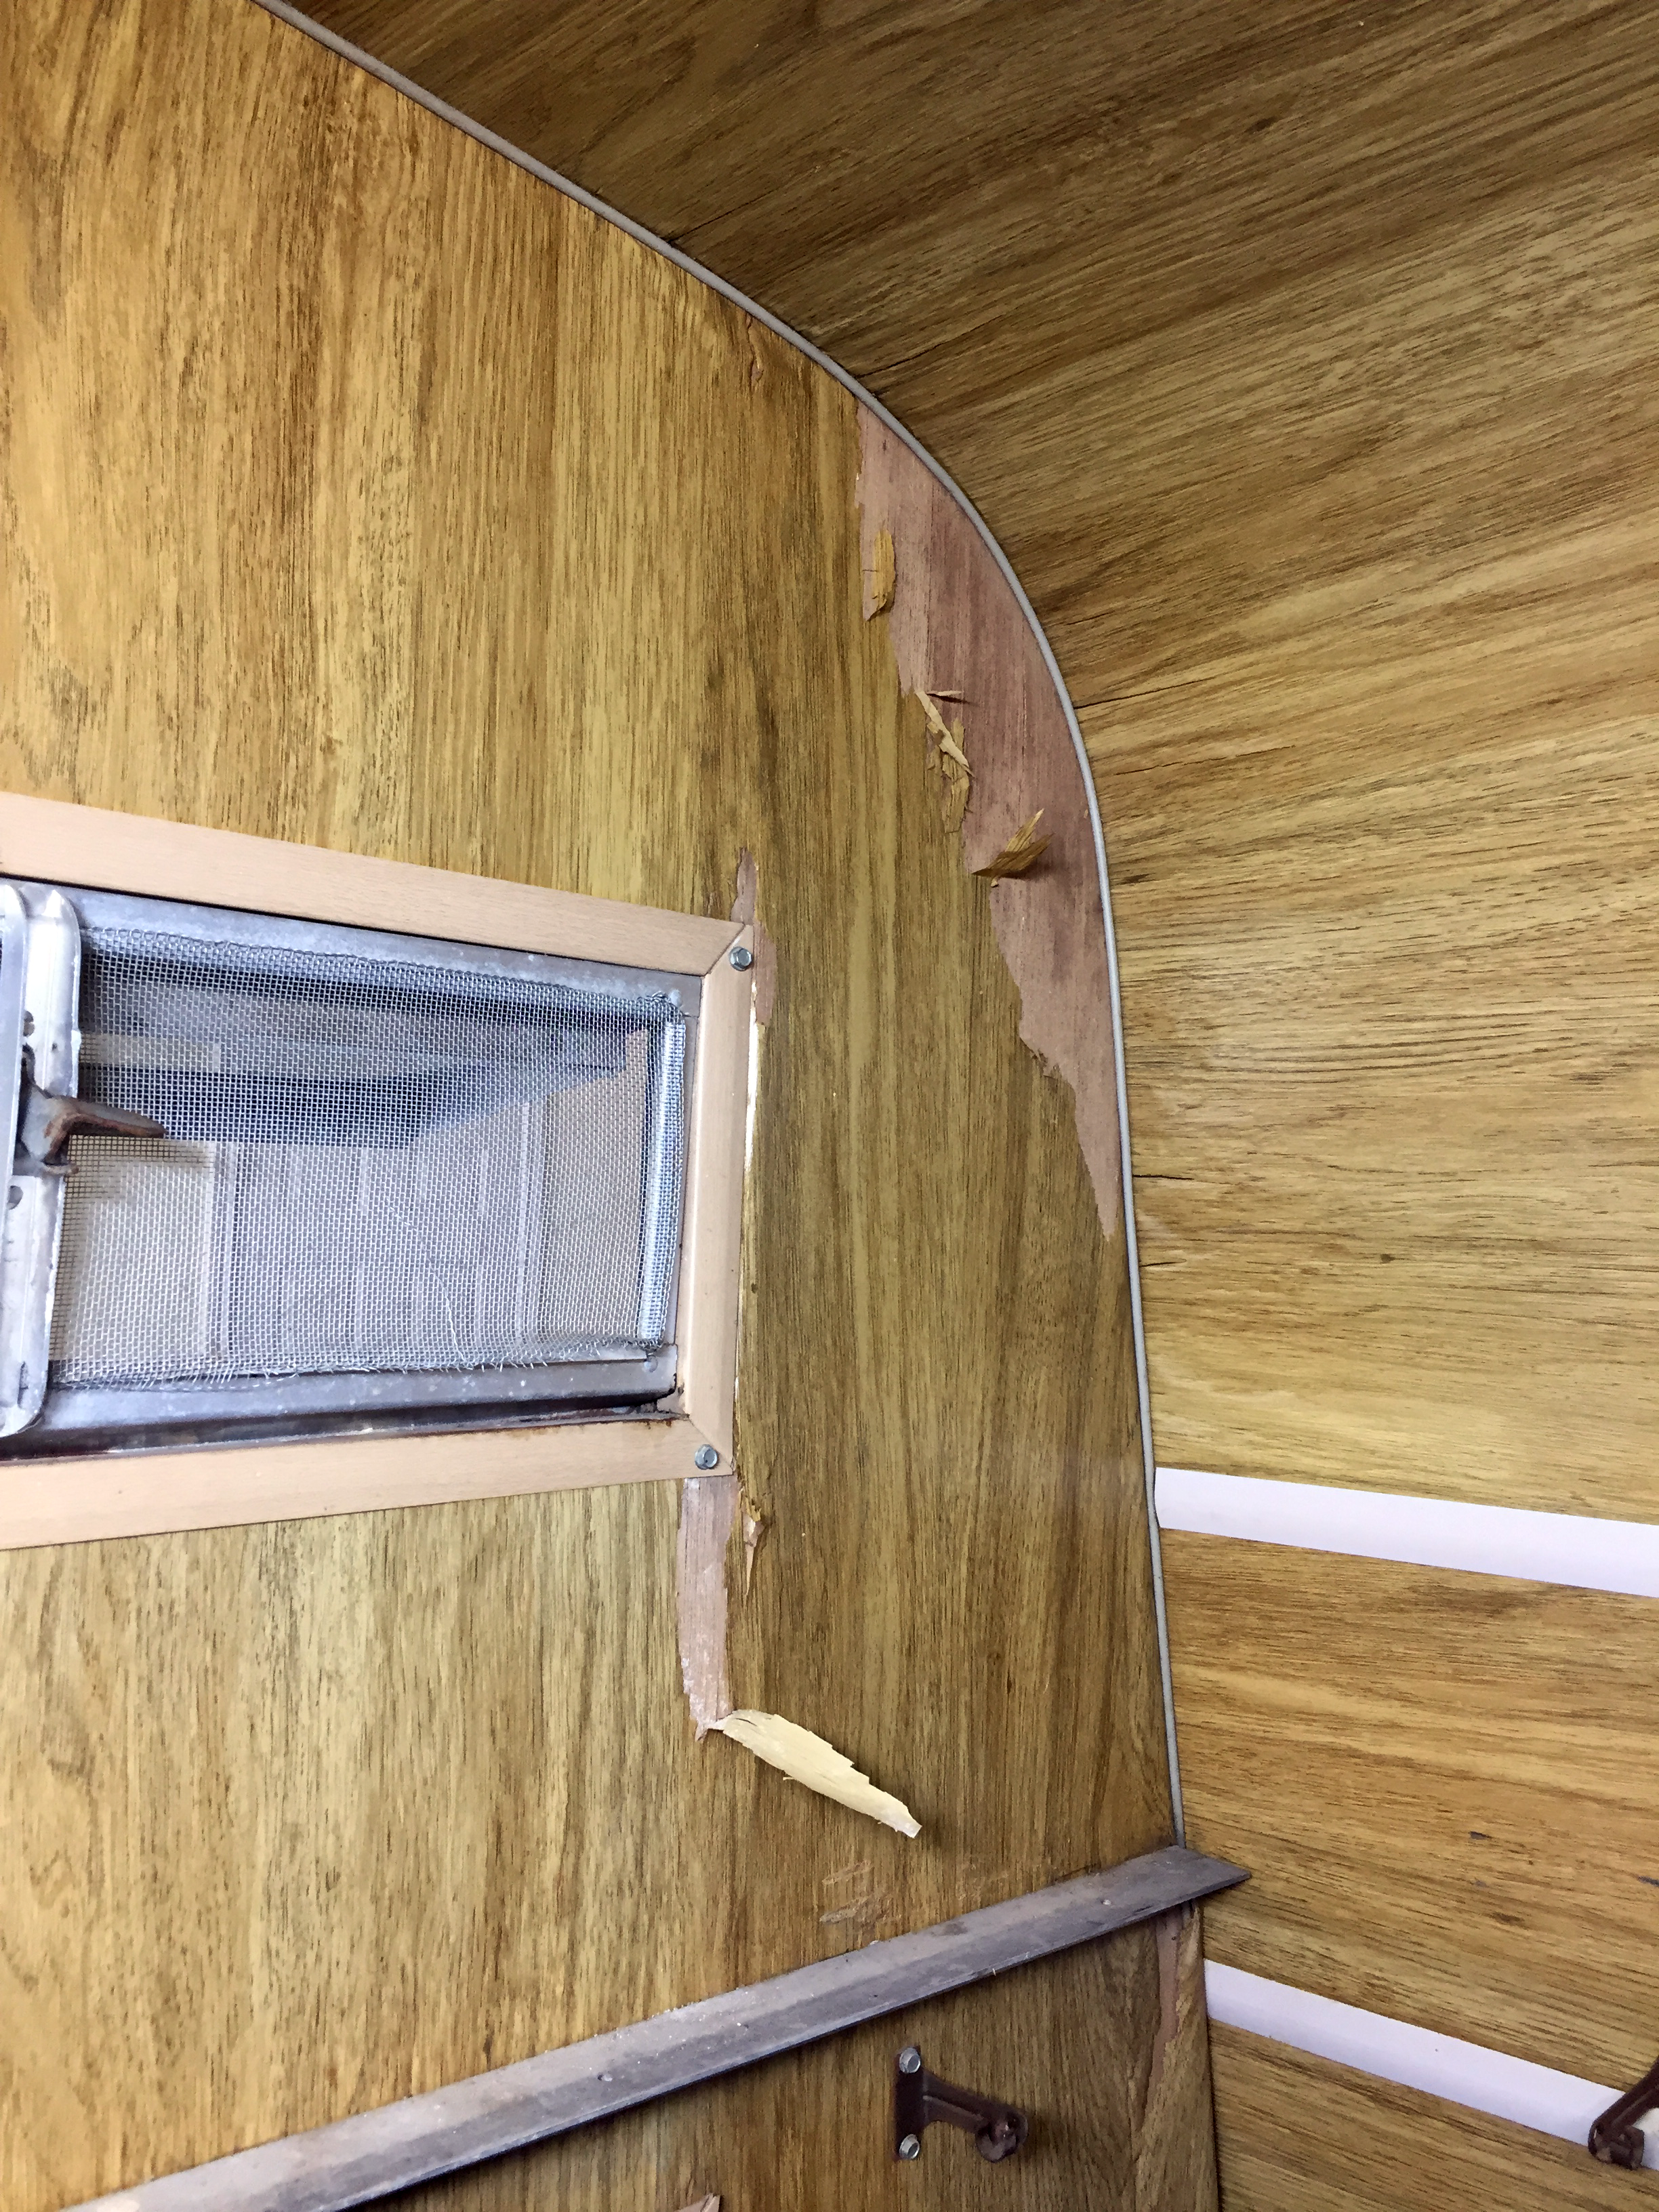
The walls were some combination of good and straight with warped, peeling and crumbly – all dark and dated and made of thin wood with a thinner layer of veneer that looking back on it almost seemed a print of woodgrain, rather than real wood itself, like the nice birch wood often seen in other vintage trailers. Unfortunately the one area by the dinette/door area that looked like real wood walls was severely water damaged and warped beyond repair. The floors were still covered in the original pebbled cream linoleum, partially peeling from half a century of use. The ceiling was partially gutted, insulation and newly-installed roof vent exposed.
The Cameo’s New Floor Plan

After almost a year of deliberation, we finally finalized a new layout. We mostly stuck to the original floor plan, with the goal of keeping it as open, light, and airy as possible. We also knew we wanted the following:
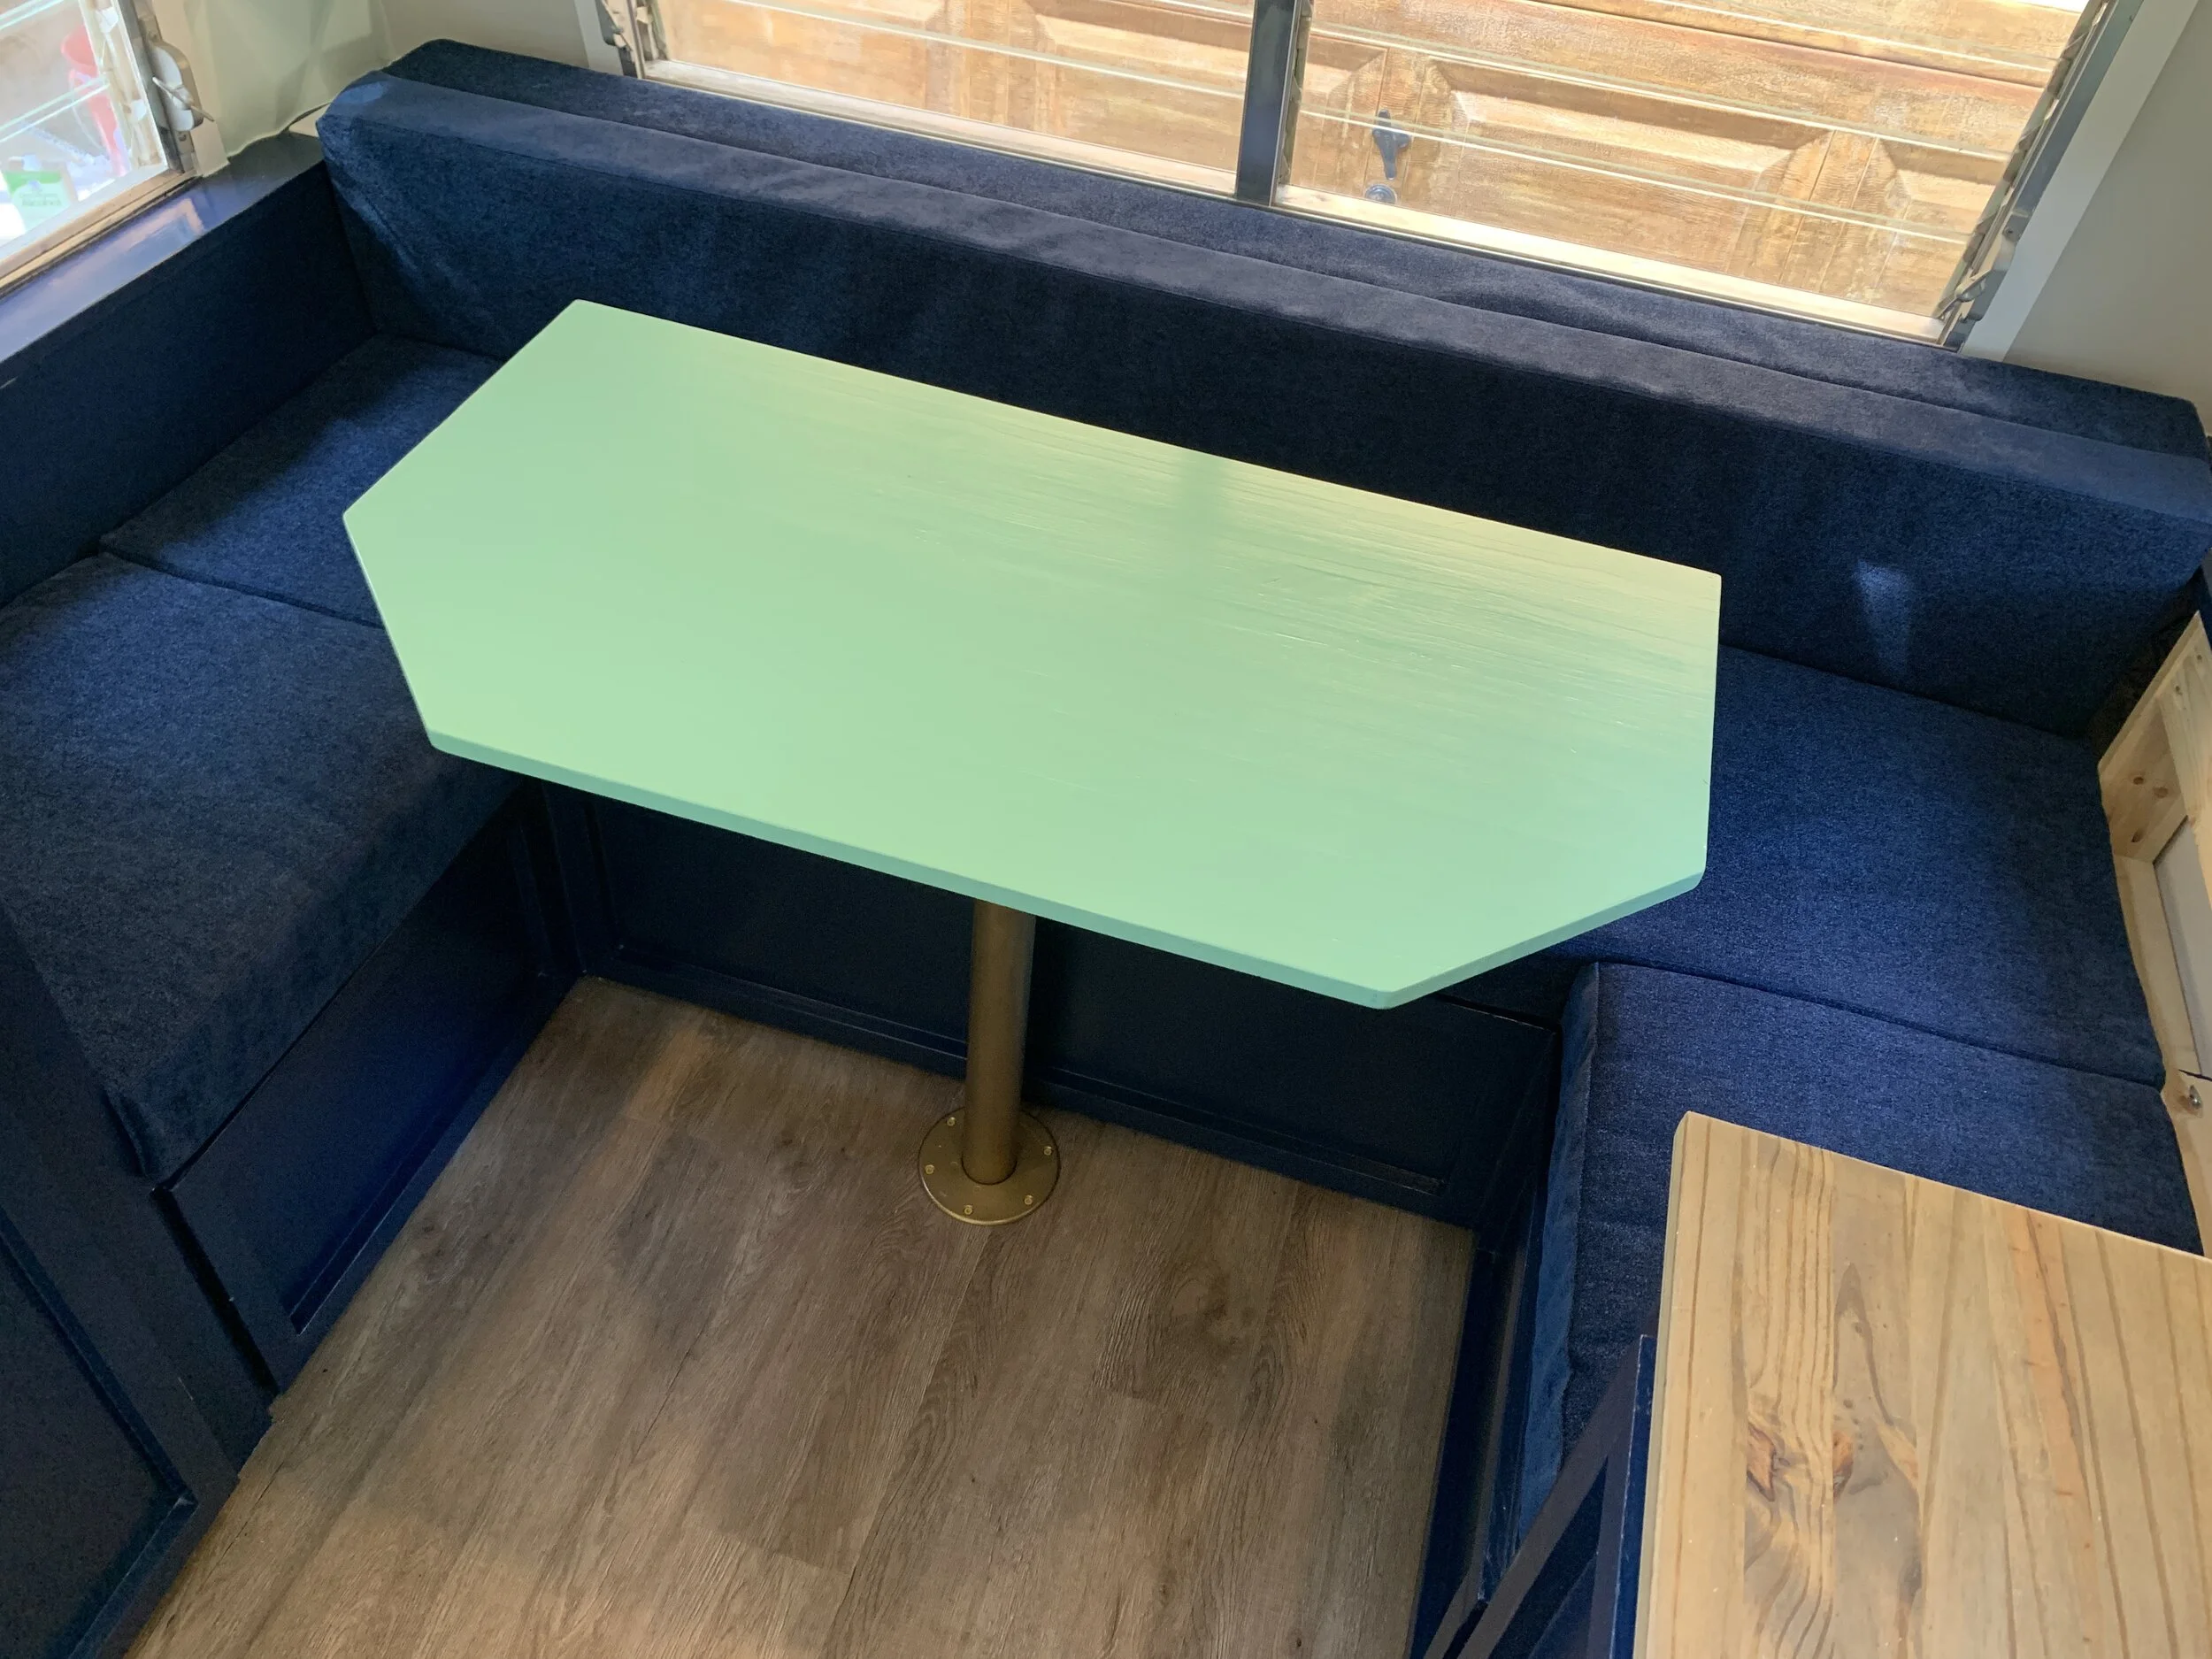
A larger eating area for “entertaining” that could convert to a large-ish bed
Second bed
Kitchen area for a sink + useable counters
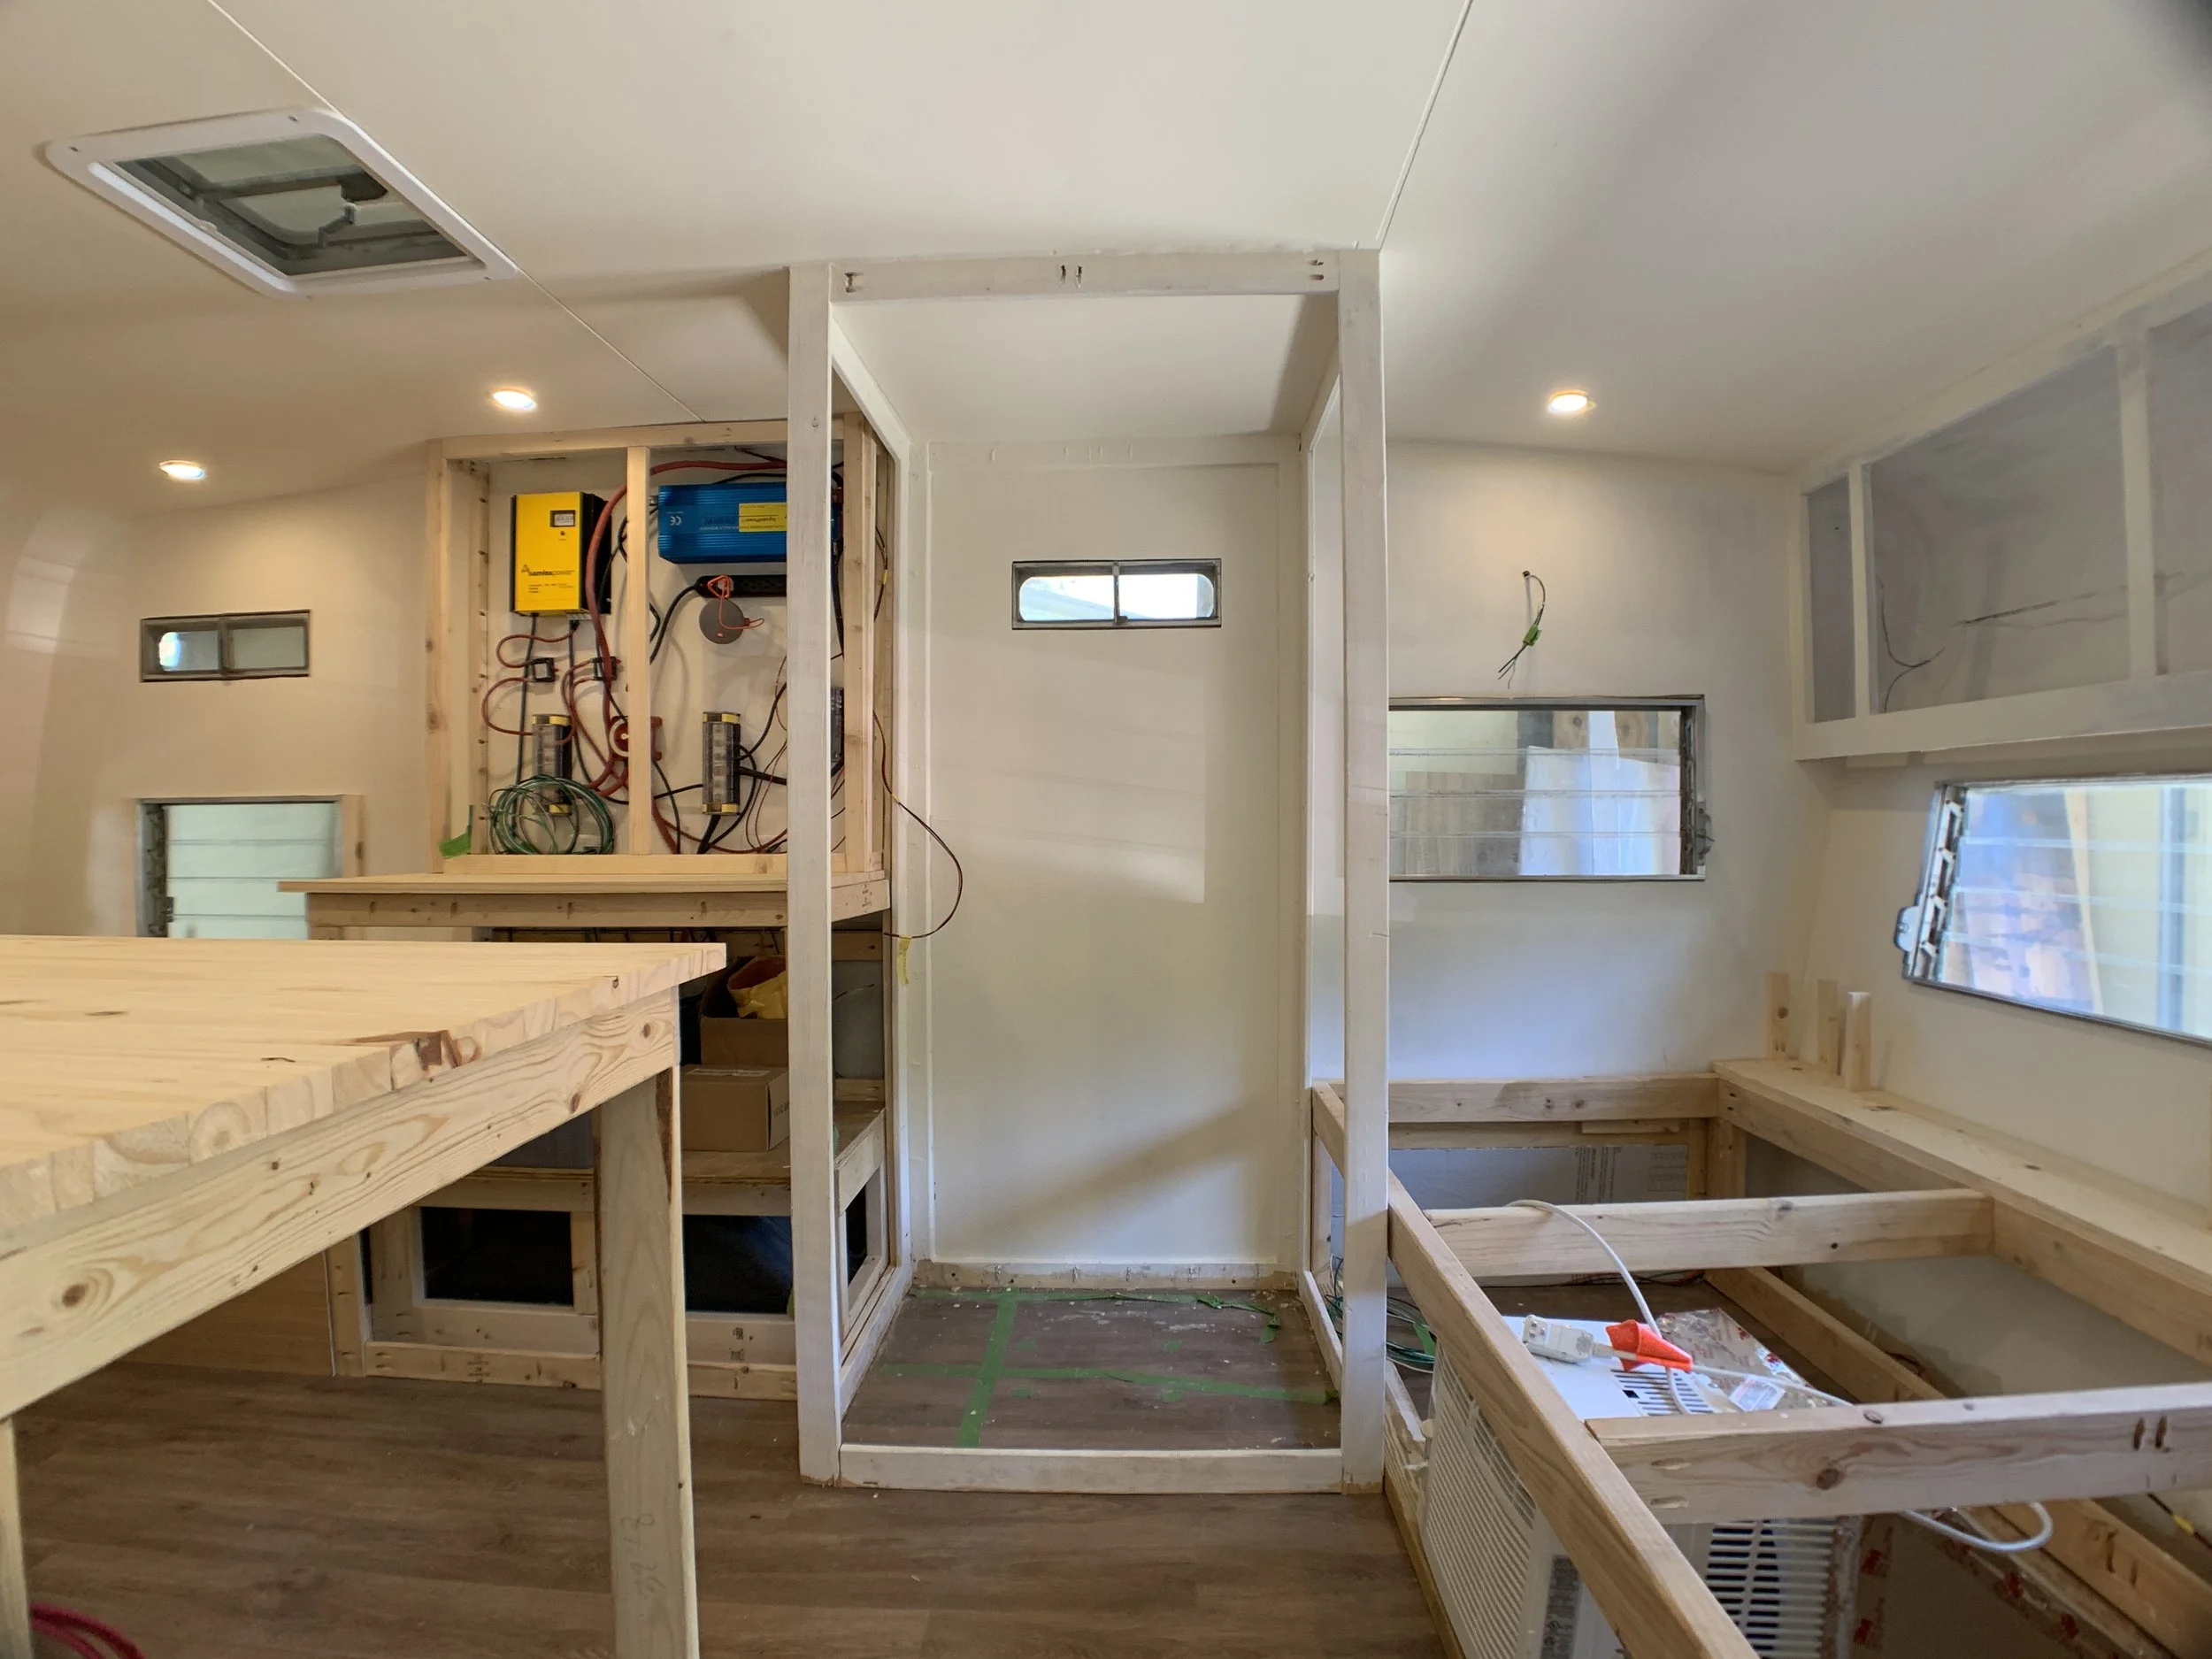
Shower + toilet area (worst case scenario we build it out and use it as an expensive closet)
A place for a TV
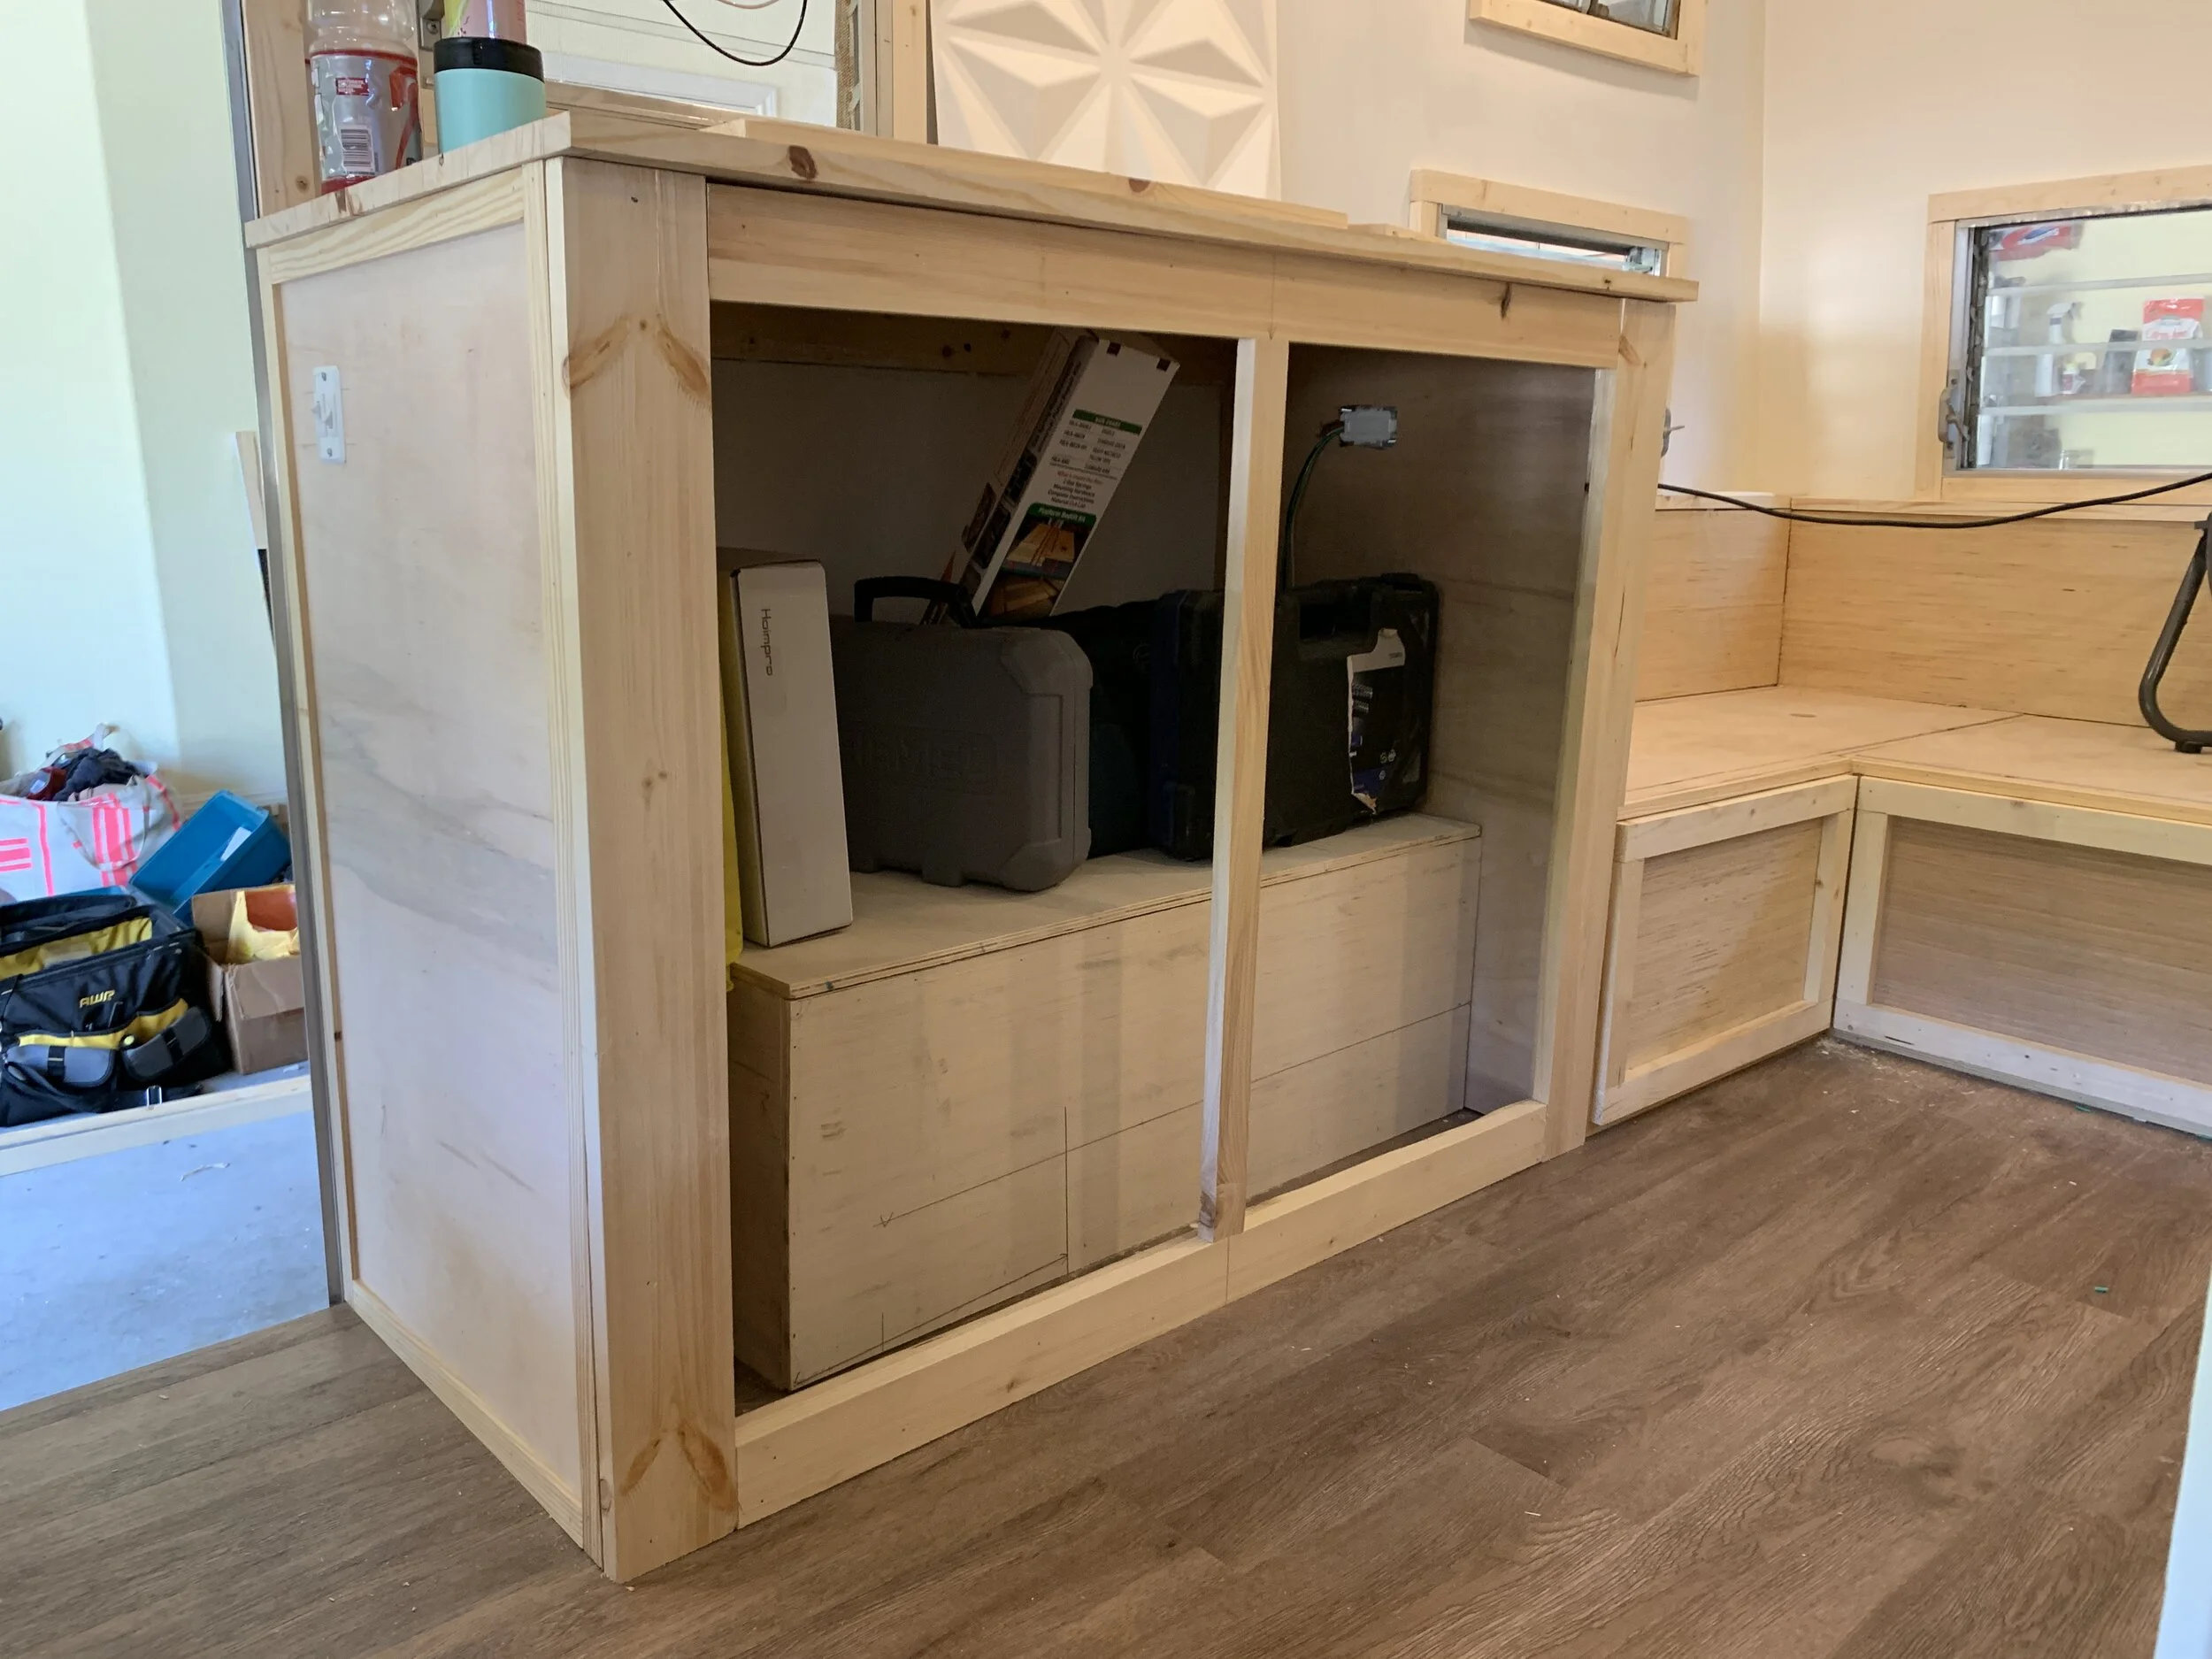
An area for a robust electrical system that allows us the flexibility to boondock
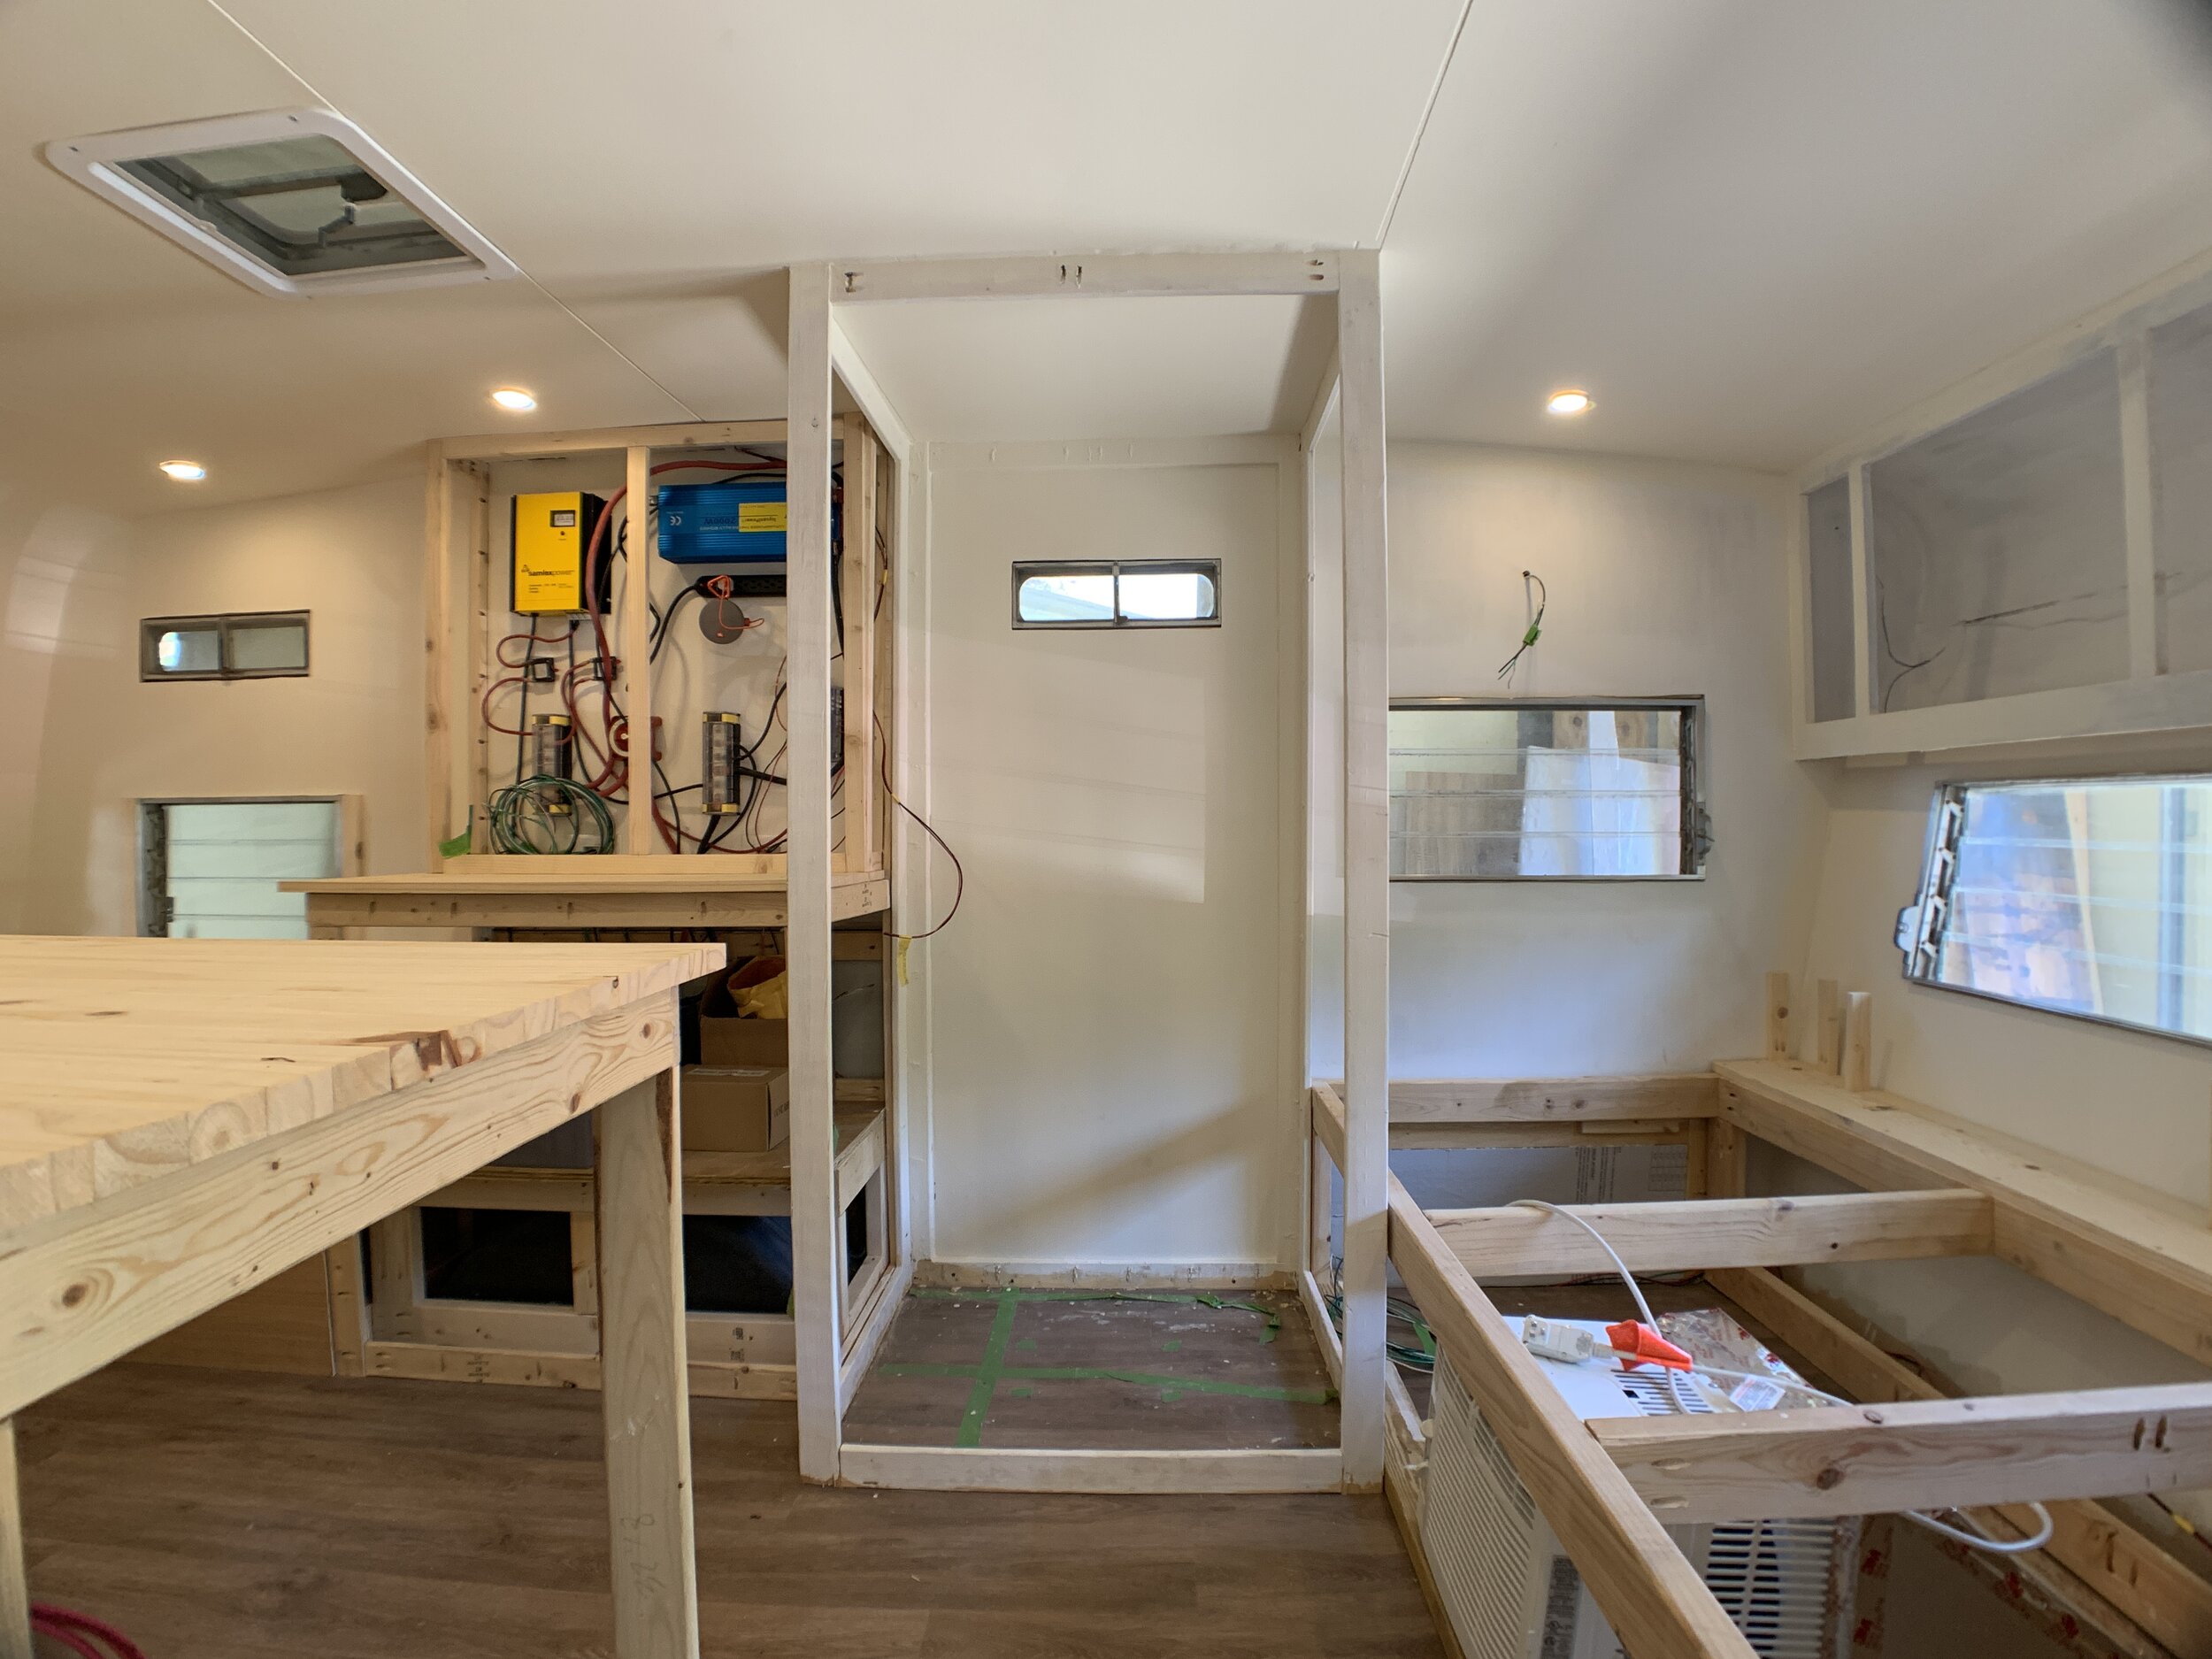
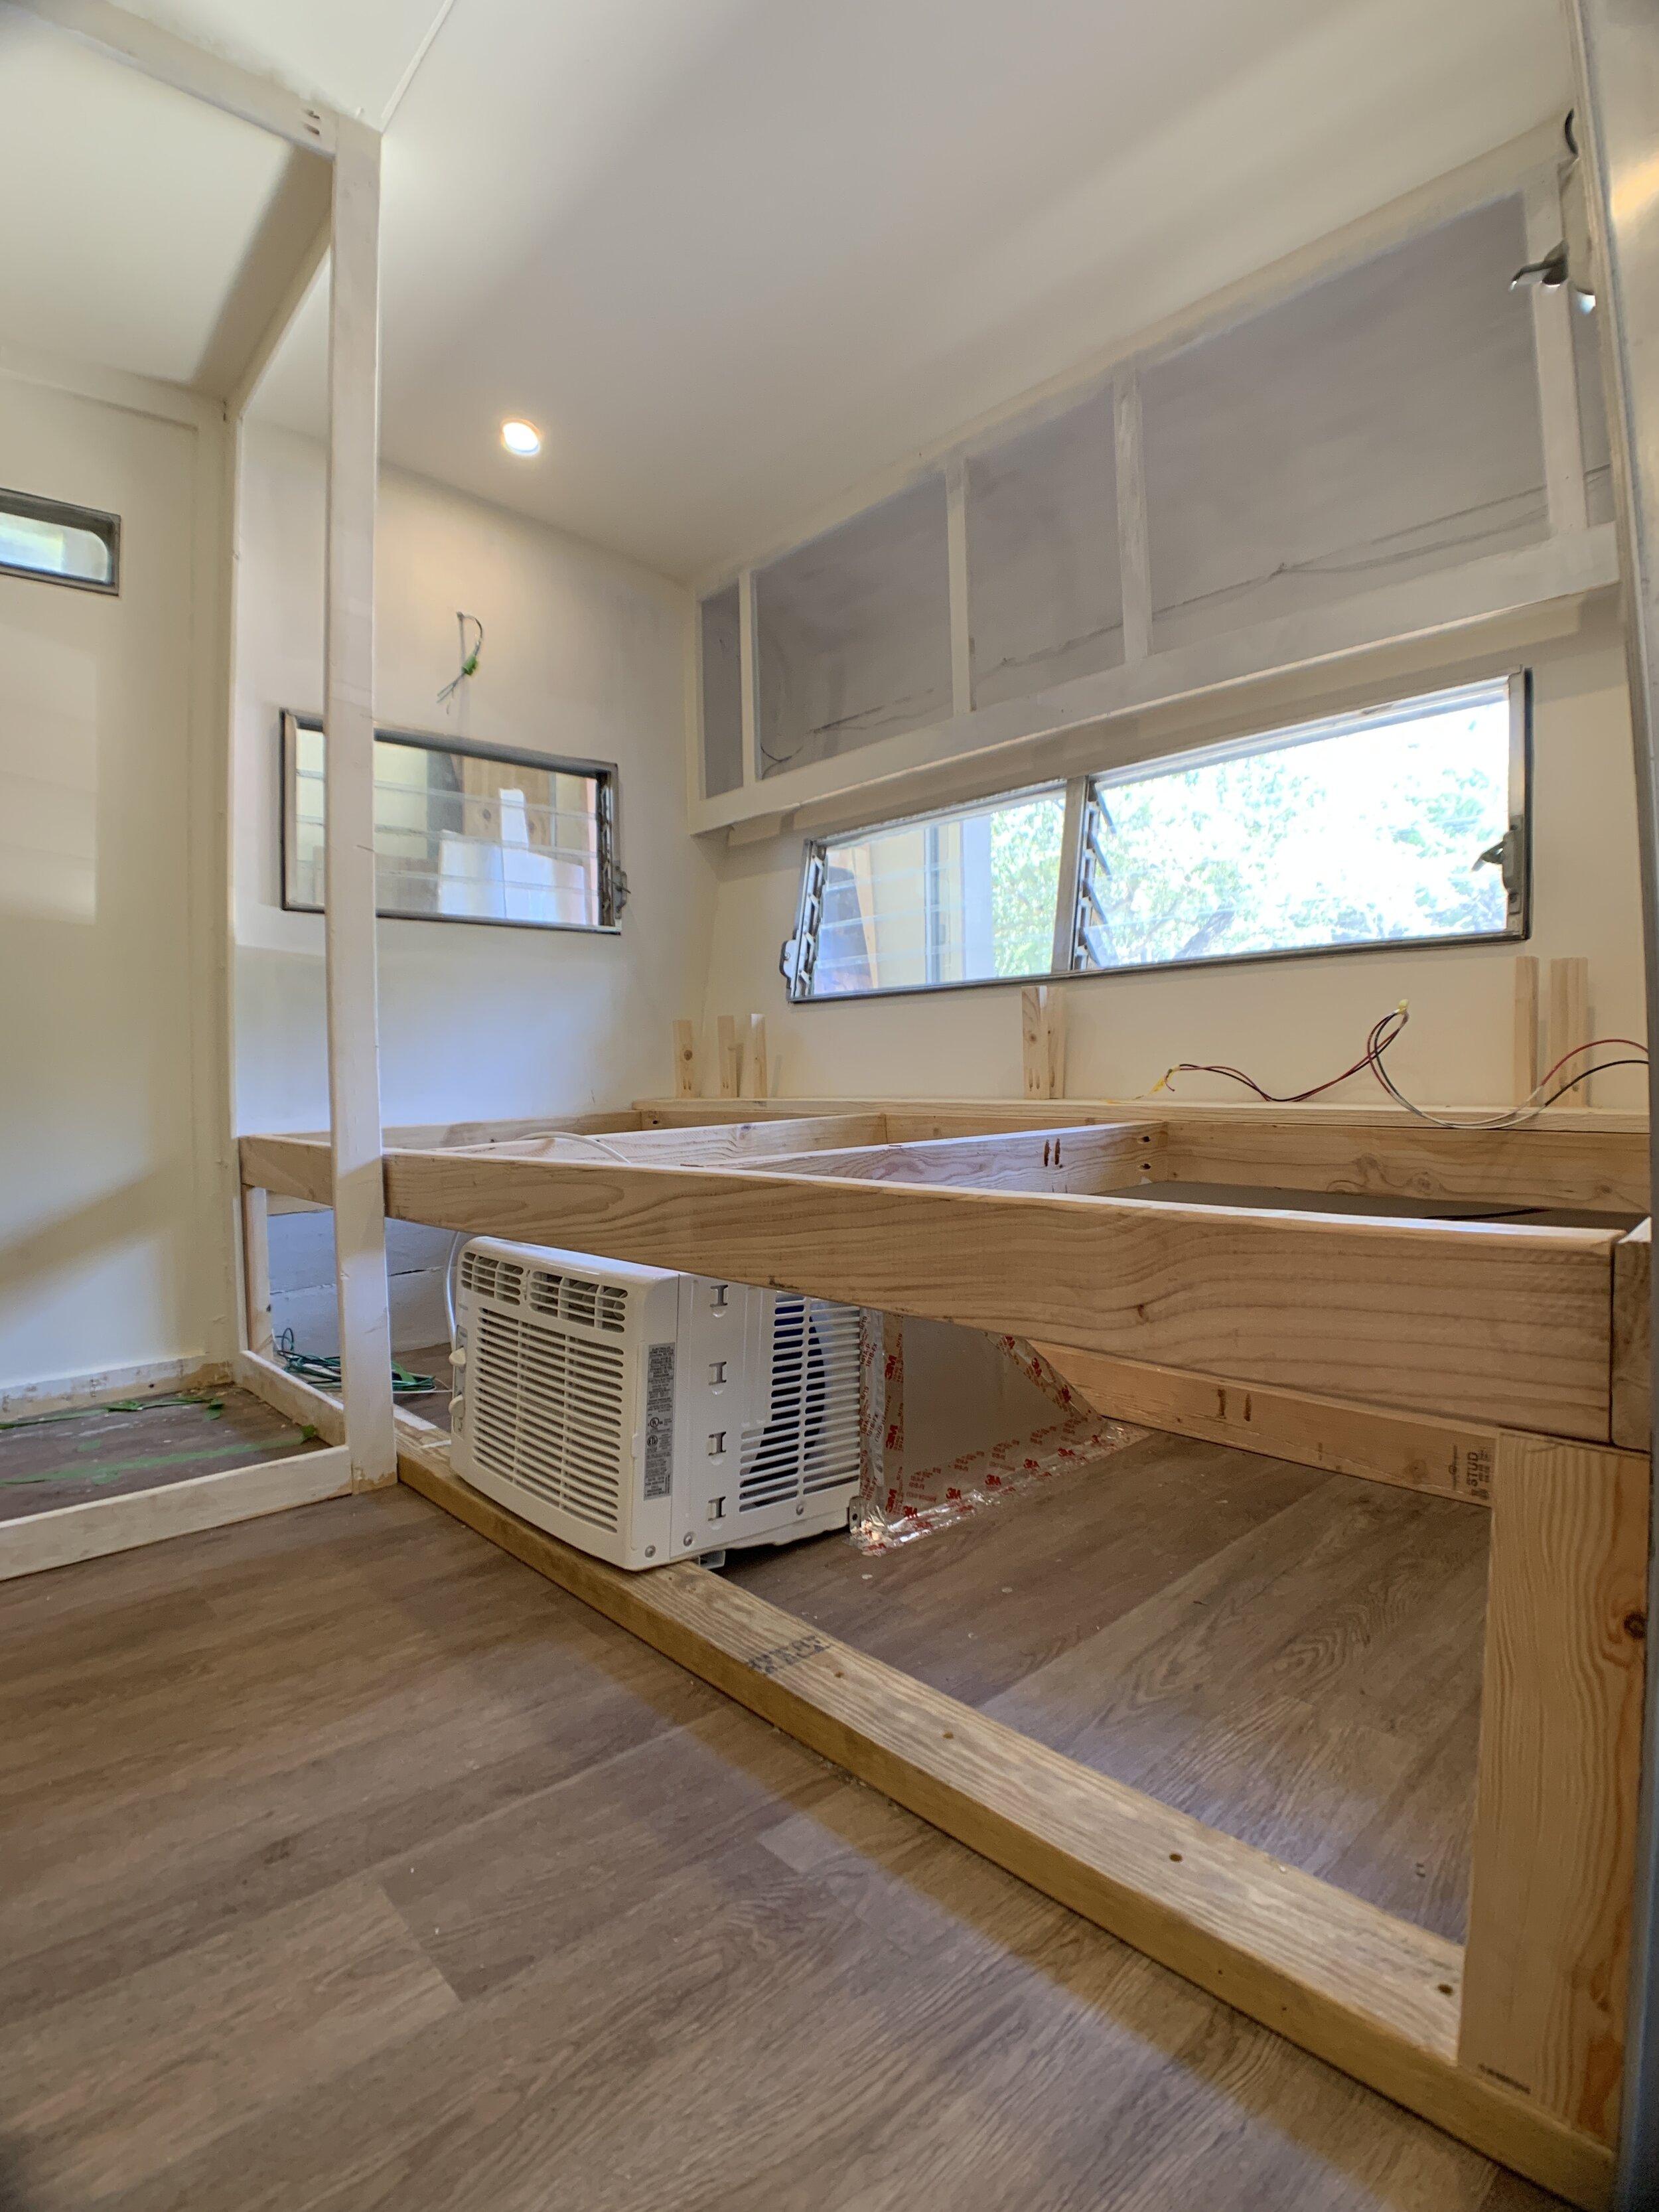
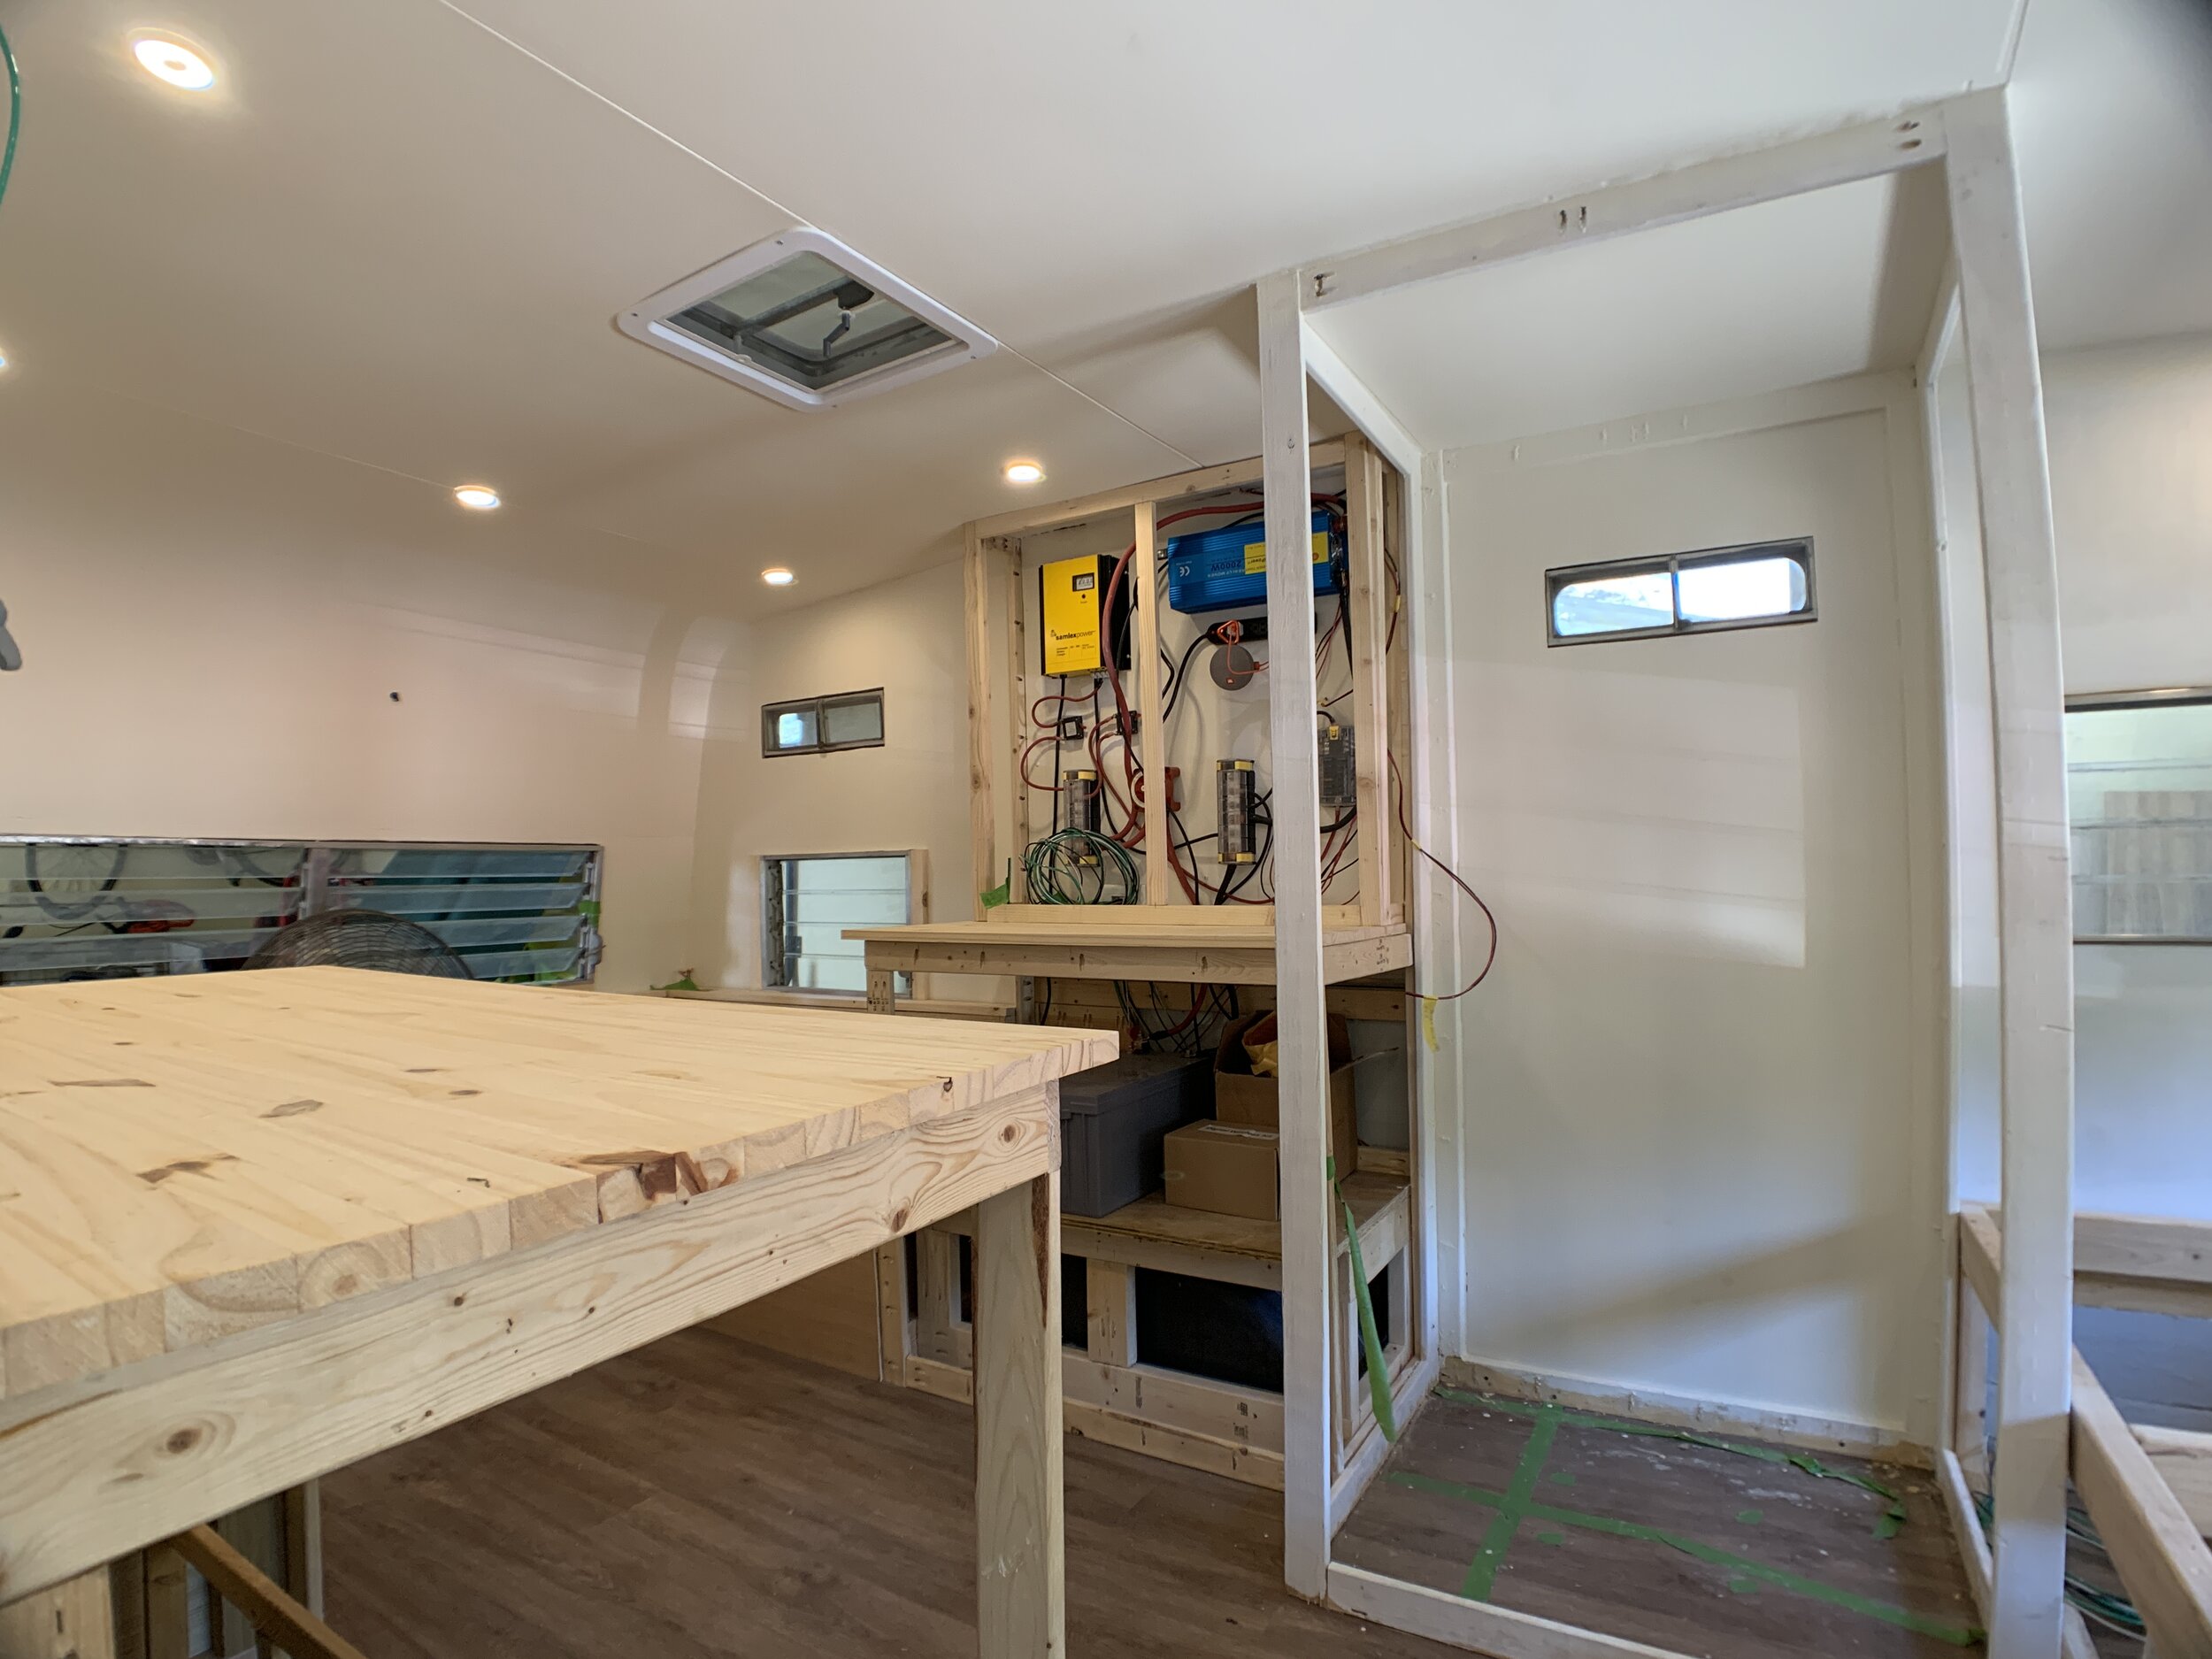
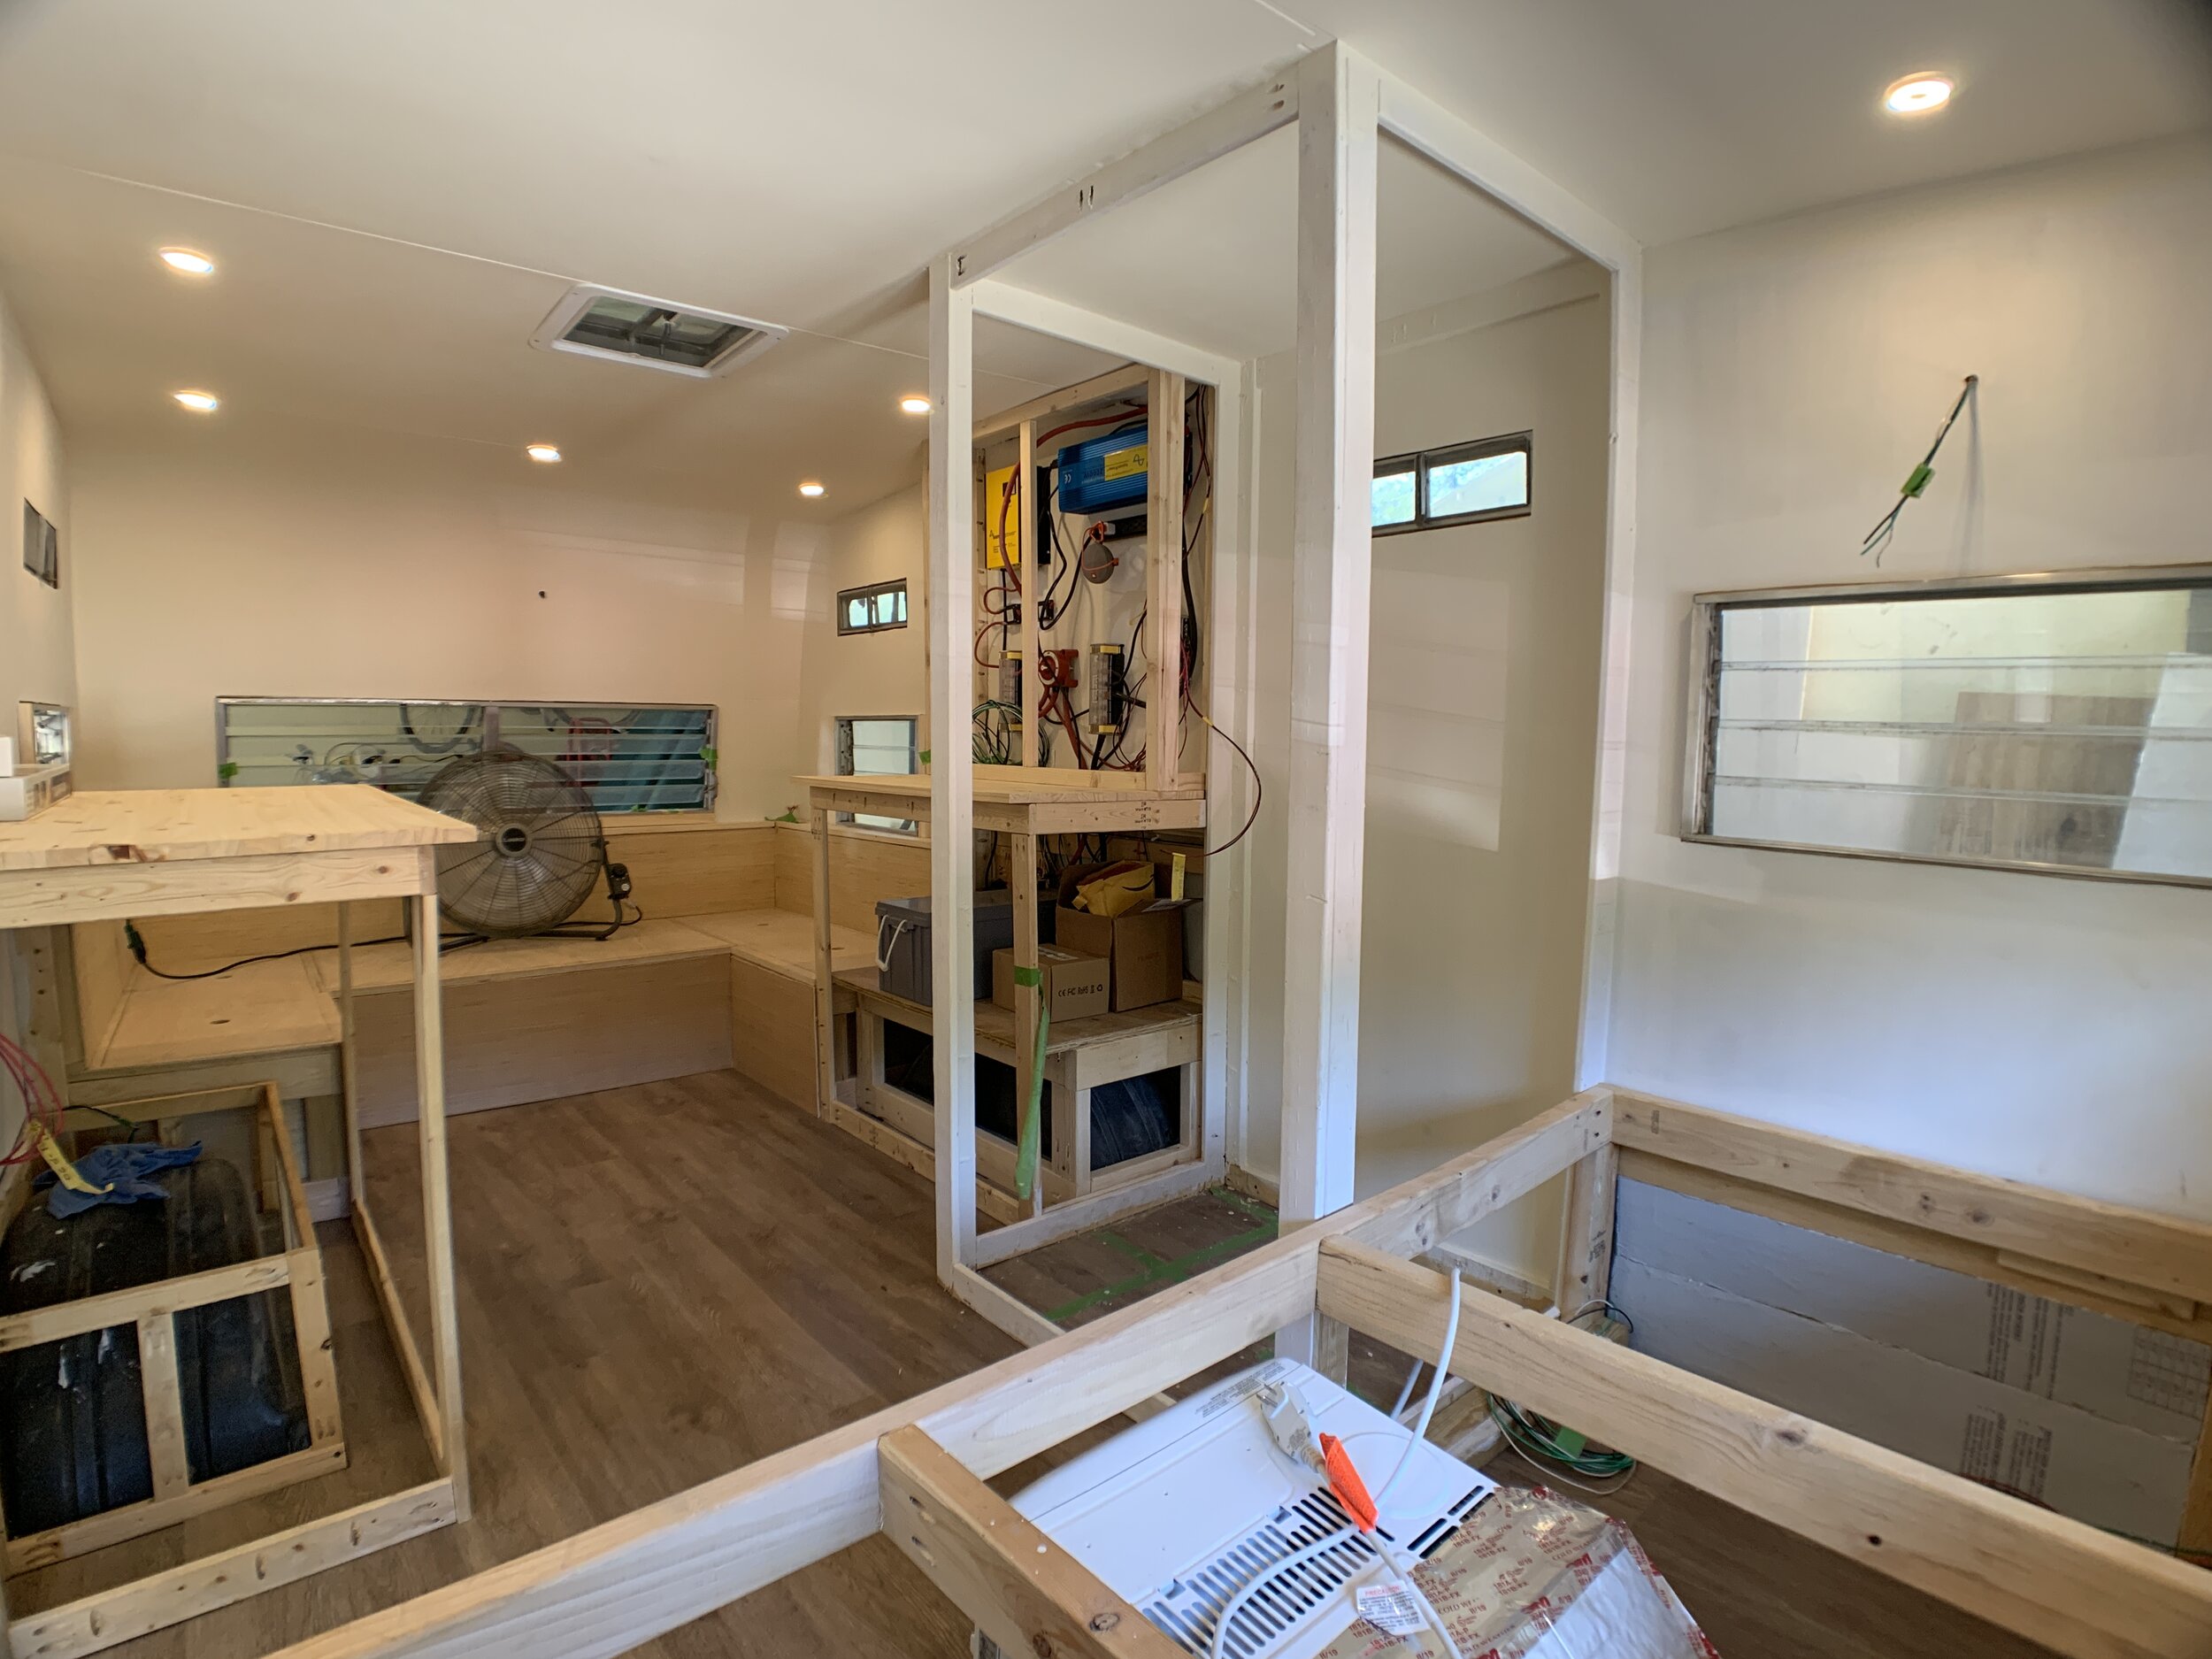
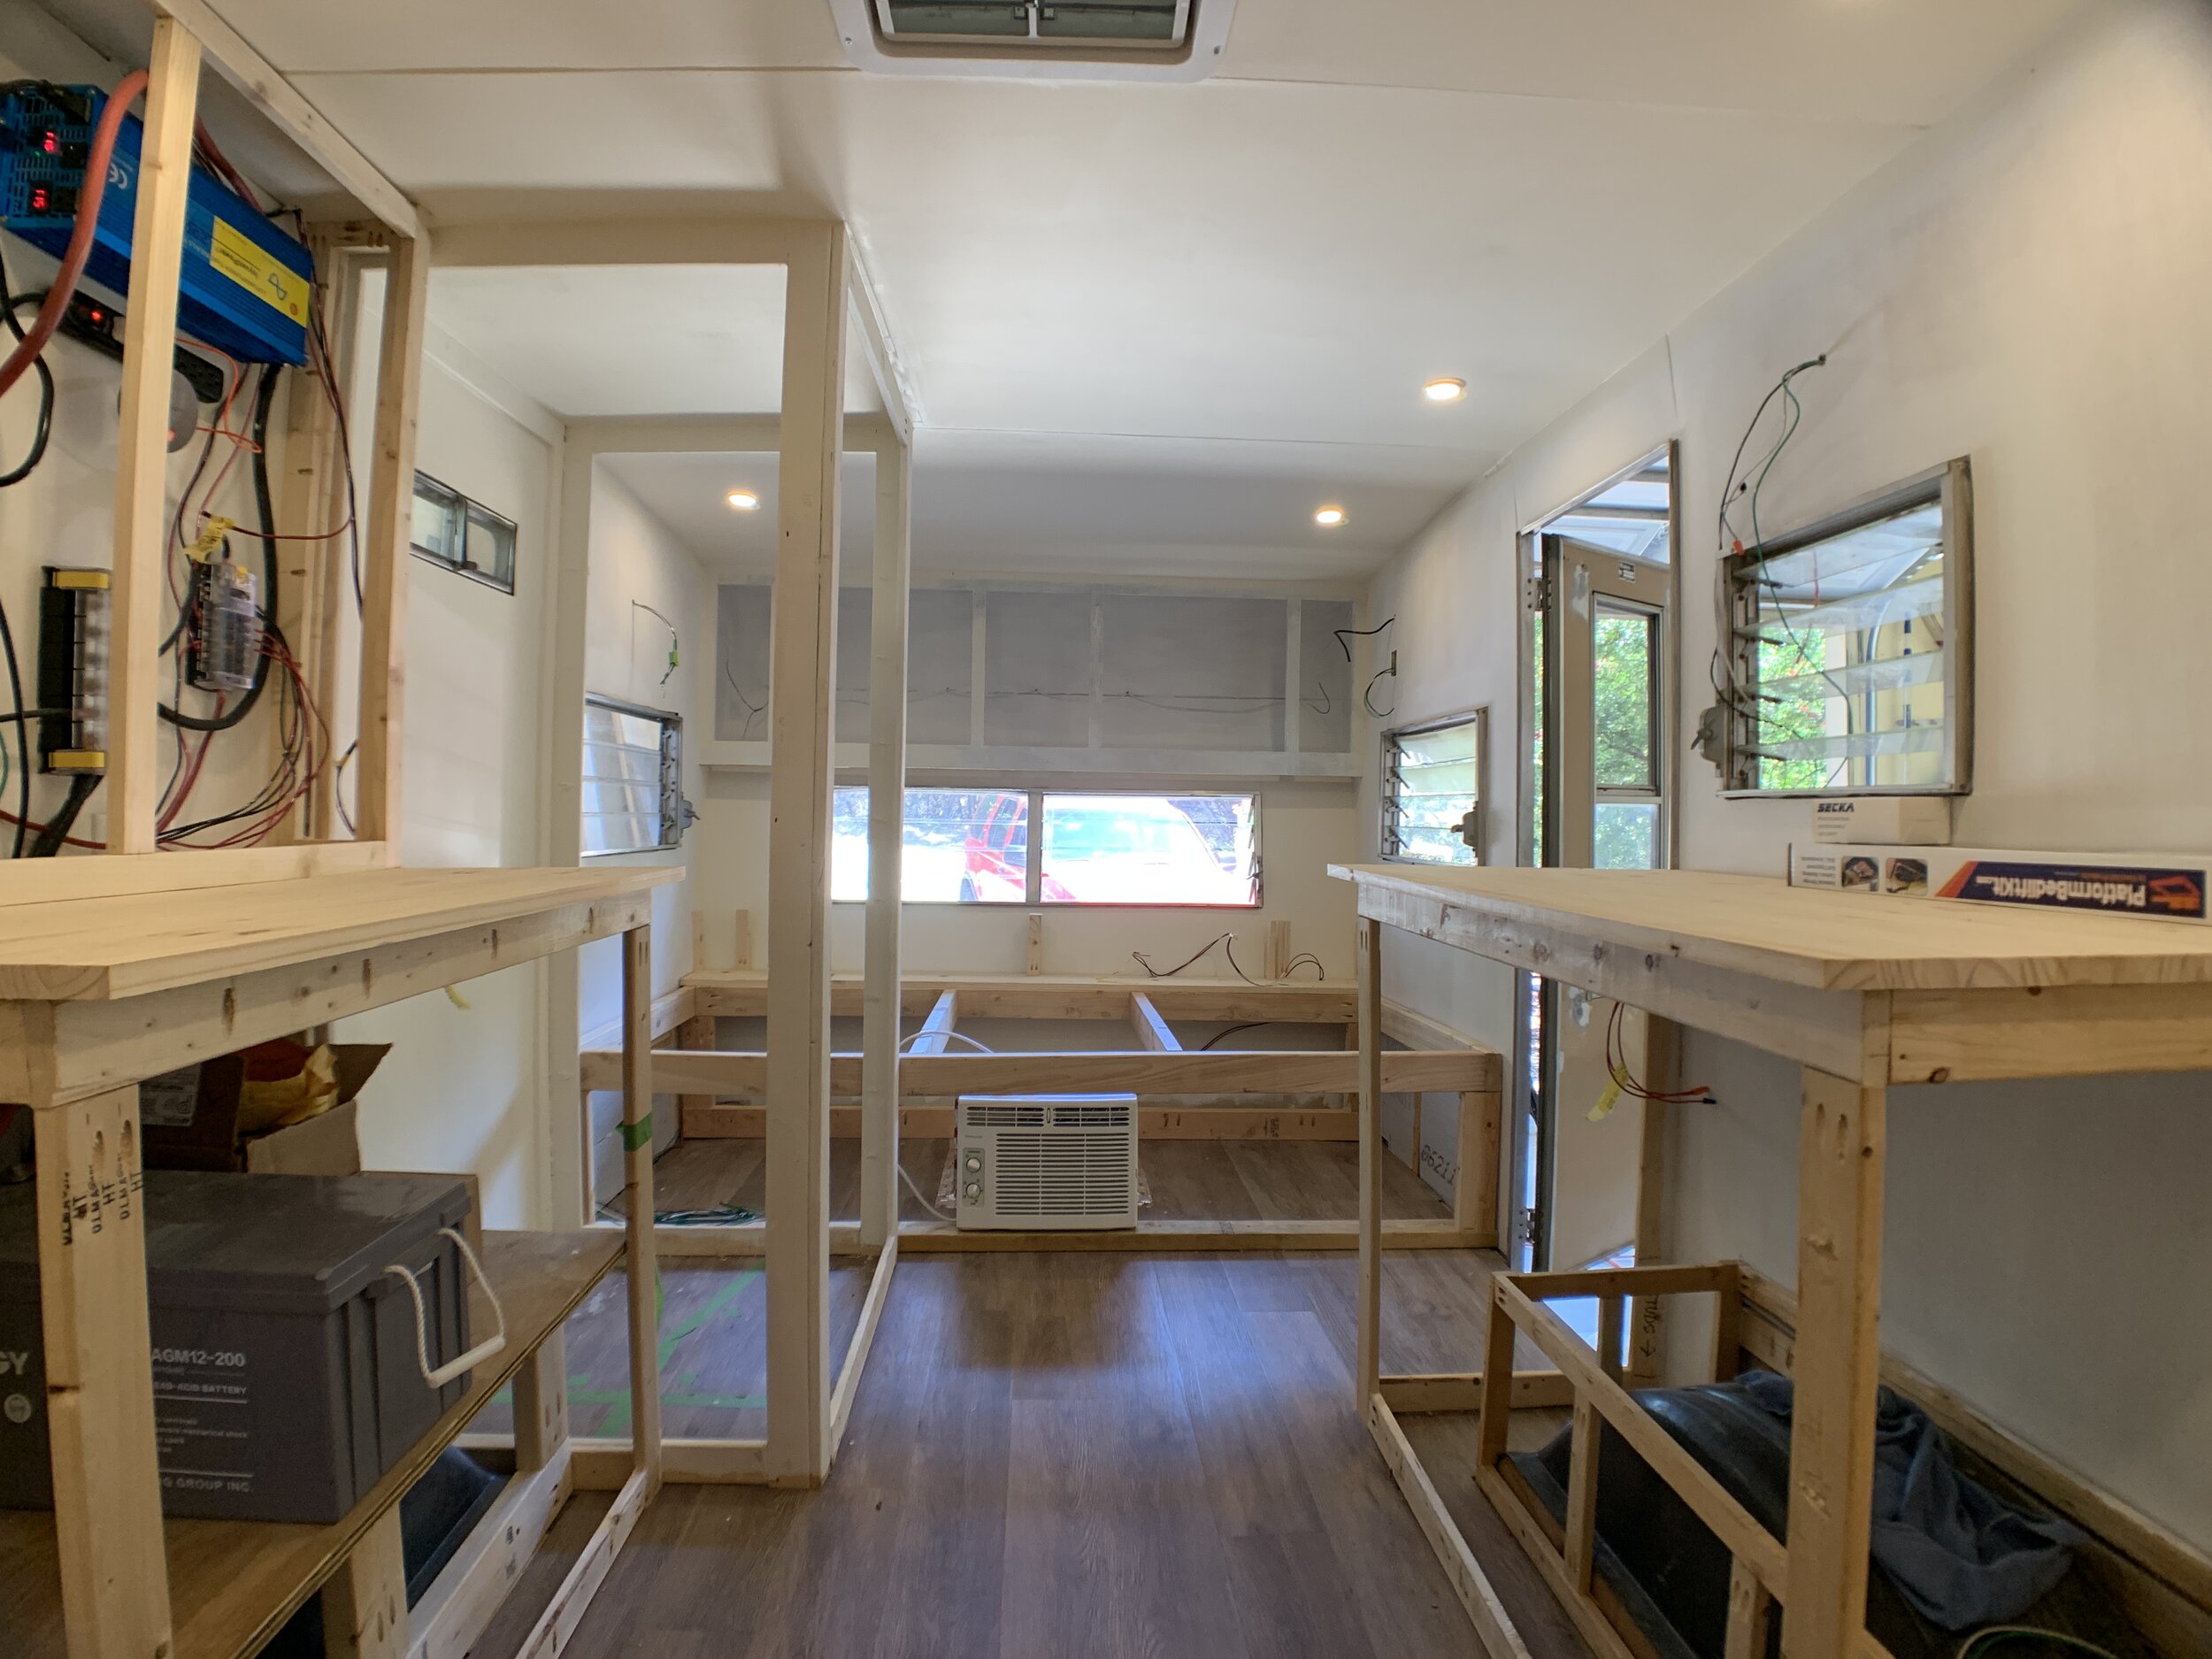
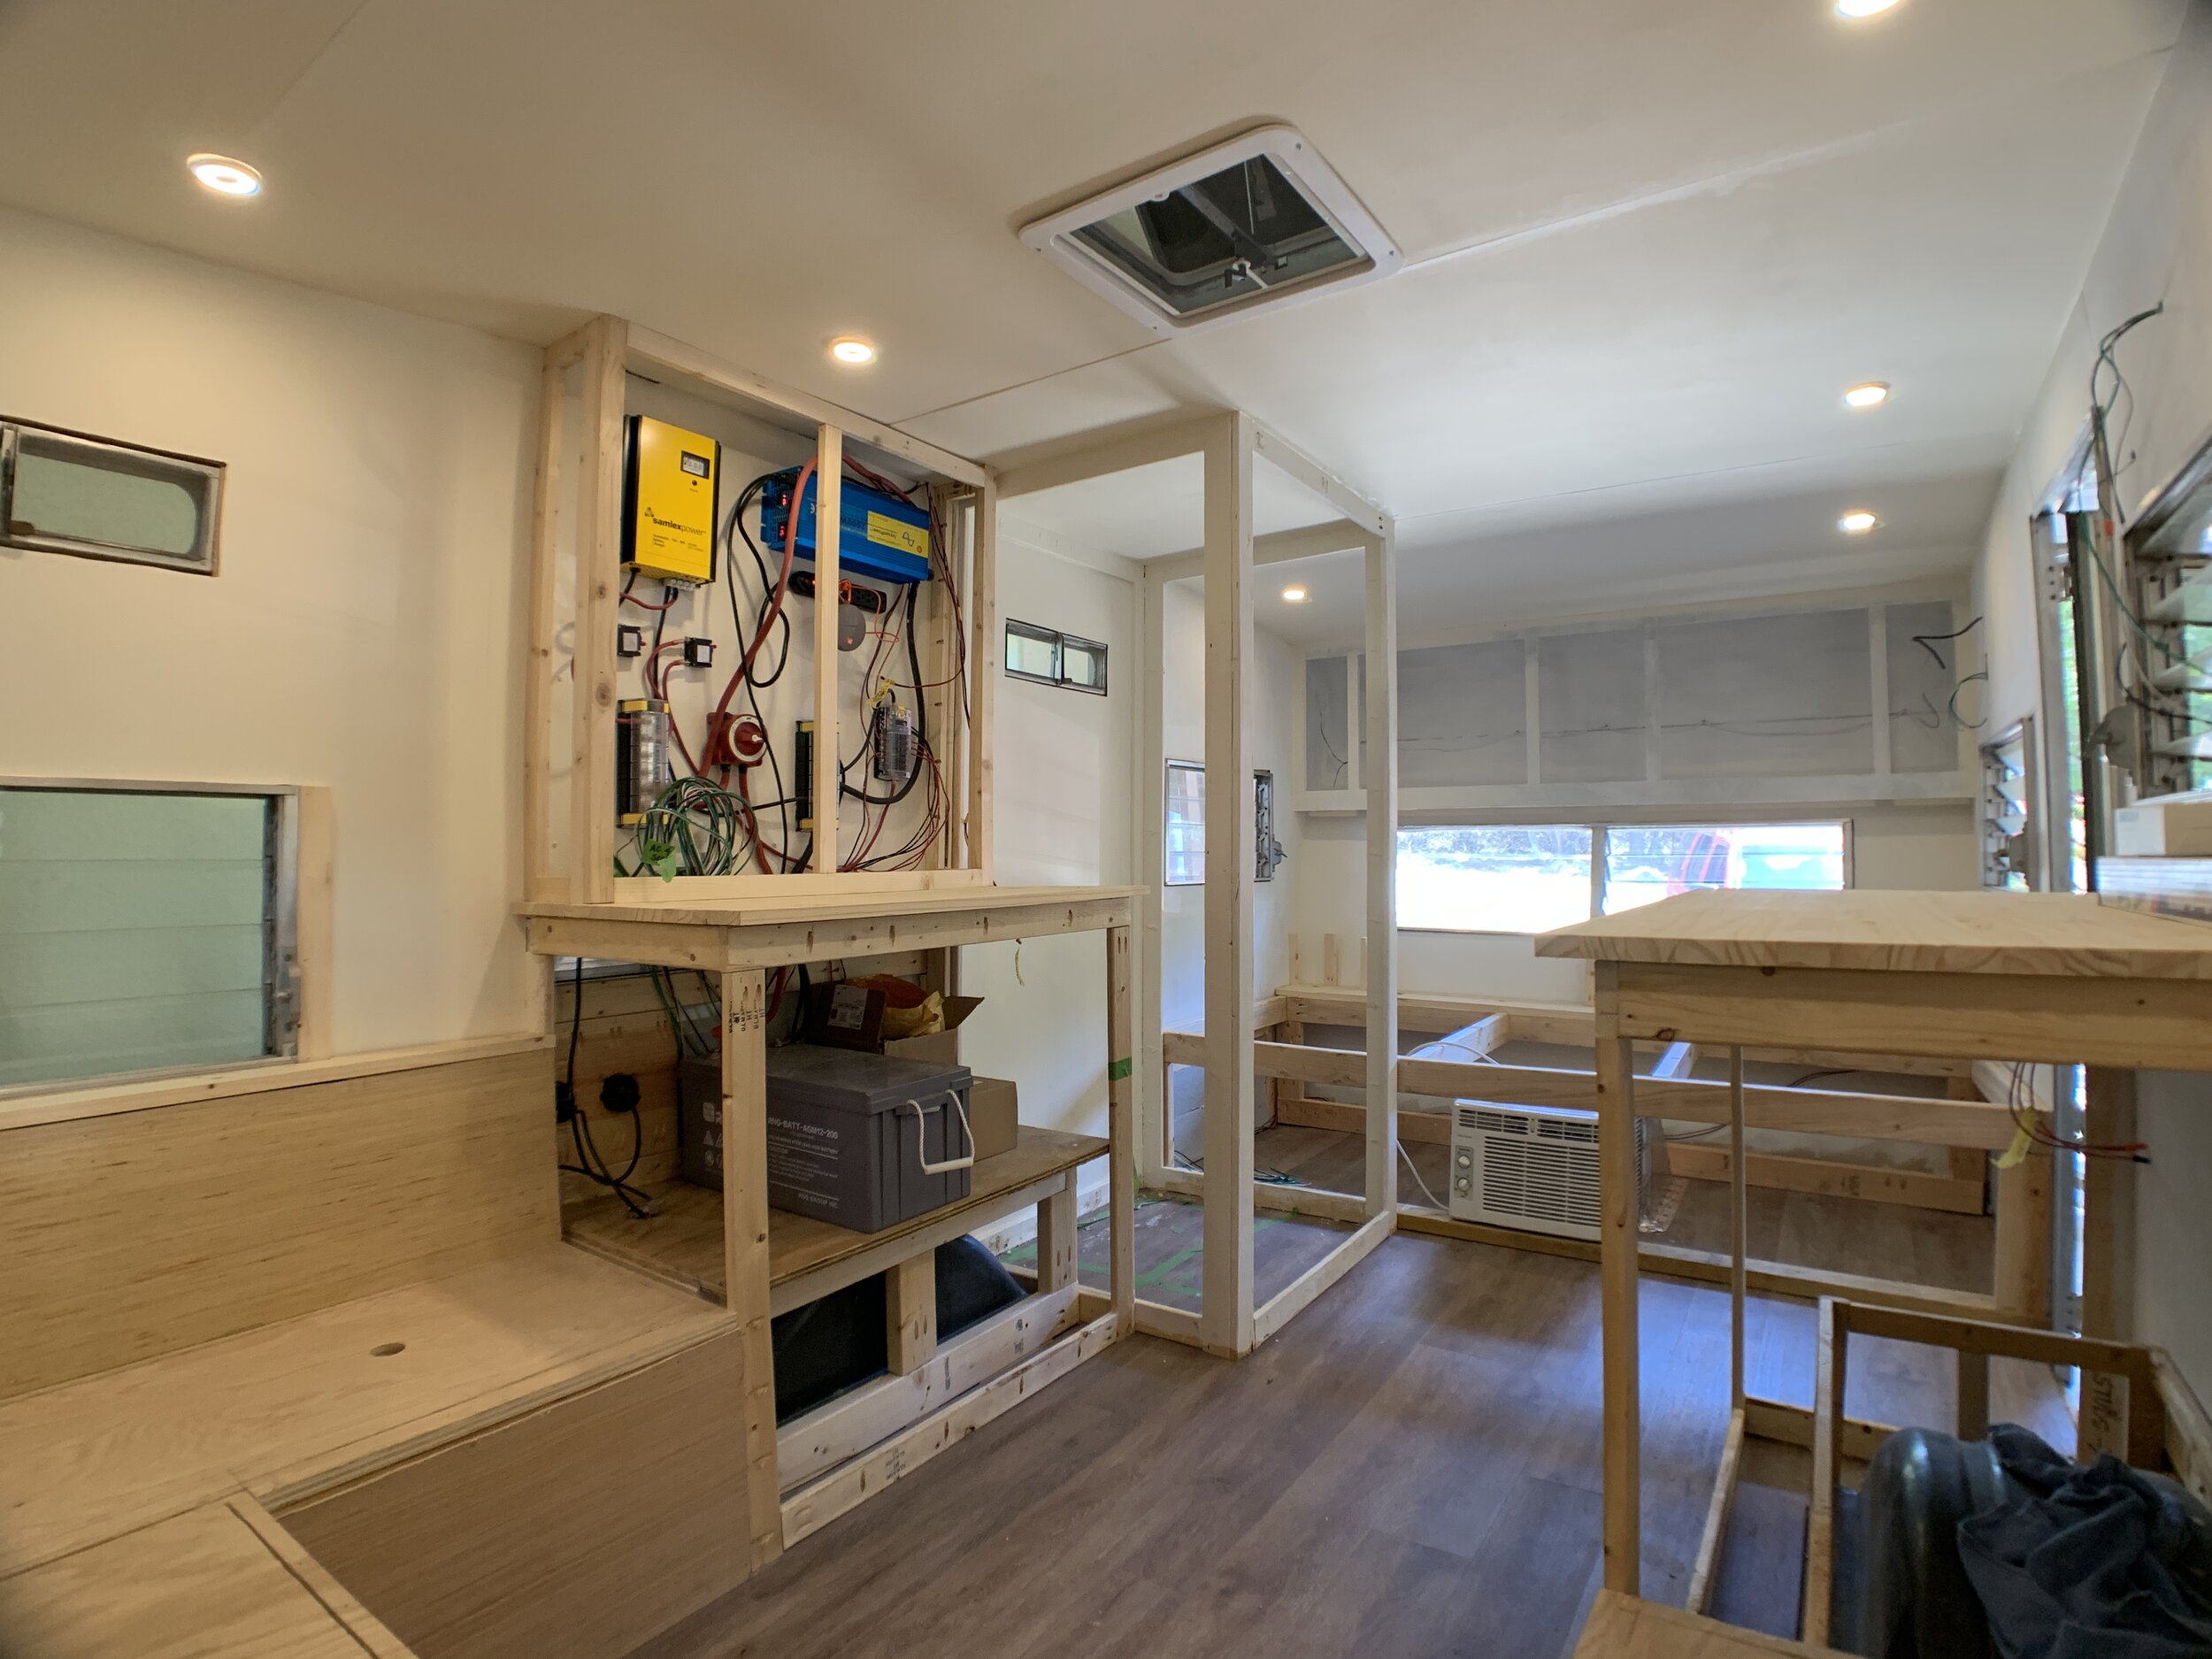
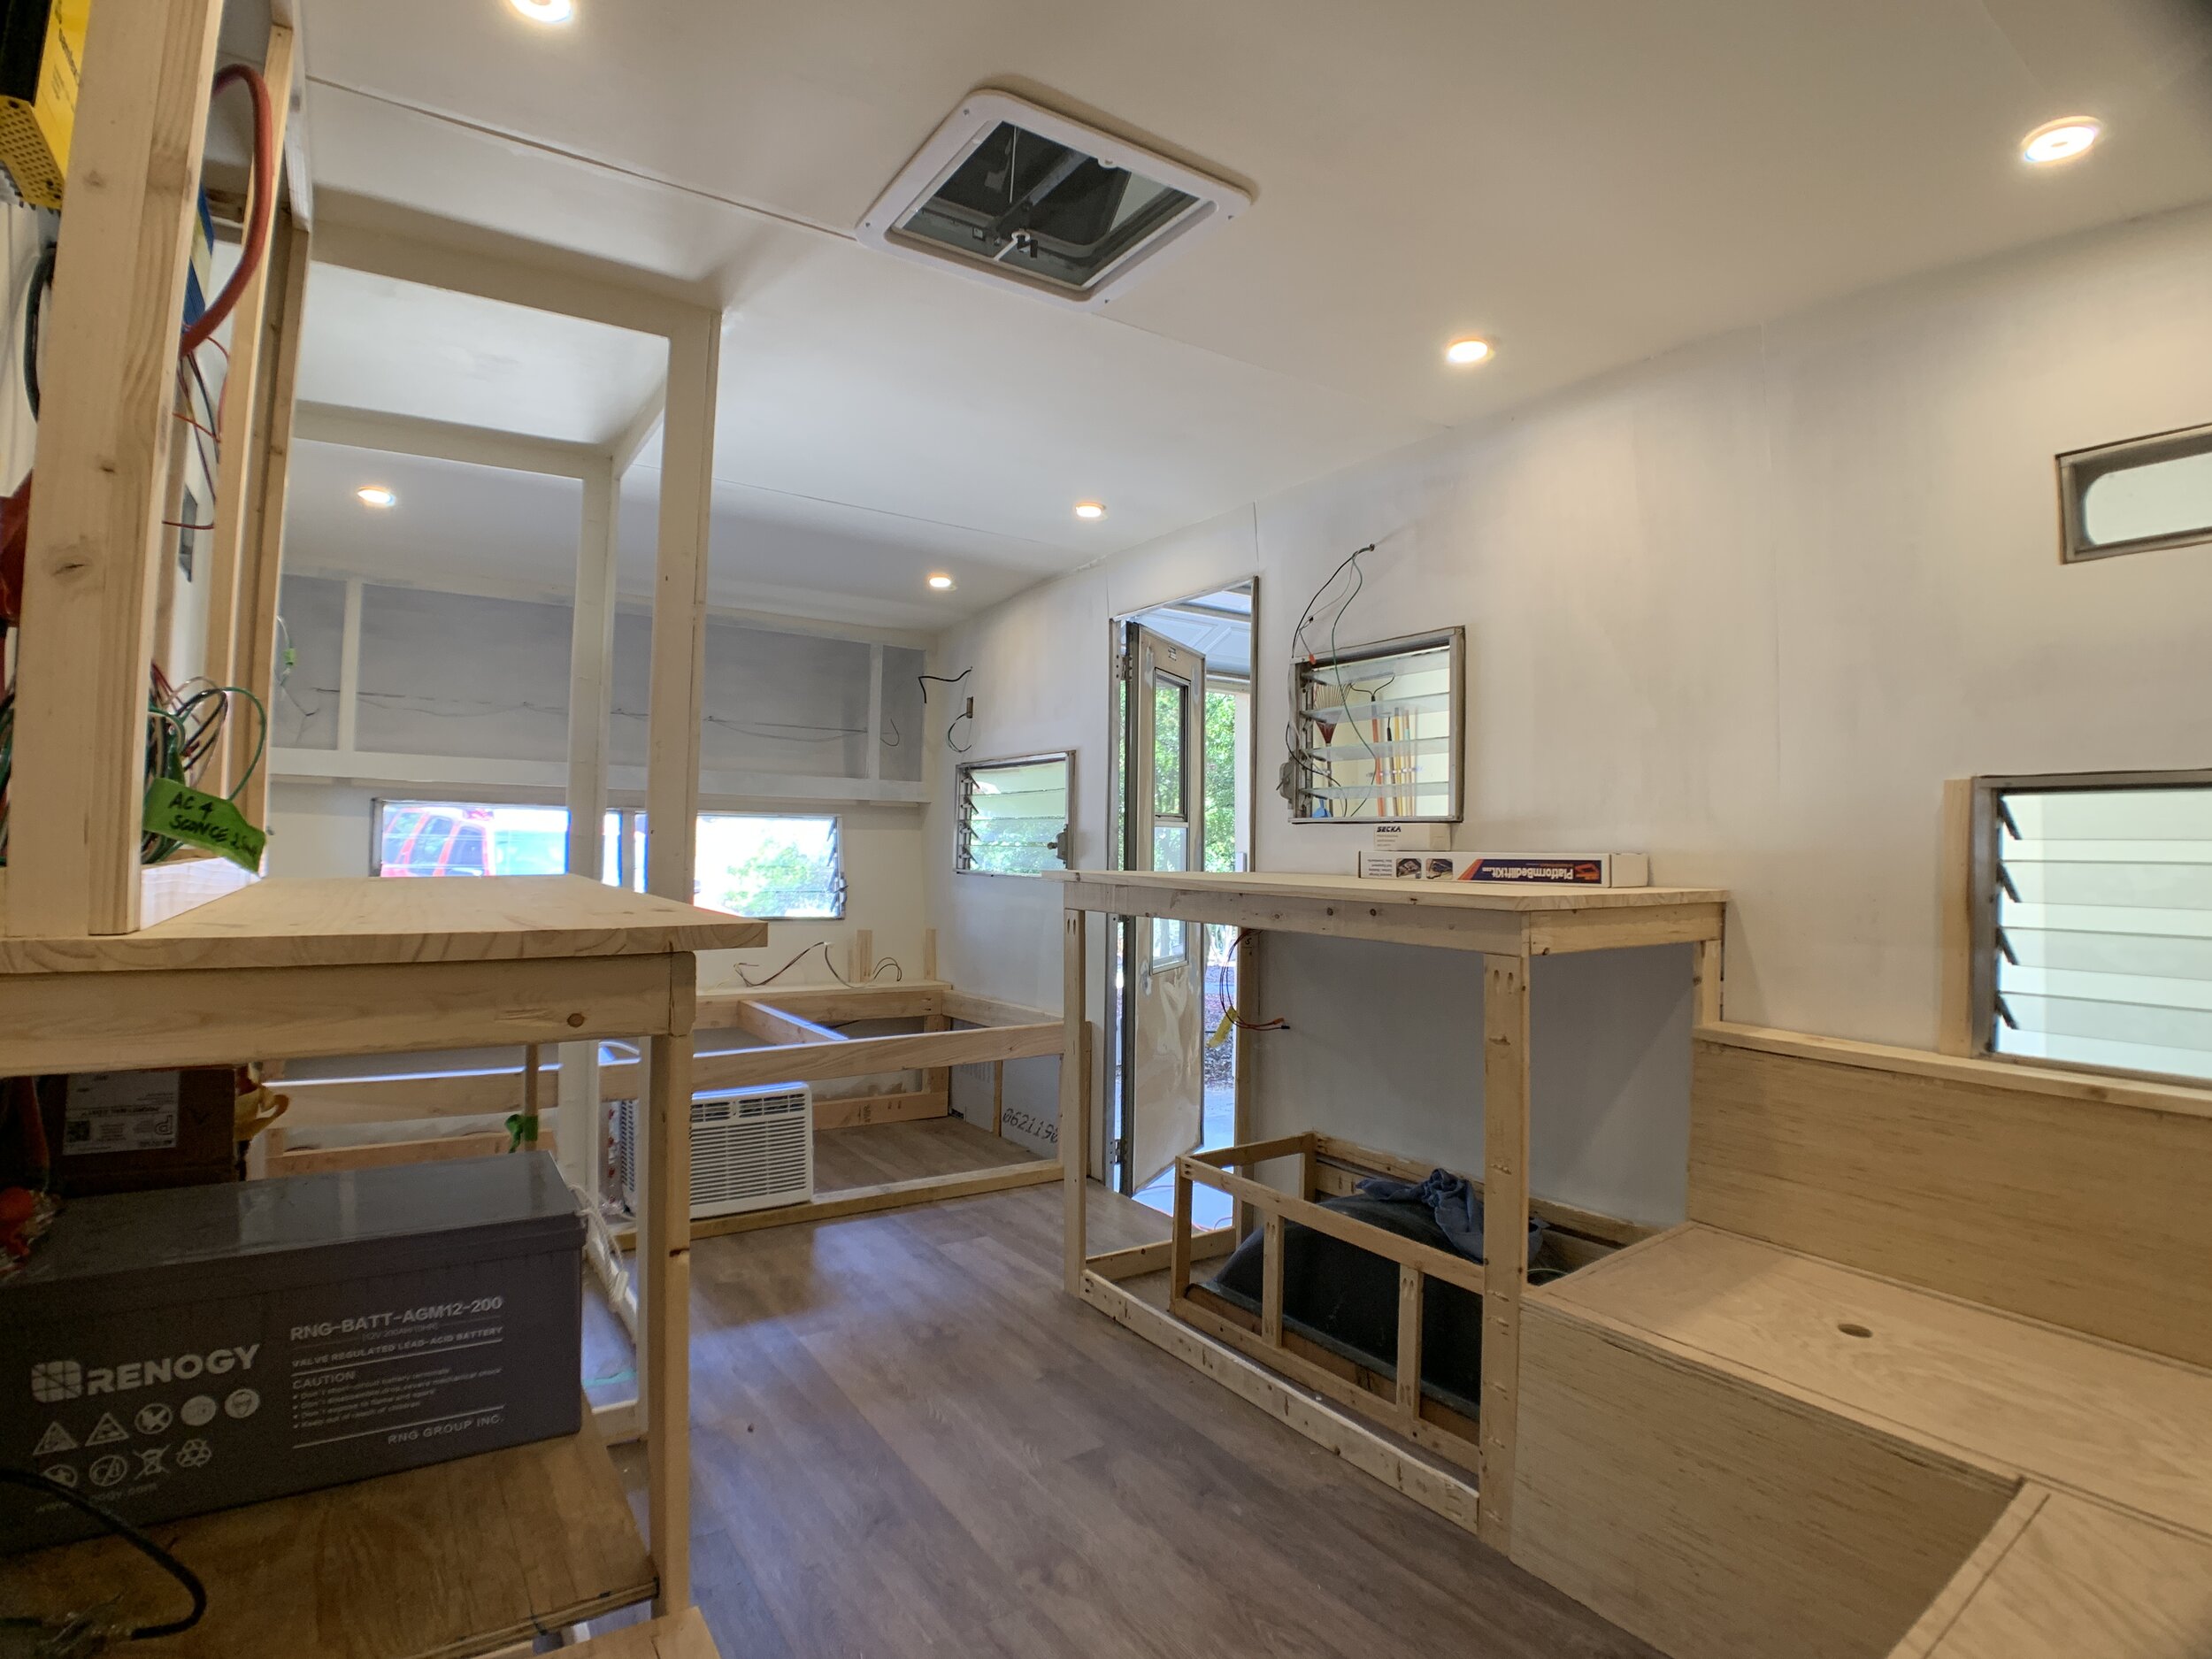
This checklist led us to keep the same relative layout, swapping the front and back areas so we could get a larger dinette area in the back of the camper where we had a little more space, keeping the smaller front area as a daybed that could be used for sitting or sleeping. The wet bath is in the same location, however we made it a little bigger and adjusted the proportion so we could get the size without it sticking out into the main body of the camper as much as the original. The plan is for it to allow us a little more comfort when we use it and keep the camper as open as possible while still providing adequate roof support. Another modification we made is that the upper portion of our new electrical cabinet is not full counter depth. We chose to do this for a lot of the same reasons. For starters, our electrical equipment is not that deep so we don’t need the full depth, plus having a shallower upper cabinet keeps the sight lines clear and feels less claustrophobic for the people sitting in the dinette seat right next to the cabinet while still providing some floor-to-ceiling structure.
We’re still working on it, but you can see the structure and layout in these photos.
I’m so excited — we’re in the process of getting her titled and registered and we’re finally starting to order the attractive things. We’re getting to the point were I can really picture it all done! The goal is to have her street legal and useable for our last home football game in late November – agh!
As we get further along and you can better see where we’re going, is there anything you’d like us to share that we haven’t already covered, or maybe a question about something we still have planned to work on? Leave us a comment or two and follow us on Instagram for the latest. We always love to hear from you – what you think so far, what you’d like to see, questions about what on earth we’re thinking!