The Cameo Camper Renovation: Dining Table Part 2
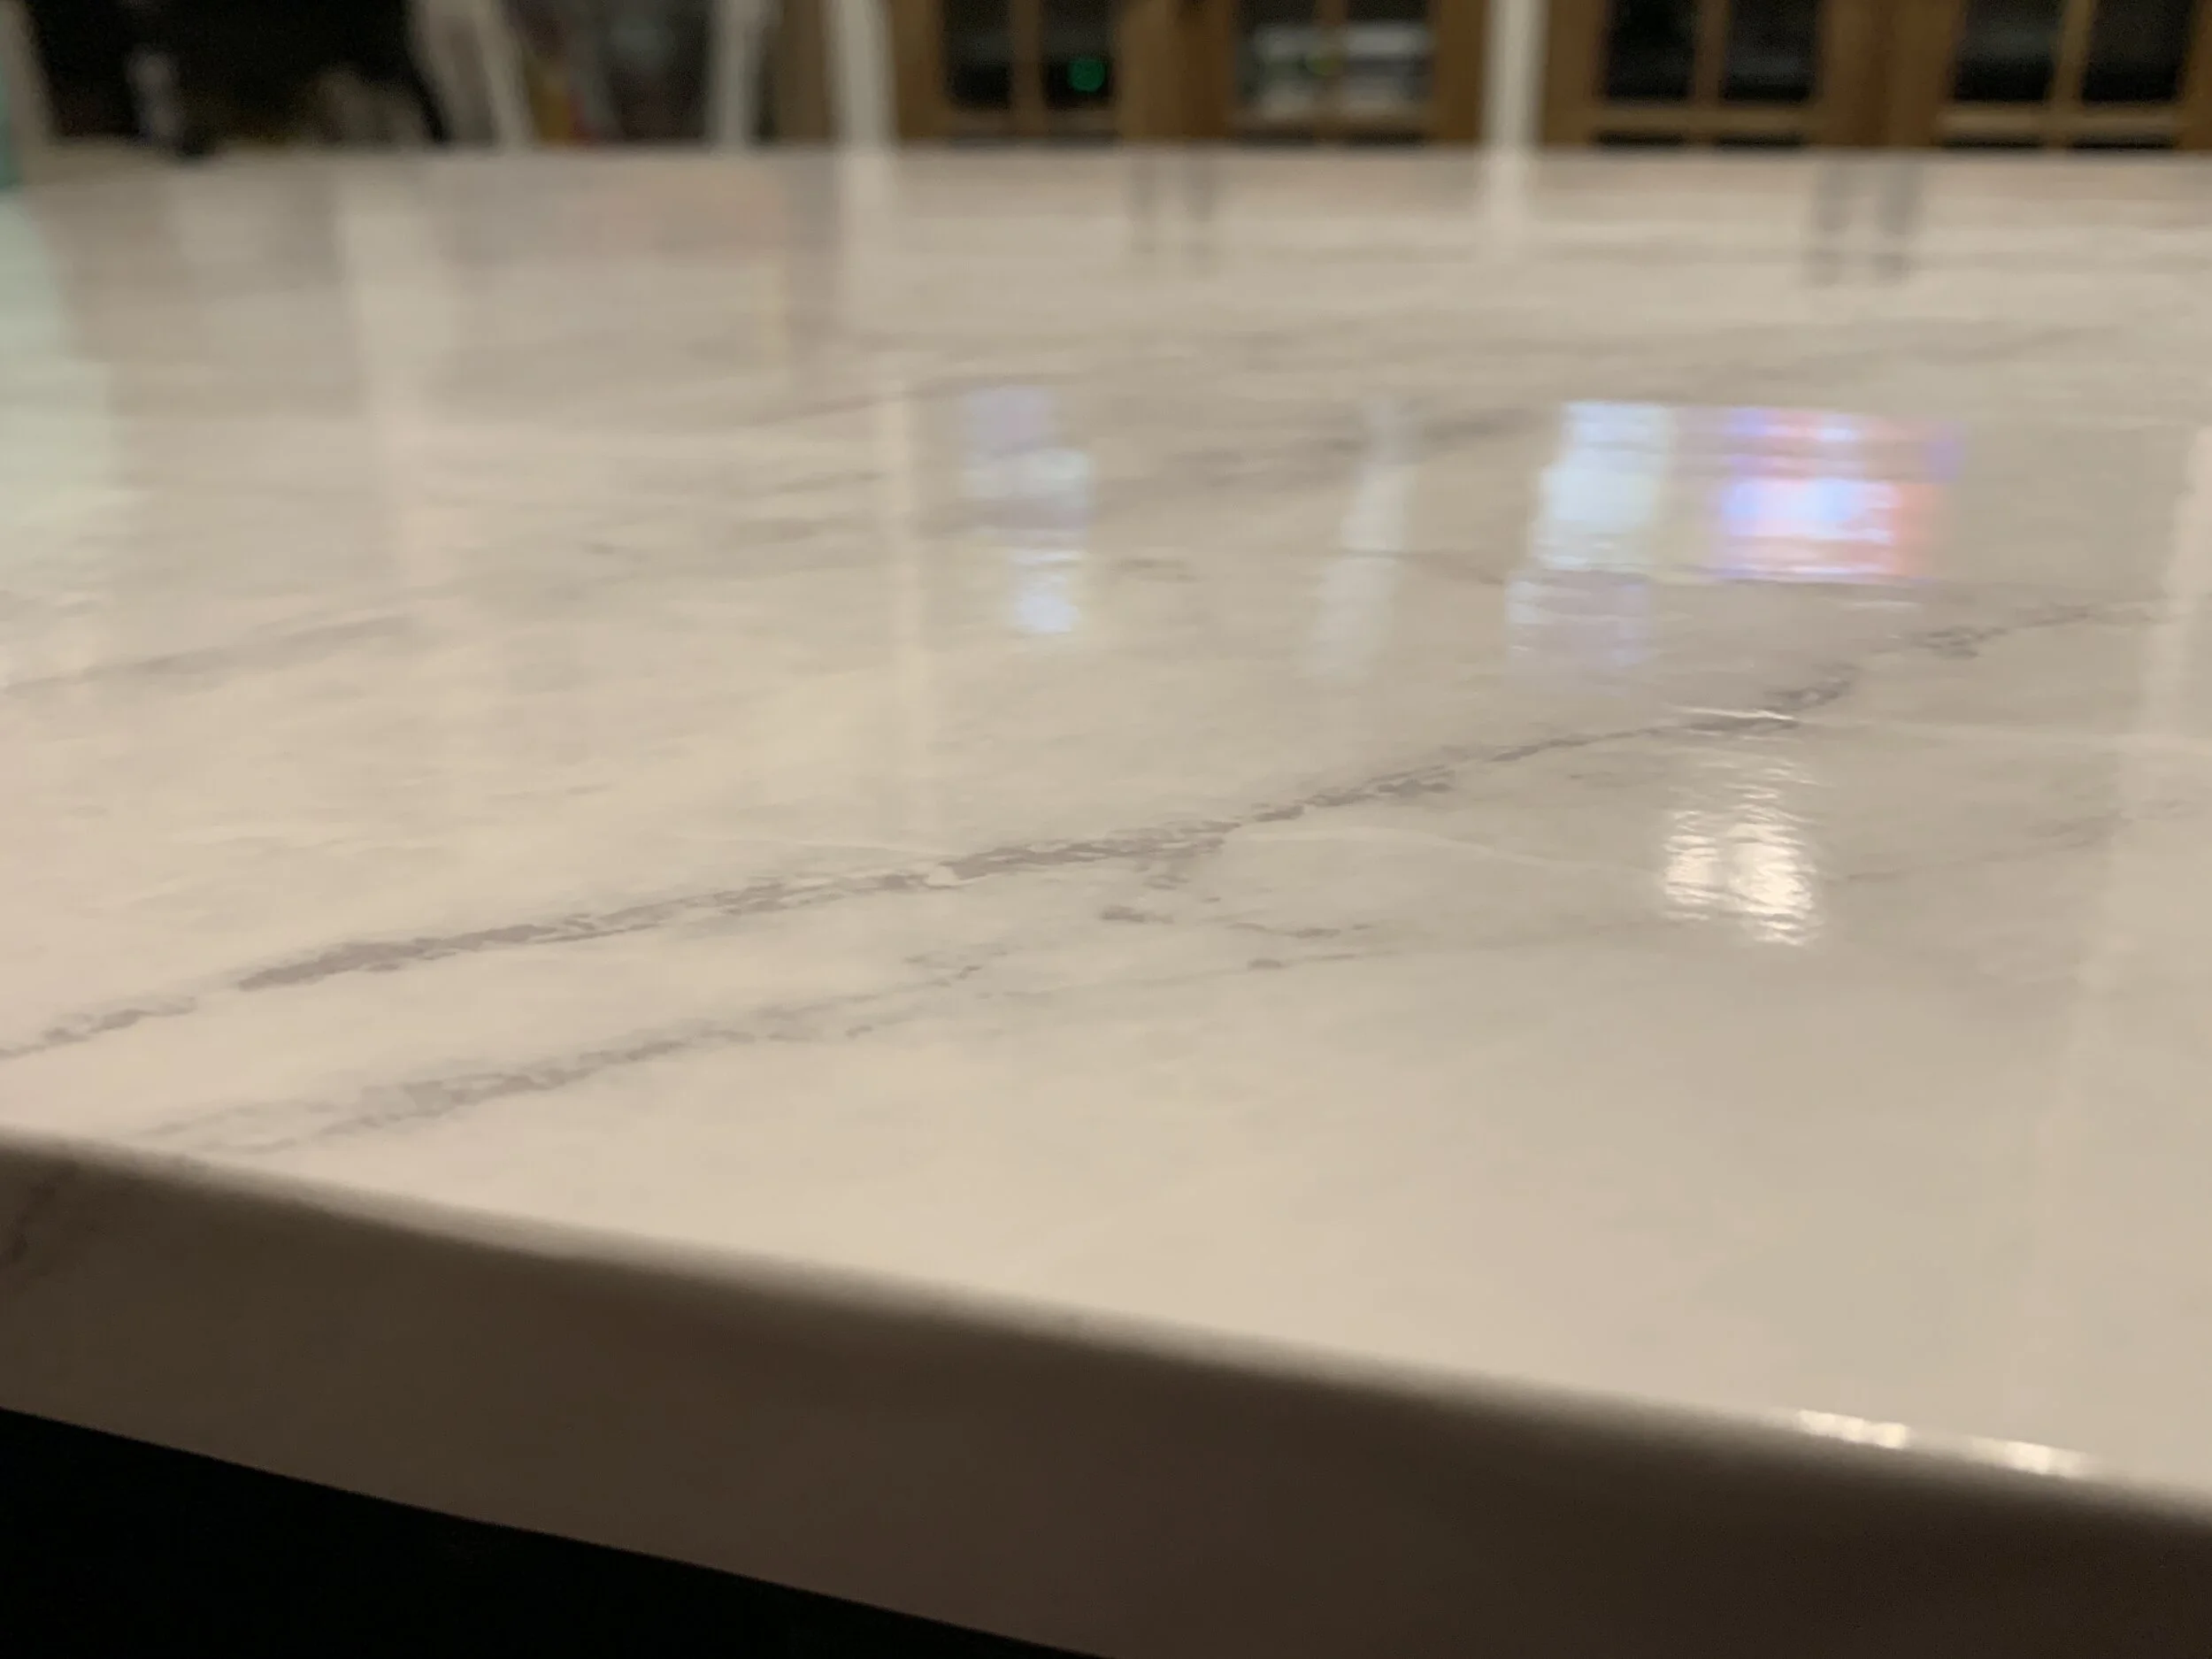
Hey y’all – welcome back! If you missed part one of our dining table tutorial – where we talked about the failed attempt at marble, the totally functional unique shape and it’s beautiful minty glory – you can find it here. Today we’re sharing the second part of the dining table install – the table leg. More specifically, how we made a functional, vintage-style reproduction a little fancier on the cheap.

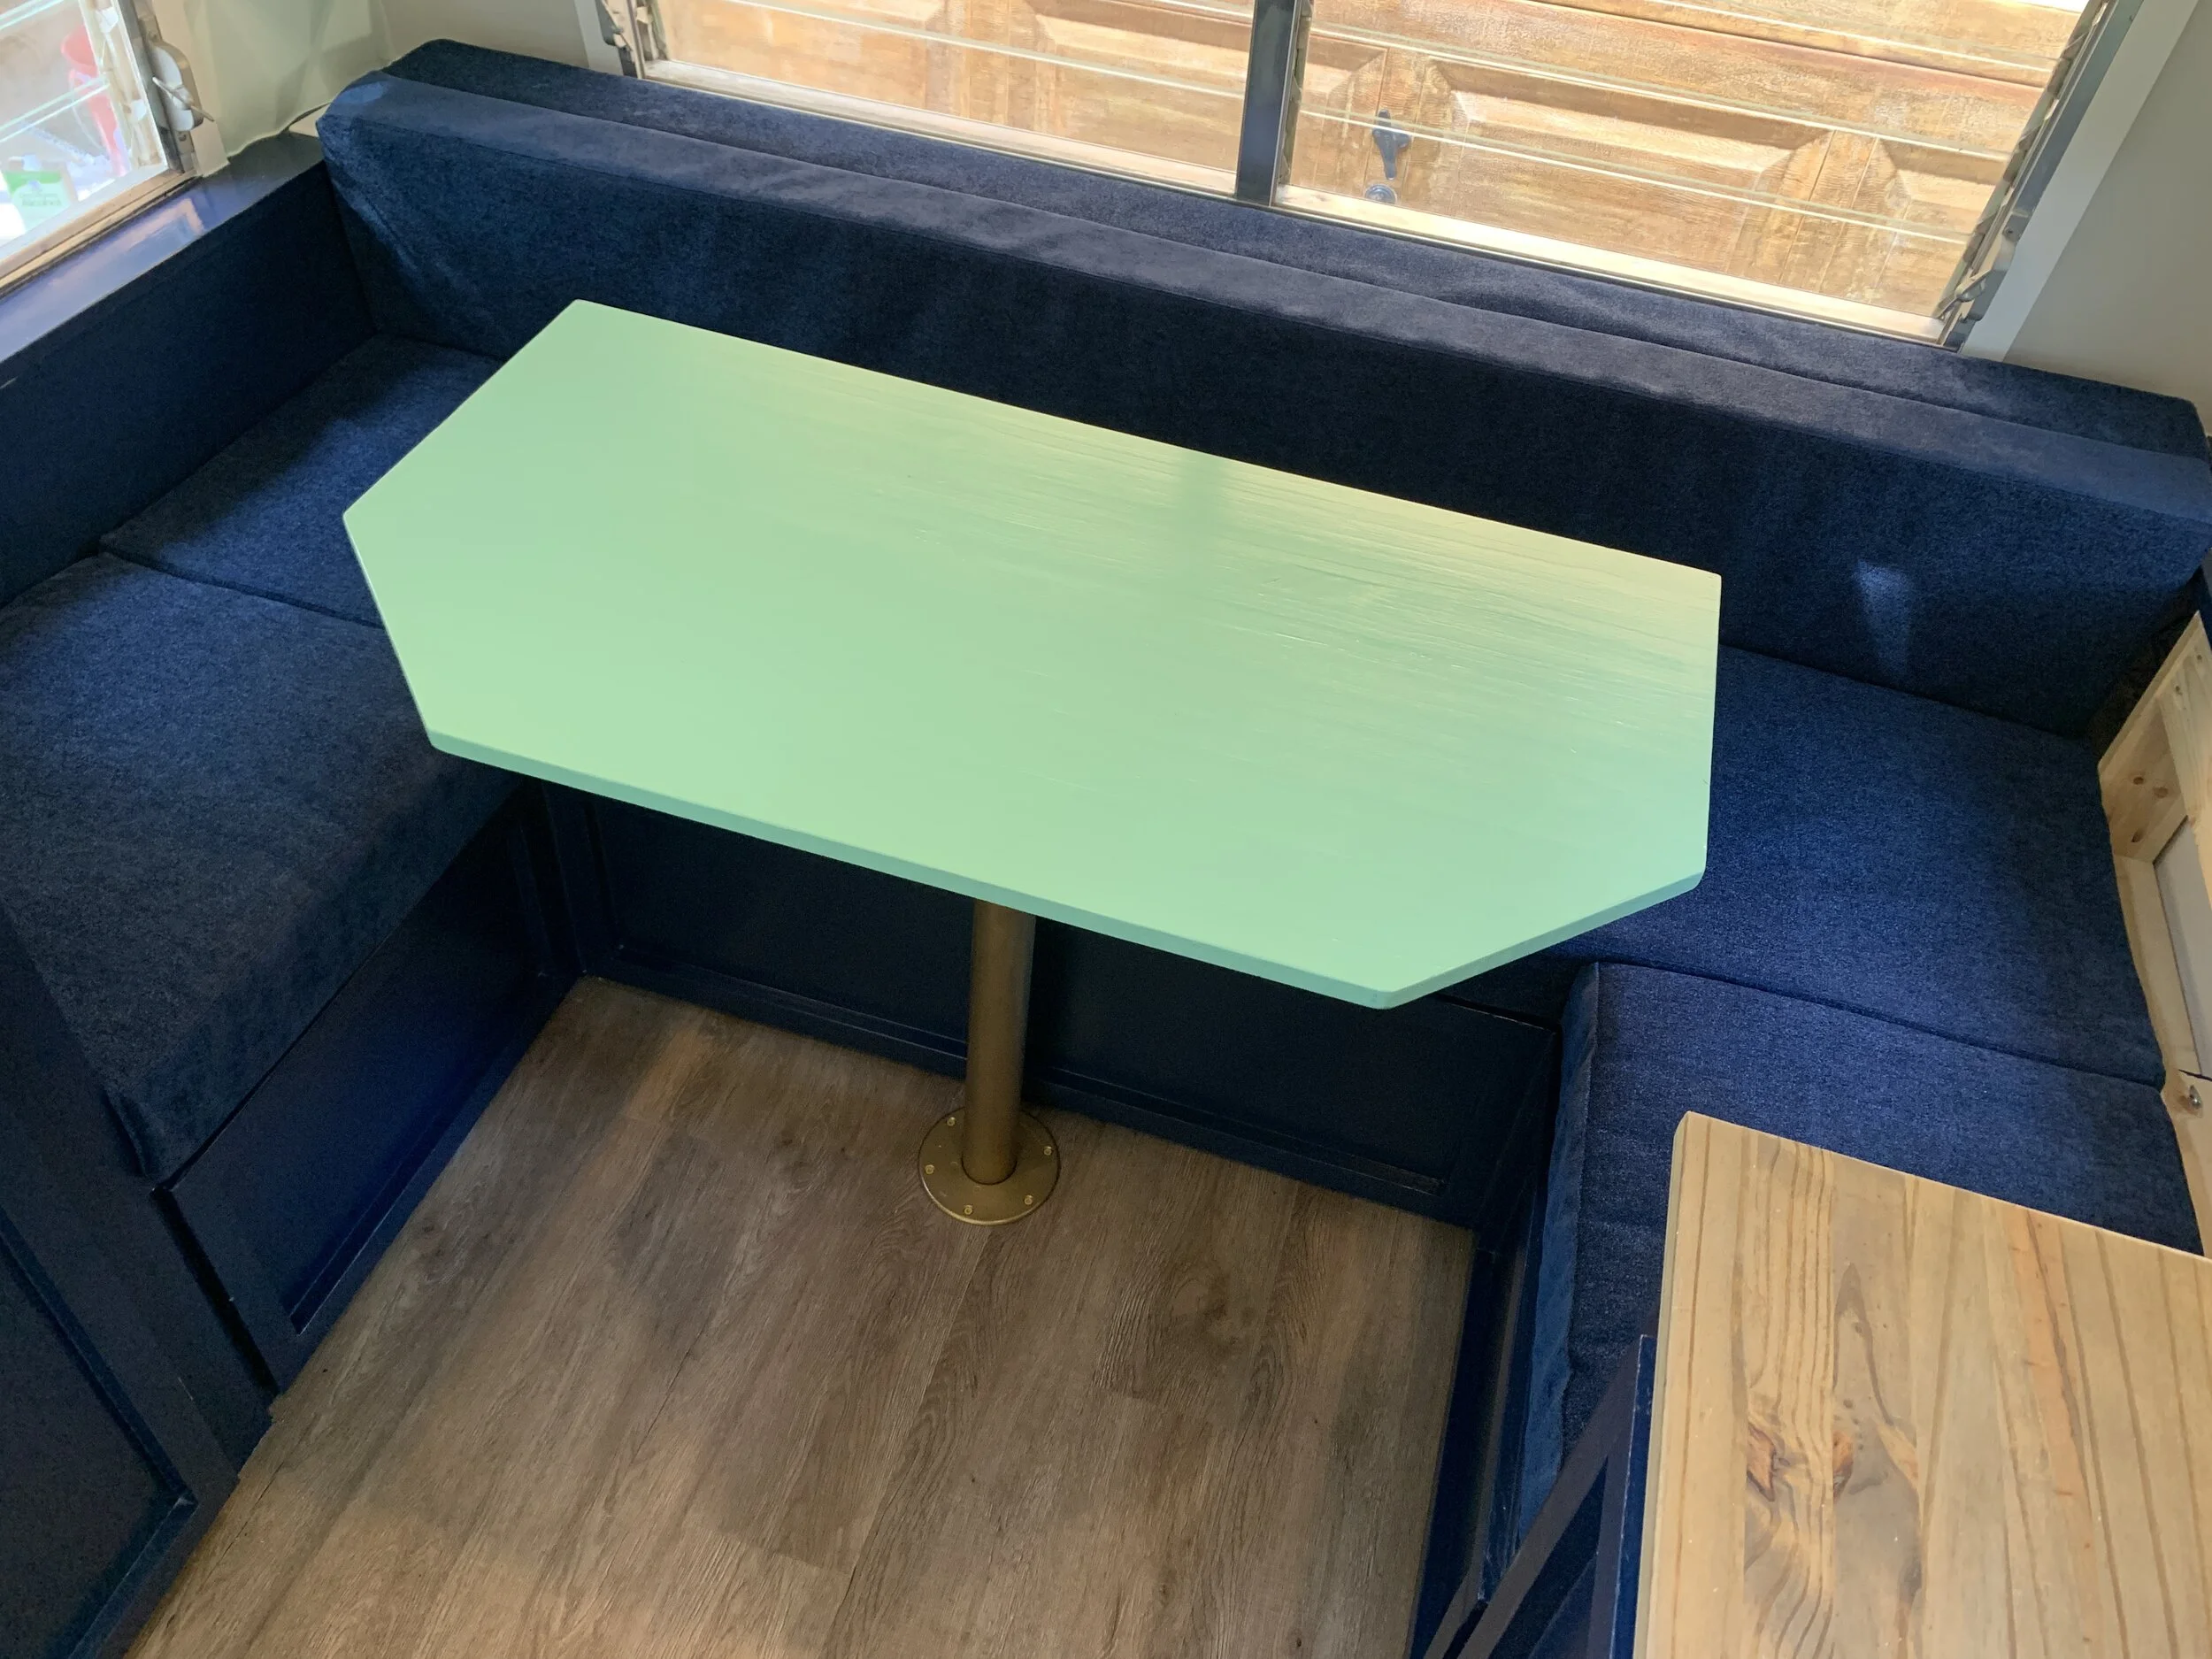
Last time, we left off with a beautiful, mint green rectangazoid (patent pending) table that looked like this:

Before we discuss the table leg mount placement and how it attaches to the camper, we’re going to talk about…
Making a gold table leg

I don’t know about y’all, but I’m super into gold lately. Like, a lot.
And because we couldn’t find a gold vintage (or reproduction vintage-style) table leg, we decided to do the next best thing and make one ourselves. It only cost us about $40 total – and that’s including the table leg and mounts!
Our blinged-out gold table leg shopping list:
Vintage-style table leg + mount – we chose the 28.5” size
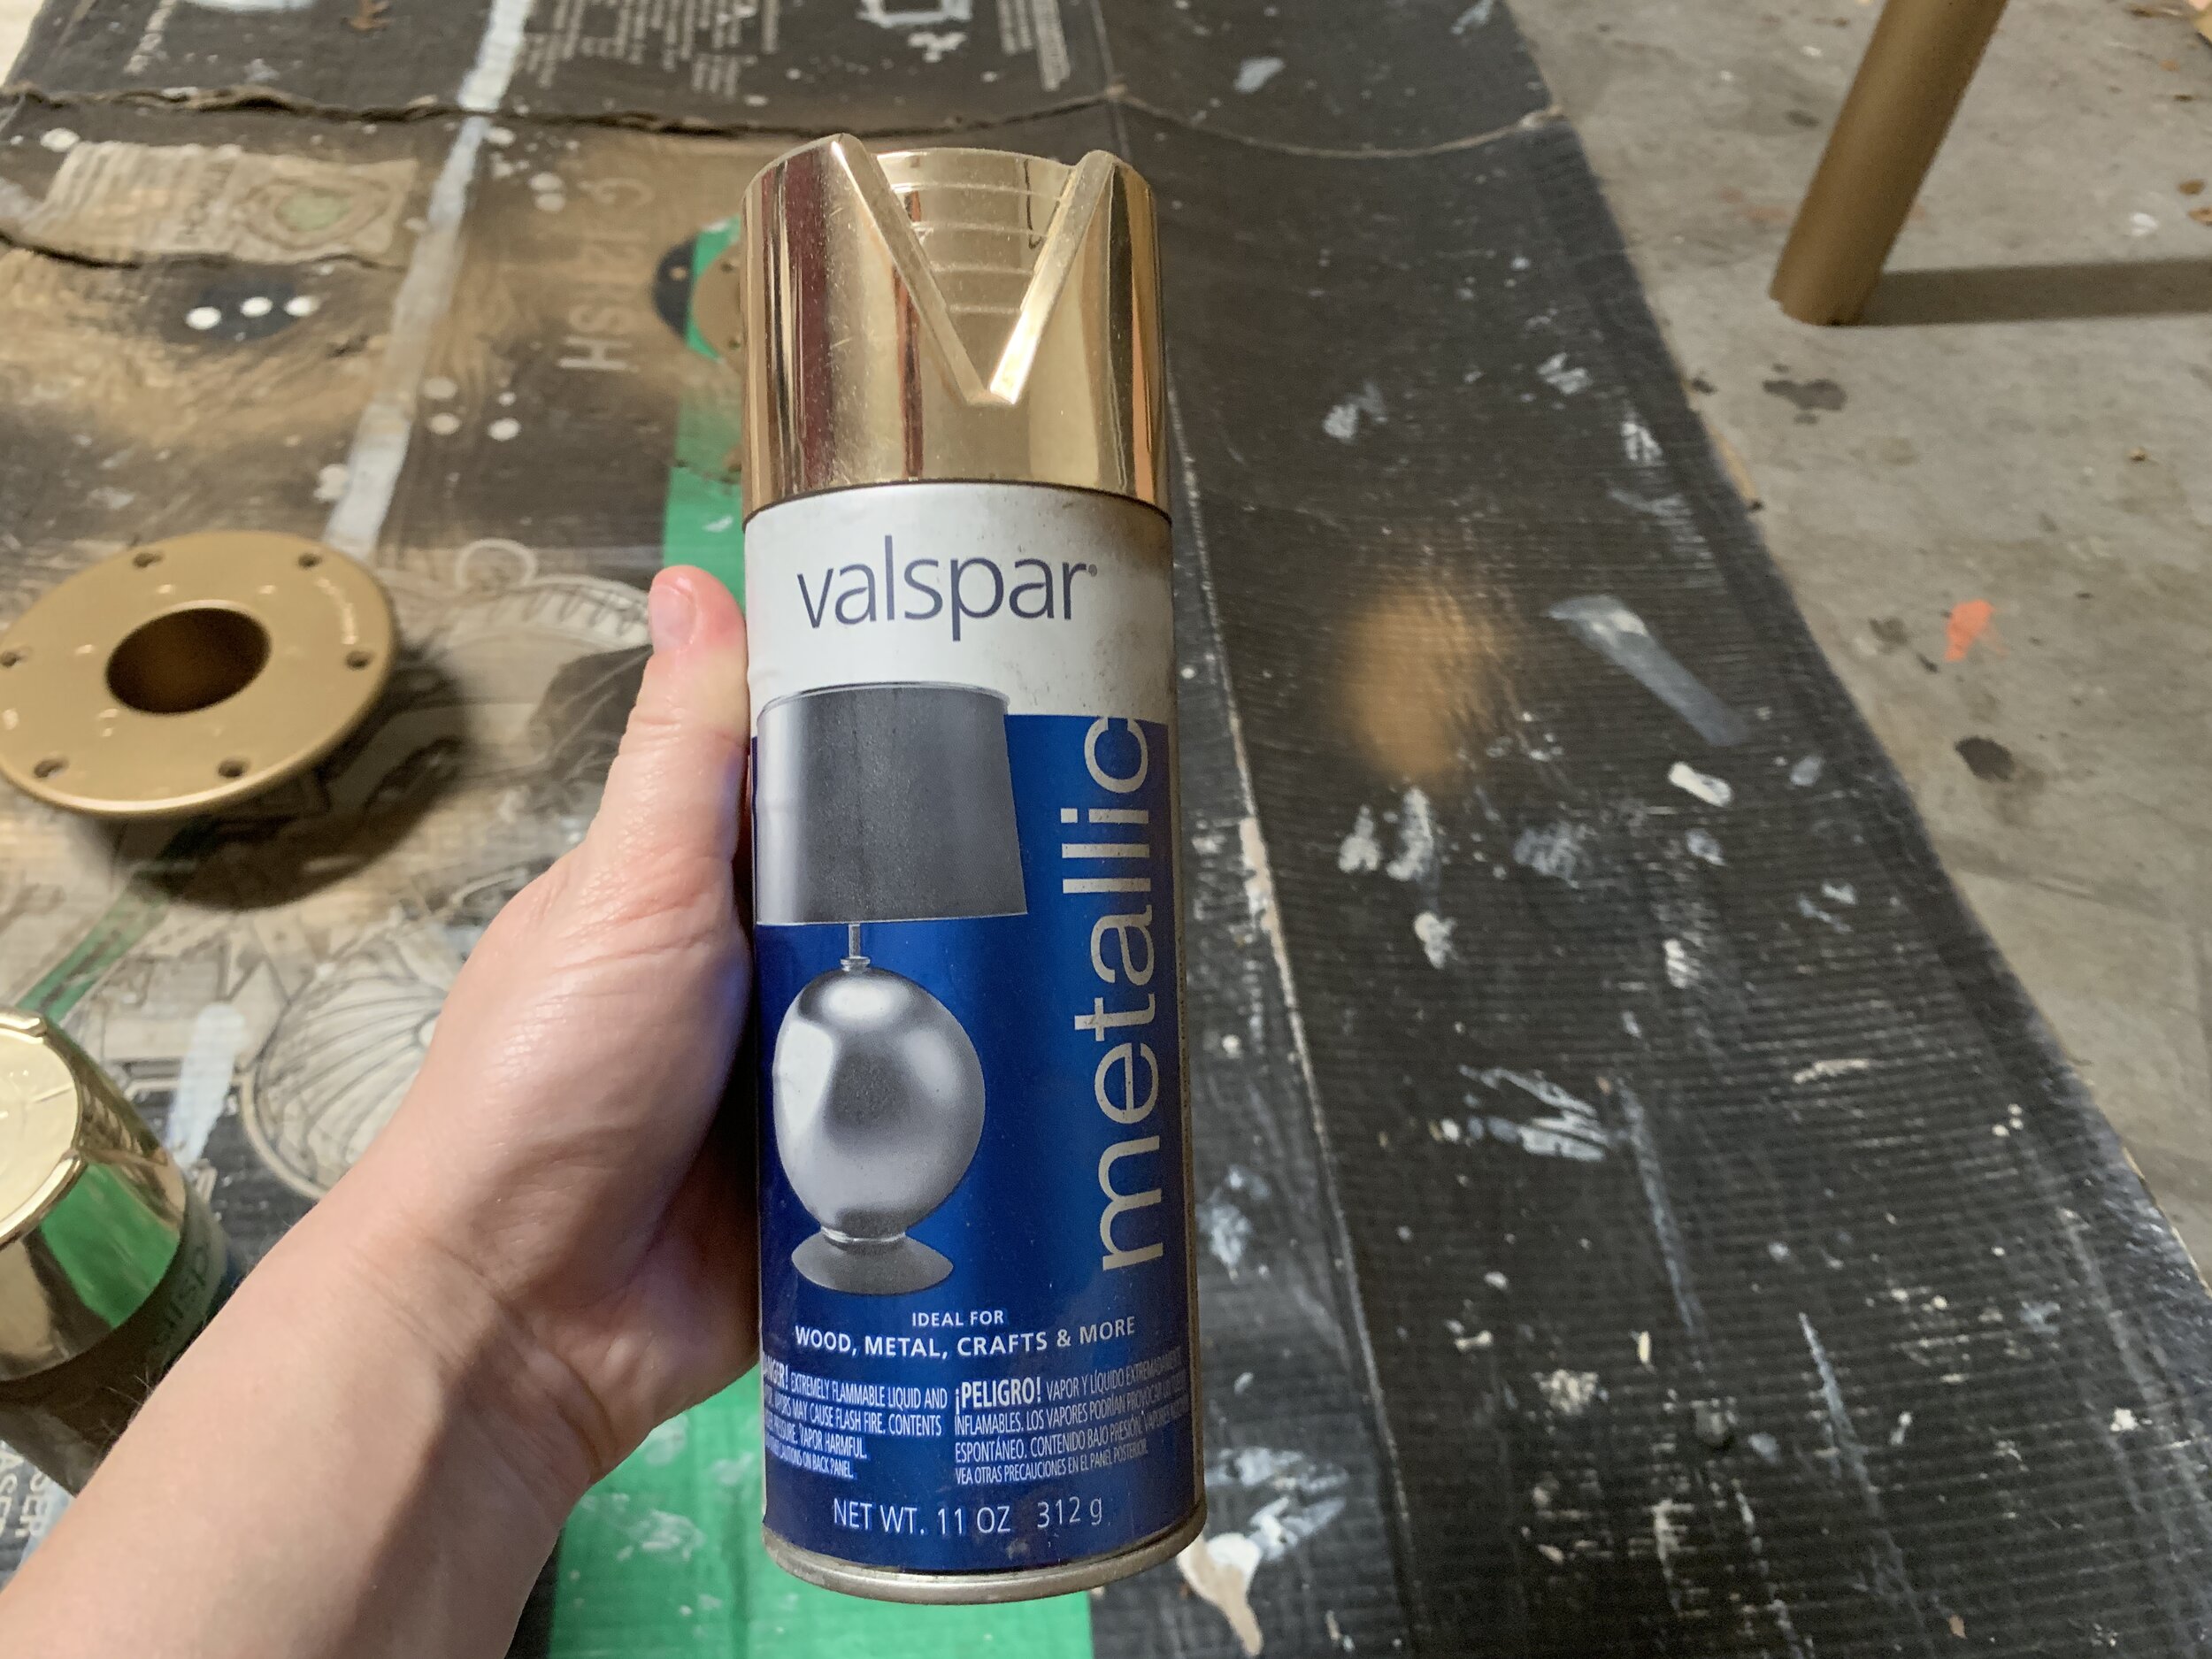
Gold metallic spray paint – we used Valspar because we had it on hand from another project. (They may not even sell this one anymore, but I wasn’t super impressed with it since it’s pretty dull, and it just gets covered up anyway. Any gold spray paint should do.)
Lint-free rag
Disposable gloves – unless you like having gold hands (you do you, I don’t know your life)
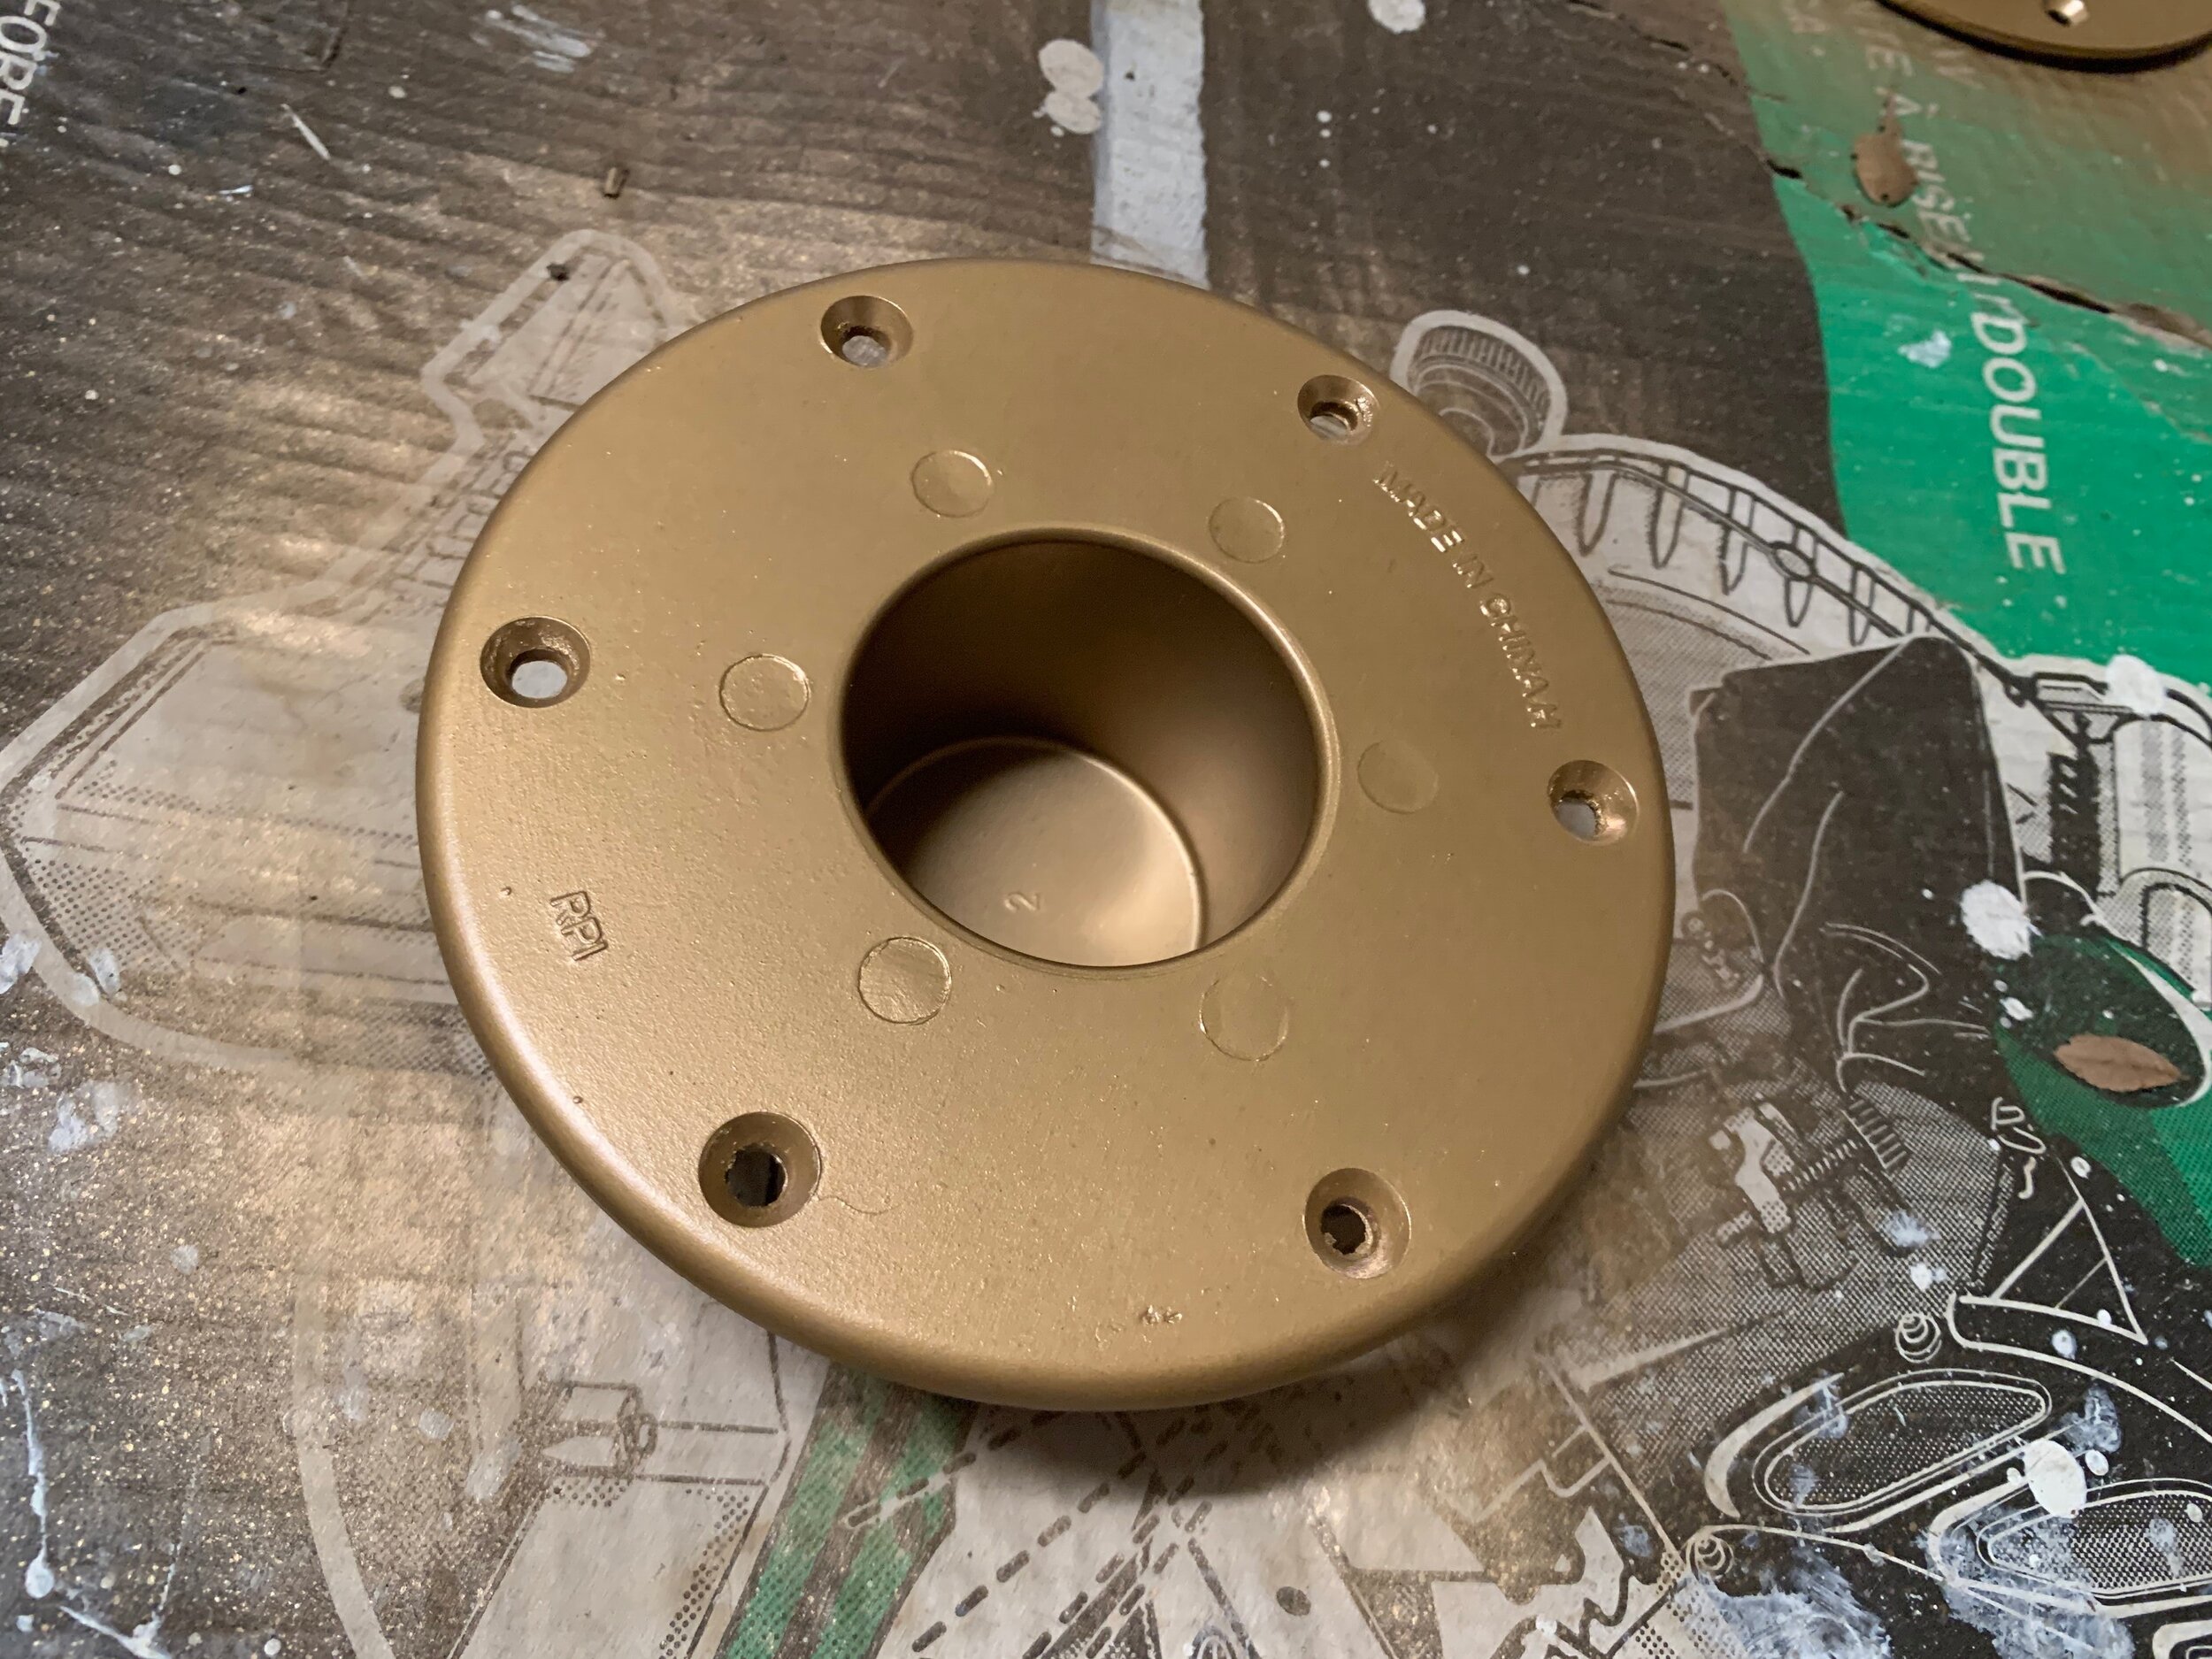
First, we sprayed our leg and two mounts with a base layer of gold spray paint, making sure to spray multiple light and even layers and from different angles so we got in all the nooks and crannies. You can see in the photos below the finish of this particular spray paint is kind of matte, which is why we layered the Rub ‘n Buff on top.


We let this dry for a day before handling so we didn’t get finger prints in the paint. Then we used a rag to rub on the gold Rub ‘n Buff. This stuff is super easy to use, and as the name suggests you just rub it on and buff it in with a rag. The following video is from our gold bumper makeover, but the rub-n-buffing technique is the same no mater what you’re applying it to. The good news is if you hate it or mess up the application, it can be removed using paint thinner and the Rub ‘n Buff can be layered on itself to reach the desired look you’re going for.
Mounting the table leg
Attaching the leg mount to the table top

First, to make sure the table top was well-balanced and to keep unnecessary strain off of the mount, we measured and marked out center on the underside of table top and traced out the table-side flange. {You can tell which is which, because the table-side flange is the triangular-shaped one (photo below on the left), while the floor-side flange is meant to be recessed into the floor so that it’s relatively flat with the floor (photo below on the right).} Then we screwed it in using our drill and six 1/2” stainless steel screws until it was tight.

Installing the recessed floor mount
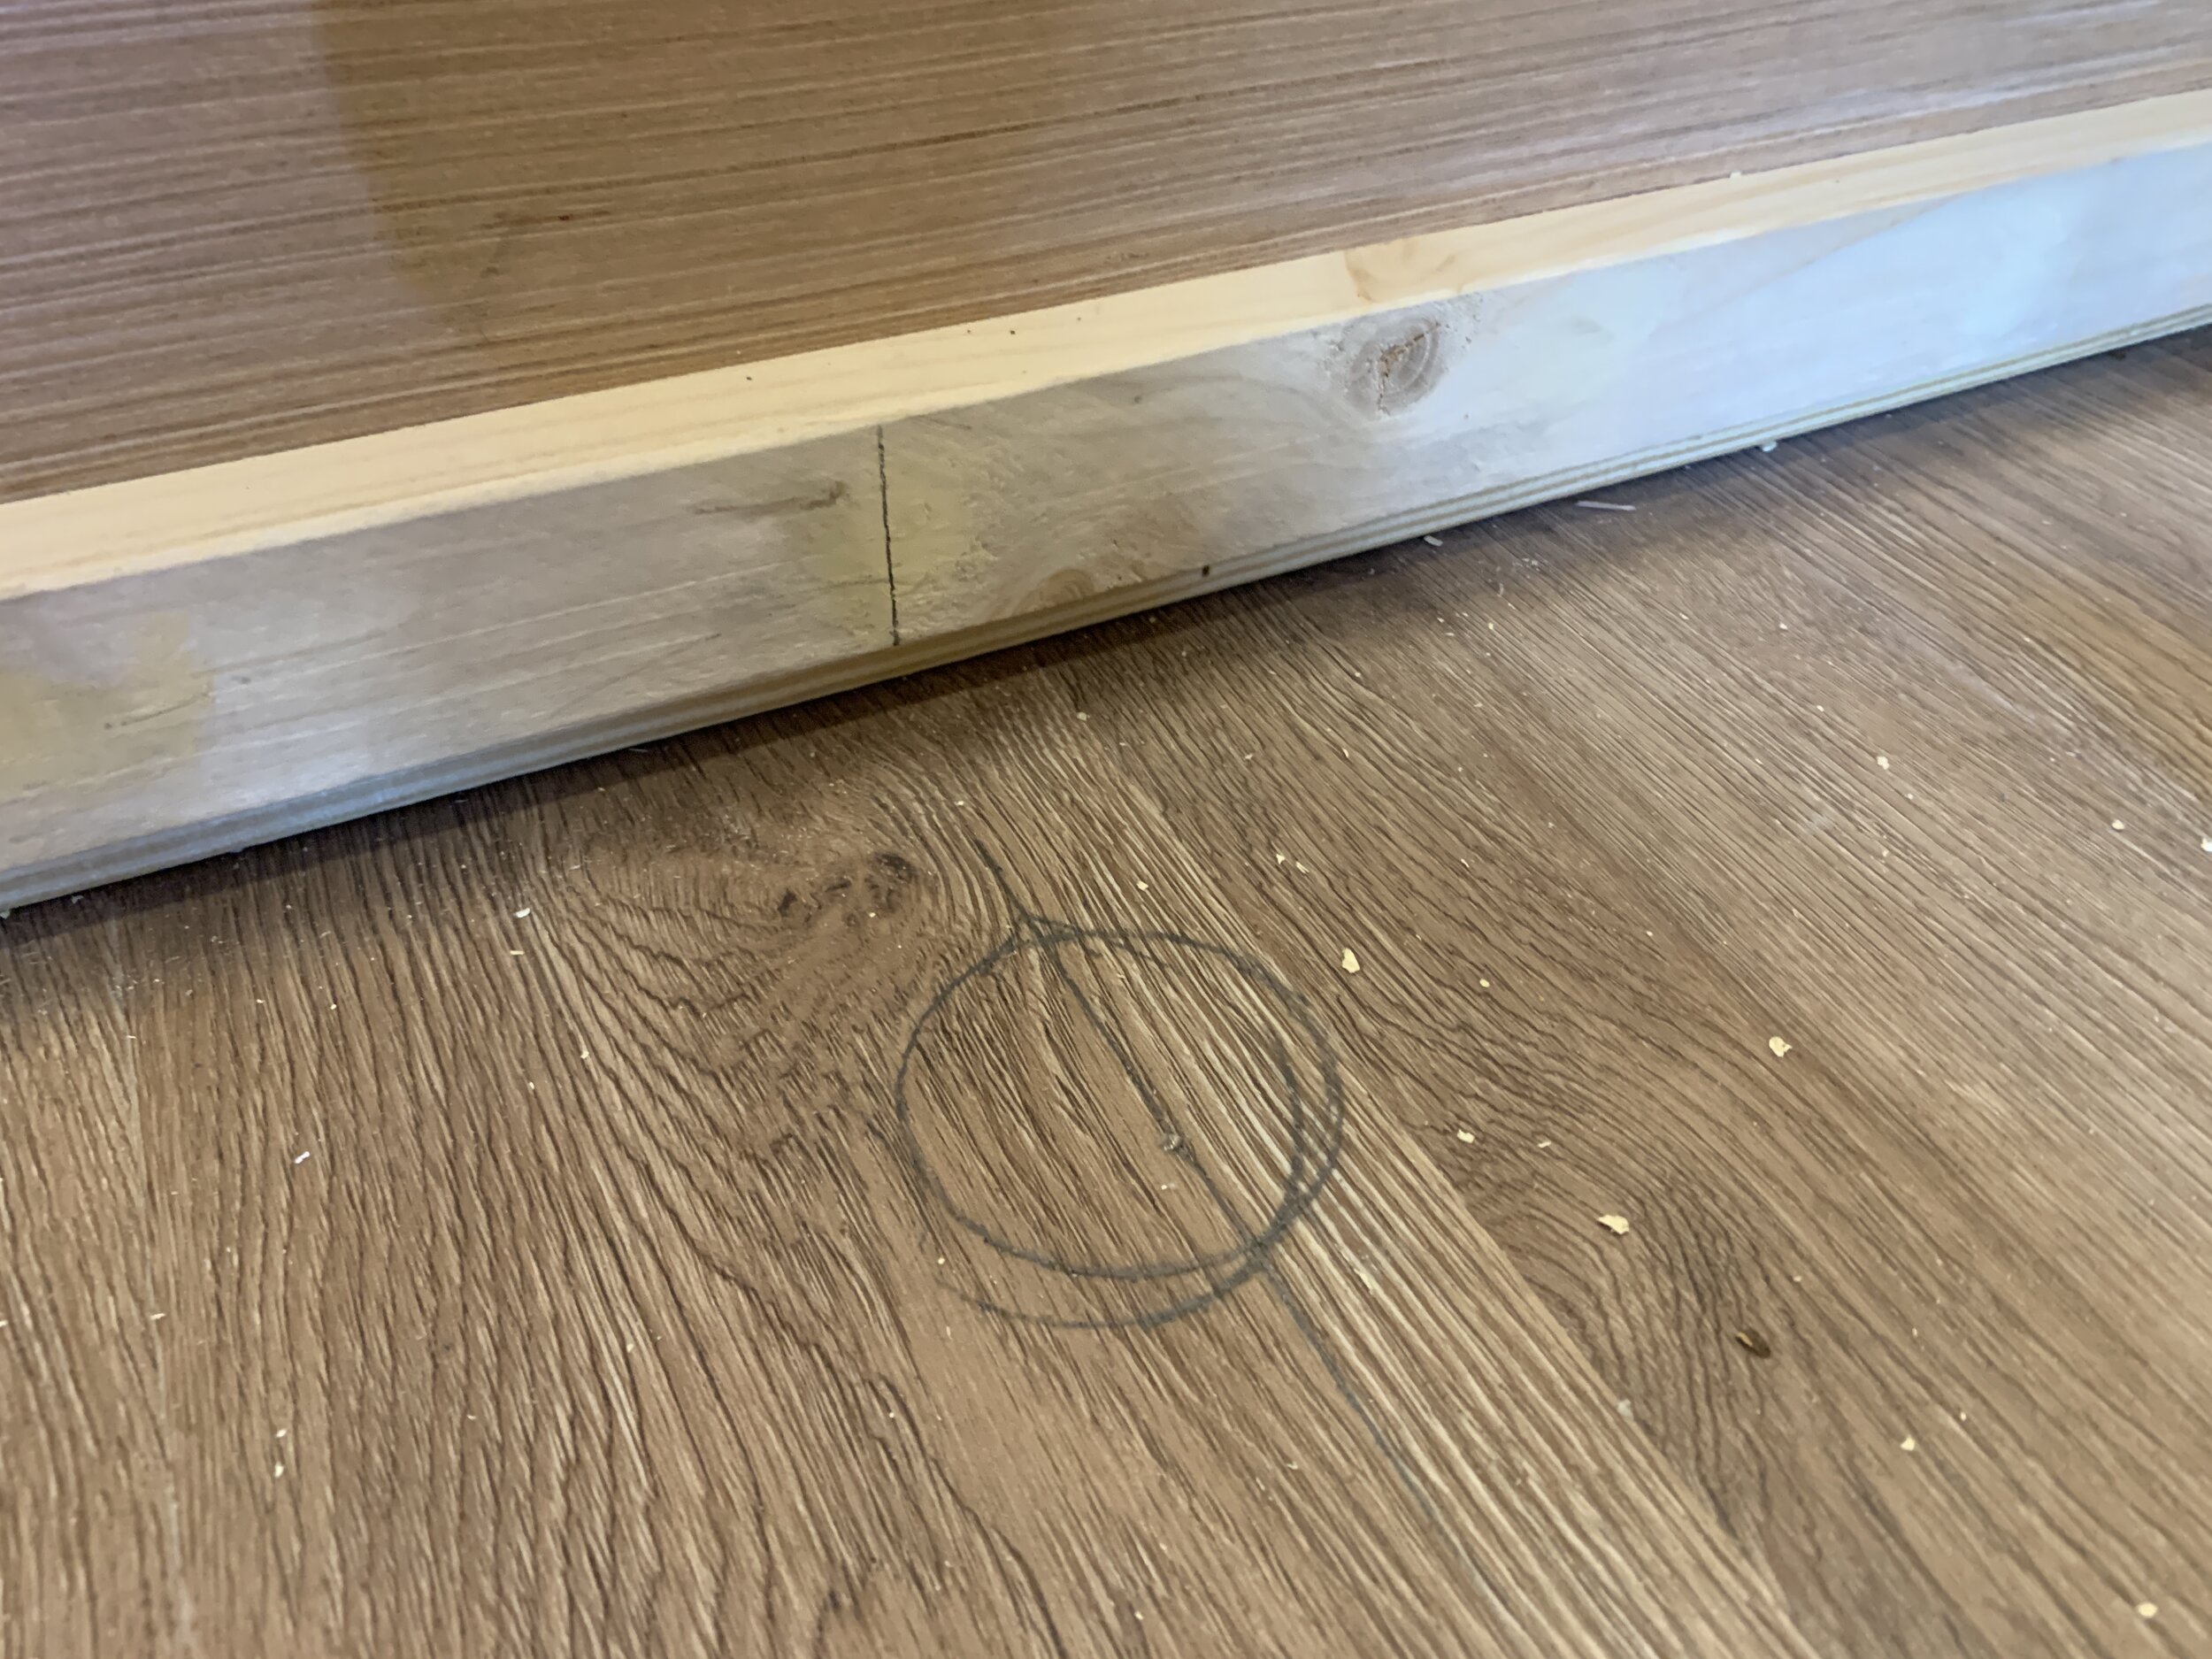
For the floor-mount, we knew we wanted to bring the table top as close into the bench as possible to maximize the clearance space between the cabinets and the dog-ear-cut table edges to allow us to be able to get in and out of the dinette with the table in place. We marked out center (from left to right) on the floor and then played with the depth. We had to make sure we had enough room for the flange itself to not hit the front of the bench trim, plus we had to add a little more distance from the bench because of the size and shape of our drill + the screw placement in the floor flange. (AKA, make sure you can actually use your tools to secure it to the floor by screwing in the screw closest to the bench first, then the others.) Once we figured out our exact placement, we held the flange in place and traced around the outside of the smaller center circle so we knew what size to make our floor hole.

Using our largest standard drill bit, we drilled a hole through all the way through the vinyl plank and plywood subfloor, then used our jigsaw to make the hole the size we’d previously traced out. As you can see above, it doesn’t have to be perfect – it will be covered – but you do want to make it smaller rather than larger to make sure there’s plenty of floor meat left for the screws to screw into and because in theory the bigger the hole, the more you’re compromising the floor’s strength and leaving a bigger entry point for water, etc. (You could also use a hole saw for this, but we’re ballin’ on a budget y’all.)
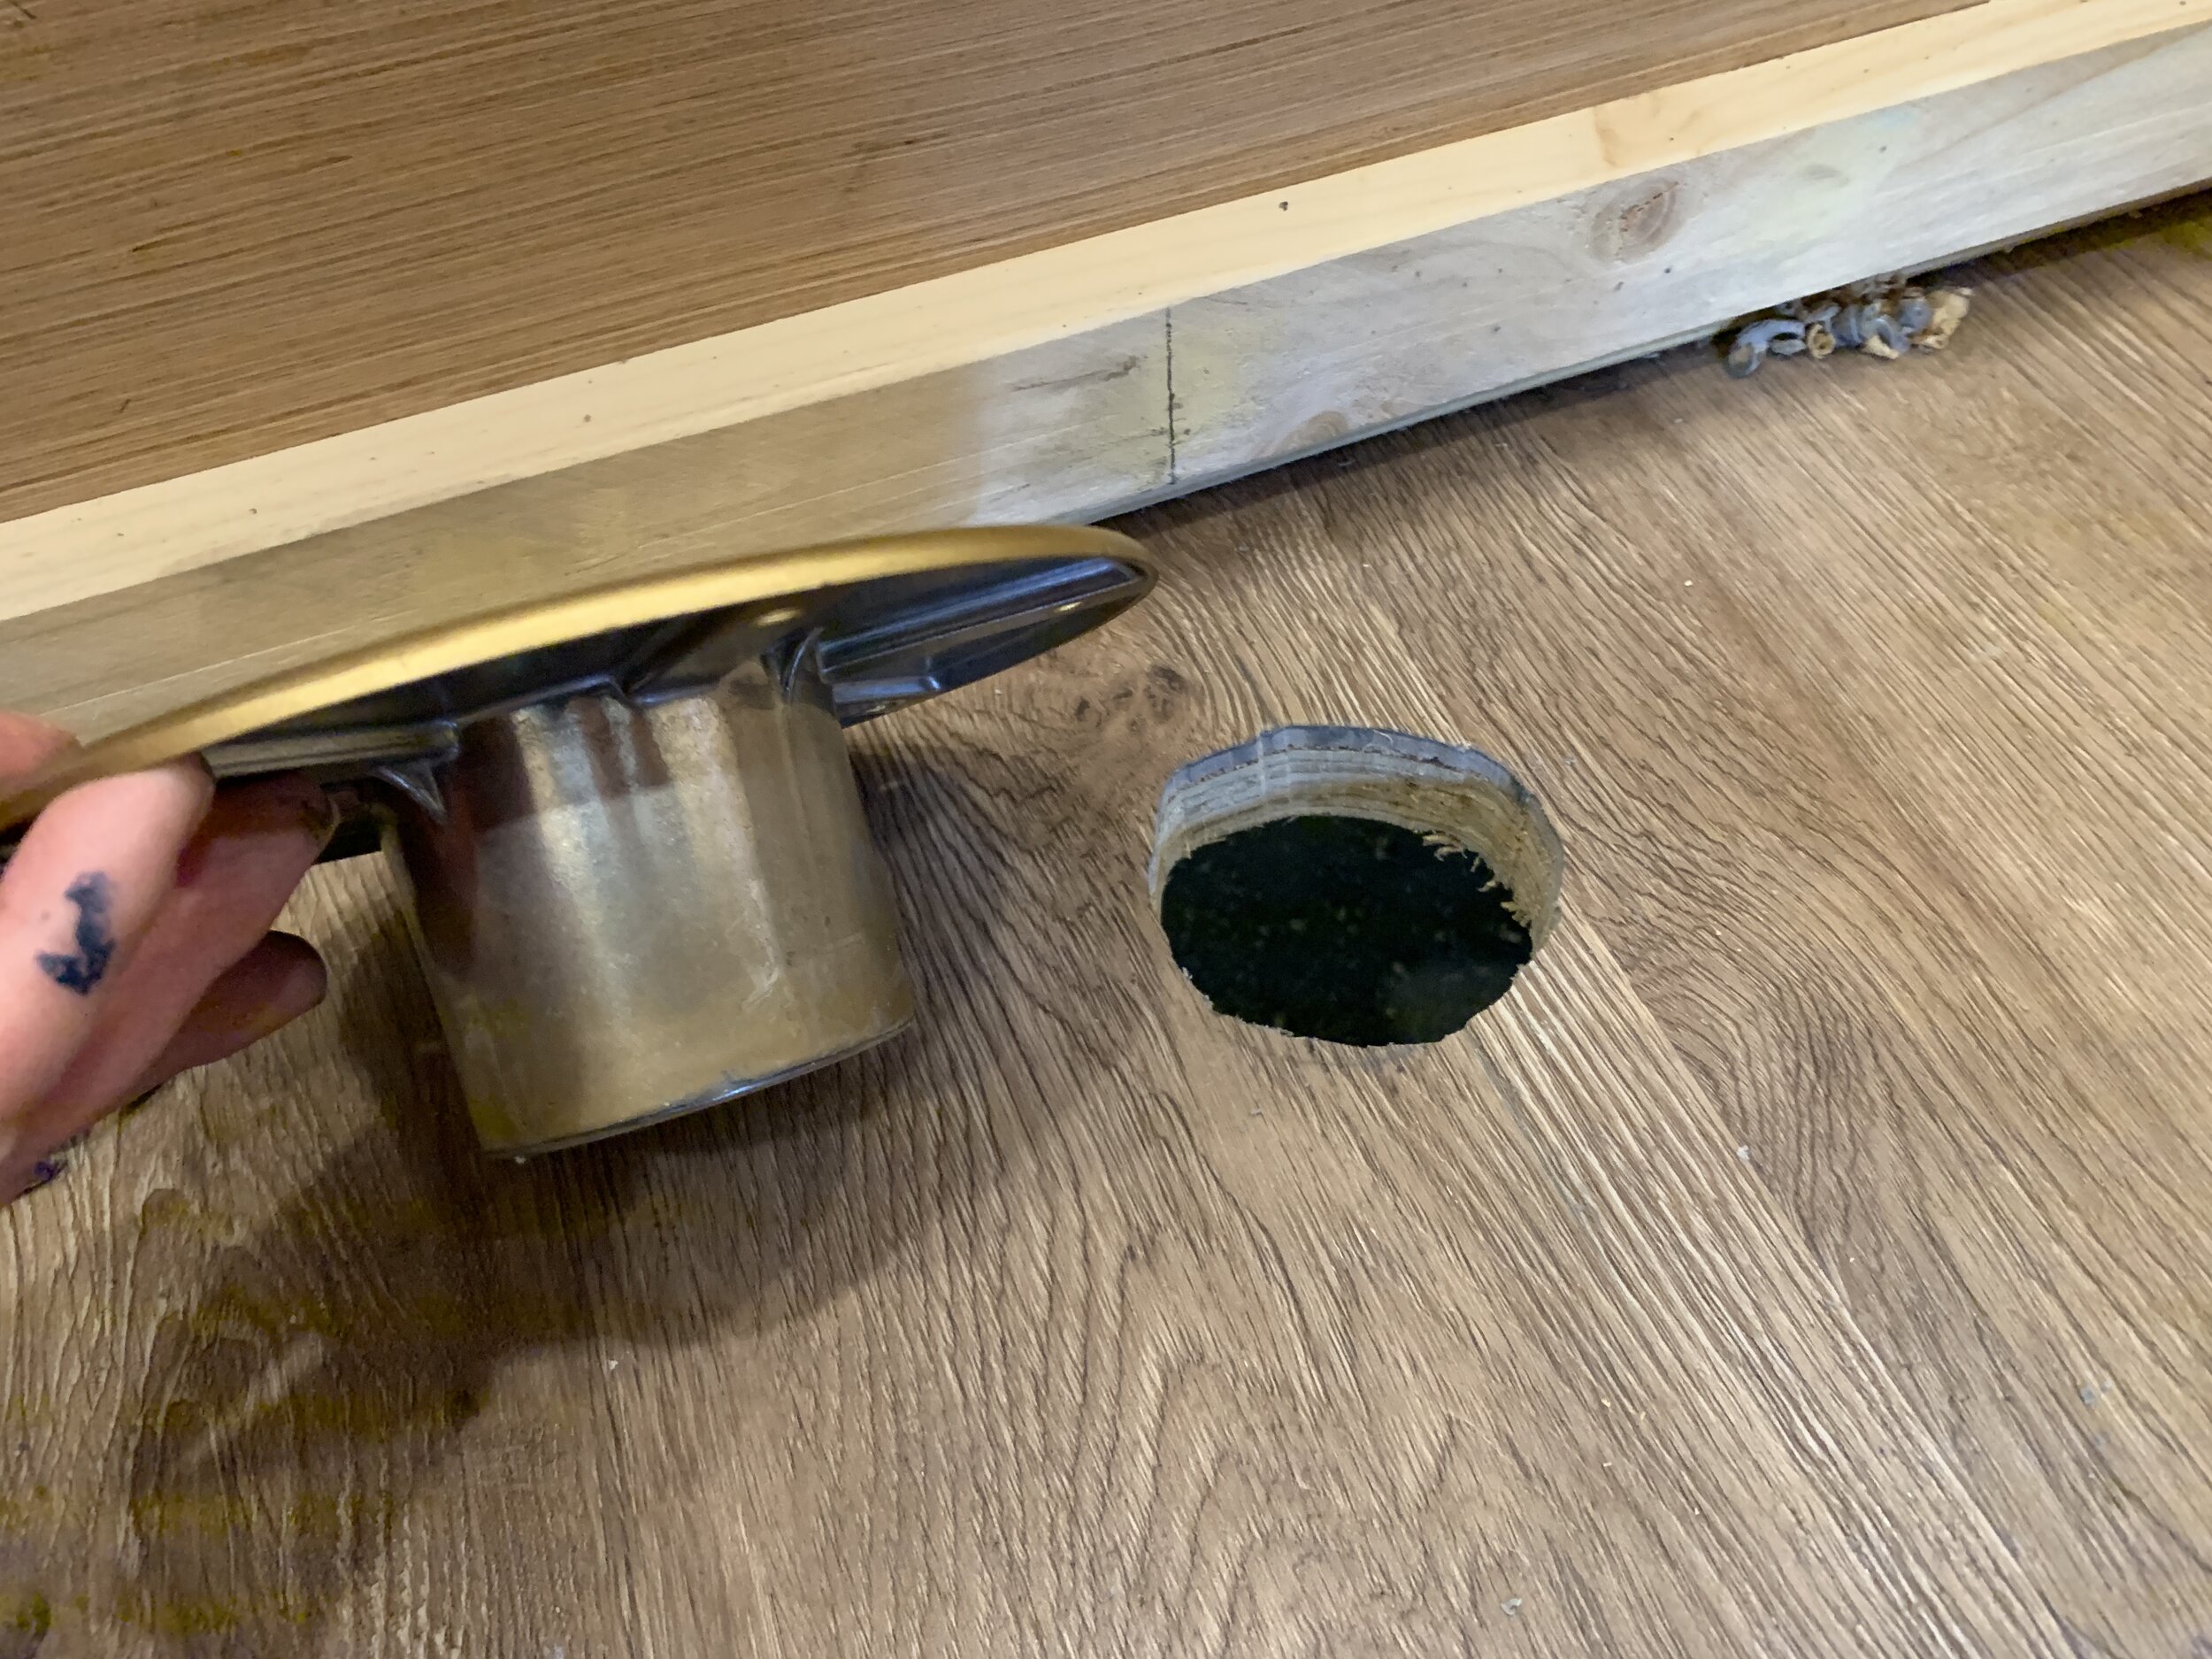
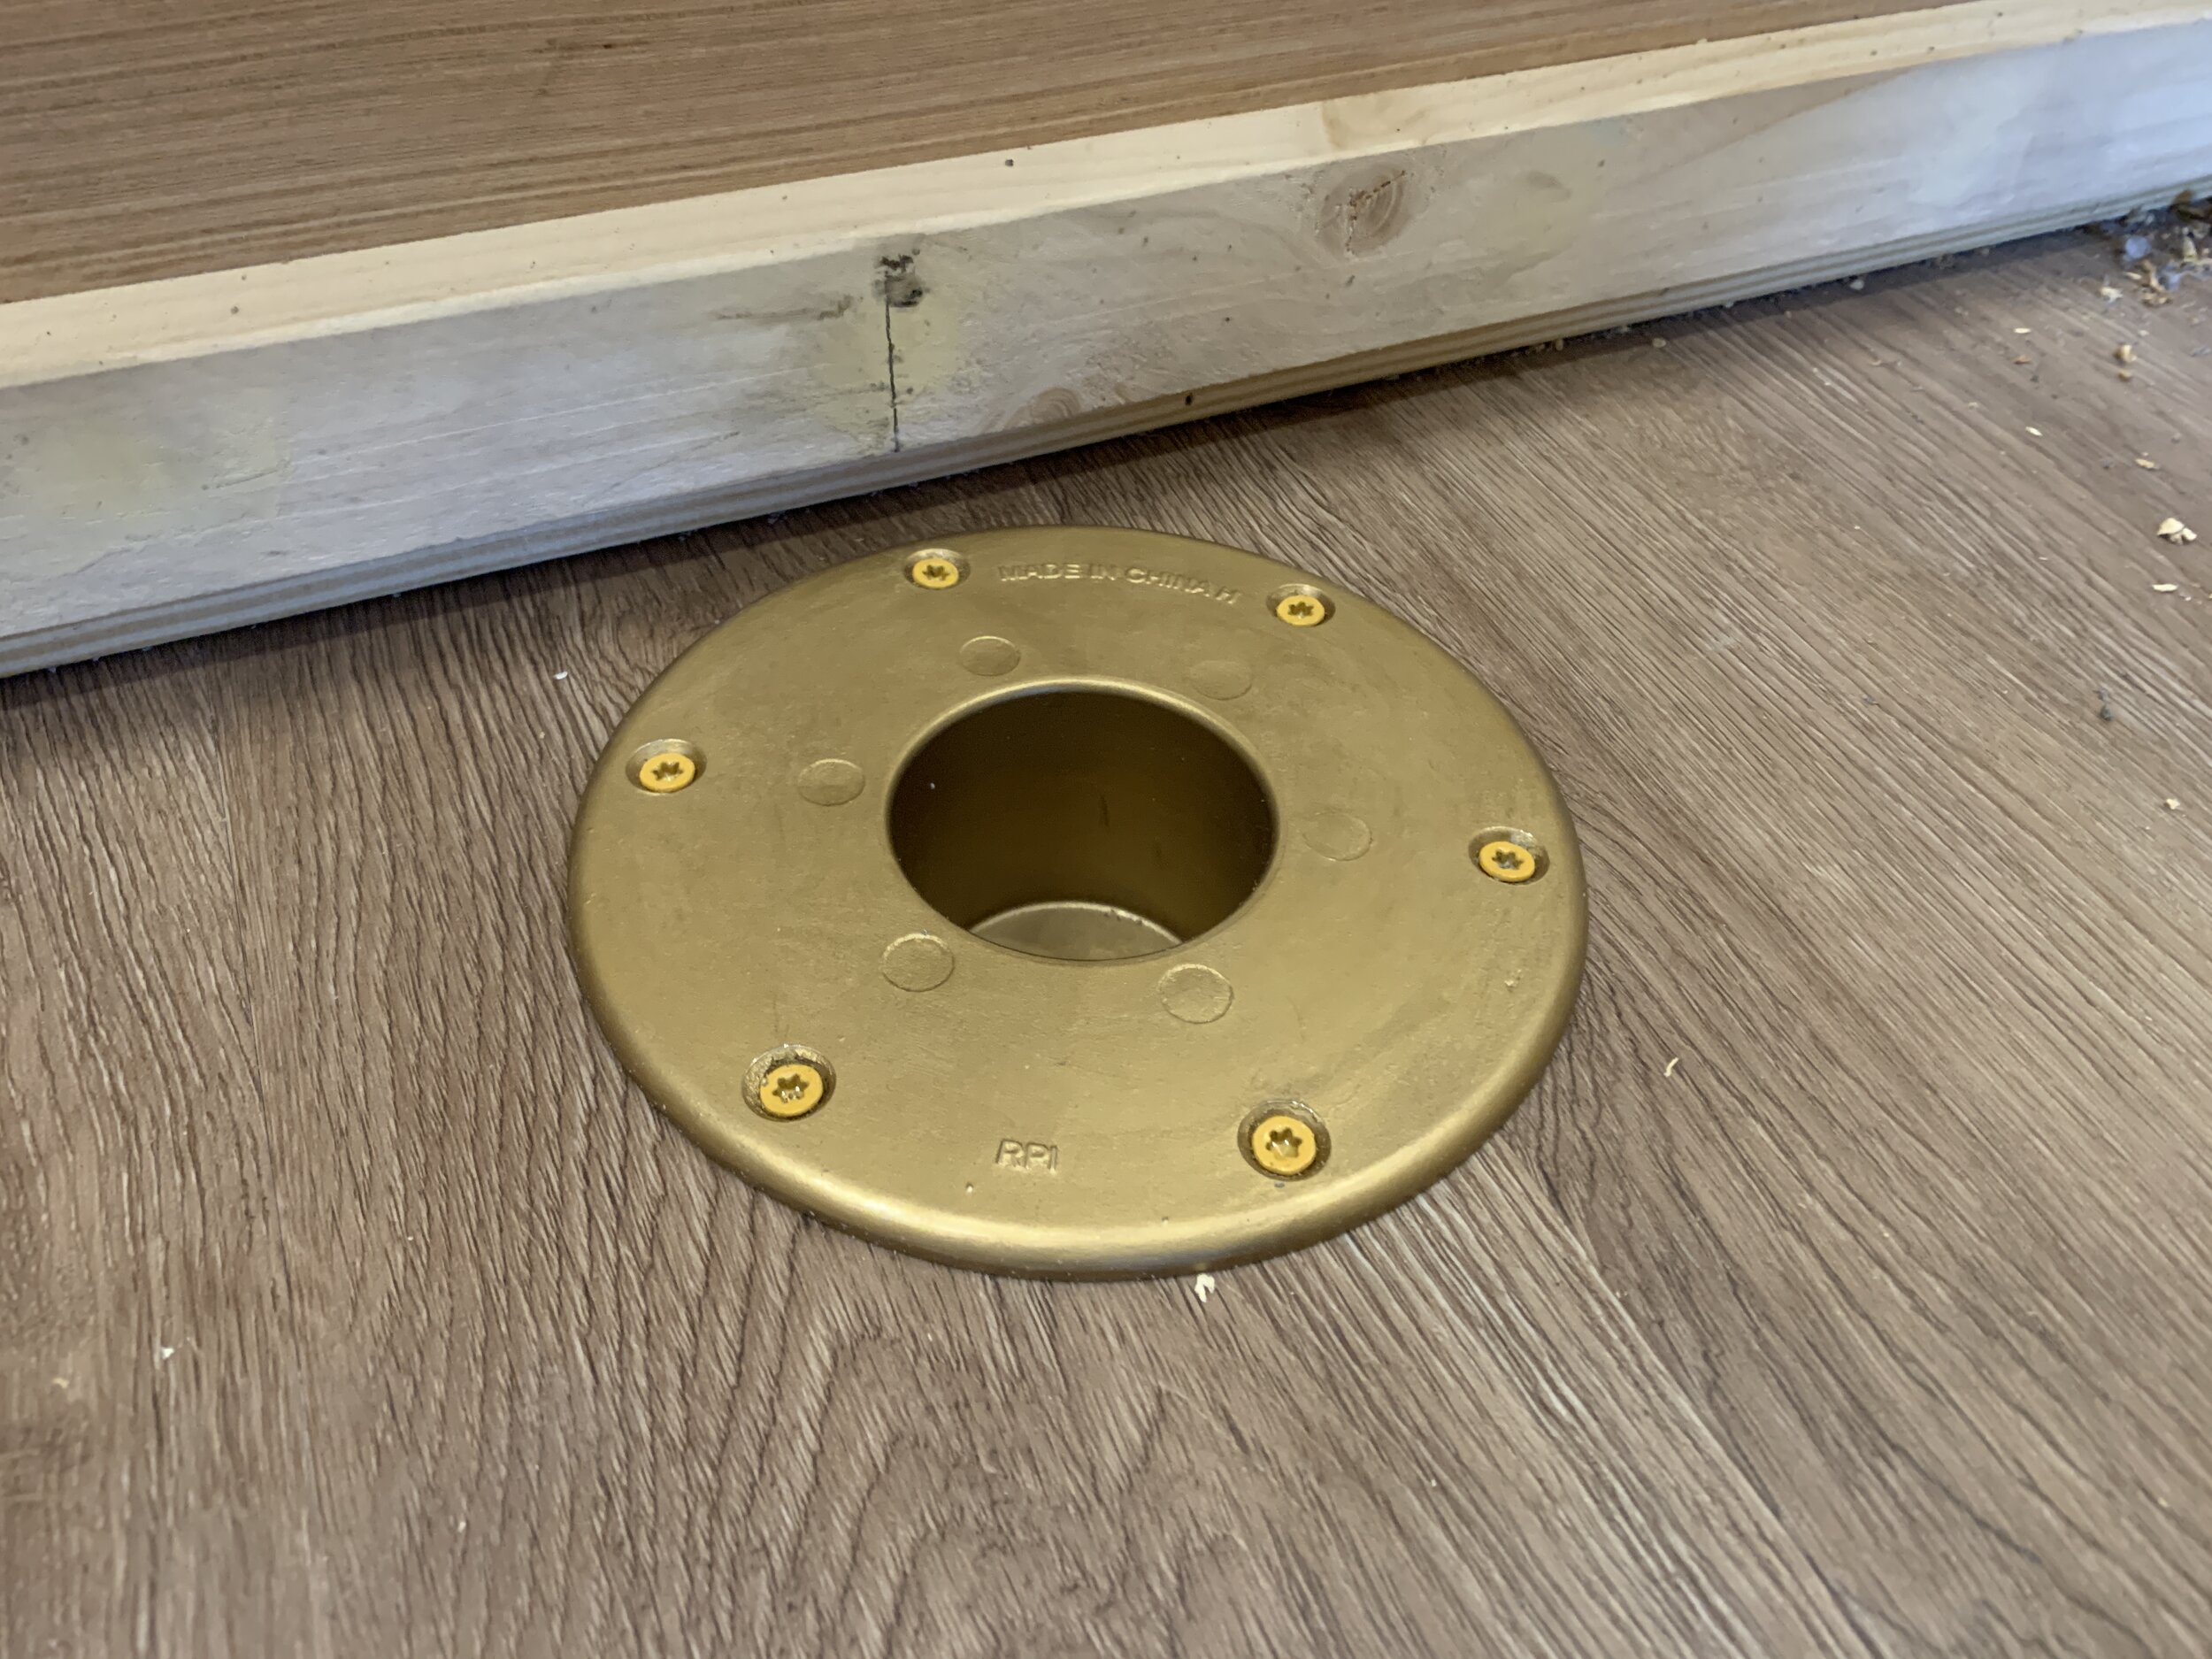
Once we had our hole cut out, we popped the floor mount into the hole and screwed it into the floor using 3/4” gold screws we already had on hand.

Completed table
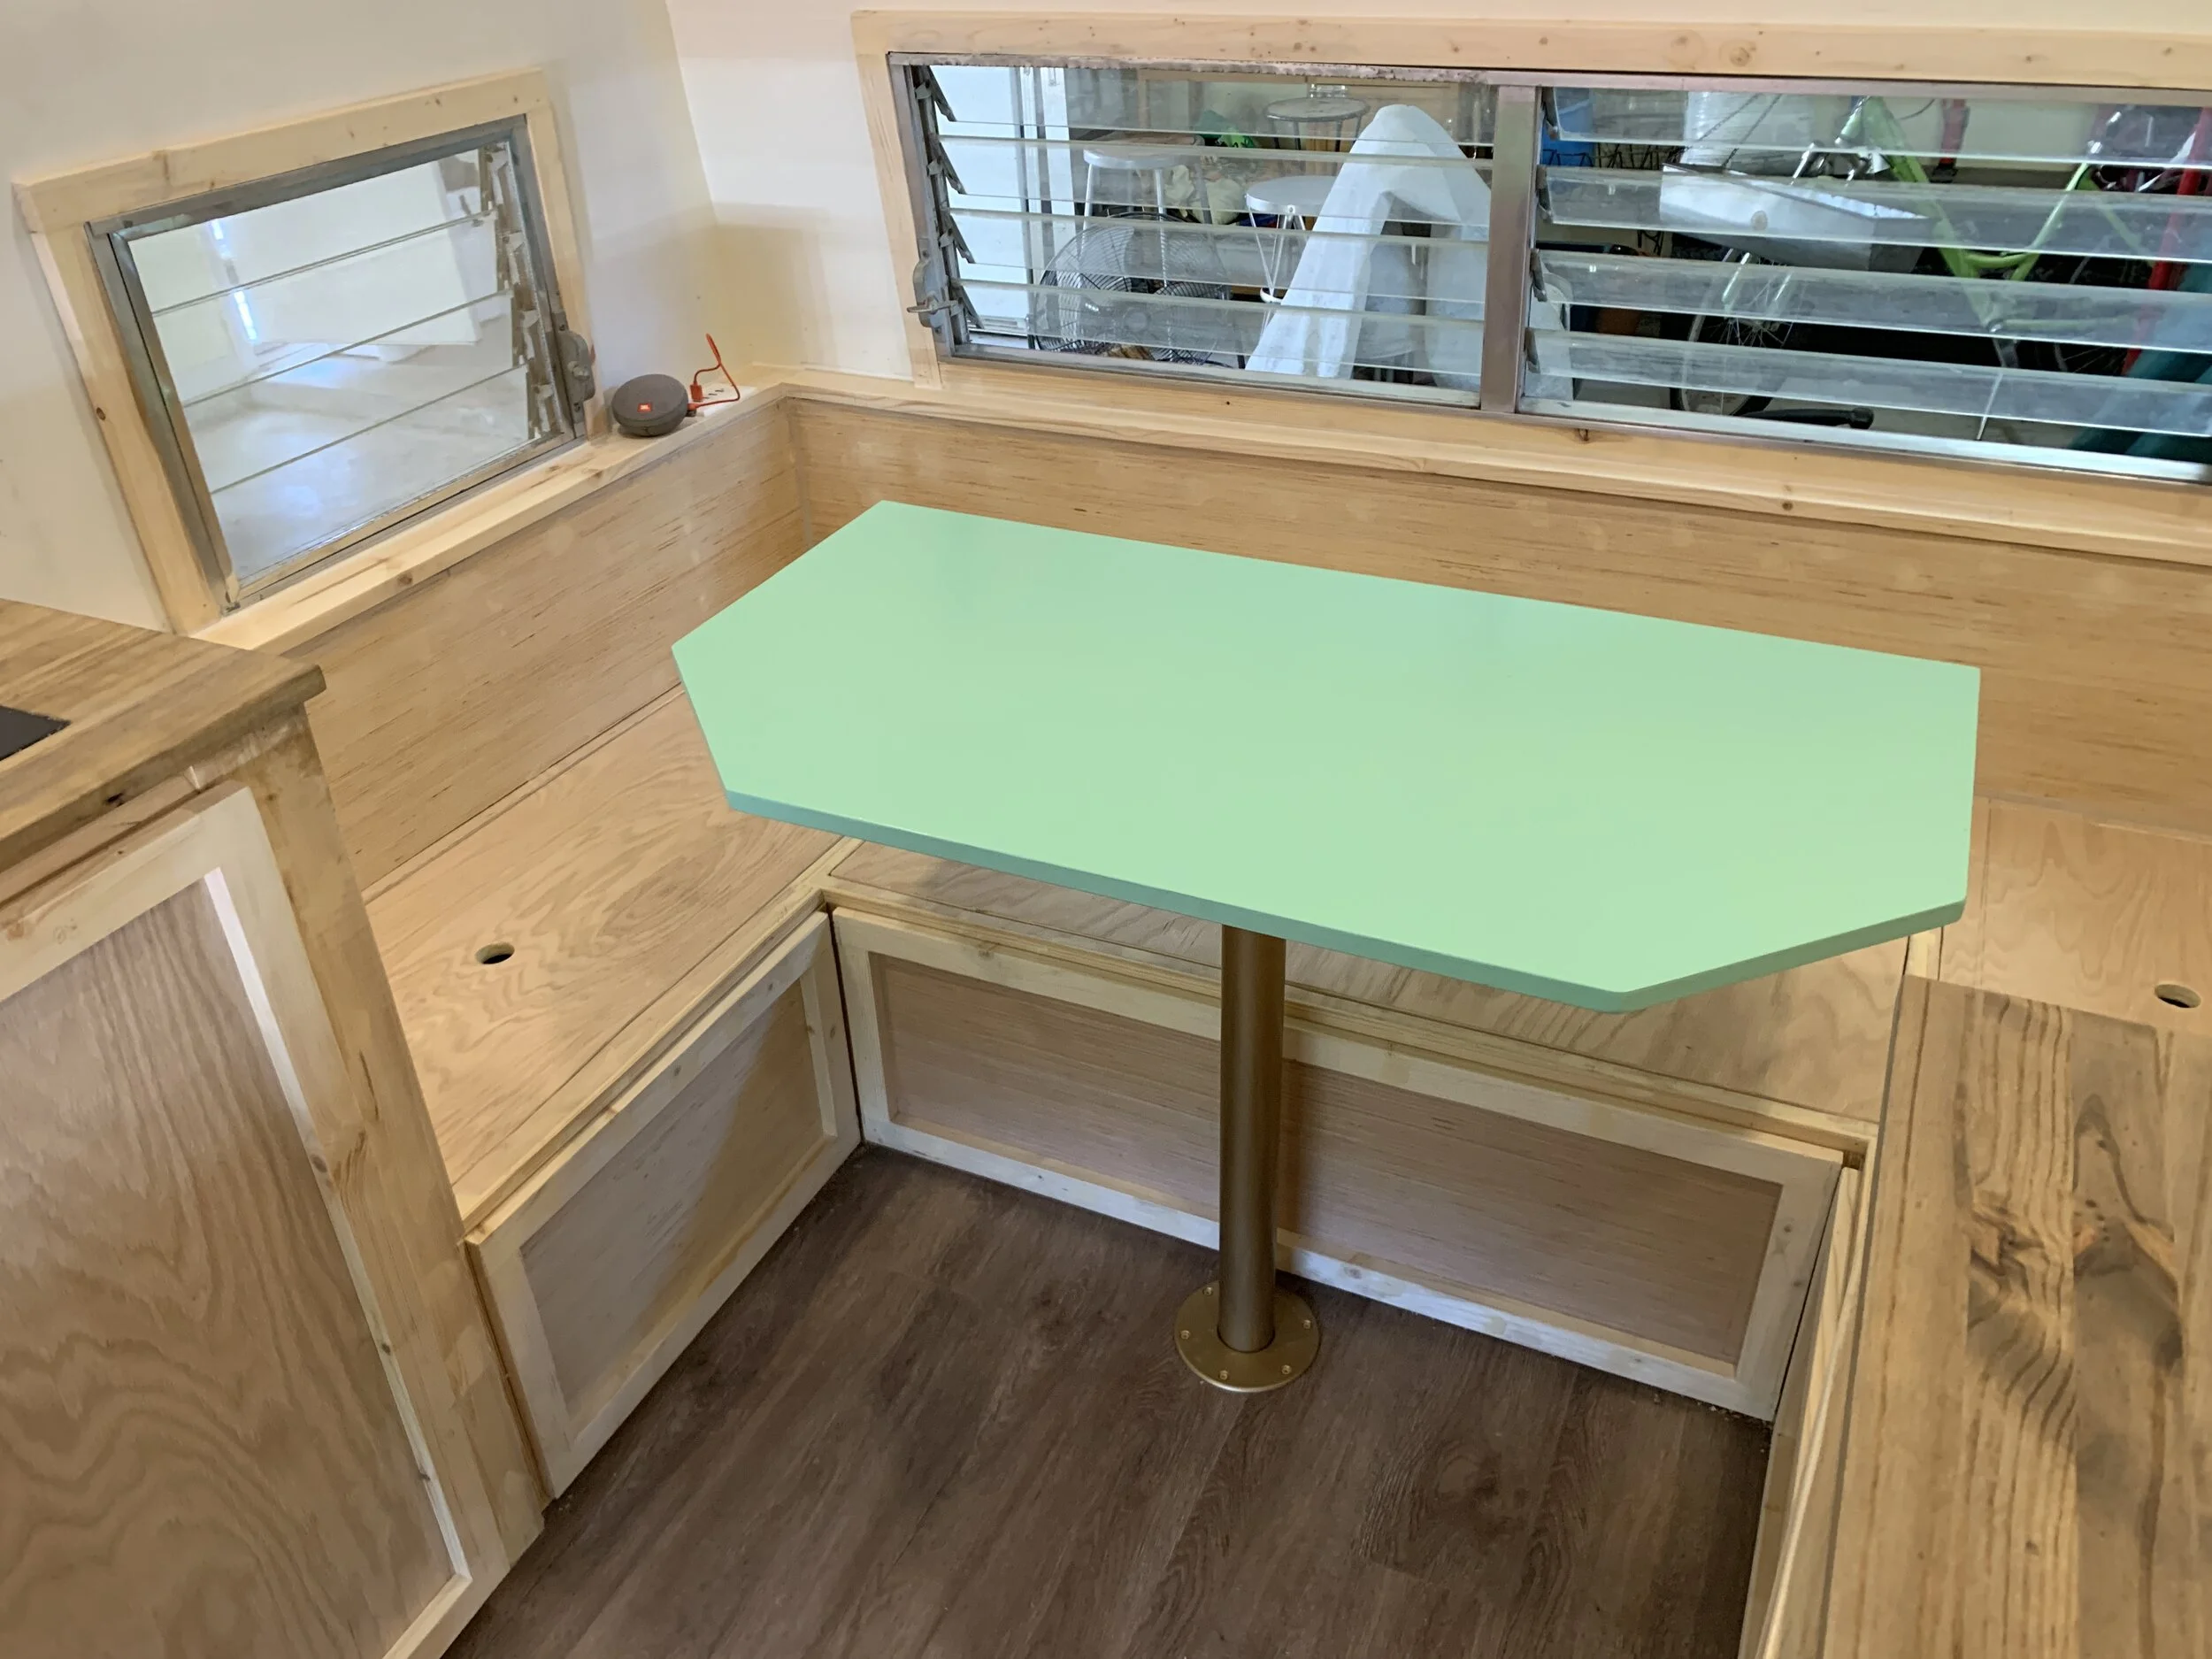
That’s it. Once both mounts were secured, we slid the pole into the floor flange and then set the table on top.

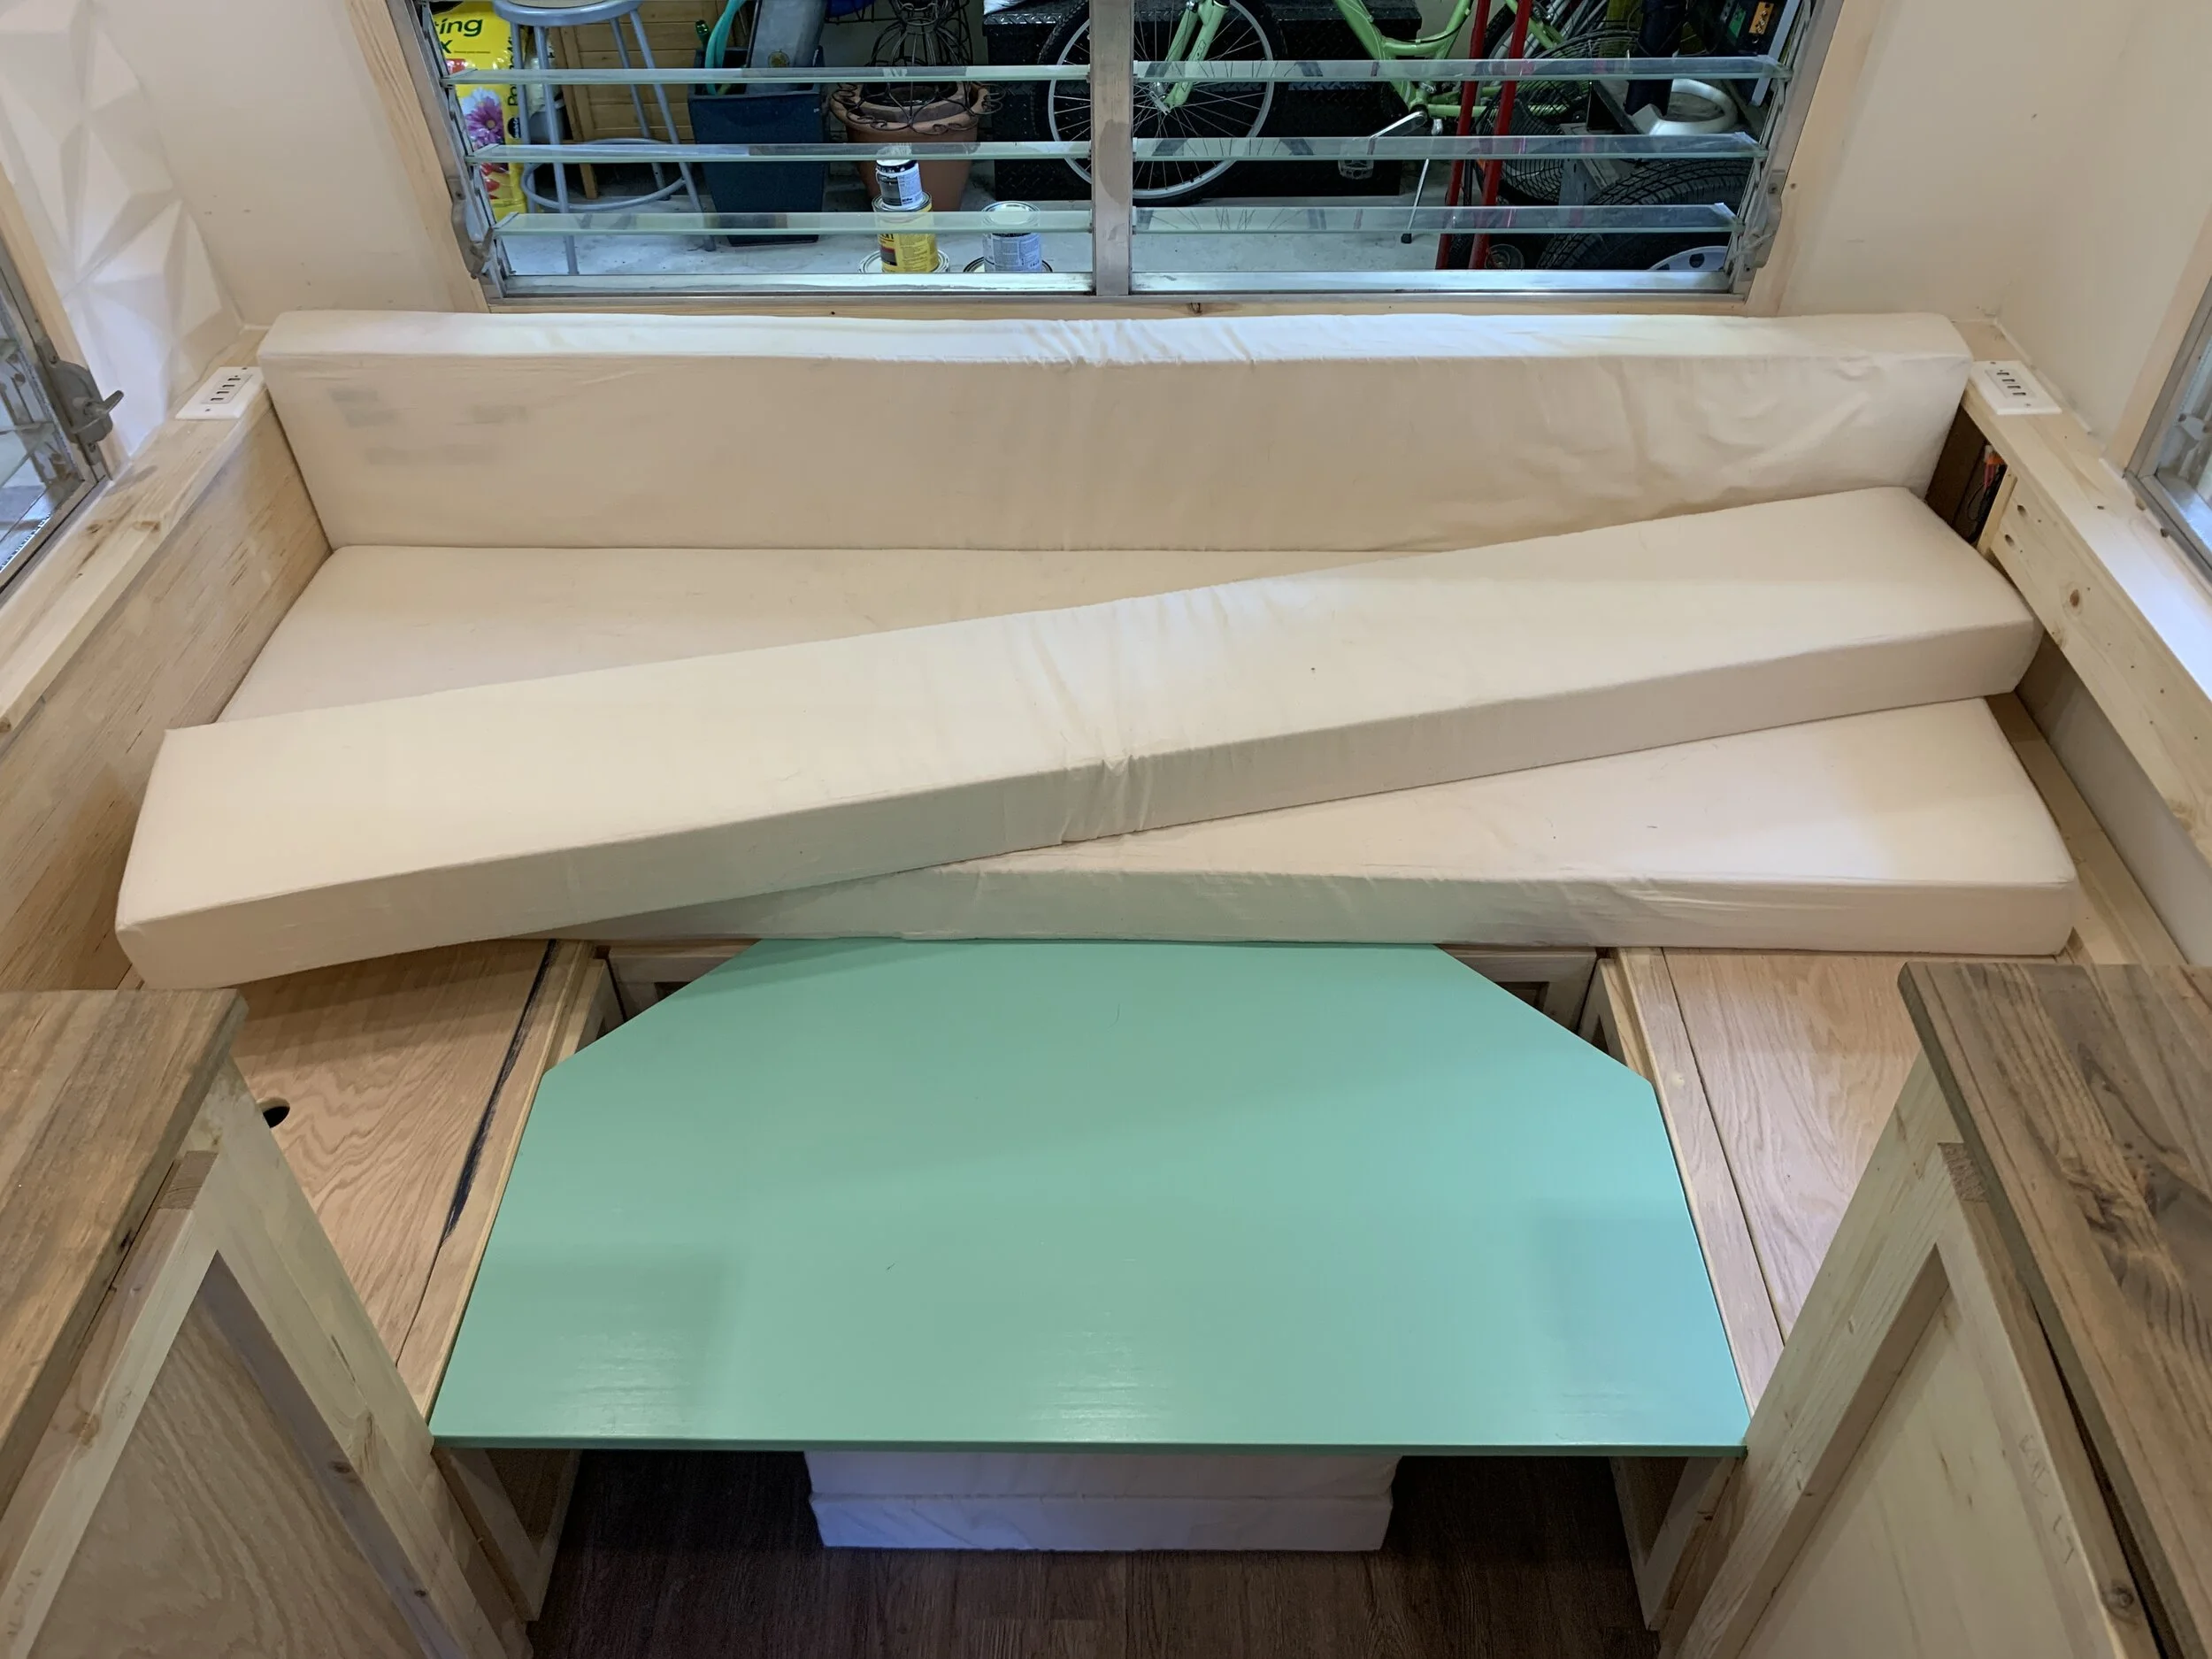
When we’re ready to transition from eating and lounging on the bench to sleeping, we just remove the table leg, store it in one of our cabinets and pop the table top onto the bench ledge.
Up next we’ll share the details of how we quickly transition the whole area from a dining room into a bedroom in just a few steps, and how our yet-to-be-upholstered cushions work for both dining and as a mattress.
What do you think about the gold? We’d love to hear from you in the comments below!