The Cameo Camper Renovation: Installing J-trim Roof Gutters

Y’ALL. It’s been seven weeks. SEVEN WEEKS since we’ve even seen The Cameo. If you follow us on Instagram, I know it’s been a bit of a snoozer in the camper department lately, but you might’ve seen that we took her to the "camper spa” (which is what I’m calling the trailer mechanic). We’re hoping it’ll be done and back in our possession soon, but we really don’t know when that is at this point. What we do know is that lots of good stuff is happening to The Cameo while she’s out of our care – and I can’t wait to share it with you (whenever the time finally comes)!!
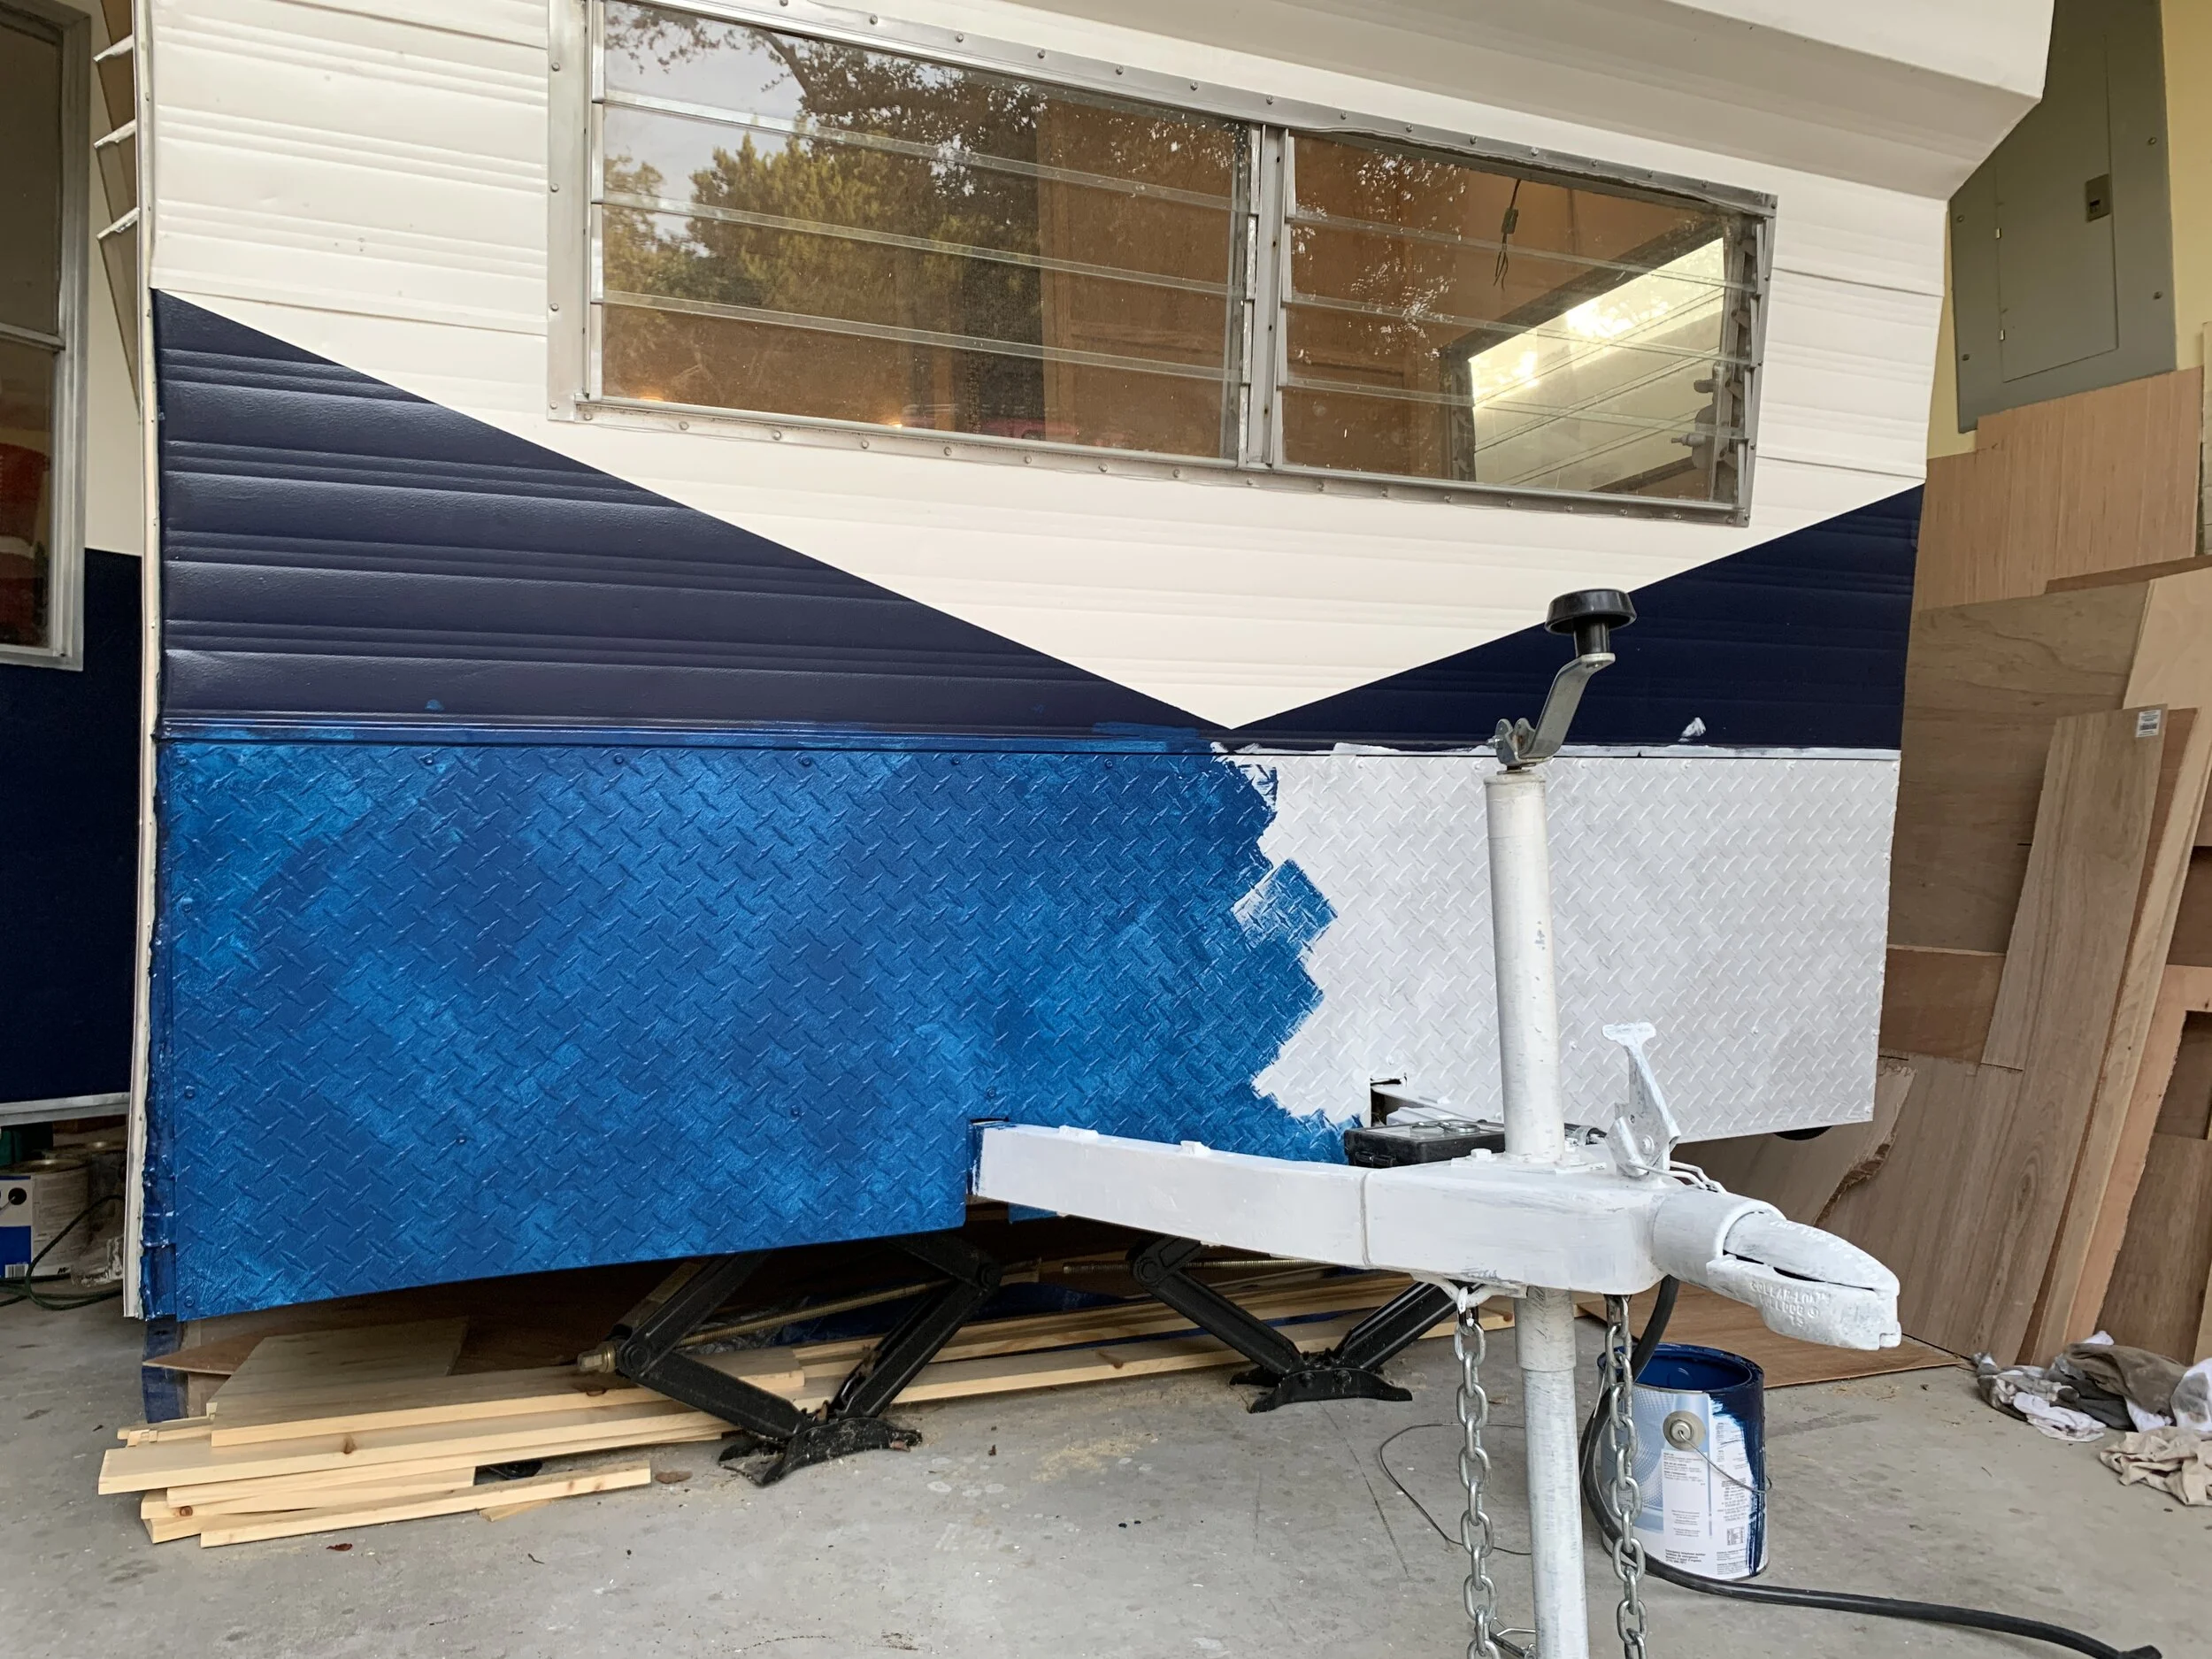
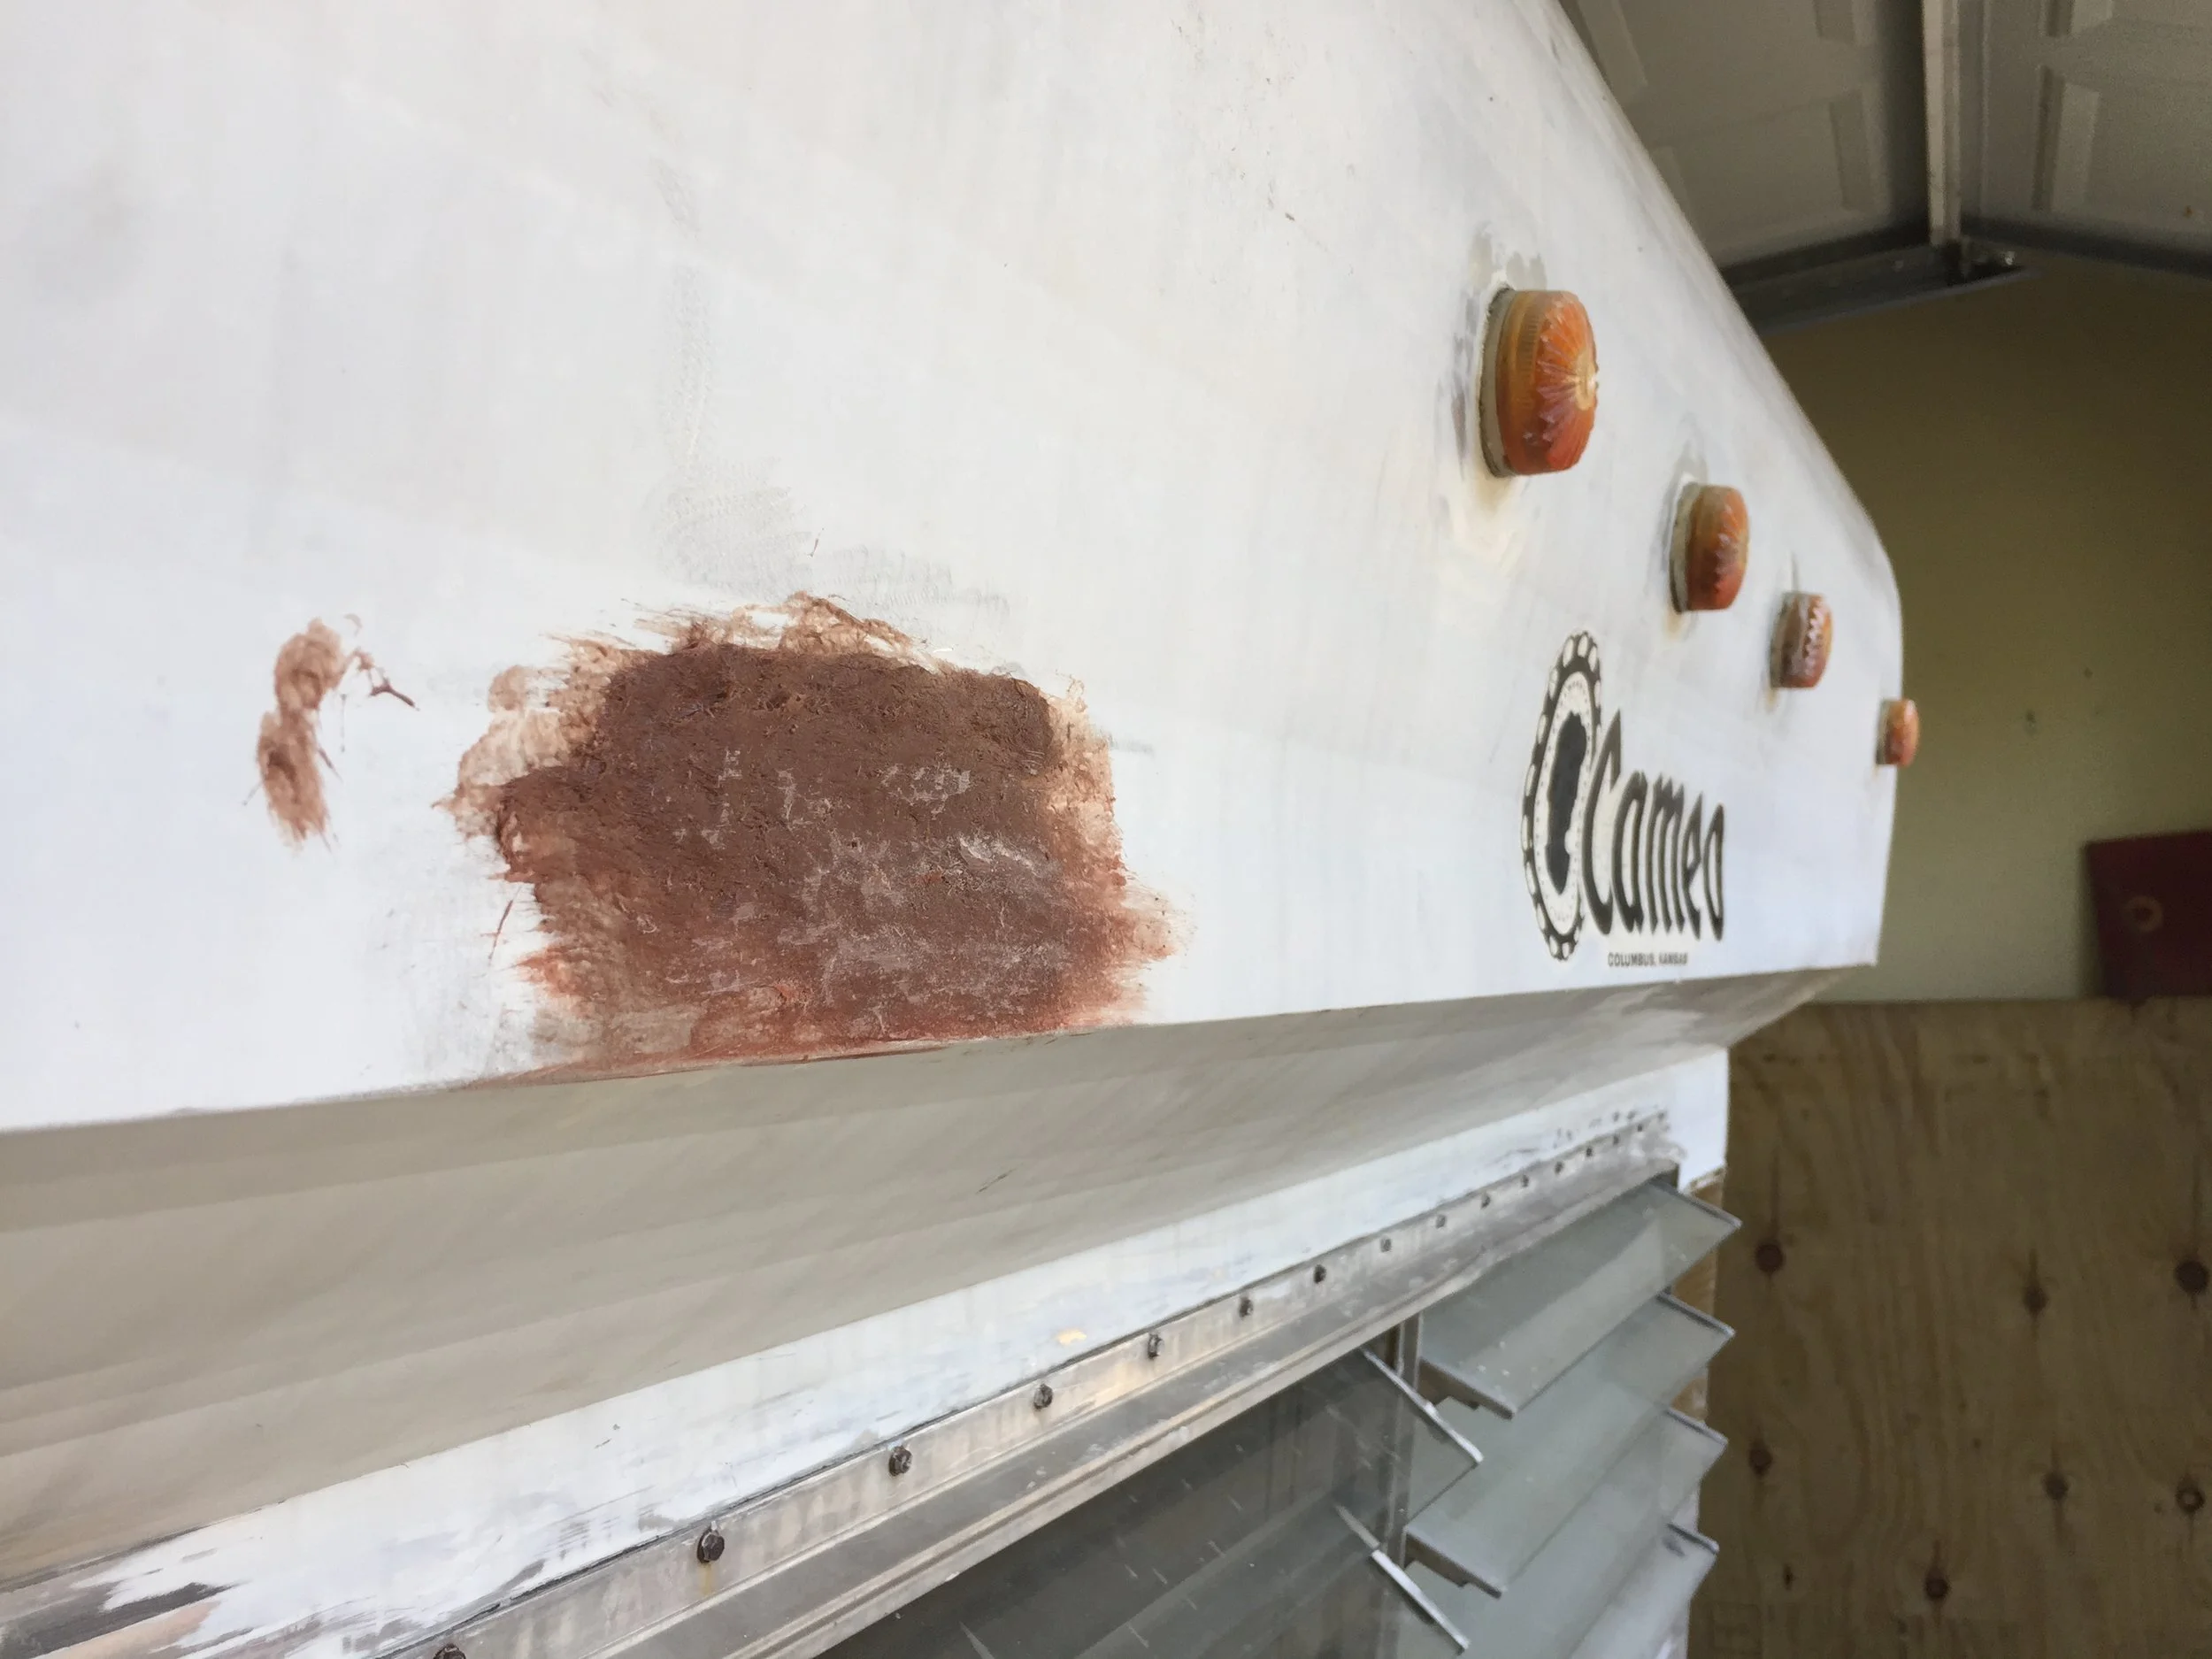
Since we last posted, we’ve installed attractive flooring, decided on and taped out our interior layout (but haven’t built anything quite yet), installed 14 exterior clearance lights, 2 tail lights + added a spankin’ new porch light, installed a backup camera (because, safety first!), swapped the jankity doorknob for something a little sleeker and hi-tech (Keys? We don’t need no stinkin’ keys…), and tried (and failed) to successfully run electrical from our trailer plug to all of our newly-installed exterior lights. Which brings us back to one of the (many) reasons the old gal is at the “spa”. So, LOTS to cover in future posts, but right now I’ll share how we (successfully) installed our J-trim/J-rail/drip rail.
Ok, so What is J-trim/J-rail/drip rail?
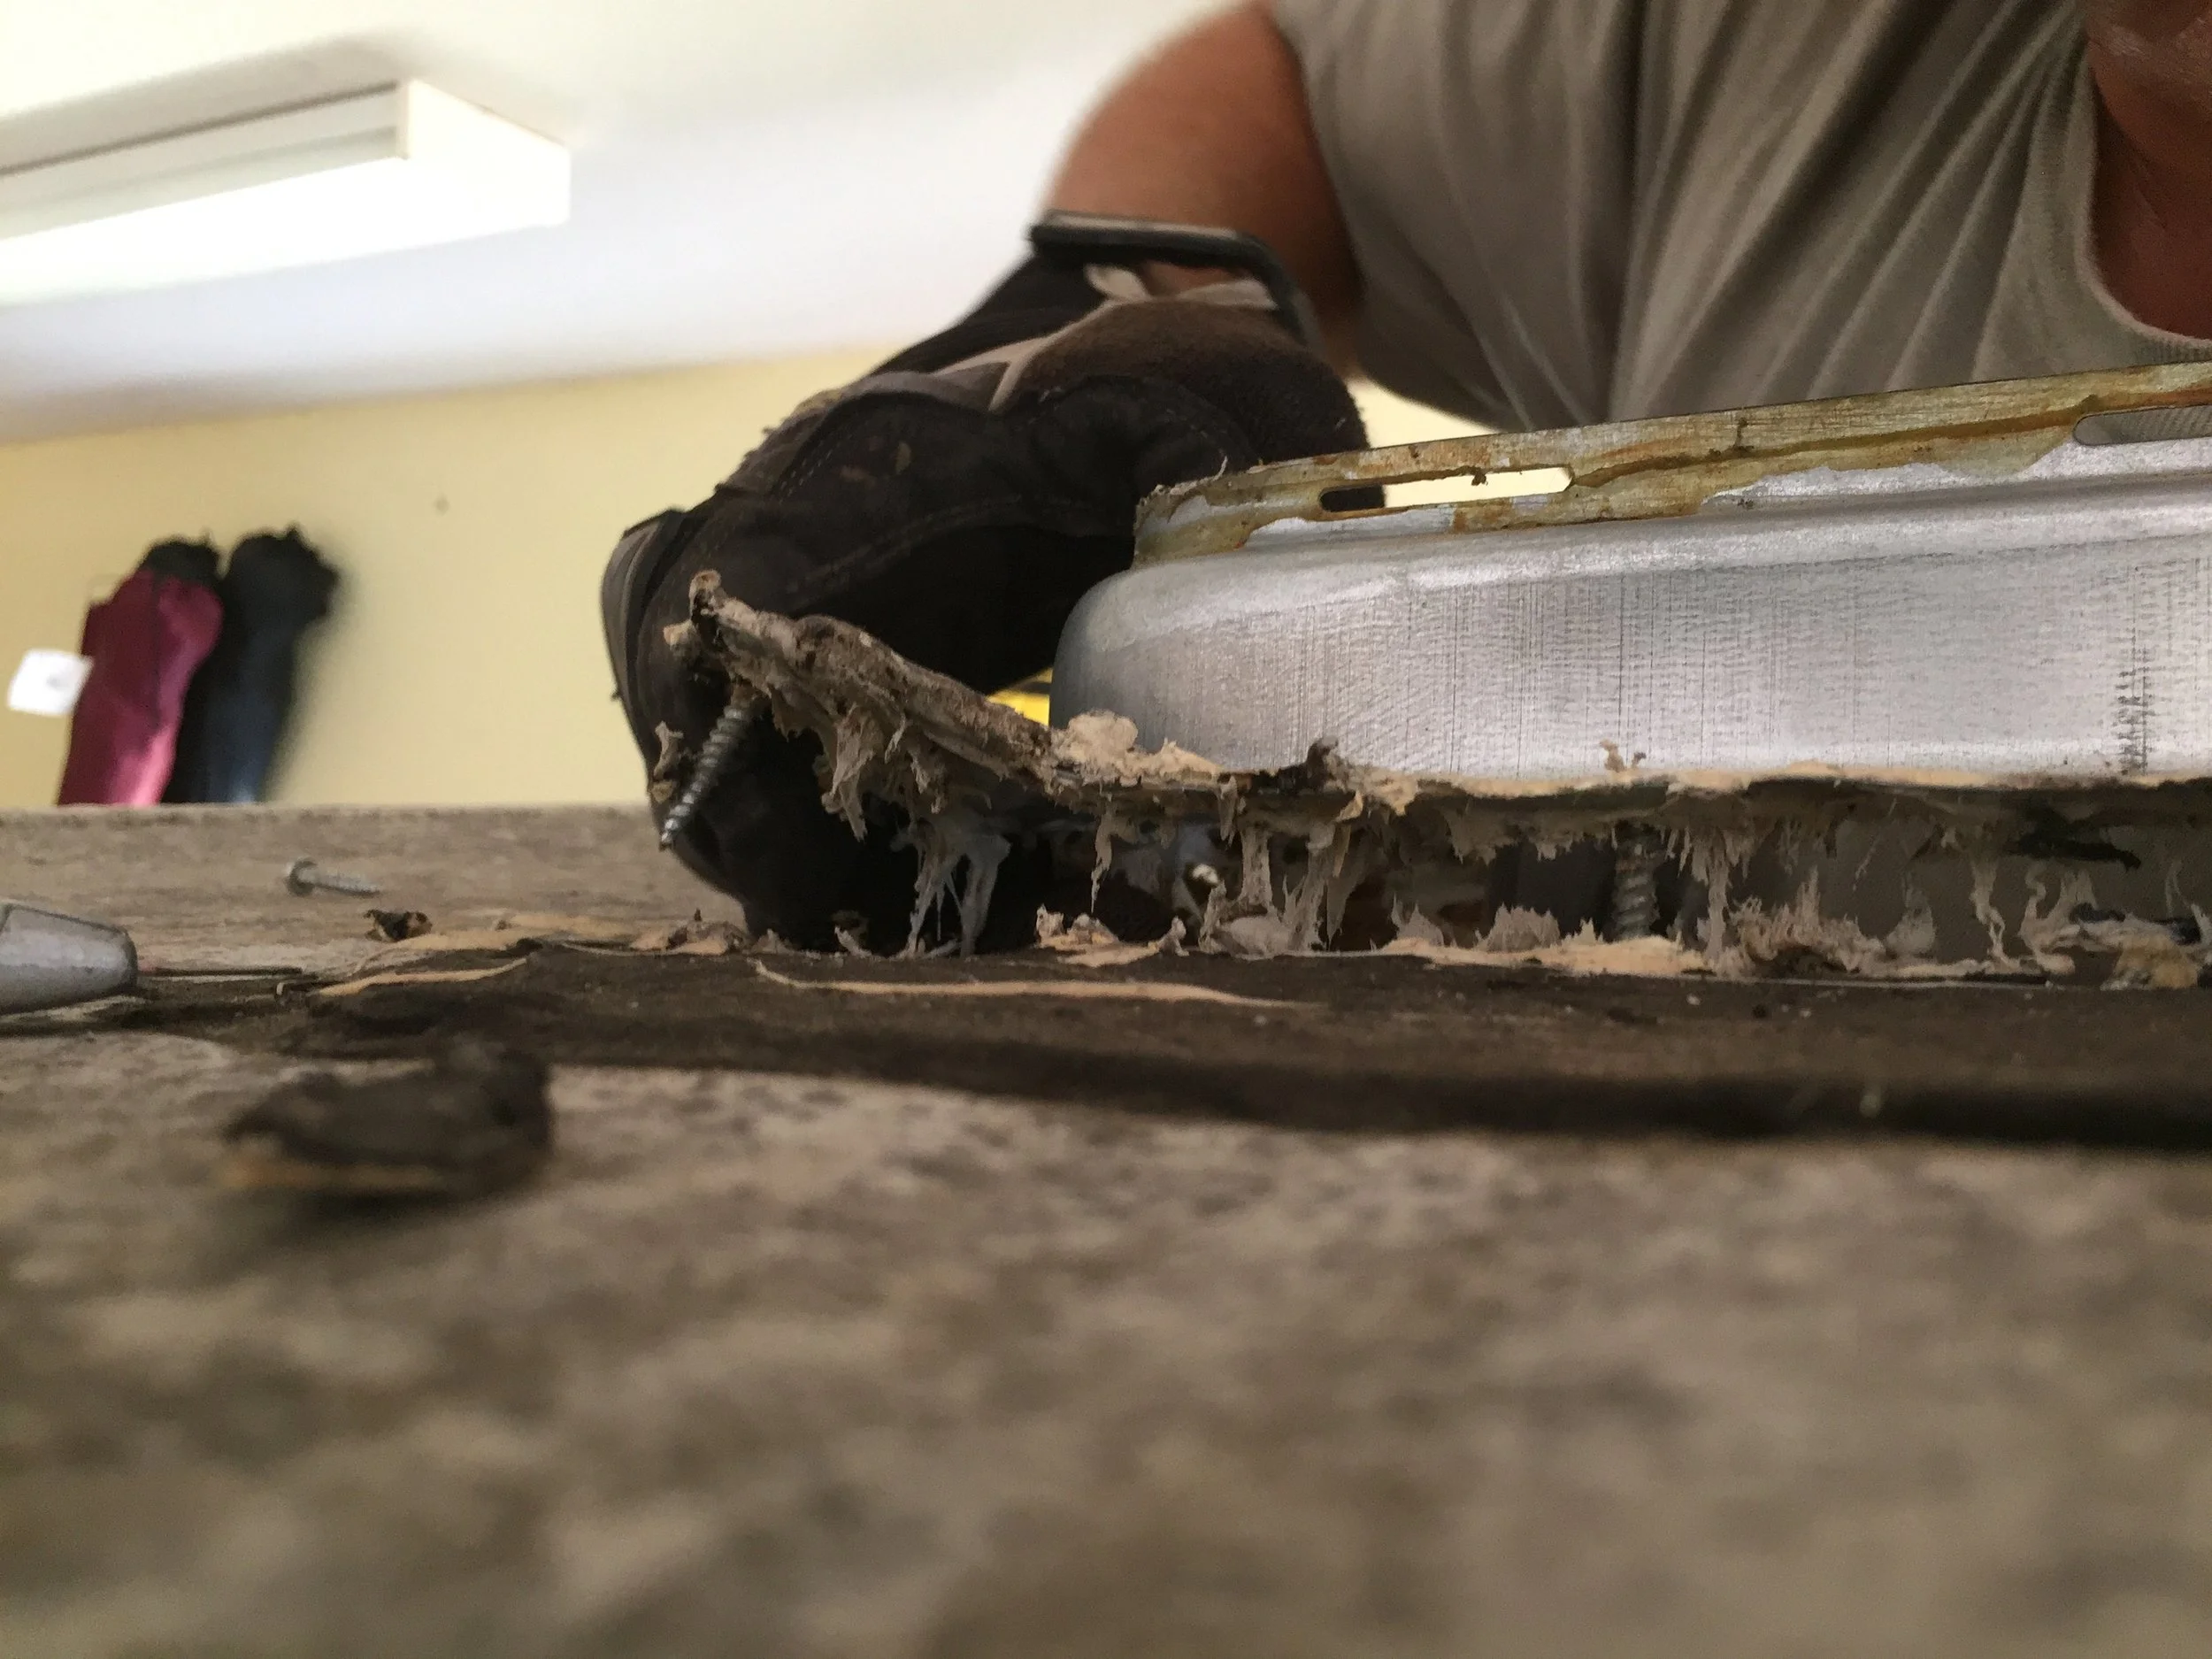
Glad you asked. I’ve heard it go by a few names, but it’s the bendable aluminum edging that acts like the gutter system for a vintage camper. And it basically holds the metal walls to the wooden frame of the camper while making it waterproof all at the same time. So you could say it’s kind of important. There are different kinds so make sure you check the dimensions and shape if/when you’re looking for yours. We used this one, which matched the shape and size of the original trim we removed way back when we went to patch and paint the exterior.
How do I install J-trim/J-rail/drip rail?
First thing’s first. Make sure you measure how much you need (and then I’d recommend adding a little extra just in case for bad cuts, etc.).
TOOLS FOR THE JOB:
J rail – Get it here. Vintage Trailer Supply cuts it into 8-foot lengths for shipping purposes, which is nice since it helps minimize seams.
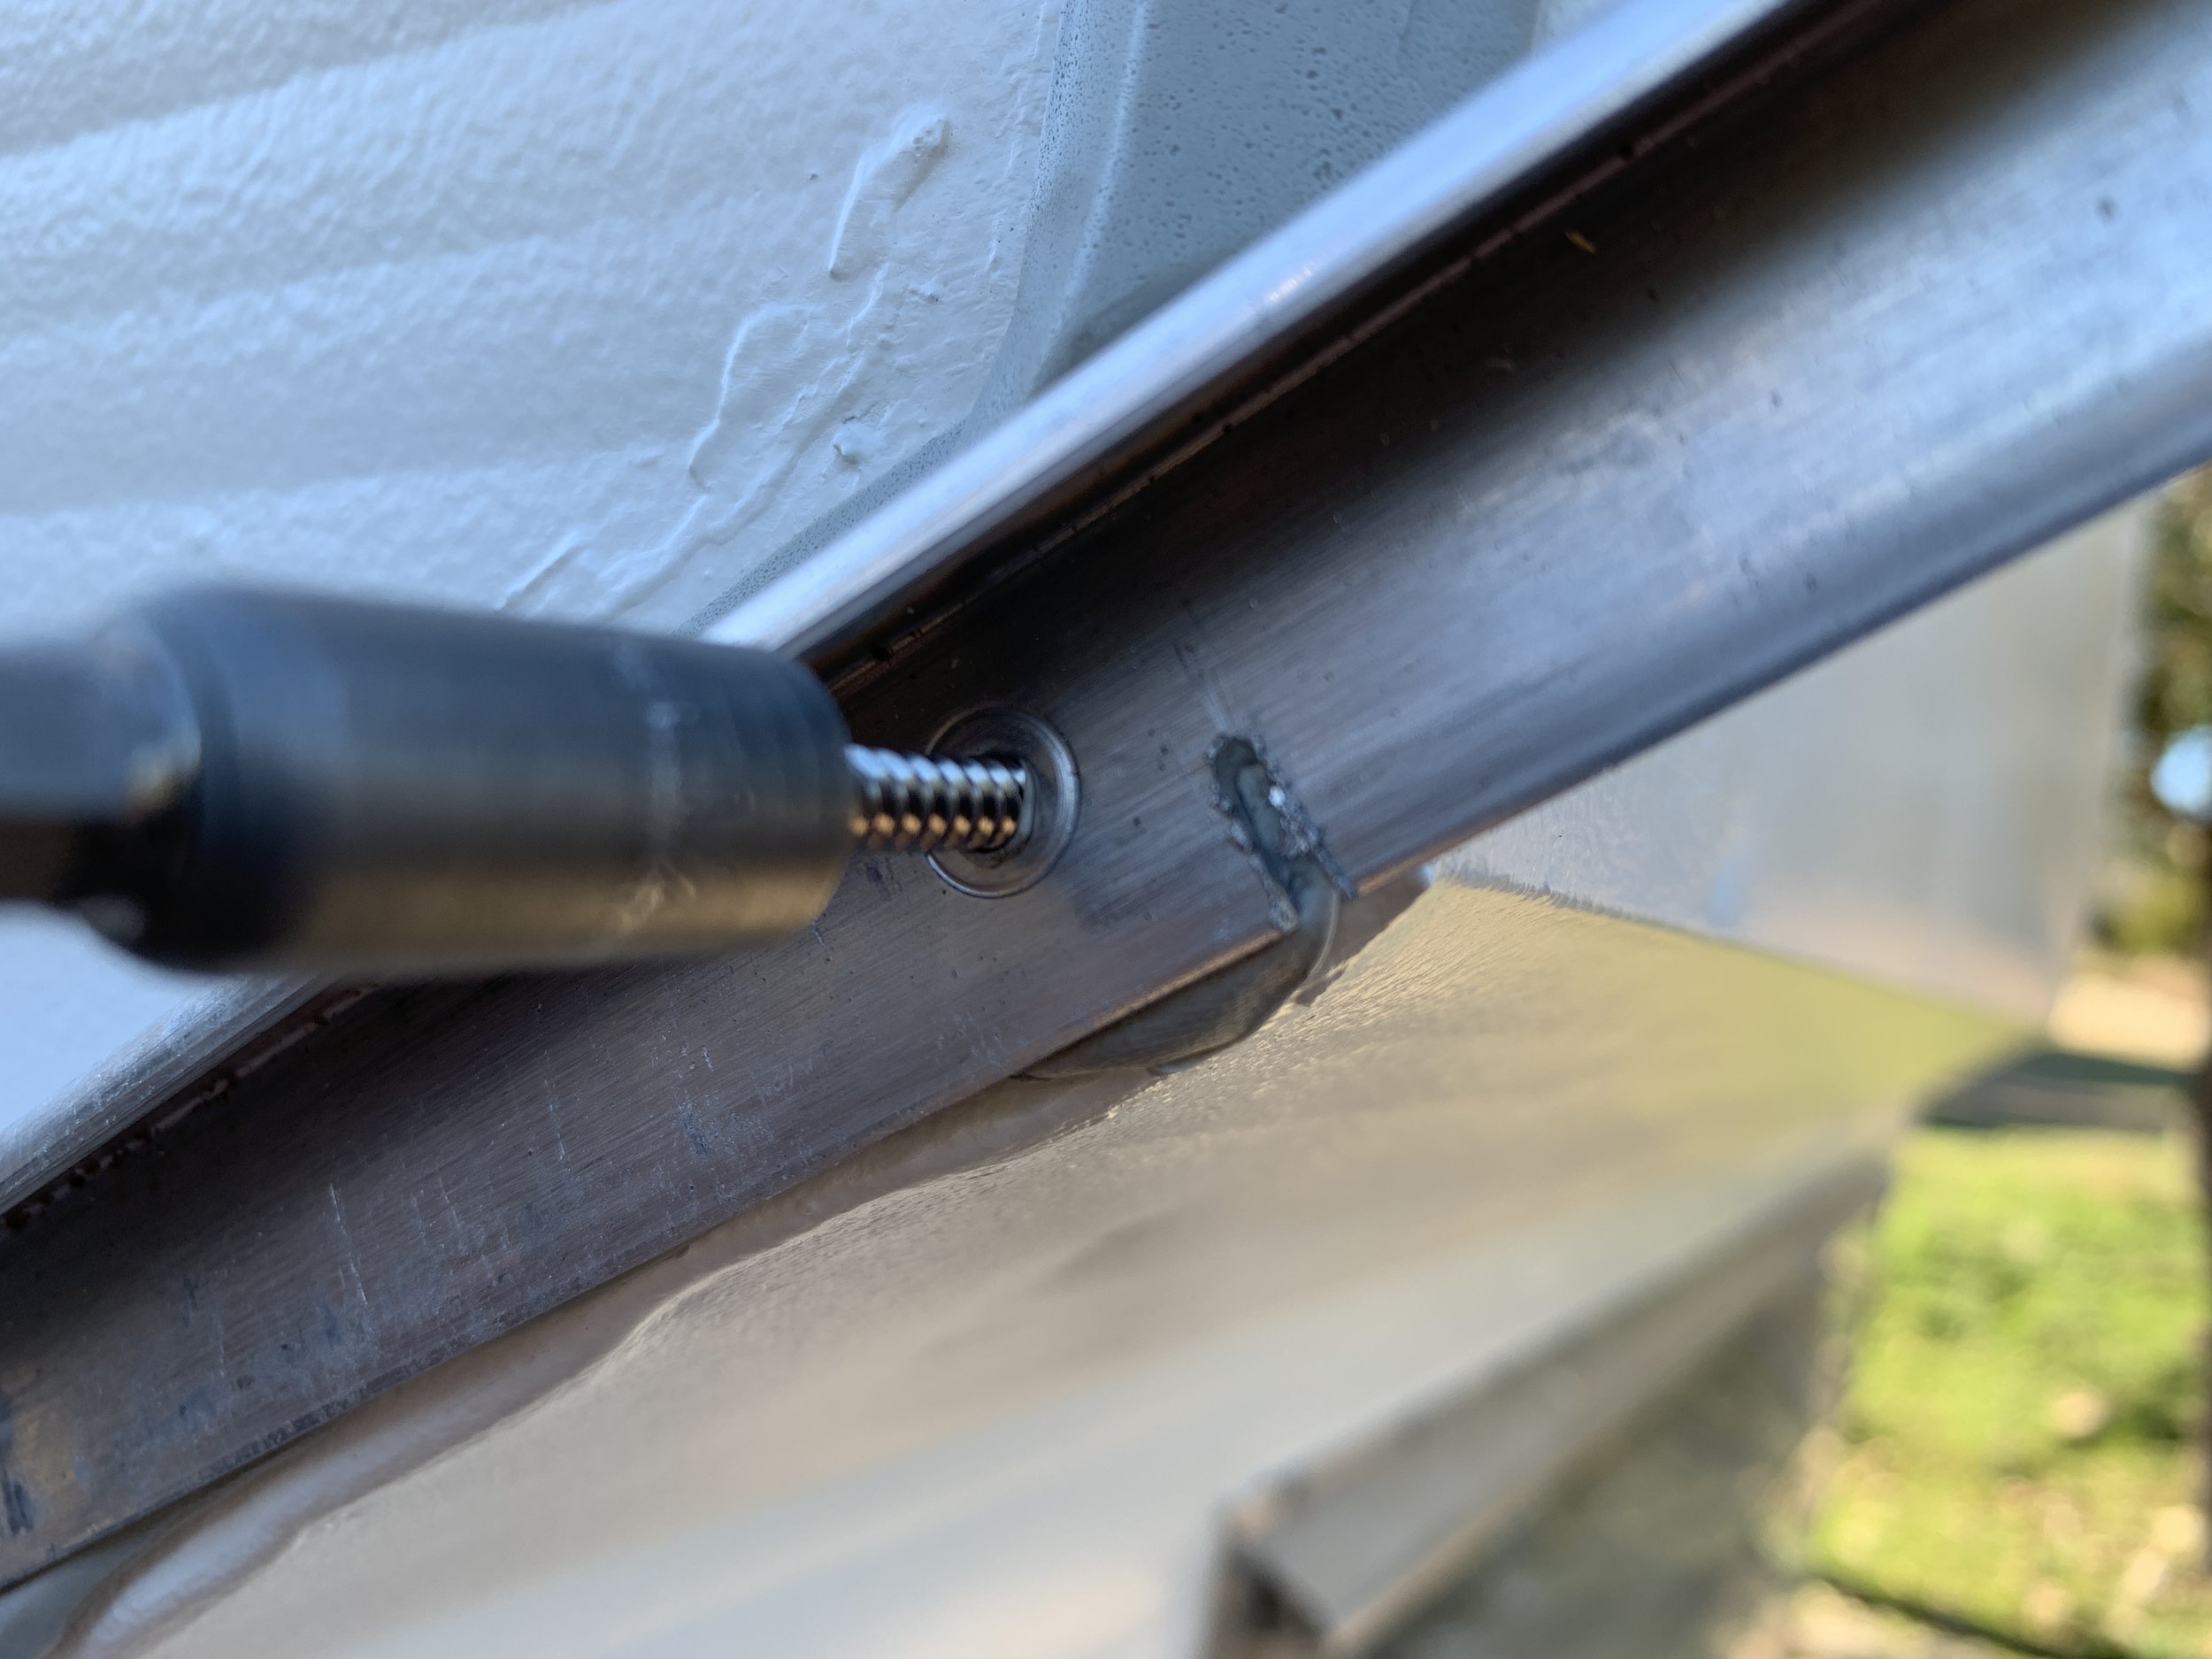
Butyl putty tape – Get it here. Lots of it. And then store it all in the fridge until the last second when you need it, and put it back in the fridge the second you don’t. Just trust me on this. This is the same stuff we used to install our windows, roof vent and all of our exterior lights. Basically anything you need to waterproof/seal to the outside of the camper.
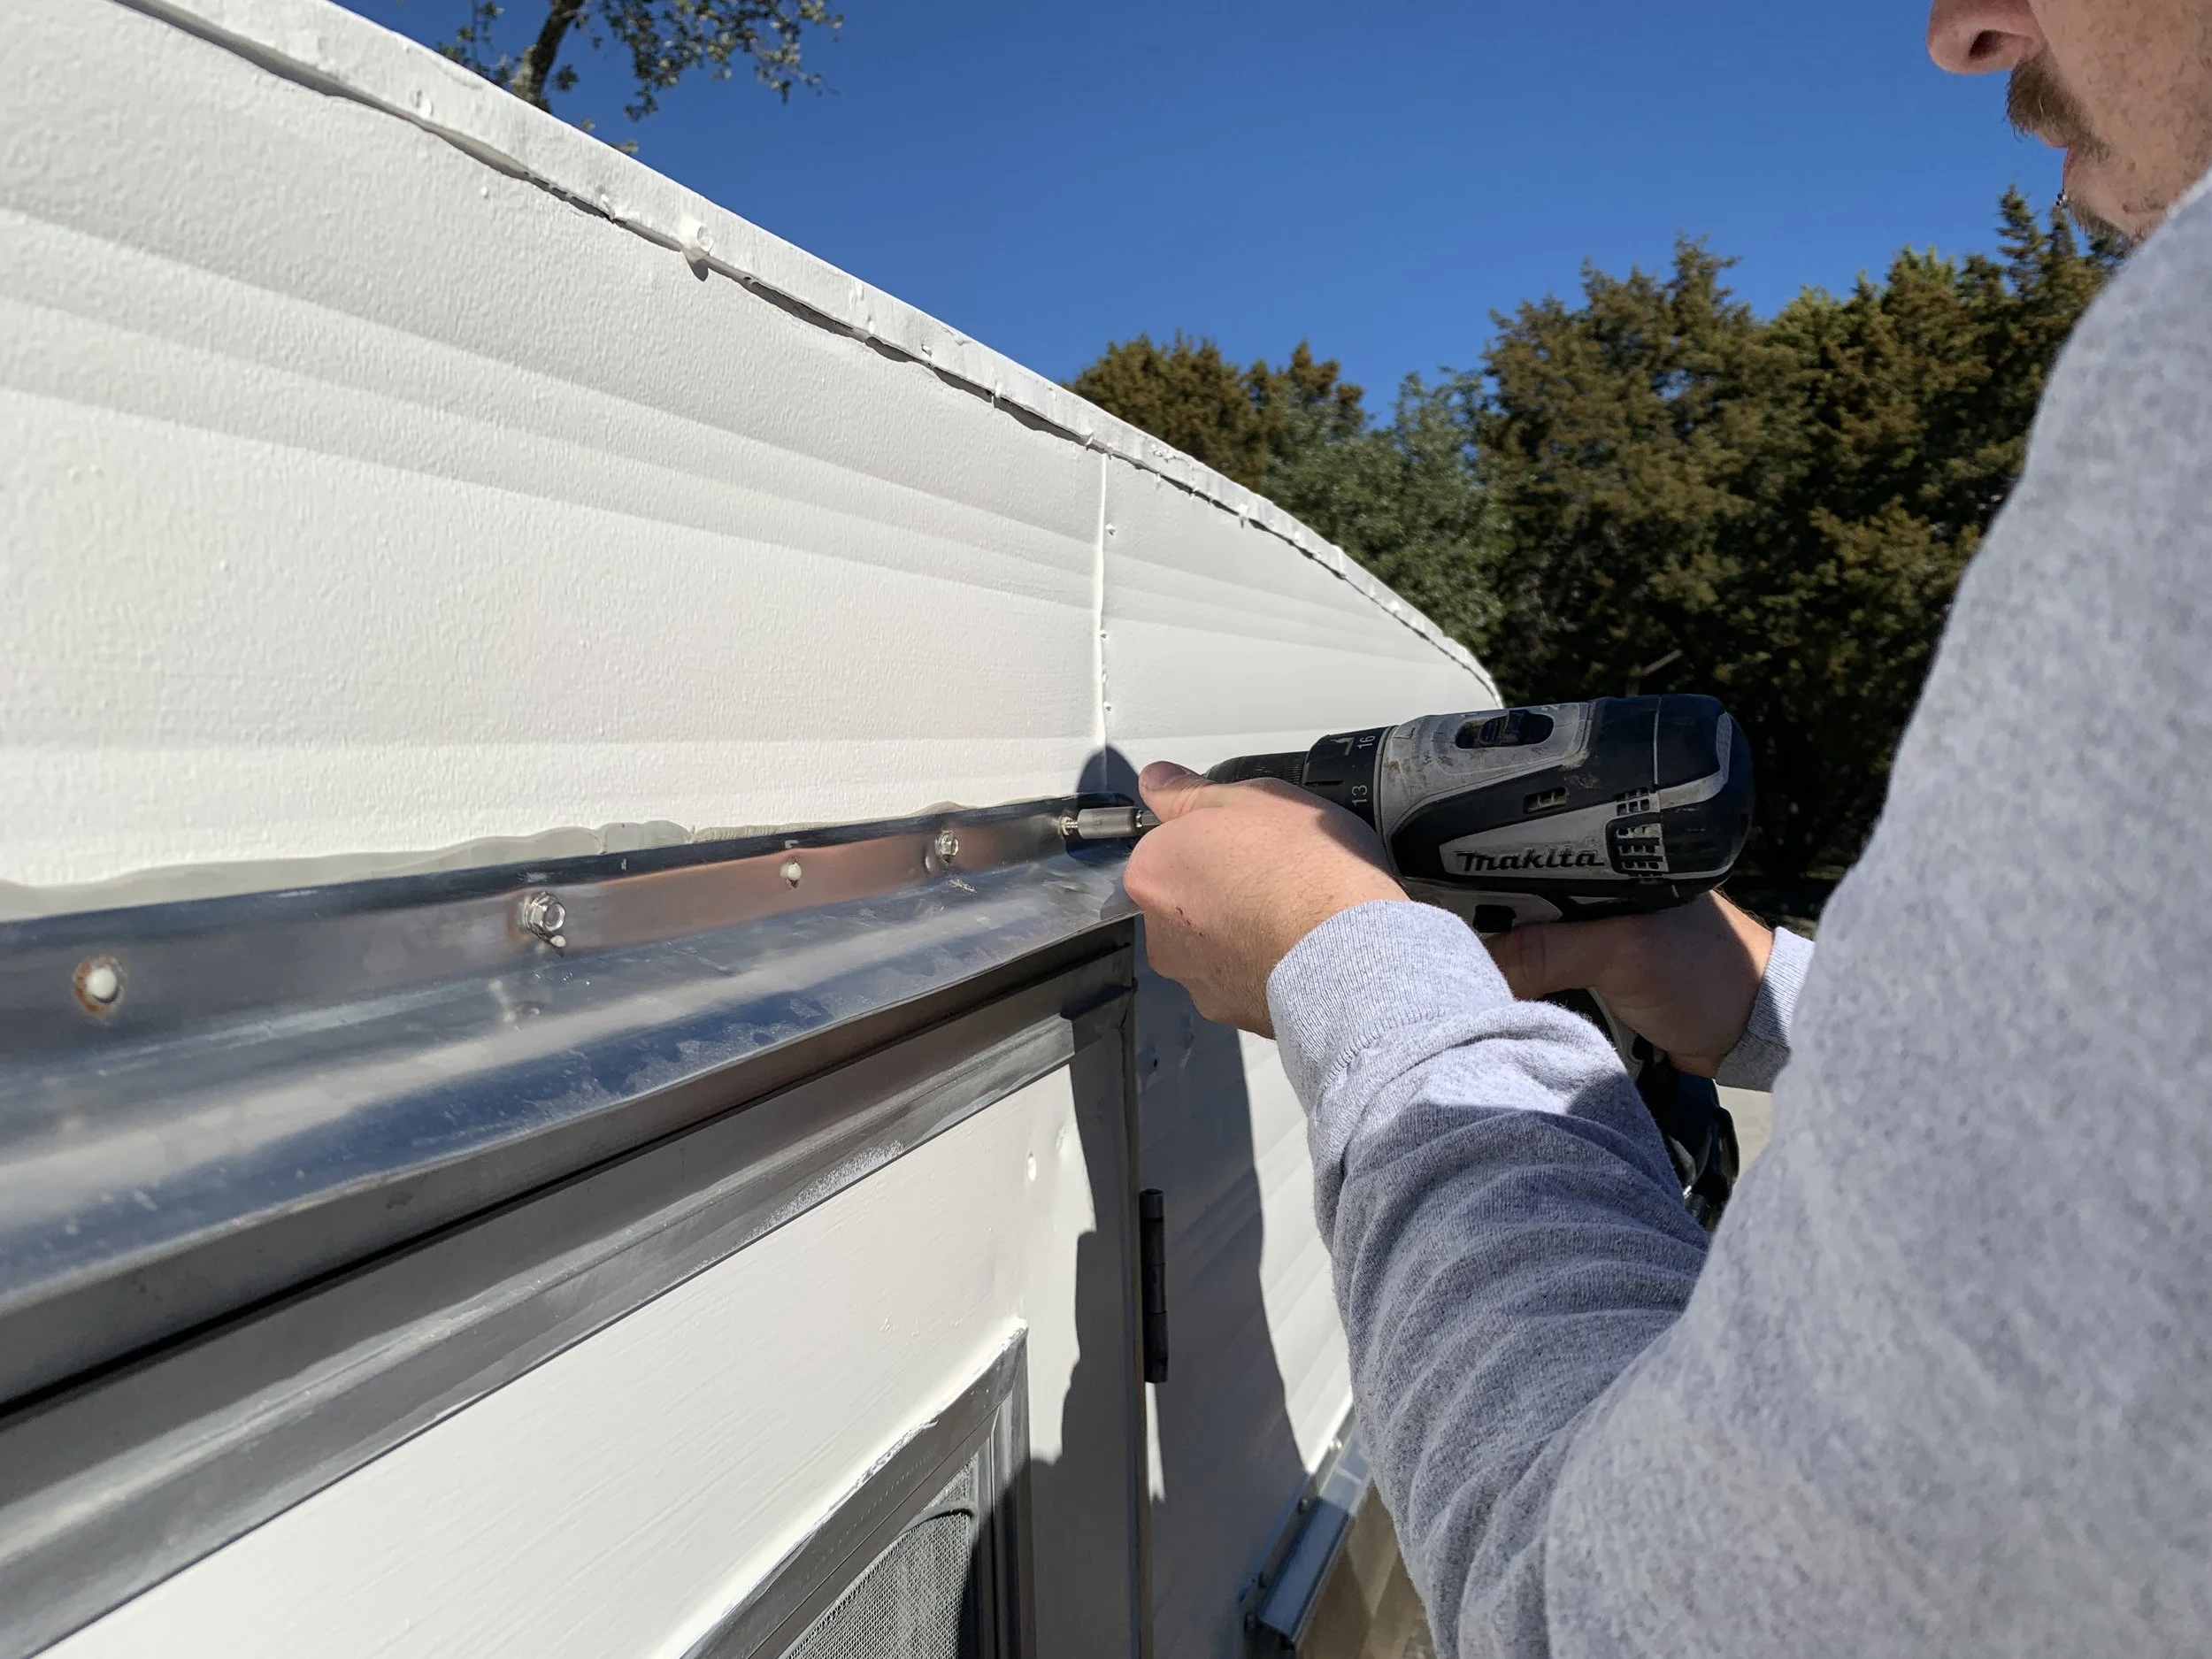
These stainless steel screws – the same 3/4” ones we used when reinstalled the windows.
Drill + 1/4” hex driver head
A ladder + a friend, or a really tall friend – you might be able to do this whole thing alone, but I highly recommend you phone a friend. There’s a lot of up and down and side to side on the ladder, alignment and careful bending of a really really long piece of bendy metal so it’s all kind of wonky and just spells disaster if you try it solo.
Work gloves – the metal edges, especially the ends can be sharp and since it’s pretty soft, the aluminum is pretty easy to bend by hand. (It’s soft enough to be damaged/scratched by tools/pliers so we opted to do it all by hand.)
Safety glasses + a sense of humor – an 8-foot long floppy piece of metal being lifted and twisted in all directions in the air is bound to smack you and your friend around a little.
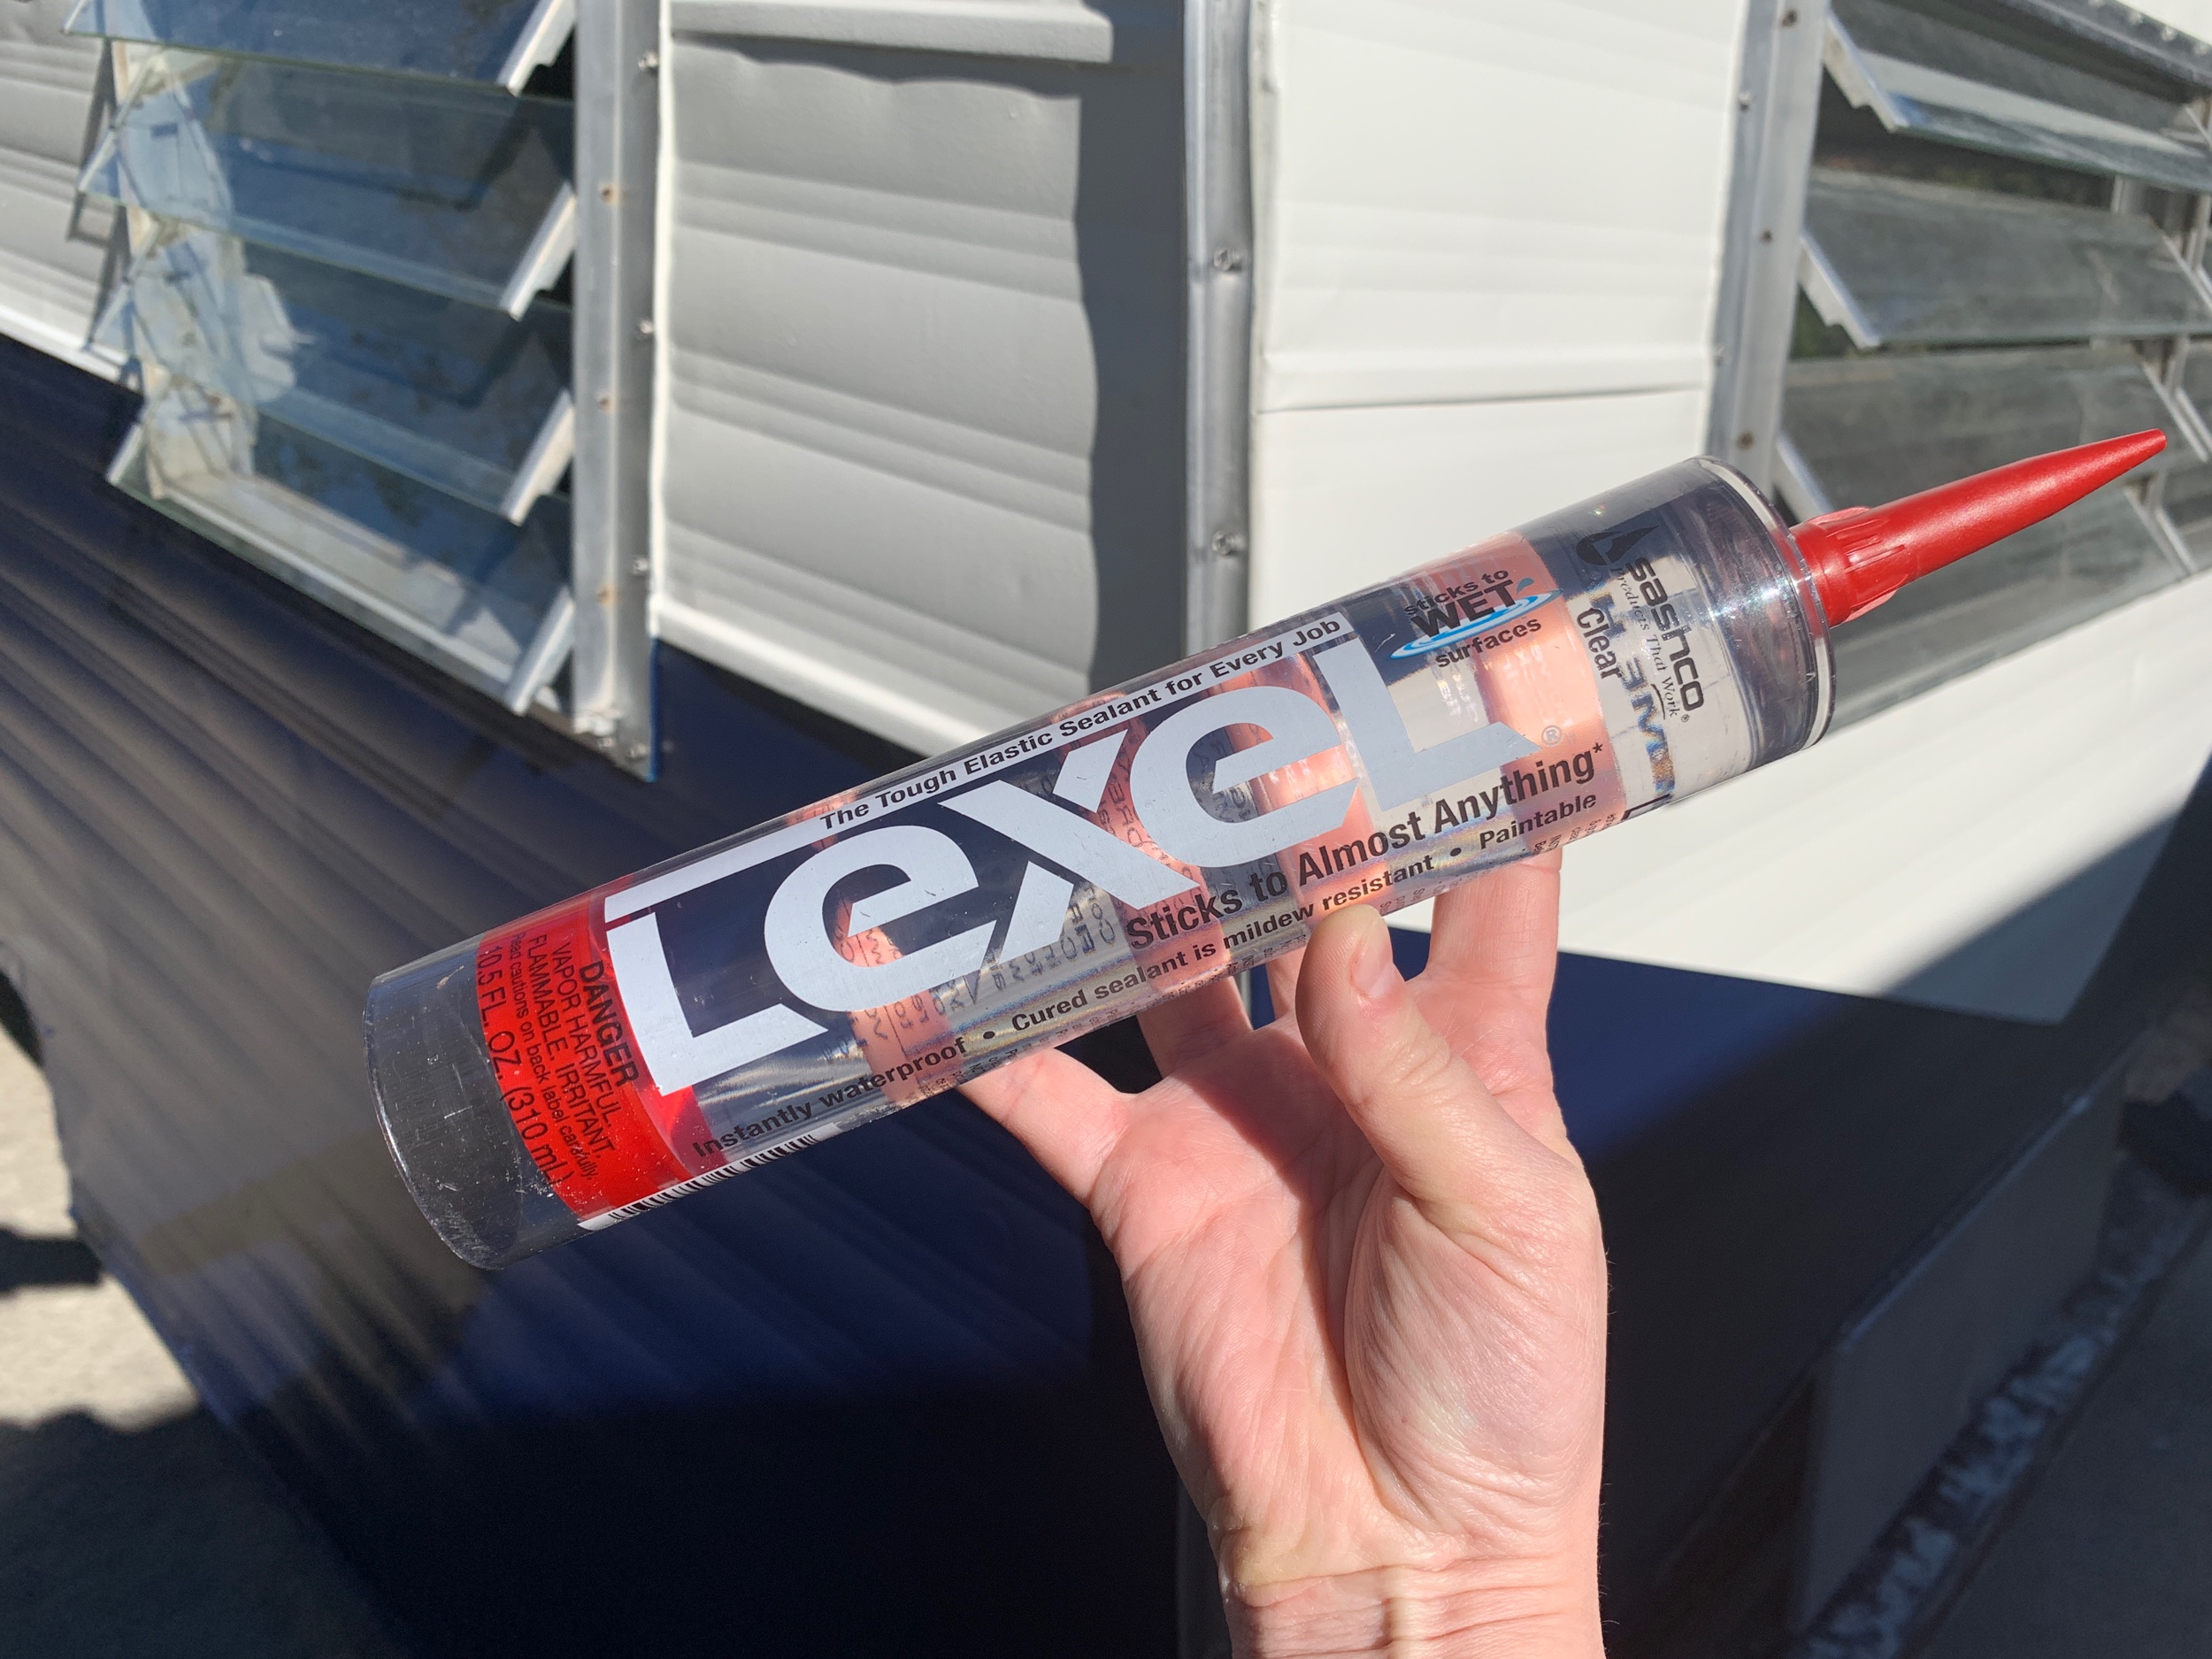
Lexel clear paintable solvent caulk* – kind of like silicone, but paintable. It’s super stretchy (so it won’t crack), hella waterproof and withstands extreme heat and freezing temps – which sounds perfect for Texas weather. They say it’s 19 times clearer than silicone, and I believe it because once this stuff was on it was so hard to see it. There’s just a slight sheen when in just the right light.
*These guys are optional – I say optional because if you’re mega pro at this you might not need them. We on the other hands are not pros and wanted that extra layer of invisible waterproofing just in case. (I know I don’t want to deal with any more water damage in this thing ever again, so we figured what’s a few extra bucks now for a little peace of mind and potentially big savings down the road?) You do you, though.
Where do I start?
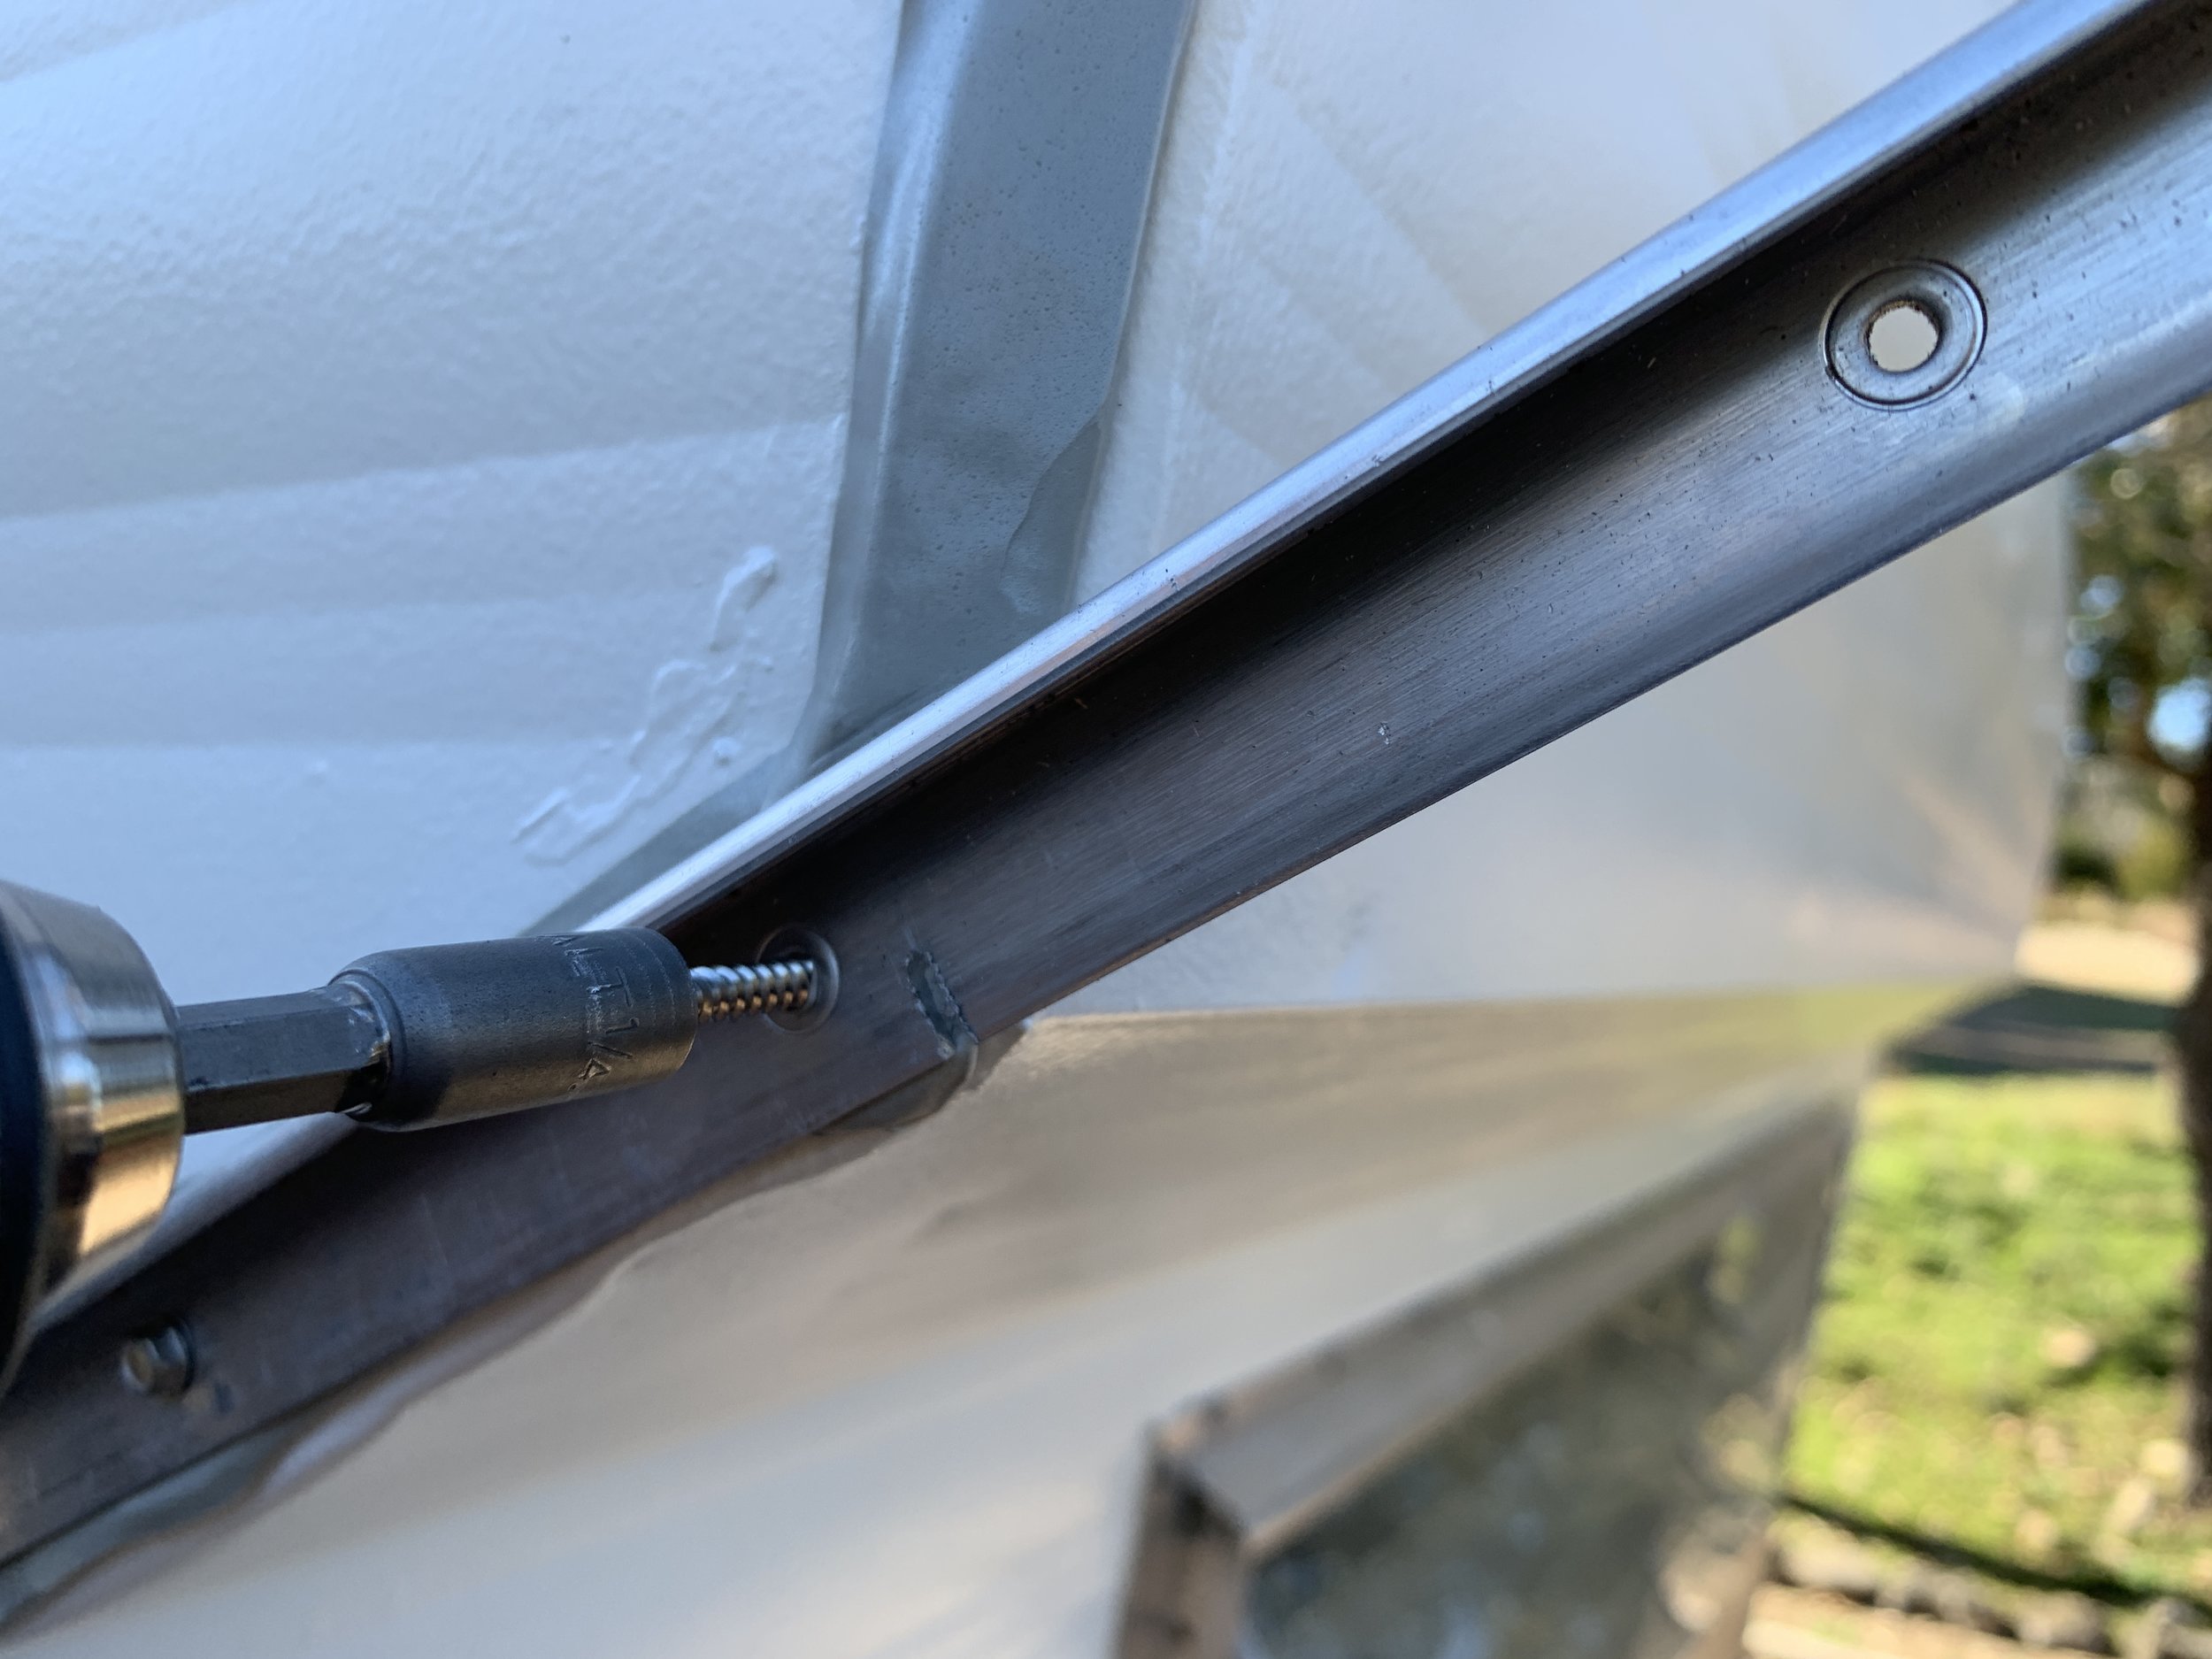
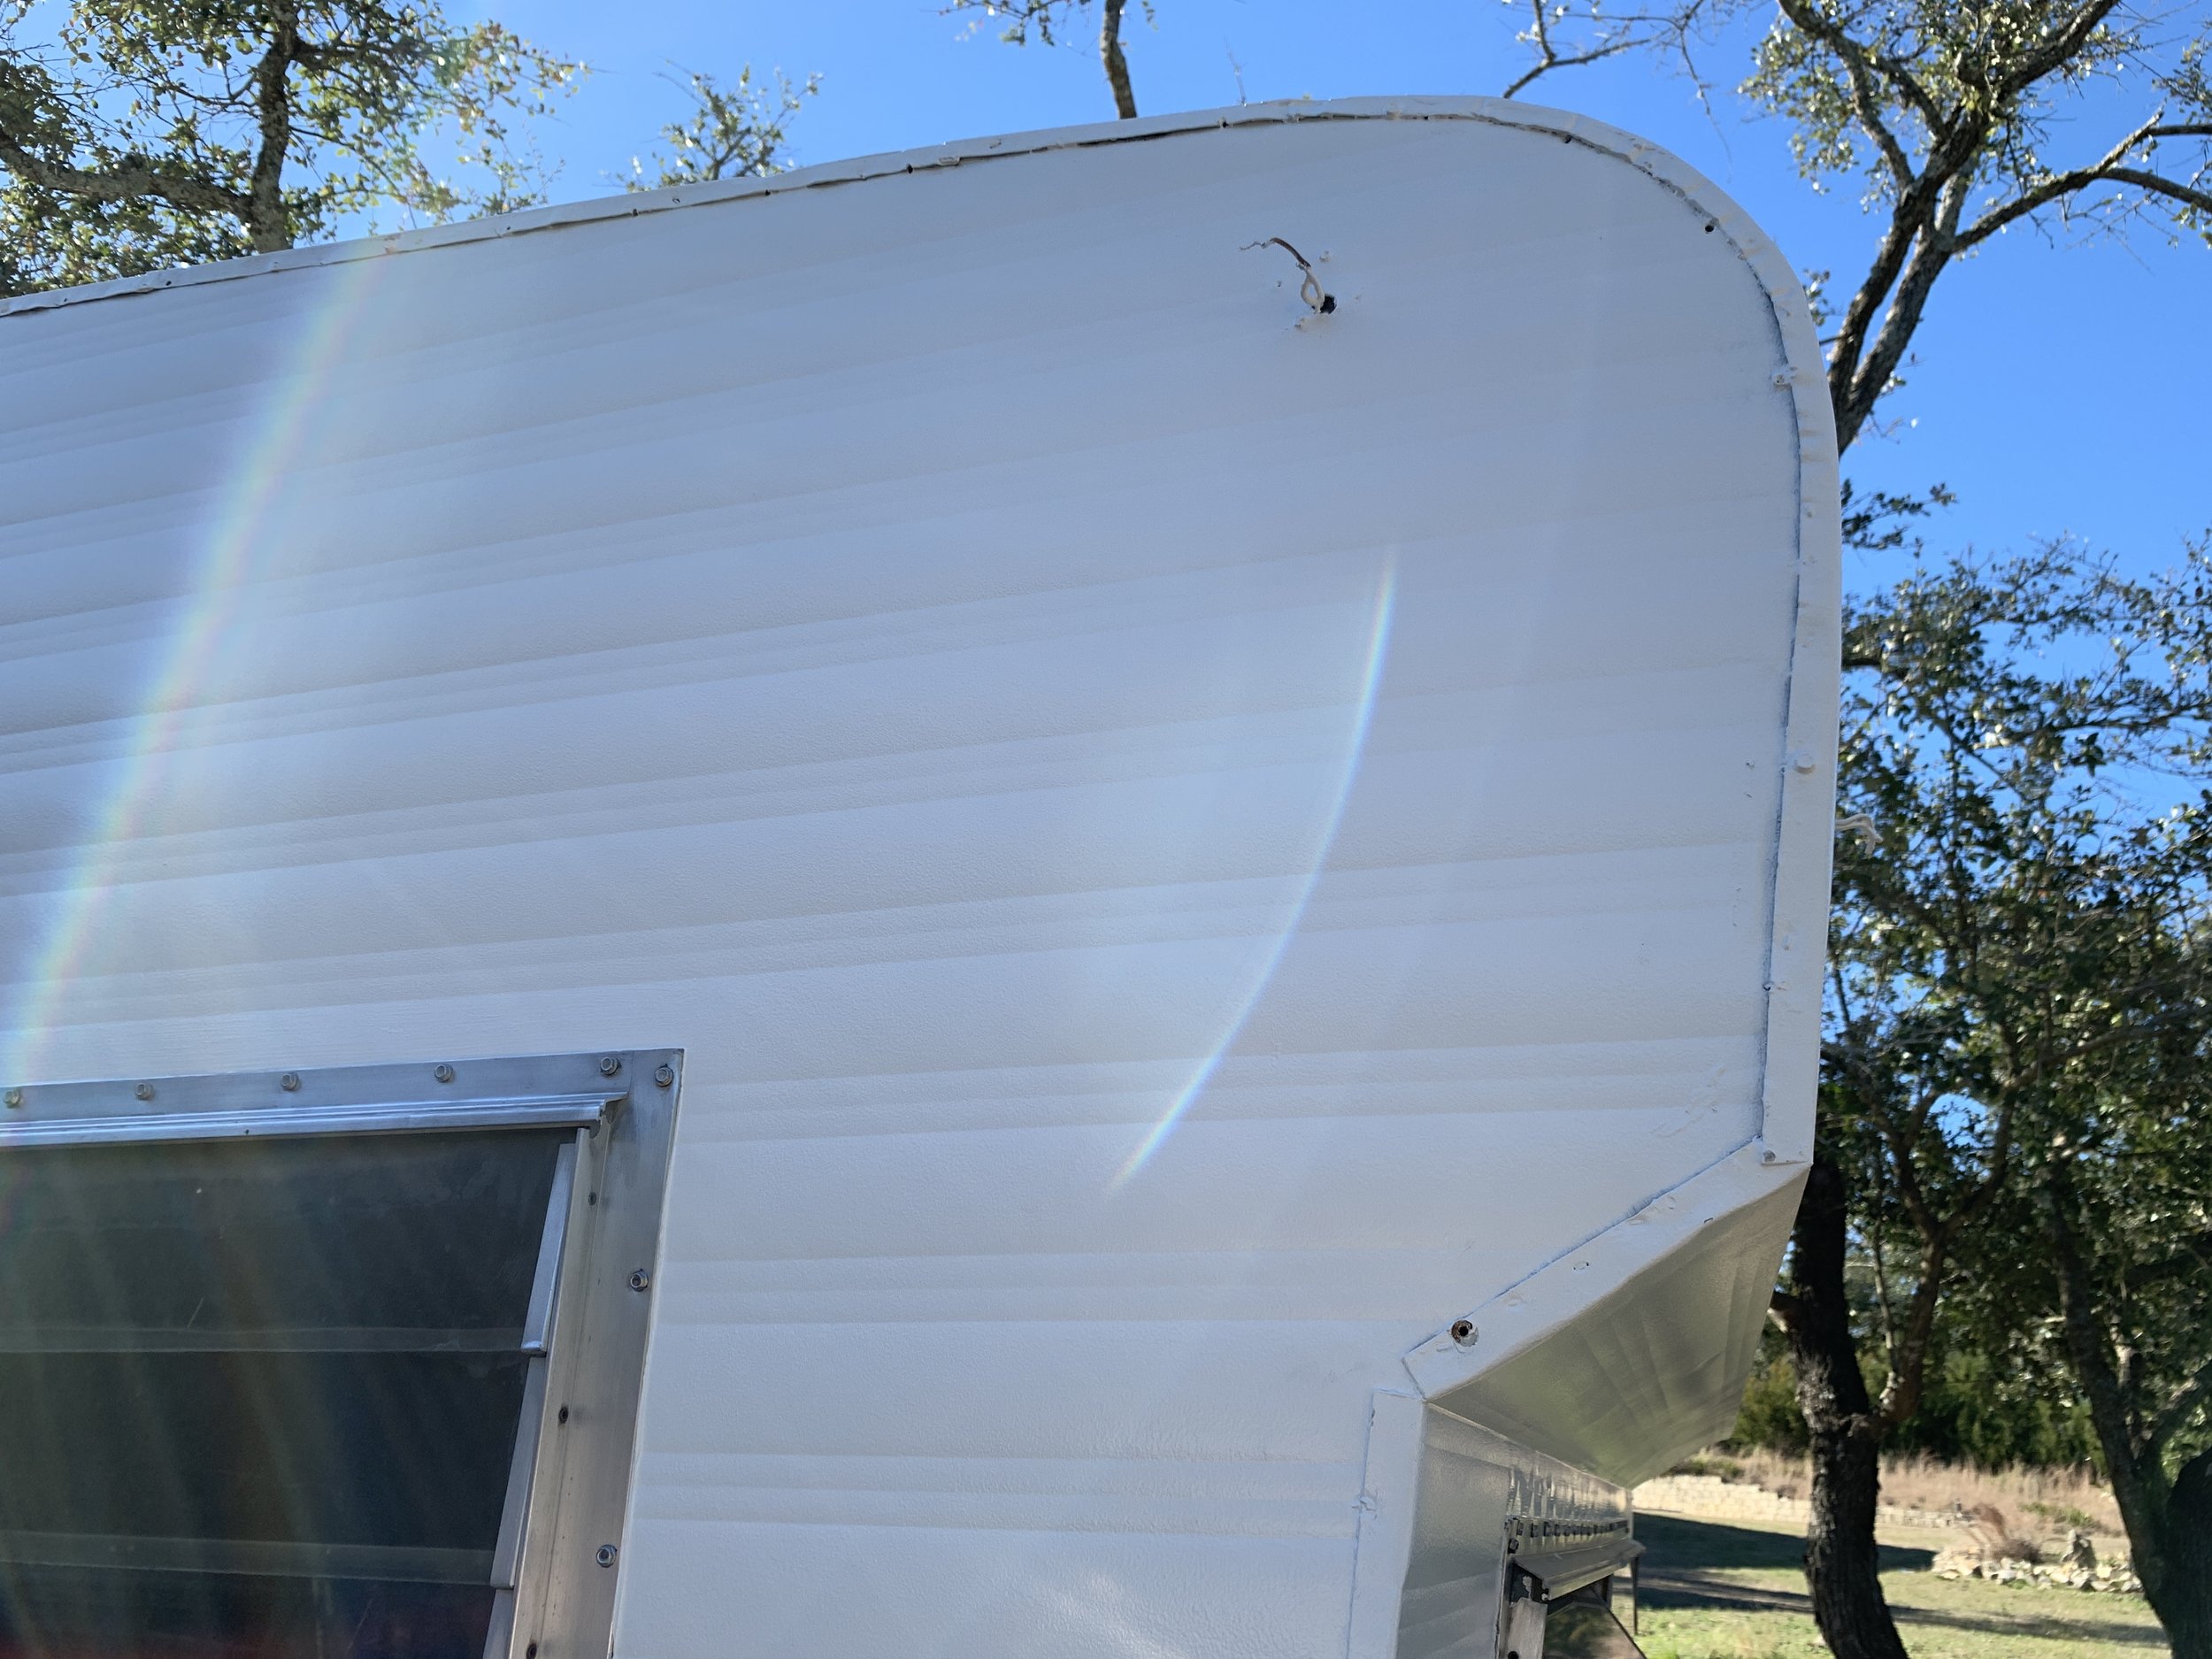
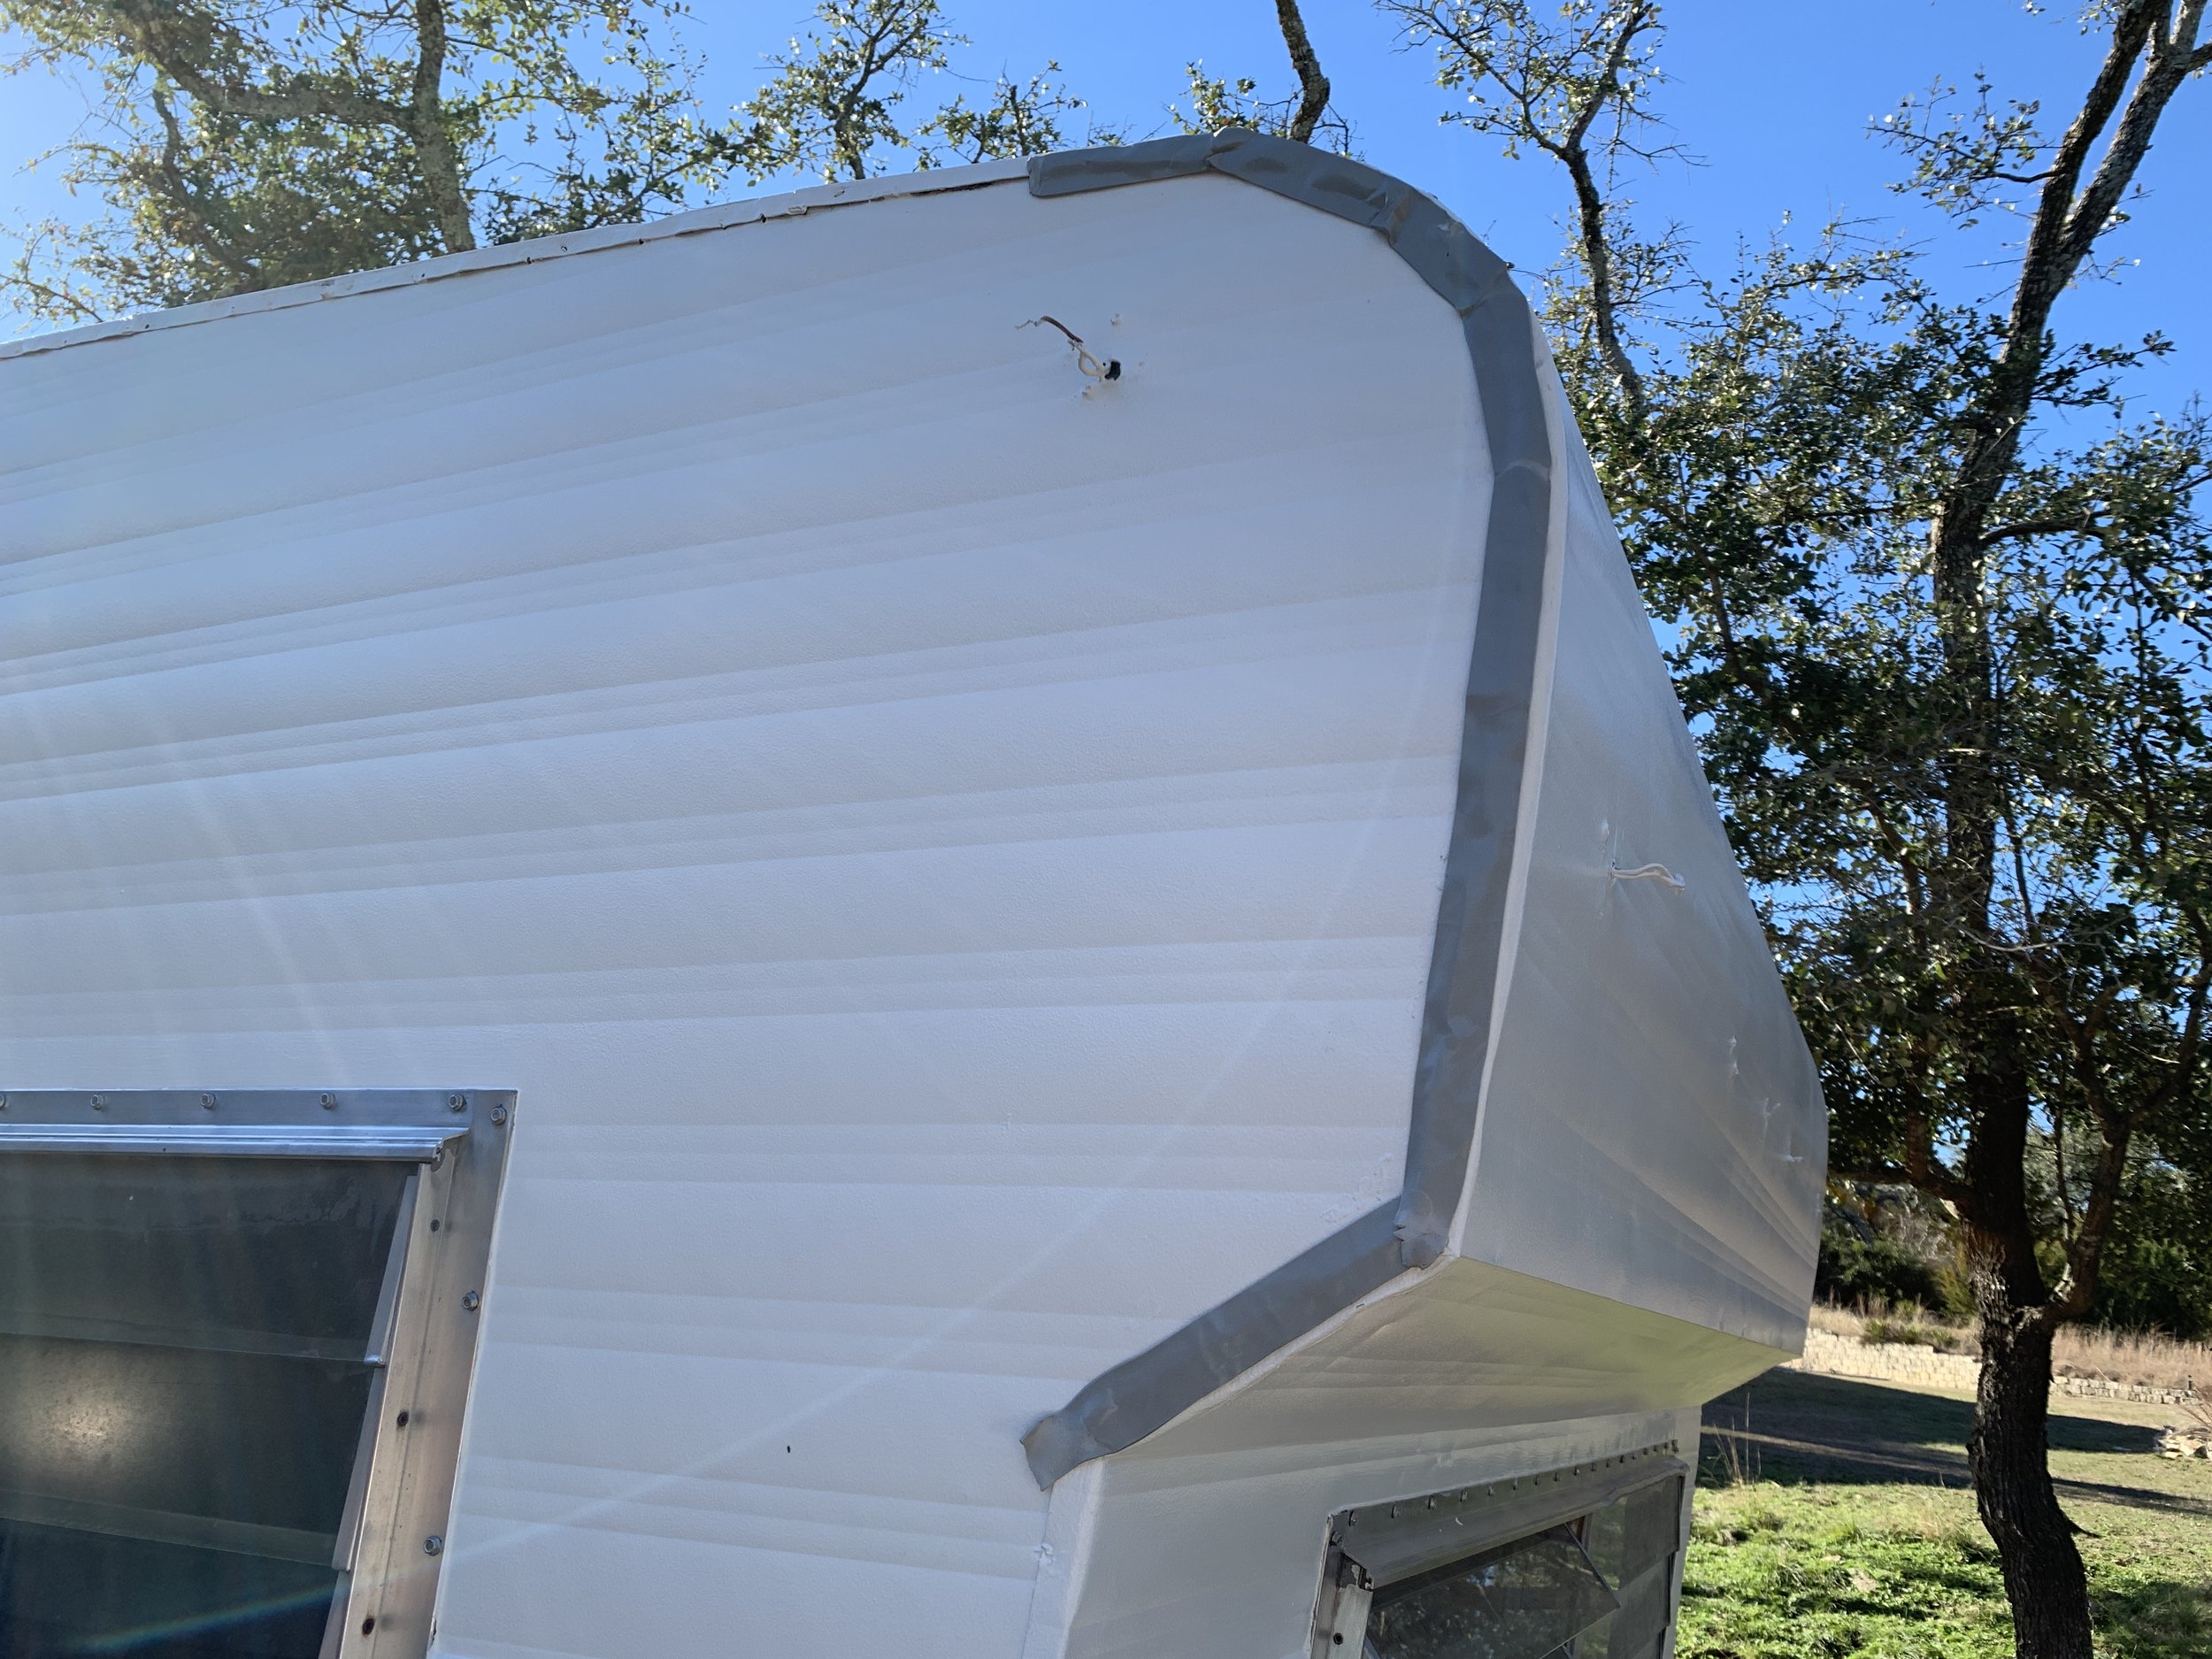
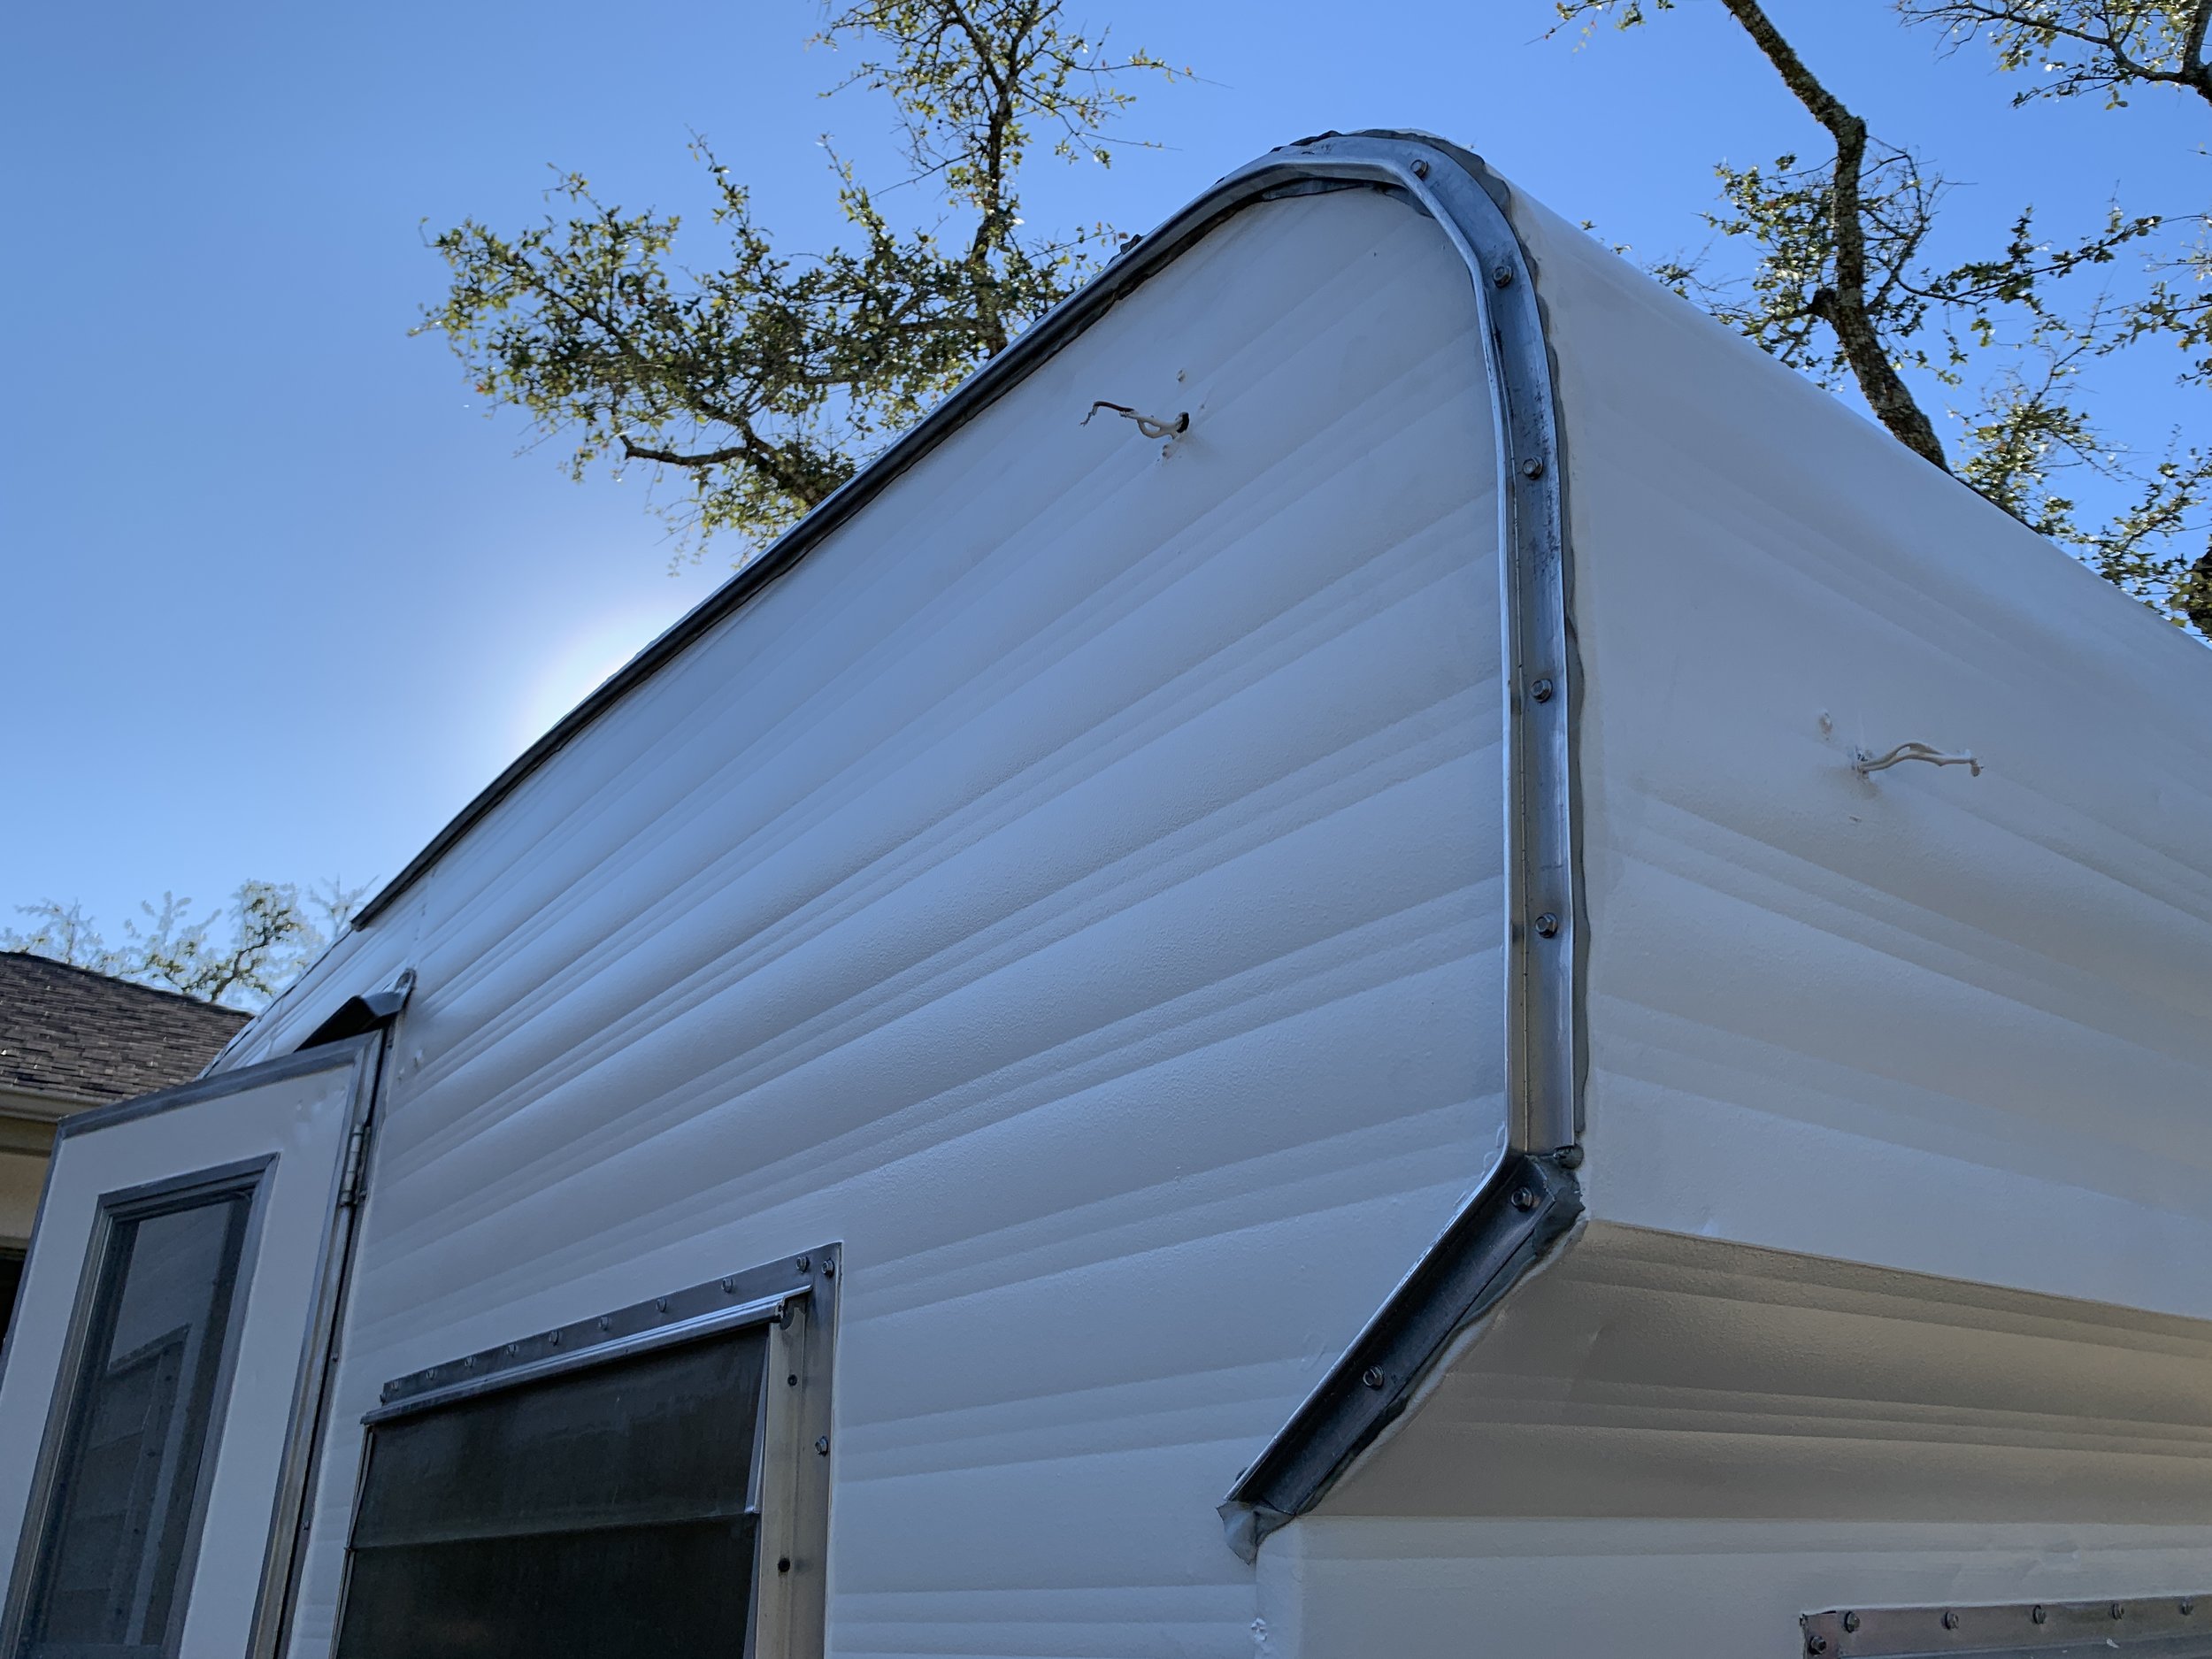
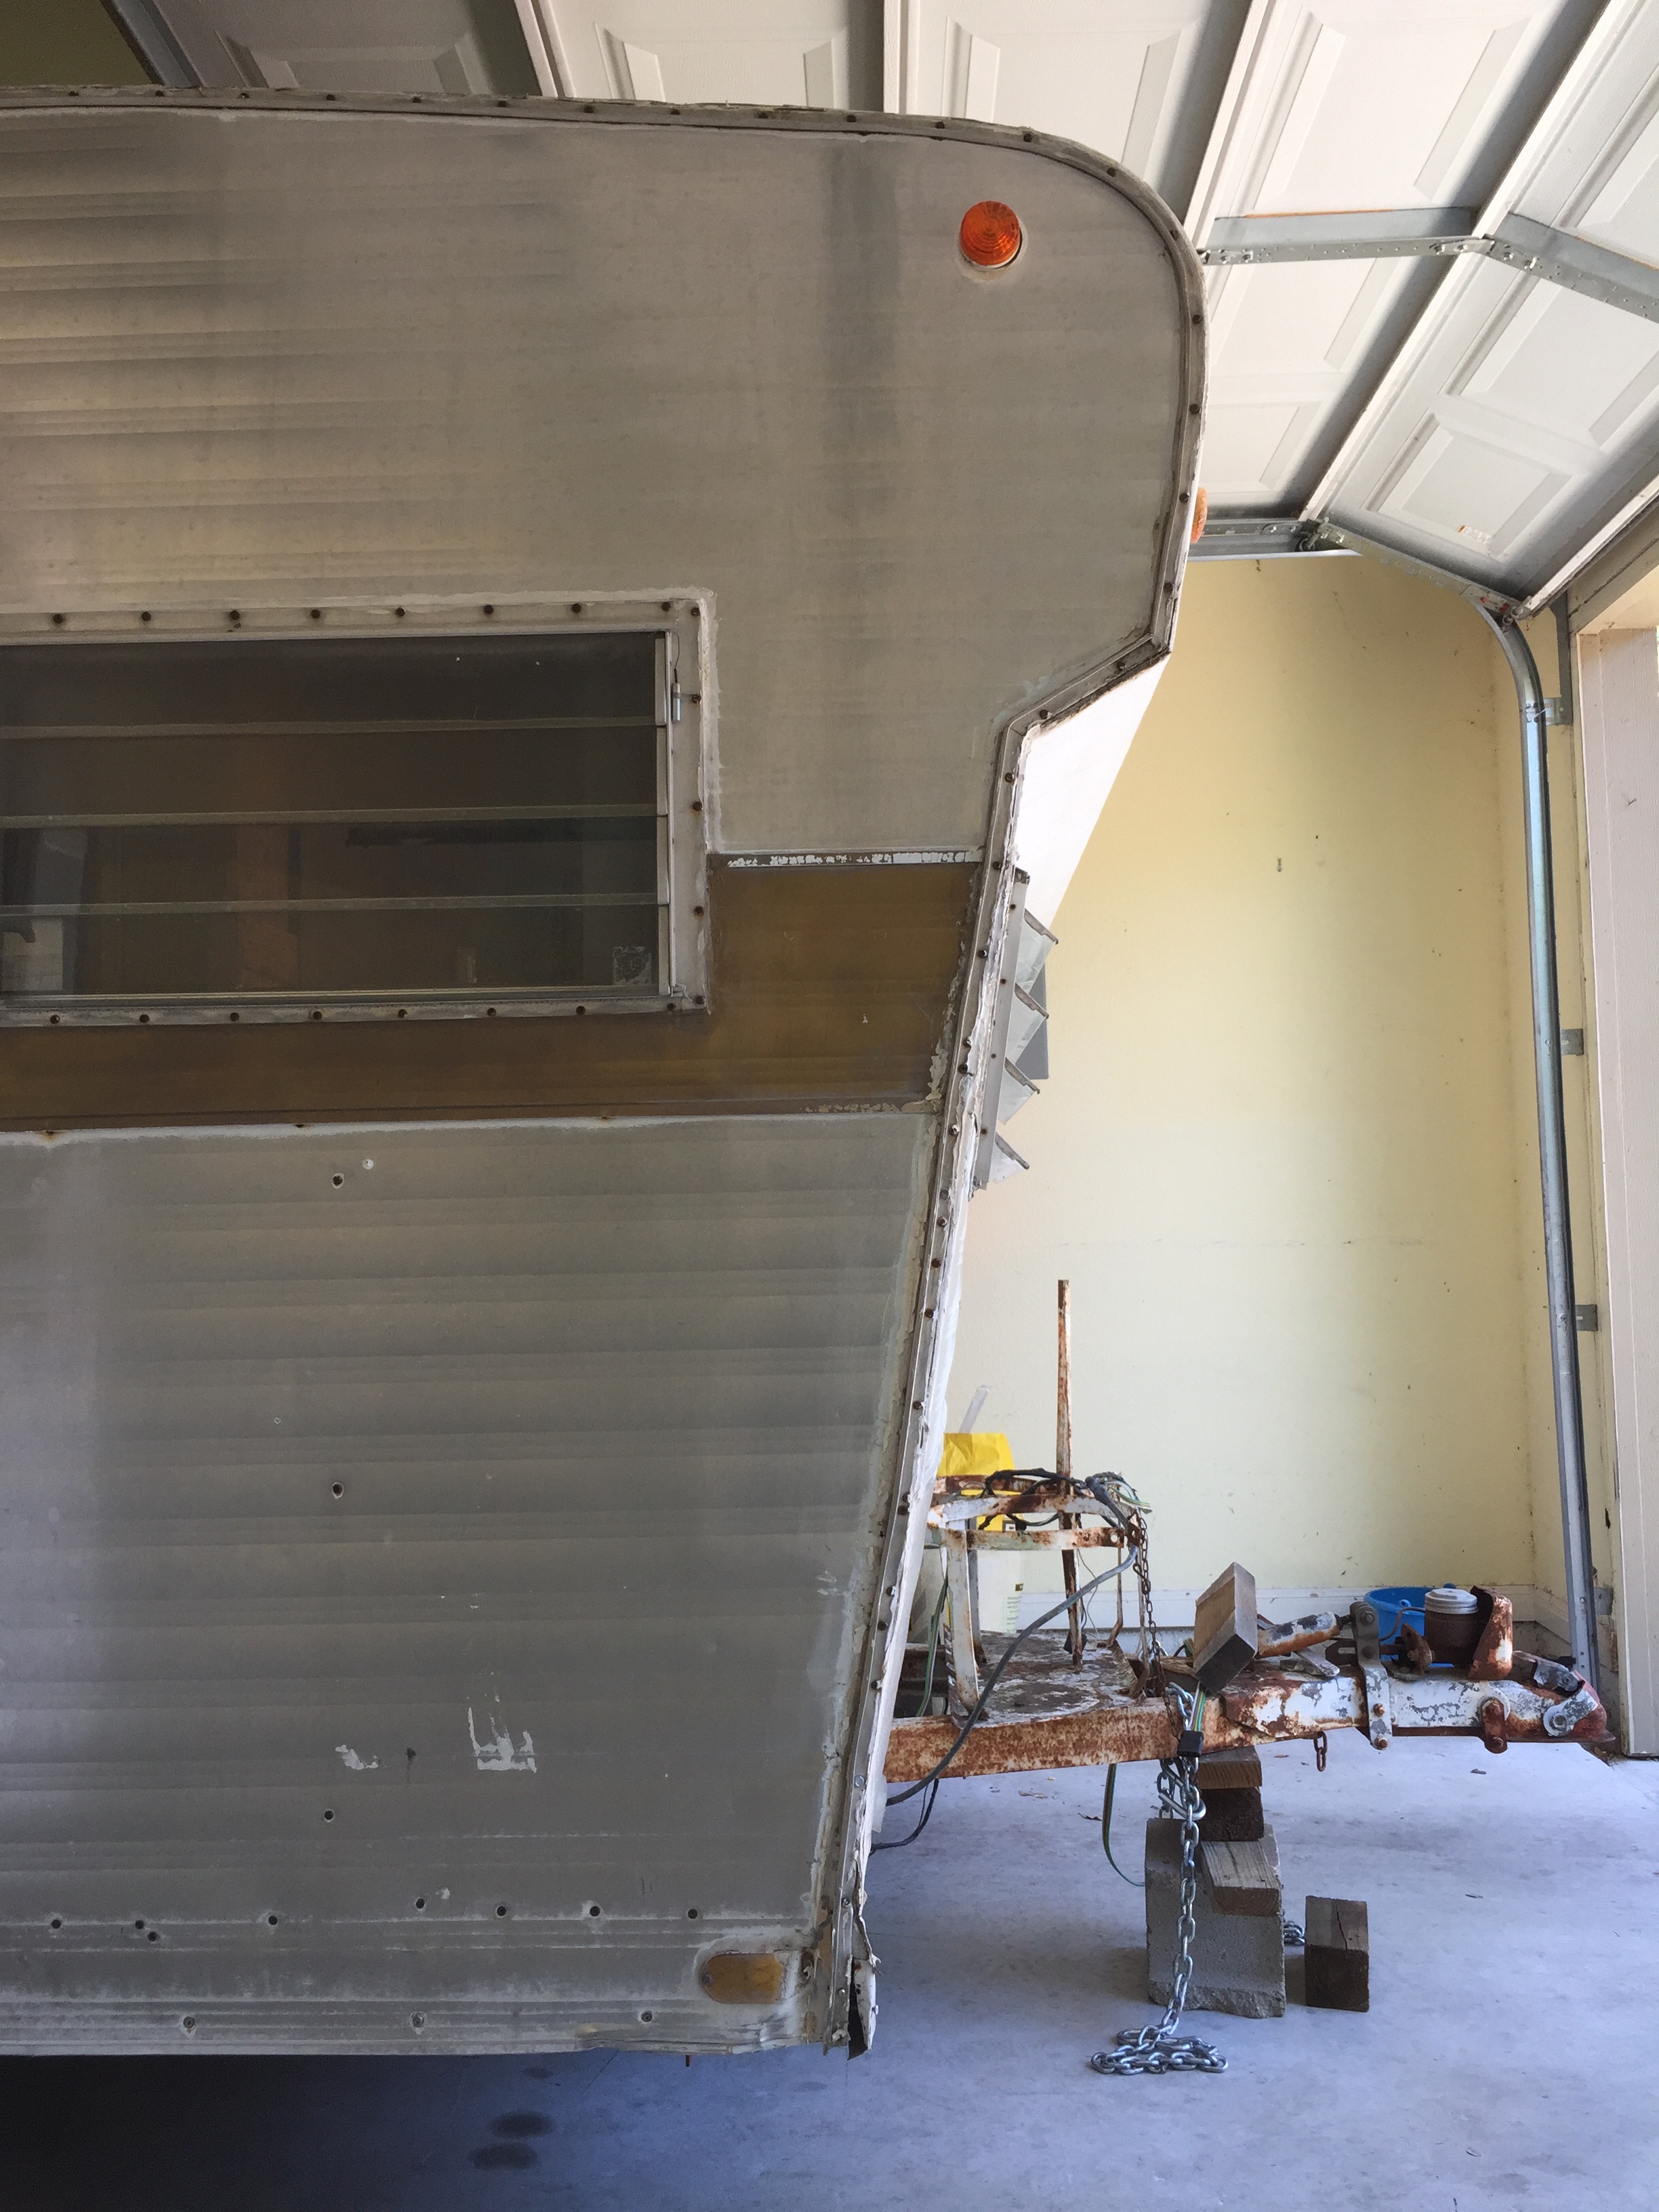
Whatever end you want to really – we started on the door side of the camper toward the front and then worked our way to the back. Make sure before you start installing it, you figure out what way it’s supposed to go. You want it so that when the trim is running along the top/roofline of your camper that the "J” shape reads like a right side up letter “J” (or “L”) and not flipped over like a lowercase “r”. In other words, you want any rain water to be able to fall into the little J/L crook and follow the channel down toward the ground, much like gutters on a house.

Properly installed J rail will make the letter “J” or “L” when viewed from the side.
After rolling out the butyl putty tape in small sections we began screwing in the rail. We started at the bottom of the short angled bump out so we could get a nice clean angle cut with our Hitachi sliding compound miter saw. (We played with a piece of trim and learned if we started on the very bottom of the wall and then tried to bend the metal to the severe angle of our little bump out area, the soft aluminum would tear on one side and bunch on the other, so we opted to just cut it altogether and then do a separate piece for the section that runs from the bottom of the bump out to the bottom of the wall for a cleaner join/look.) At first this piece looked like it was on upside down to me (because it was, kind of – read: it looked like an “r” and not a “J”), but after tracing the perimeter of the camper up to the roofline, we confirmed it was going the right way.
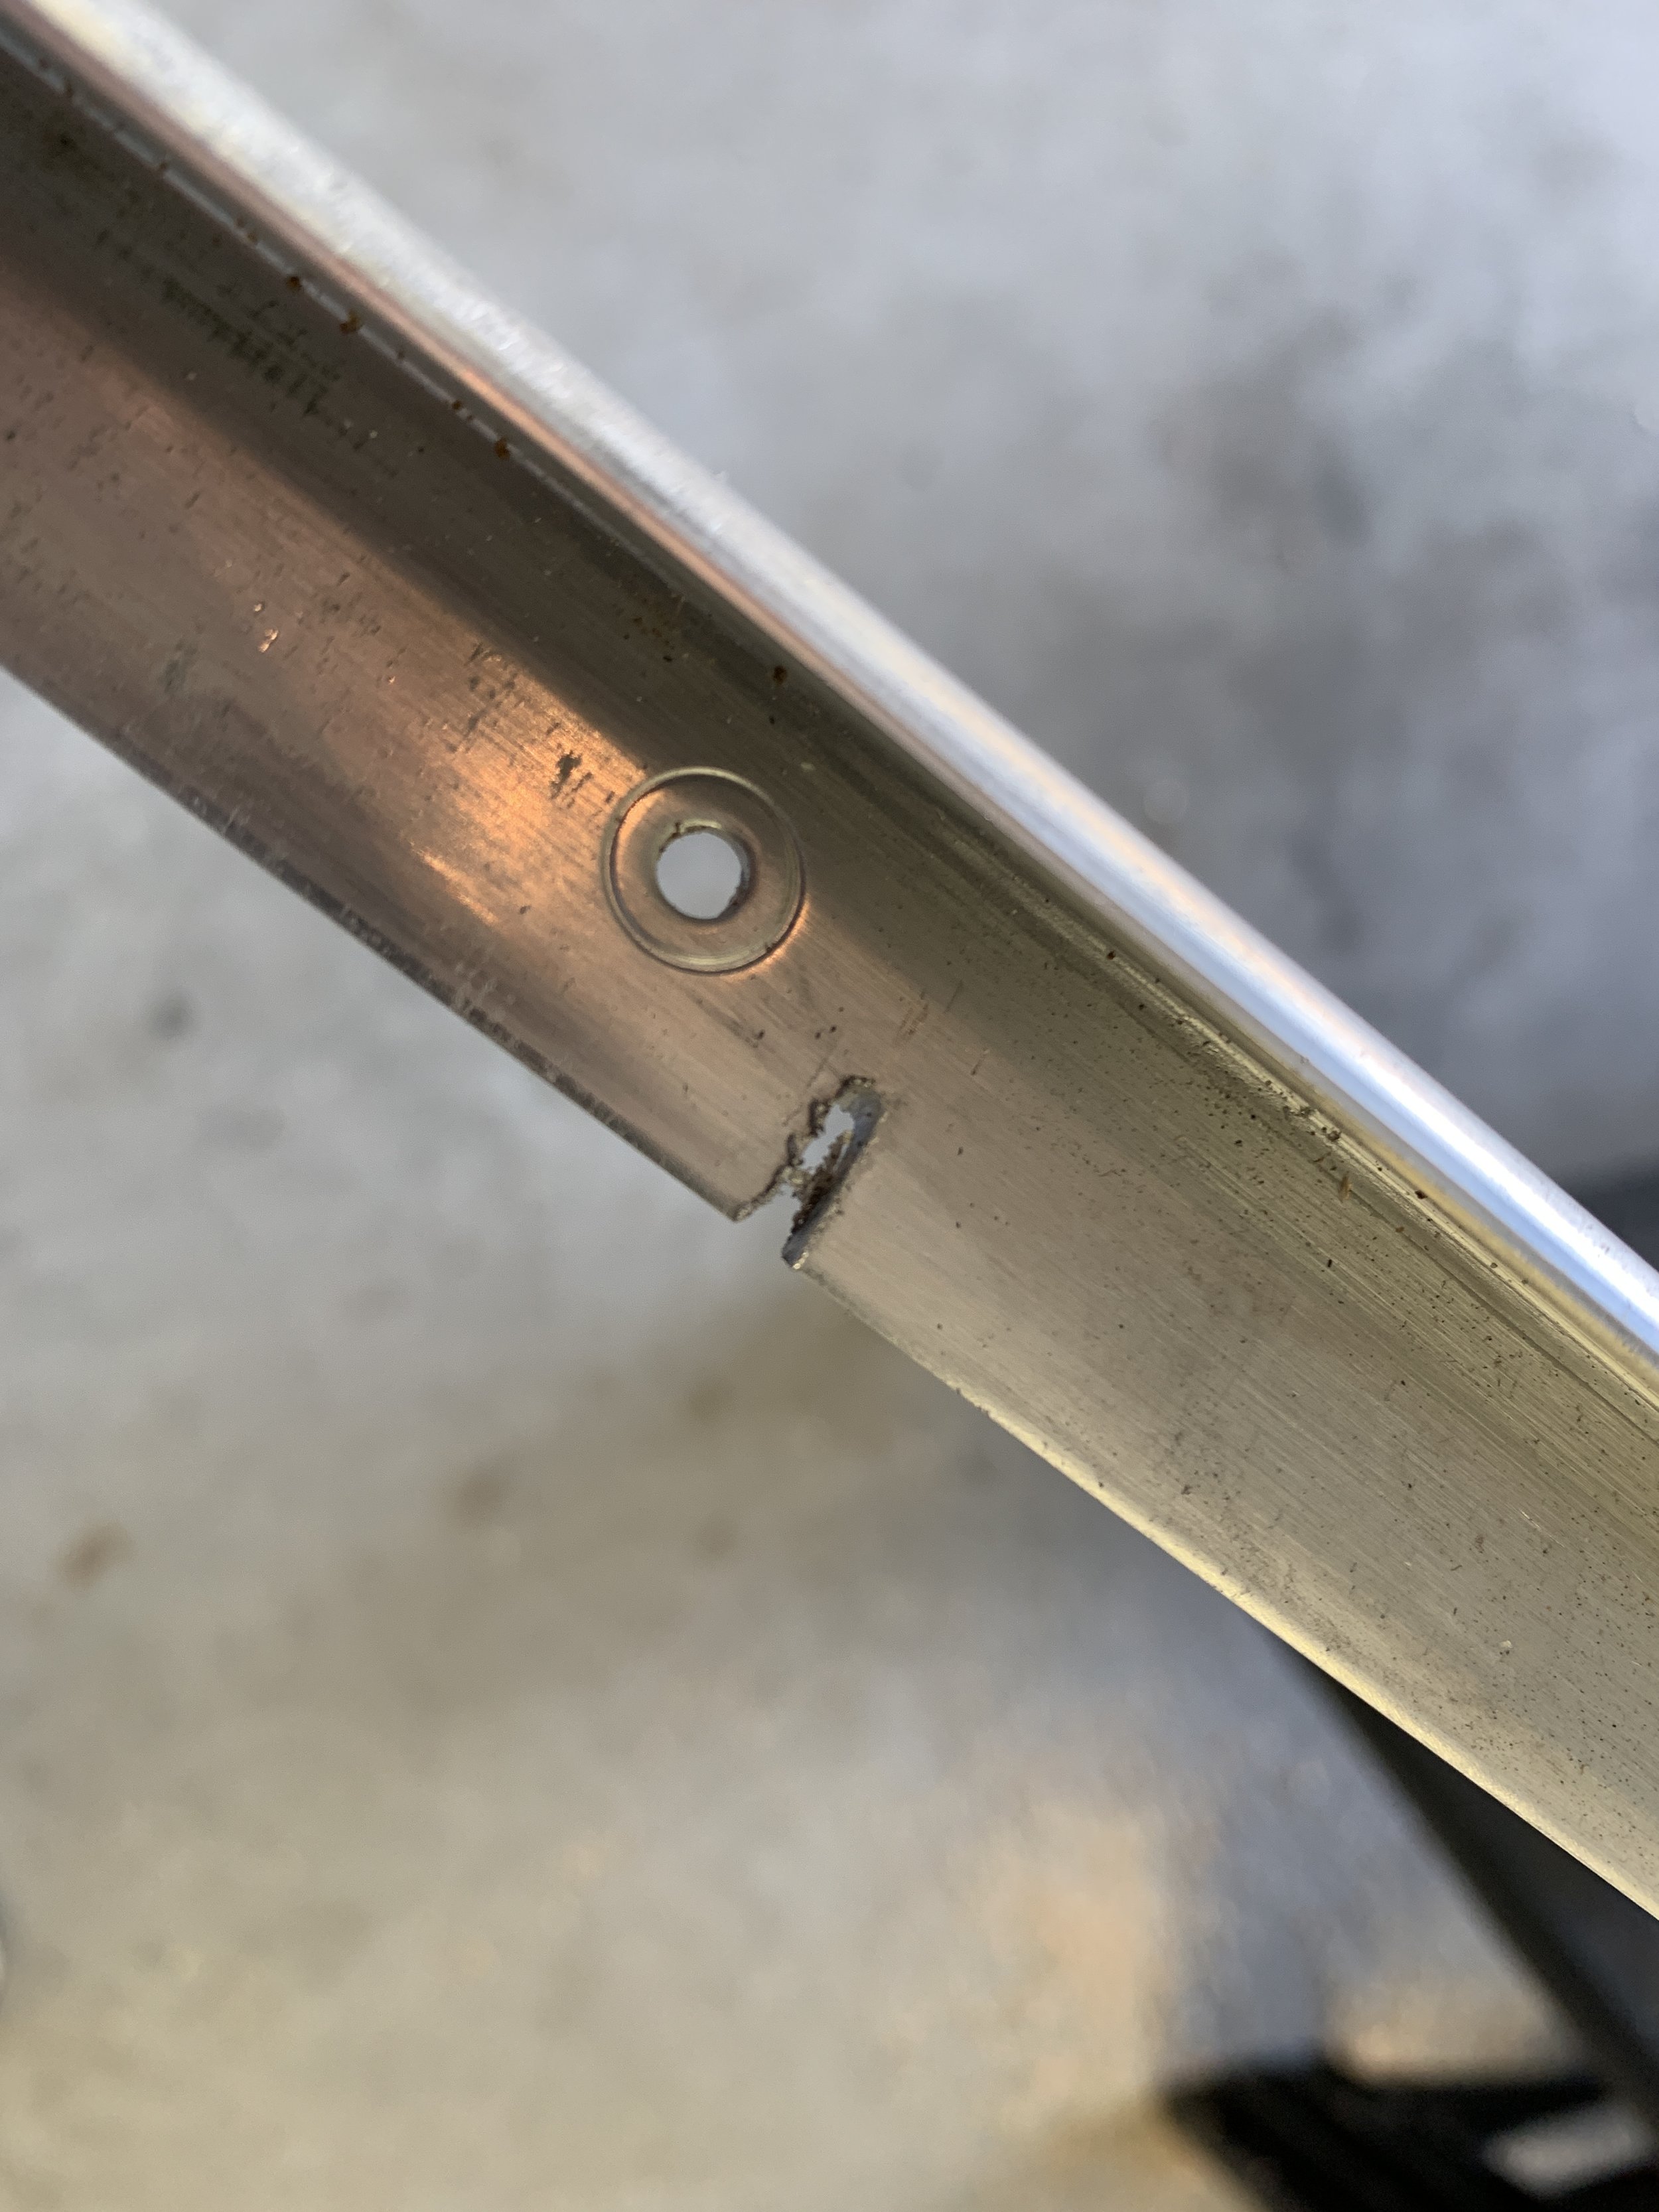
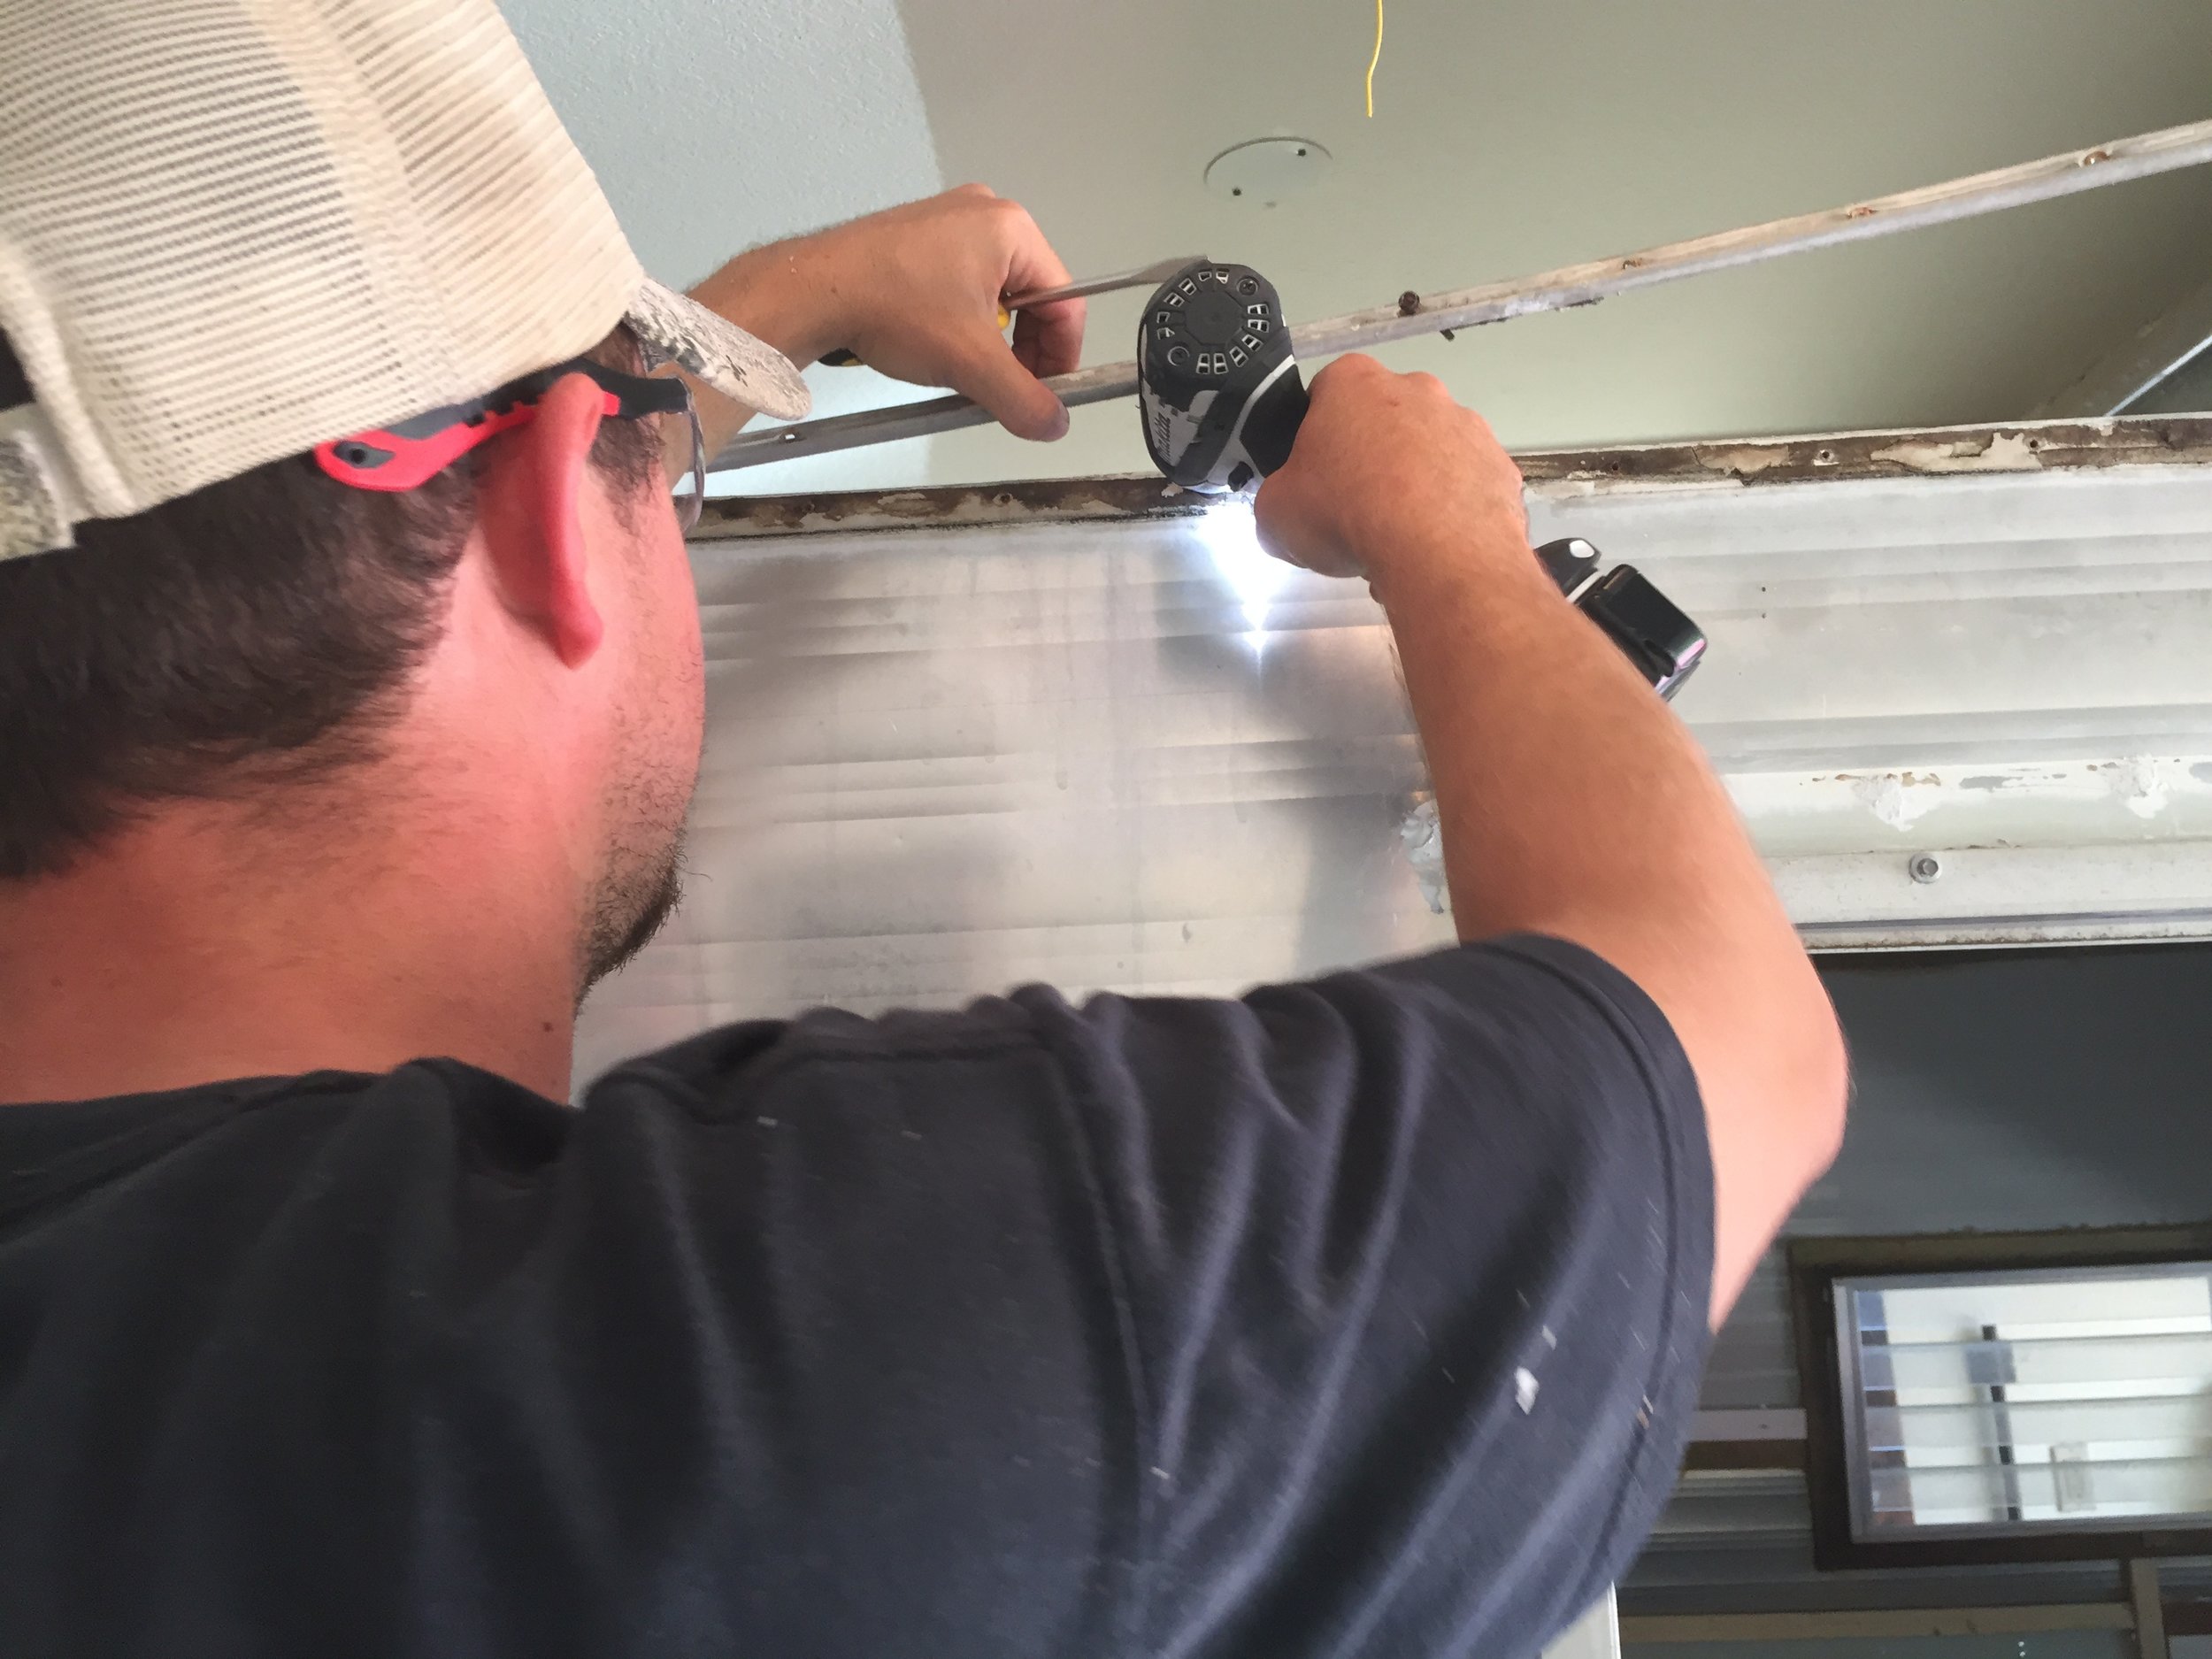
As you’re installing this kind of trim, we found it’s best to go in sequence and one screw at a time, bending the metal by hand as you go to the shape you need it. The holes are close enough together that you basically use the previous screw you secured for leverage to bend the to-be-secured end where you need it to go. Because of this, we made sure on our first piece to align one of the pre-drilled holes in the trim with the first turn to make sure we could use it as a pivot point and get the leverage we needed to make such a sharp angle. You can see in the photos below we also used our Dremel to nick the edge of the trim to help it tear cleanly at our sharp angle point.
(Note: We don’t recommend using pliers or other metal tools to bend these aluminum pieces – besides being soft enough to shape by hand, the aluminum is so soft it will easily show tool marks.)

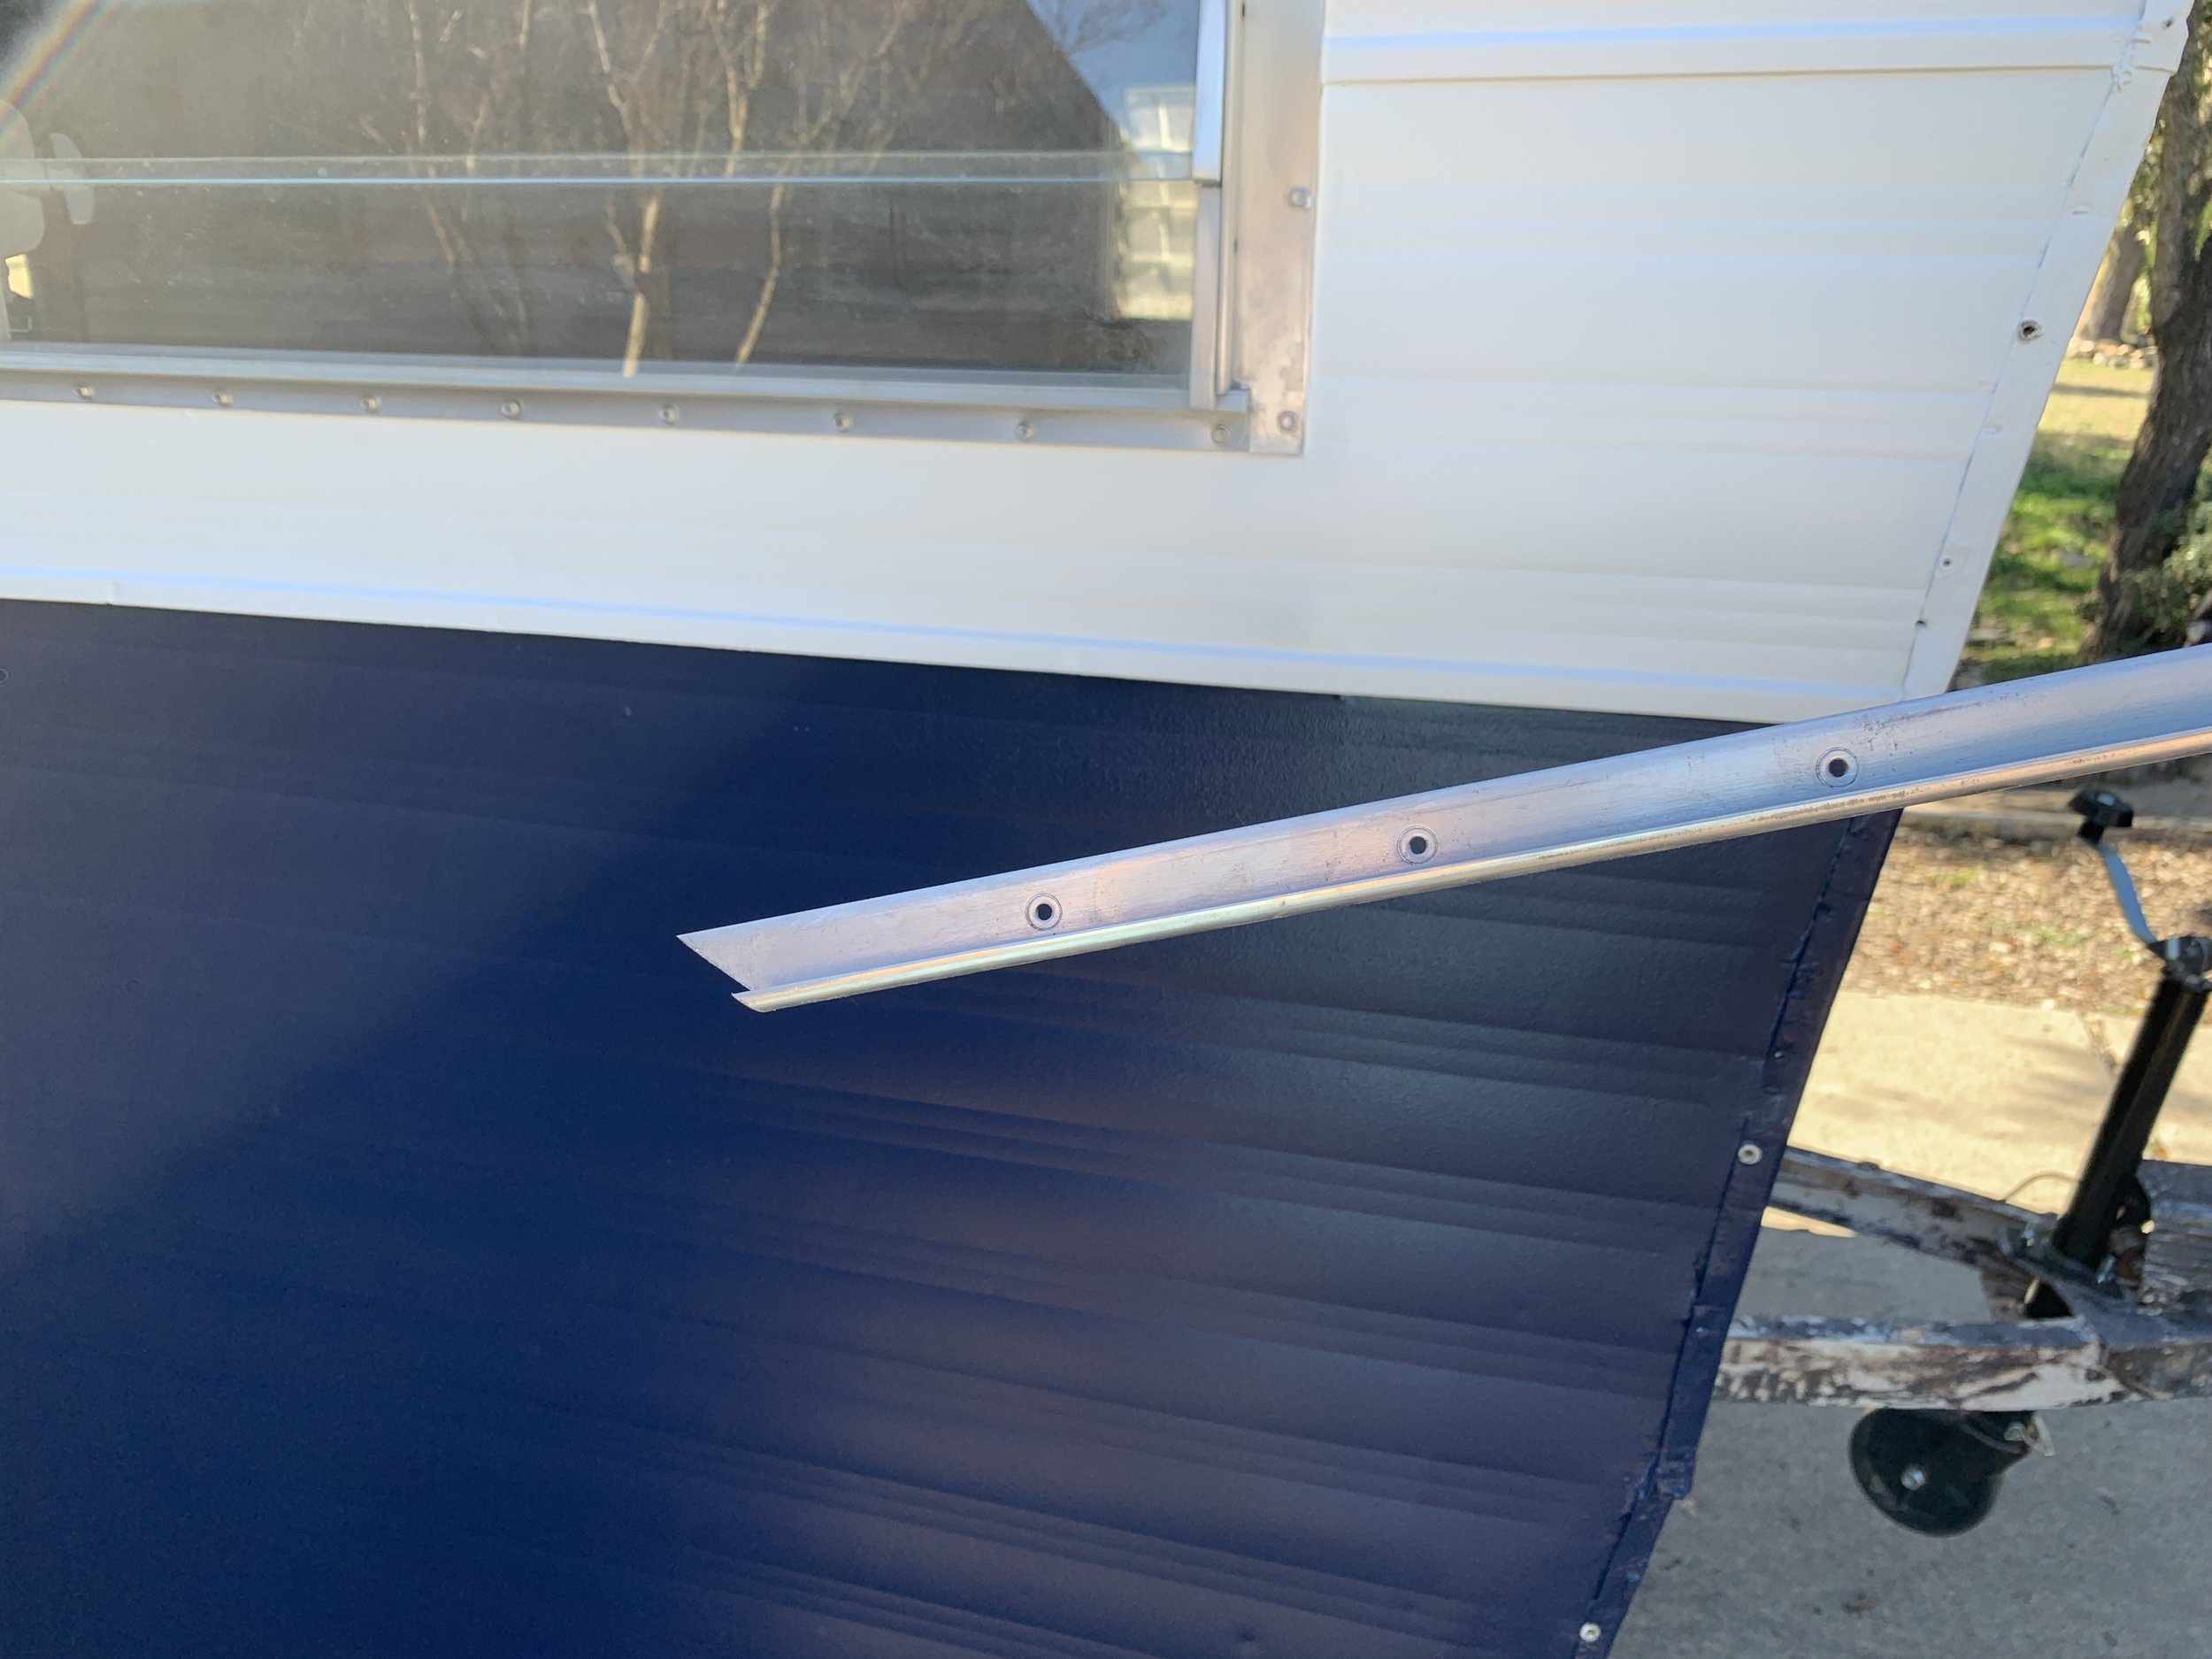
After we fully installed the first long piece of trim, we went back and installed the missing first piece. We cut this piece at an angle to match our join using our miter saw and secured it with screws, leaving extra hanging down. Using a Dremel, we cut the overhanging trim flush with the bottom of the camper.

We followed the same steps to reinstall the original metal awning/drip rail above the door.
Finishing
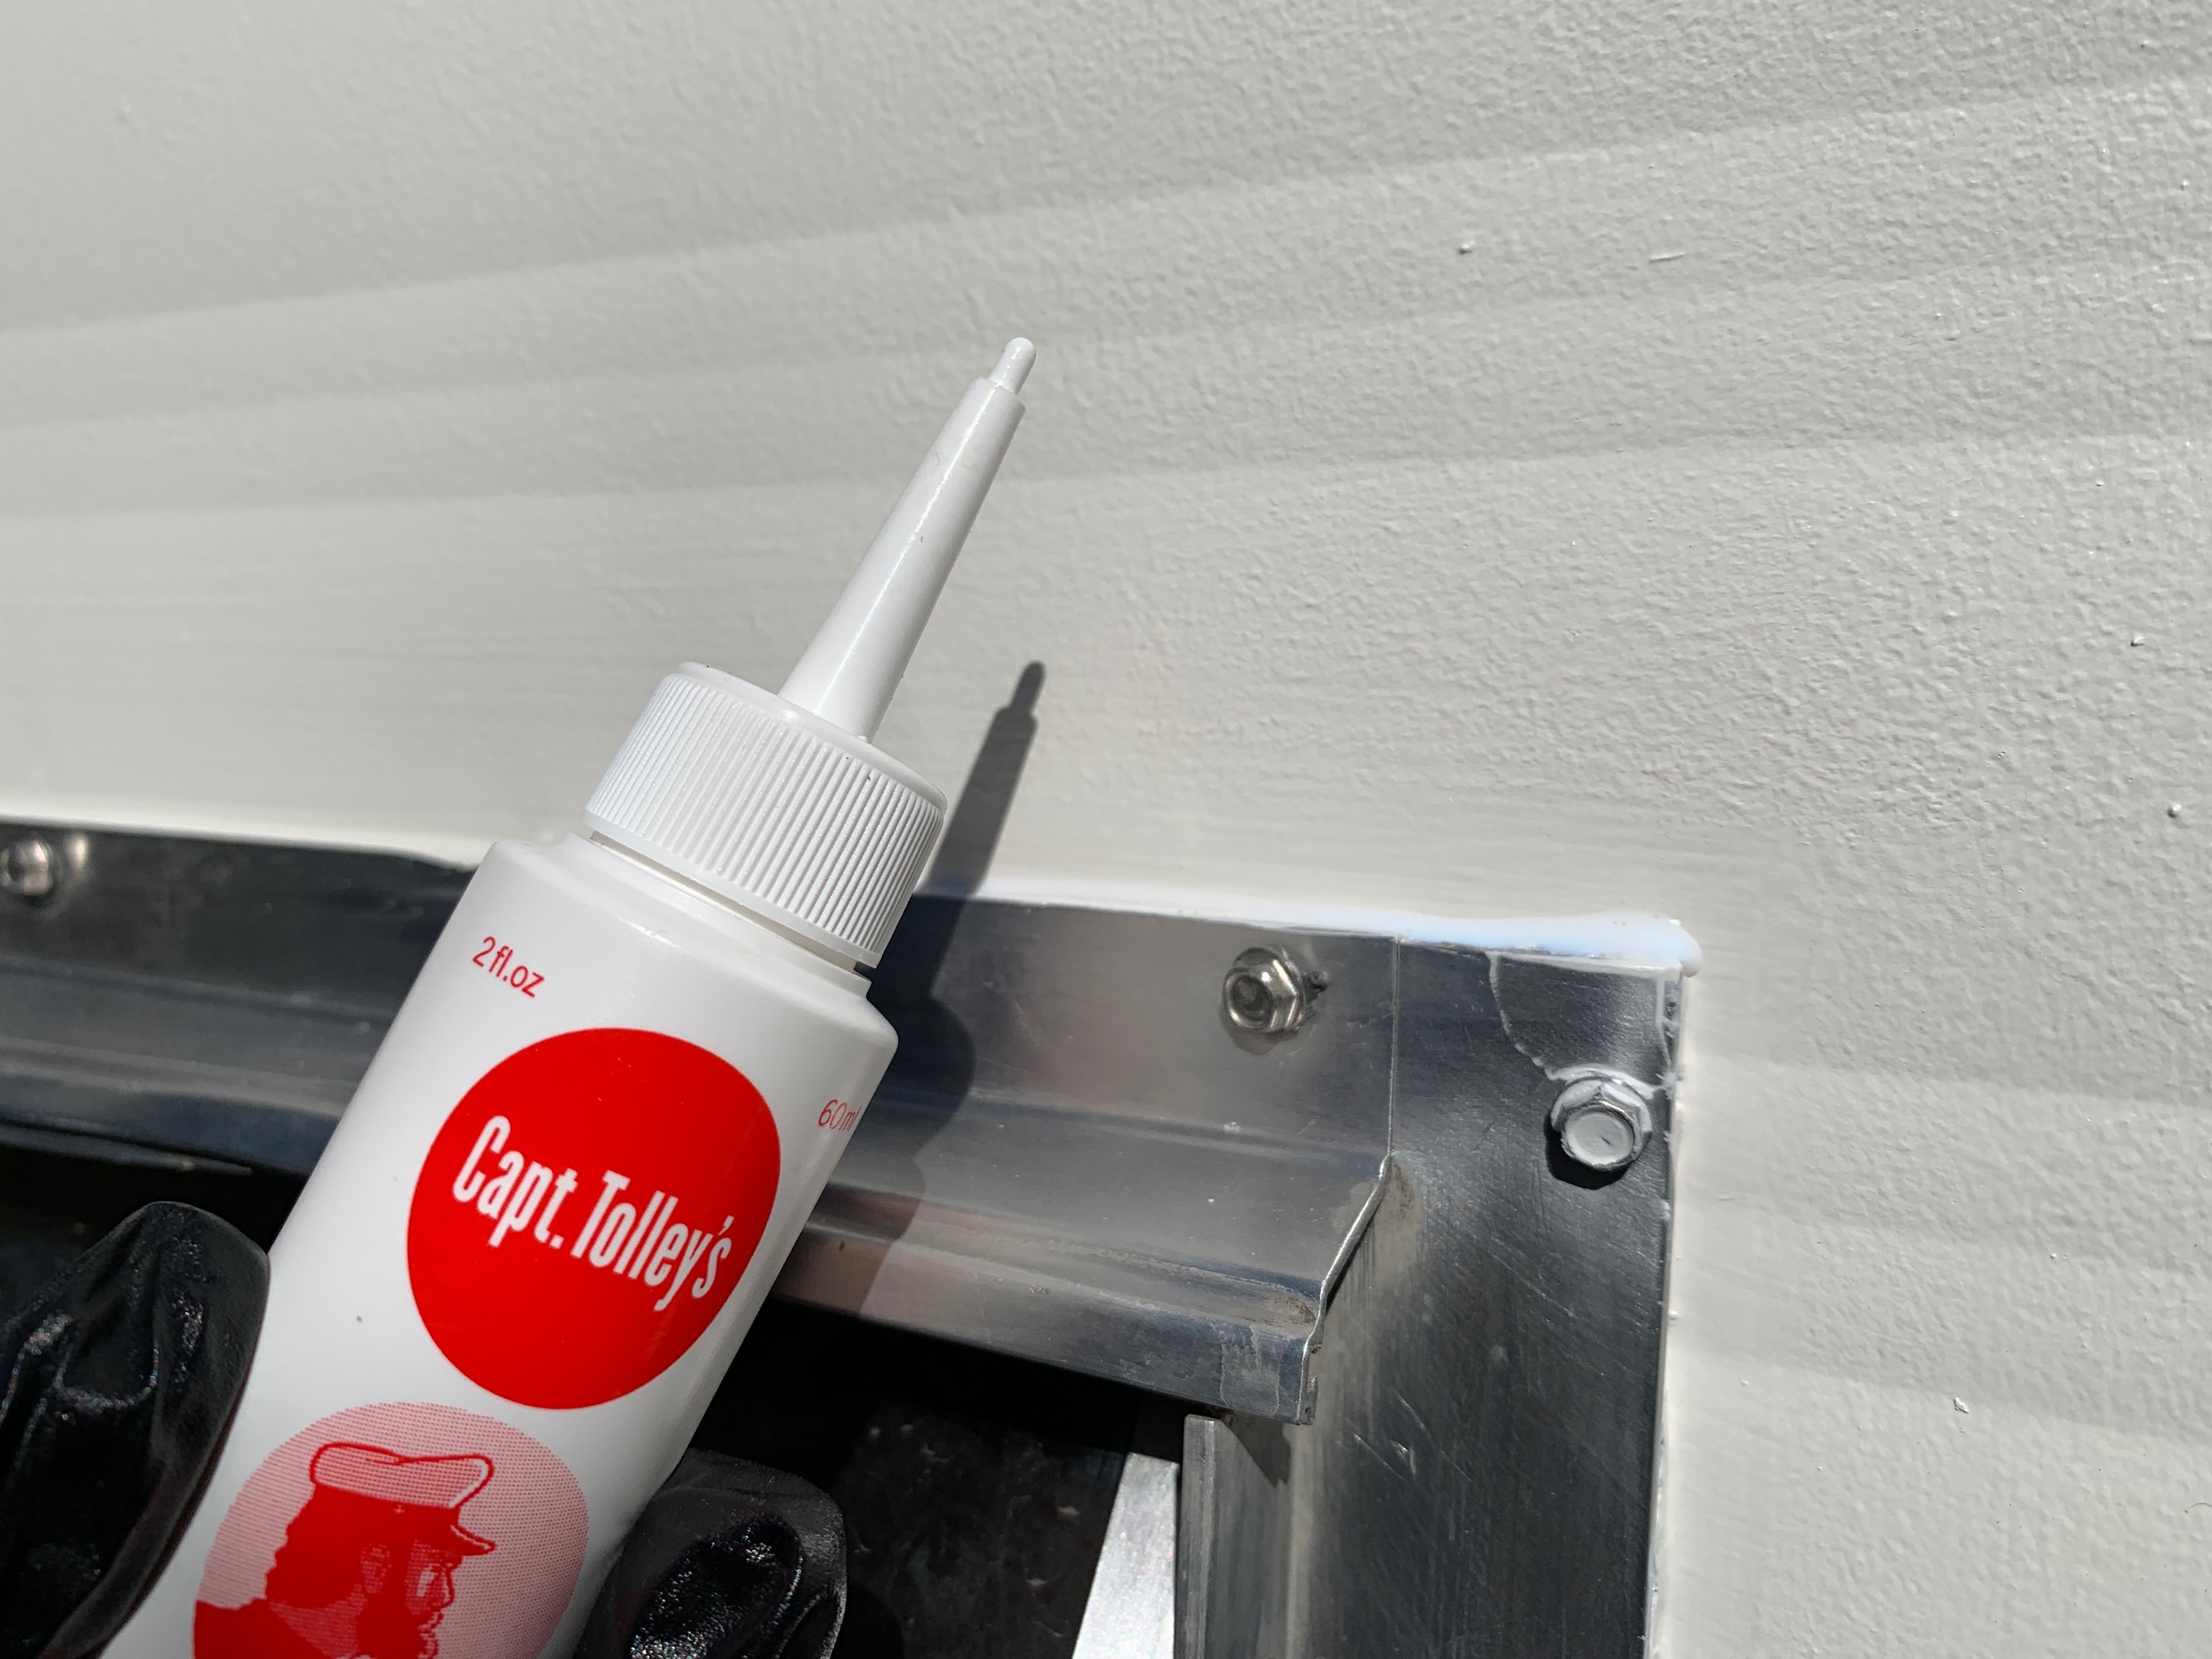
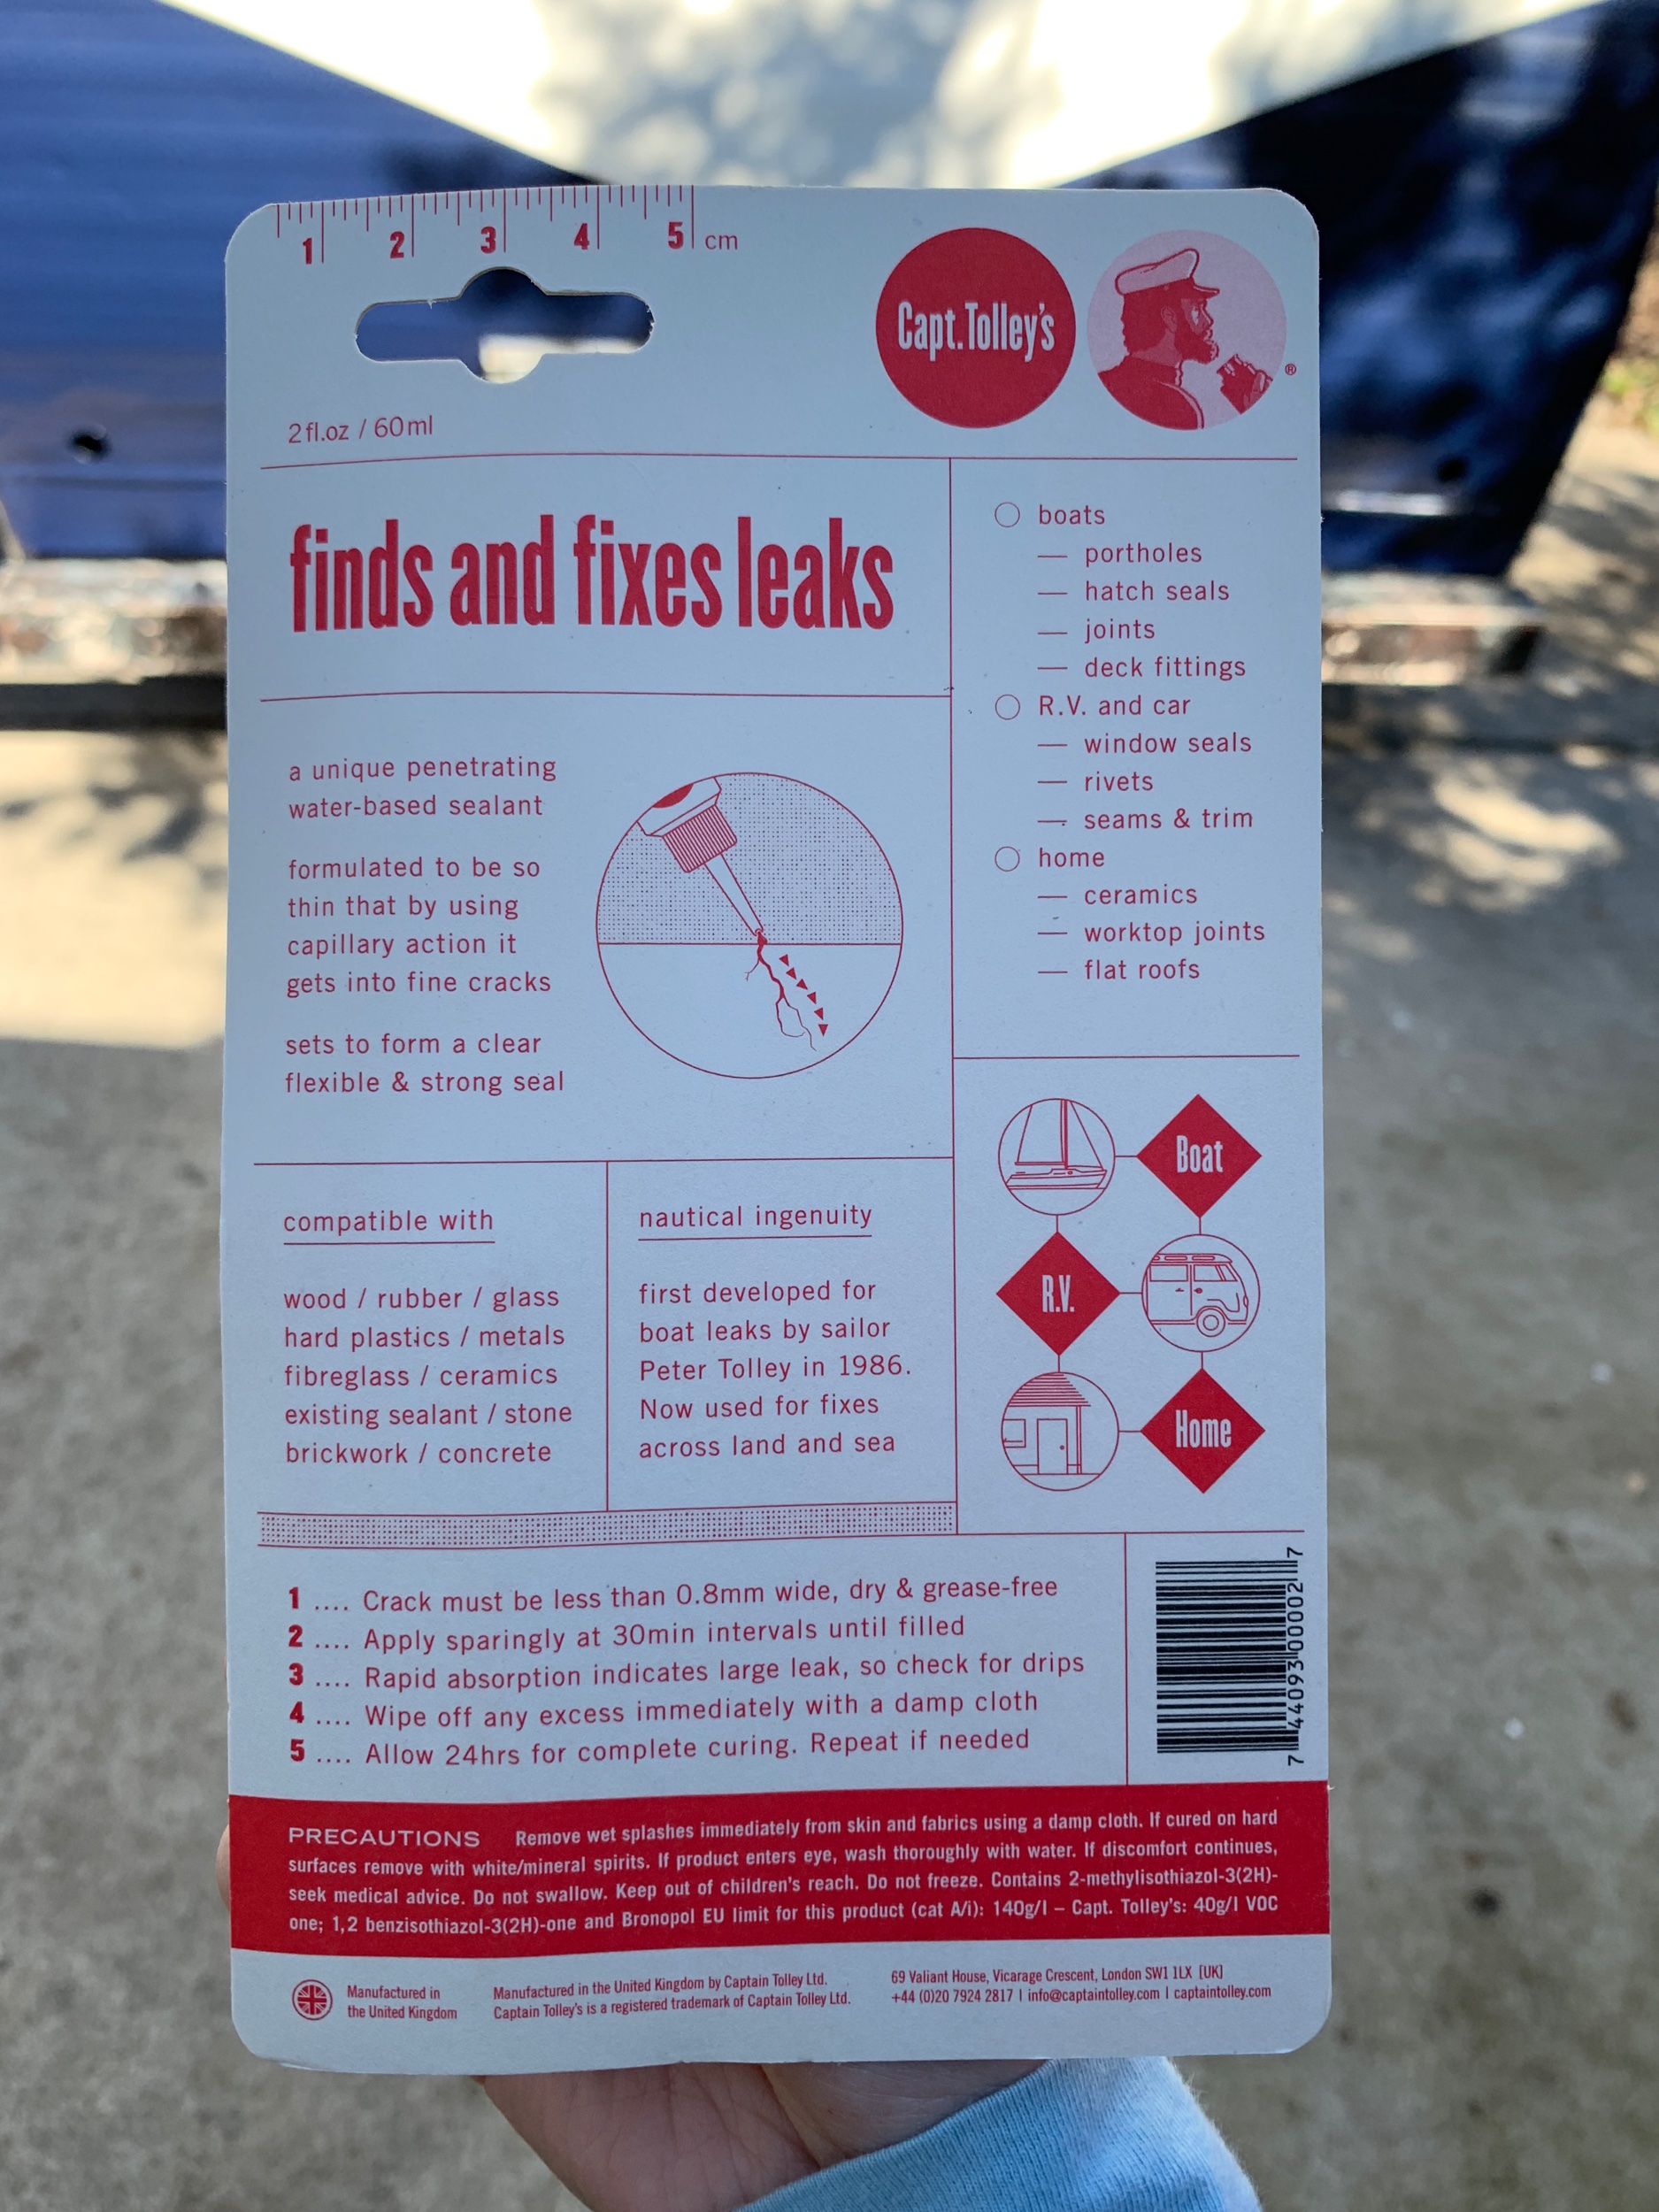
After we secured all of the J-rail, we carefully trimmed off all of the excess putty tape using a flat razor for a clean finish. Then we used Captain Tolley’s Creeping Crack Cure along the entire rail to help fill any micro holes that may not be 100% filled by putty tape. Lastly for one added layer of protection, we ran a small bead of Lexel clear paintable solvent caulk along the edges of the trim to fill any gaps. Though practically invisible, we’ll likely go back and touchup paint on top of it to help conceal where you can see putty tape imperfections through the clear caulk. We also used a small amount of the same clear caulk in the seam of the “J” where two pieces of trim met. (Our seam happened to be above the door, where if any water breaks through the seam it should drip down onto the little metal awning above the door.)
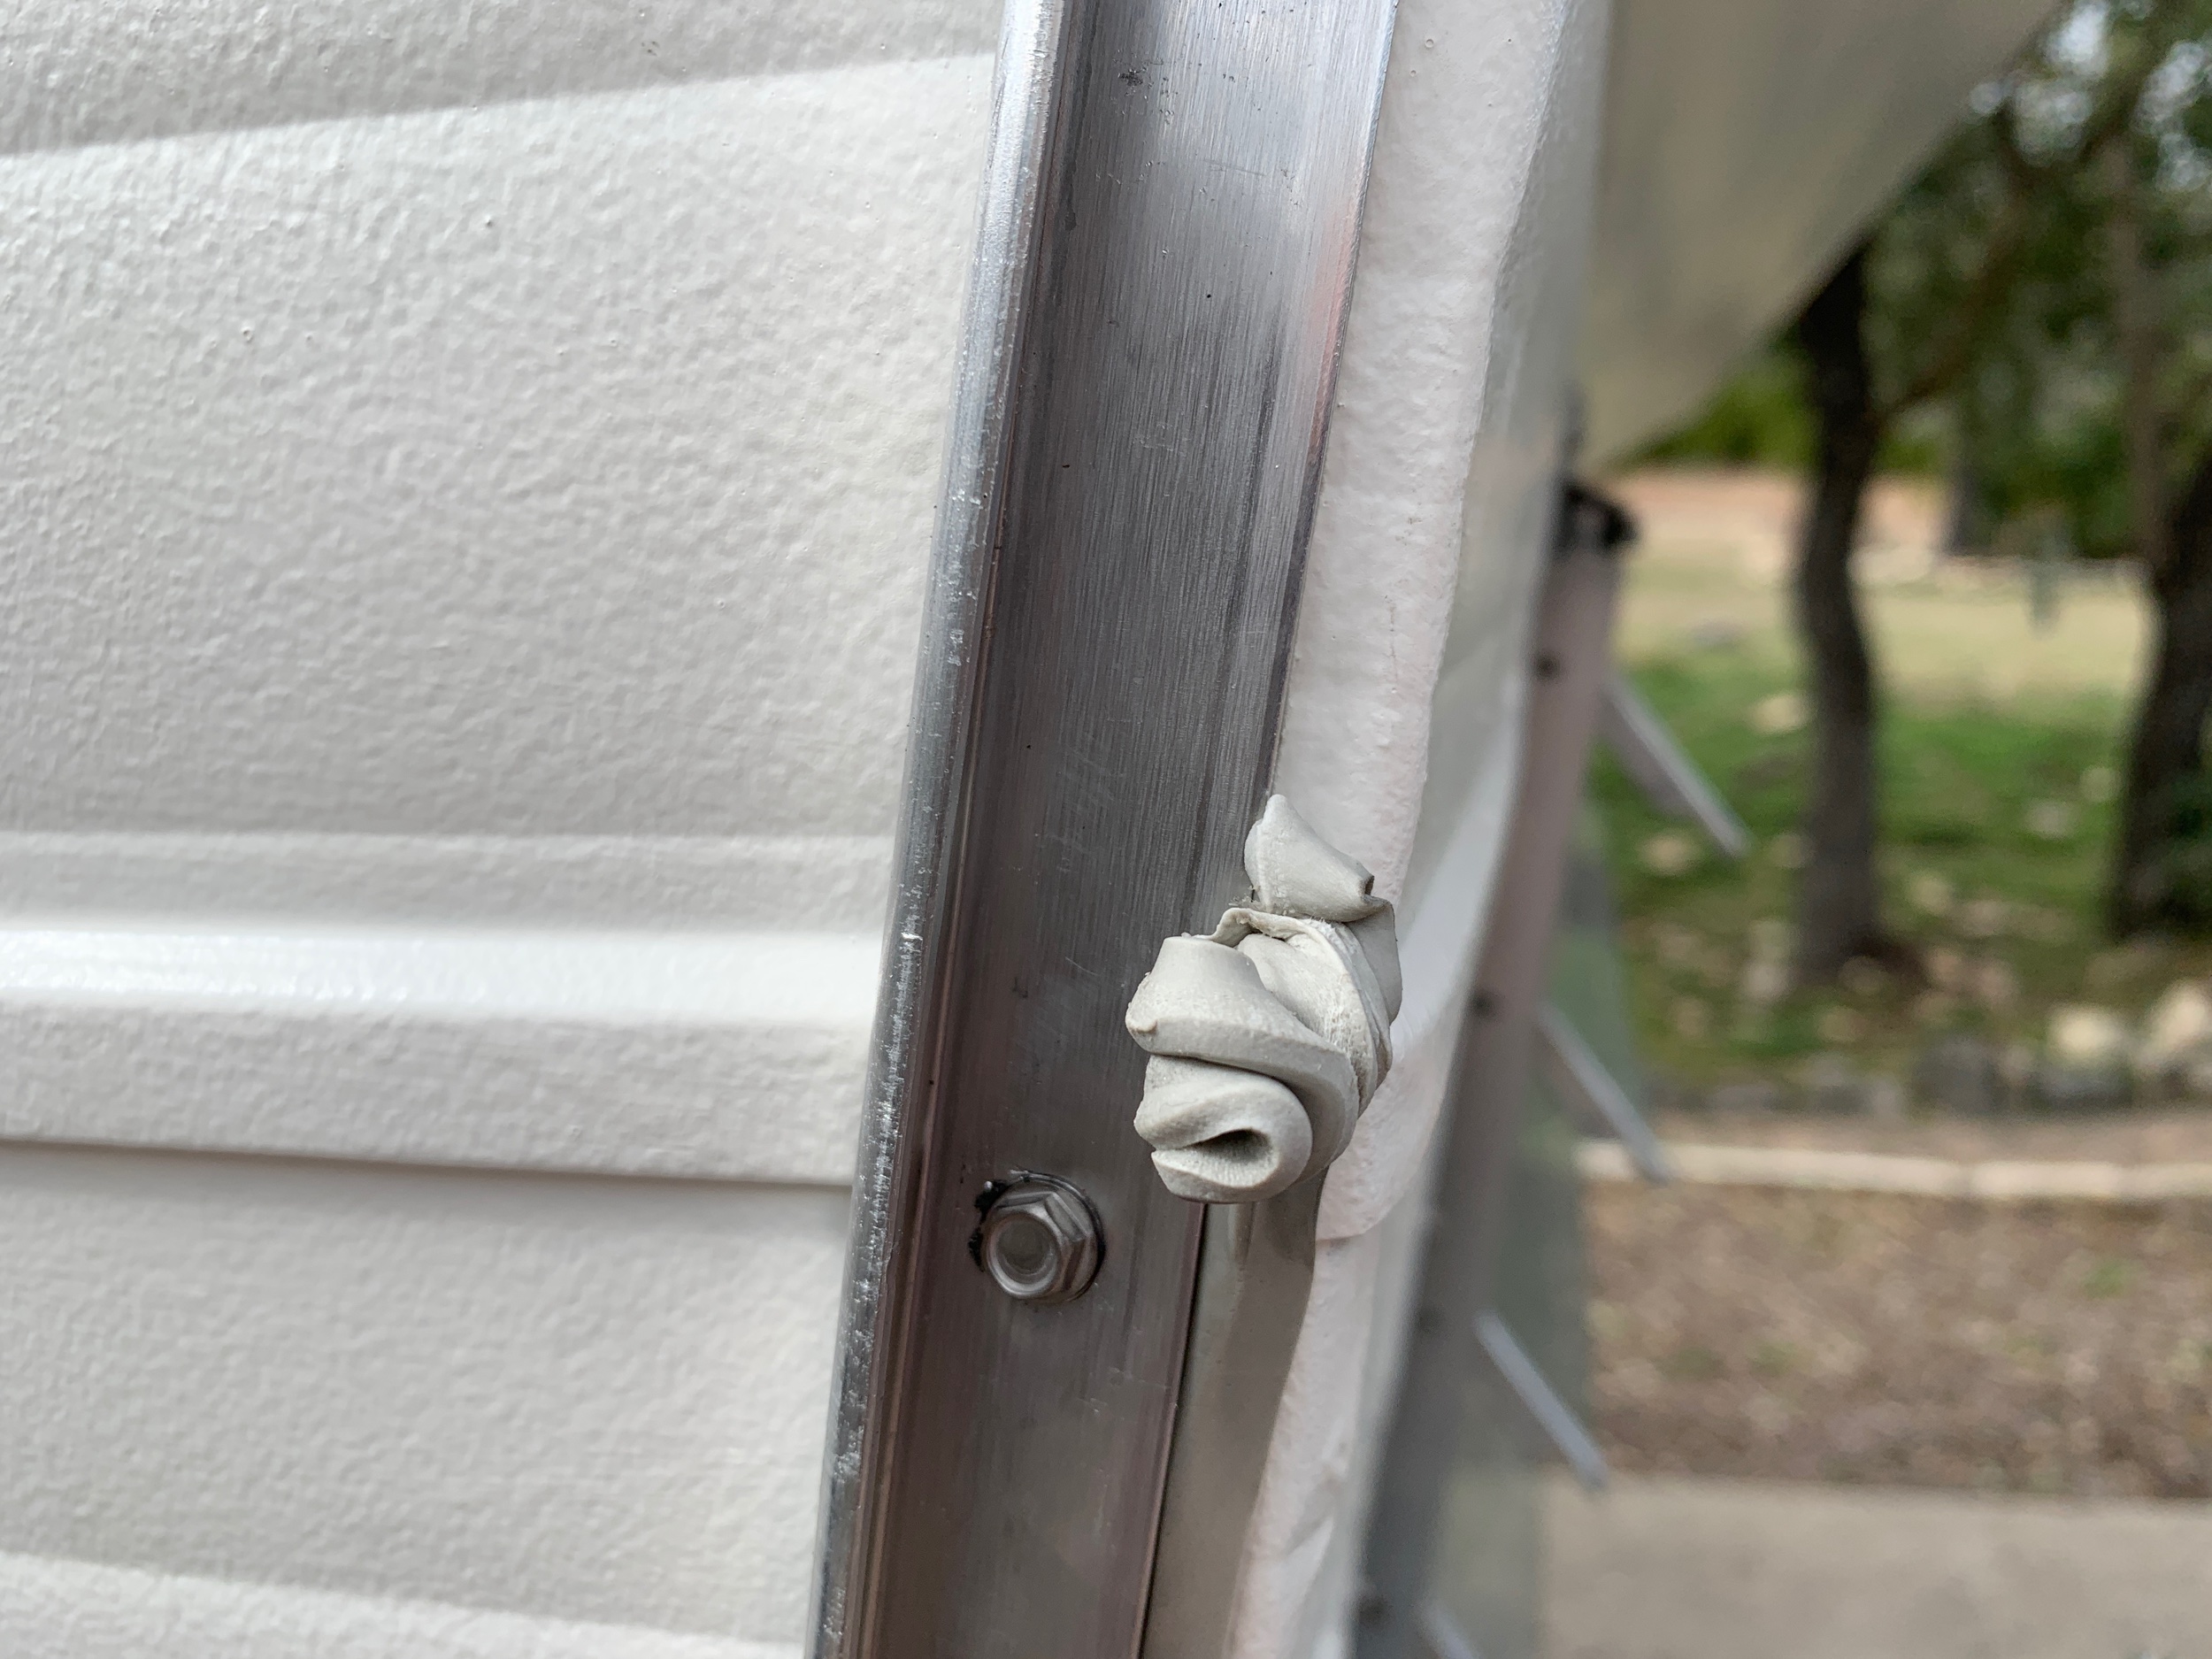

Excess putty tape after trimming.
Tips for installing J-trim:
Don’t be afraid to double up. In some areas – especially along the tighter curves – it may be helpful to double up your putty tape (stacked on top of each other) to increase the thickness as the aluminum trim can kind of kick out and not be as close to the wall as you’d like. We have a couple spots where the trim isn’t as tight as we’d like, which is one of the reasons why we opted to use the Creeping Crack Cure and fancy caulk.
Don’t bend the trim with metal tools. It scratches easily and is best bent by hand.
Wear gloves. I really like these tight fitting rubber ones. They’re nice and form fitting so I’ve got great dexterity and the added grip from the rubber helps with projects like these, plus they’re nice and protective for the sometimes sharp edges of the cut aluminum. (Also, I know they’re technically gardening gloves, but work gloves always seem to be too big for my apparent baby-sized hands.)
J-trim Before + After
In addition to looking better and being less crusty than the previous 50-year-old stuff, the new J-trim should leave The Cameo nice and waterproof.

Update – She’s baaaaaack!
In between the time I started this post and actually posting it (because, life y’all) The Cameo is officially home from the spa, and she’s sporting fully functioning exterior electrical, electric brakes and some shiny new tires, among other things. This means she’s officially street legal (well, except for maybe the license and registration… but that’s a post for another day.)