The Cameo Camper Renovation: Cleaning + waterproofing the exterior
Eight weeks. It's been eight weeks since I've posted about the happenings on the camper and I'm so sorry for that... but who really wants to see a whole post just about caulk removal? Yeah, that's what I thought. I'm getting kinda bored just talking about it now, but in addition I'll also share the other things we've been doing over the last two months to get the exterior cleaned up before we can finally get to painting. Riveting as it is, I'll touch on the caulk removal briefly for the ones and ones of you who might face the same issue or if you're just a bit of a caulk freak. Hey, you do you. (To be fair, we haven't been working every single weekend – birthdays, our Bahamas vacation and two full-time jobs have taken up some camper time – so I don't want to scare you away thinking this actually would take you this long.) If you haven't already, read from the beginning to get caught up on how we got here before we dive into the wonderful world of caulk.
Hold onto your seats, today we're going to talk about:
Removing caulk from the exterior metal walls
Repairing holes in and waterproofing the exterior metal walls
So. much. caulk.
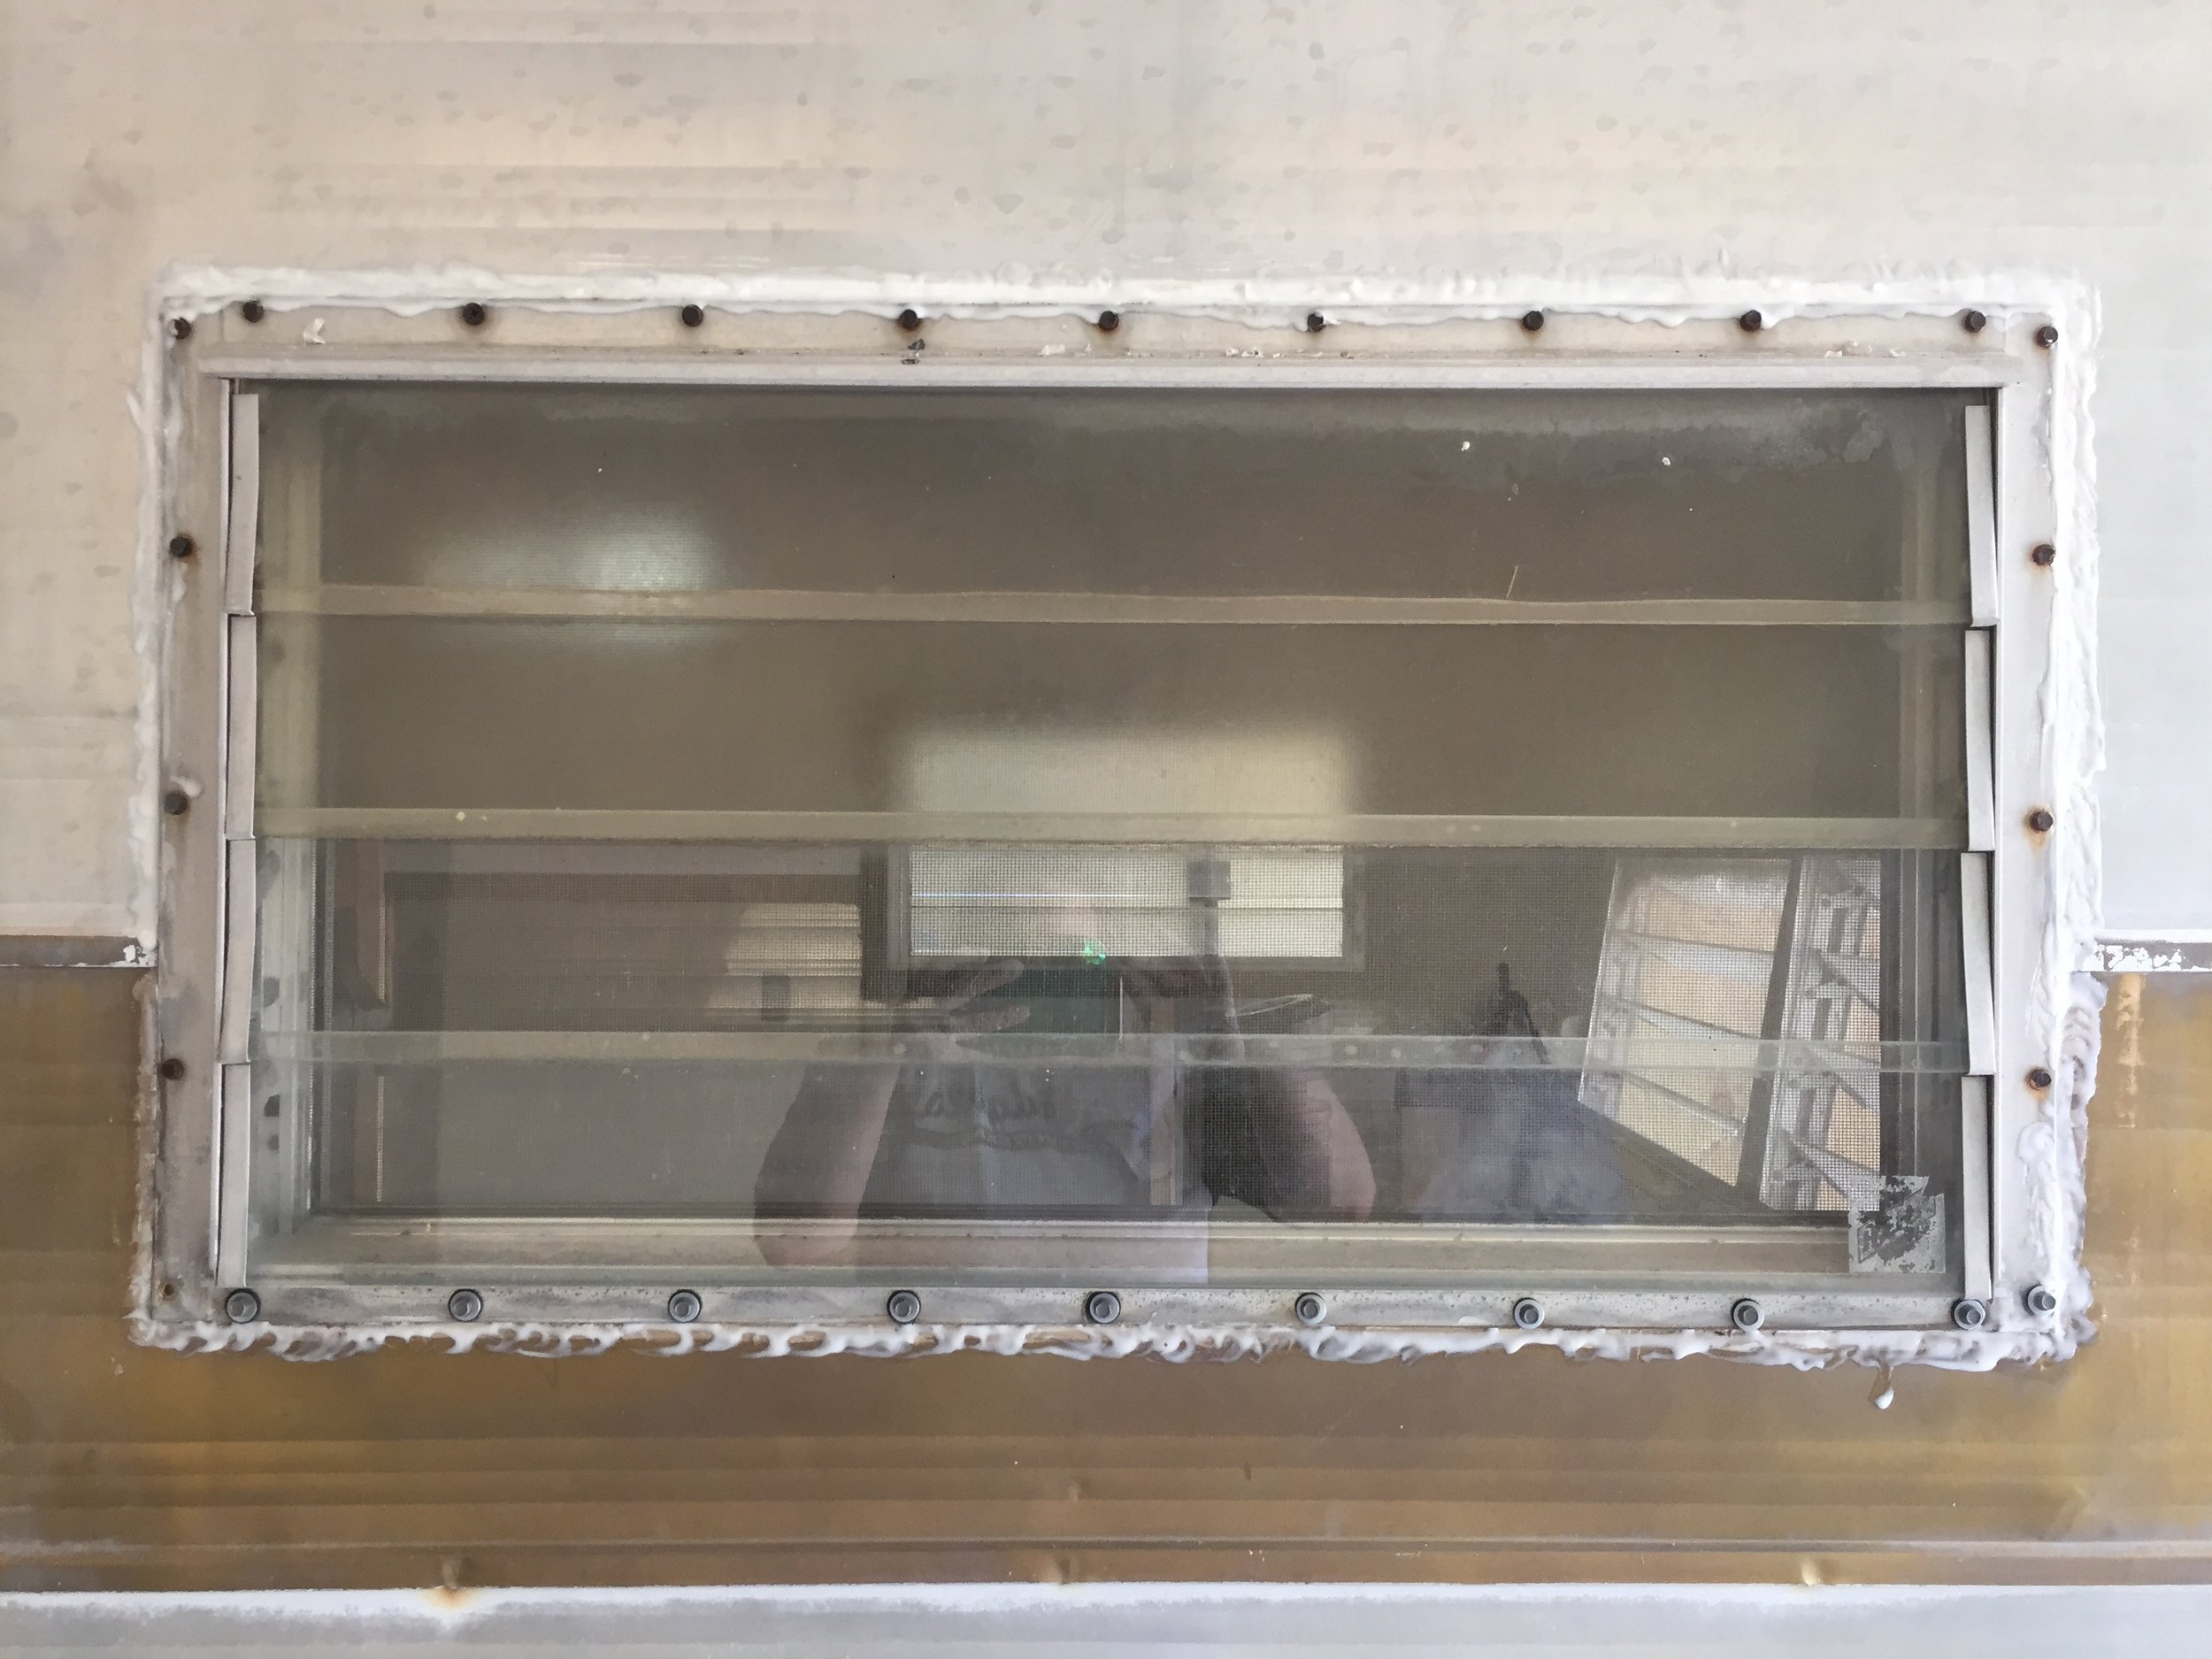
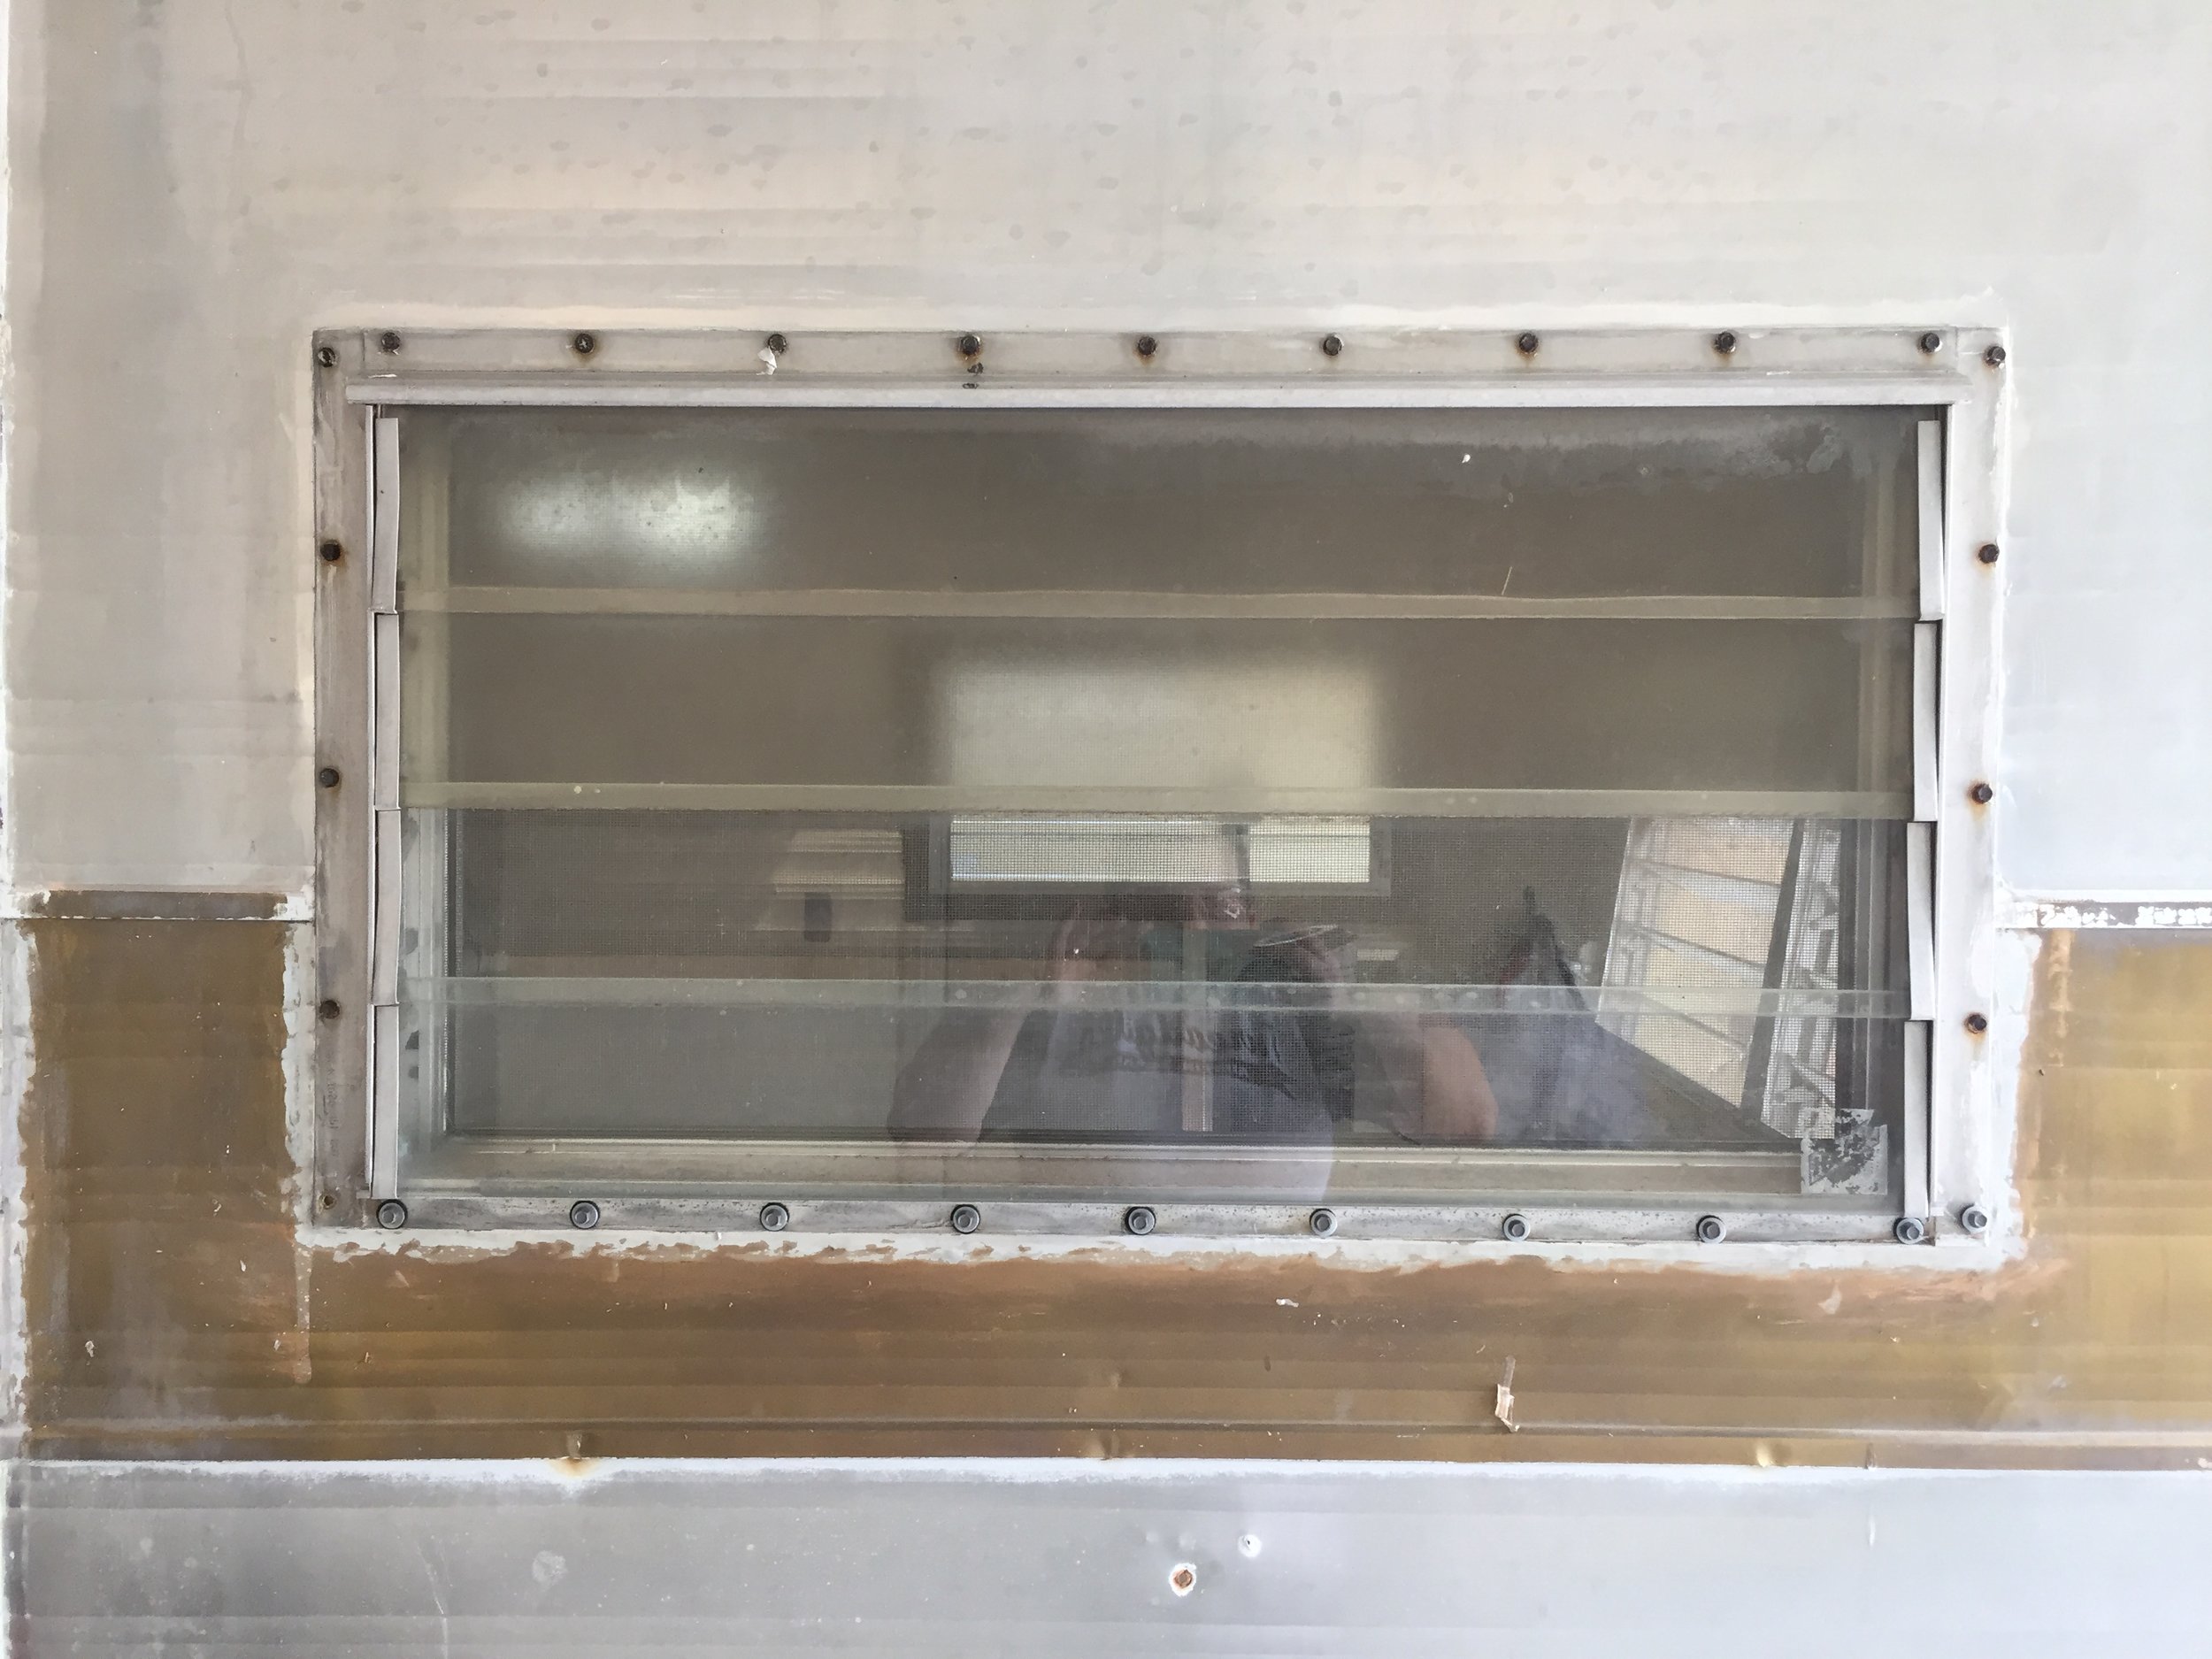
For whatever reason, someone (or maybe someones based on the layers) decided to fill every single nook and cranny with caulk. And silicone. And also what looked like maybe hot glue. (What the?! Why?!) We're guessing this was the makeshift first line of defense in waterproofing, but if you remember the extensive amount of water damage we found everywhere inside, you know that was an epic fail. For any of you with a camper thinking "Let's just throw some caulk in there, that'll solve our water leak problem"... I beg and plead with you: PLEASE, PUT THE CAULK DOWN. Do some research and fix it right, because not only will it look like total crap (see photos), it probably won't fix your problem causing waaay more damage, work and expense, and speaking from personal experience, it's one of the most tedious things in the world to have to do. Truly a form of mental terrorism. 0/10 would recommend.
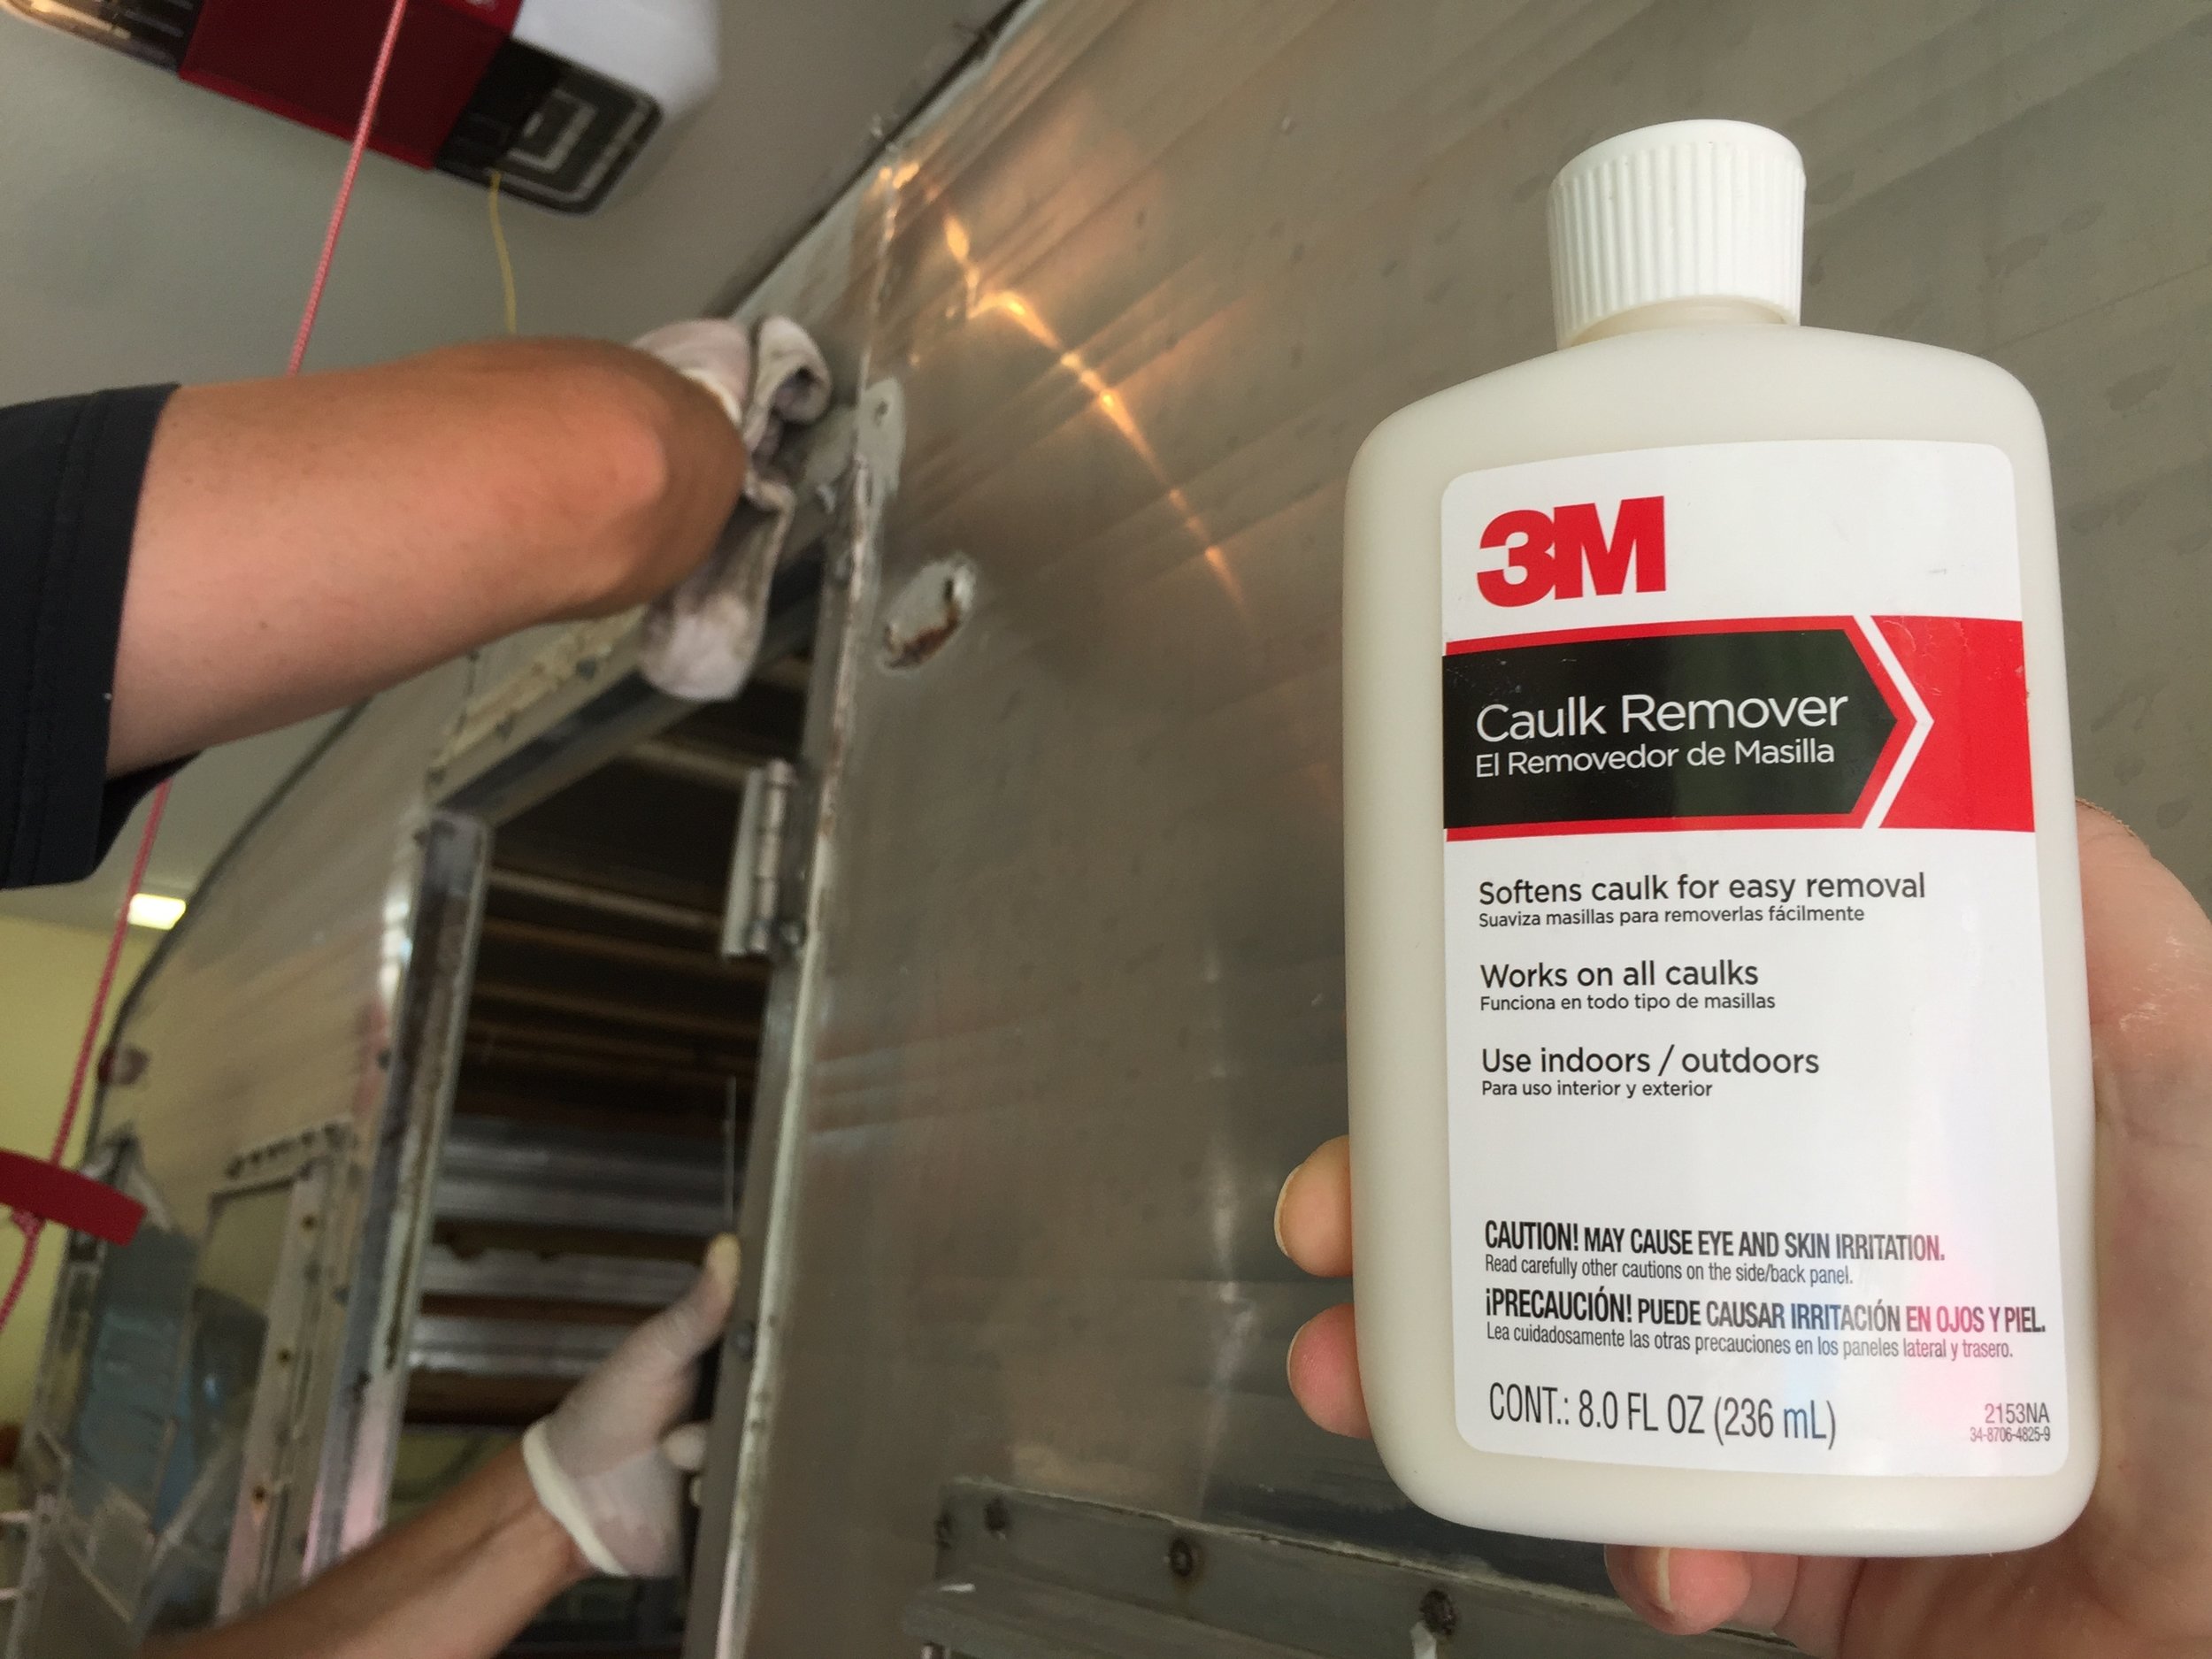
We used caulk remover – we found it worked best when left to soak on just a small amount of caulk as opposed to, say, something like this:
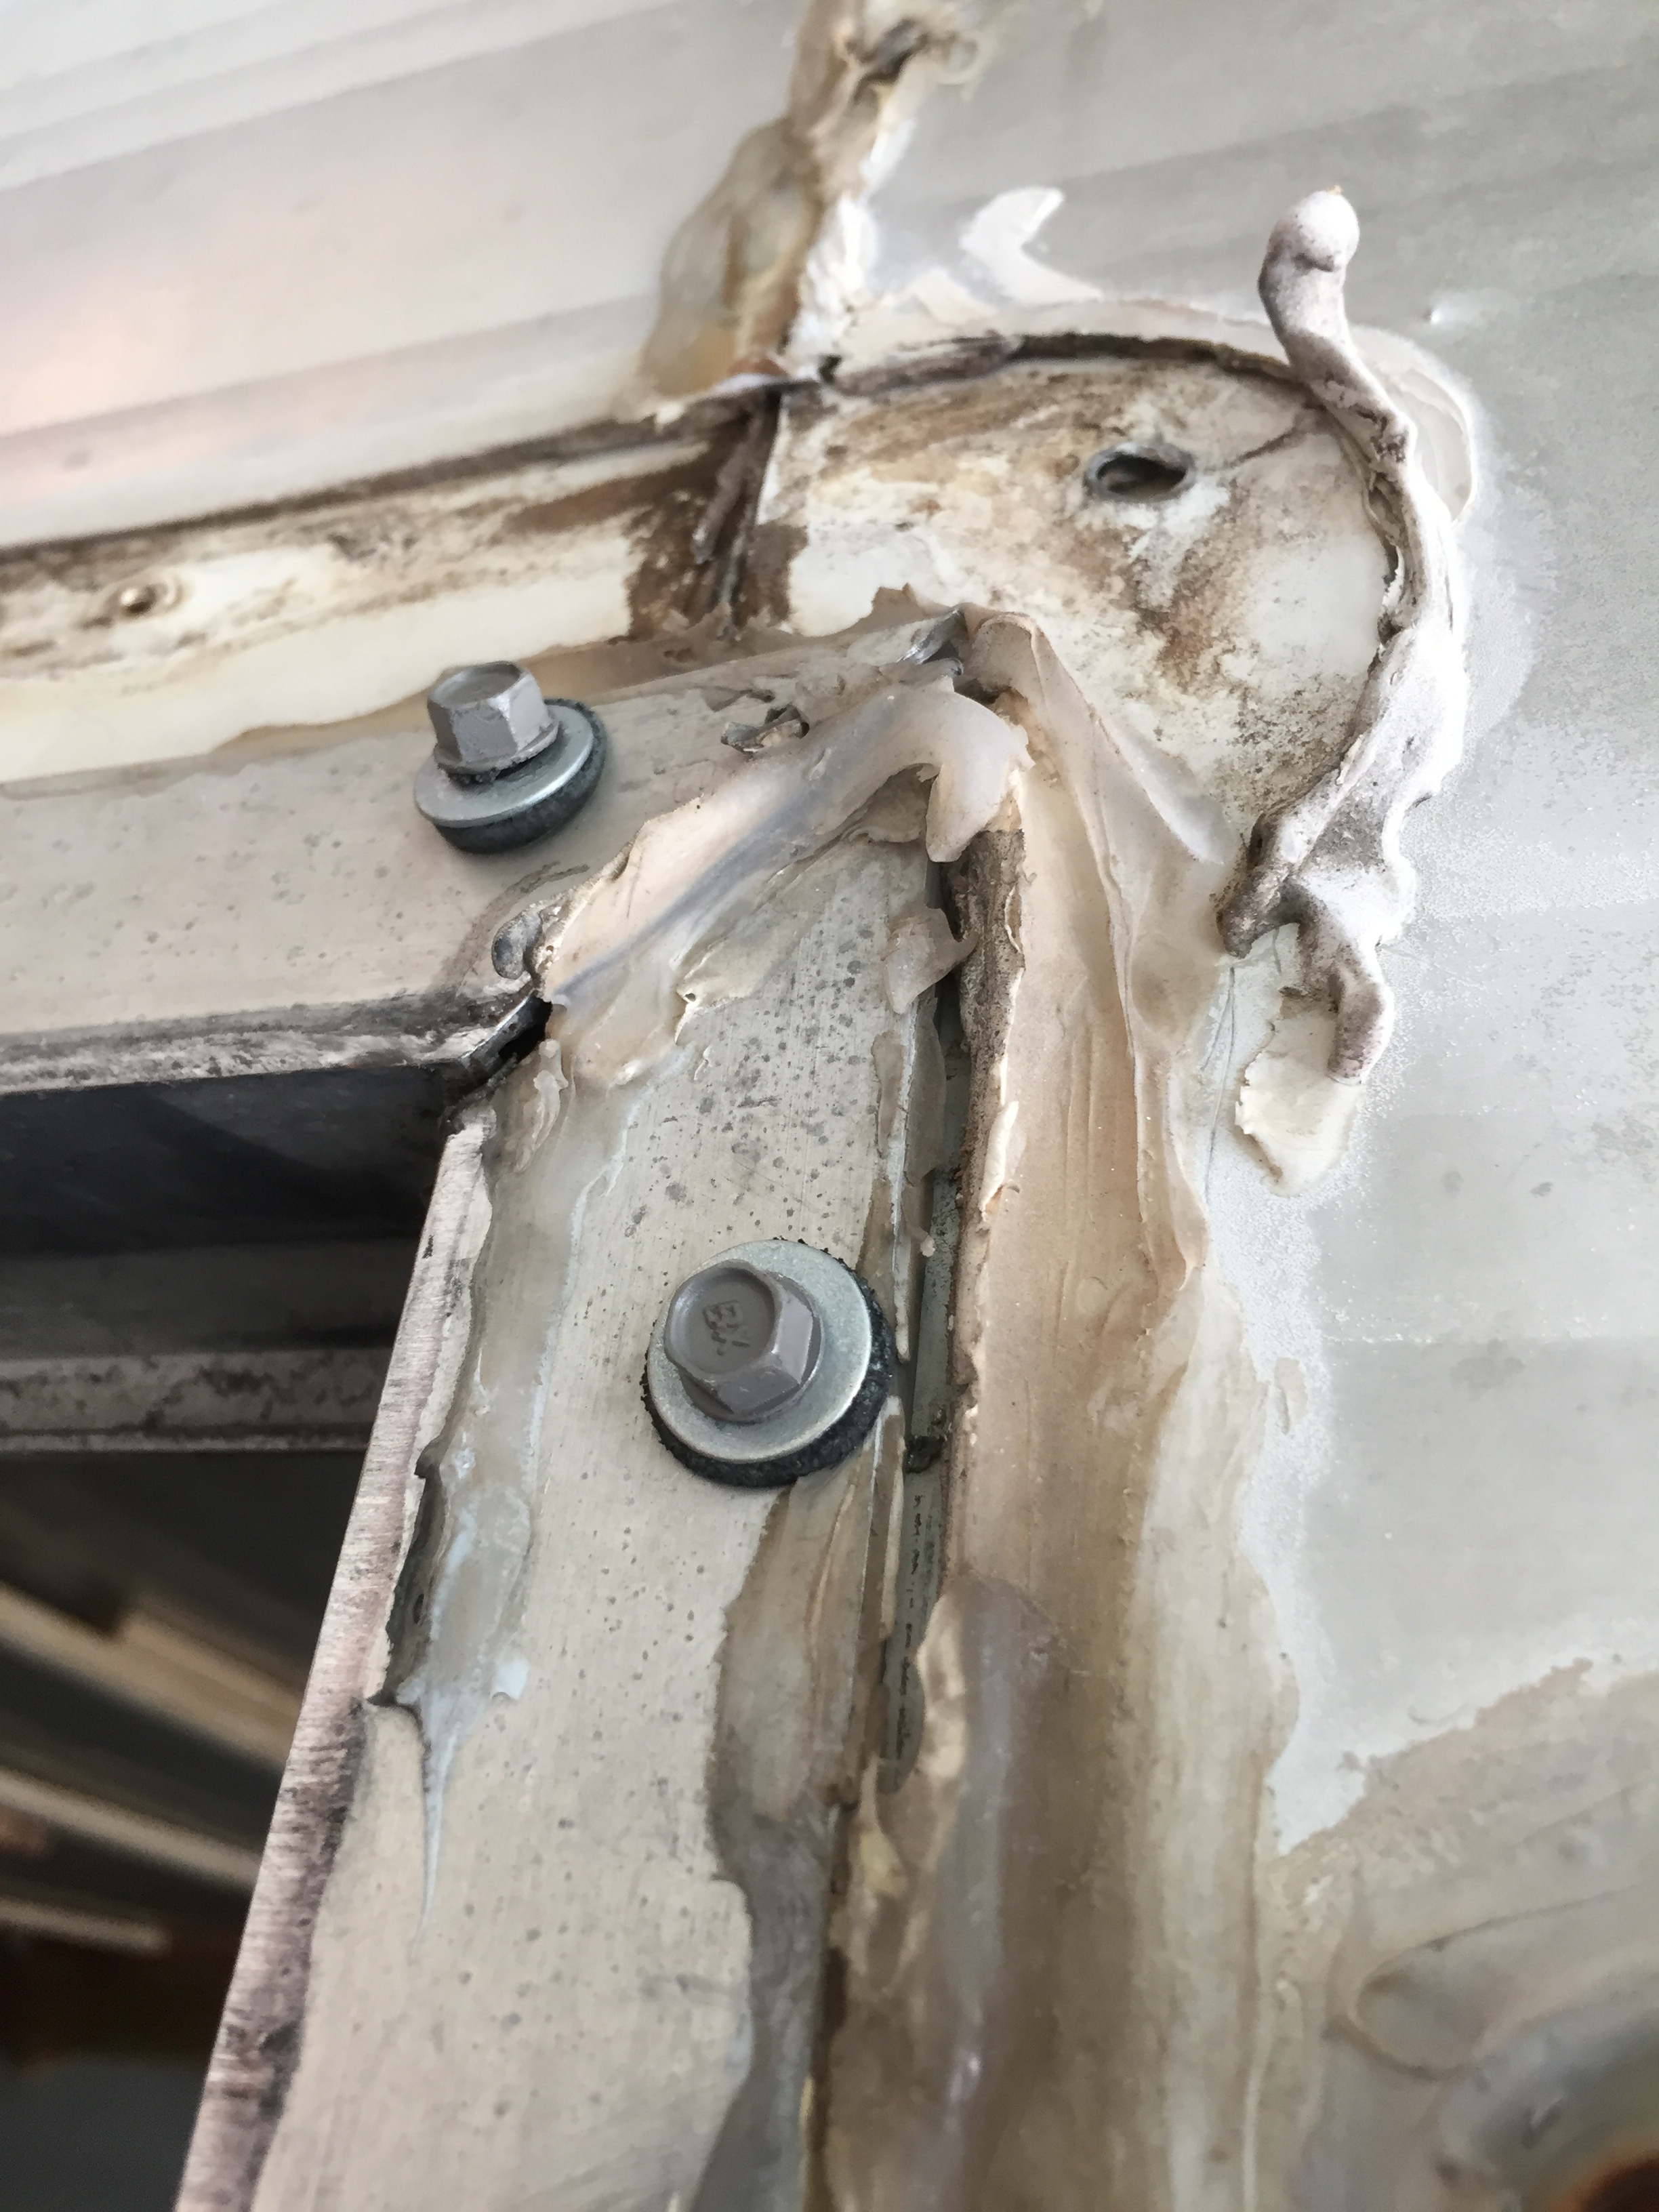
AGH! Picture that, but everywhere. It's about now when I thank my lucky stars The Cameo is such a small little nugget of a travel trailer. You can probably understand why we haven't posted in a while – we've been keeping our typing hands busy scoring, and scraping, and soaking, and re-scraping, and wiping and wiping and wiping. Not very exciting, and very time-consuming. There were so many layers of caulk and other unidentifiable adhesive-like-things, including crusty 50-year-old butyl putty tape, that we were a little worried once we removed it all that the walls would just peel off of the camper entirely. I think the whole thing's just been held together by miscellaneous adhesives all these years.
Like I've said before, this is not a sponsored post – we tried multiple products and we highly recommend 3M's Caulk Remover. (3M does seem to be the unofficial sponsor of The Cameo – they make so many unbelievable things!) If the caulk isn't super thick and caked on, after the remover sits for a bit (just follow the instructions on the bottle), you can basically just wipe it off with a rag. Just be careful if you're scraping (we used a flat razor and putty knife and flat razor to score and then scrape) that you don't scratch the soft aluminum metal. I found it helped minimize damage to wrap the putty knife in a t-shirt material rag. We definitely have some minor scratches from all the scraping that had to be done (if there's any residue at all, the paint won't stick), but are hoping they'll fill in and be invisible once we prime and paint the exterior.
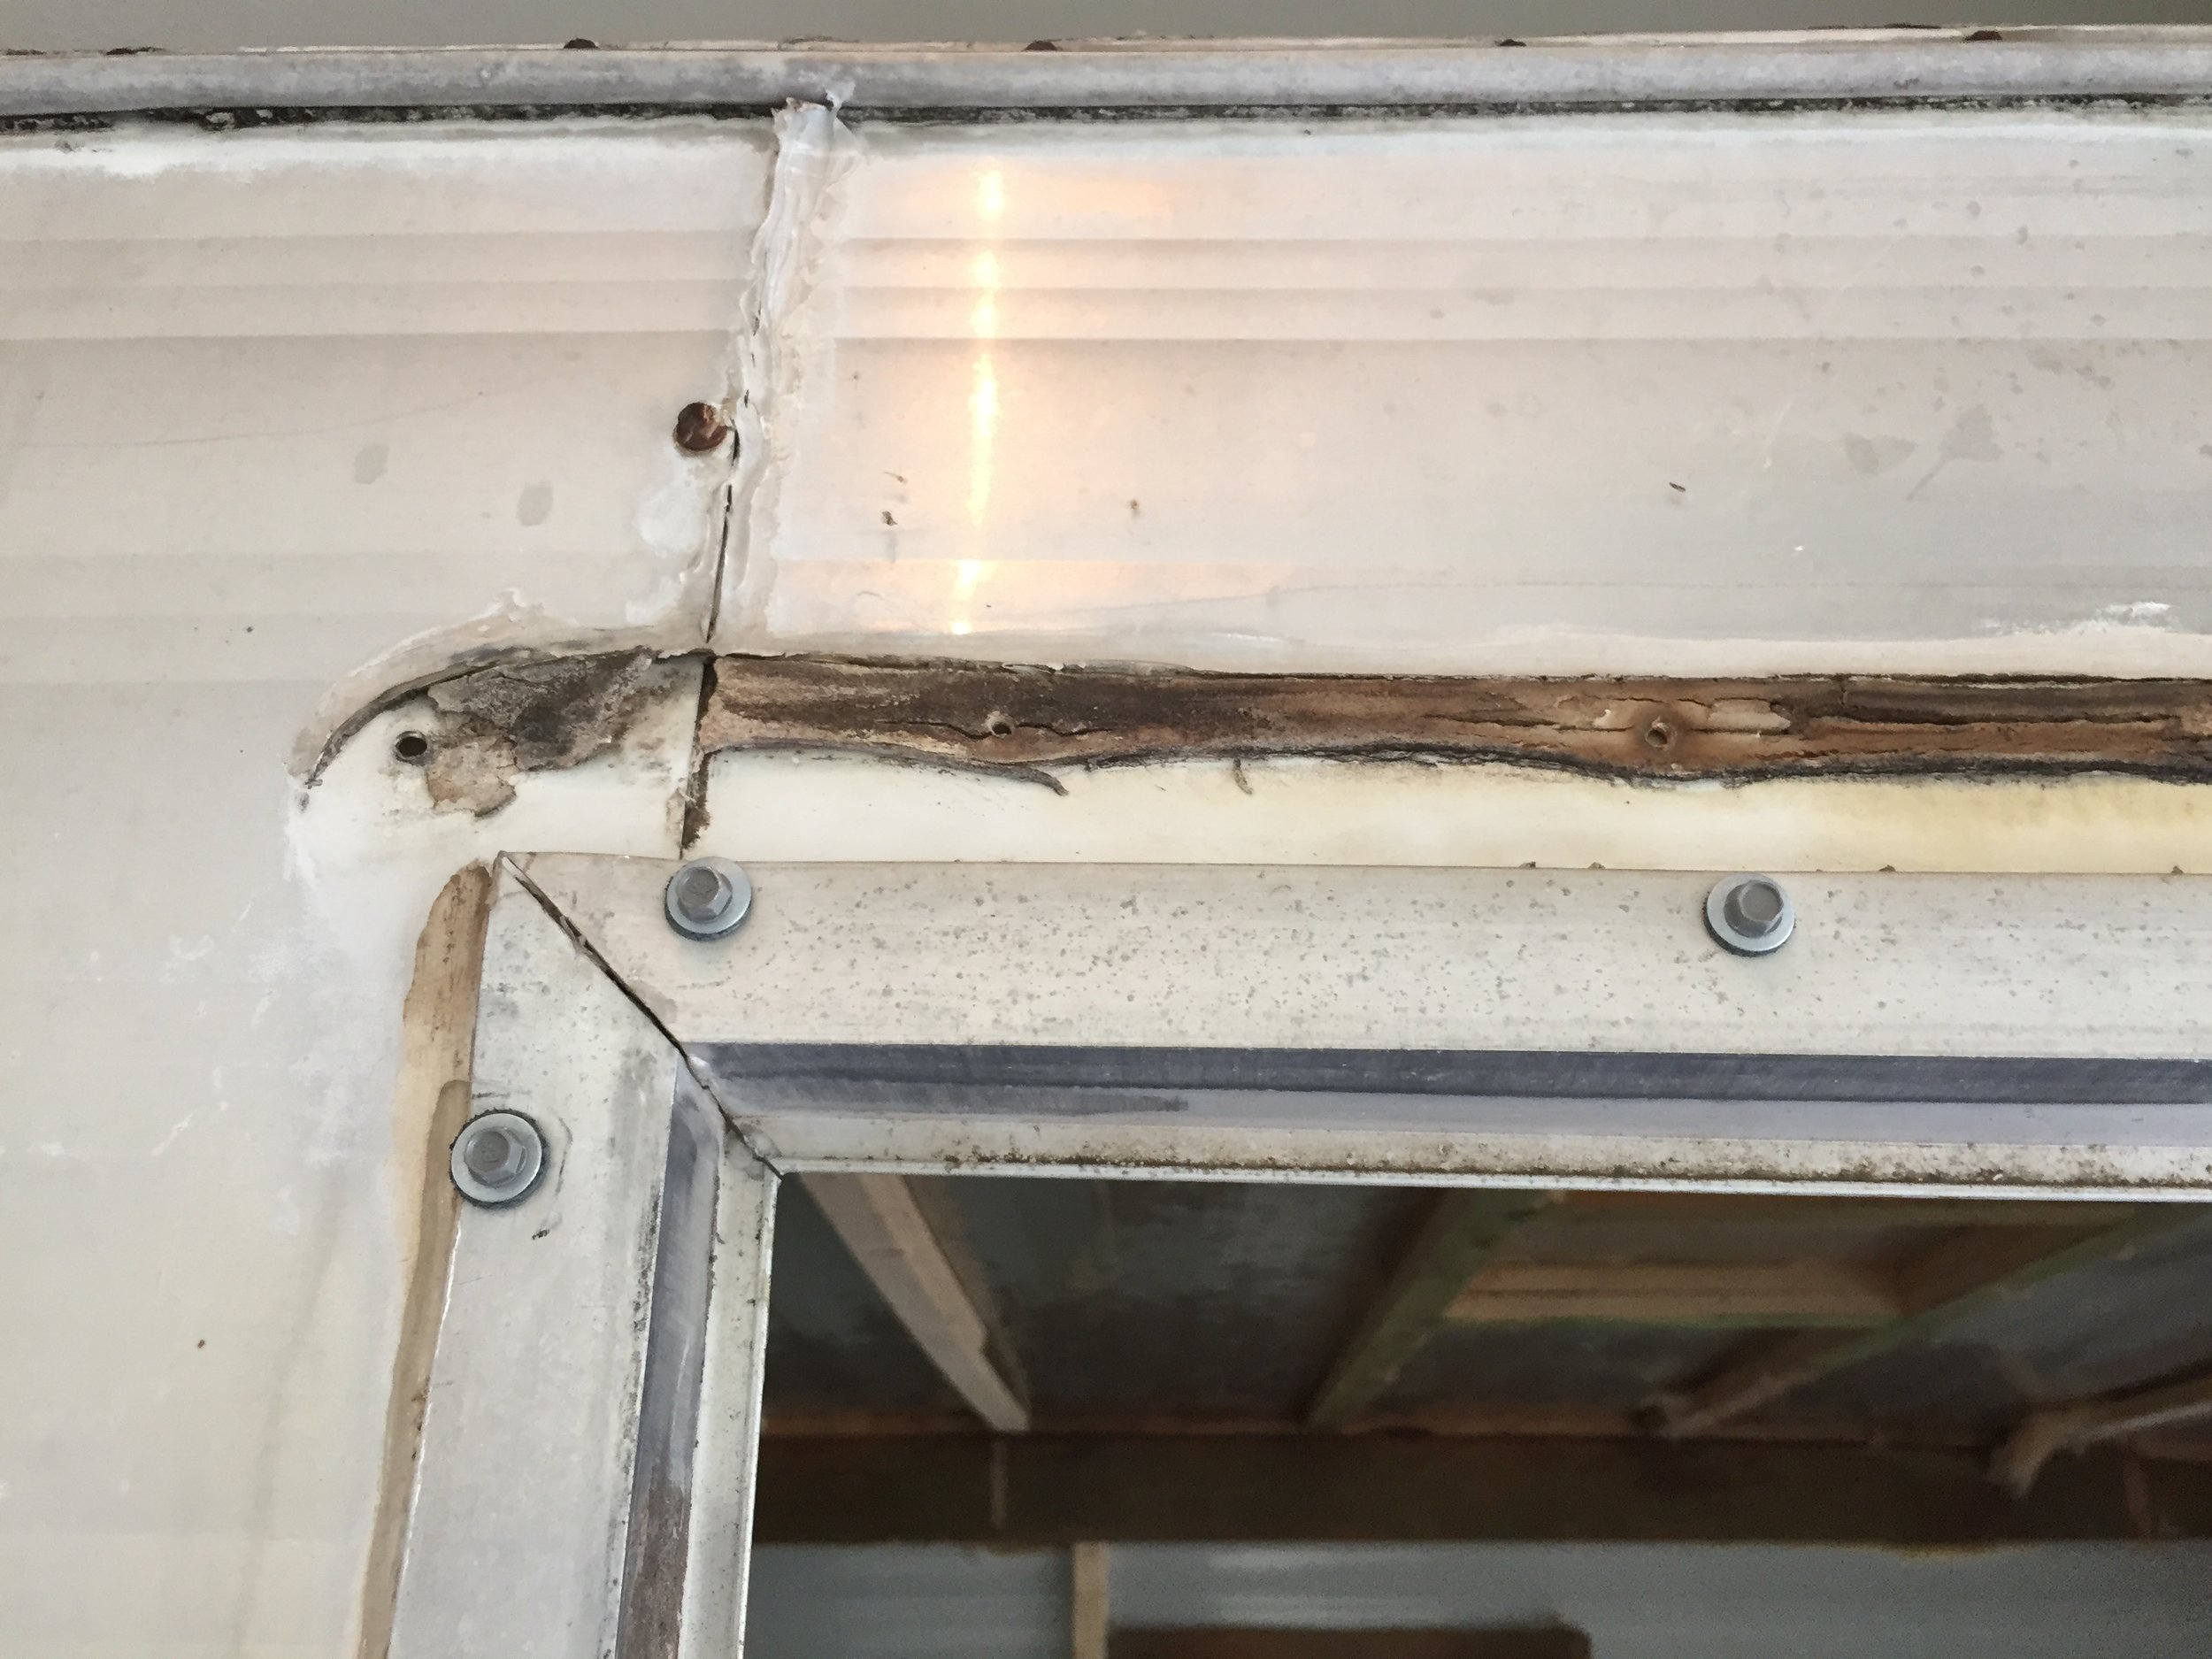
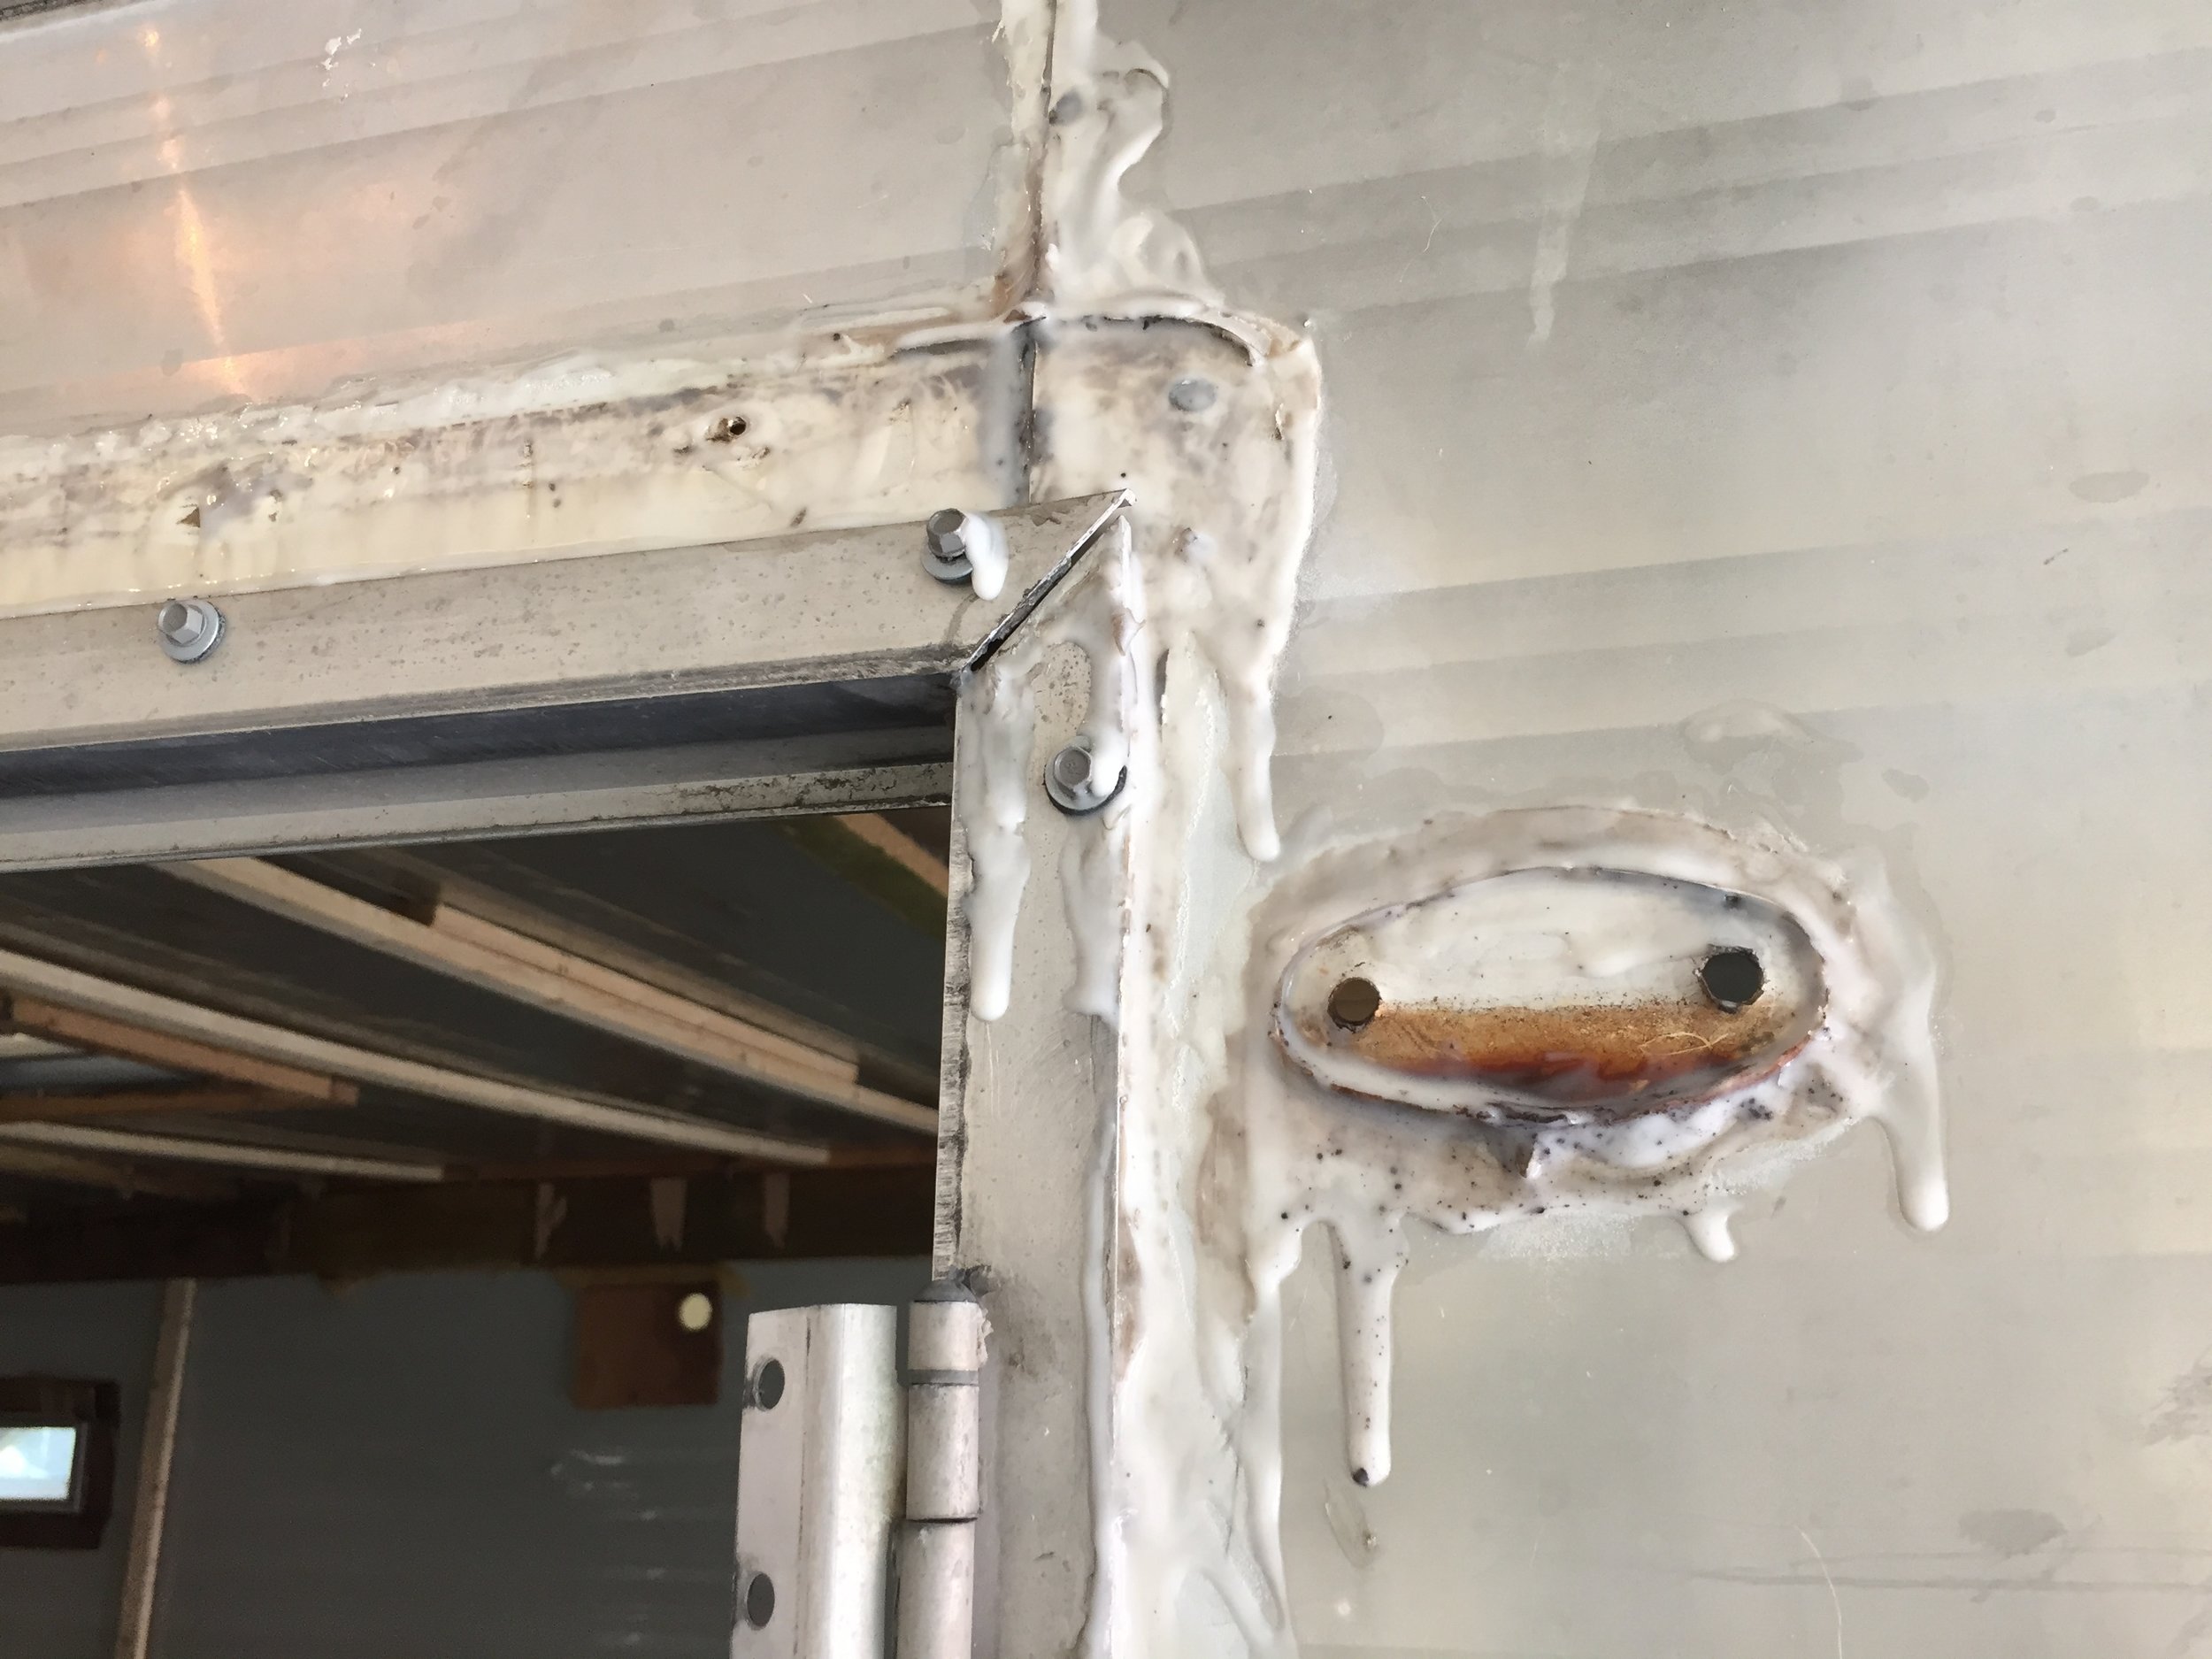
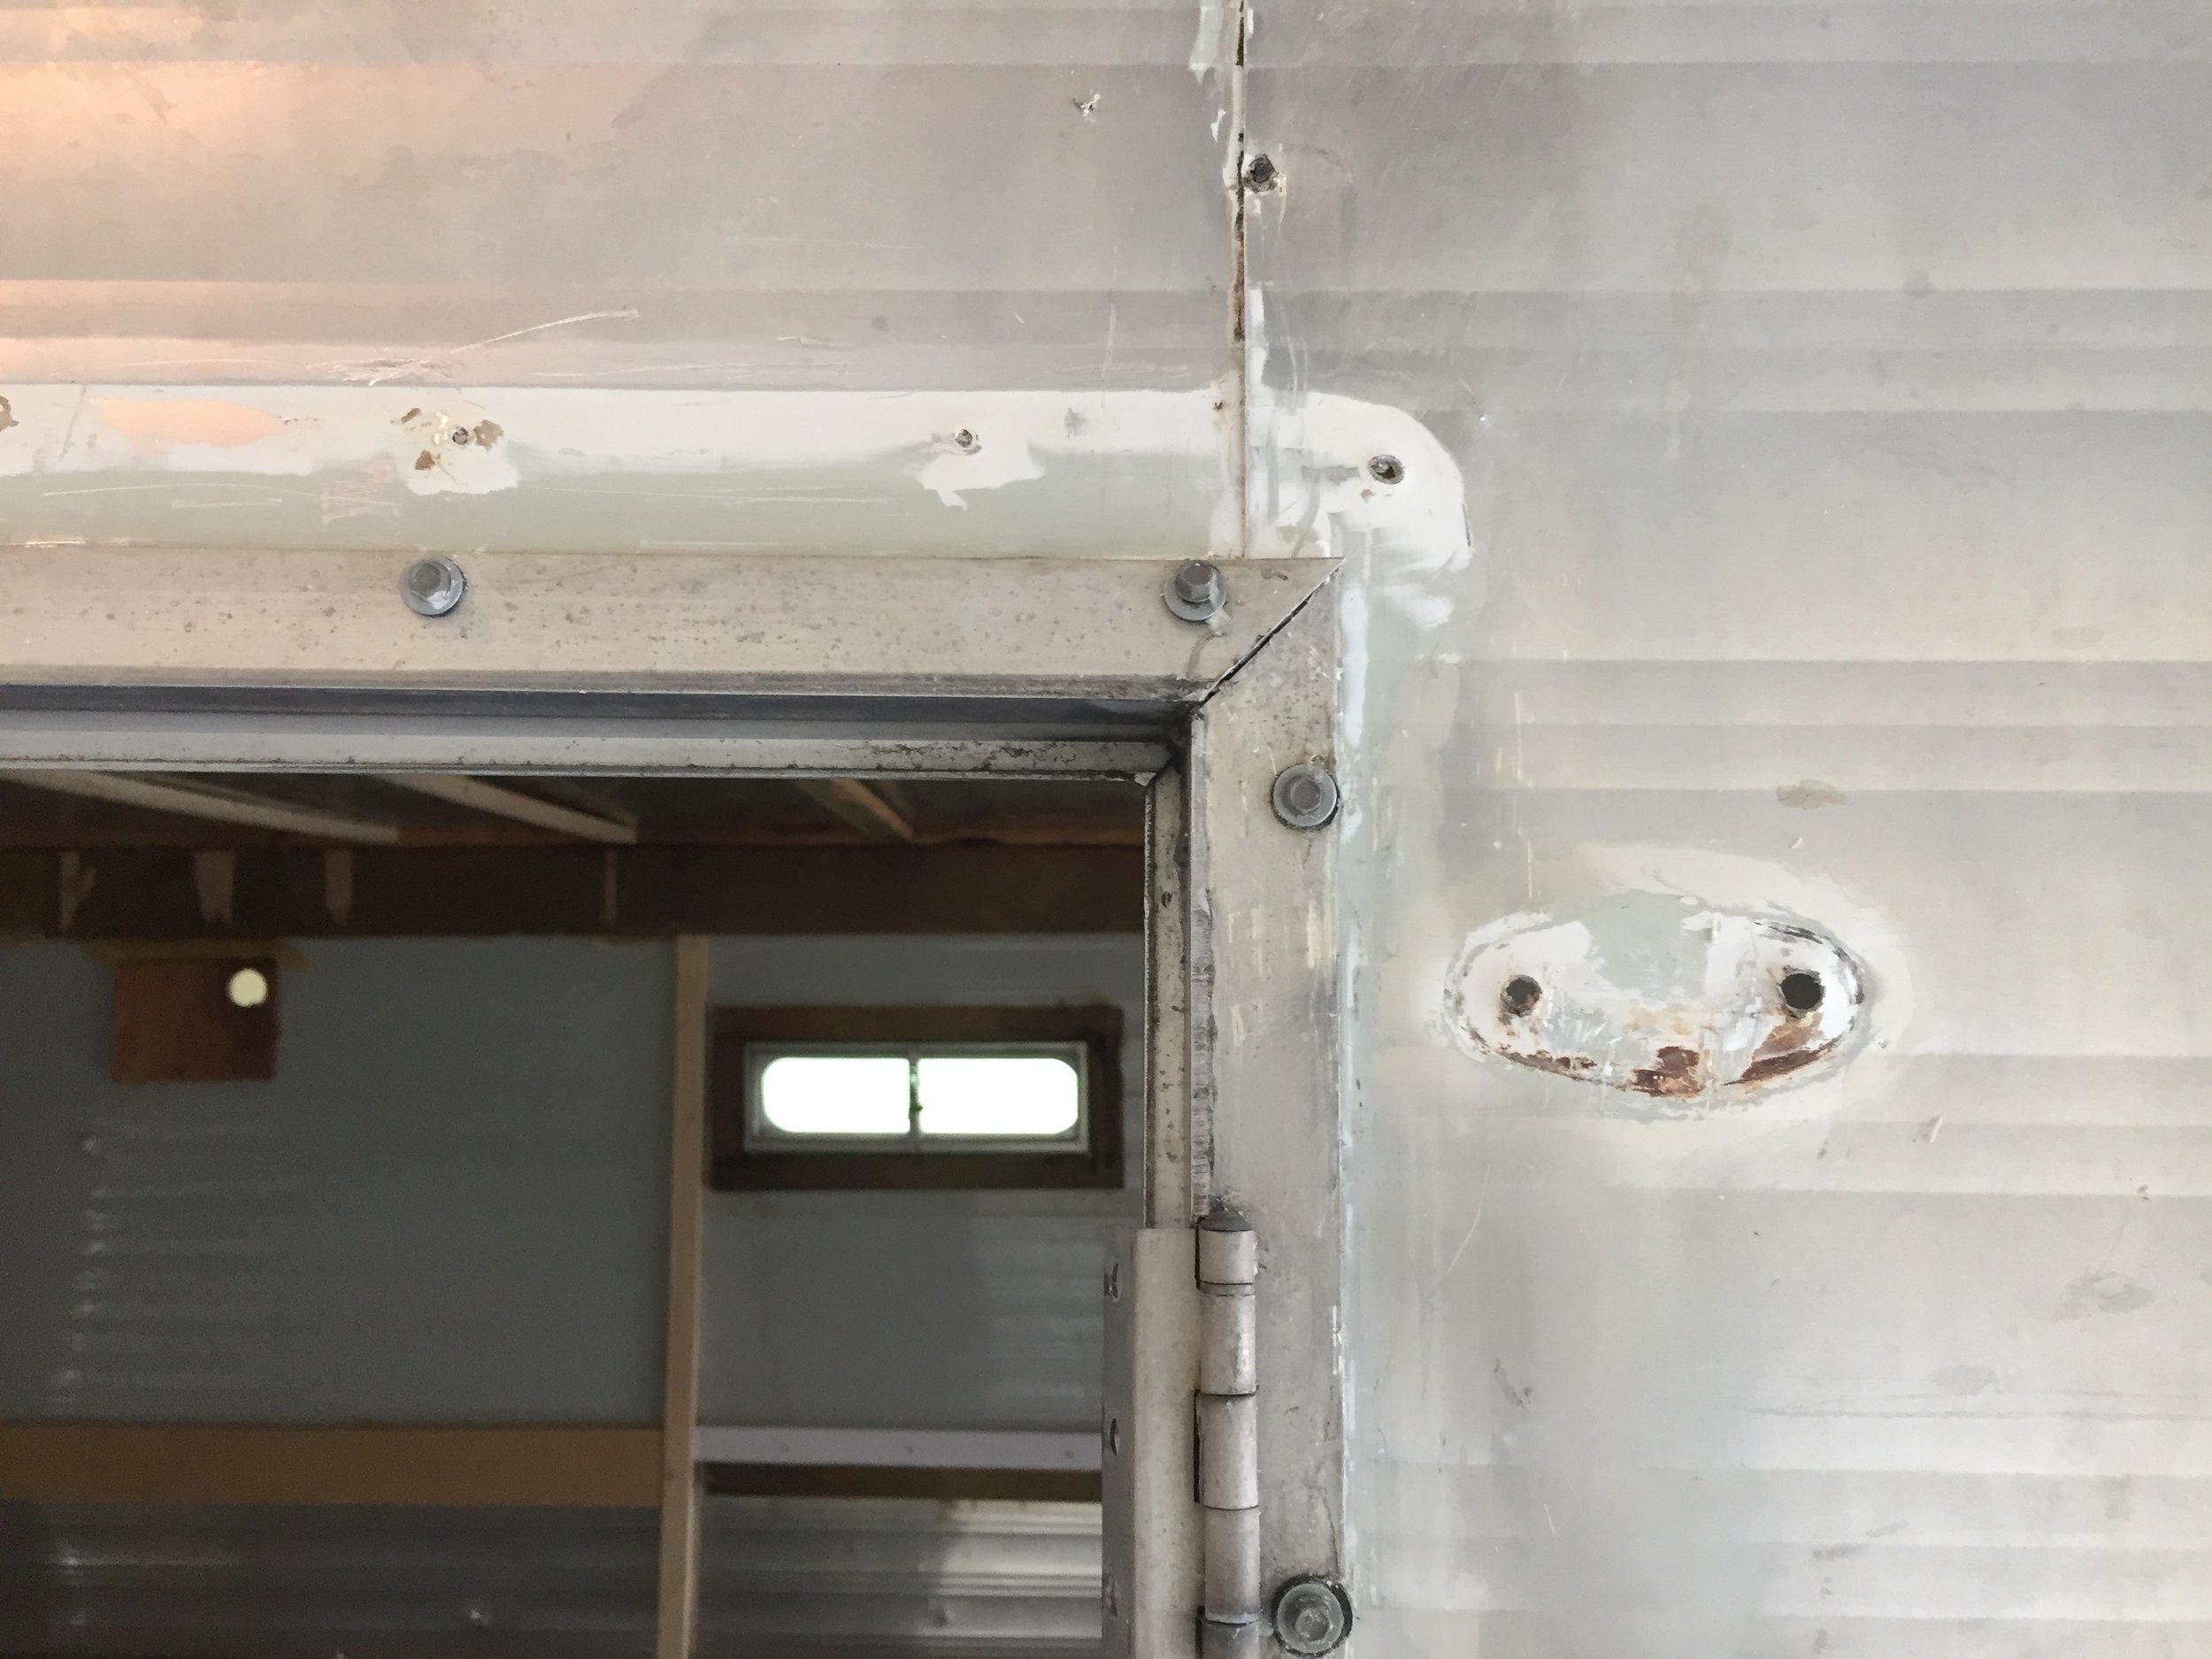
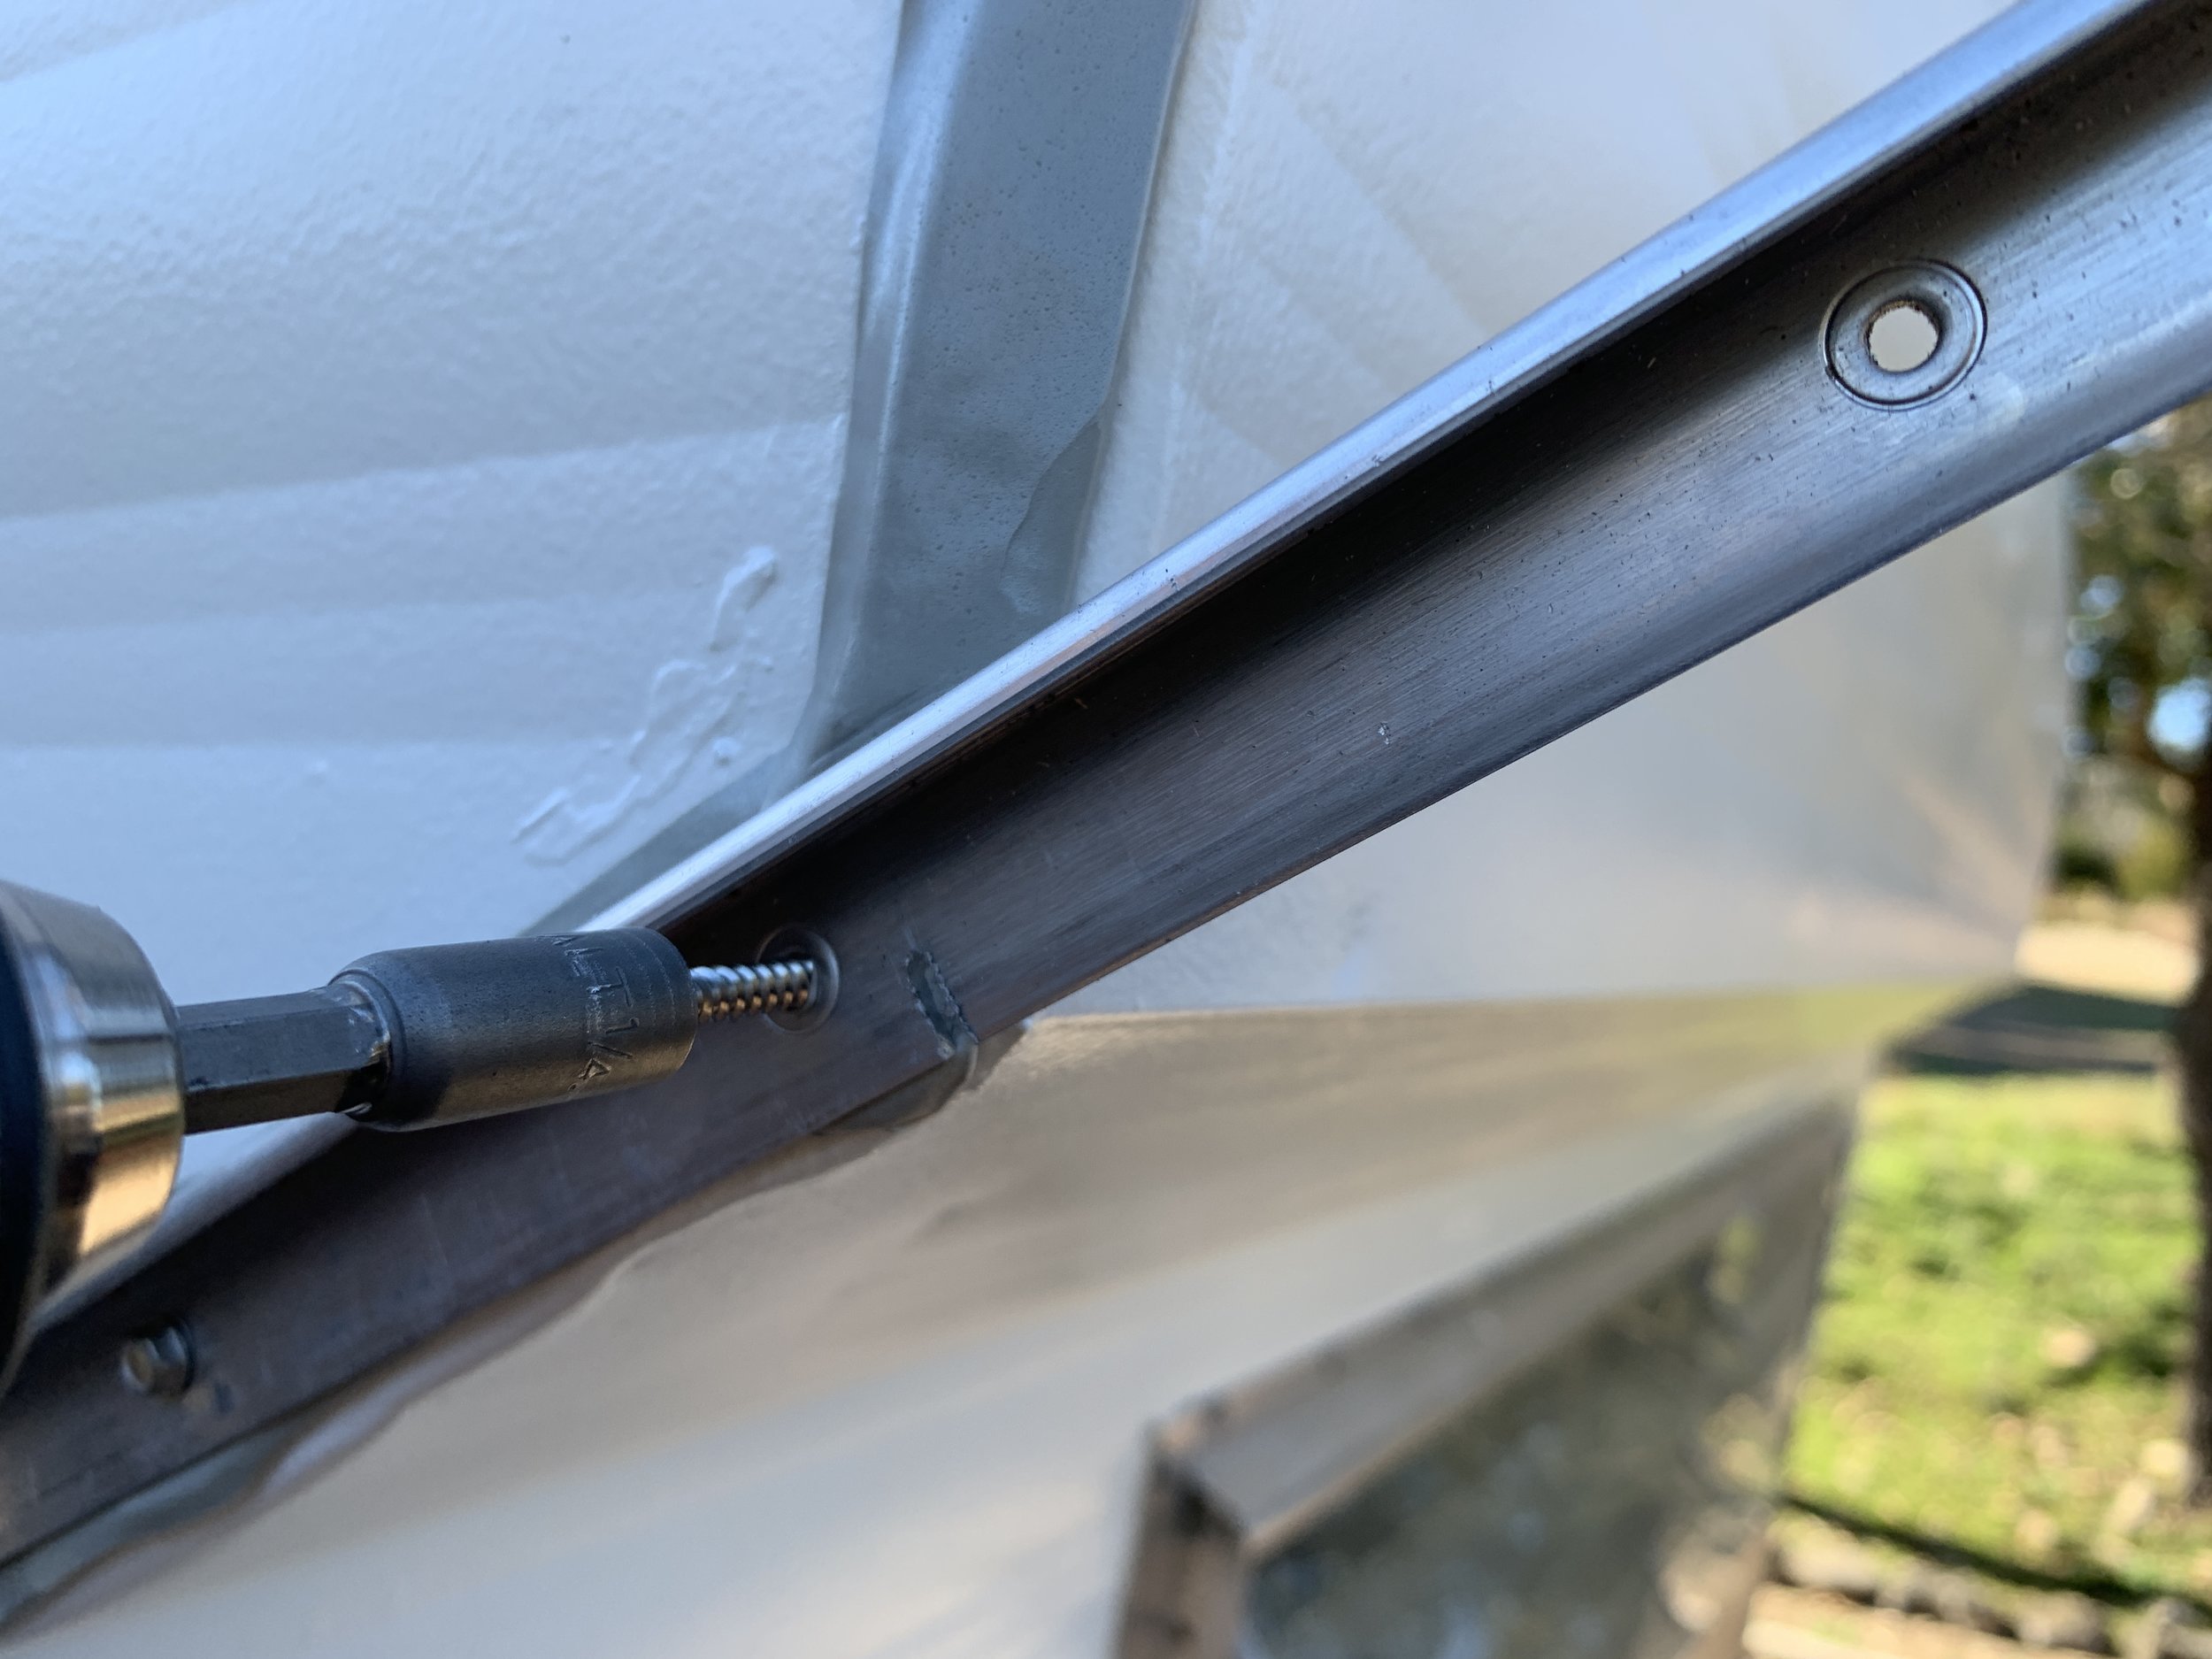
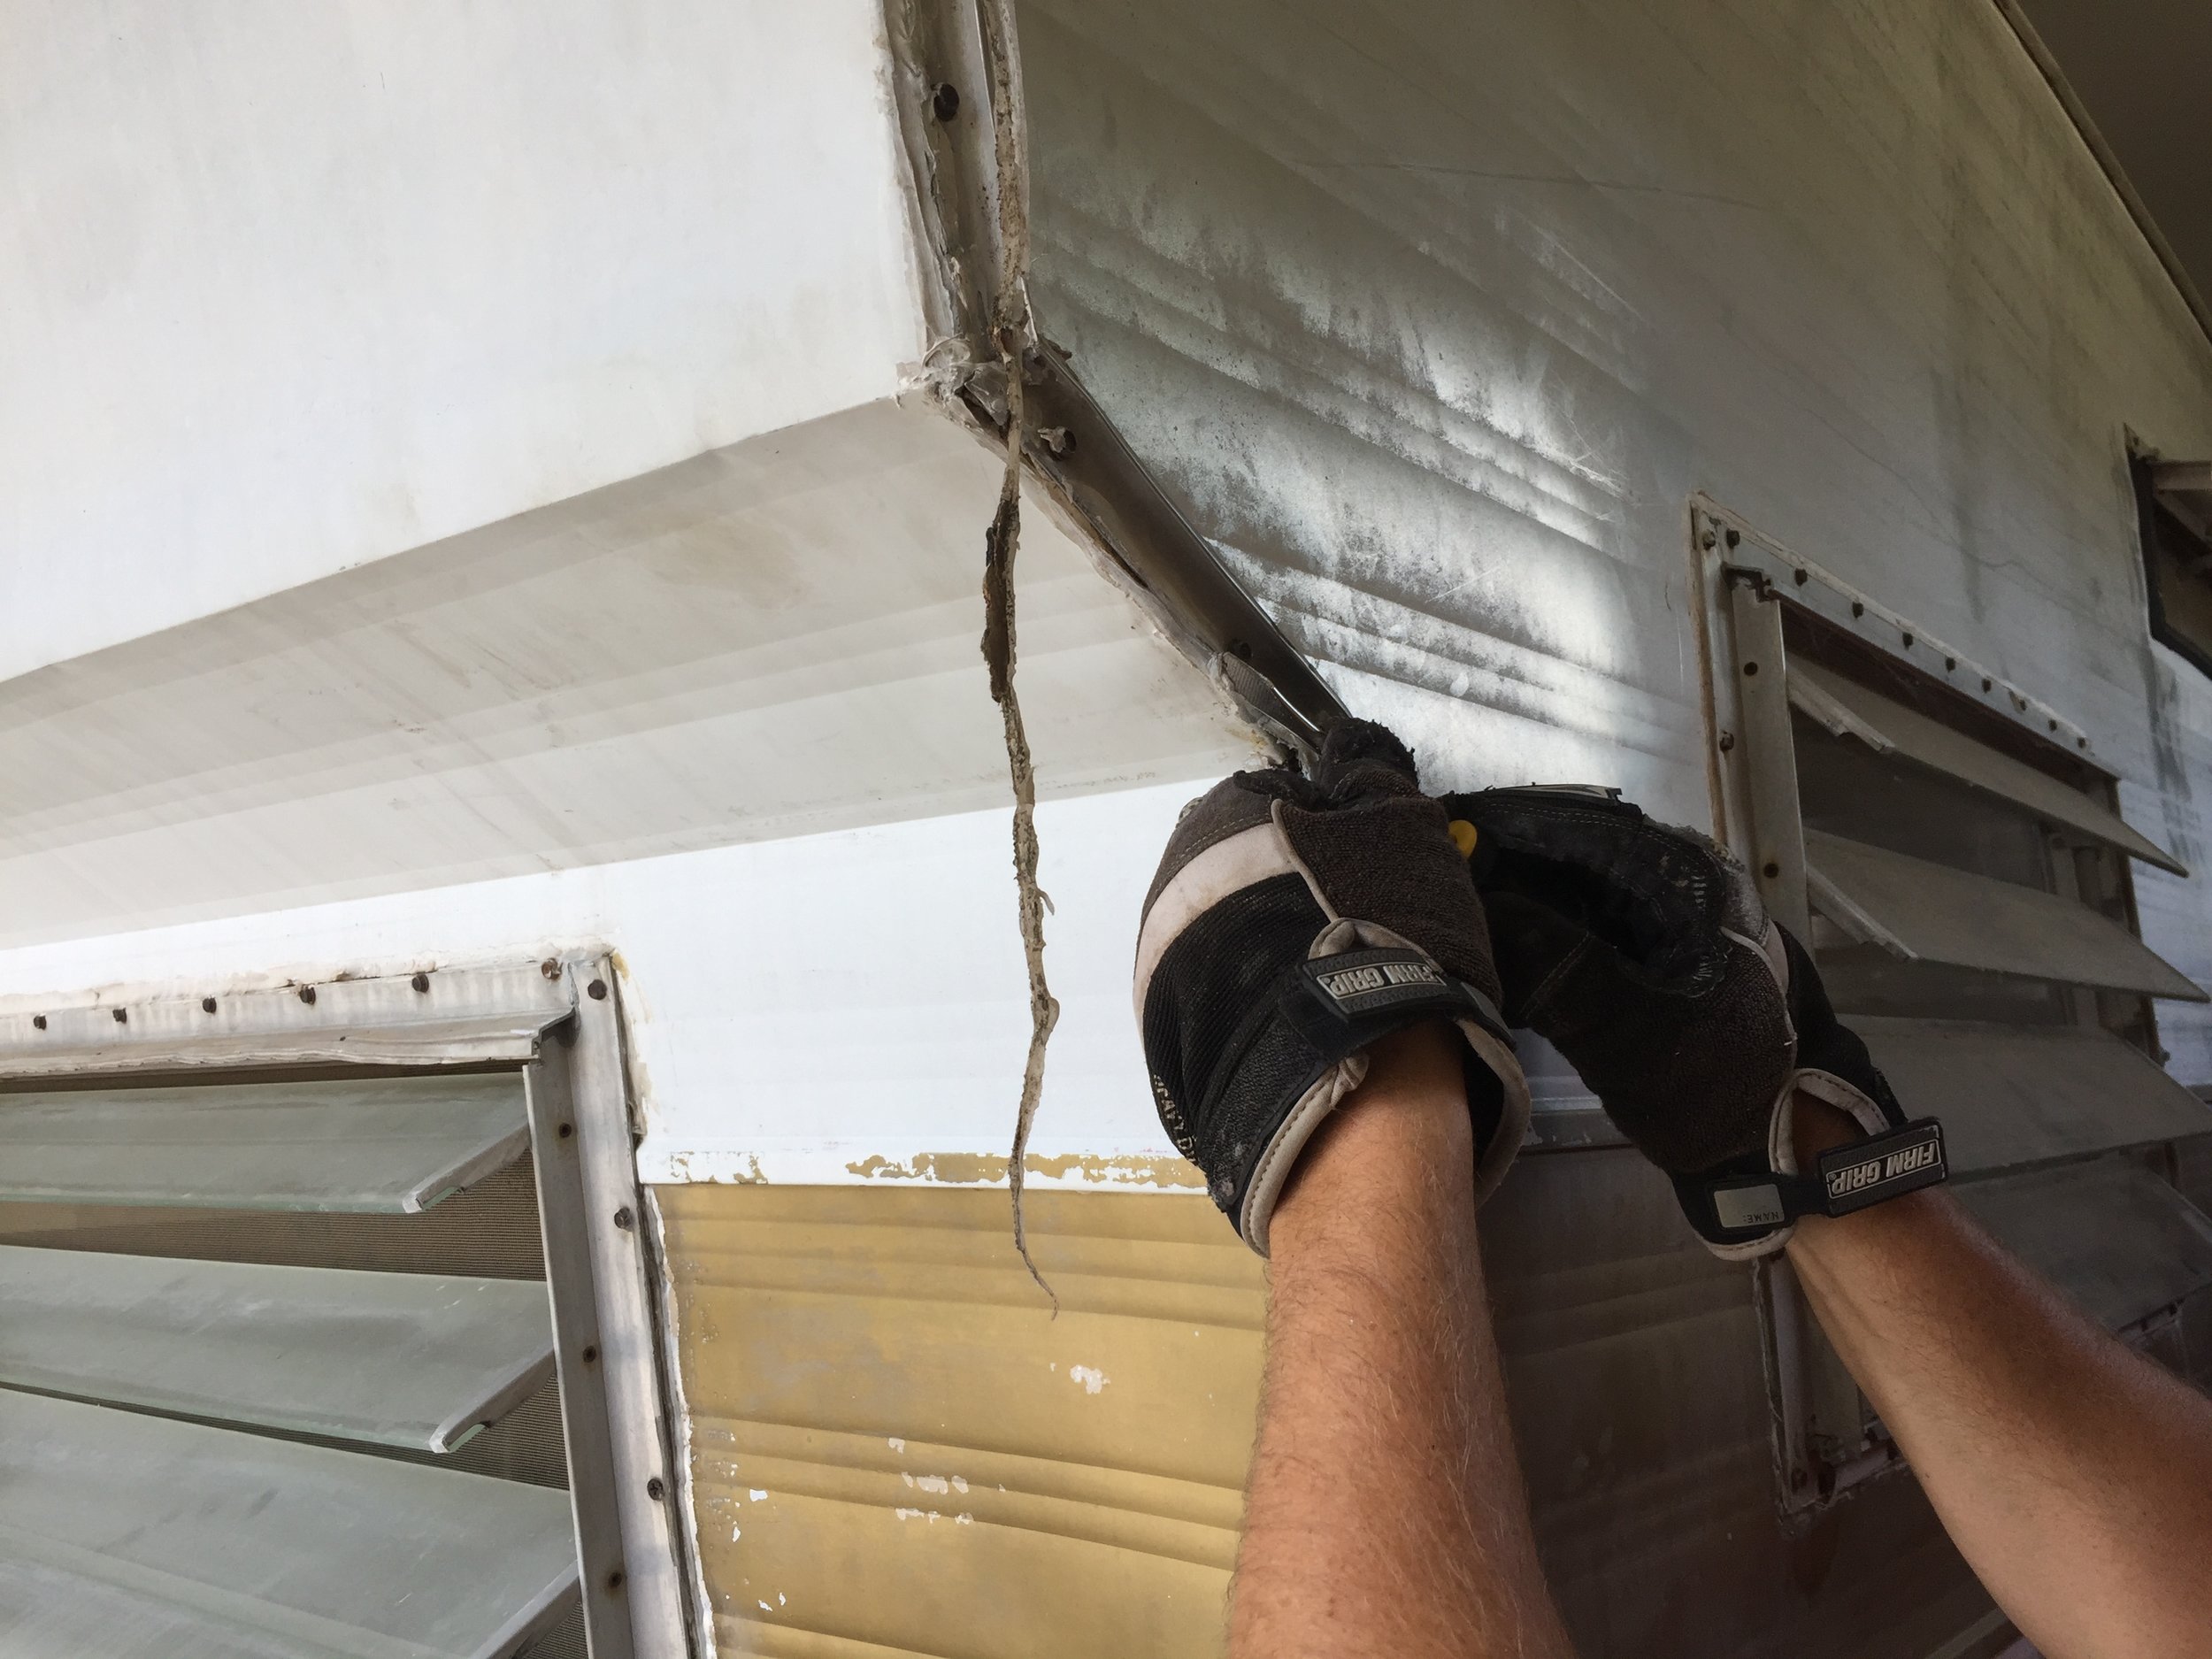
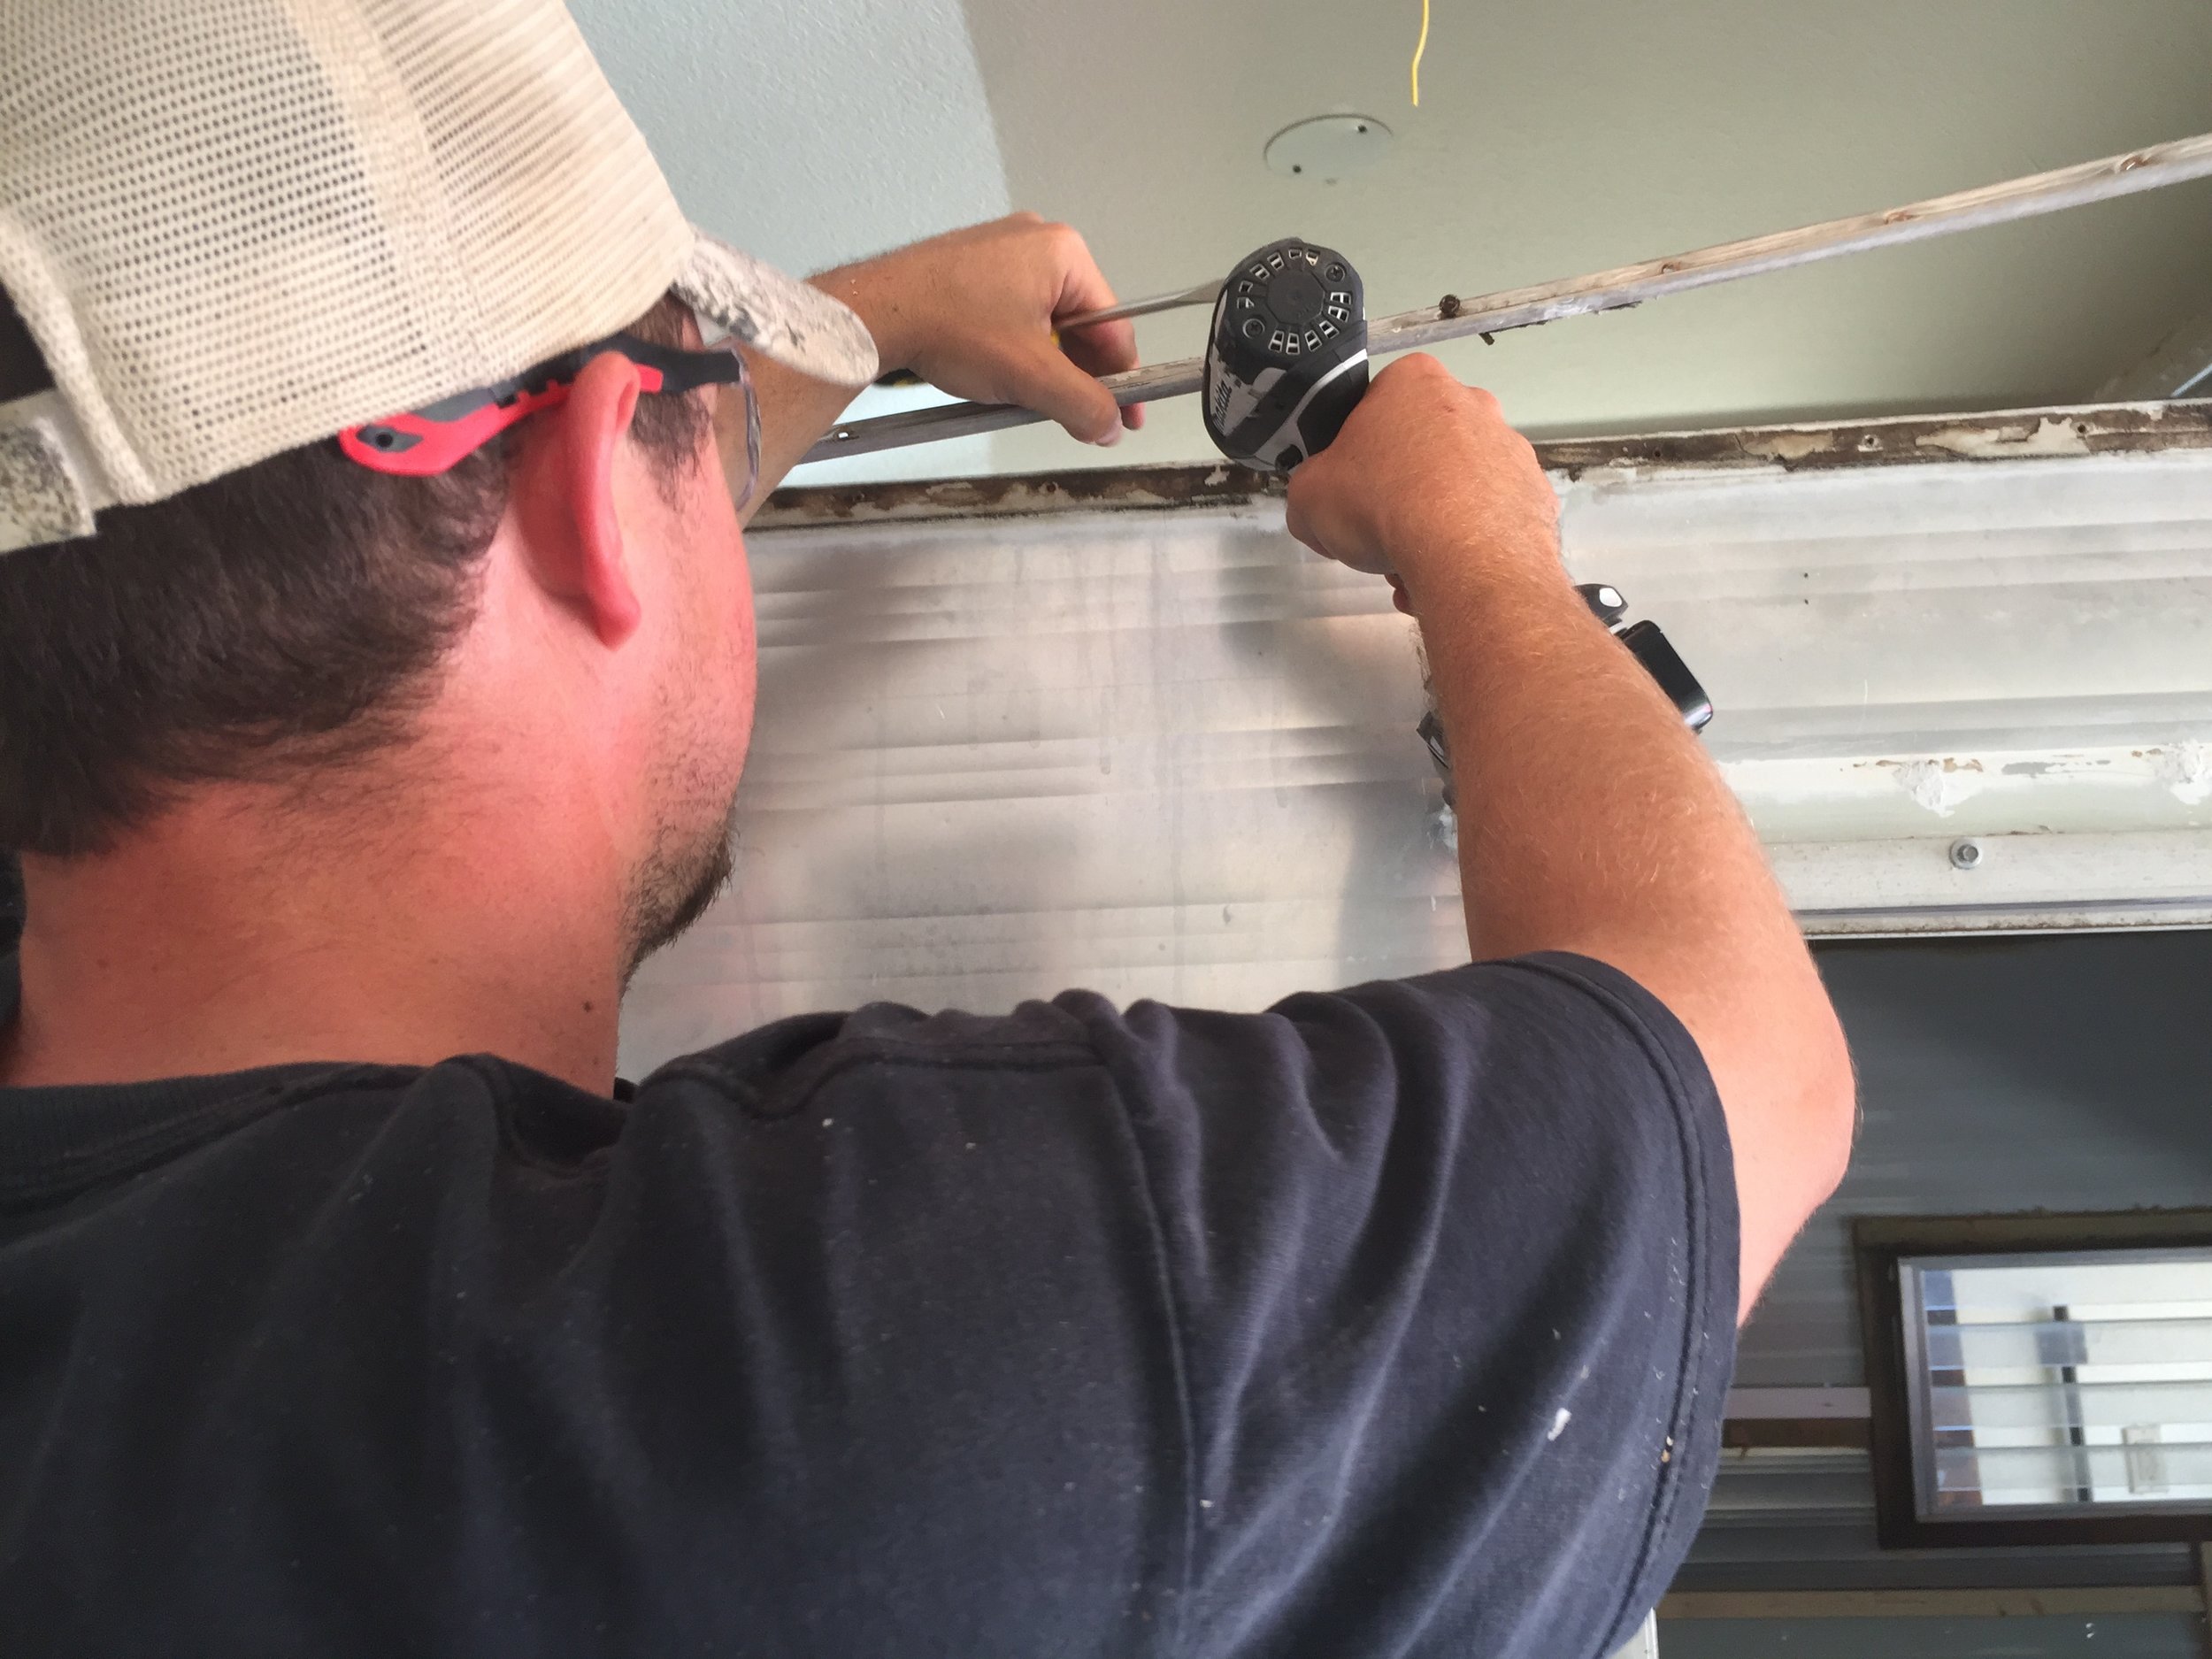
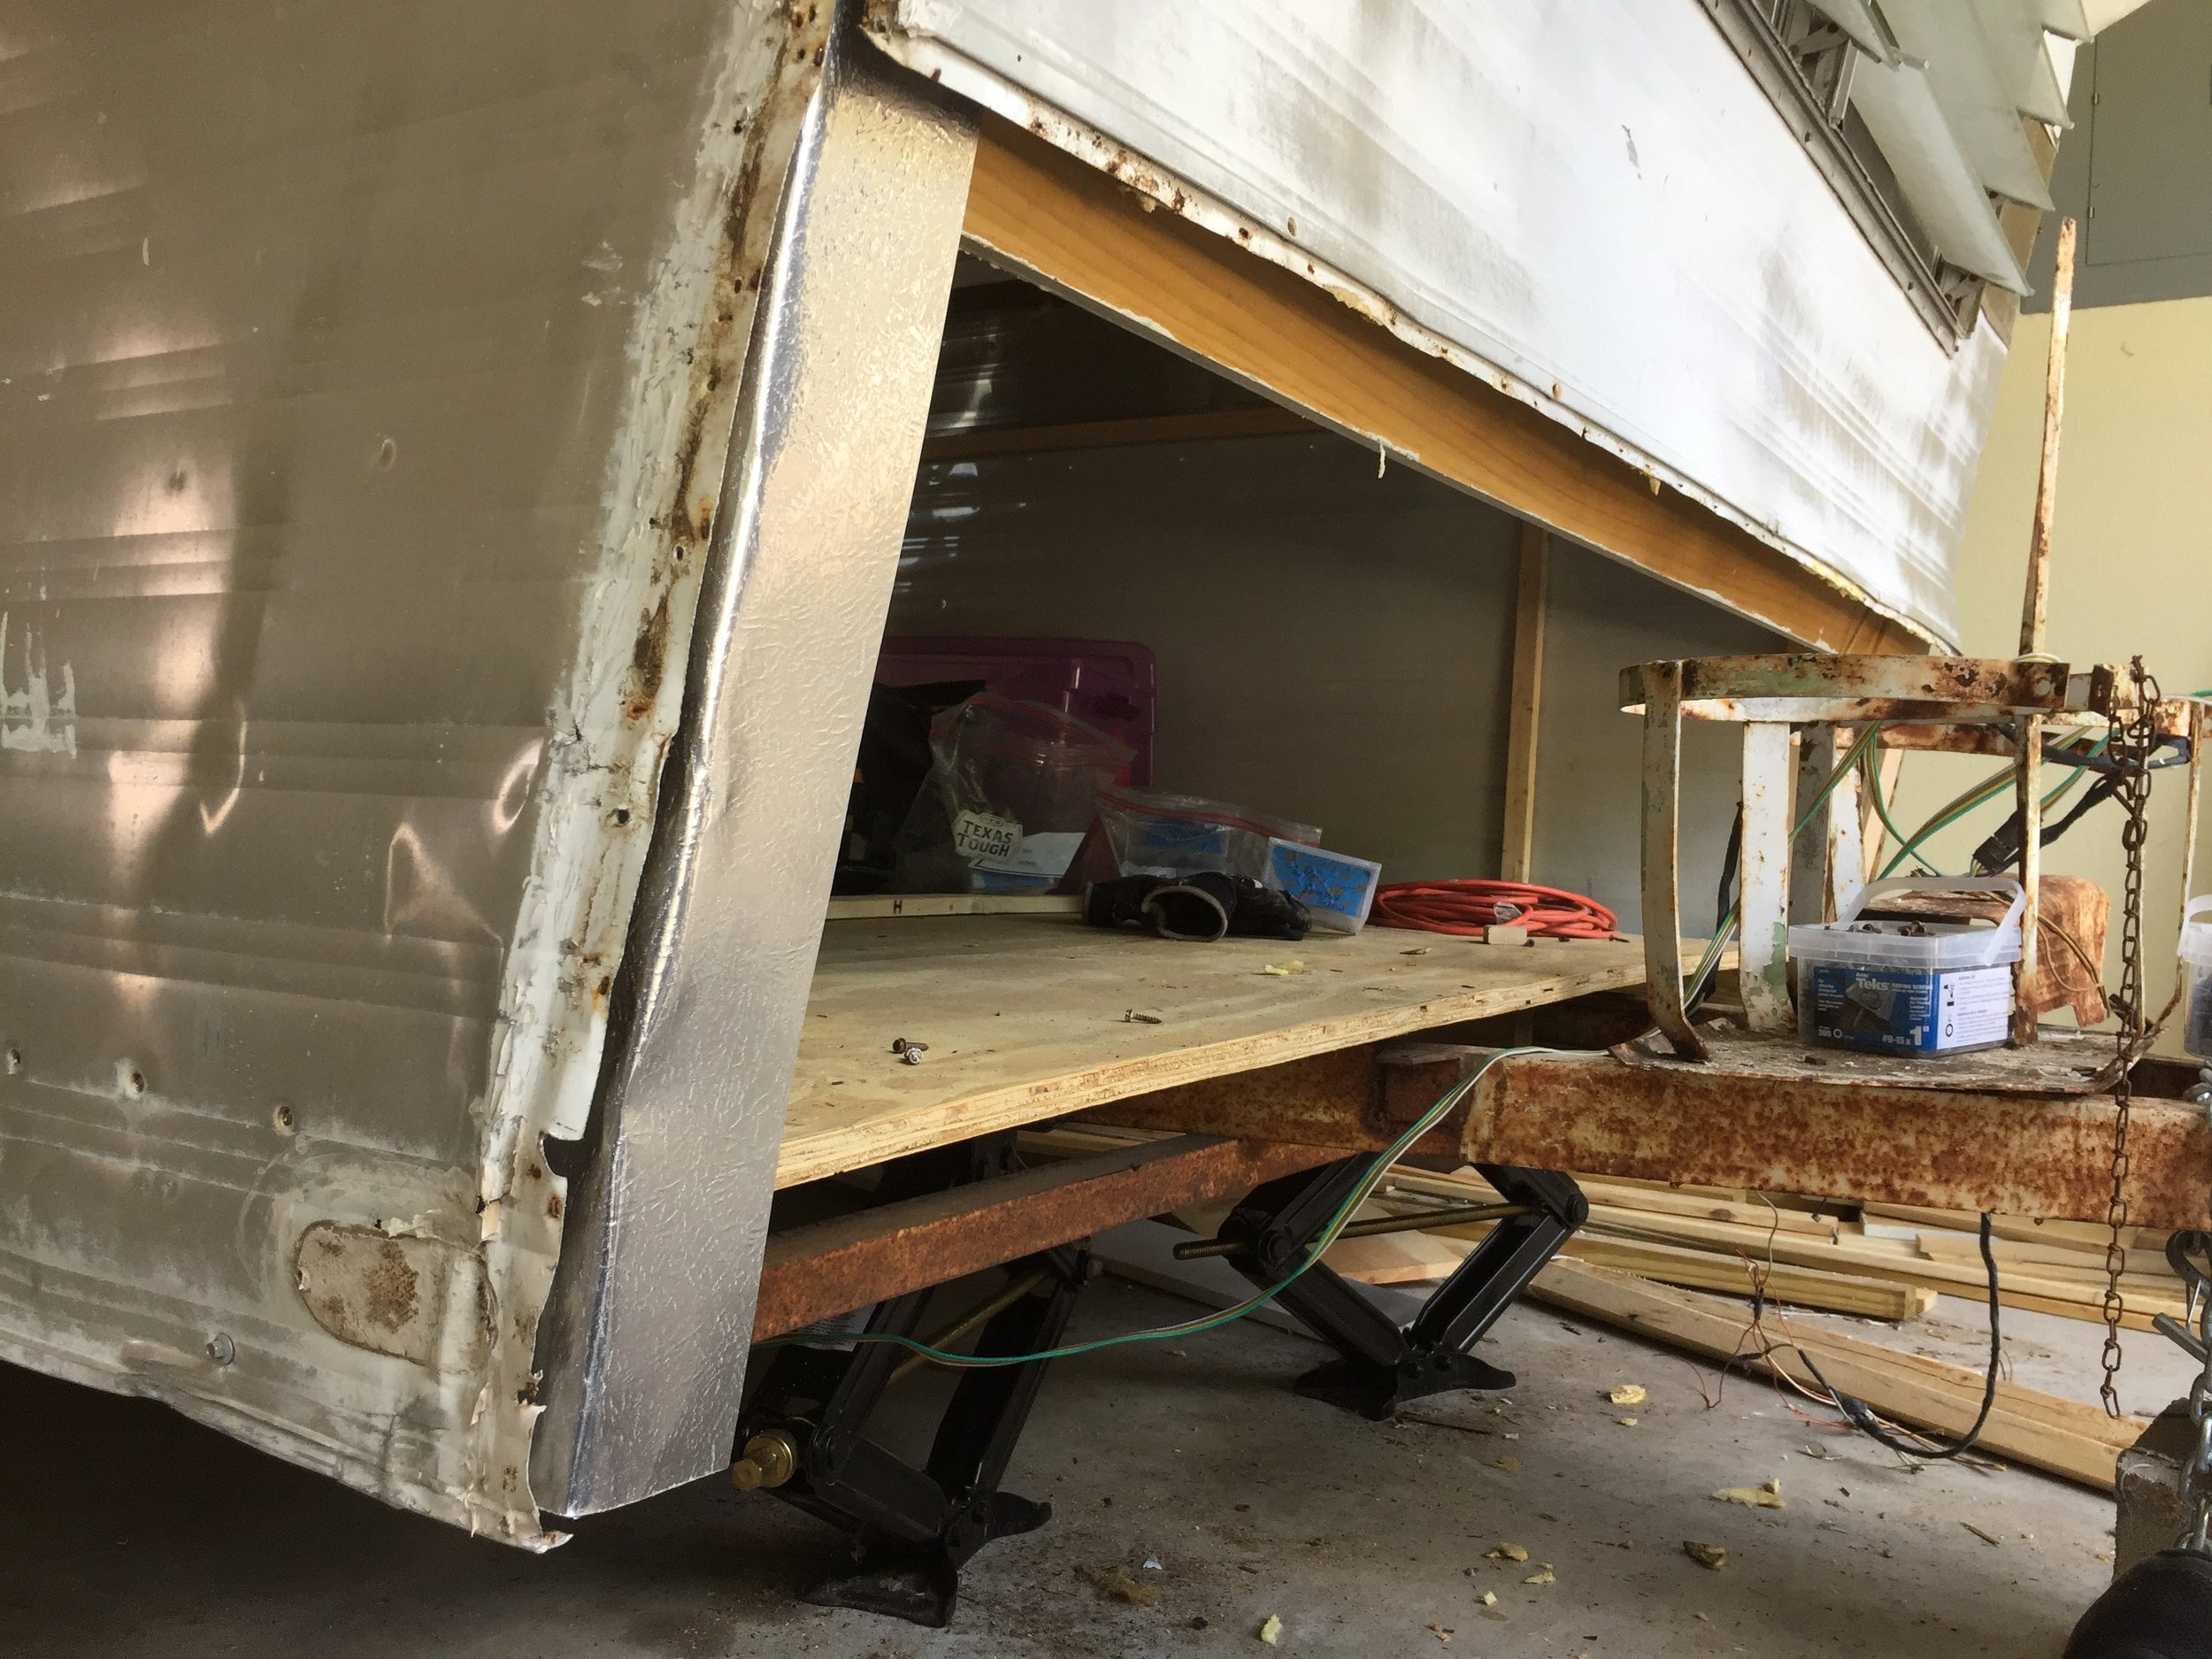
In addition to removing all of the adhesives around each window and plugging up each gash and ding, Nick began removing all of the j-trim/drip rail that runs along the edges of the walls. J-trim is responsible for helping attach the exterior metal walls to the wooden frame as well as acts as a gutter system of sorts for the camper. To avoid the metal skins peeling off of the camper, Nick re-secured the wall as he went using every 5th screw or so, without the j-trim. It's a whole process to do it right, but since The Cameo wasn't water-tight to start with, we'd need to replace it anyway so we might as well clean the dried putty tape under it while we were in scrape mode. (Admittedly I'm a little excited to do this even though it's more work because it's going to look so much better than old trim on a newly-painted camper).
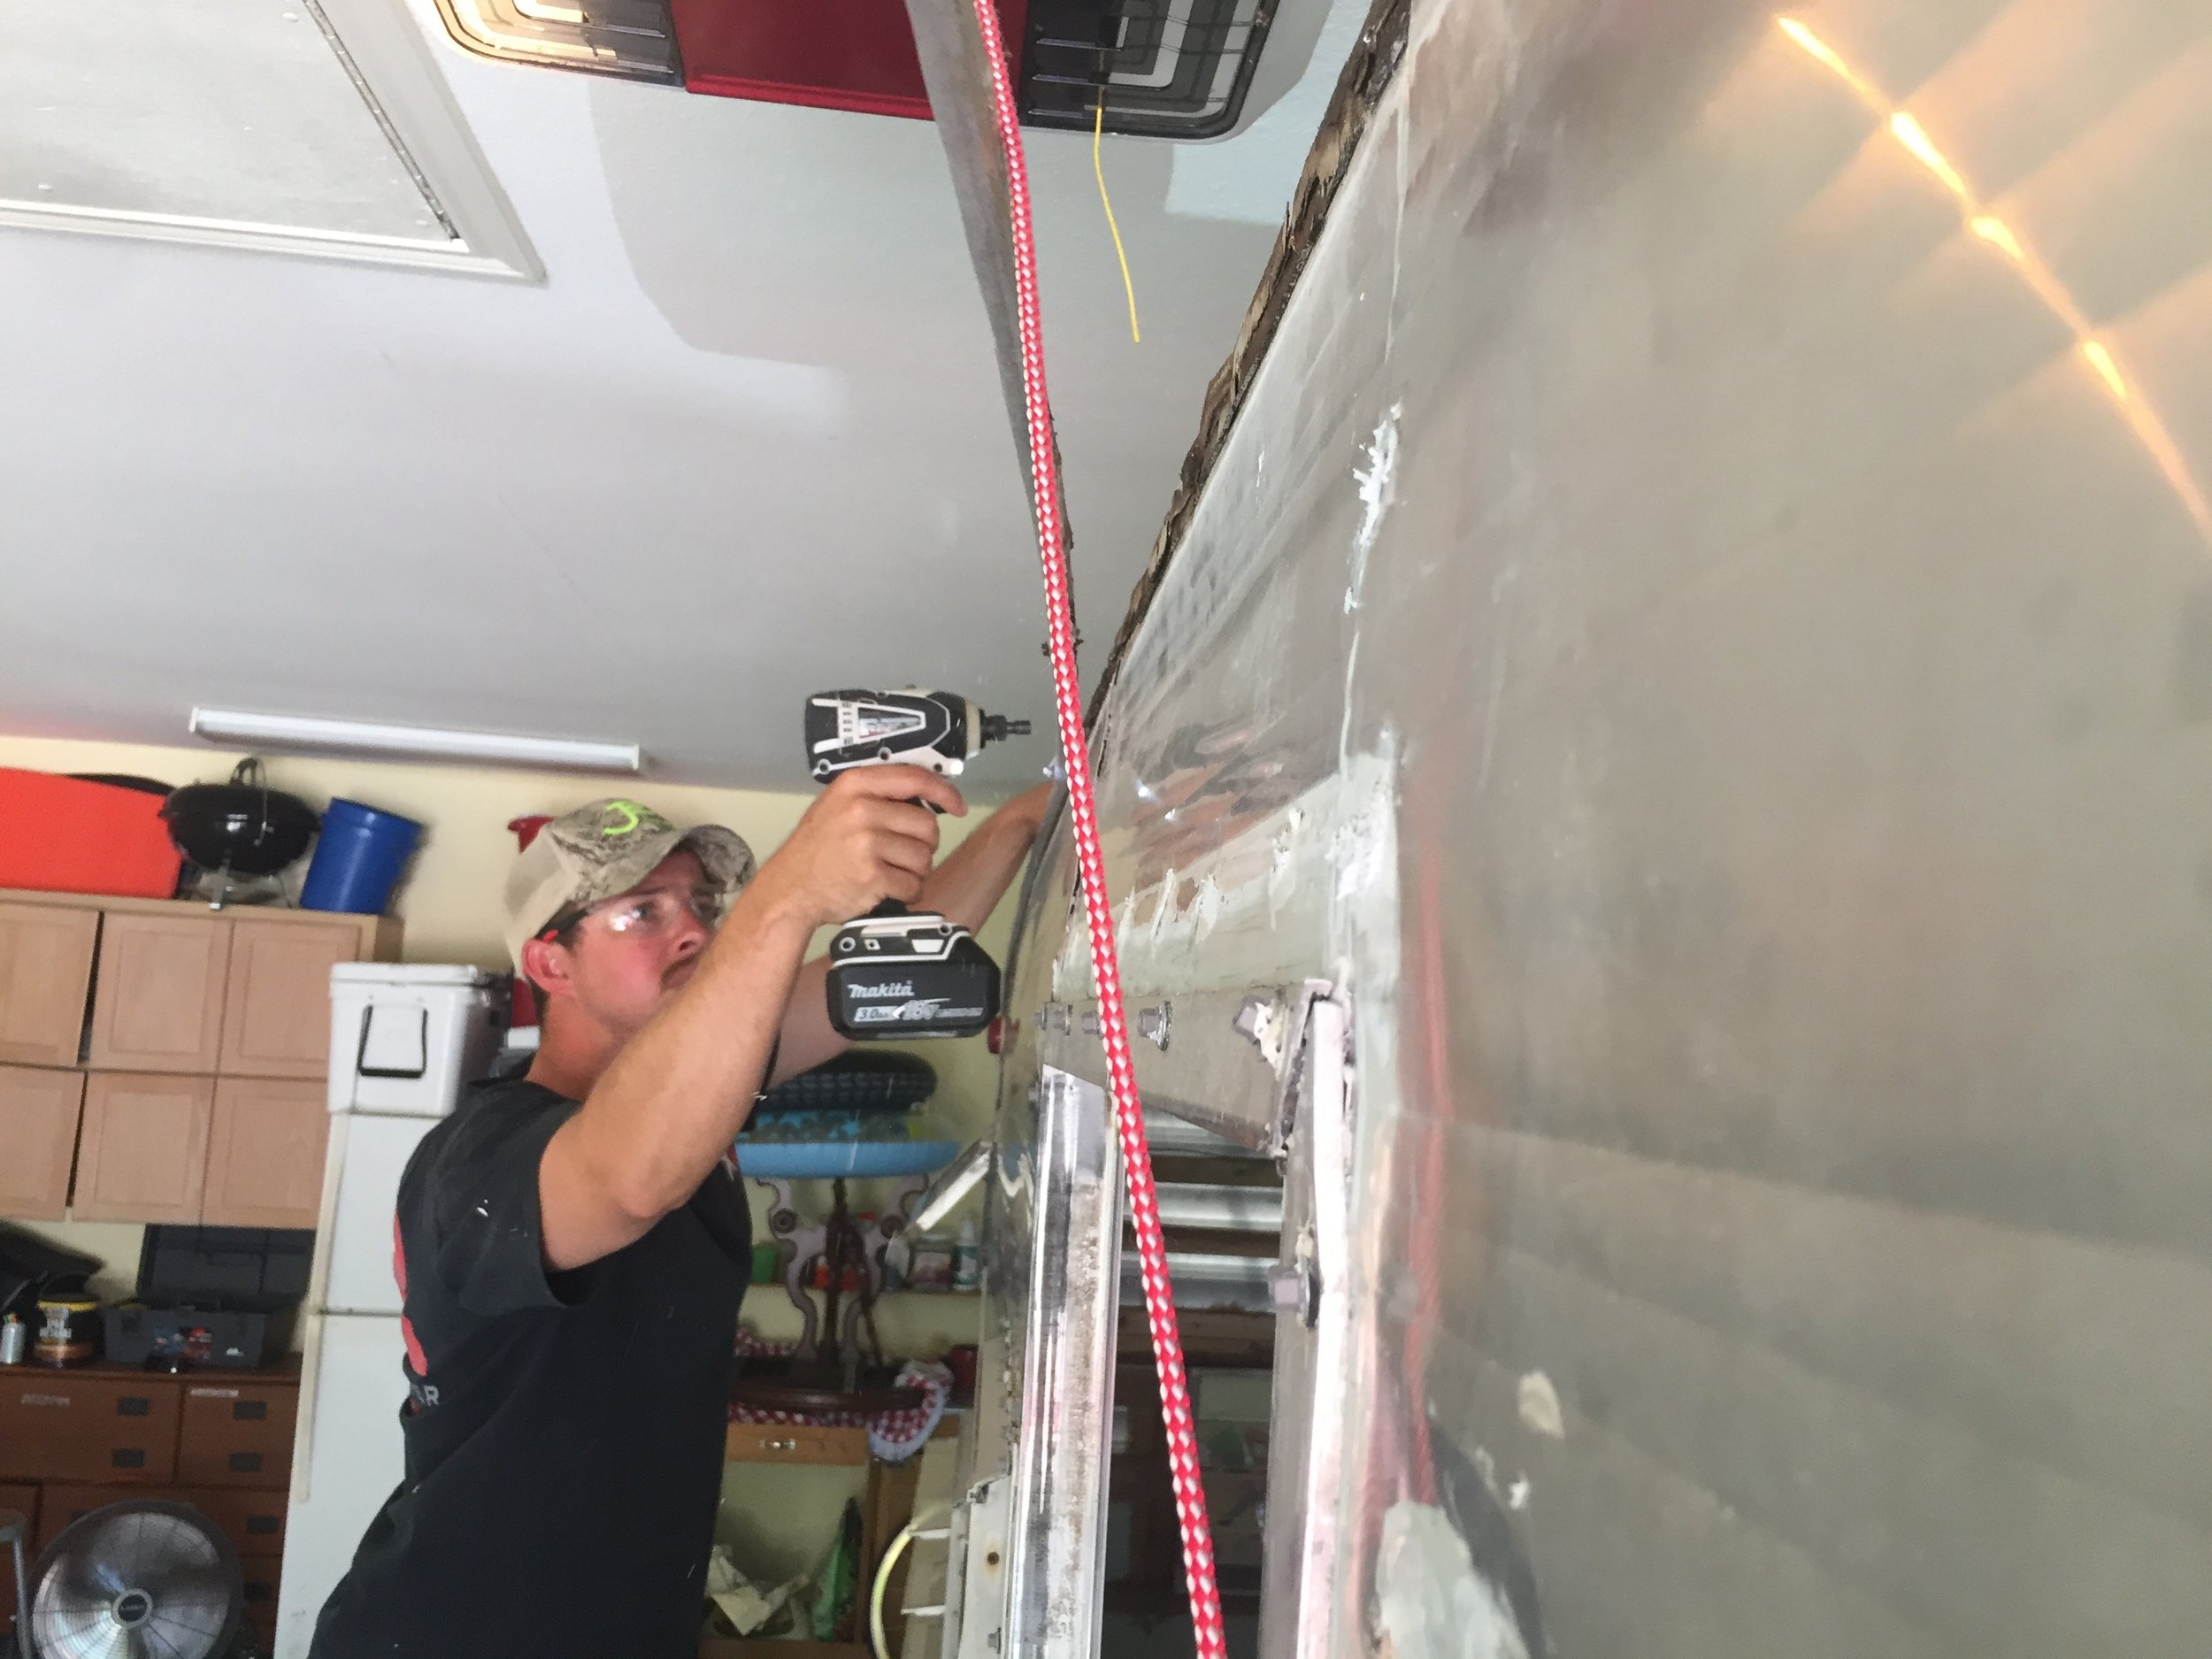
Everything in this project so far seems to follow this wonky formula:
Thing A needs to be done before we can do thing B; Thing B needs to get done before thing C; and thing C needs to get done before it makes sense to work on thing A.
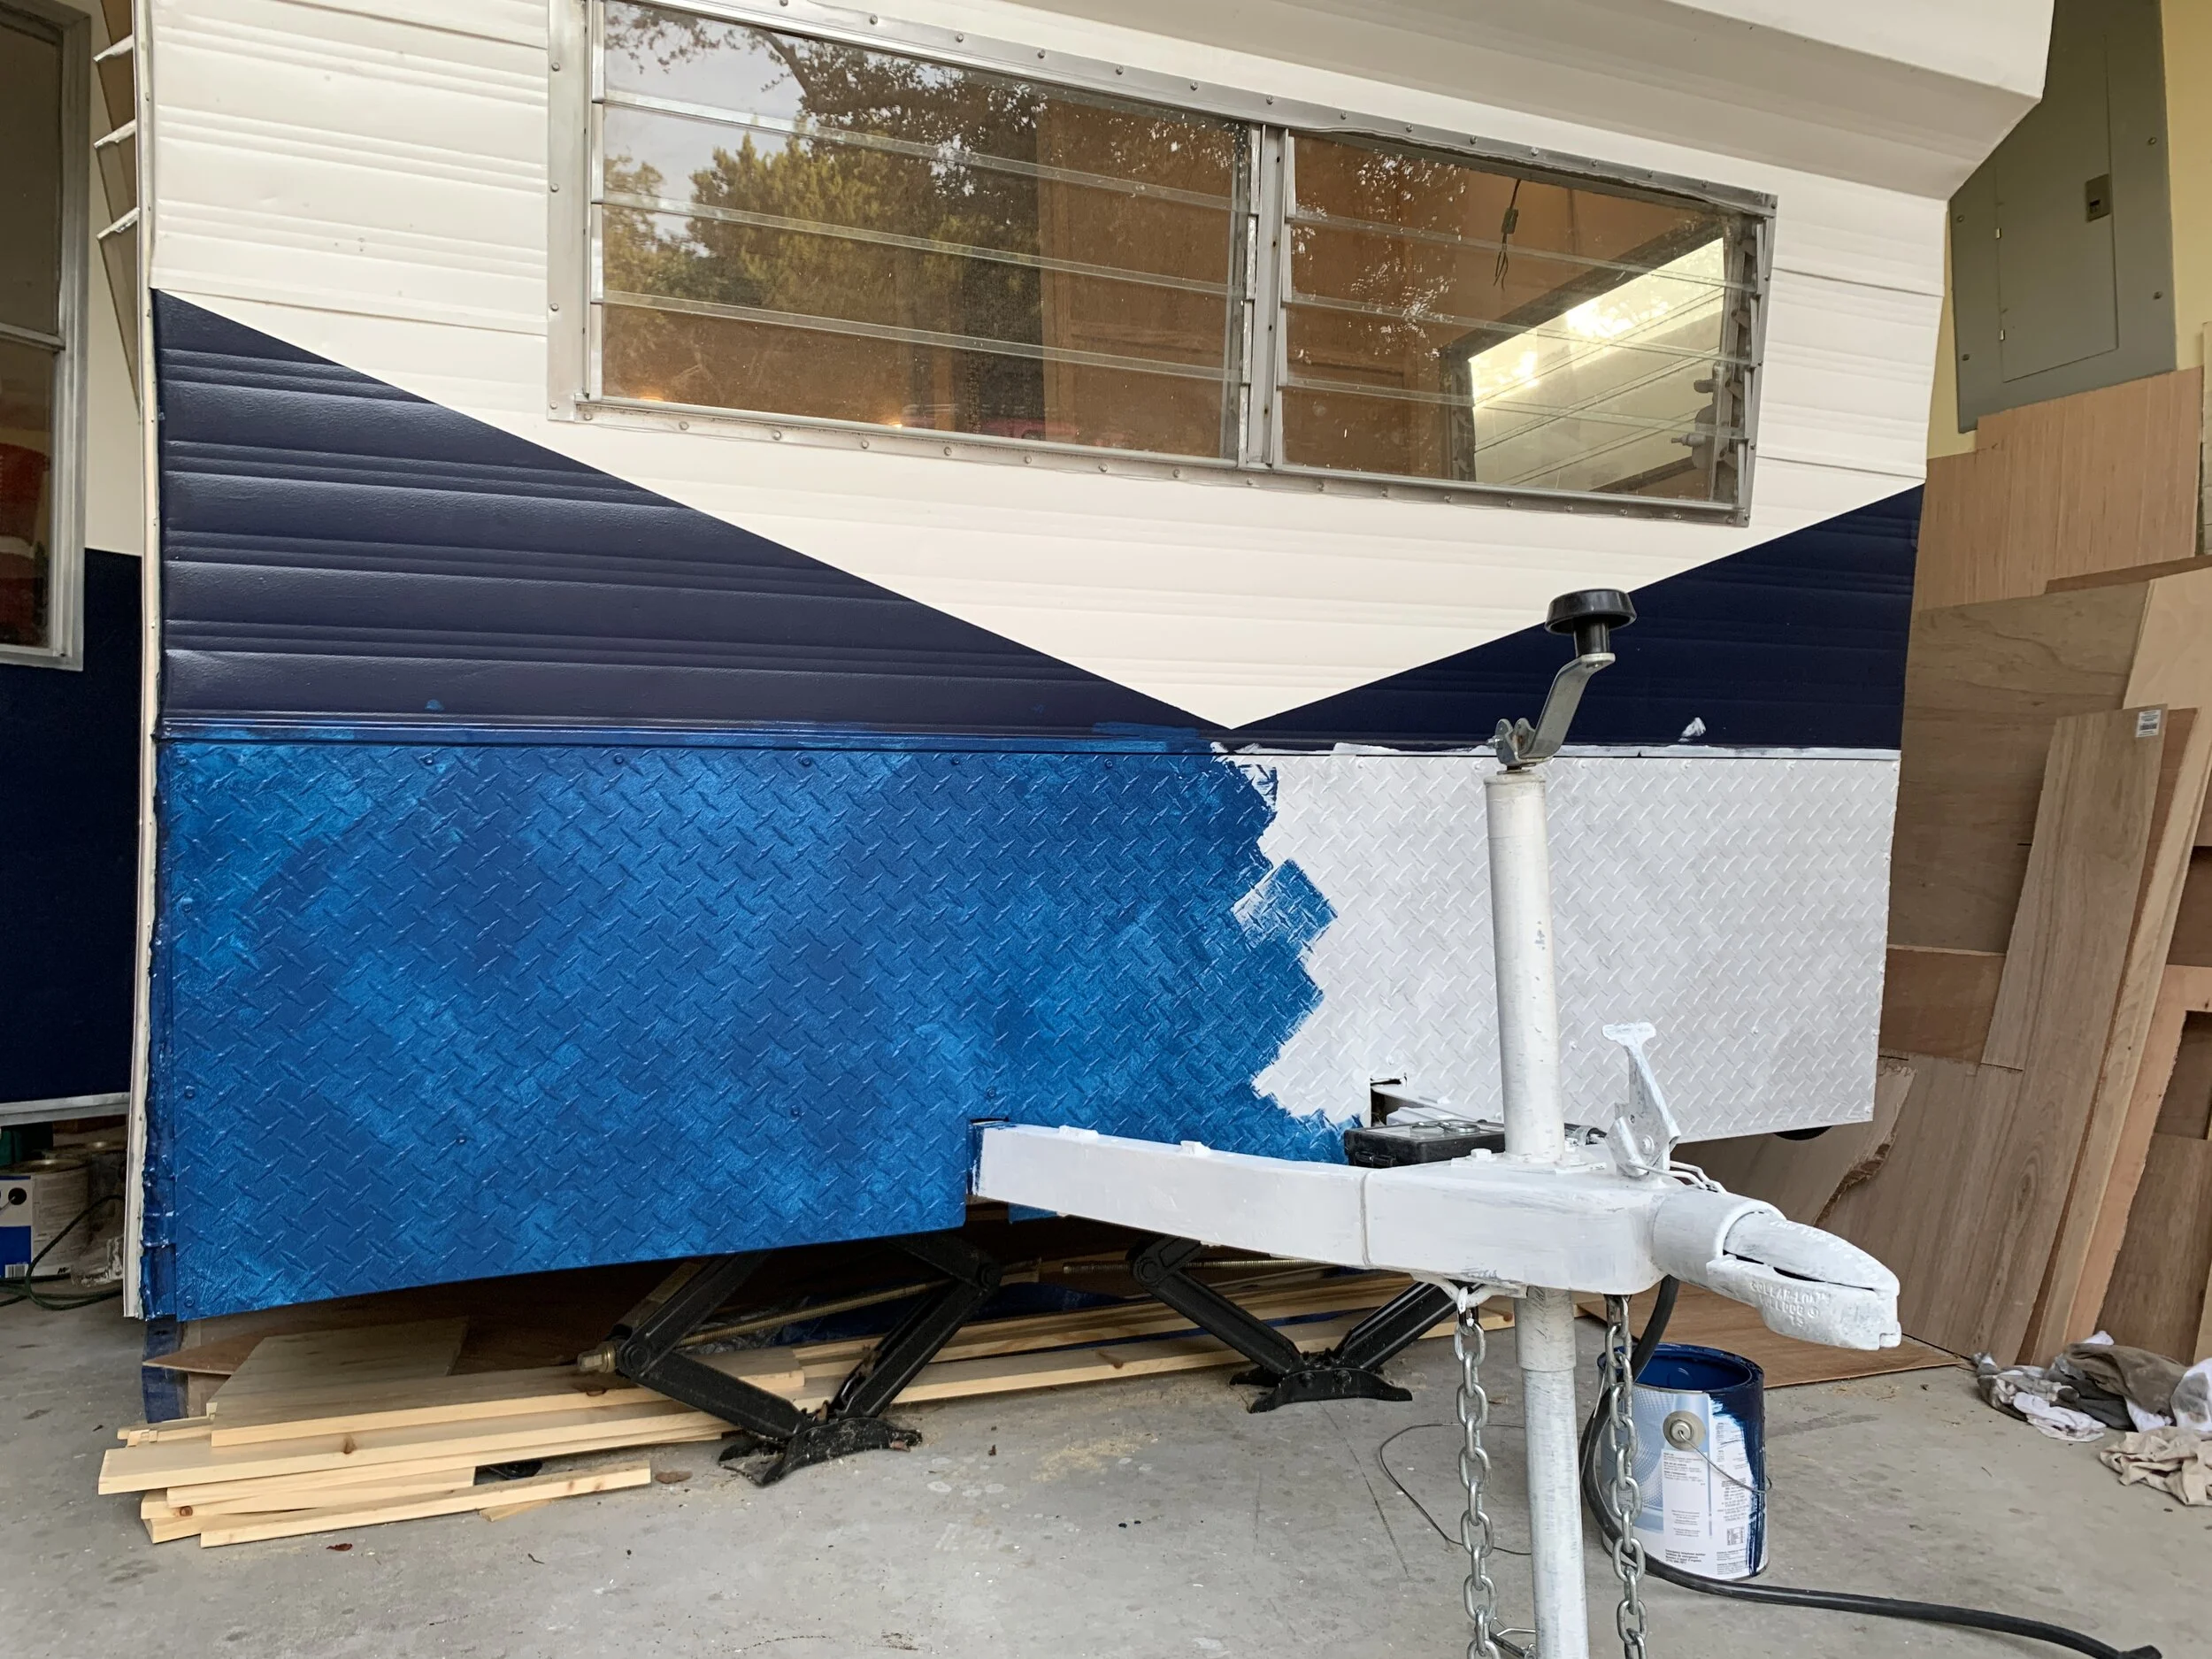
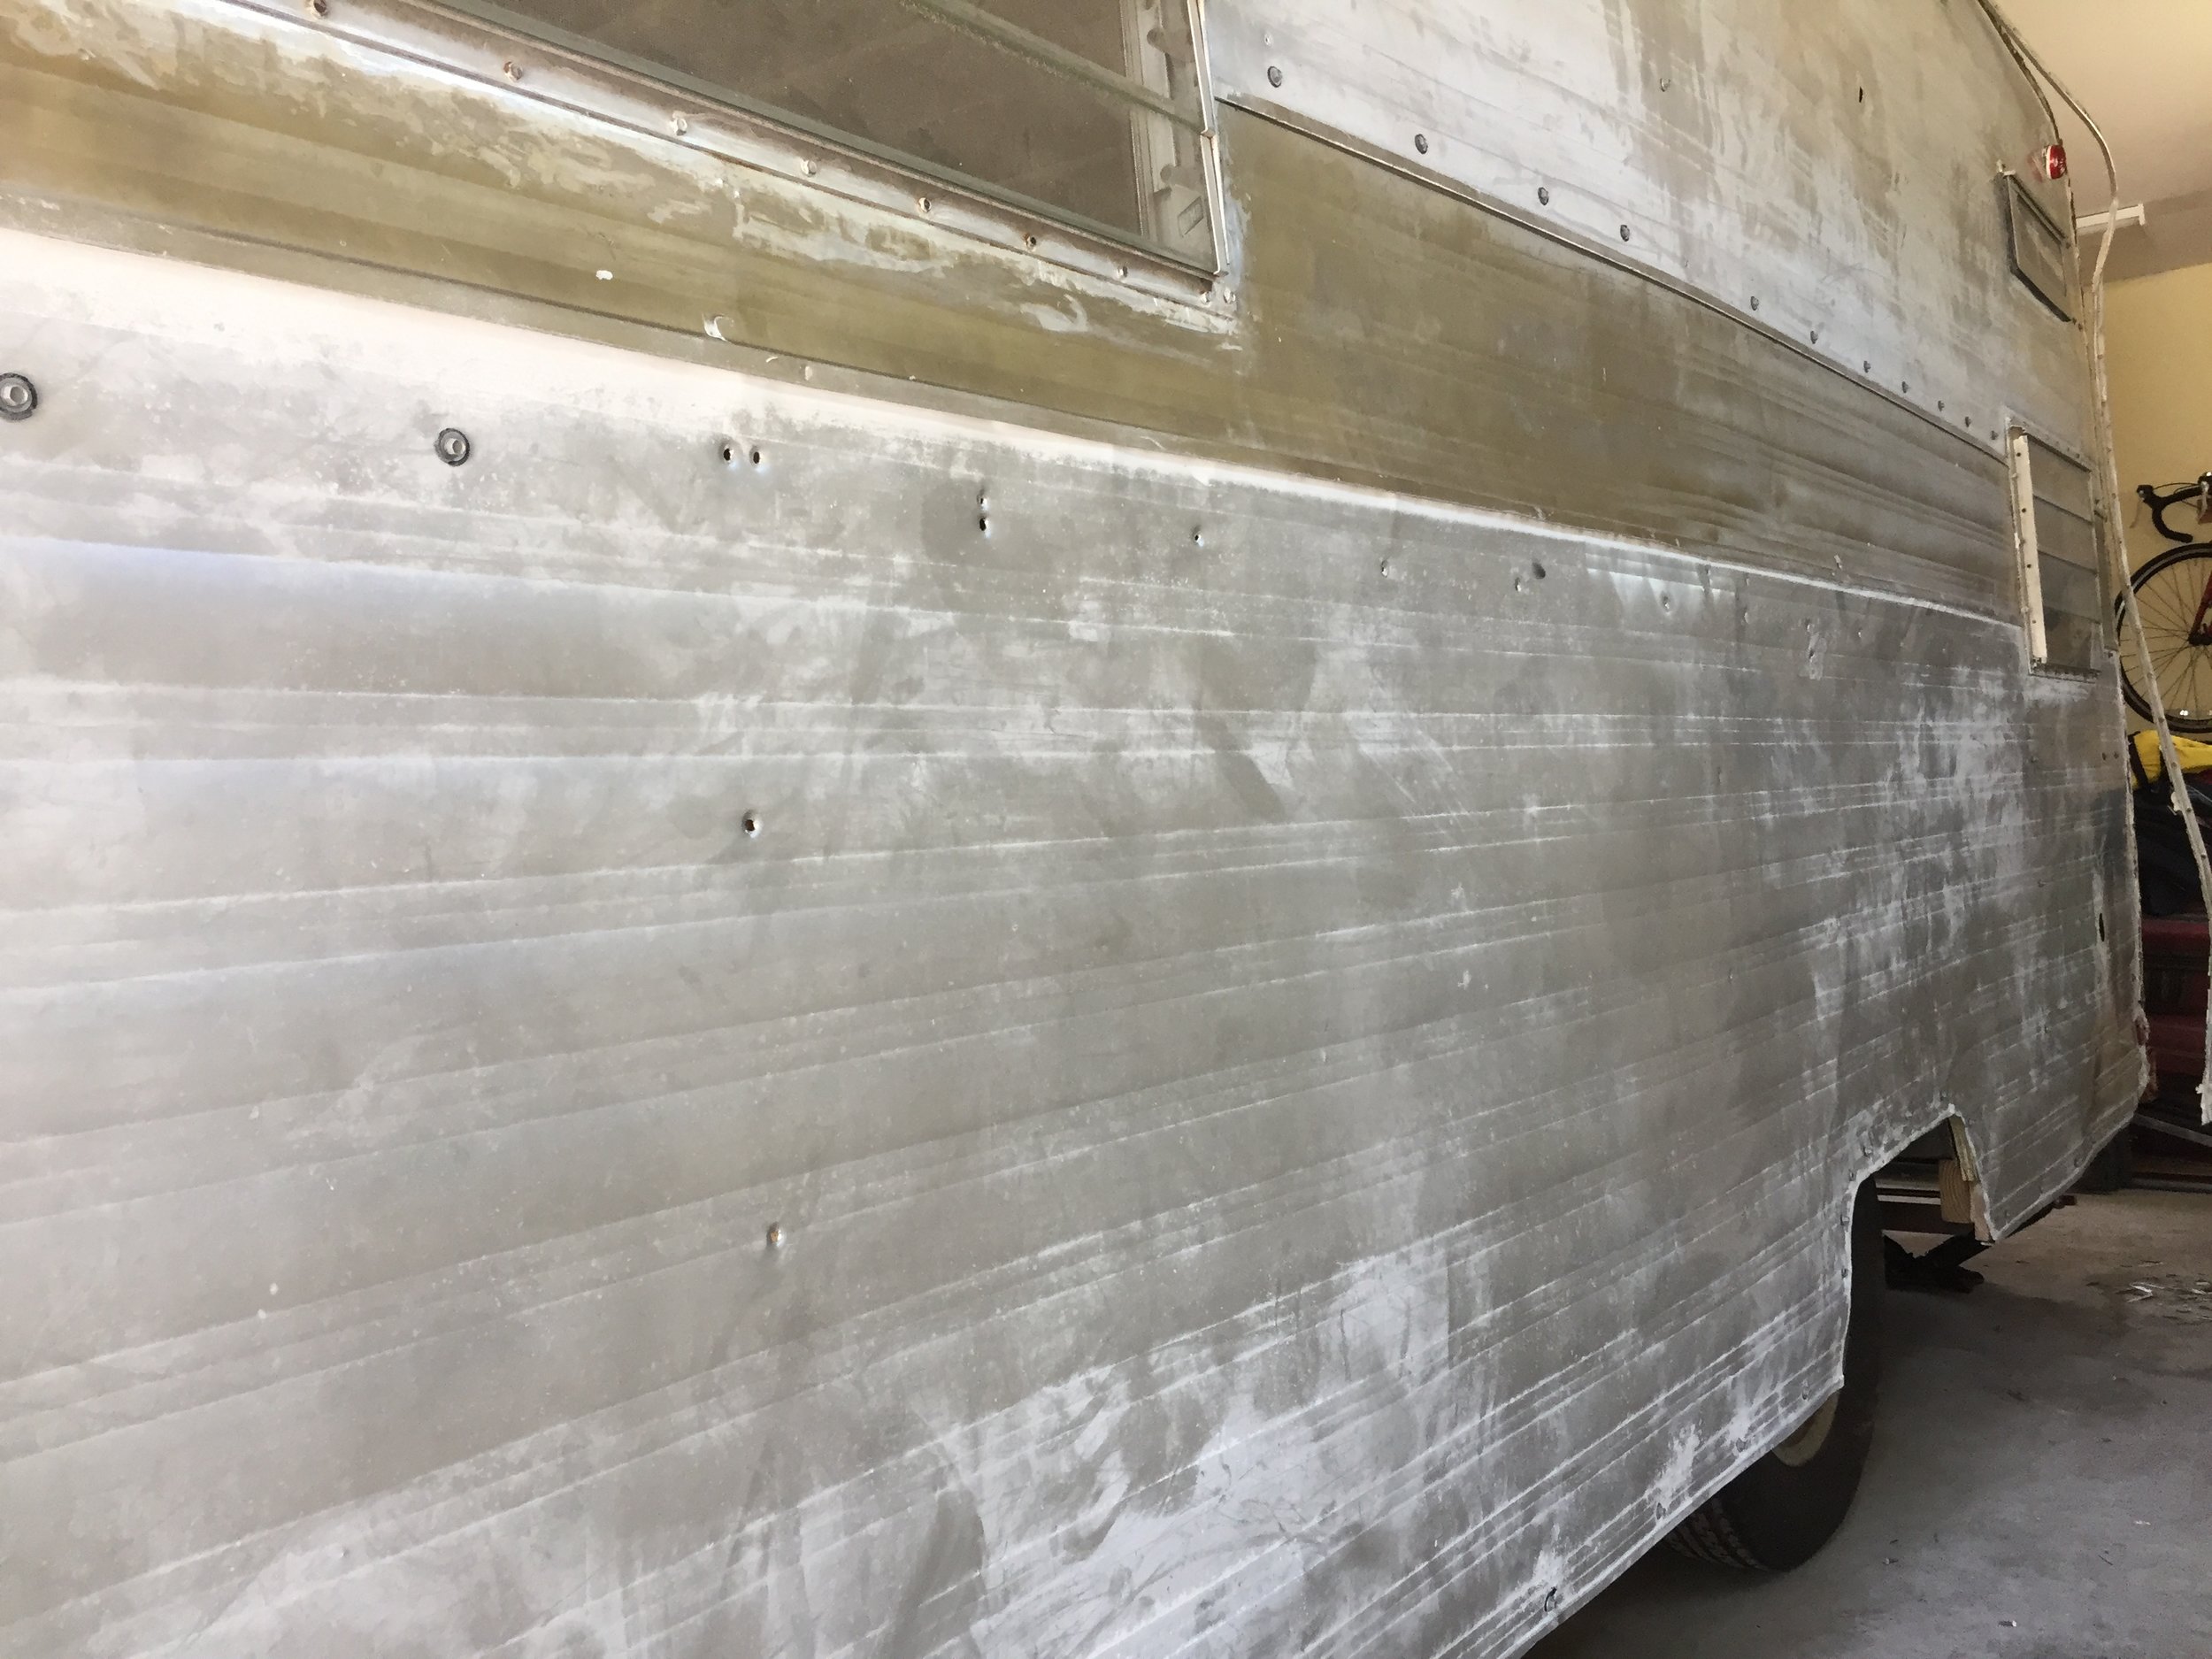
Our current mini goal is to get the exterior knocked out (read: waterproofed) so we don't do unnecessary damage to the inside once the time comes to work on it. That means our ABC plan starts with spot cleaning the camper exterior so we can fill all of the holes to make it as water-tight(ish) as we can (the walls need to be clean so the hole-filling materials bond properly), after which we'll really wash the exterior of the camper (checking the waterproofness from the inside as we go and re-plugging any holes as needed). Then, we'll prime and paint the exterior and finish it off with the shiny new j-trim (so we don't have to tape that off too and paint around it), which should complete the waterproofing entirely.
Now let's plug some holes.
Repairing holes + waterproofing the metal exterior
Gotta save those dolla bills, y'all. This is when the creativity/my hair-brained schemes come in handy. As much as we could drop some serious cash to buy a custom piece of metal skin to replace the dimpled piece on the bottom front of the camper, we decided to try save some money and patch the holes first. At some point, huge holes got ripped into the metal. Most people would just buy a new piece. I am not most people. Enter what I'll call the caca phase of the project...
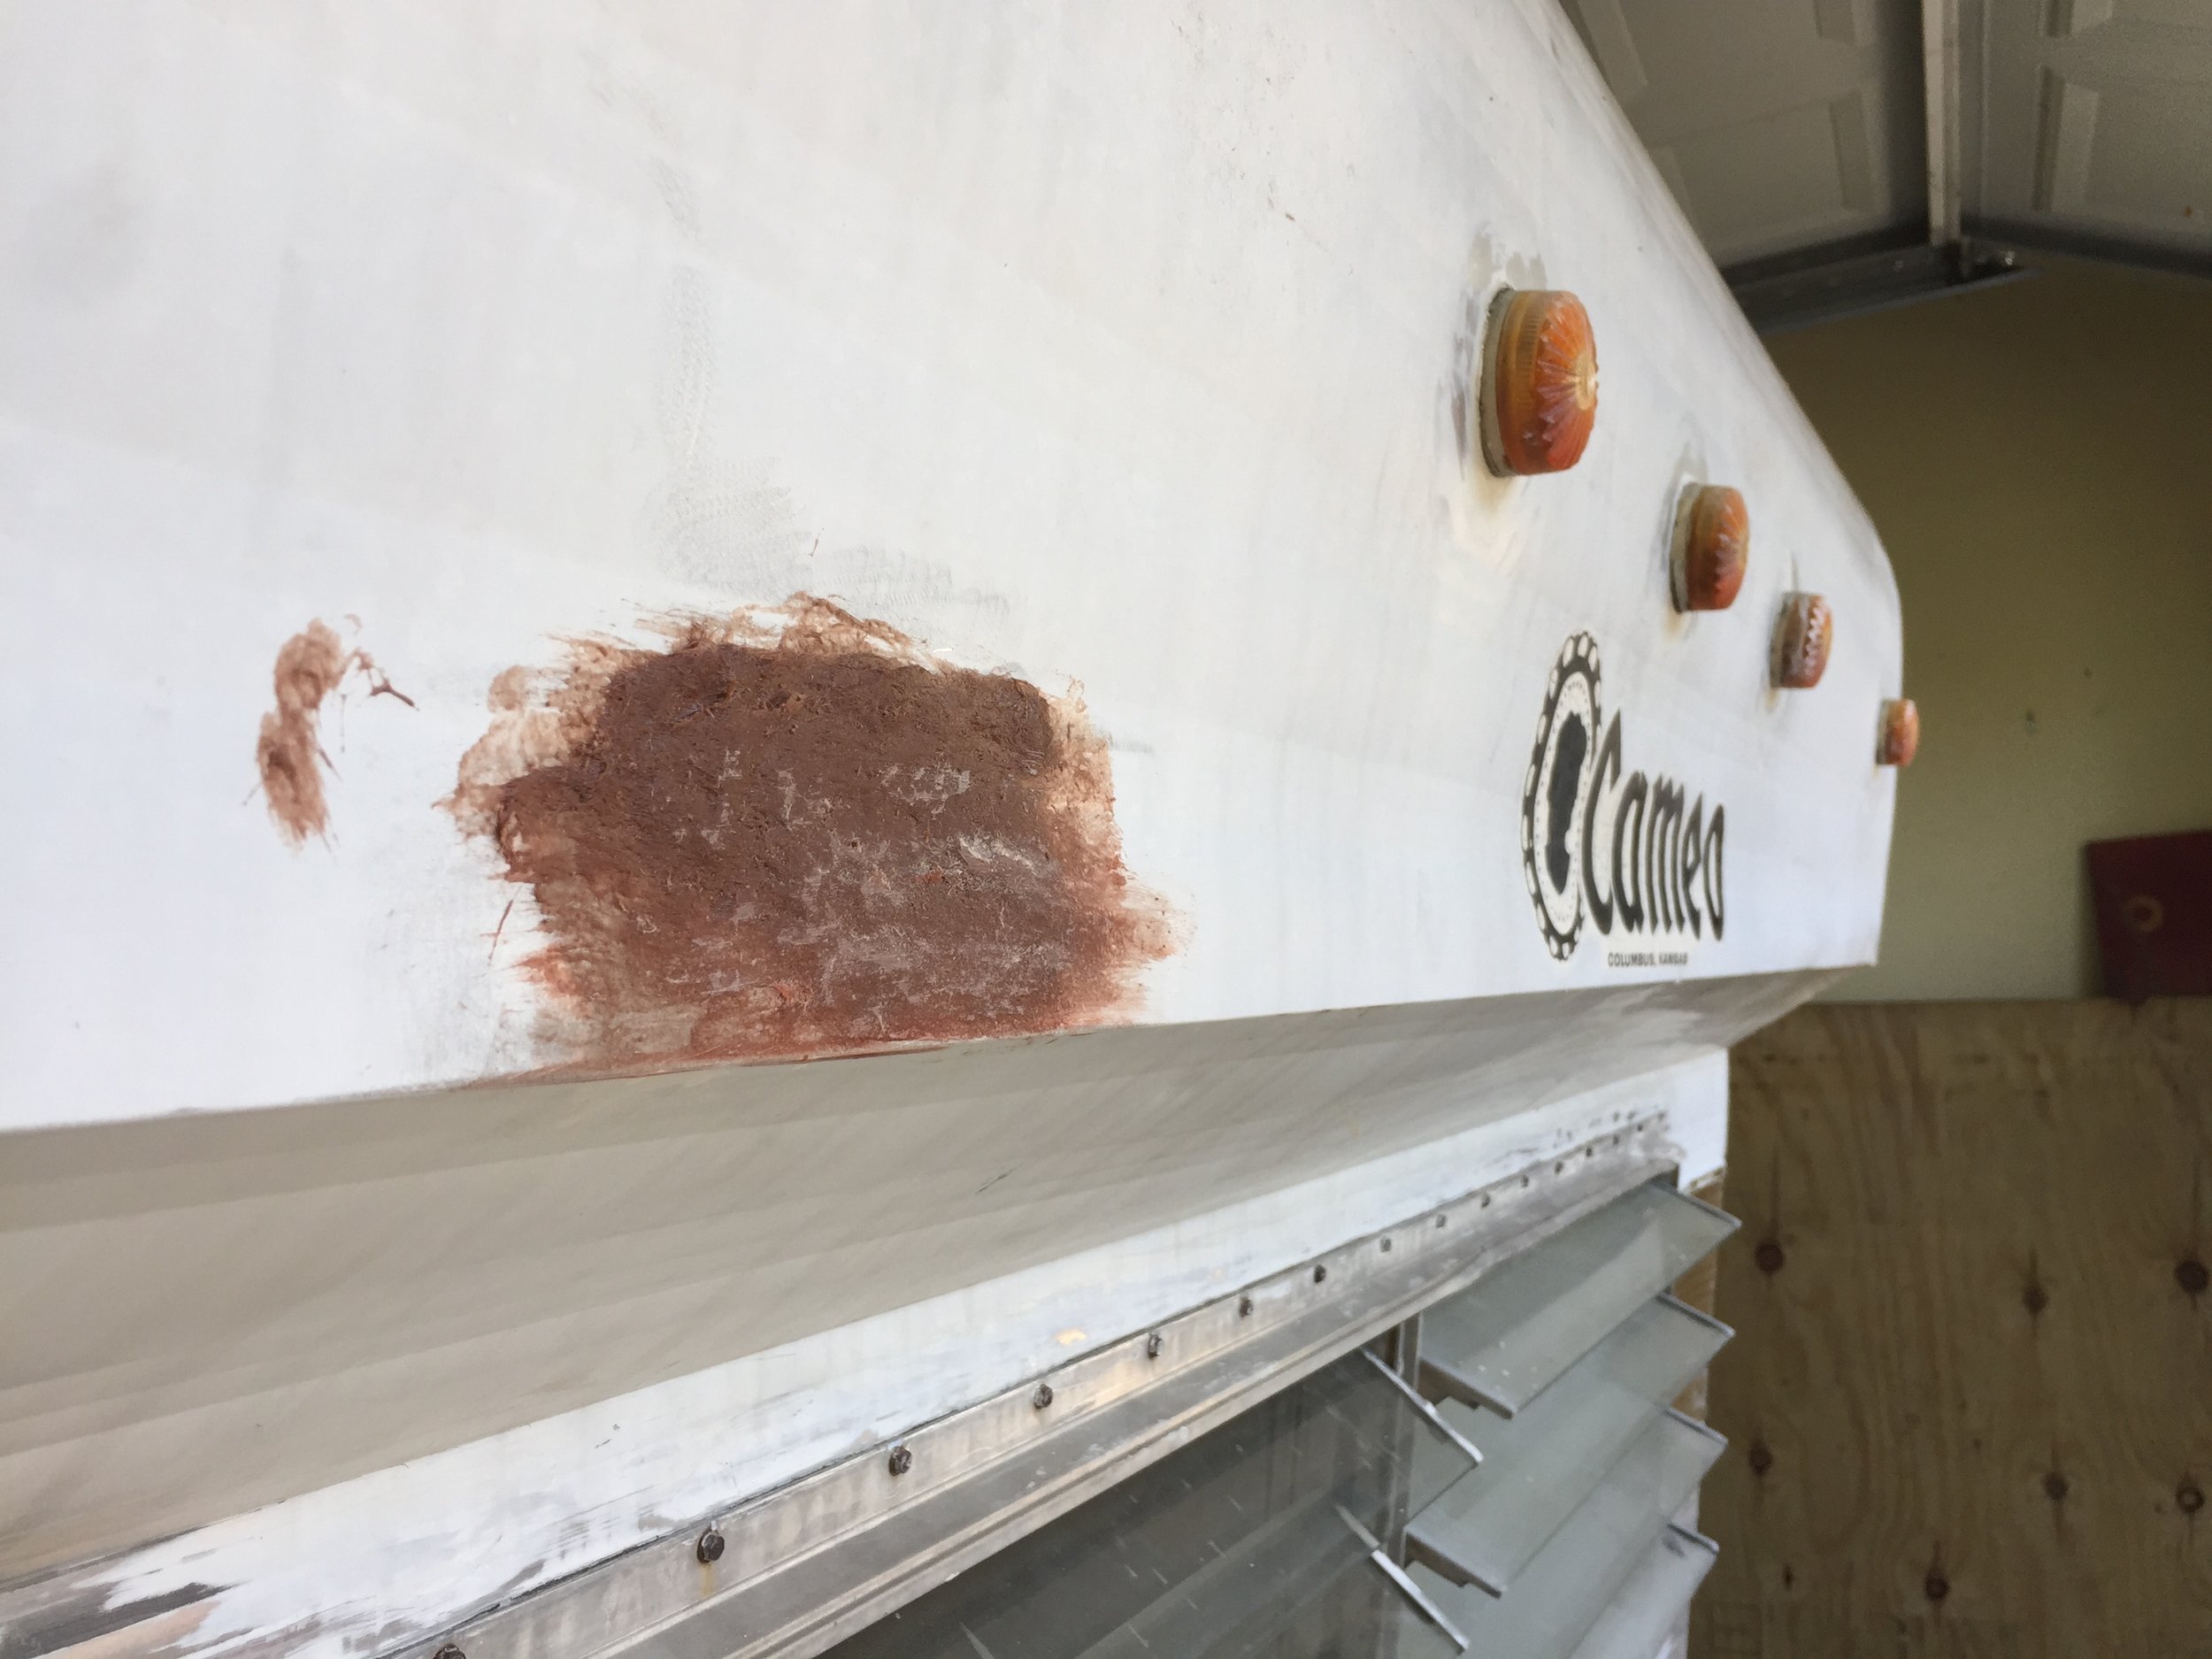
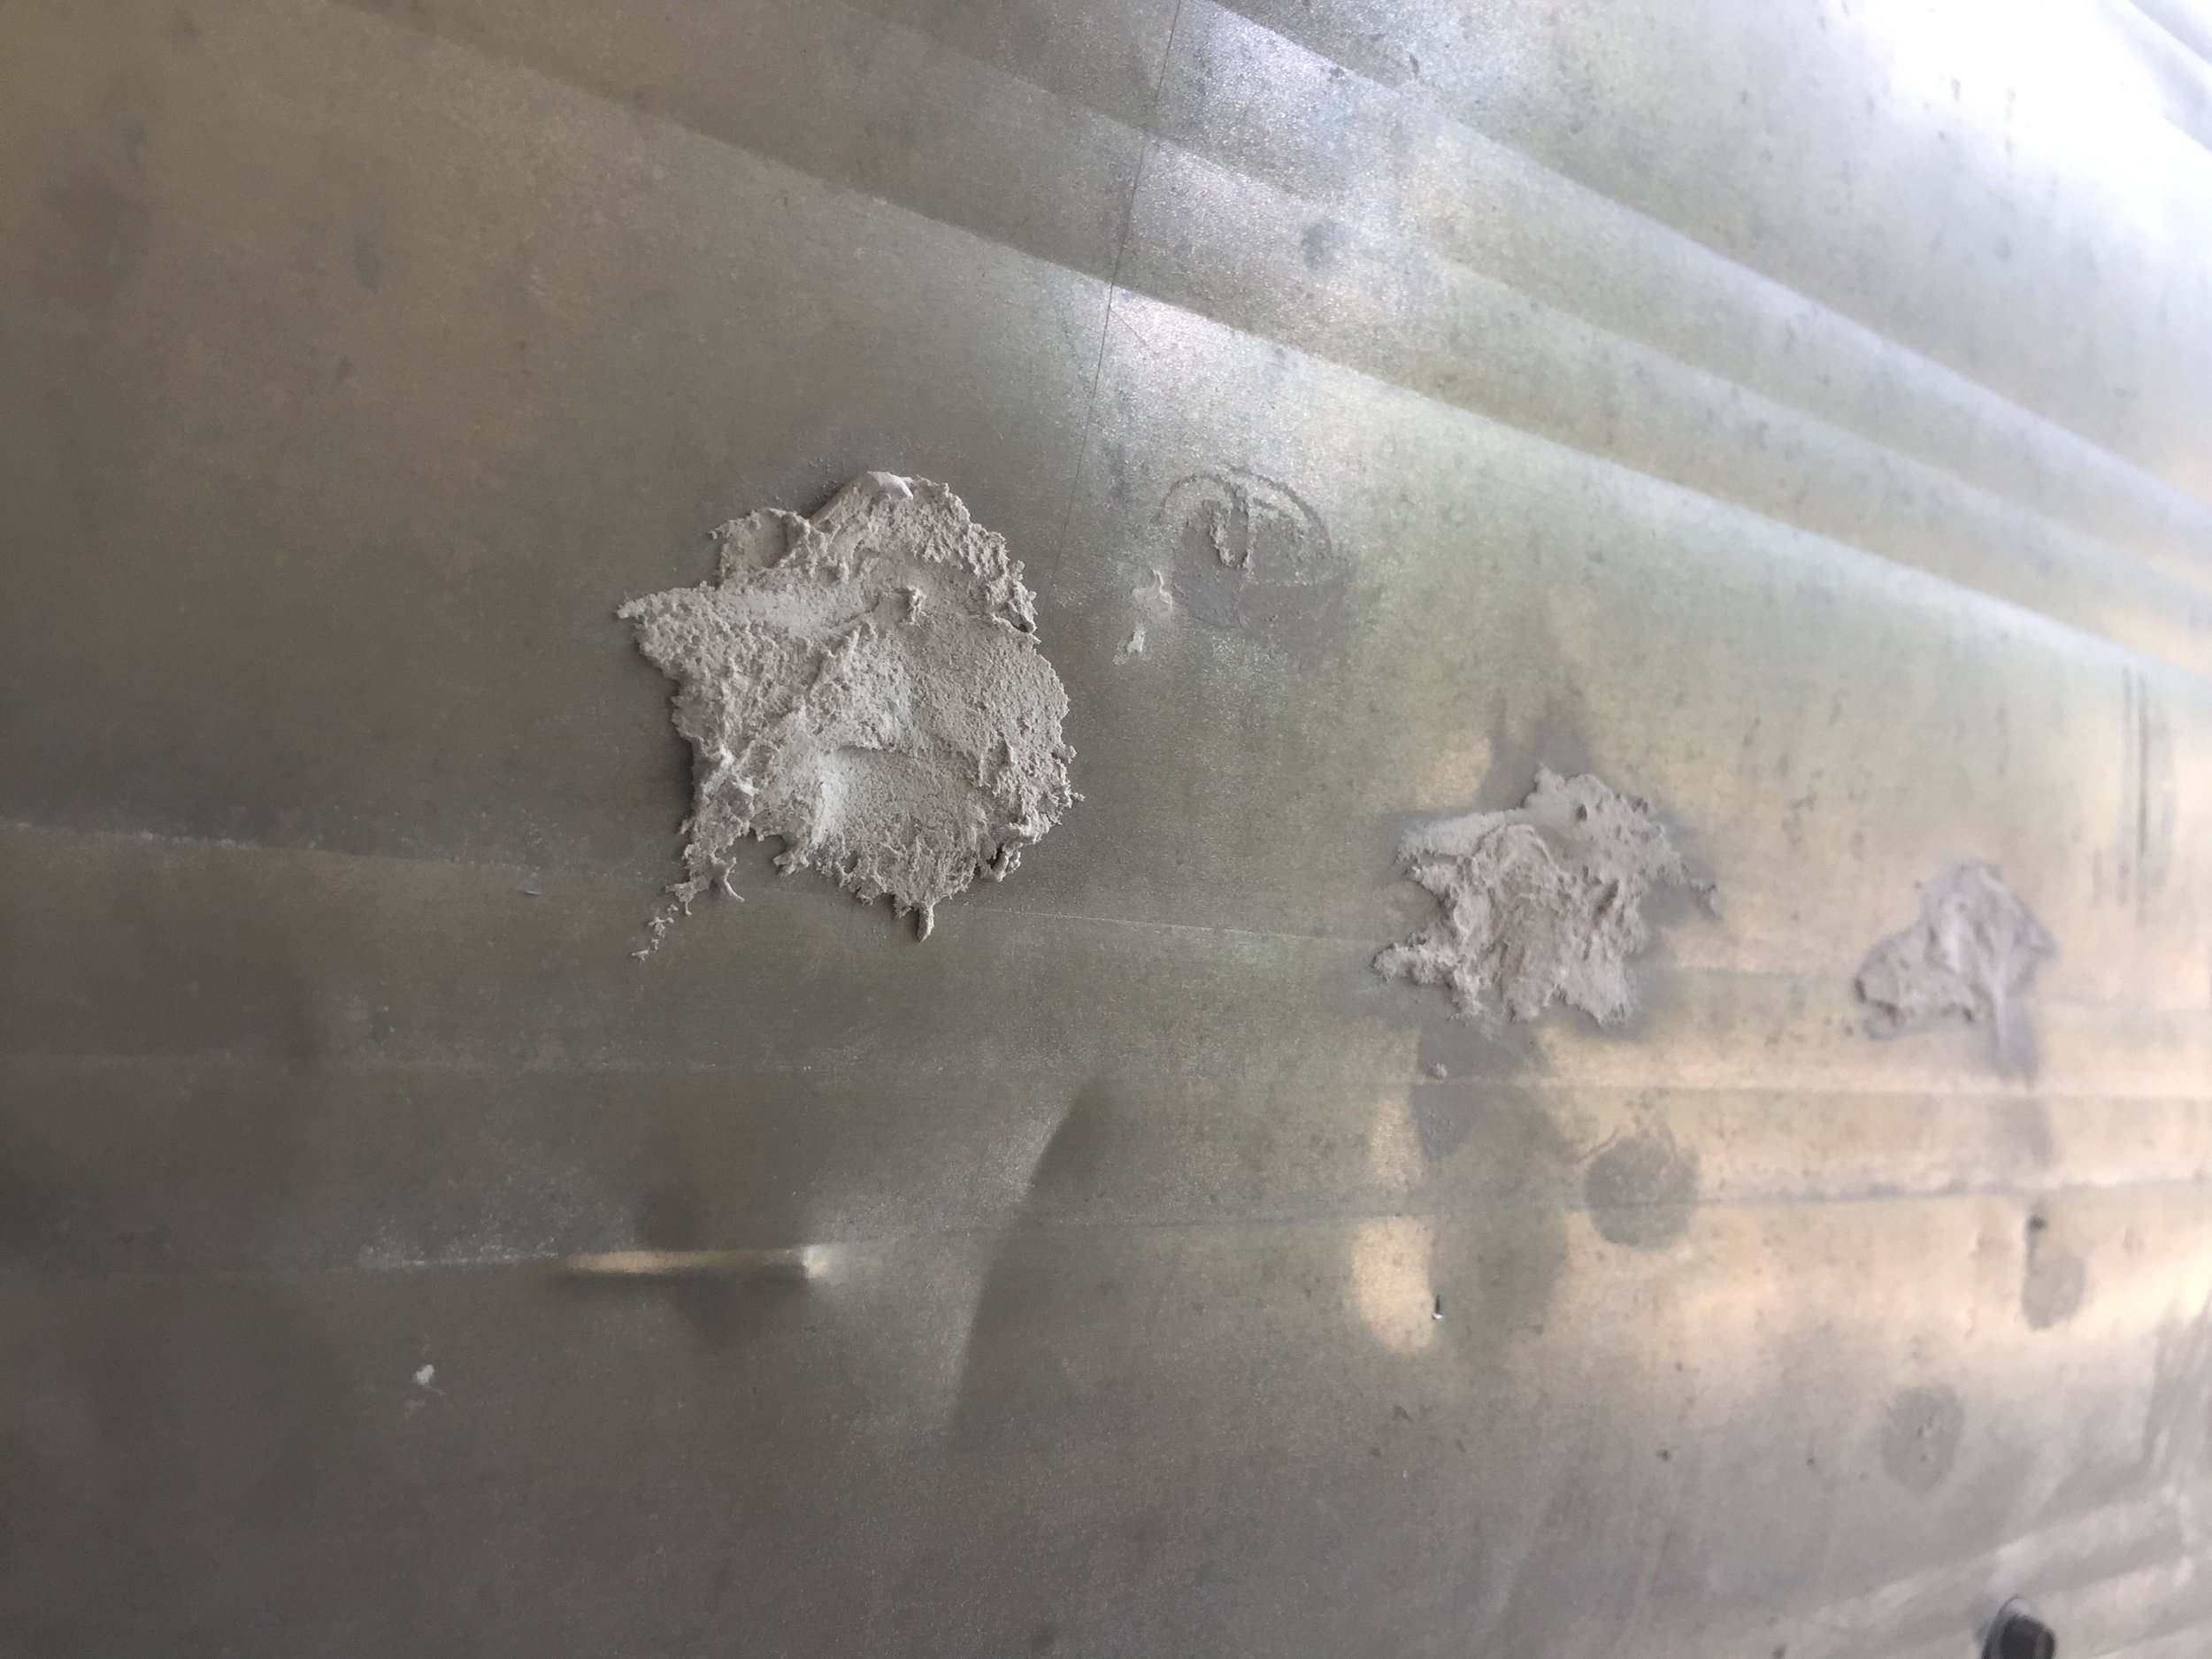
No, we didn't adopt a poo-flingin' monkey since we last talked. This is what stranded fiberglass Bondo looks like after it's applied (at least, applied by me, an amateur). Mouthwatering, I know. But it definitely appears to be lightweight and sturdy which is just what we needed to repair punctures like this:
And tears like this:

And mystery holes like this:
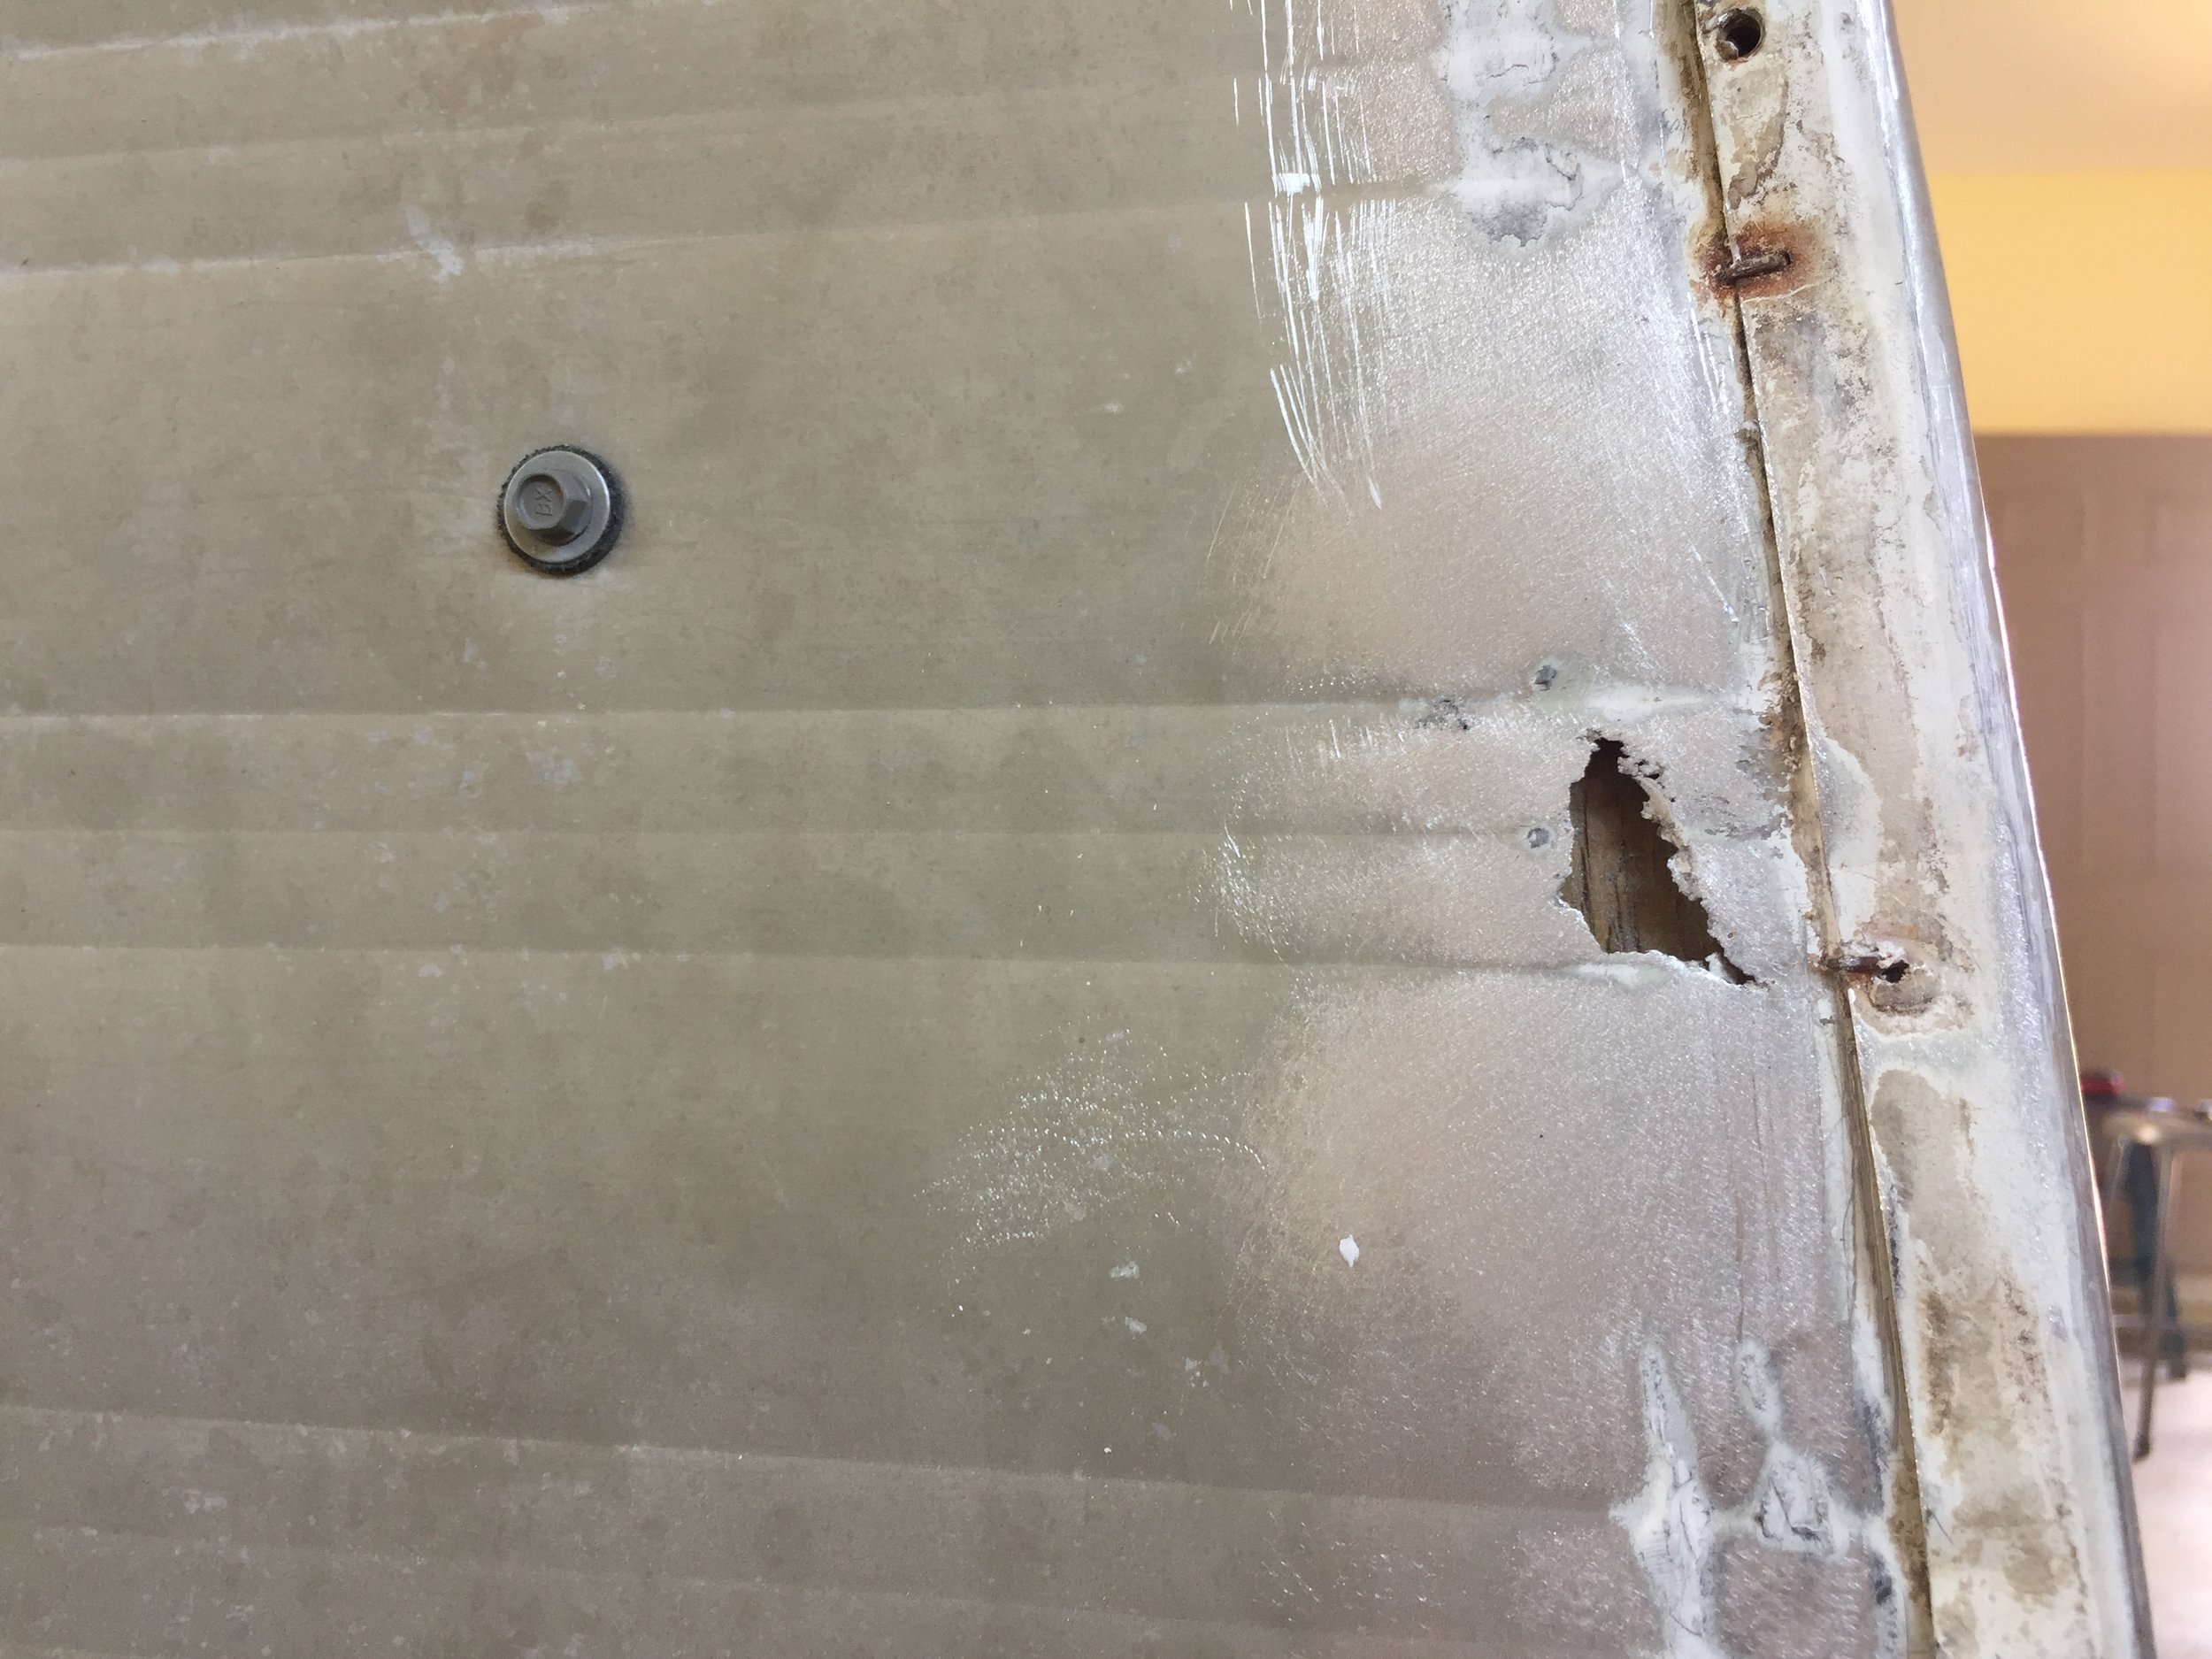
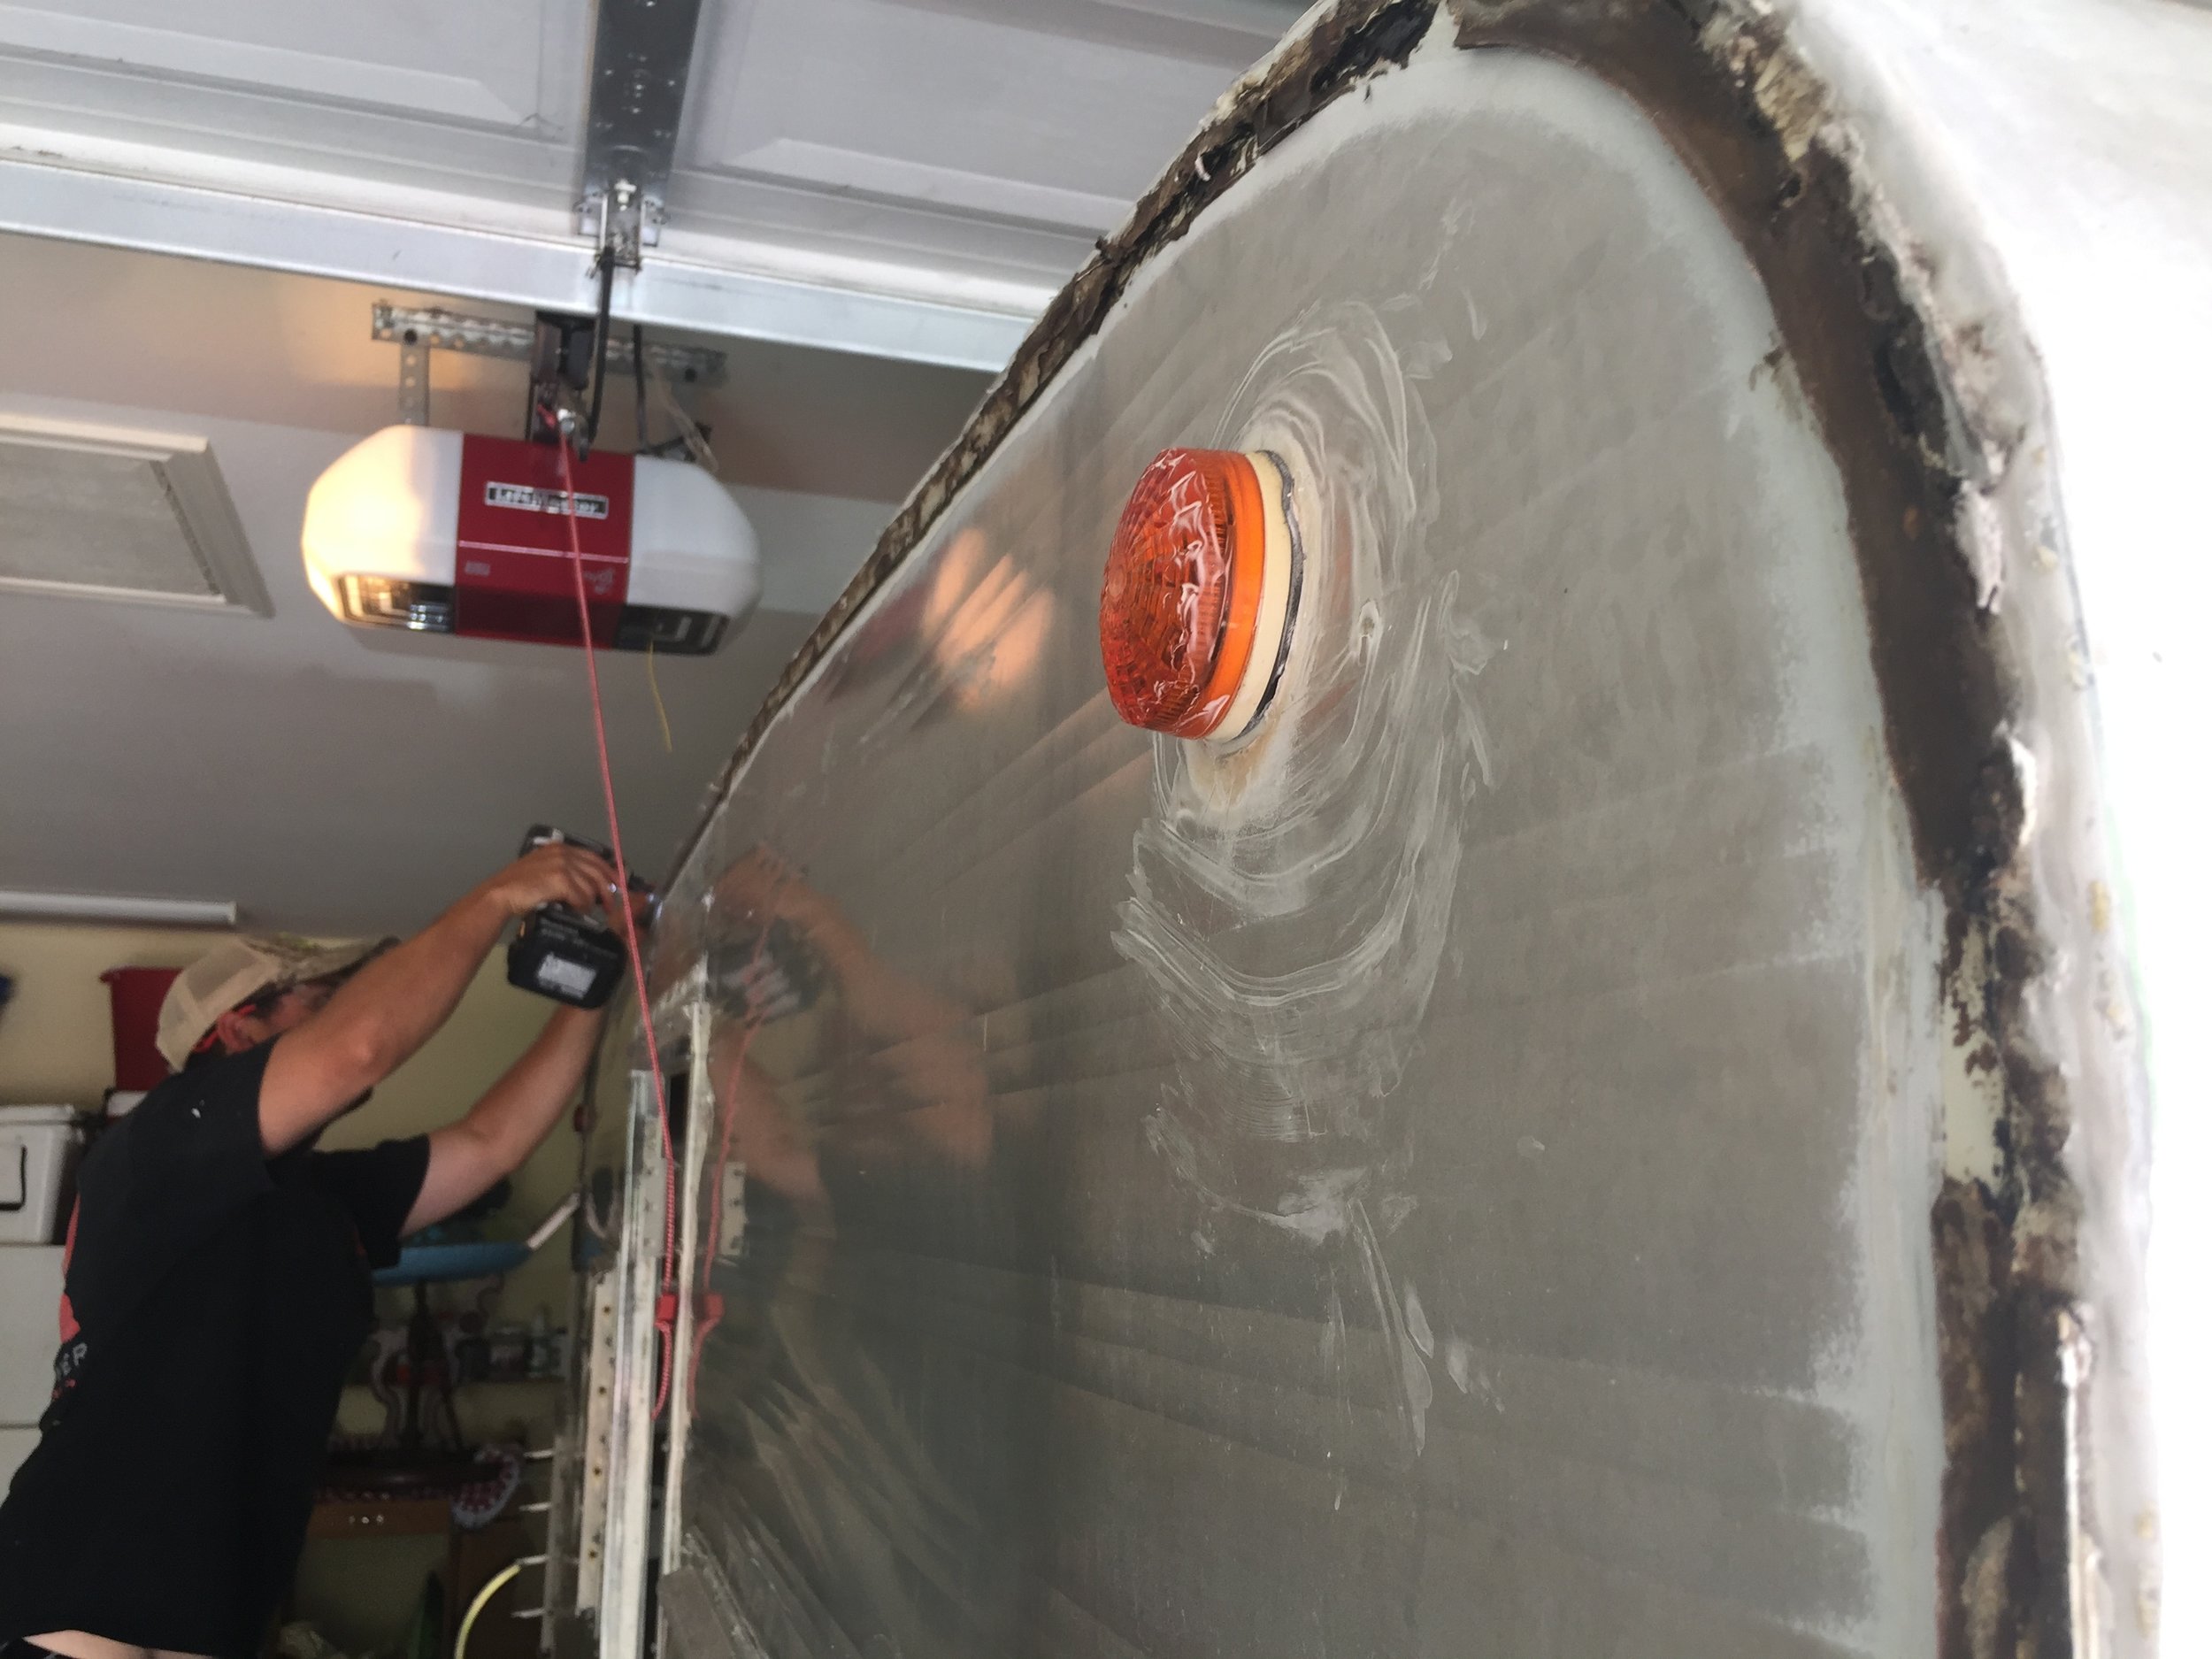
In fact, in addition to multiple gashes, tears and places where the metal just looked weirdly eroded (before we sanded to rough them up for Bondo-ing), there were about 14 some odd quarter-to-half-dollar-size-holes along the bottom of the front bottom panel from where screws had ripped through. With holes of this size we knew the Bondo would need some kind of backing to adhere to so we got a little crafty using aluminum sheet metal and some construction adhesive.
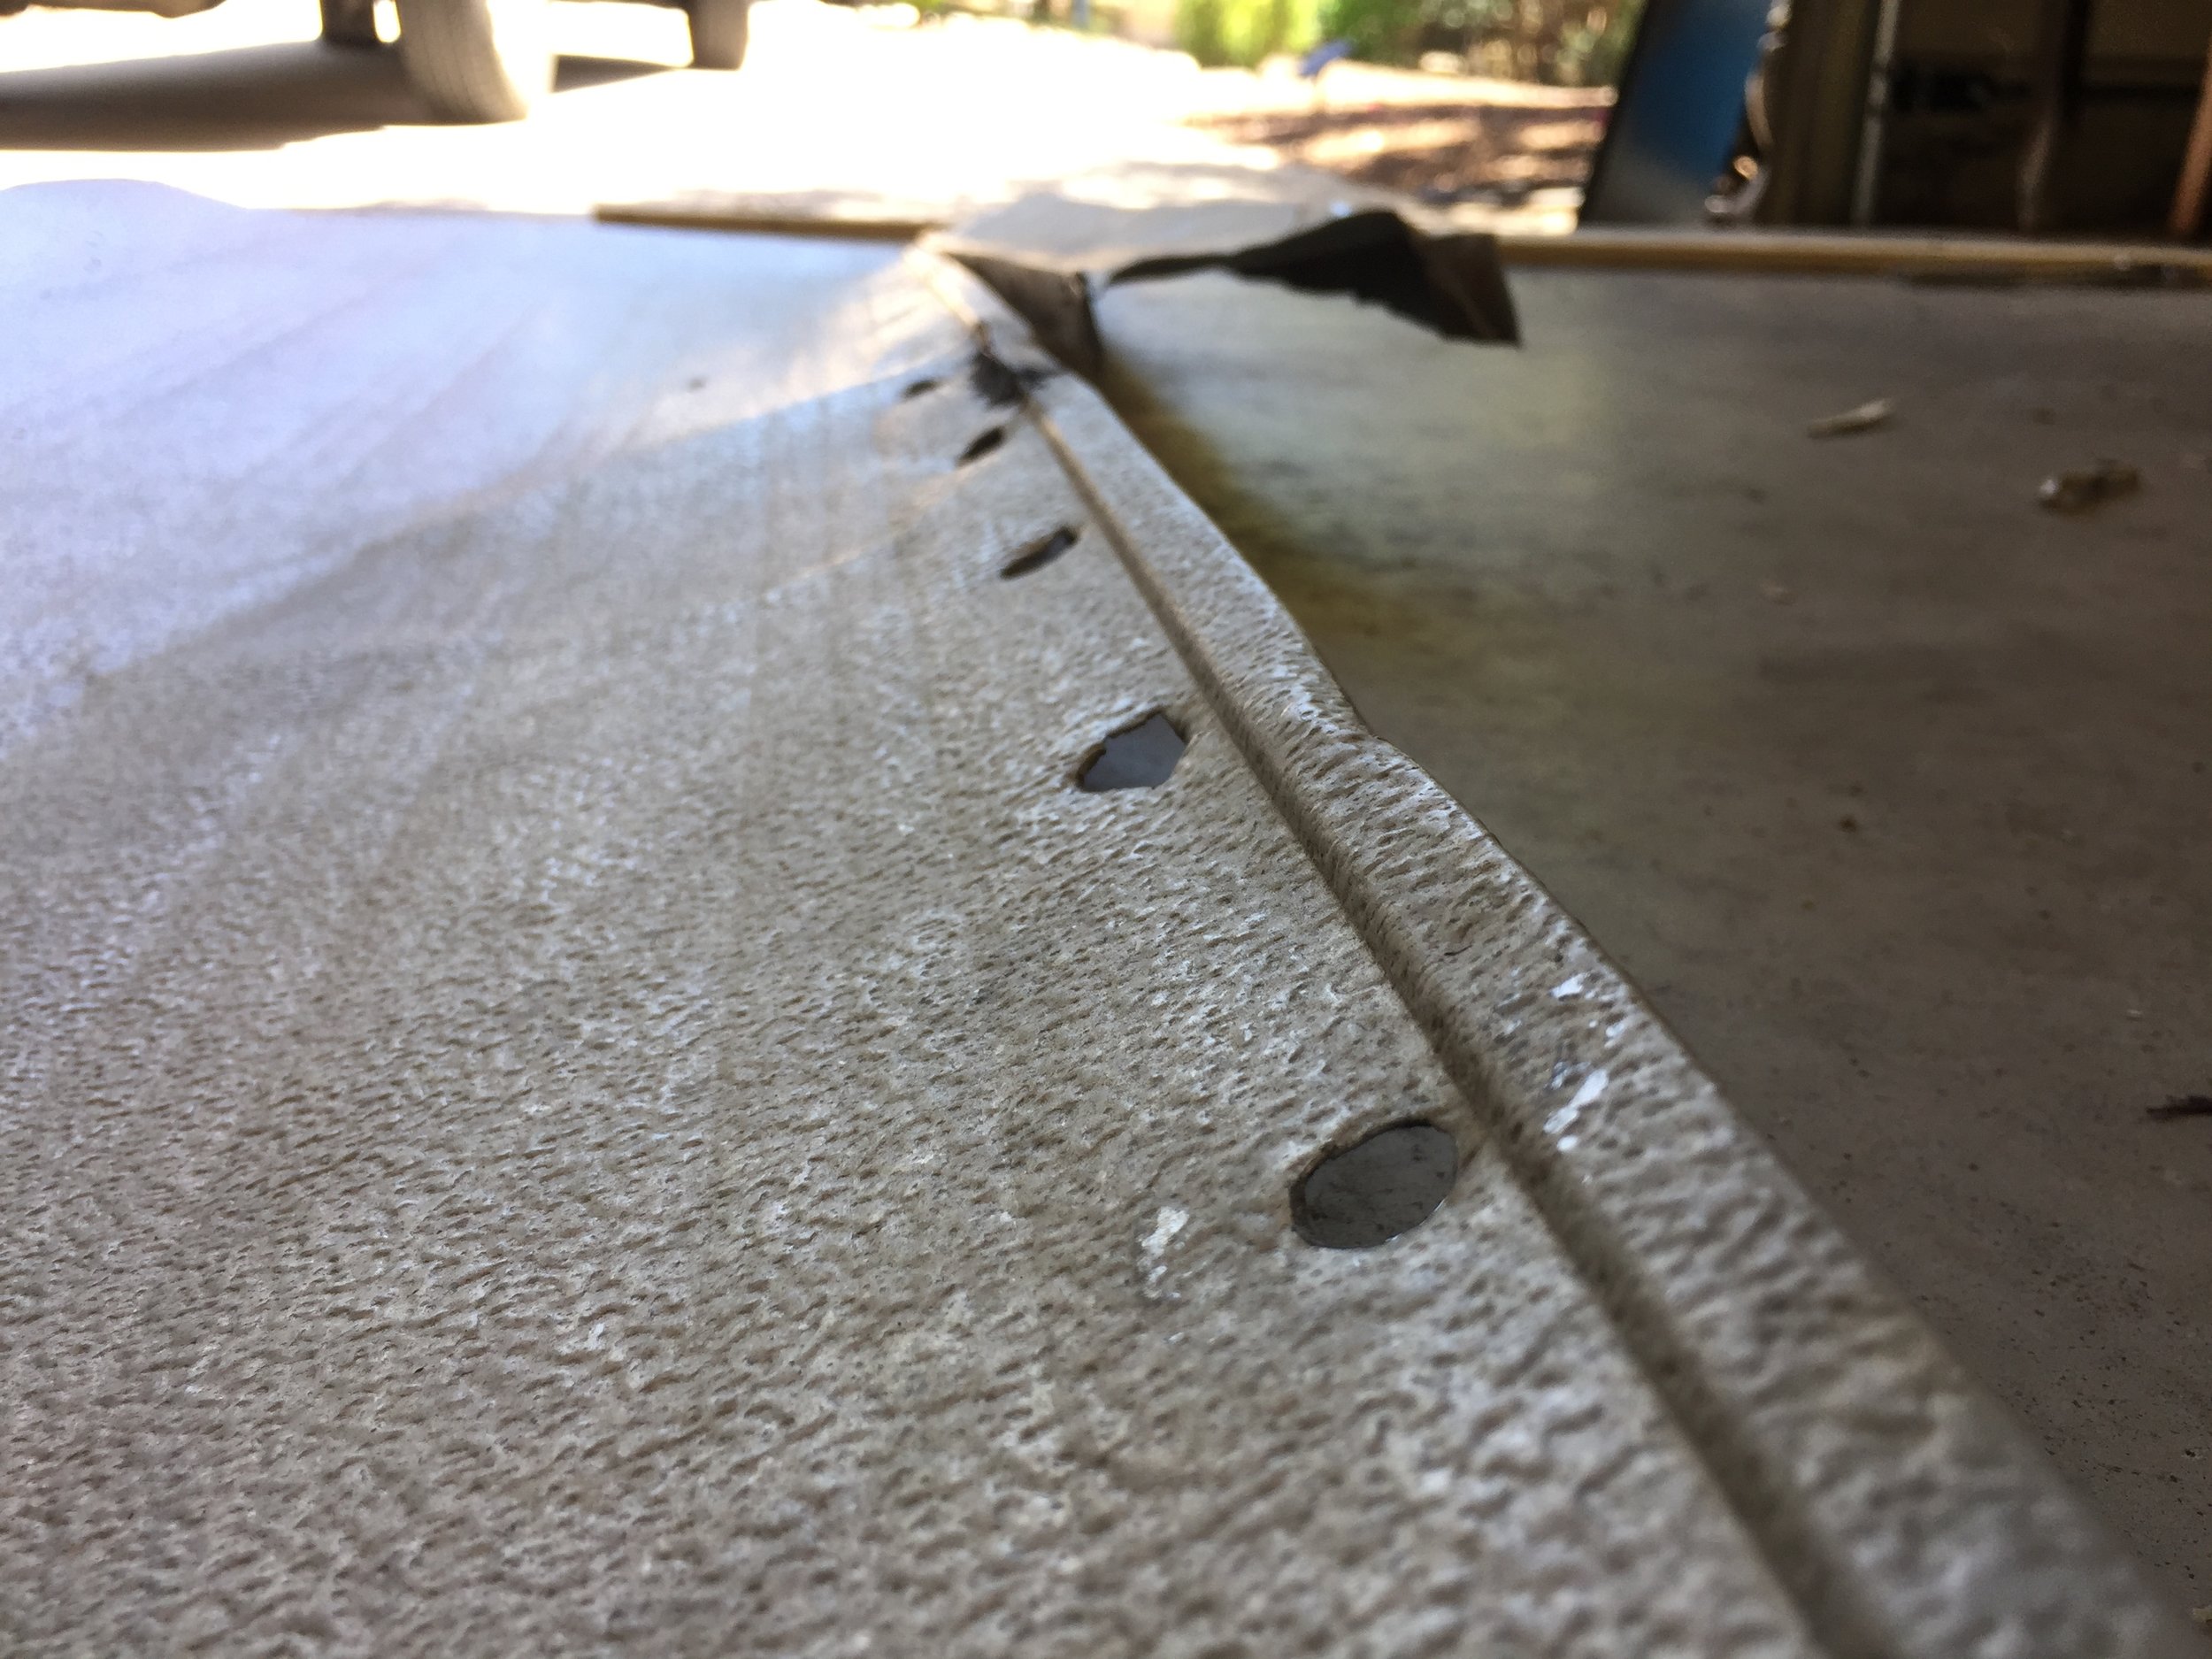
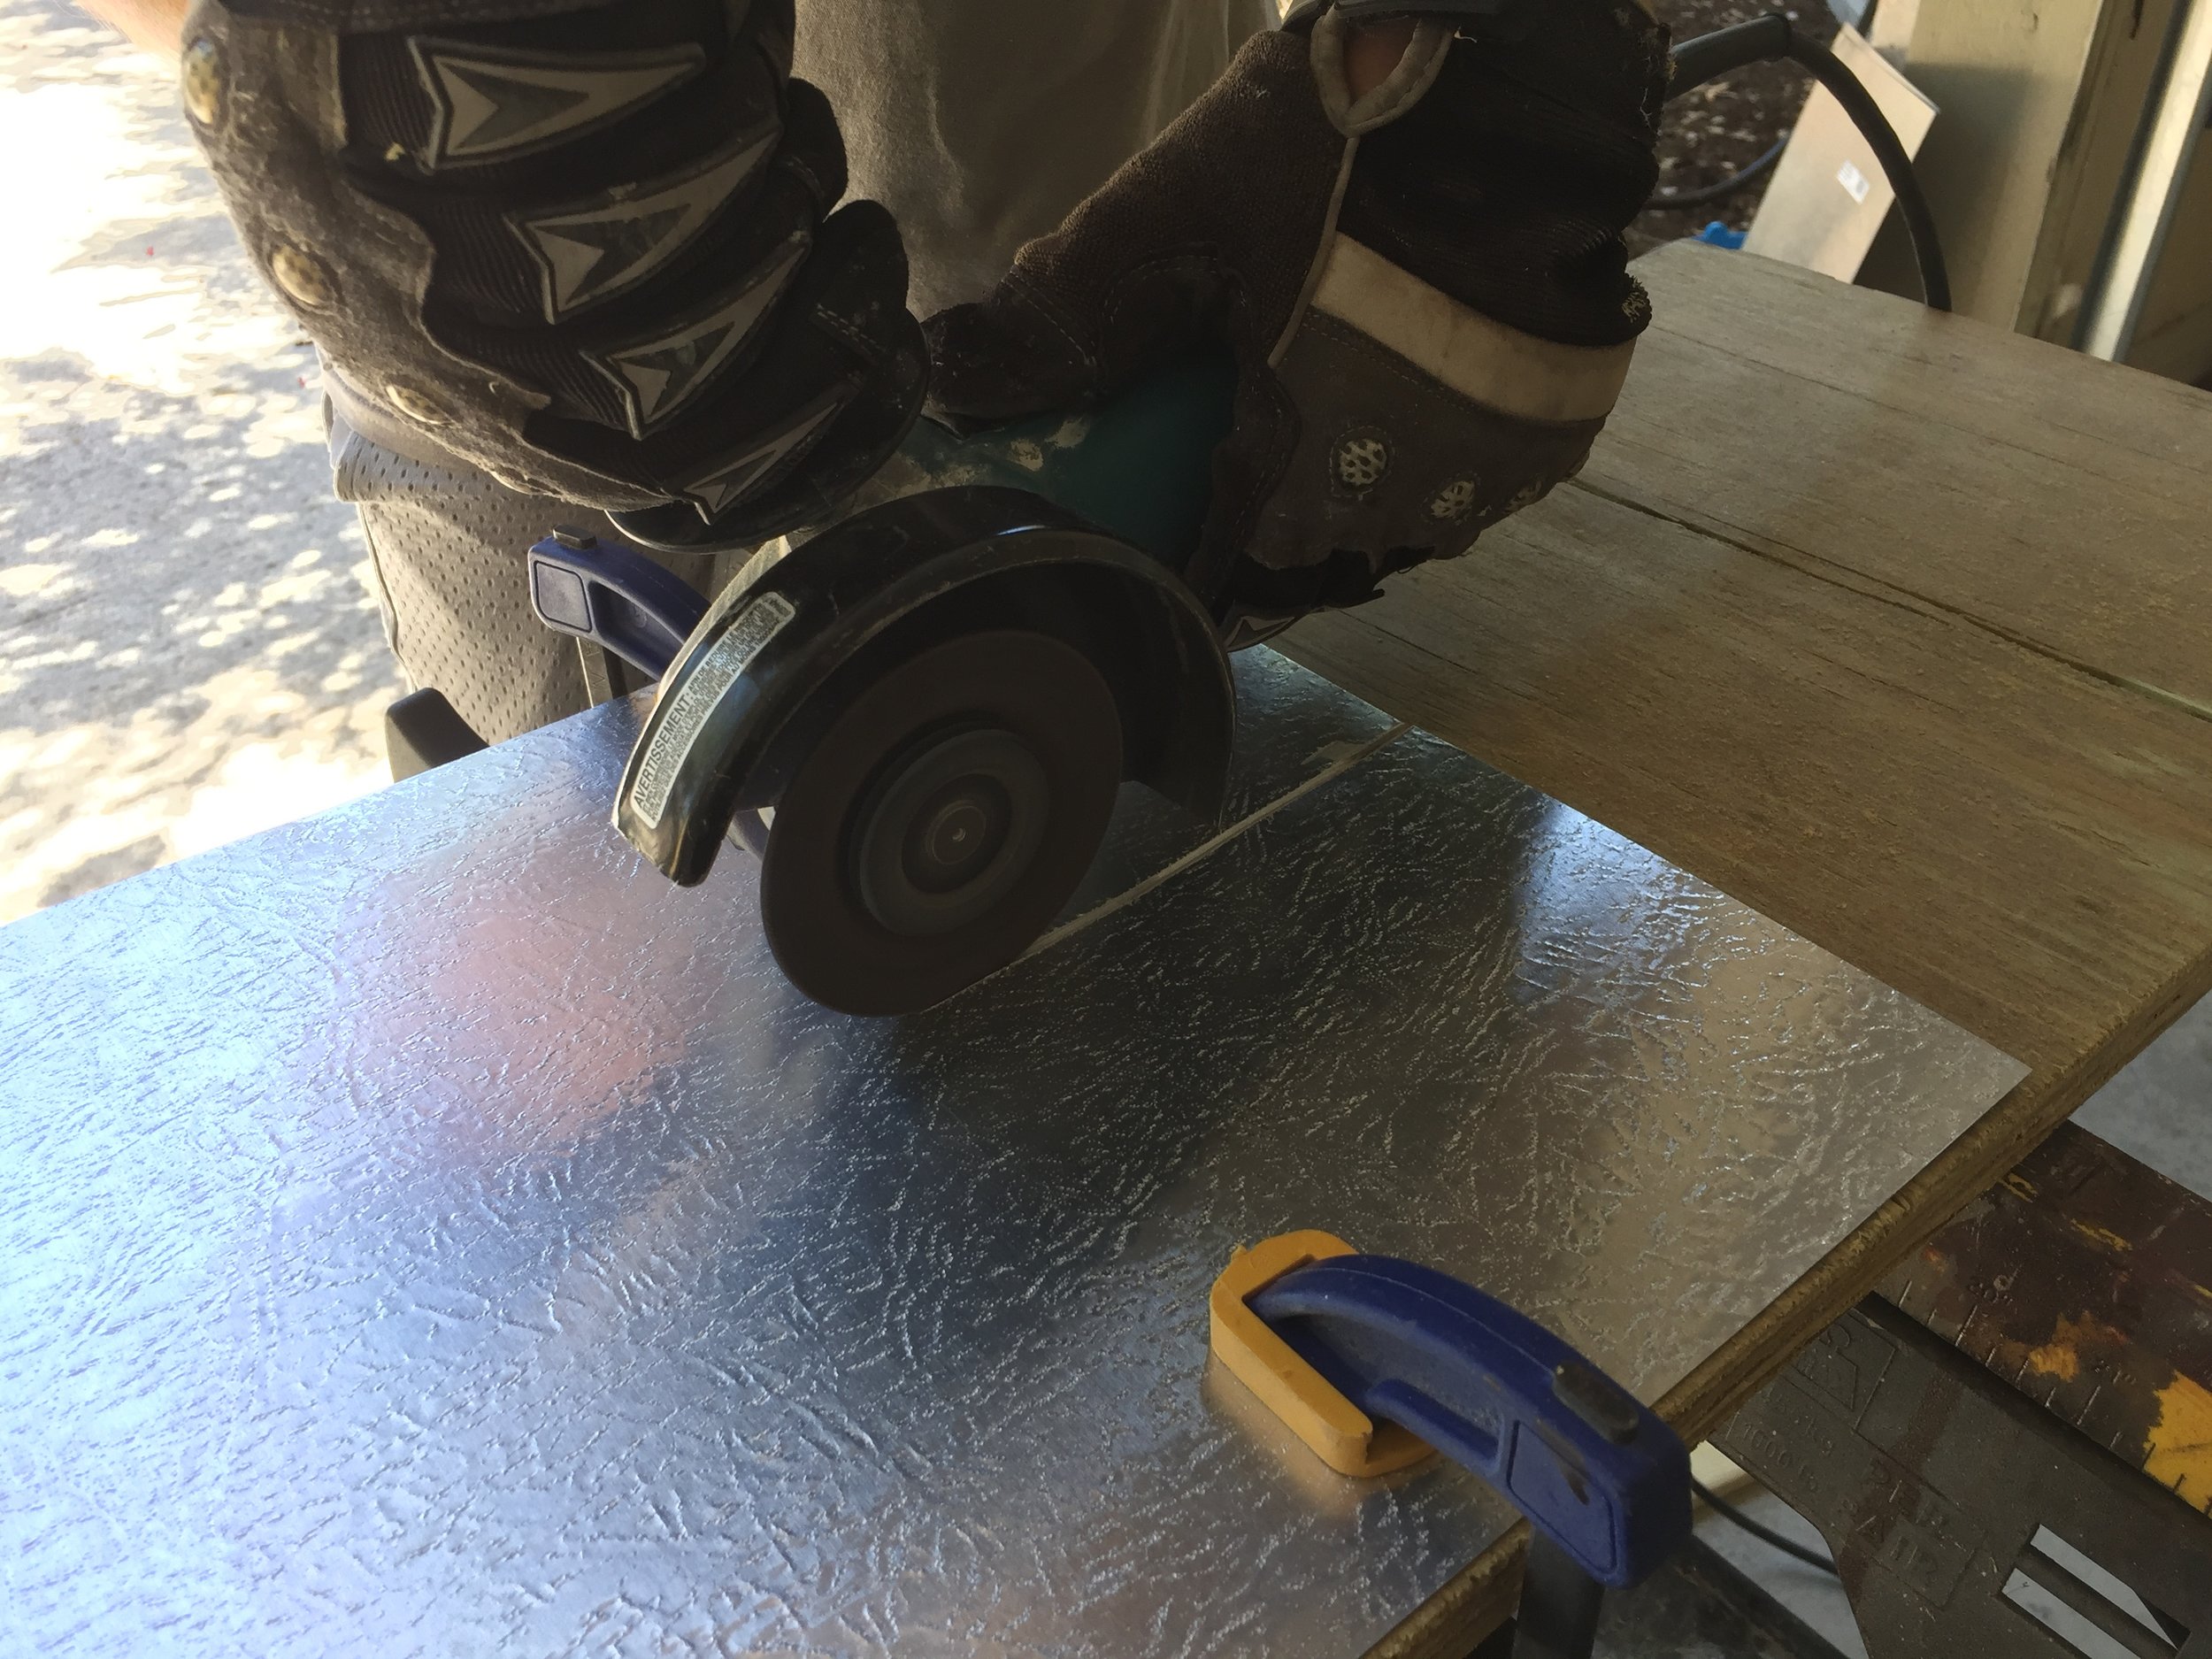
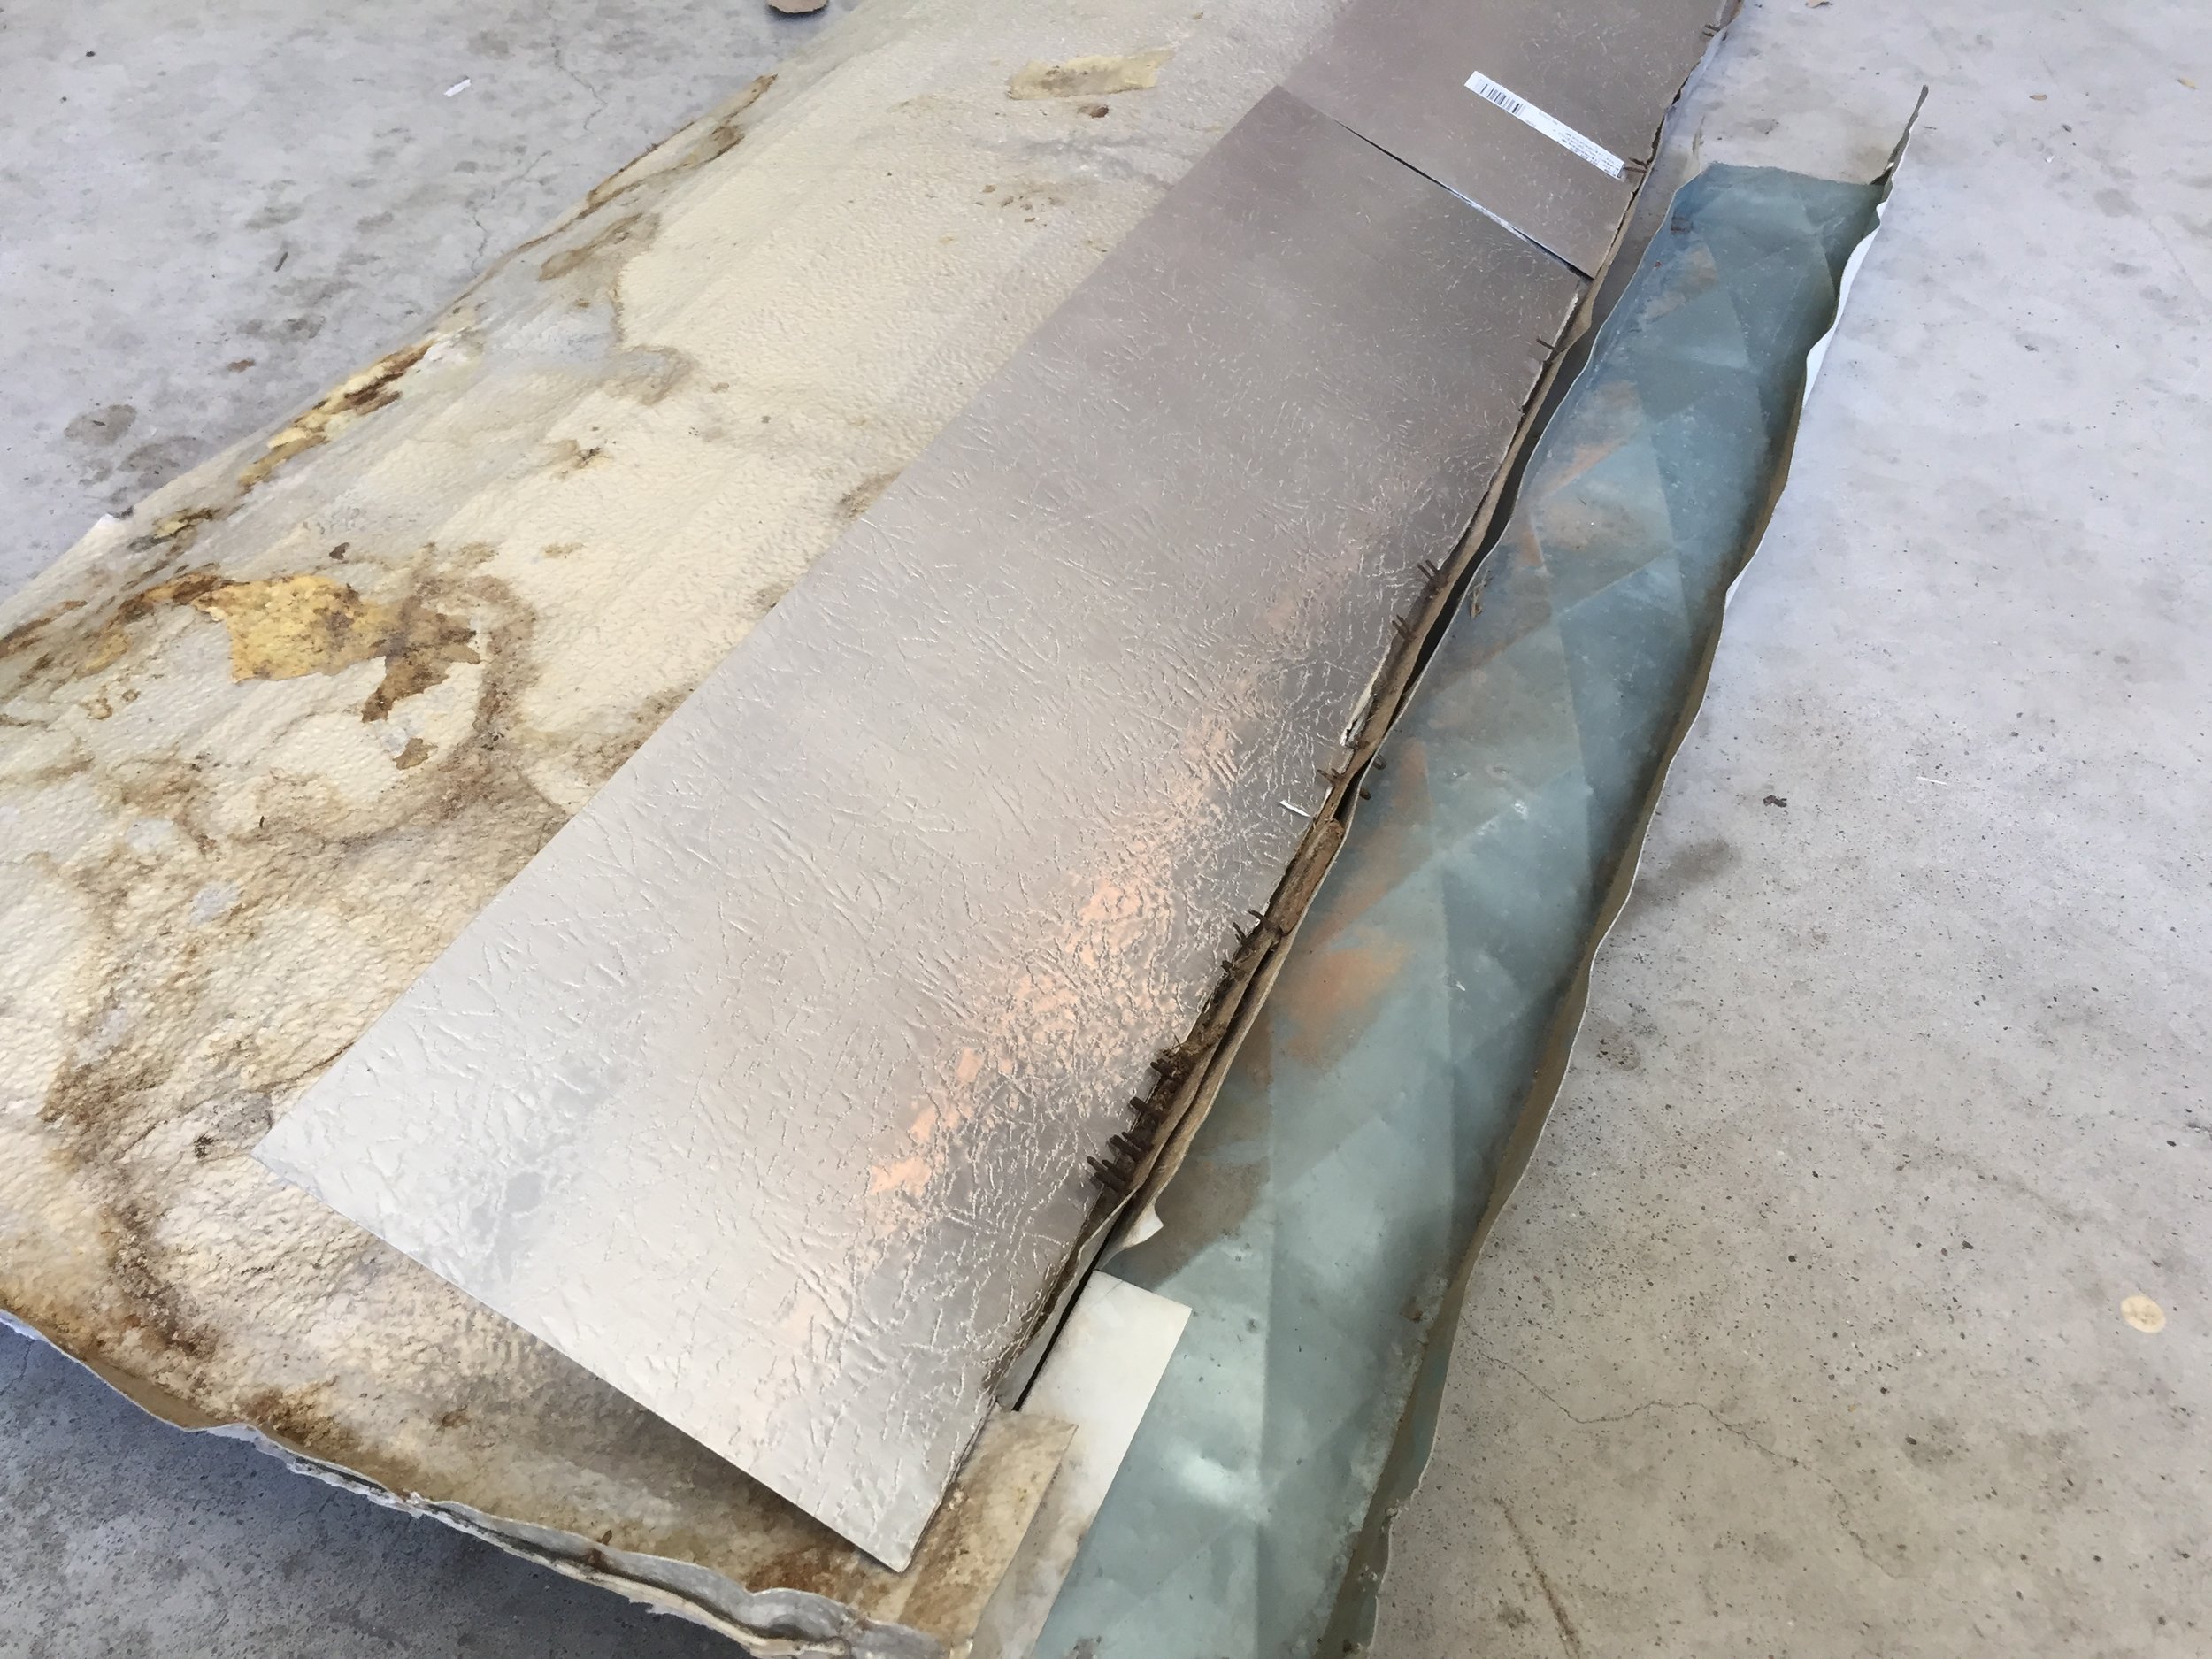
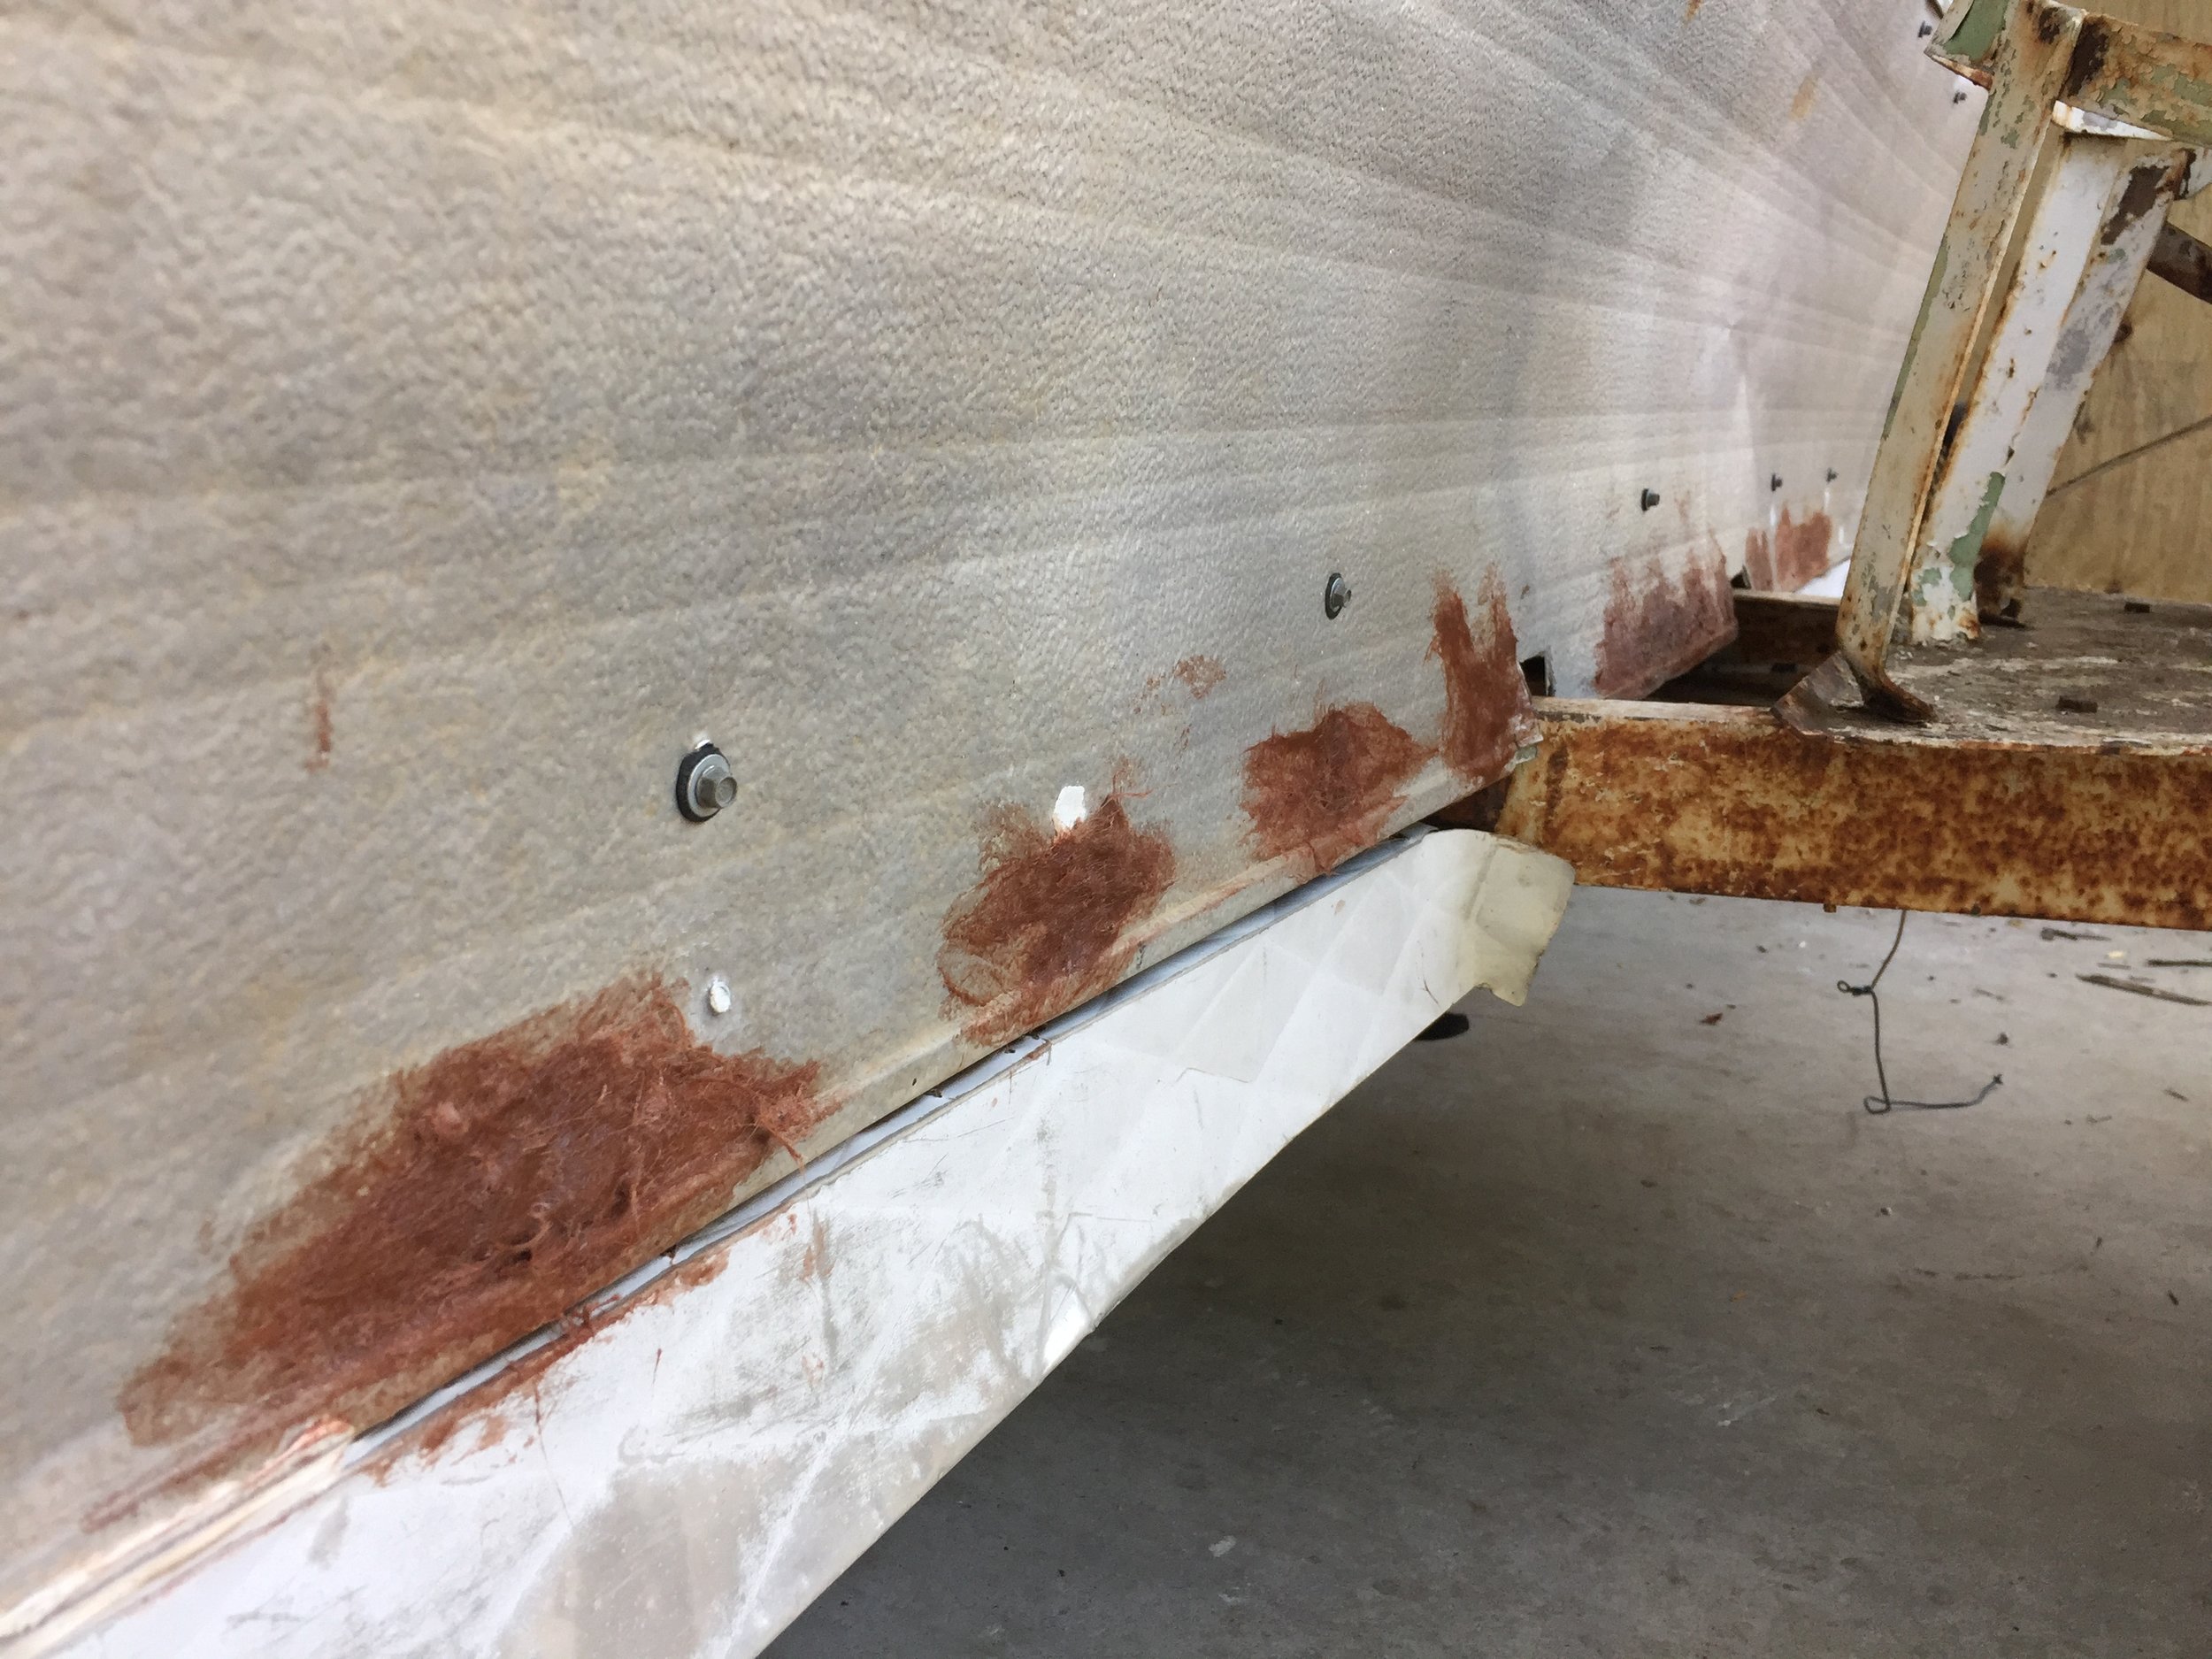
First, we carefully removed the piece of metal skin from the front of the camper (please wear thick gloves for this as this thin metal can be very sharp!) Then, after we measured our pieces to make sure they'd cover all of the holes, Nick used our grinder to cut the pieces of aluminum sheet metal into strips. We adhered the strips to the metal skin with Liquid Nails adhesive, using anything heavy we could find to weigh down the pieces to ensure good contact. (Since we're real official pro-status around here we used bags of deer corn, paint buckets, etc. that we found lying around the garage). While the adhesive was curing, we wrapped some other pieces of the same aluminum sheeting around the corners of the camper, sliding it under the pieces of metal still up on the side walls to hide it once the missing panel was back up. Using screws with flat heads (so the old metal skin would lay flat on top), we added the pieces of makeshift metal flashing to keep our corners waterproof after our reframing expanded a little larger than the old metal would accommodate. After the Liquid Nails set, we screwed the reinforced original metal skin back into place and Bondo'd the holes. Not super attractive, but we're planning on covering this bottom panel later for added protection from flying rocks, etc. when driving.
While this filler doesn't go on the prettiest (The Bondo Hair stranded fiberglass kind looks like a can of really fine long cat hair sitting in stinky, rusty brown chemical goo, which isn't my favorite thing ever but is supposed to be incredibly strong), it sure does sand up really nicely. (Please wear gloves, masks and safety glasses when sanding – this stuff is fiberglass, which equals big time ouch!) After sanding, it's a light pinkish color – not a problem since we'll be priming and painting it.
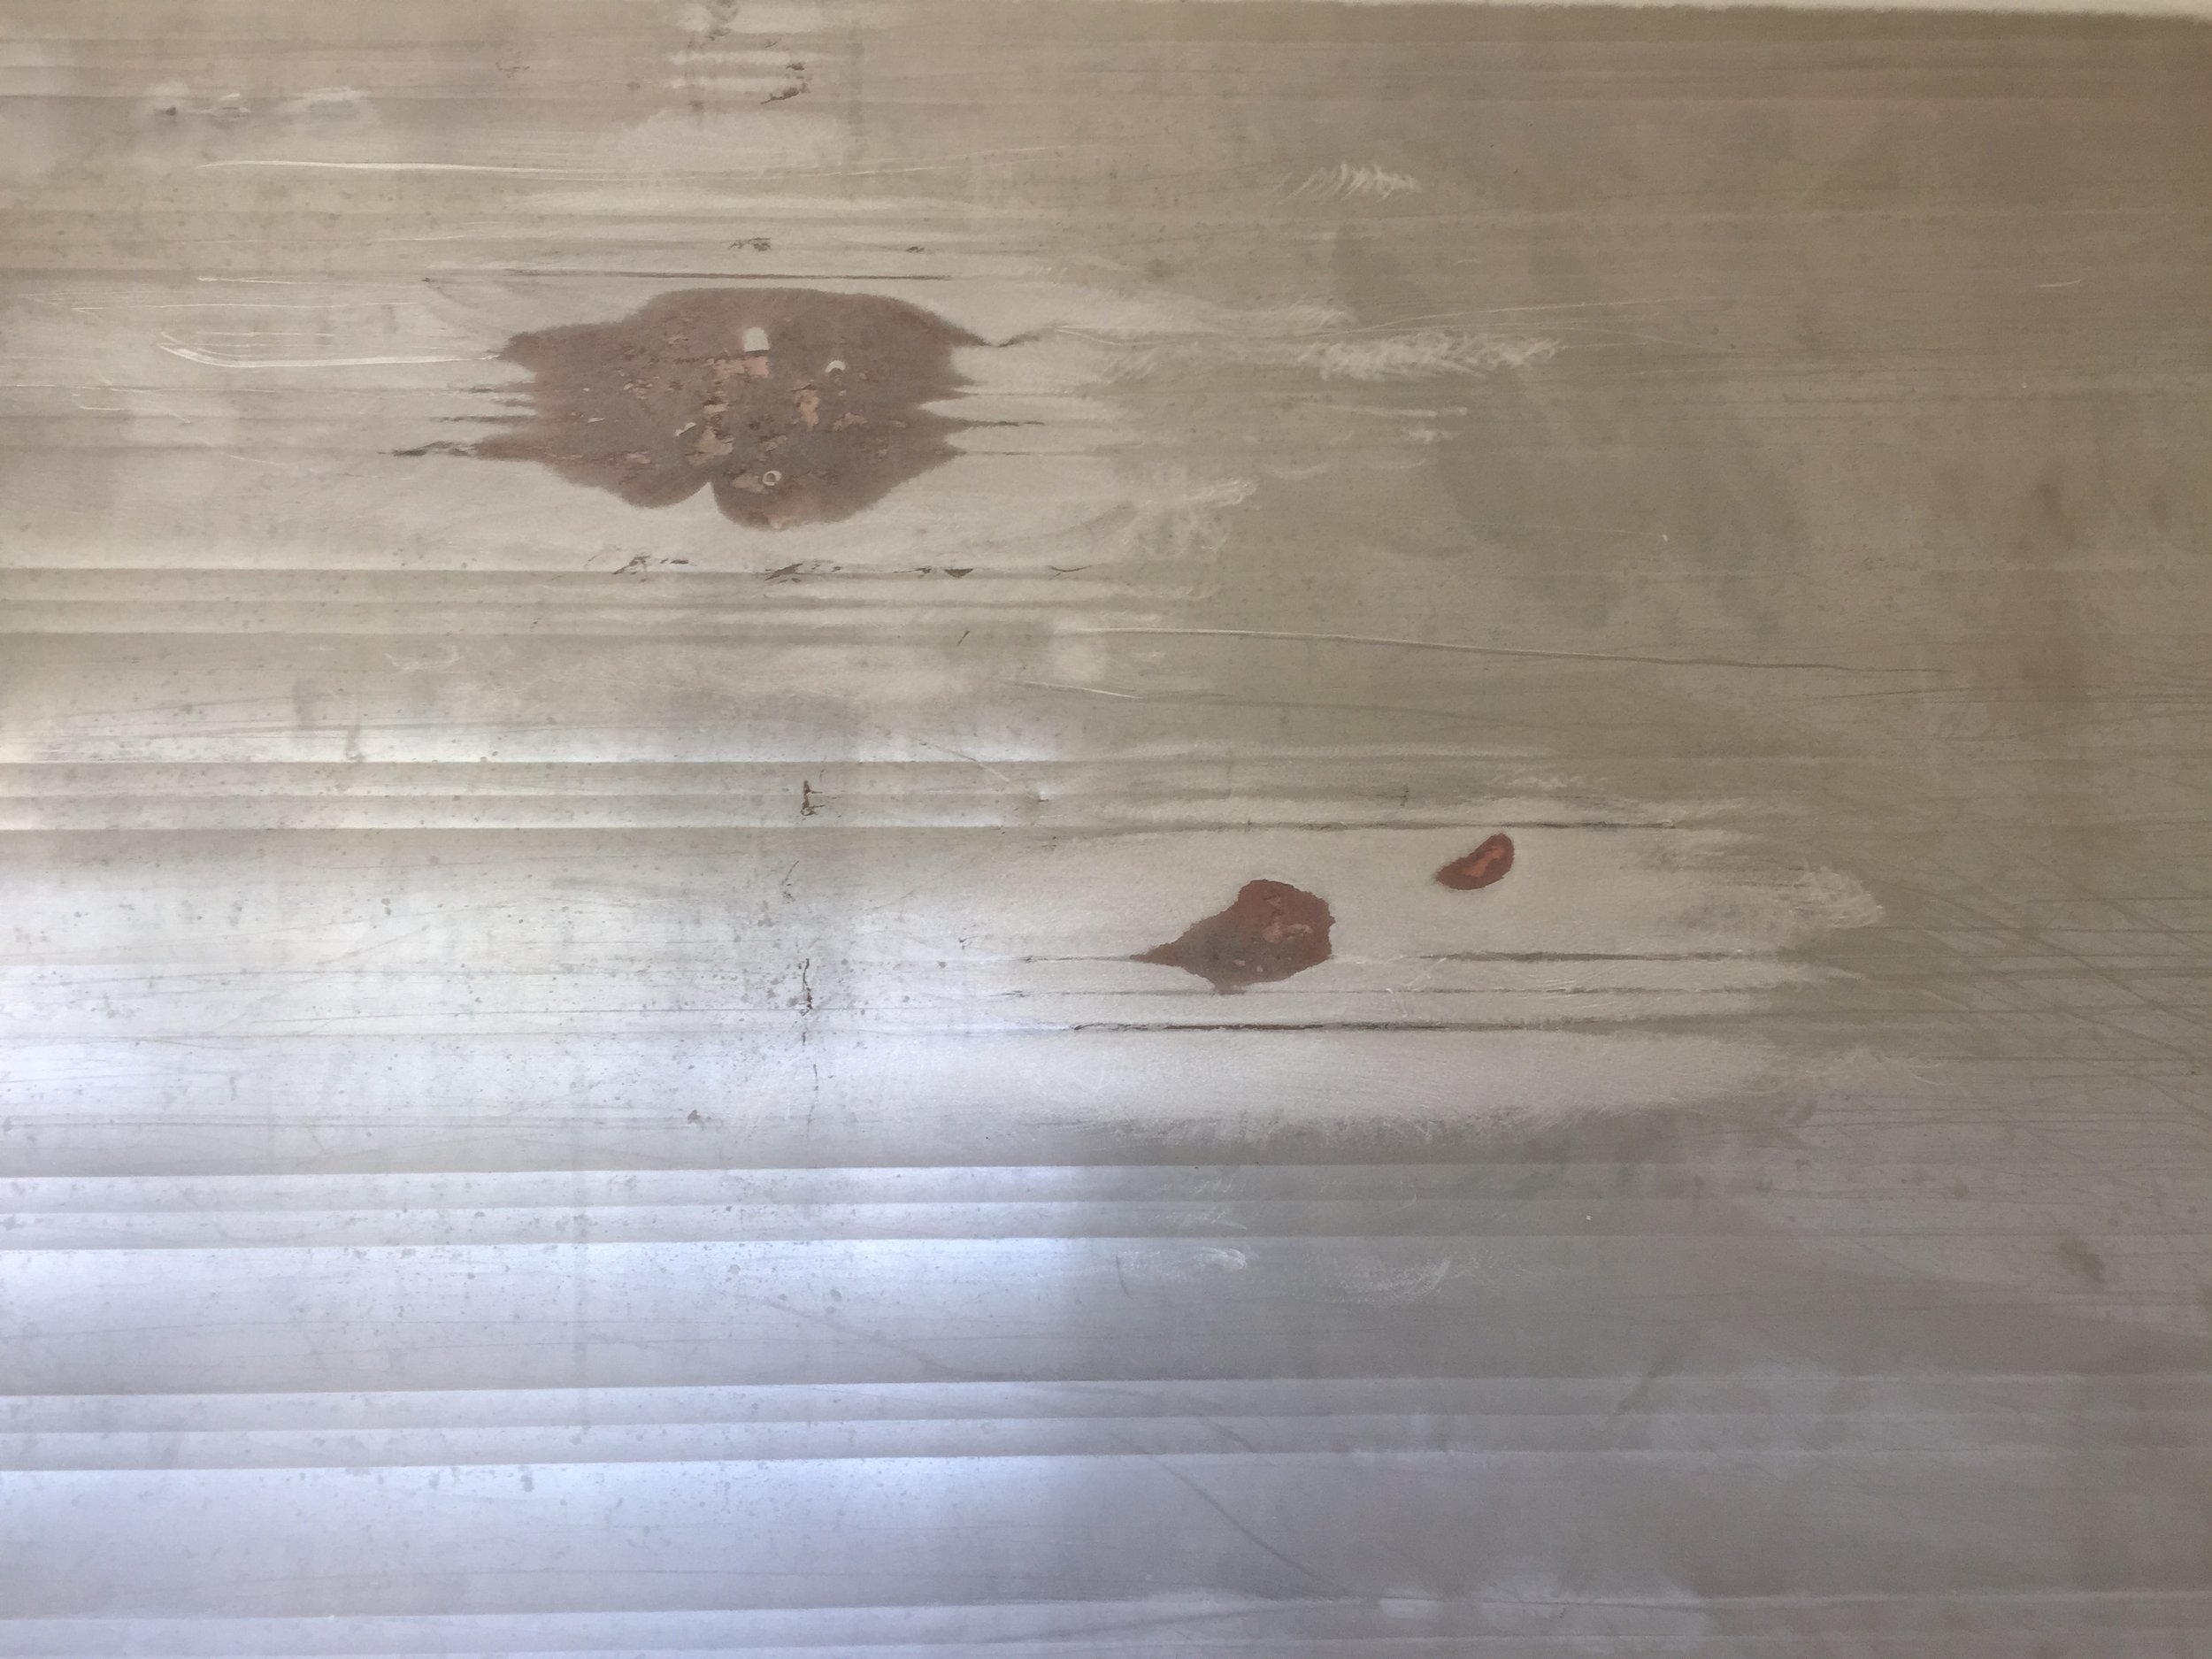
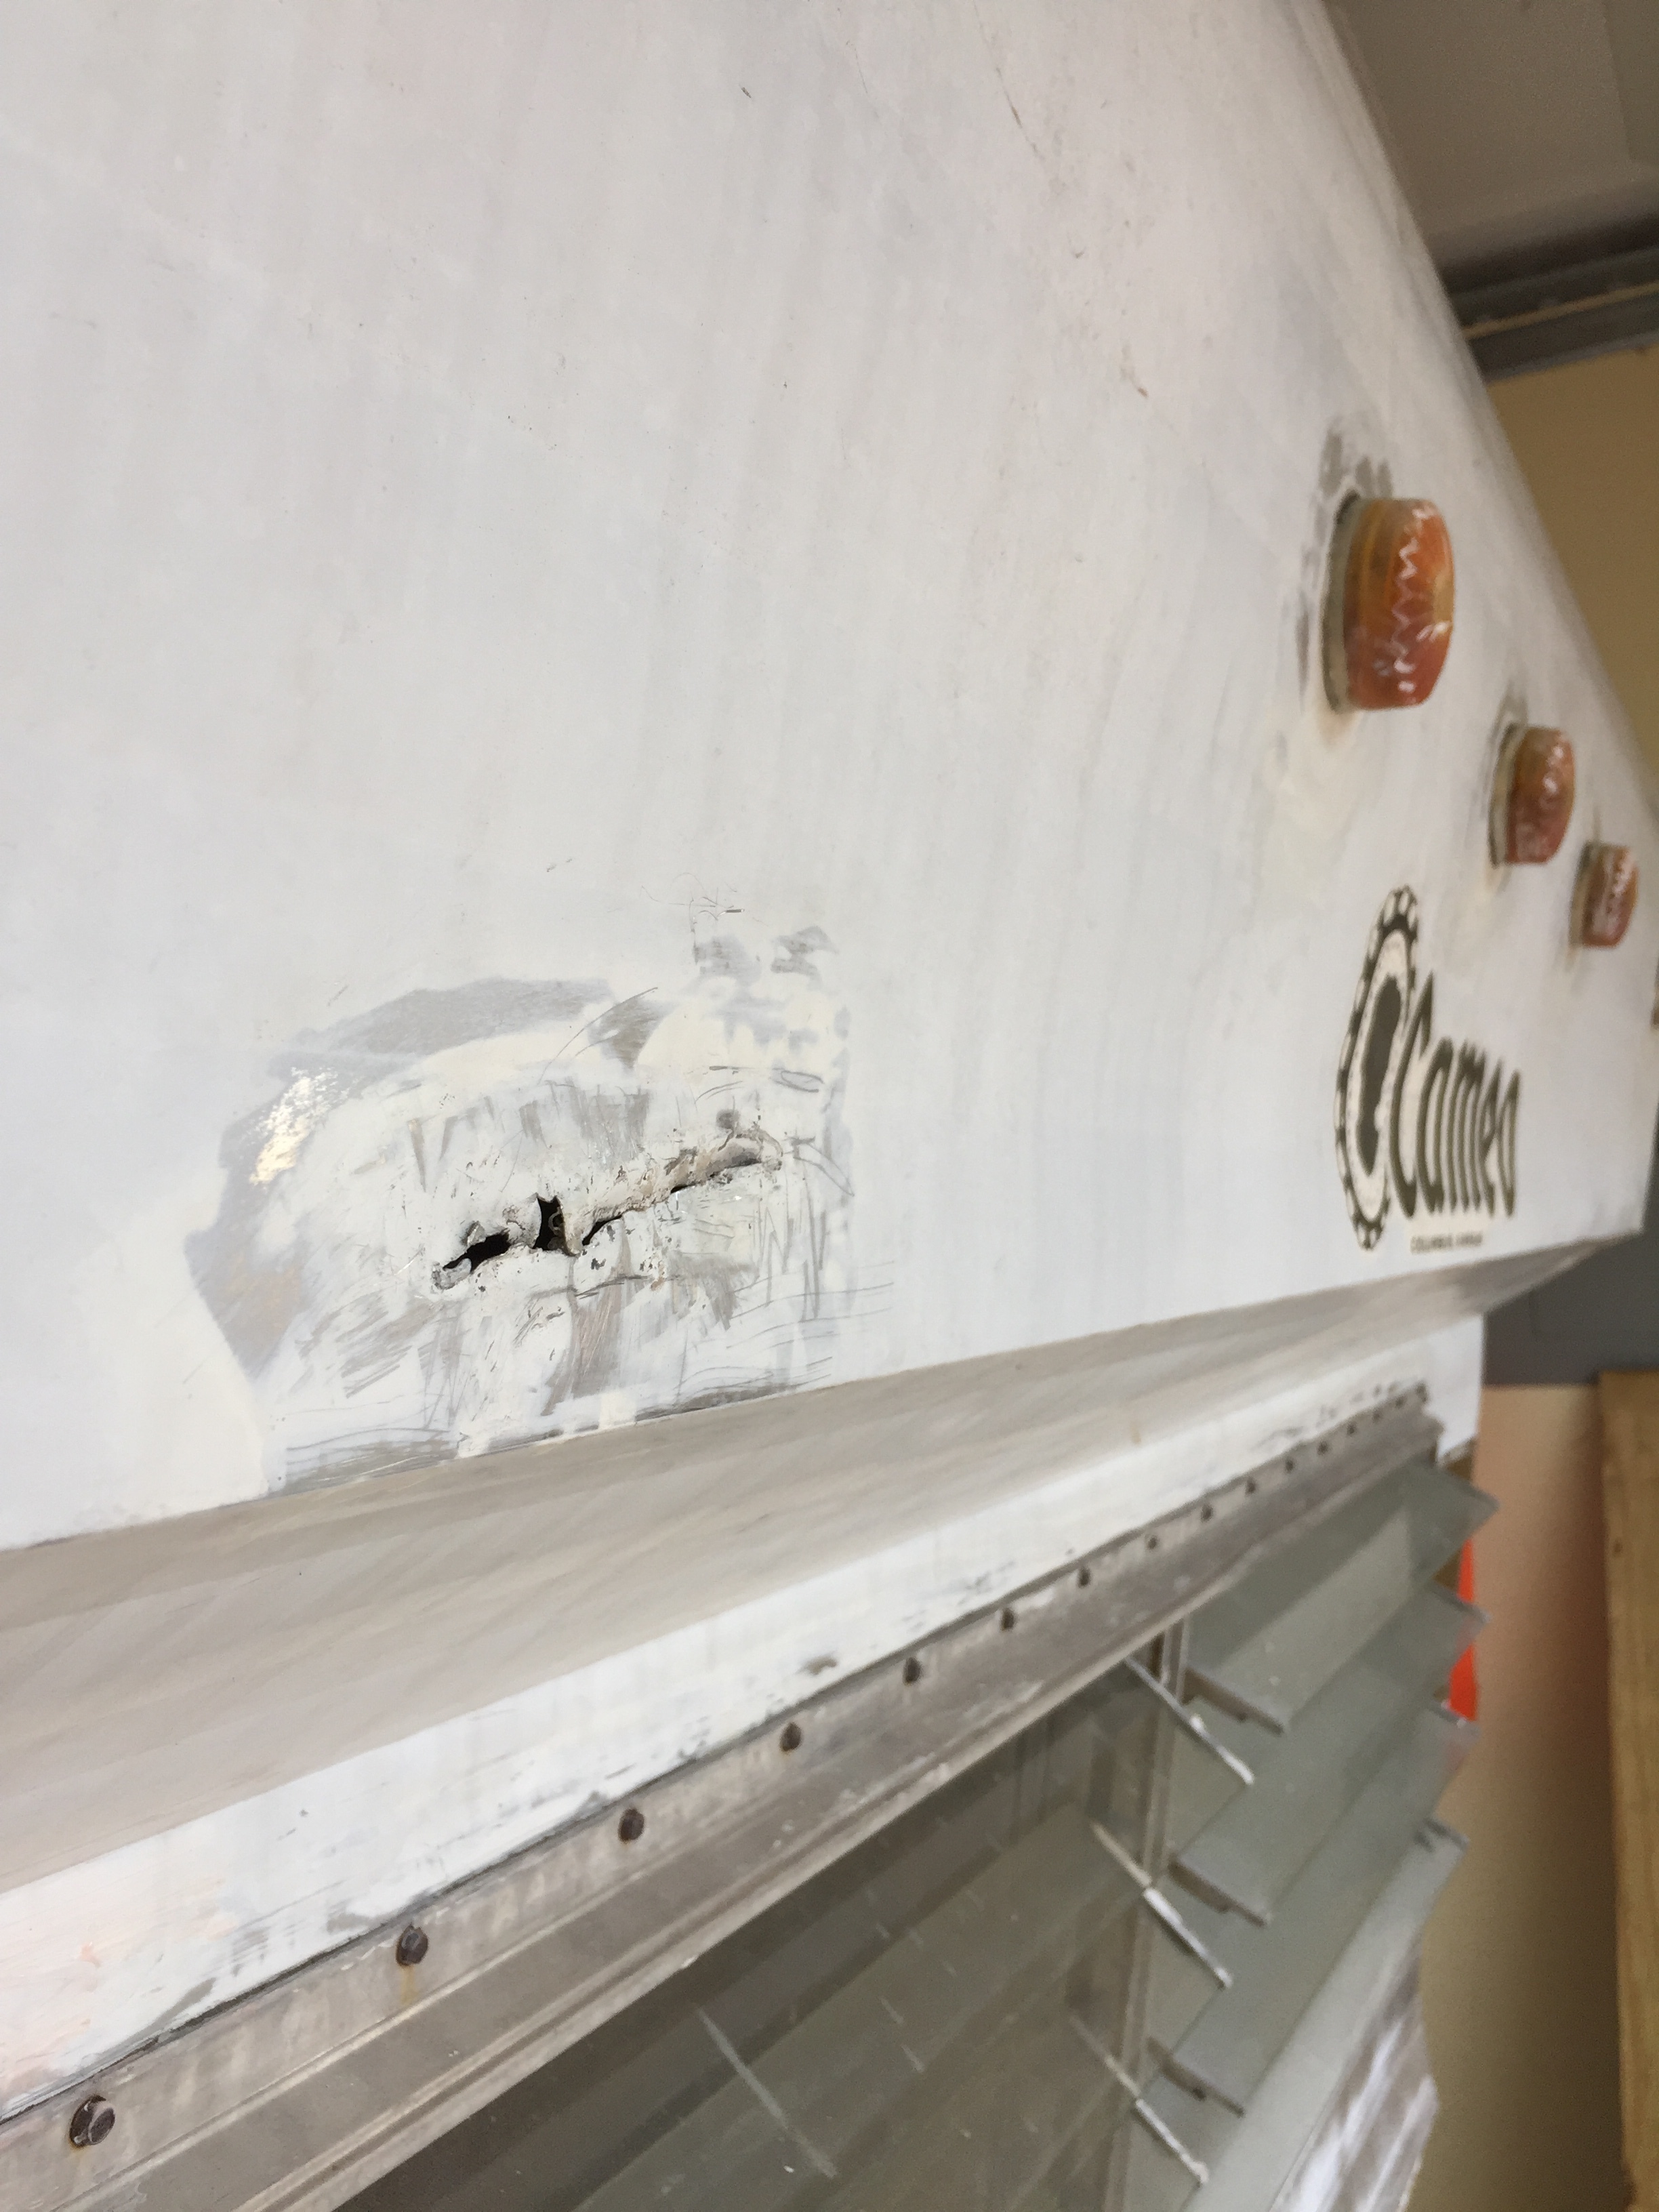
In addition to the stranded hair fiberglass version, we also got the non-stranded metal reinforced Bondo which works great also and I think might be my preference. We kind of used a hodgepodge of products and all three seem to be great, so I hope they hold up equally as good over time. If I had to choose strictly from an application standpoint, I'd recommend the non-stranded version Bondo for the larger holes, which allowed for a little more refinement/shaping when applying with a plastic spreader. This stuff goes on gray, and sands to be a little lighter gray.

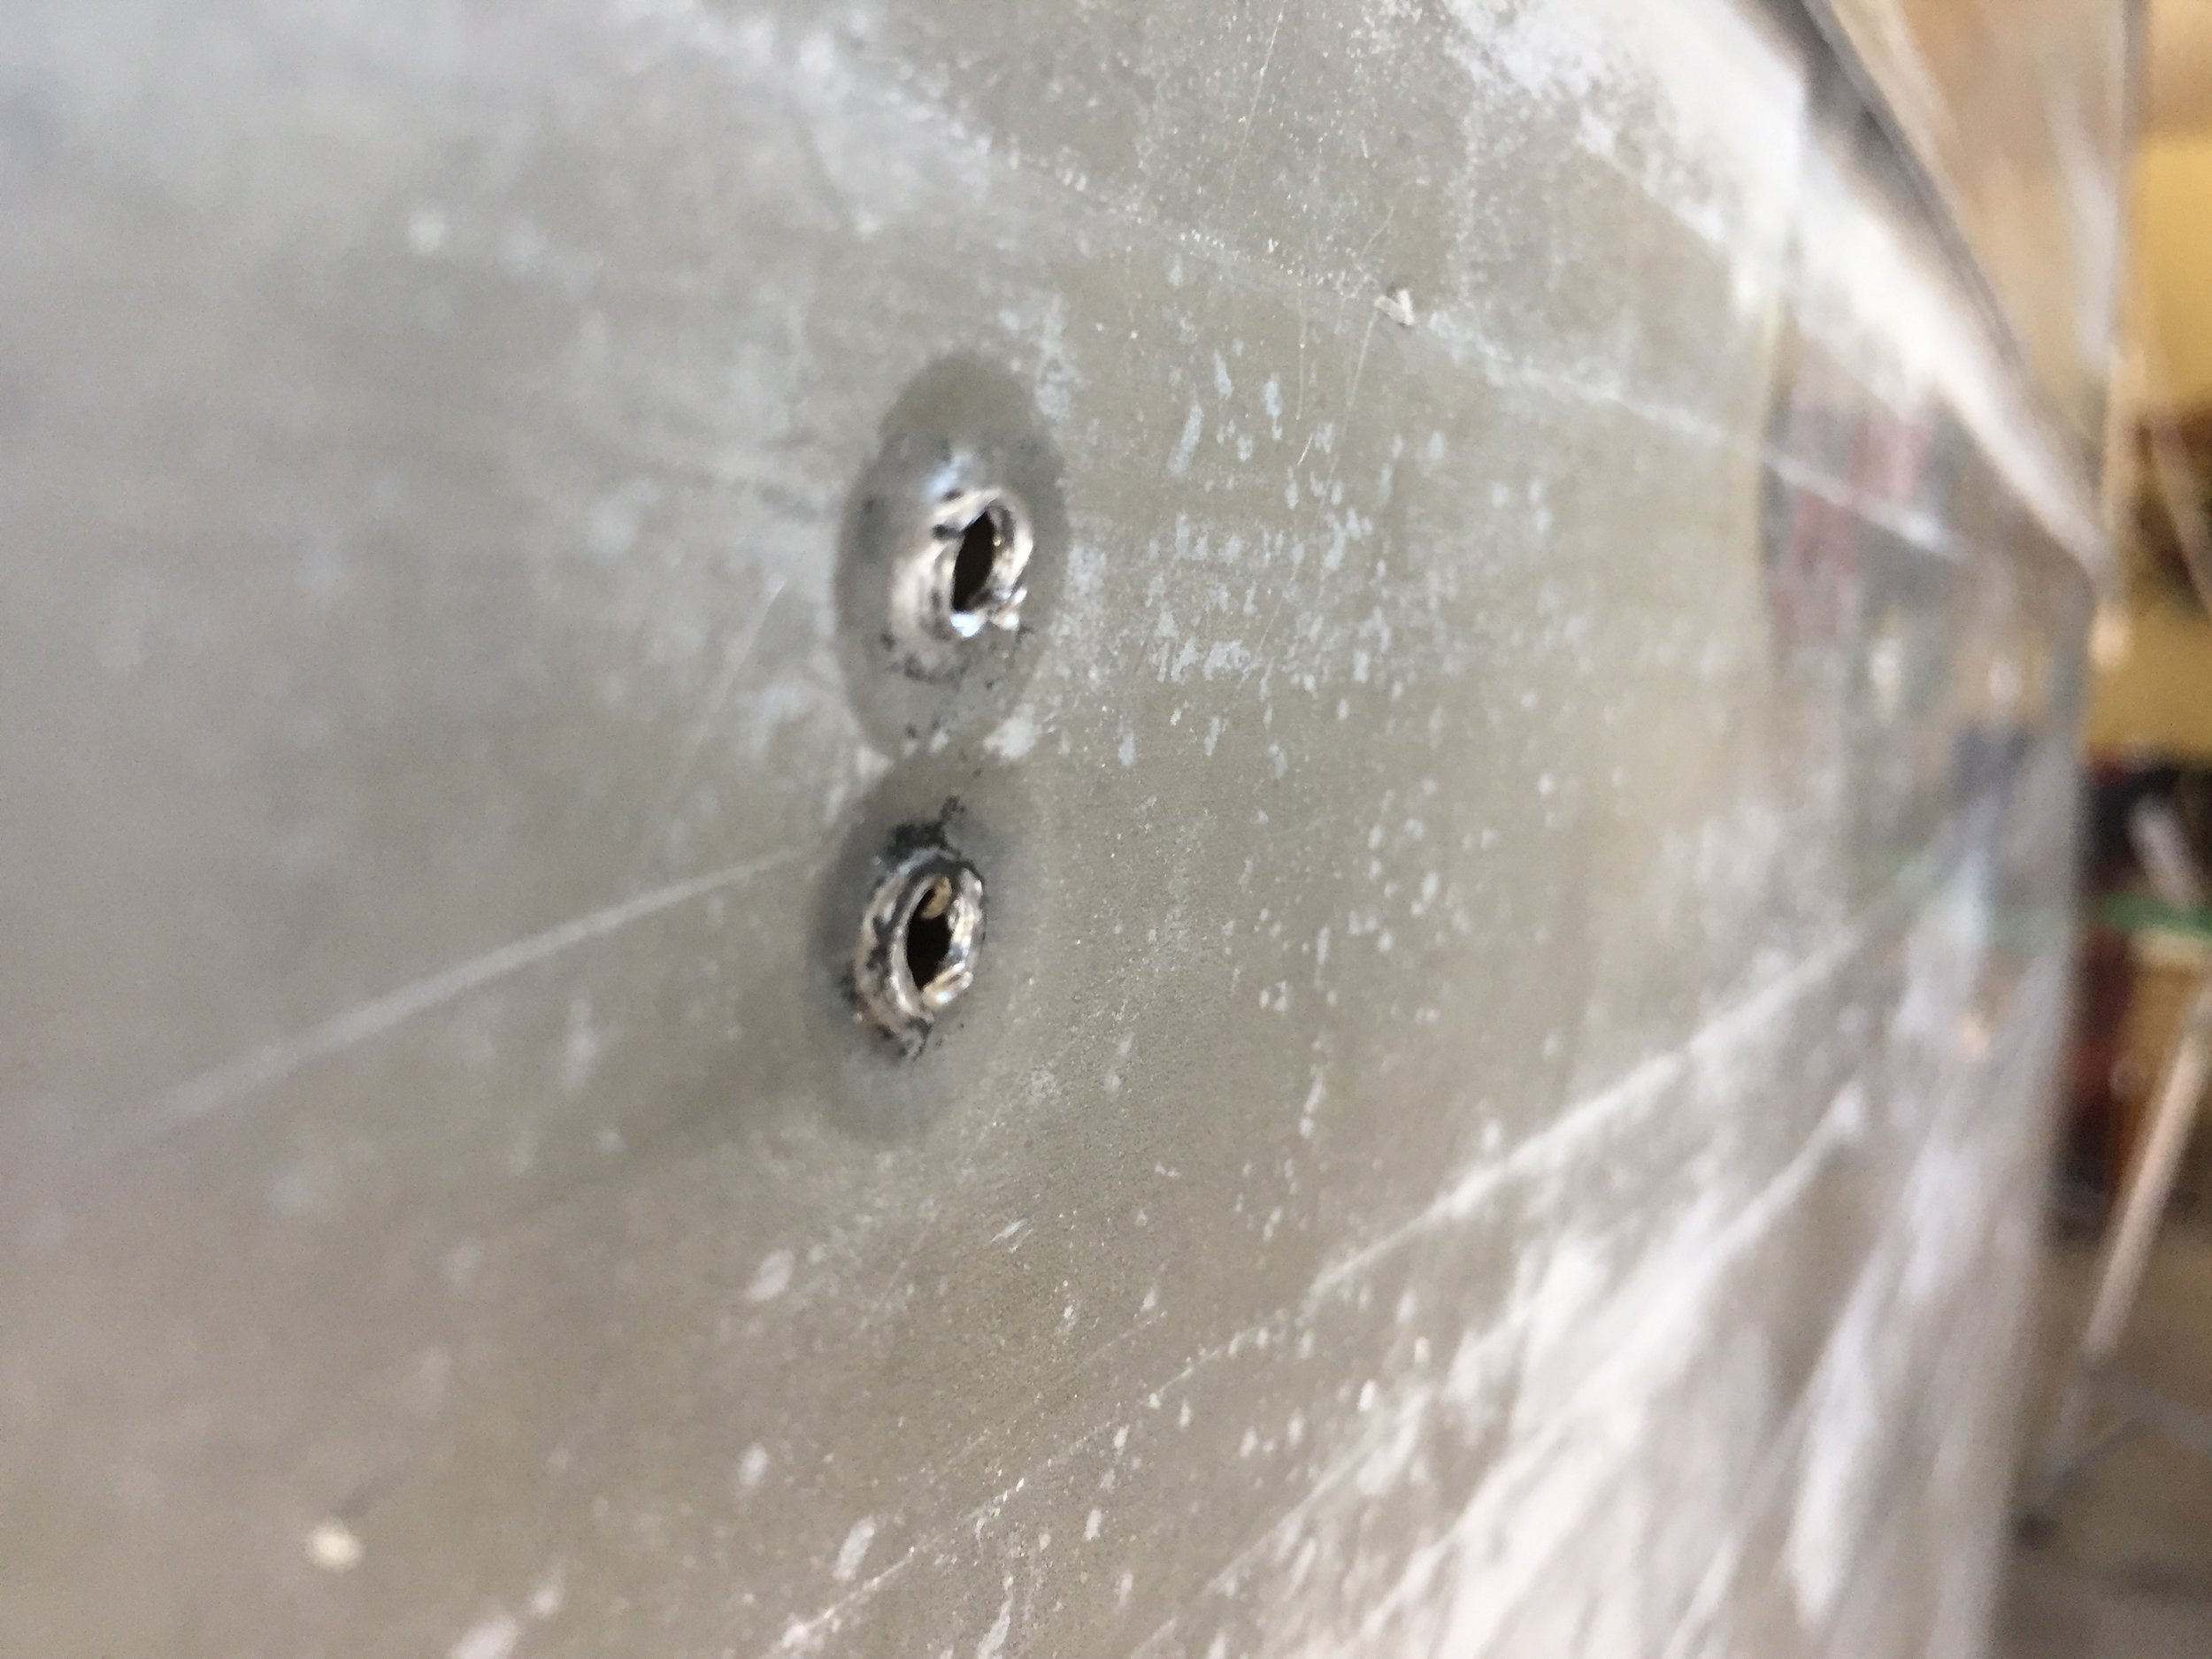
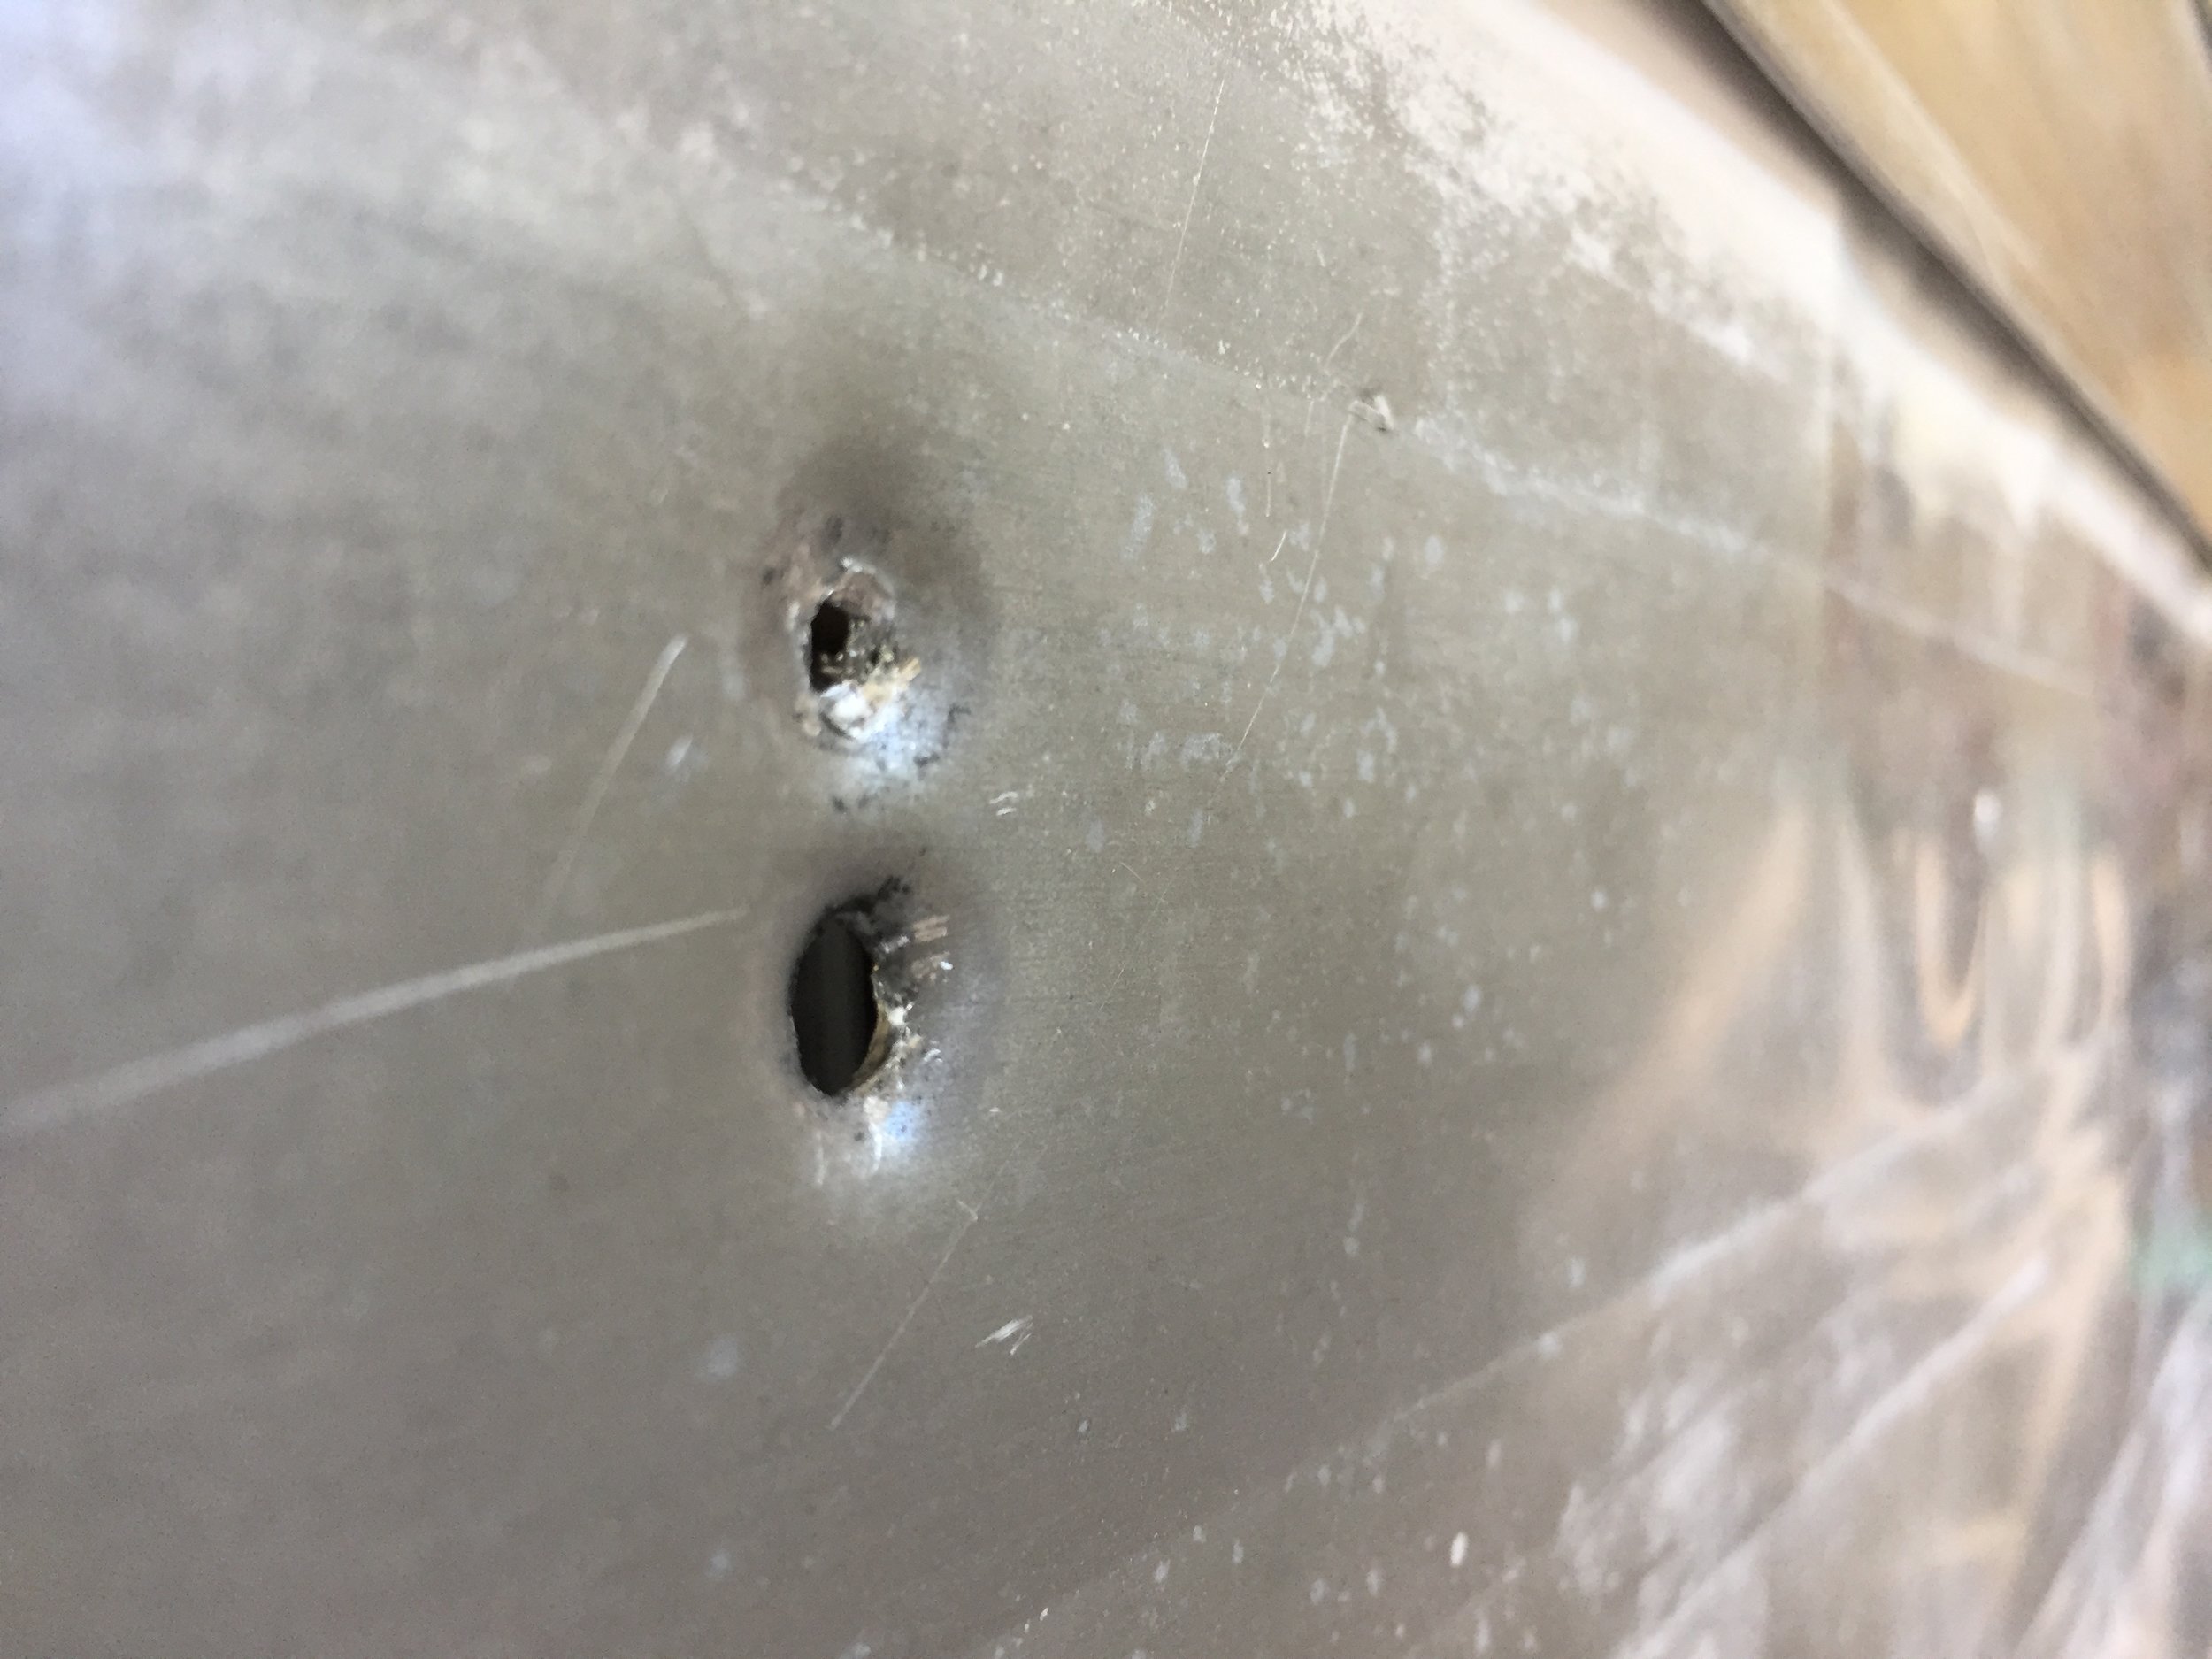
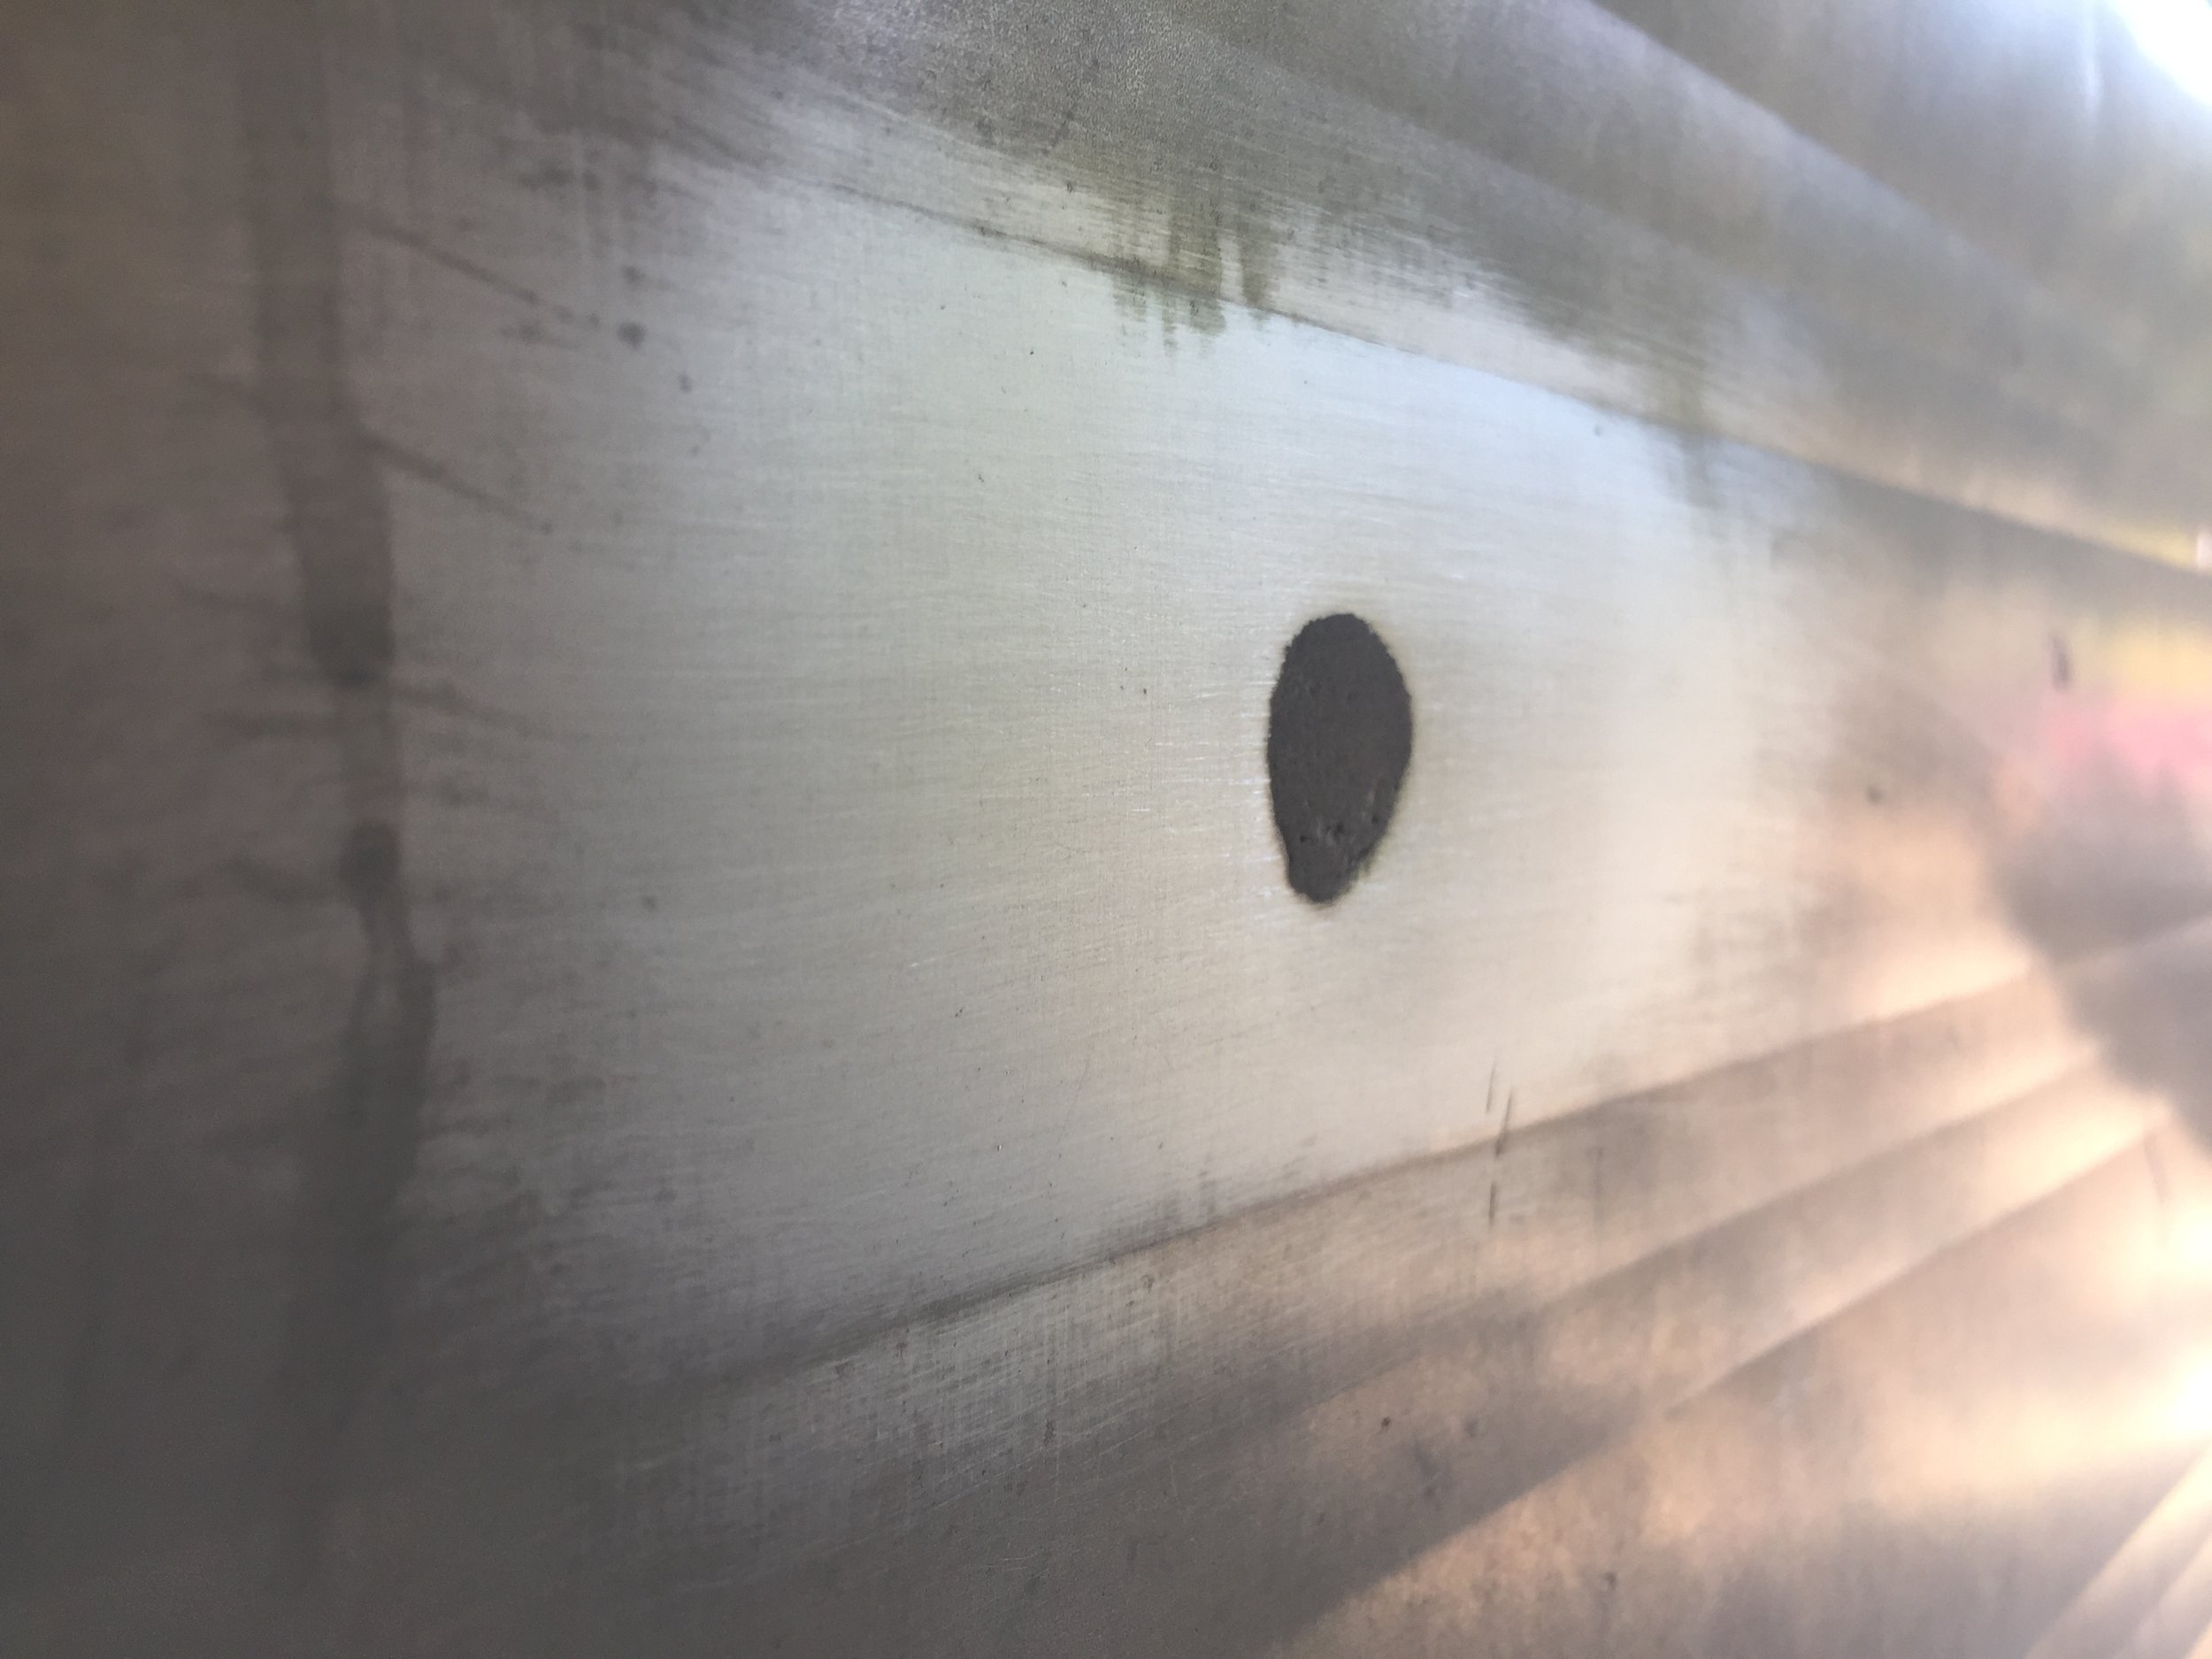
For the smaller holes (and boy do we have a ton of those, mostly because of our panicked triage when the camper was falling down) we opted to use JB Weld Water Weld sticks which are, in a word, AMAZING. They're super easy to use, not very messy (but use disposable gloves so you don't burn your skin off), the putty goes on smoothly (kind of like silly putty) and sands to a nice smooth finish as well. It hardens incredibly fast so it also made pretty quick work of all of our baby holes, which was nice considering we had to go in and push in all of the metal burrs that where sticking out around the screw holes. You can see in the photos below what I'm talking about, from the burrs, to the number of holes we were dealing with, to how the JB Weld goes on, to the sanded finished product.
Still filling holes months after we started, we take a step back and can't help but wonder what, if any progress we've really made at this point? It doesn't look like much now, but I'm hoping all of our hard and tedious prep work will pay off when we finally paint. We keep telling ourselves it will look like we did everything overnight when that day comes since paint always seems to have that immediate effect. Every time we get overwhelmed by how long this part of the process is taking, we try to look forward to how she will look all spiffy and painted.
Any questions for us so far? Words of encouragement? Advice? What do you want to see more of?
If you want to see live updates on The Cameo renovation (including stuff that may not make it on the blog, and what else we do in our spare time, like our trip to the Bahamas and plenty of our pups), follow us on Instagram.