The Cameo Camper Renovation: Demo Day 1 – Less like iron & more like tin

This will be a long photo-heavy post, but I suppose there are worse things in the world. (Like marshmallow peeps. Blech.) For more details – like, of the words variety – follow along from the beginning.
This year Nick and I opted to forgo a traditional gift-swap for our 6th "iron" wedding anniversary (even though he still got me flowers because he's just the best ever) since we just bought ourselves the little metal stunner above a few weeks ago.
Instead we spent the day together assessing just what in the heck we got ourselves into. The plan going in was simple: Clean out the remaining junk, take measurements of all the things, assess any obvious surface damage and remove anything that was rotten and couldn't be salvaged to see what options we were really left with as we begin space planning.
Hello again, pretty lady
We were so excited to get to work, and when we got there she was just as beautiful as I remembered...


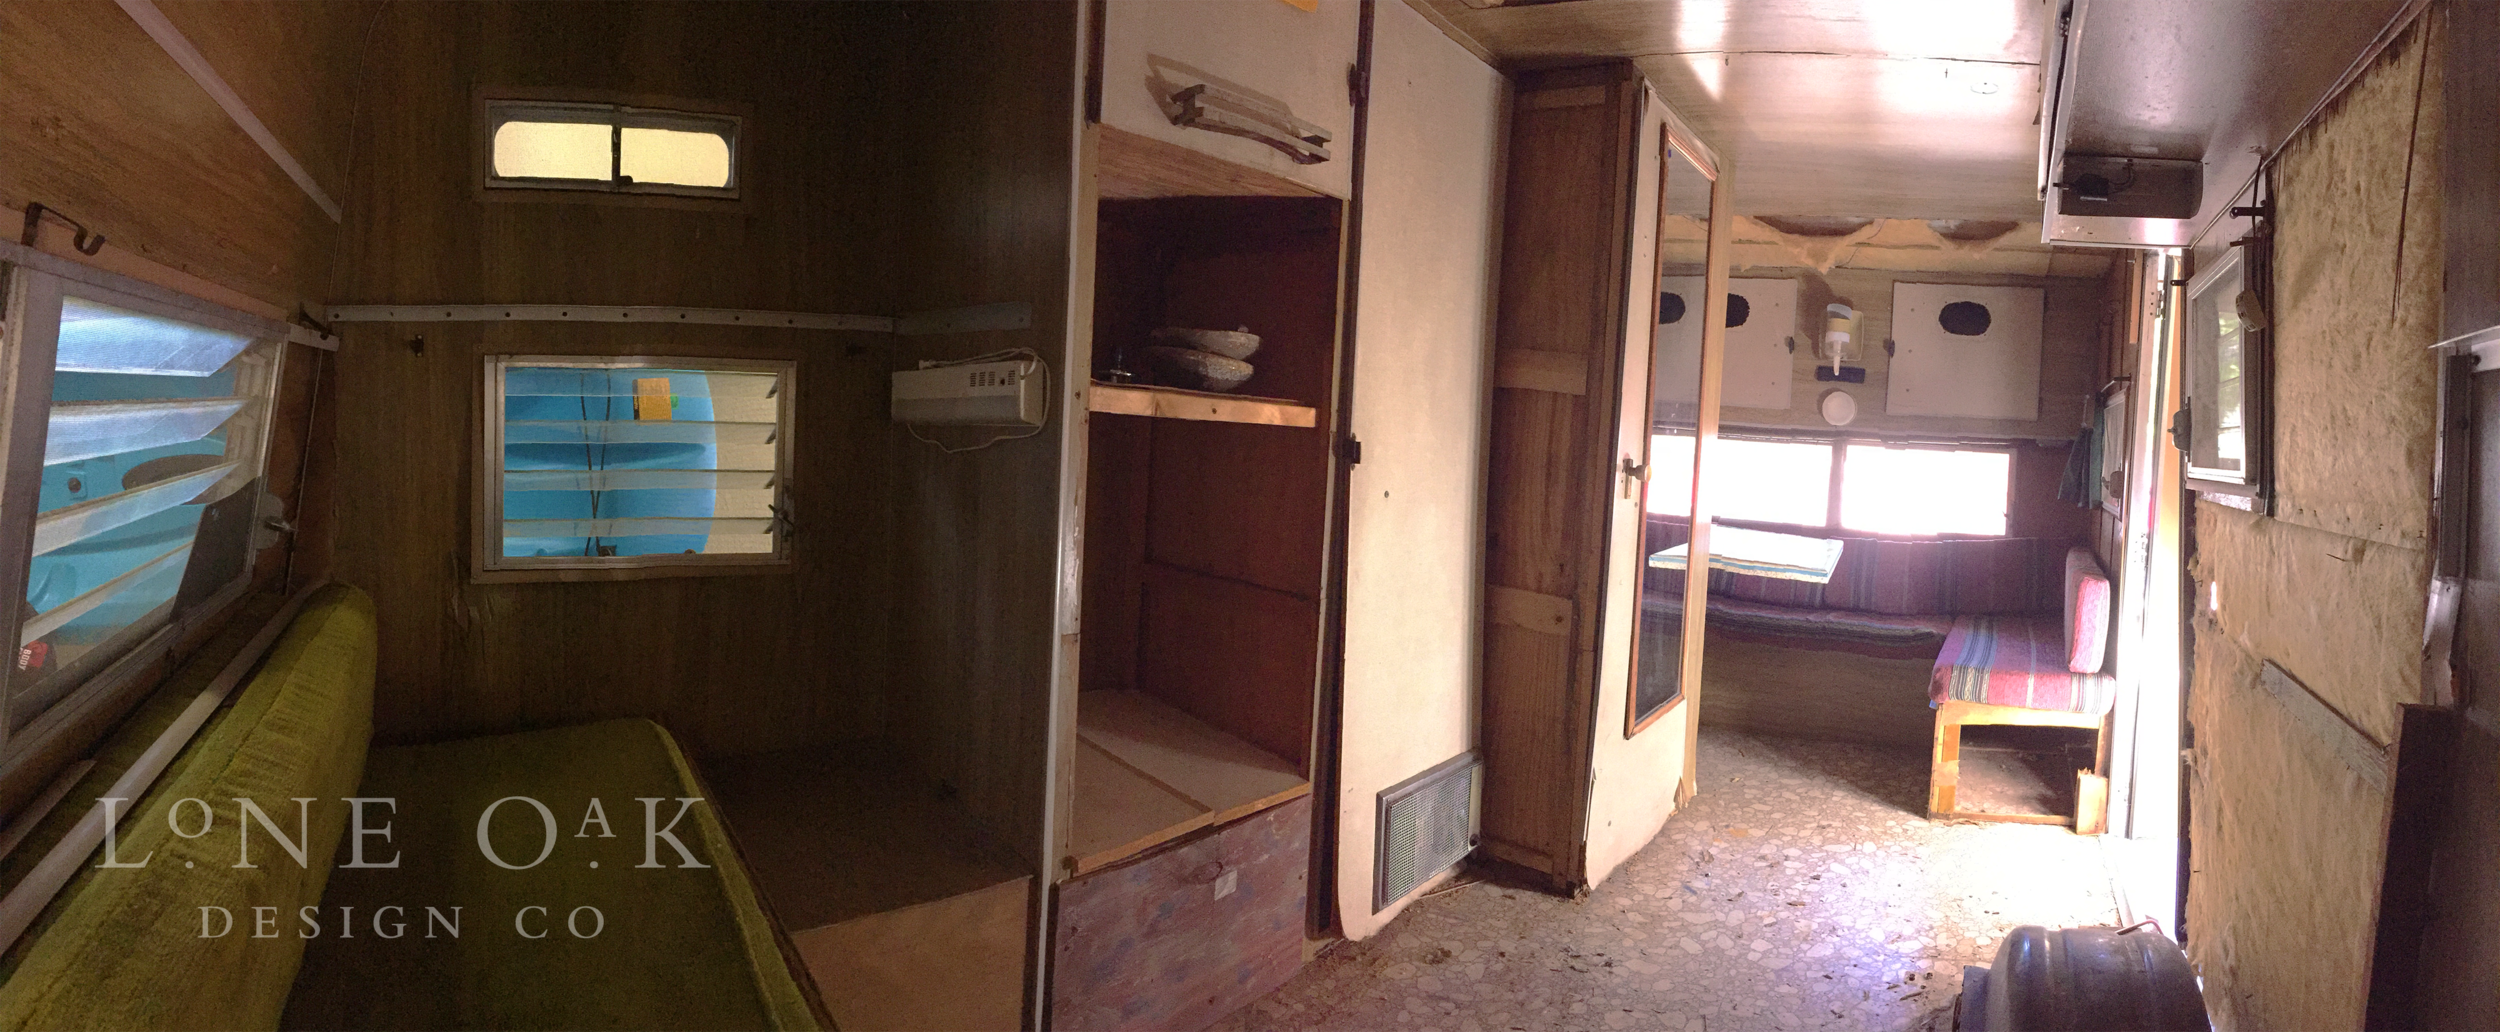
Panoramic view from the door + a perfectly timed pic of Nick creepin' like a 'Squatch.
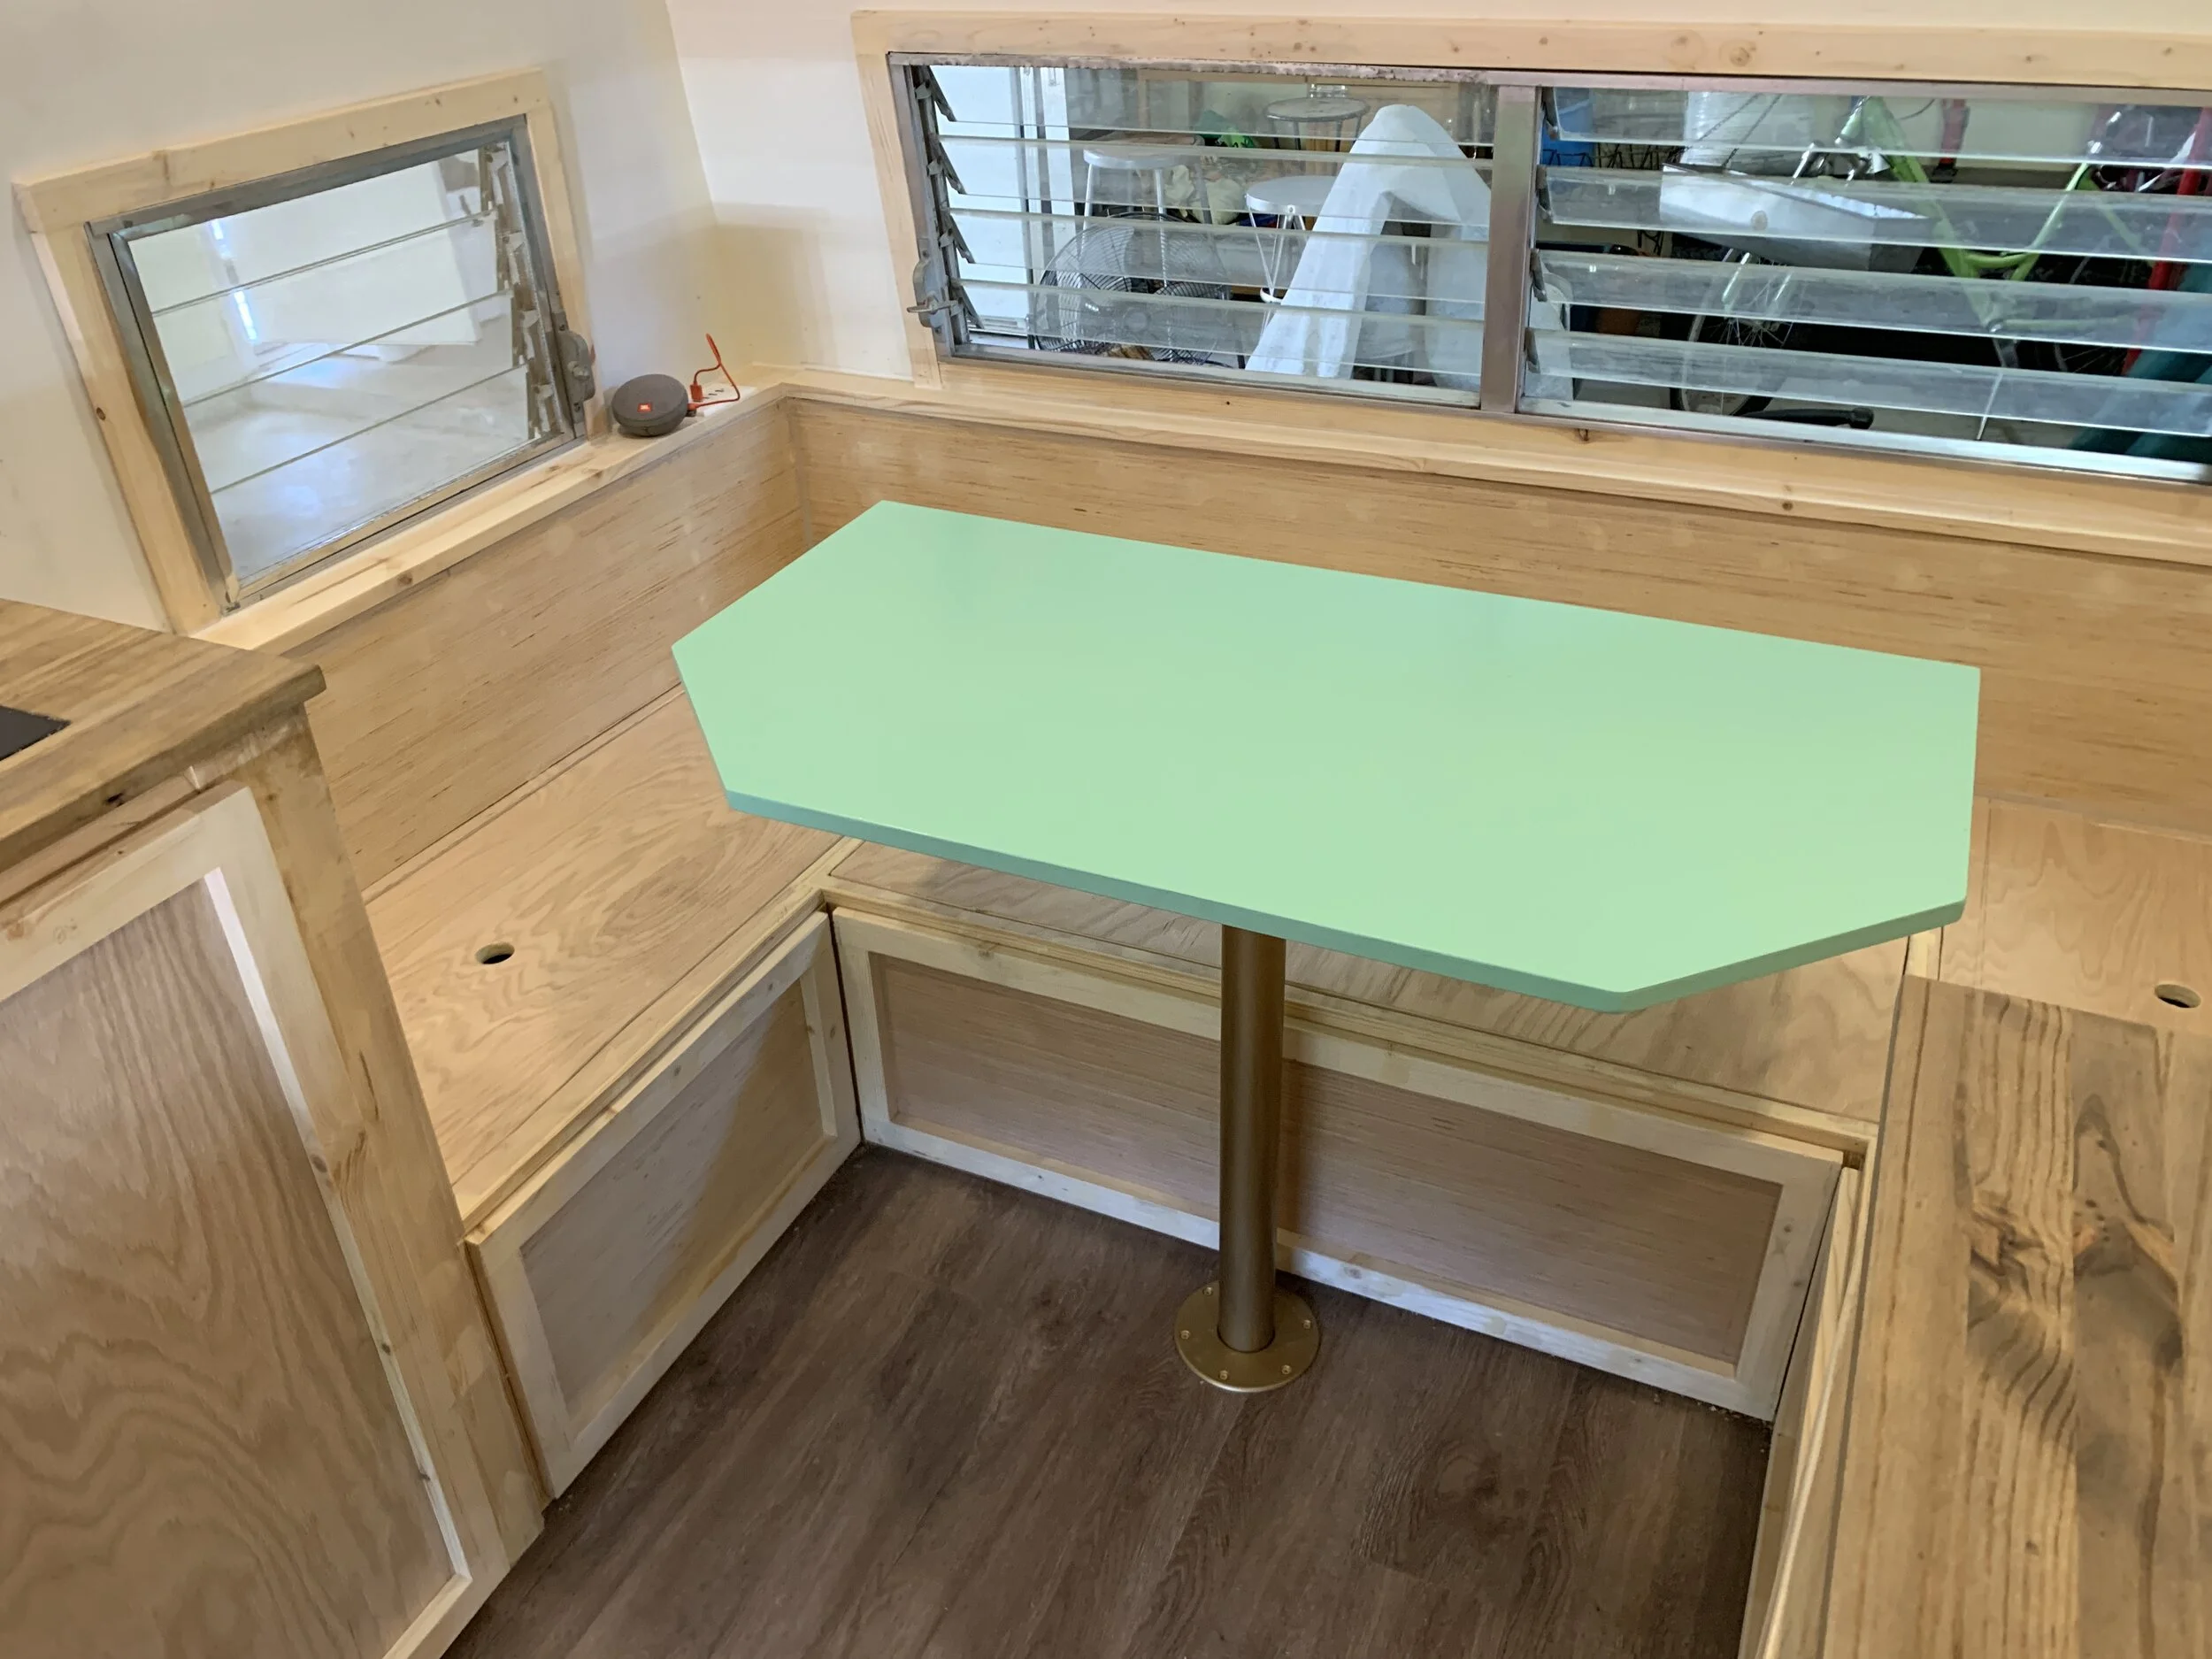
View from the corner of the couch-to-bed-conversion in the back of The Cameo.

Original (as we received it) floor plan — if it looks a little squiffy to you, it's because this thing is most certainly not square. (It's only off by a fraction of an inch — just in enough to probably give some extra fun down the road, but not enough to make it a huge pain to design around).
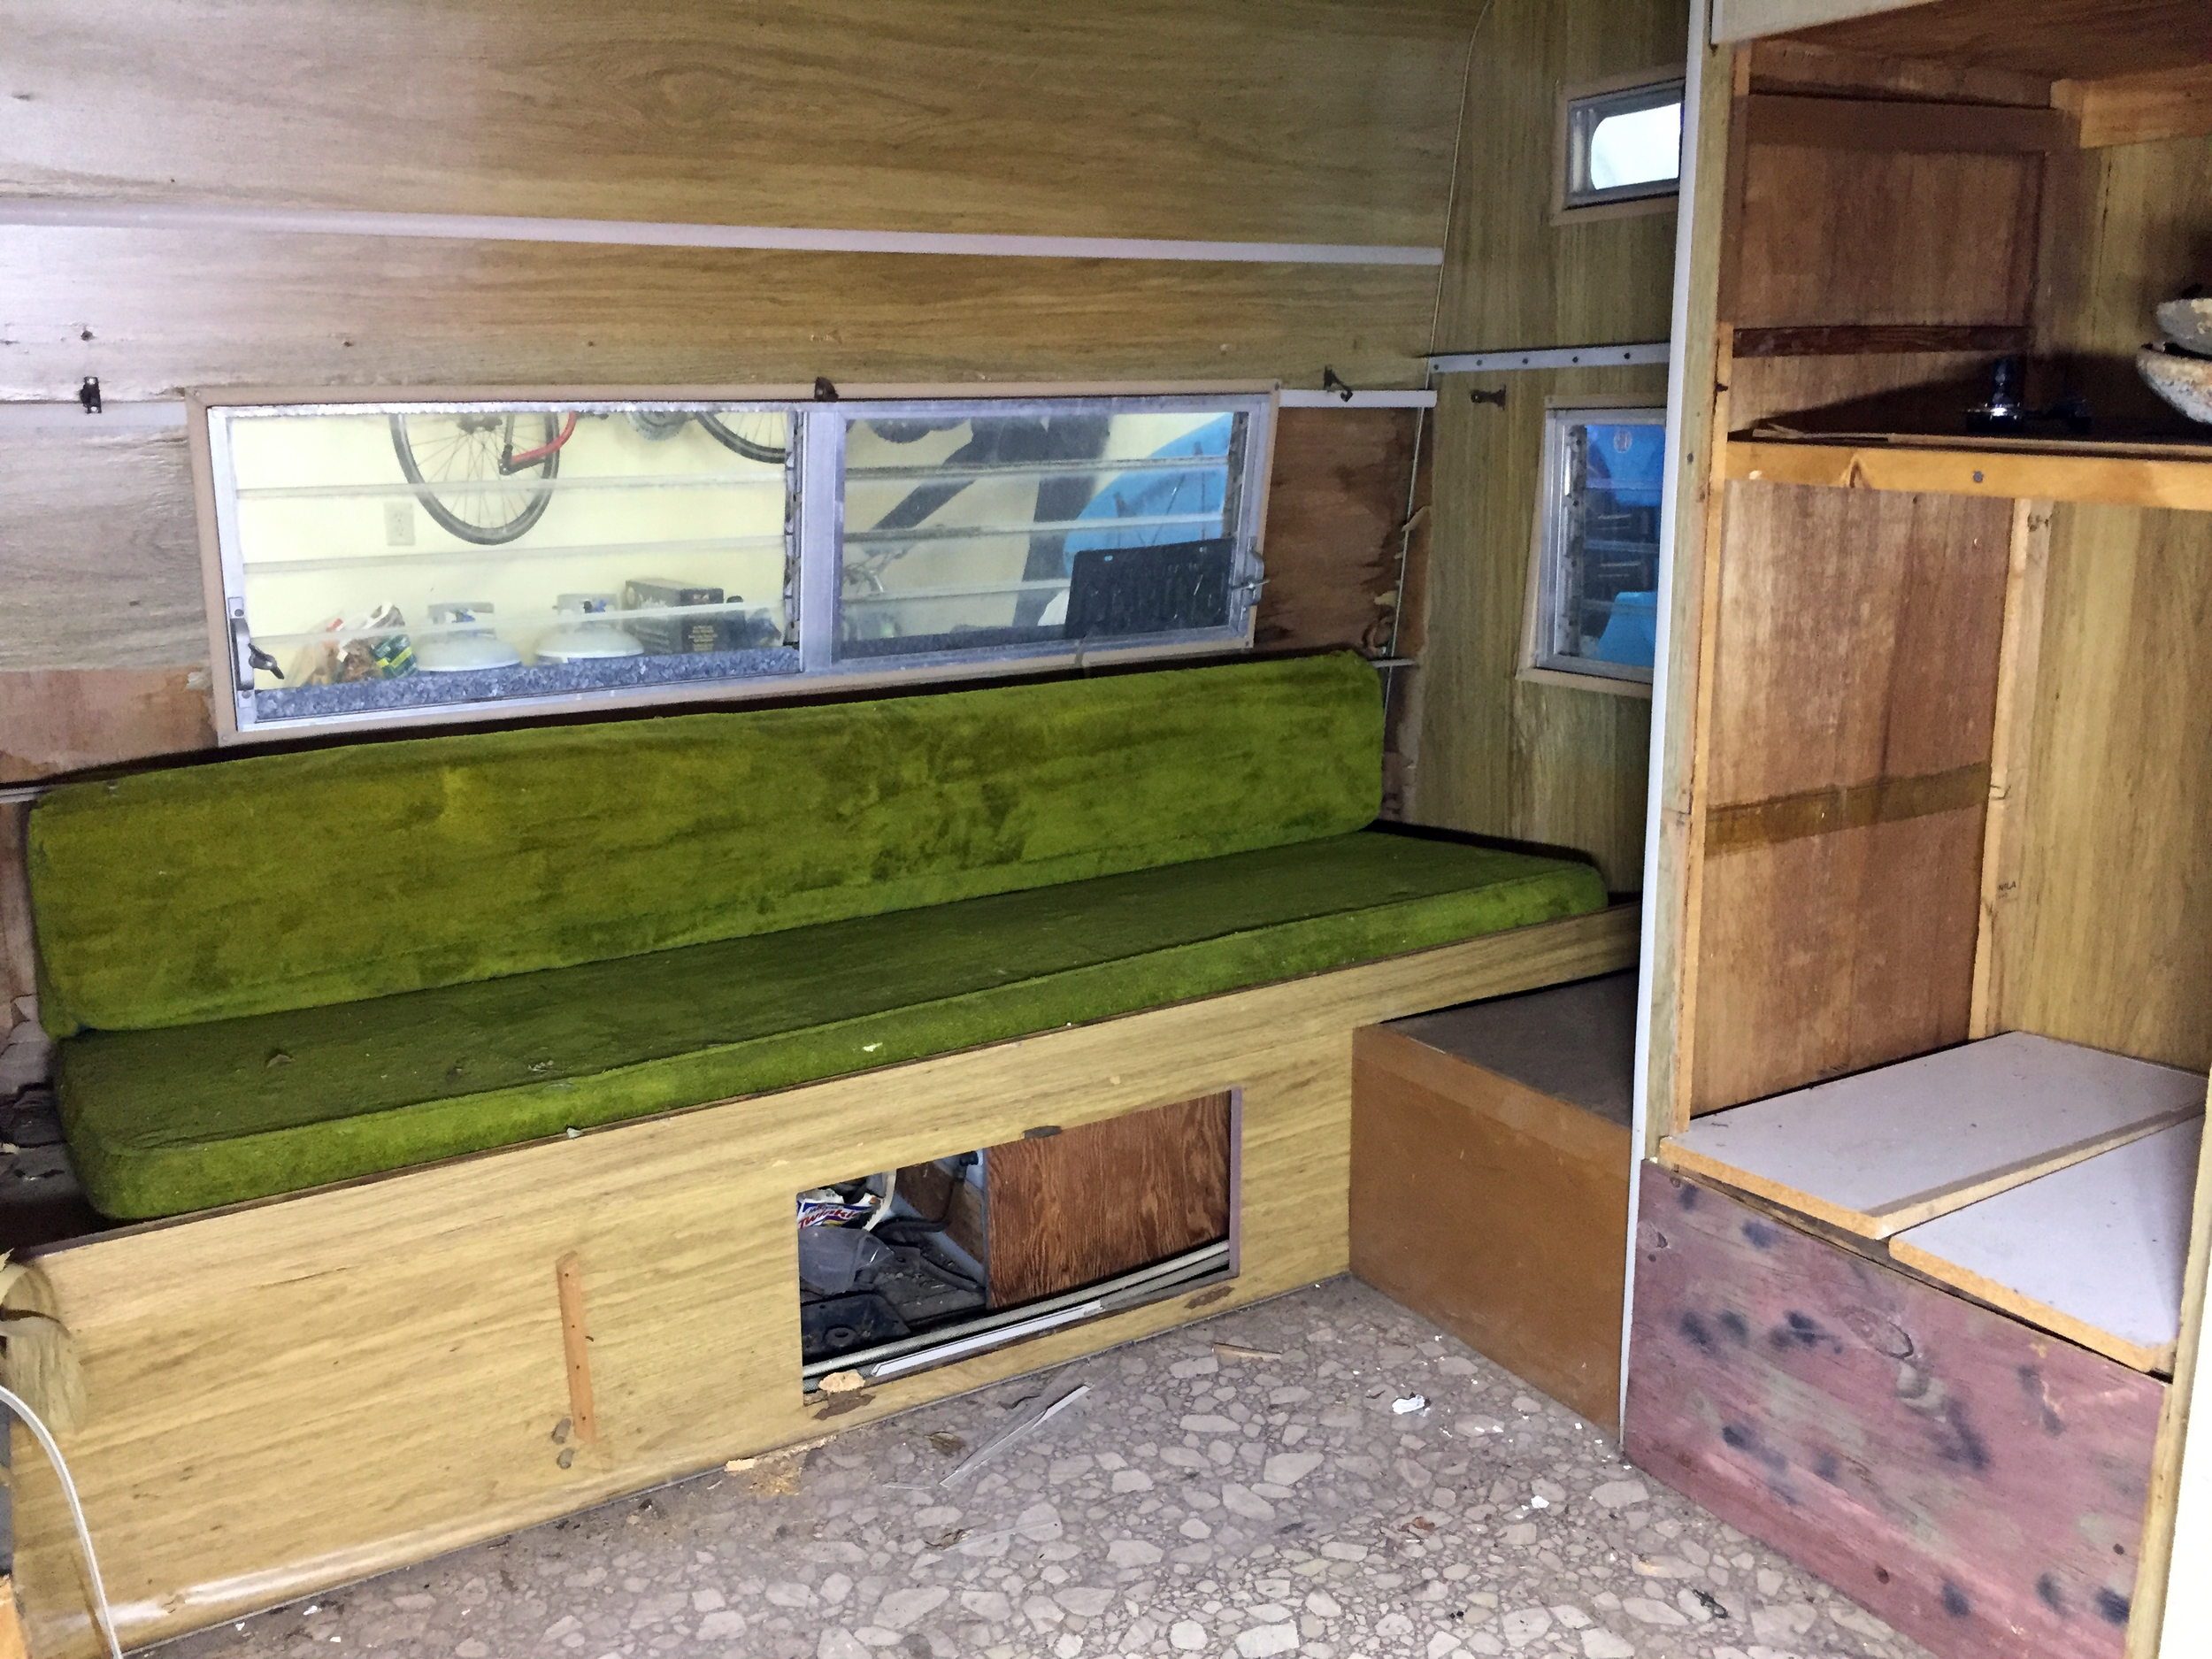
Alright. She was rough. But hey — she's pushin' 60 and still has basically all of her original parts. Who doesn't need an occasional little peel, a nip here, a tuck there, and by the end of this day's assessment a lot (and I mean a lot) of after-market parts? And who doesn't love dingy pebbled linoleum flooring, a grimy olive green velour futon cushion thing (it was not as luxurious as it appears in these photos) and cat-hair-covered burgundy striped furniture? This girl, that's who. But you know what was the very first thing to go?

This guy.
For some reason this thing (probably because it is the symbol of The Cameo being a roving tinderbox on wheels) was the first thing we couldn't wait to tackle (well, that and the glorious jalousie louvre windows, but for a very different reason that we'll talk about down the road). So what is it, you ask? That is an excellent question. This, my friends, is a gas-powered light fixture. You basically turn a little metal lever on the bottom to let gas eek out, and then you LIGHT THIS SAGGY MESH SOCK ON FIRE. It works just like a modern electrical light, except, you know, it has the potential to go out, leak gas, and could kill you in your sleep, or say, if the paper-thin wood walls or cotton candy insulation gets a little too toasty and suddenly burst into flames. (Or at least that's been our thought since we got her home.)
I don't know about you but I personally like to survive my vacations and also get a restful night's sleep knowing my home away from home is safe.
So out it went. Hooray!

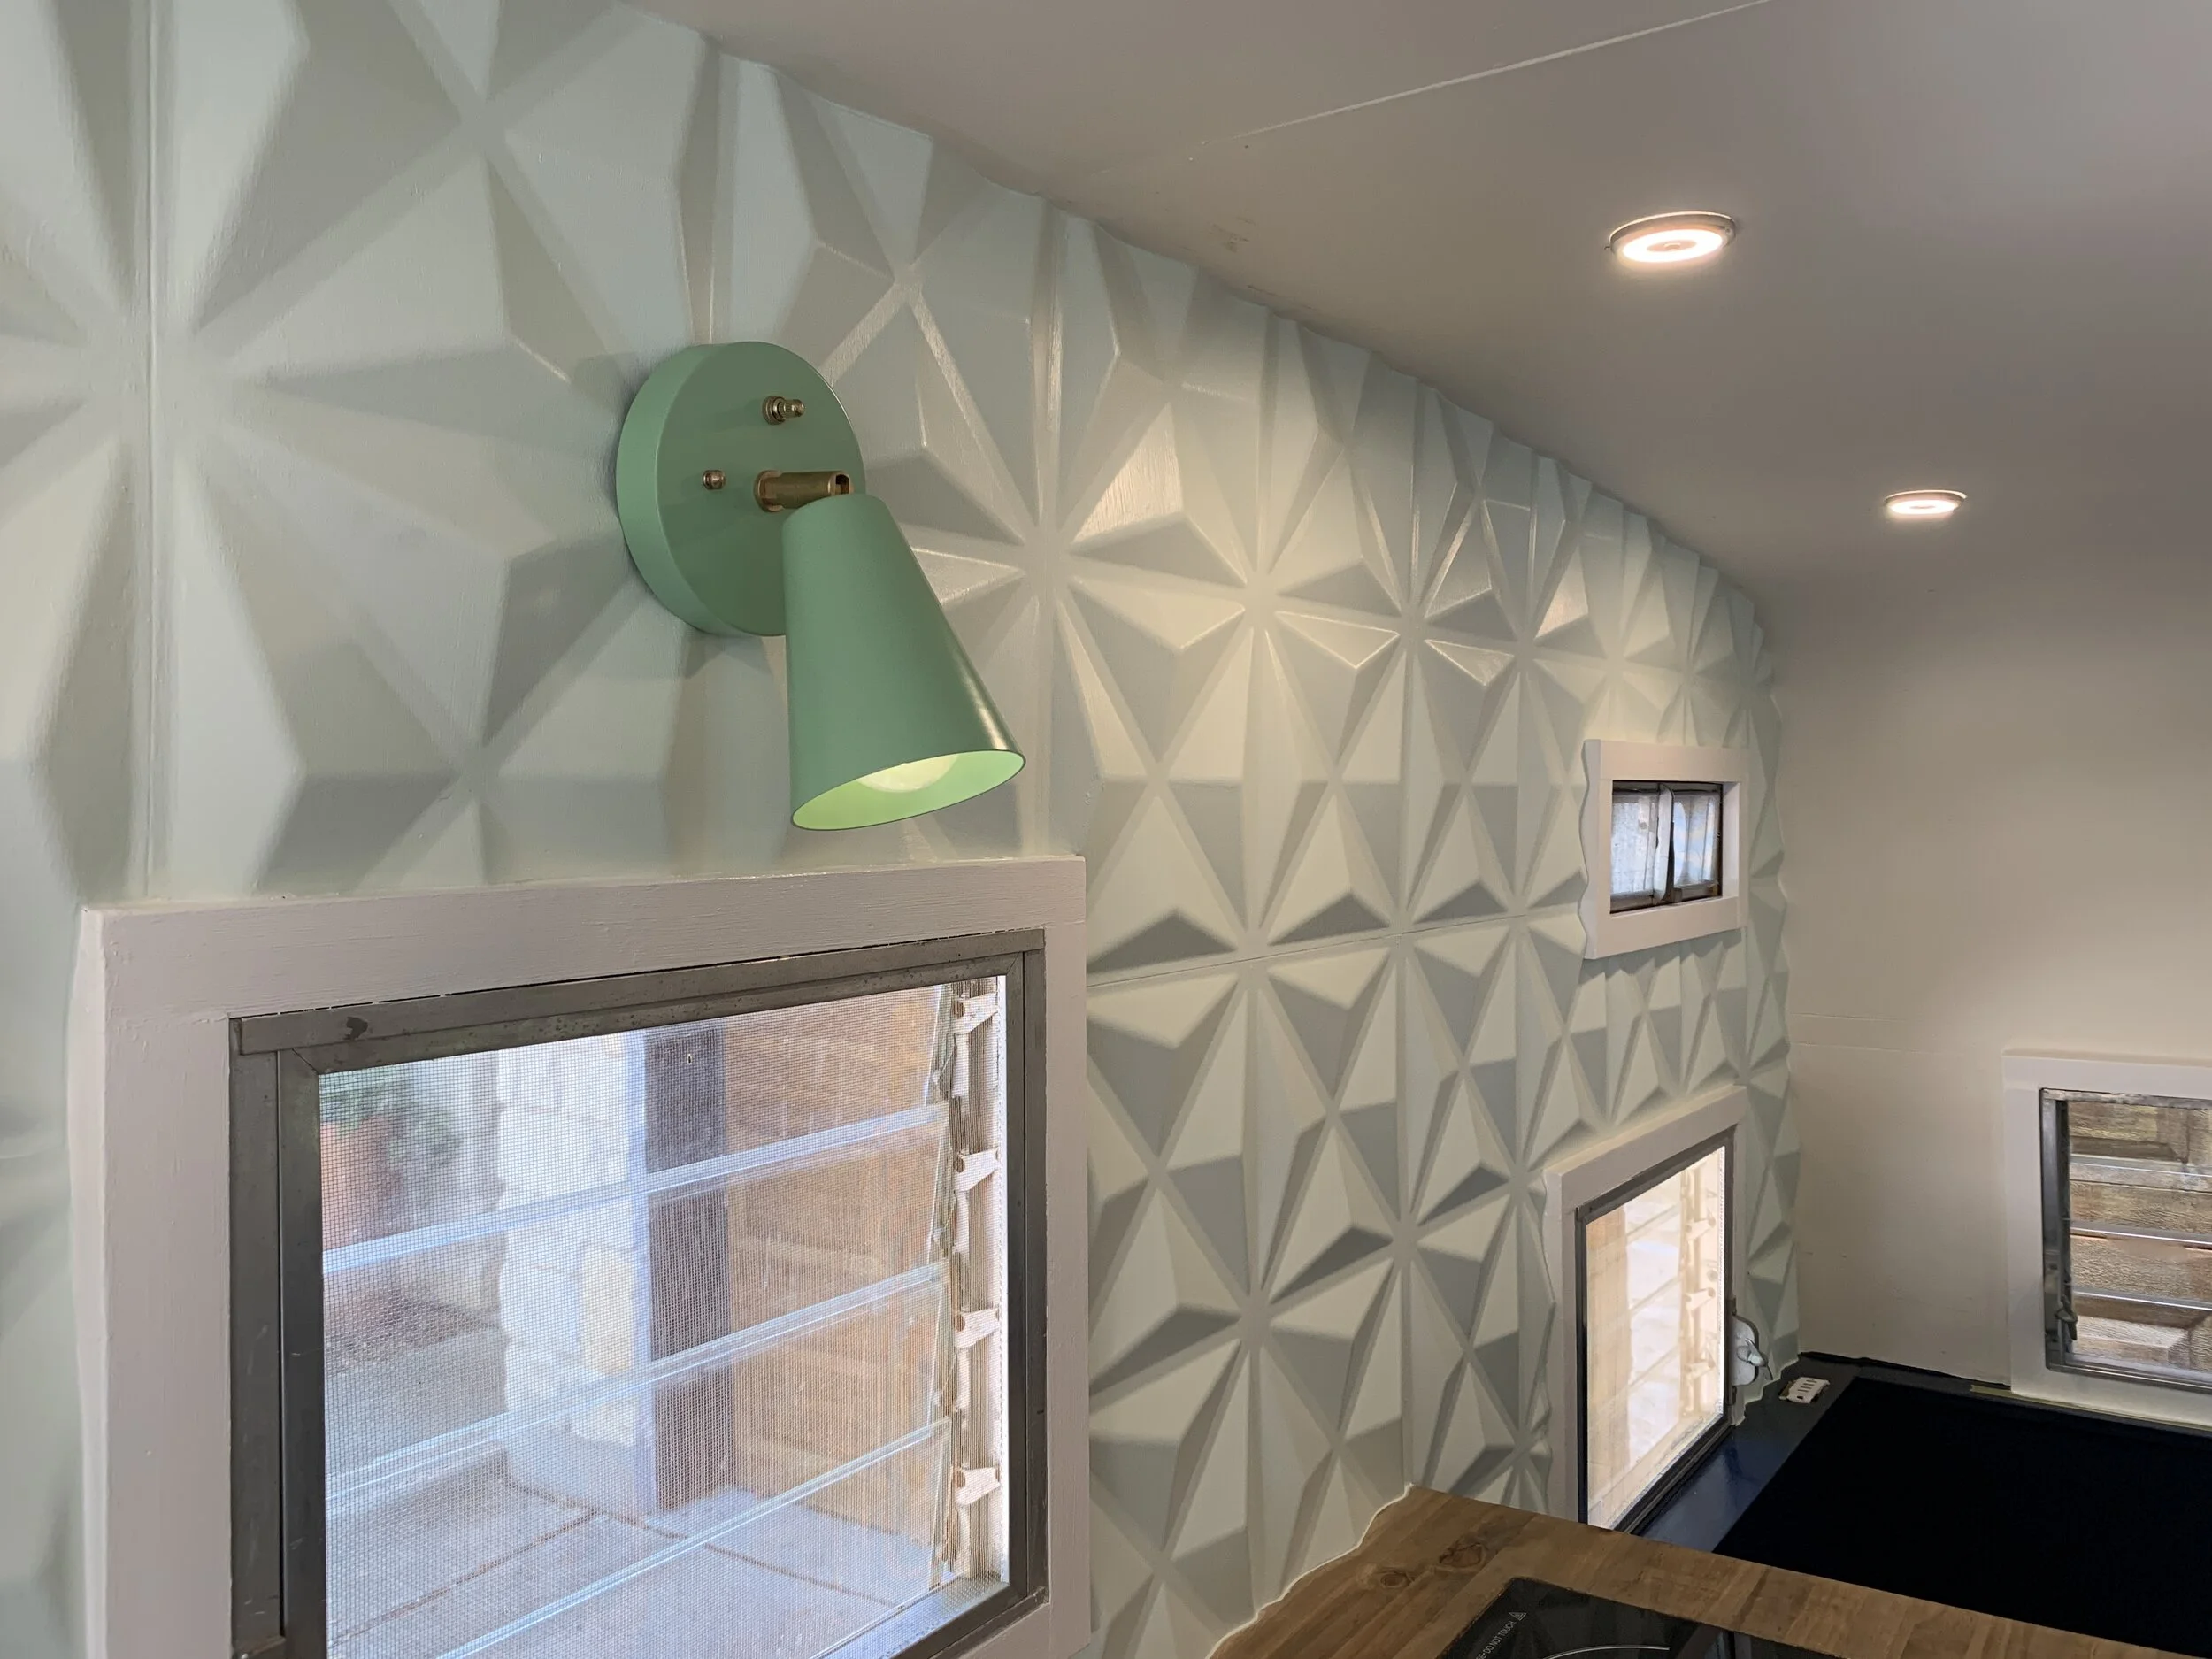
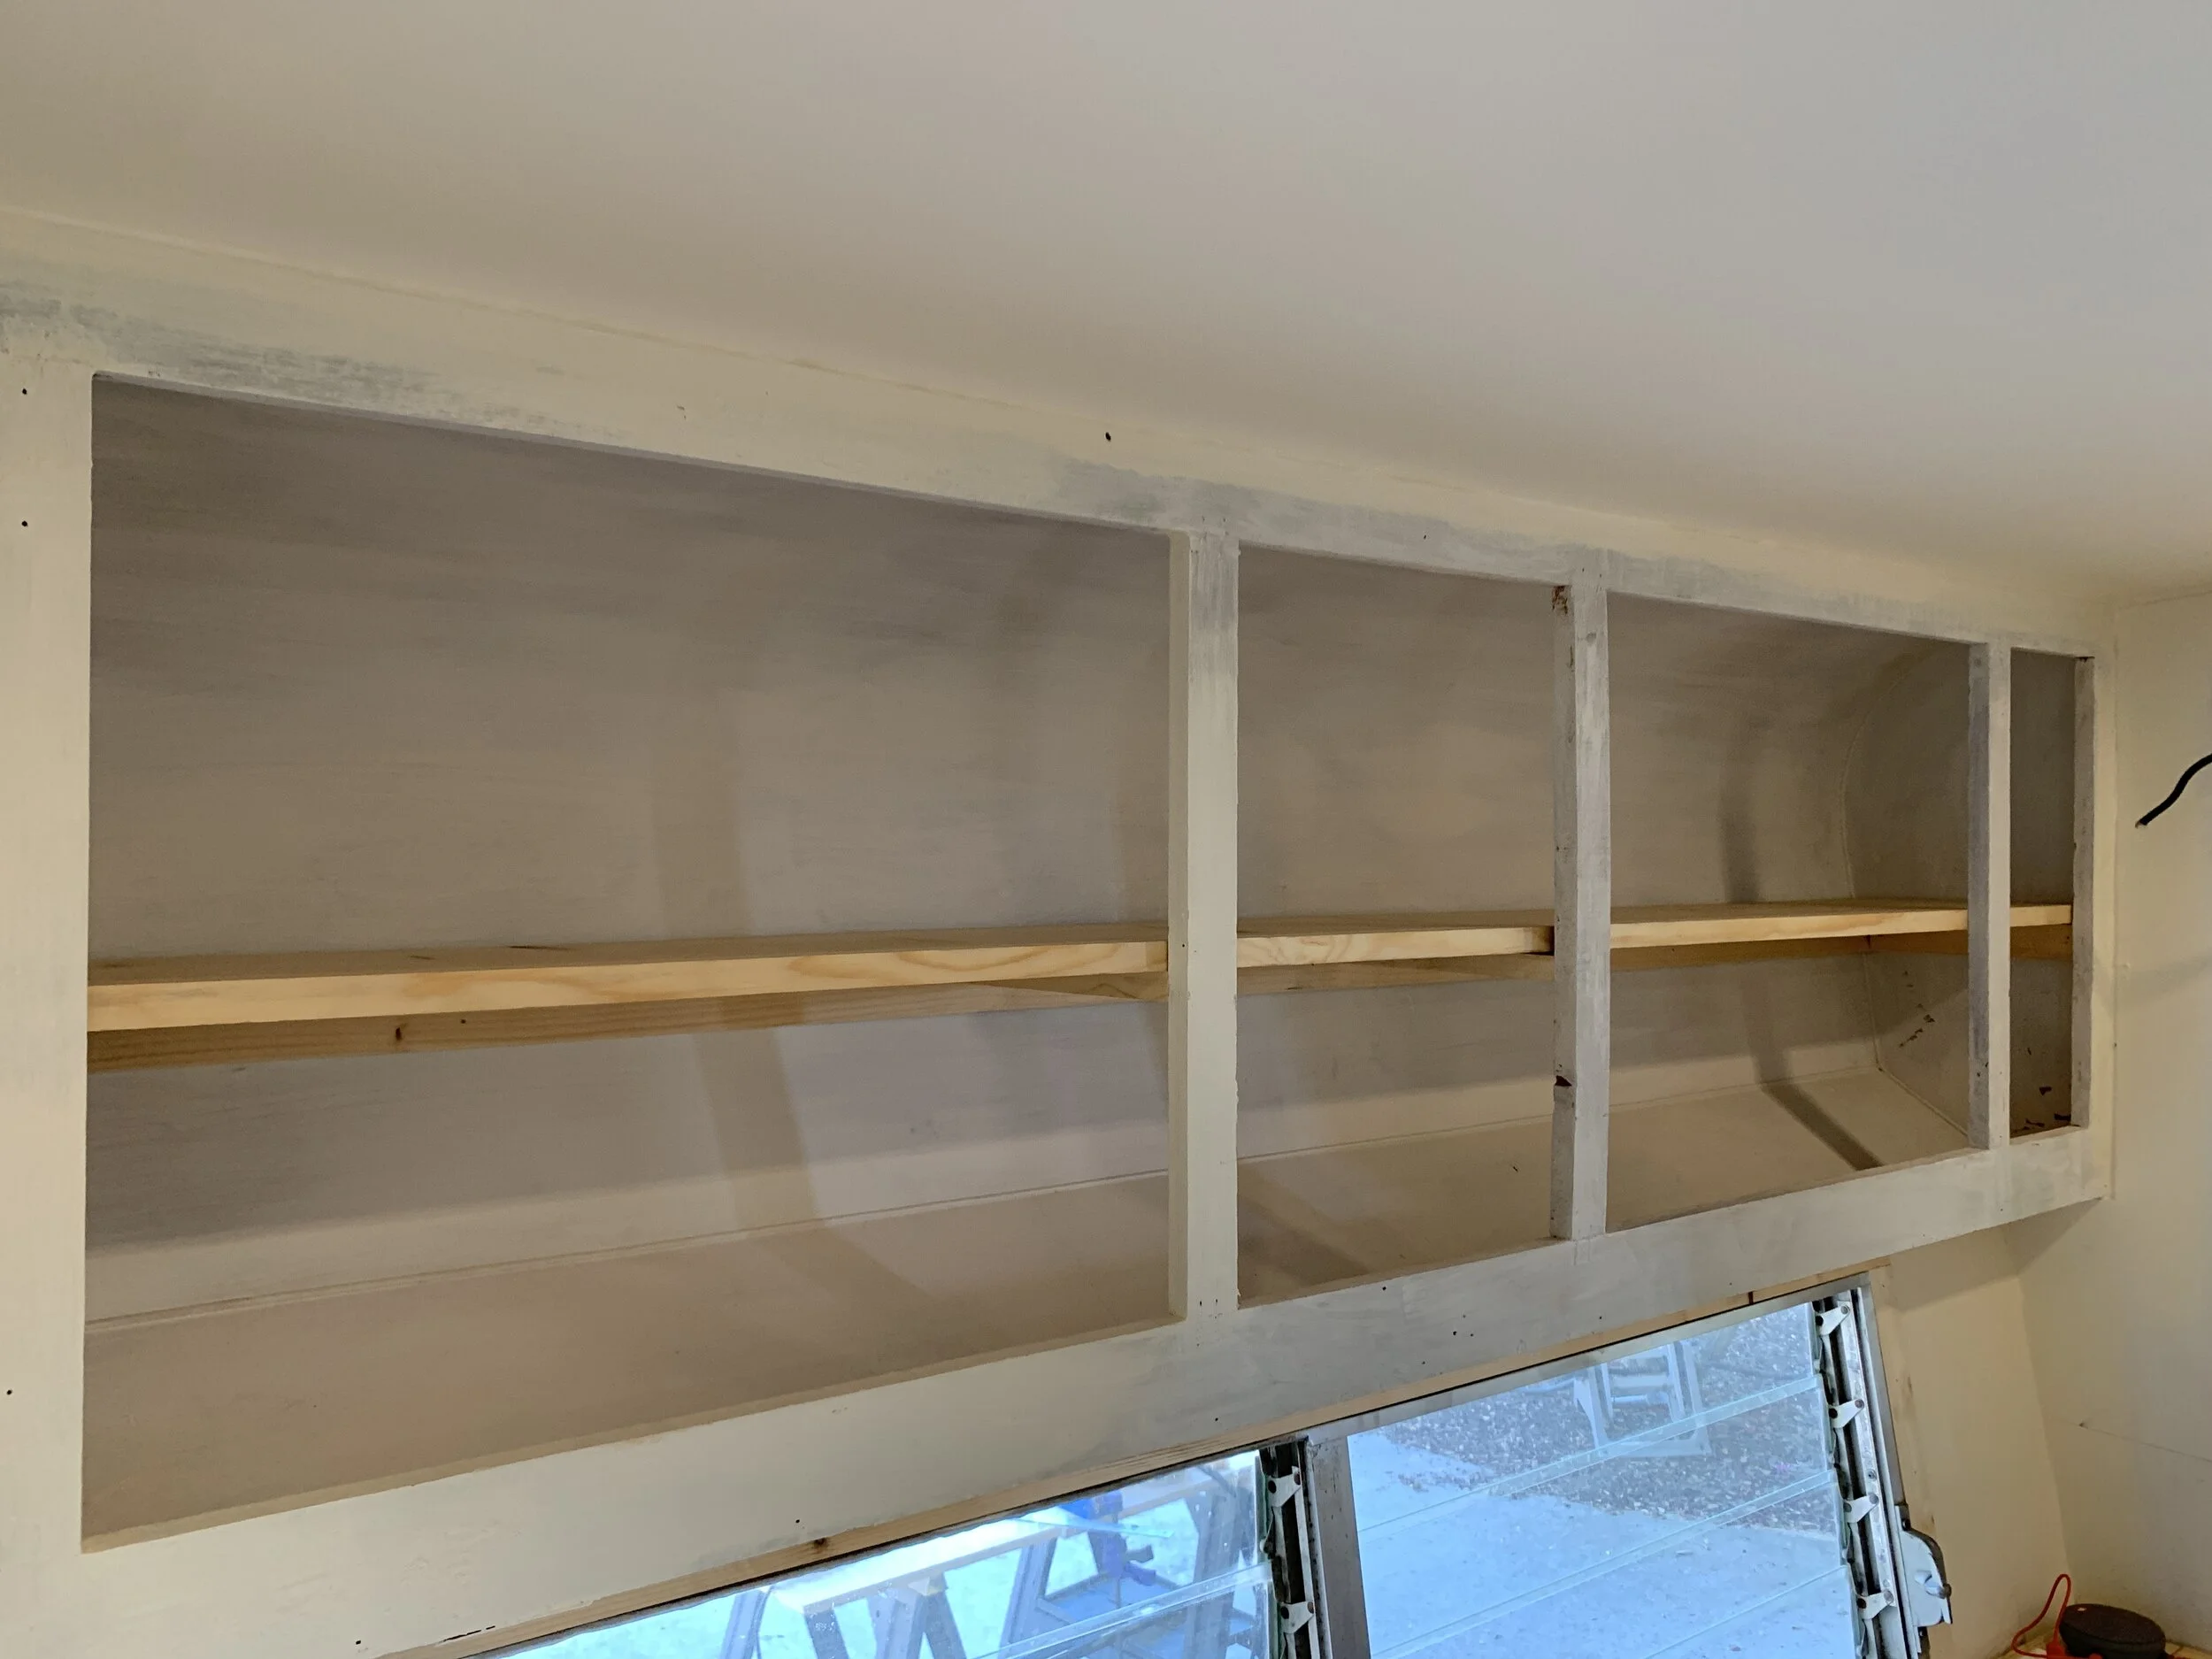
Cabinet above dinette area after the gas light, cabinet doors, car stereo and about 3 miles worth of electrical speaker cable for said stereo (that really only needed to span only about 3 feet of space) were carefully removed.
Along with a ton of other stuff...
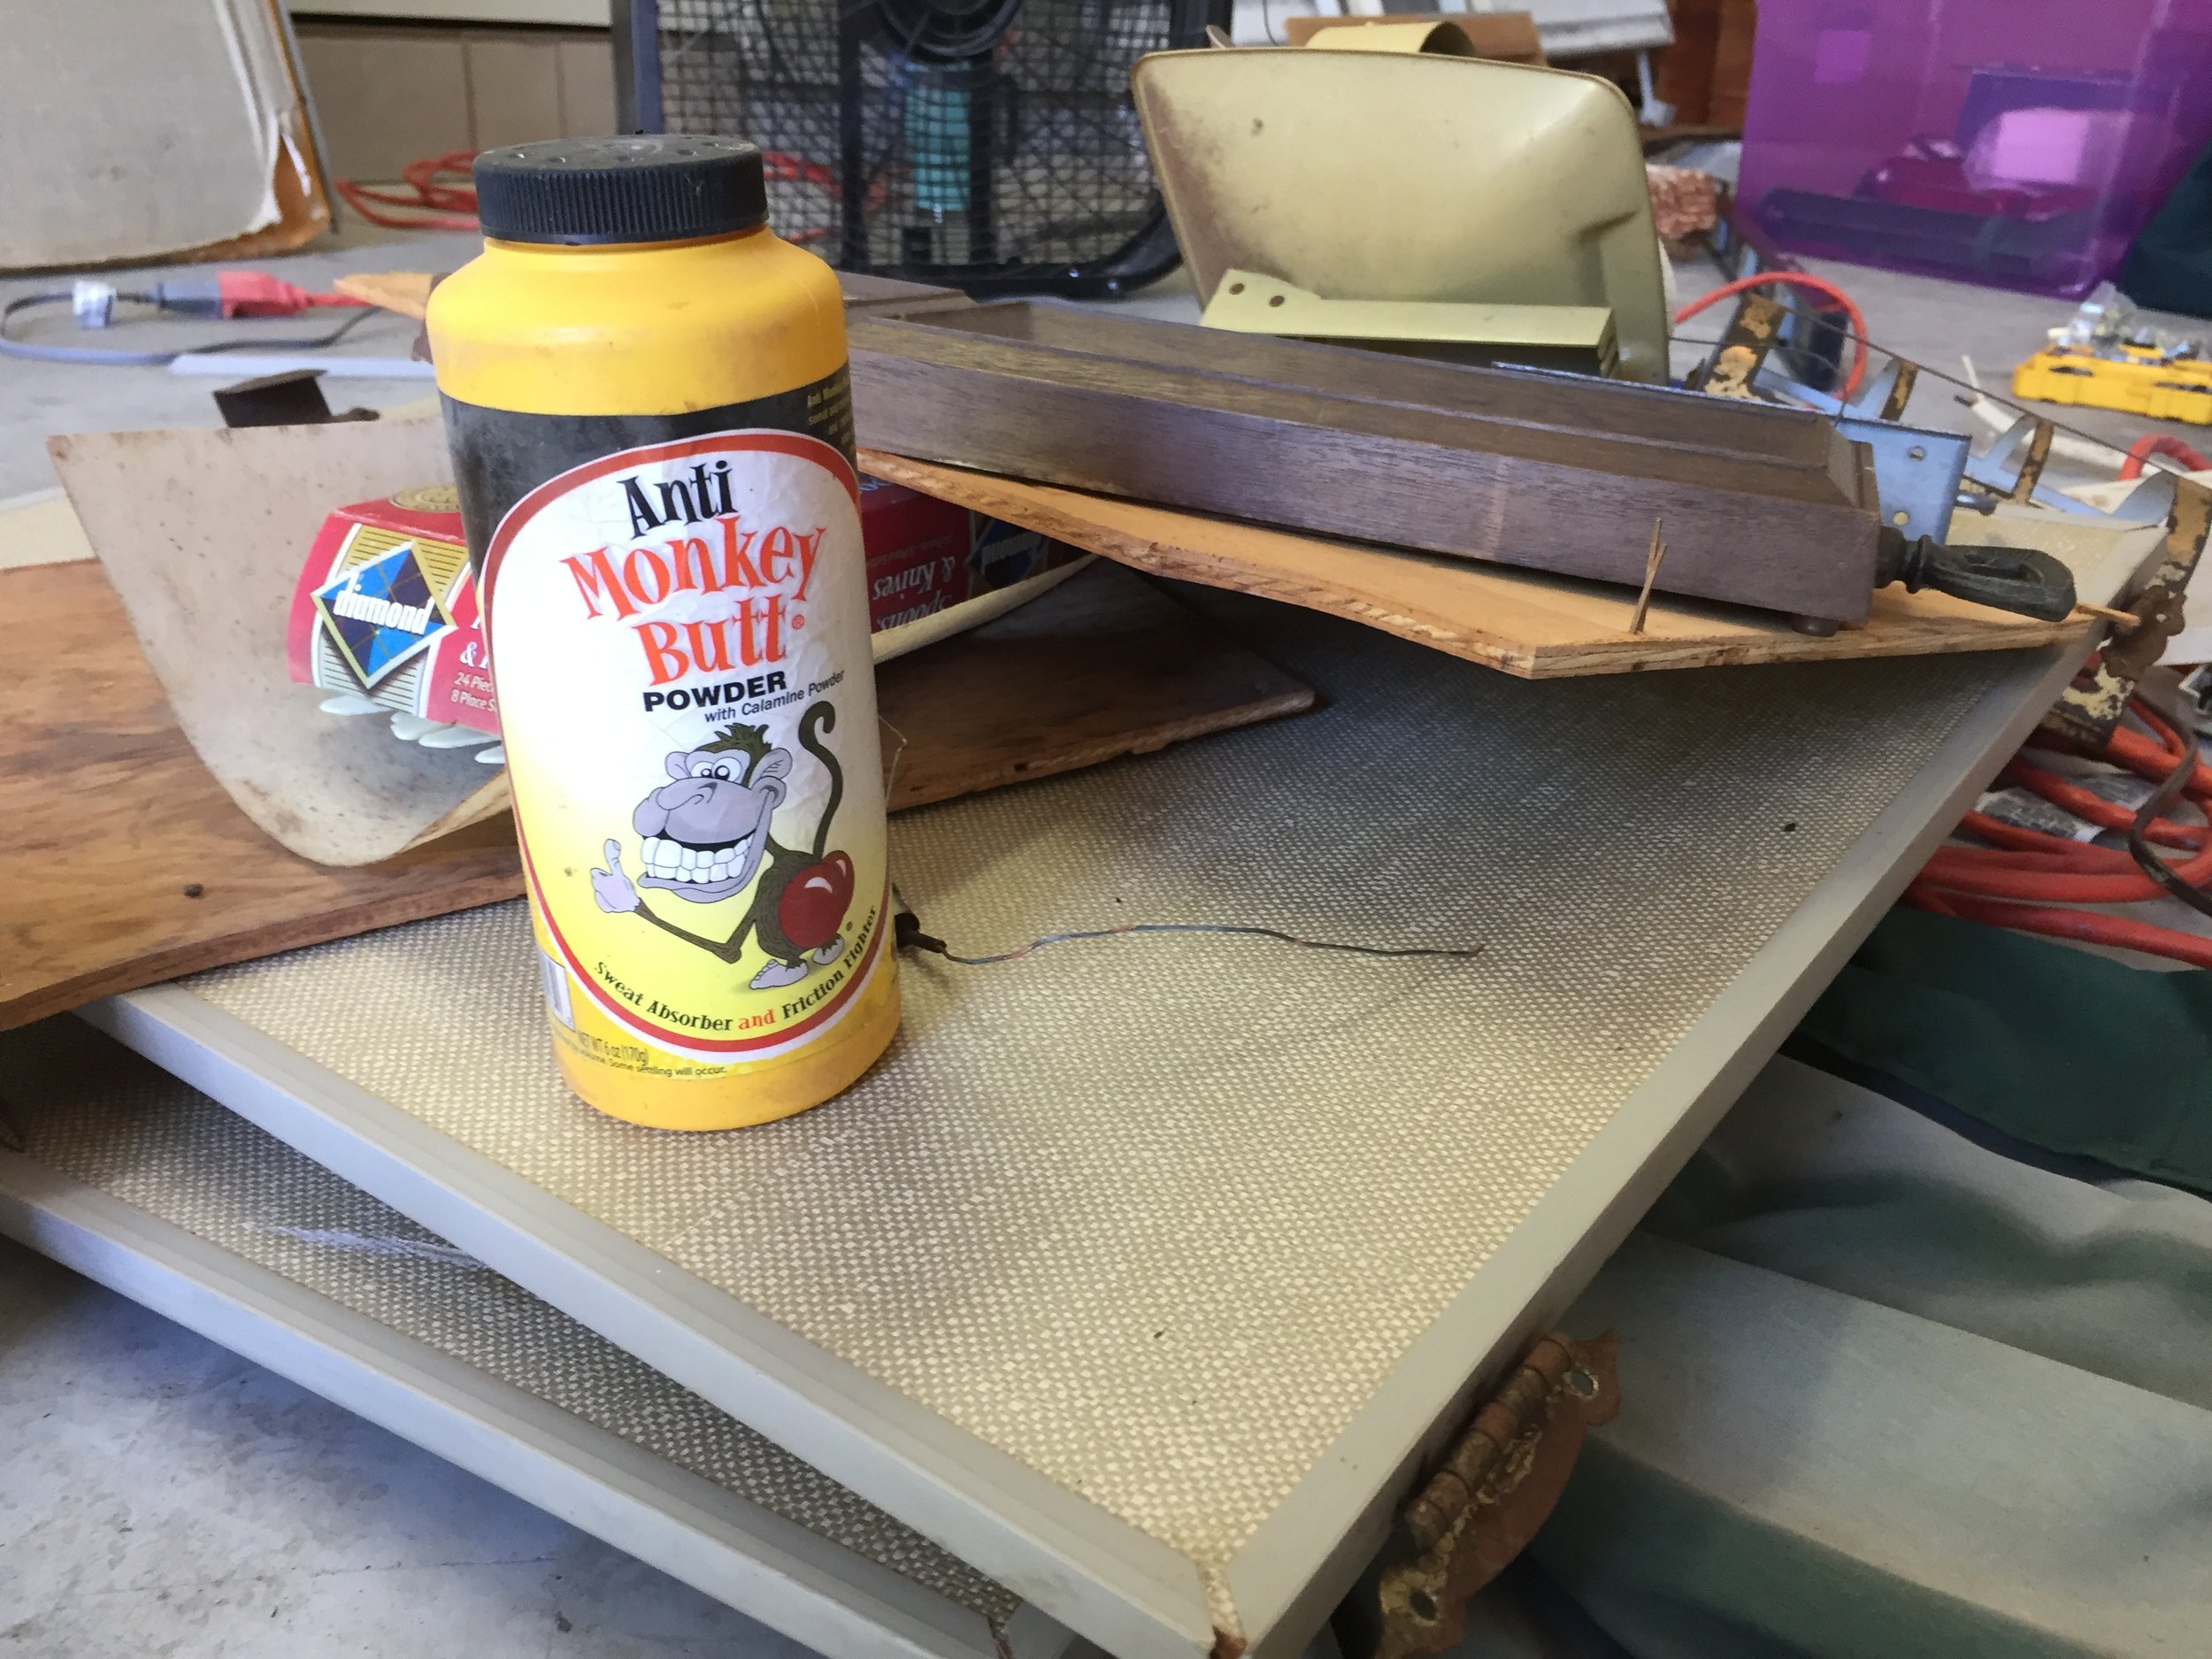
It ain't a party 'til you find a half-empty bottle of Anti Monkey Butt powder in the cupboard.
We're usually of the "let's repurpose this" mindset and really hate to have to get rid of so much original stuff, but a lot of it was water damaged beyond repair or had such large holes cut into it and were made of materials that couldn't really be patched. (And then we made the conscious decision that we didn't need a ginormous thermometer that was a good 16" tall and made with almost as much wood as the whole camper combined.)
Continuing on this odd theme of butts that has developed, I managed to accidentally use mine to demo a couple of other things by surprise. If you know me at all you know I'm mega graceful and have a tendency to snag a shin on the coffee table ("Nick, when I get a mystery bruise later remind me this is what I hit this time" is said all too often around here), scrape my own feet when I'm wearing heels (I like to think in an elegant, lady-like way), or hip check walls occasionally — and I appear to be keeping it consistent for this project. In an effort to get a bazillion photos for y'all (once I got over my ick factor of touching the grimy 50-year-old cushions with my entire body), I sat on the edge of the dinette bench close to the exterior door.
And then in one quick motion, I fell inside the bench.
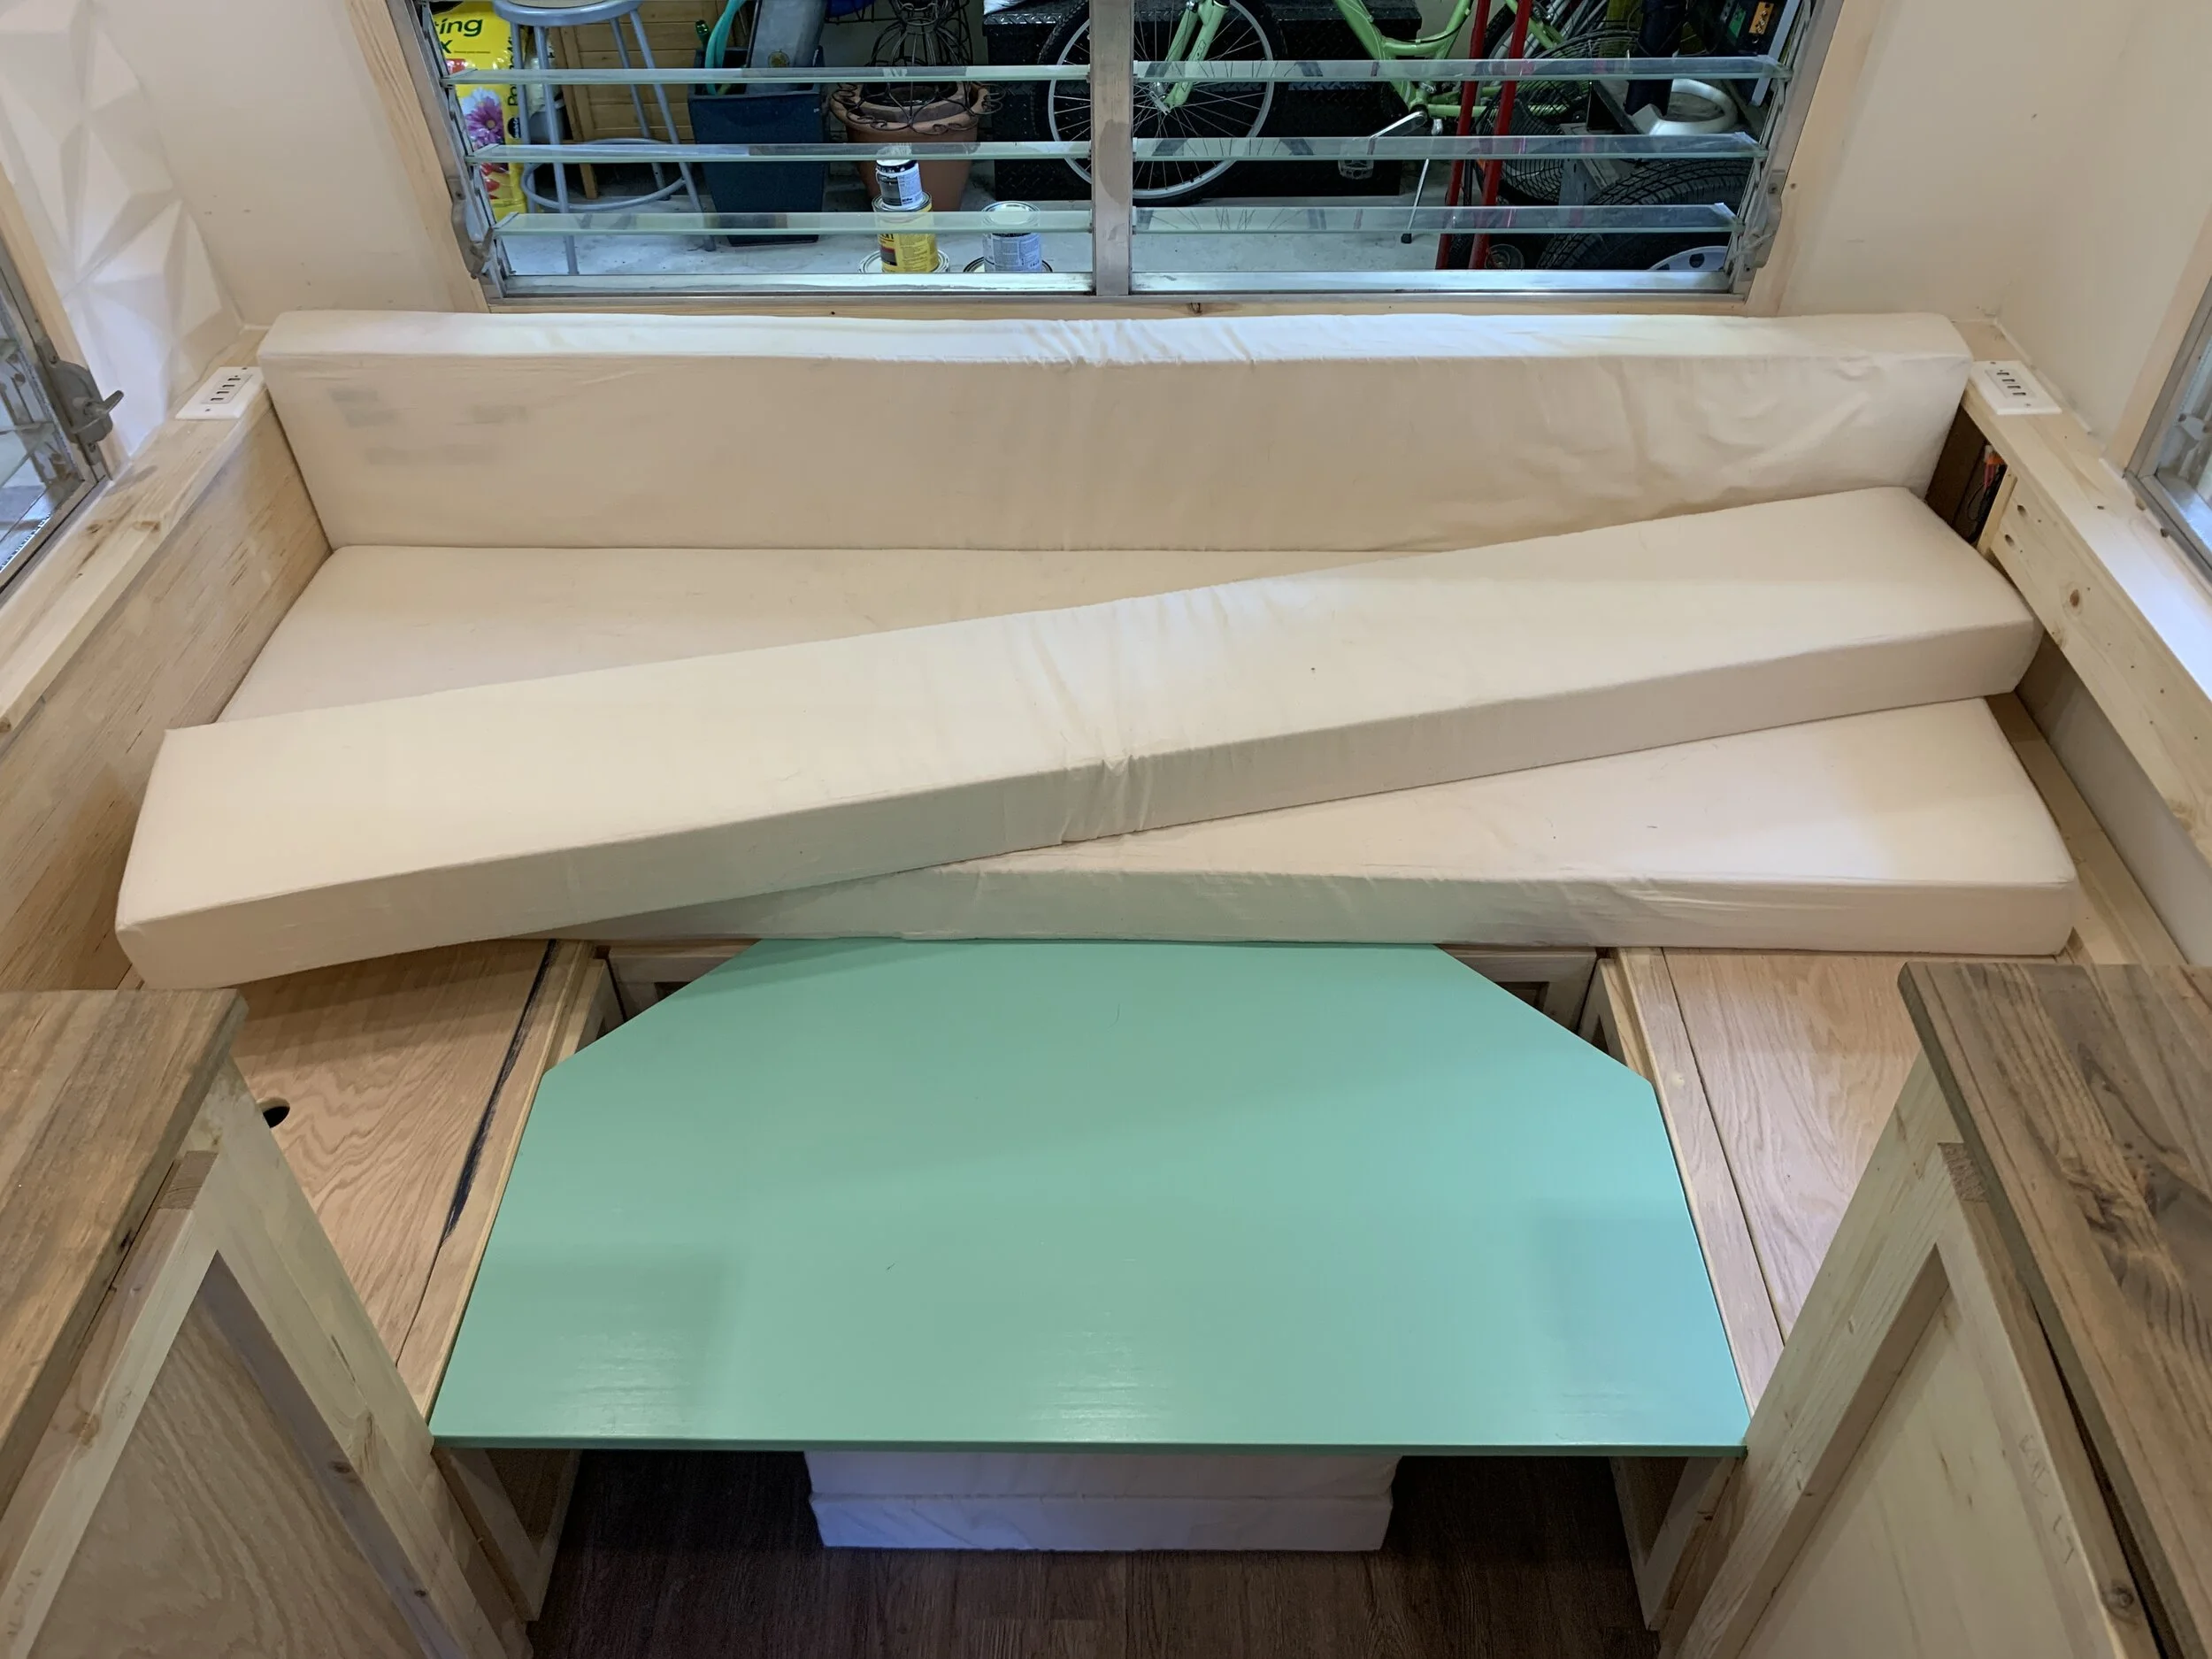
Turns out the vertical support holding the seat up was rotten from water damage all along the wall and it only took me and my graceful tush to discover it. So out that went, along with the rest of the unit that was connected to it due to slightly less but still a questionably unsafe amount of damage. Before we move on, here's the de-evolution of the dinette area and how it functioned on demo day 1 before the hiney hammer came through. #RIP


Little in the middle but she got much back
Working our way out from the front end of the camper, we decided to go ahead and remove all of the doors – exterior, bathroom, breaker and all storage closets and cabinets – so we had less to maneuver around when making our hundreds of small trips back and forth in the tight space. If you only focused on the middle and front, this 94 sq. ft. camper was actually starting to feel, dare I say, large.


It's around this point – again in an effort to get more photos before there was nothing left to take photos of – I may have accidentally helped semi-detach the wheel well from the floor, and incidentally discovered some more (minor-ish?) water damage in the plywood subfloor where it met the flappy wall. I tell ya, that flappy wall is just the gift that keeps on giving. (On a semi-related note, I'm beginning to think I need to spend more time doing squats at the gym because I'm beginning to sense a pattern...)

My frenemy, Flappy — yes, that wall on the left should be firmly attached to the floor.
This lady's not the only one with some extra junk in the trunk that could use some help. The couch-to-twin-bed conversion area in the caboose of The Cameo was a hot mess. We're talking layers and layers of peeling, rotten wood — on the couch deck, the walls, you name it. This area even came with some additional surprises.

Couch/bed area in the rear of the camper — more layers than Shrek's donkey.
Now, this is normally when I'd show you a picture of said surprise, but no one needs to see the dehydrated mouse couple (and all the "black jelly beans" that came with them) that called this area home. In a quasi-creepy glass-half-full kind of way, I guess it's kind of sweet finding another little couple in the camper on our anniversary. But then in a glass-half-empty kind of way, we had to deal with it (which meant the touching of things), and also accept the fact that those resourceful little buggers had been hoarding our insulation for nesting material. Which, along with the extensive amount of water damage to the walls, basically answers the "will we or won't we?" question about replacing all of the insulation in this thing. Let's just hope that we have better luck than they did and make it out of this renovation alive. Instead I will leave you with some photos of the bed deconstruction and how we ultimately left the rear couch-to-bed area for the day to go get hydrated in the spirit of Derby de Mayo.


The framing for the couch/bed area was surprisingly sturdy, so this is how we decided to leave it for today.
Let's throw on some Sarah McLachlan and pour one out for all of the friends we lost on our first demo day – the mouse couple, the gas light, the butt powder – and meet back up in a week or so to see what, if anything, will make it to the finish line.