The Cameo Camper Renovation: Installing the subfloor

LADIES AND GENTLEMEN, WE HAVE A FLOOR. *Pops the champagne*
Well, we have a SUBfloor, but I'm still so flippin' ecstatic because it finally feels like we're on the up and up as brand new non-spongy wood gets installed. Before we could actually lay the plywood subfloor we had some stuff to do, because of course nothing can ever be that easy, and because anything built on a crummy foundation is going to be, well, crummy, too, so we wanted to take extra steps now if it meant less work down the road. If you have no idea why I'm overly excited for such a simple thing like a floor that's just going to get hidden under a prettier floor, read from the beginning to see the trials and tribulations we've faced so far.
Oh, this is probably the part of the renovation where I should tell you that all of the products we use we chose because we either have used them before with success on other projects and truly believe they will work again, have done research on them or are taking a shot in the dark with our fingers crossed hoping we chose wisely. In other words, we've not been paid to rep any of the products mentioned. (If that day ever comes, I'll definitely let you know.)
So what all did we do before we got the plywood subfloor in?
Welding + new floor joists
With everything that happened last time, I don't think I even mentioned that in addition to all of the water and critter damage we found, we also discovered one of the trailer's metal angle iron crosspieces had come detached from one of the main metal joists (under the area formerly known as the bathroom) and helped the long wall across from the door sag a good four inches or so. And while learning to weld has long been on my list, this was a "let's get it done as soon as possible and from someone who knows what they're doing since this is a super important structural integrity/safety issue" kinda way.

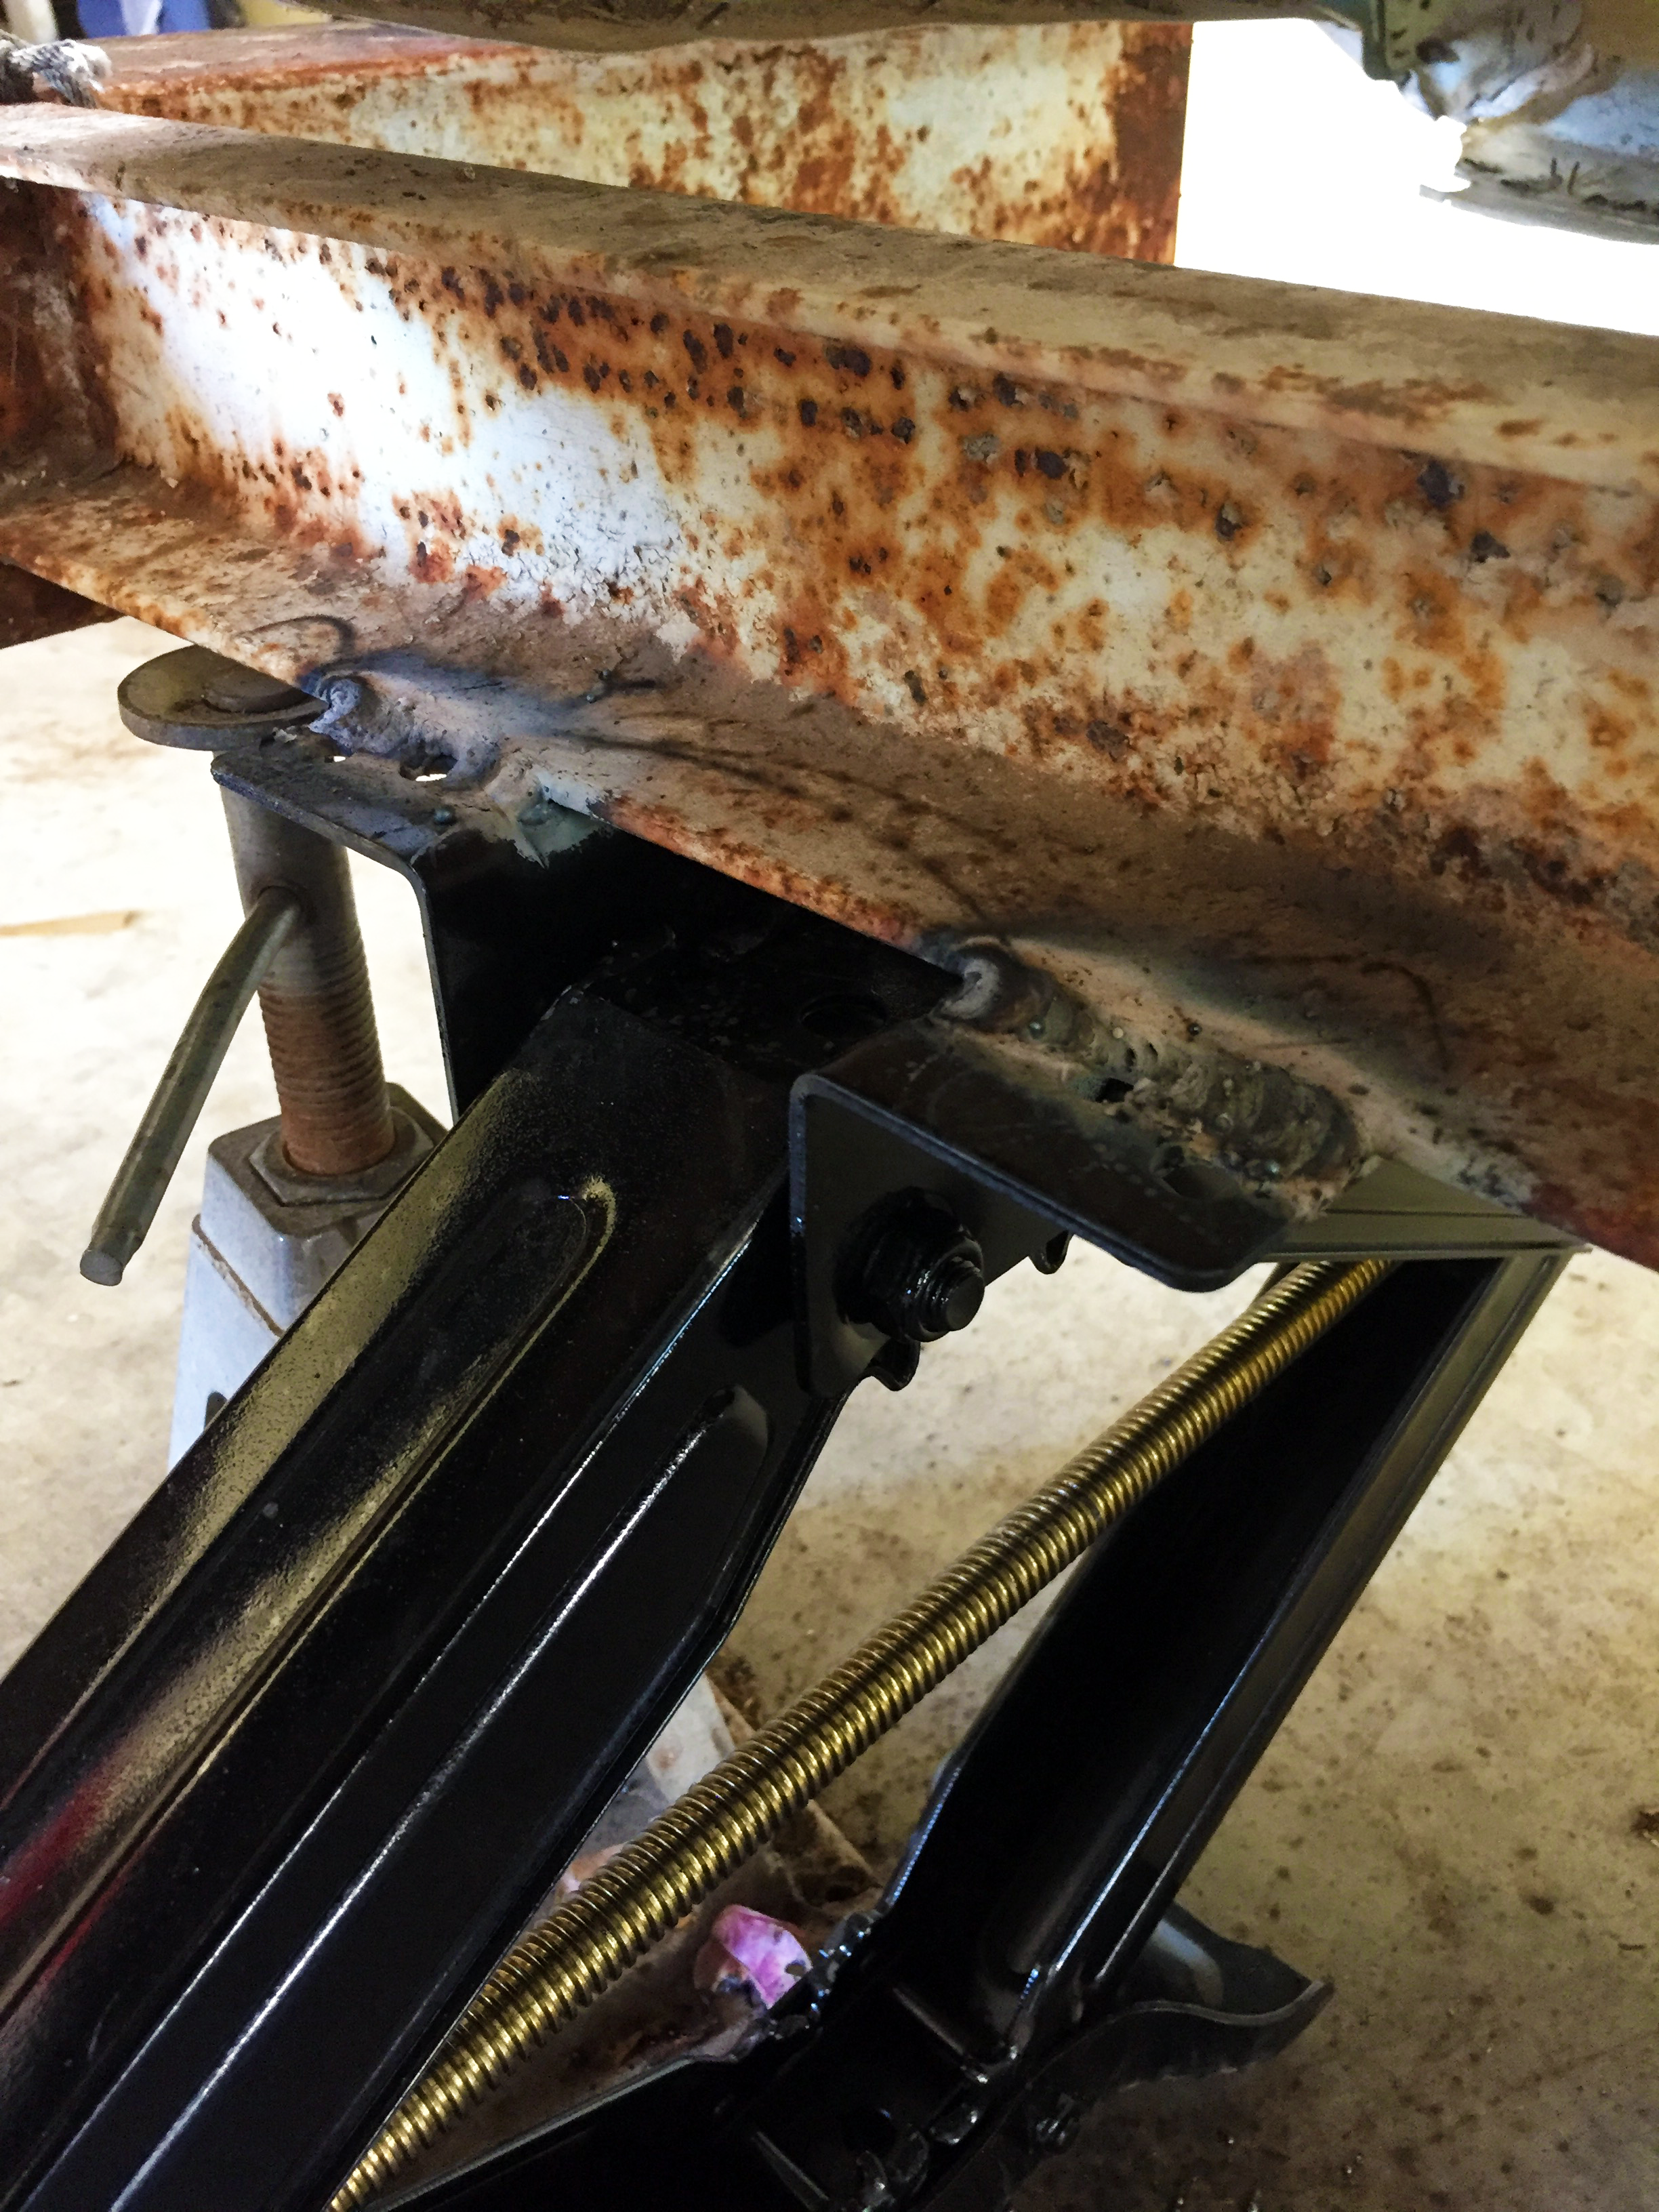
Enter Diego, our über-handyman friend who can literally do anything and everything. He fixed the broken trailer weld in no time flat and permanently attached four stabilizer jacks – one to the underside of each corner-ish area of the trailer – so we won't have to haul them around and mess with them each time we go road trippin'. With the quick turn of a drill they just hide up and away for driving and down just as fast for quick stabilizing once we get to our destination. While we haven't had them long and can't yet speak to their longevity, these leveling scissor jacks seem amazing and have been super easy to use so far. We highly recommend.
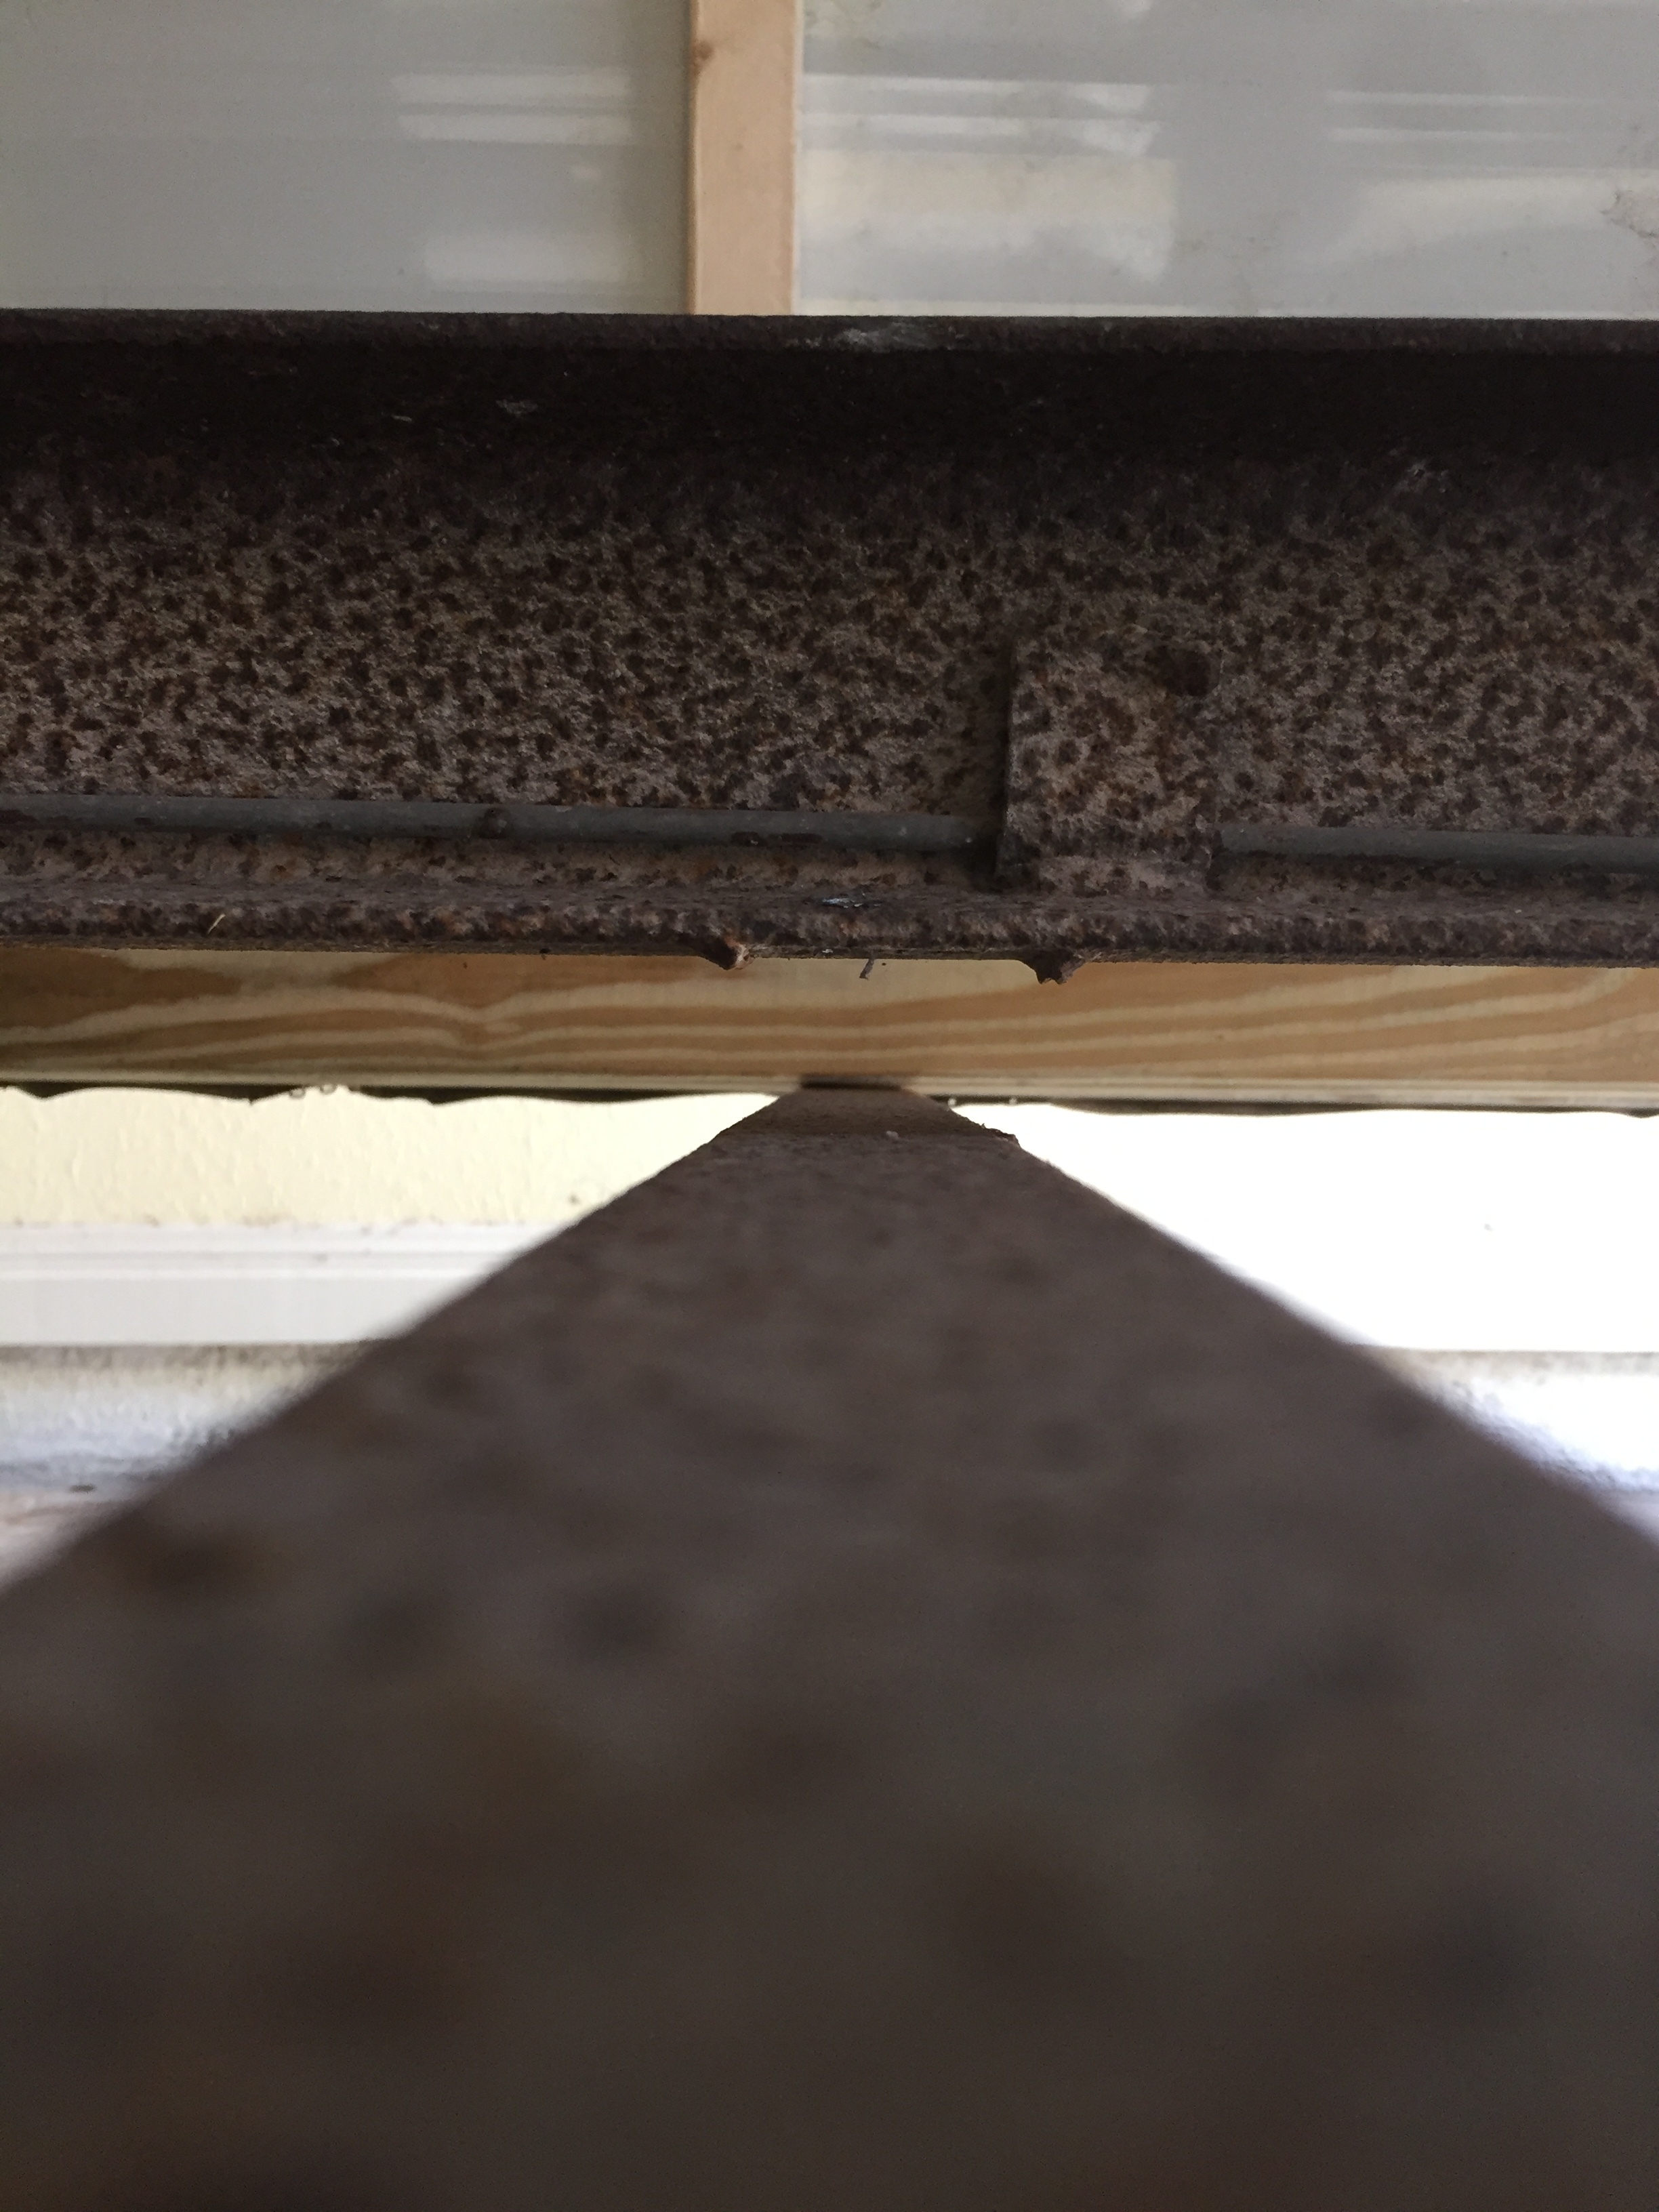
In addition to all the welding, Nick and I also replaced the wooden floor joists (something we could and did handle ourselves) that run the length of the trailer since they were really loose due to rusty bolts. Quick history lesson: Since the camper was built in 1969 (which just so happens to be the year lumber sizes became standardized by the U.S. Department of Commerce, meaning 2x4s actually became 1.5x3.5" through a combination of drying, machining and the new size regulations), the then-standard wood lumber currently used in our camper are different dimensions than today's lumber, adding another layer of "what the...?" to this ever-evolving puzzle. Yay, puzzles!
When replacing the perimeter joists weeks ago we tried to rip the new 2x4s down to 3" (instead of their standard 3.5") so they'd be a straight 1:1 replacement, but we failed miserably and ultimately made the decision that since we were redoing it all anyway we'd just go with today's standard sizes for ease and consistency moving forward. This meant that we'd also need to add some extra to the top of the metal joists to keep the floor the same level across the trailer floor. (I know there are all sorts of numbers flying around everywhere, but just trust our math and know that we're all good.) What this boils down to for our situation is the need to add an extra 3/4" on top of the metal joists, and that we'd ultimately be losing 3/4" of head room in the camper. Not sure I've ever been so relieved for us to be a stumpy 5'5" and 5'6".
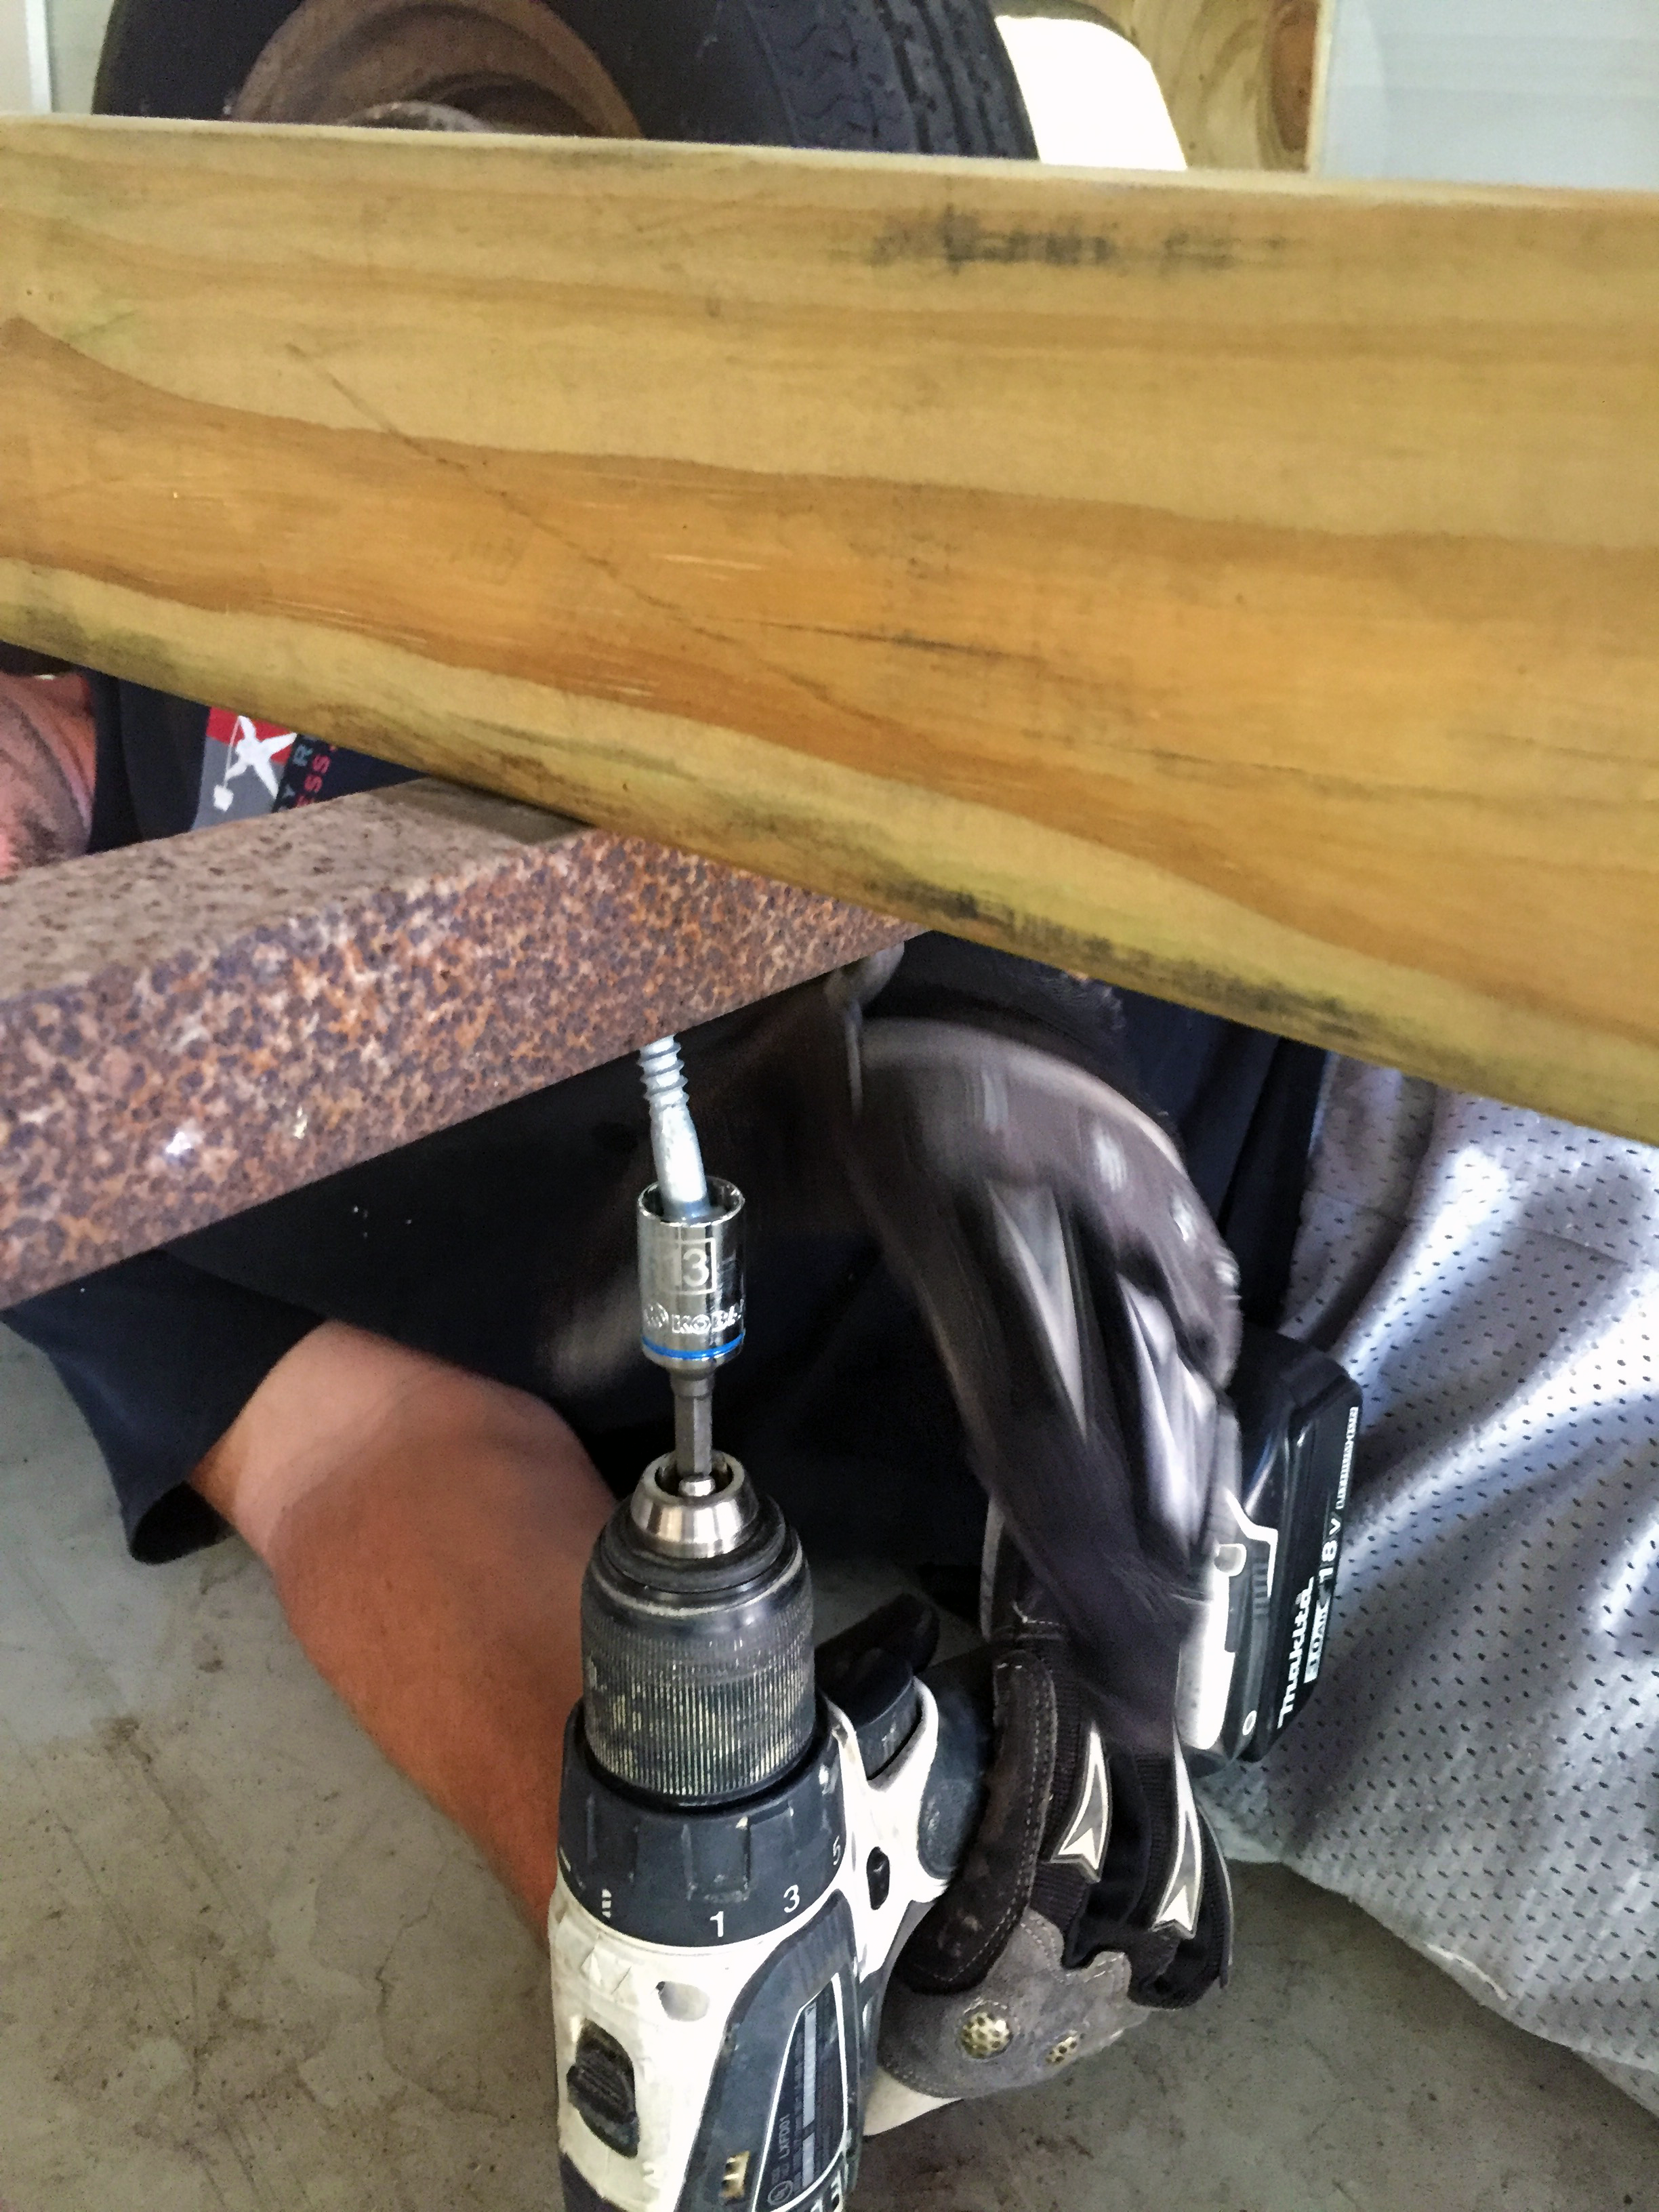
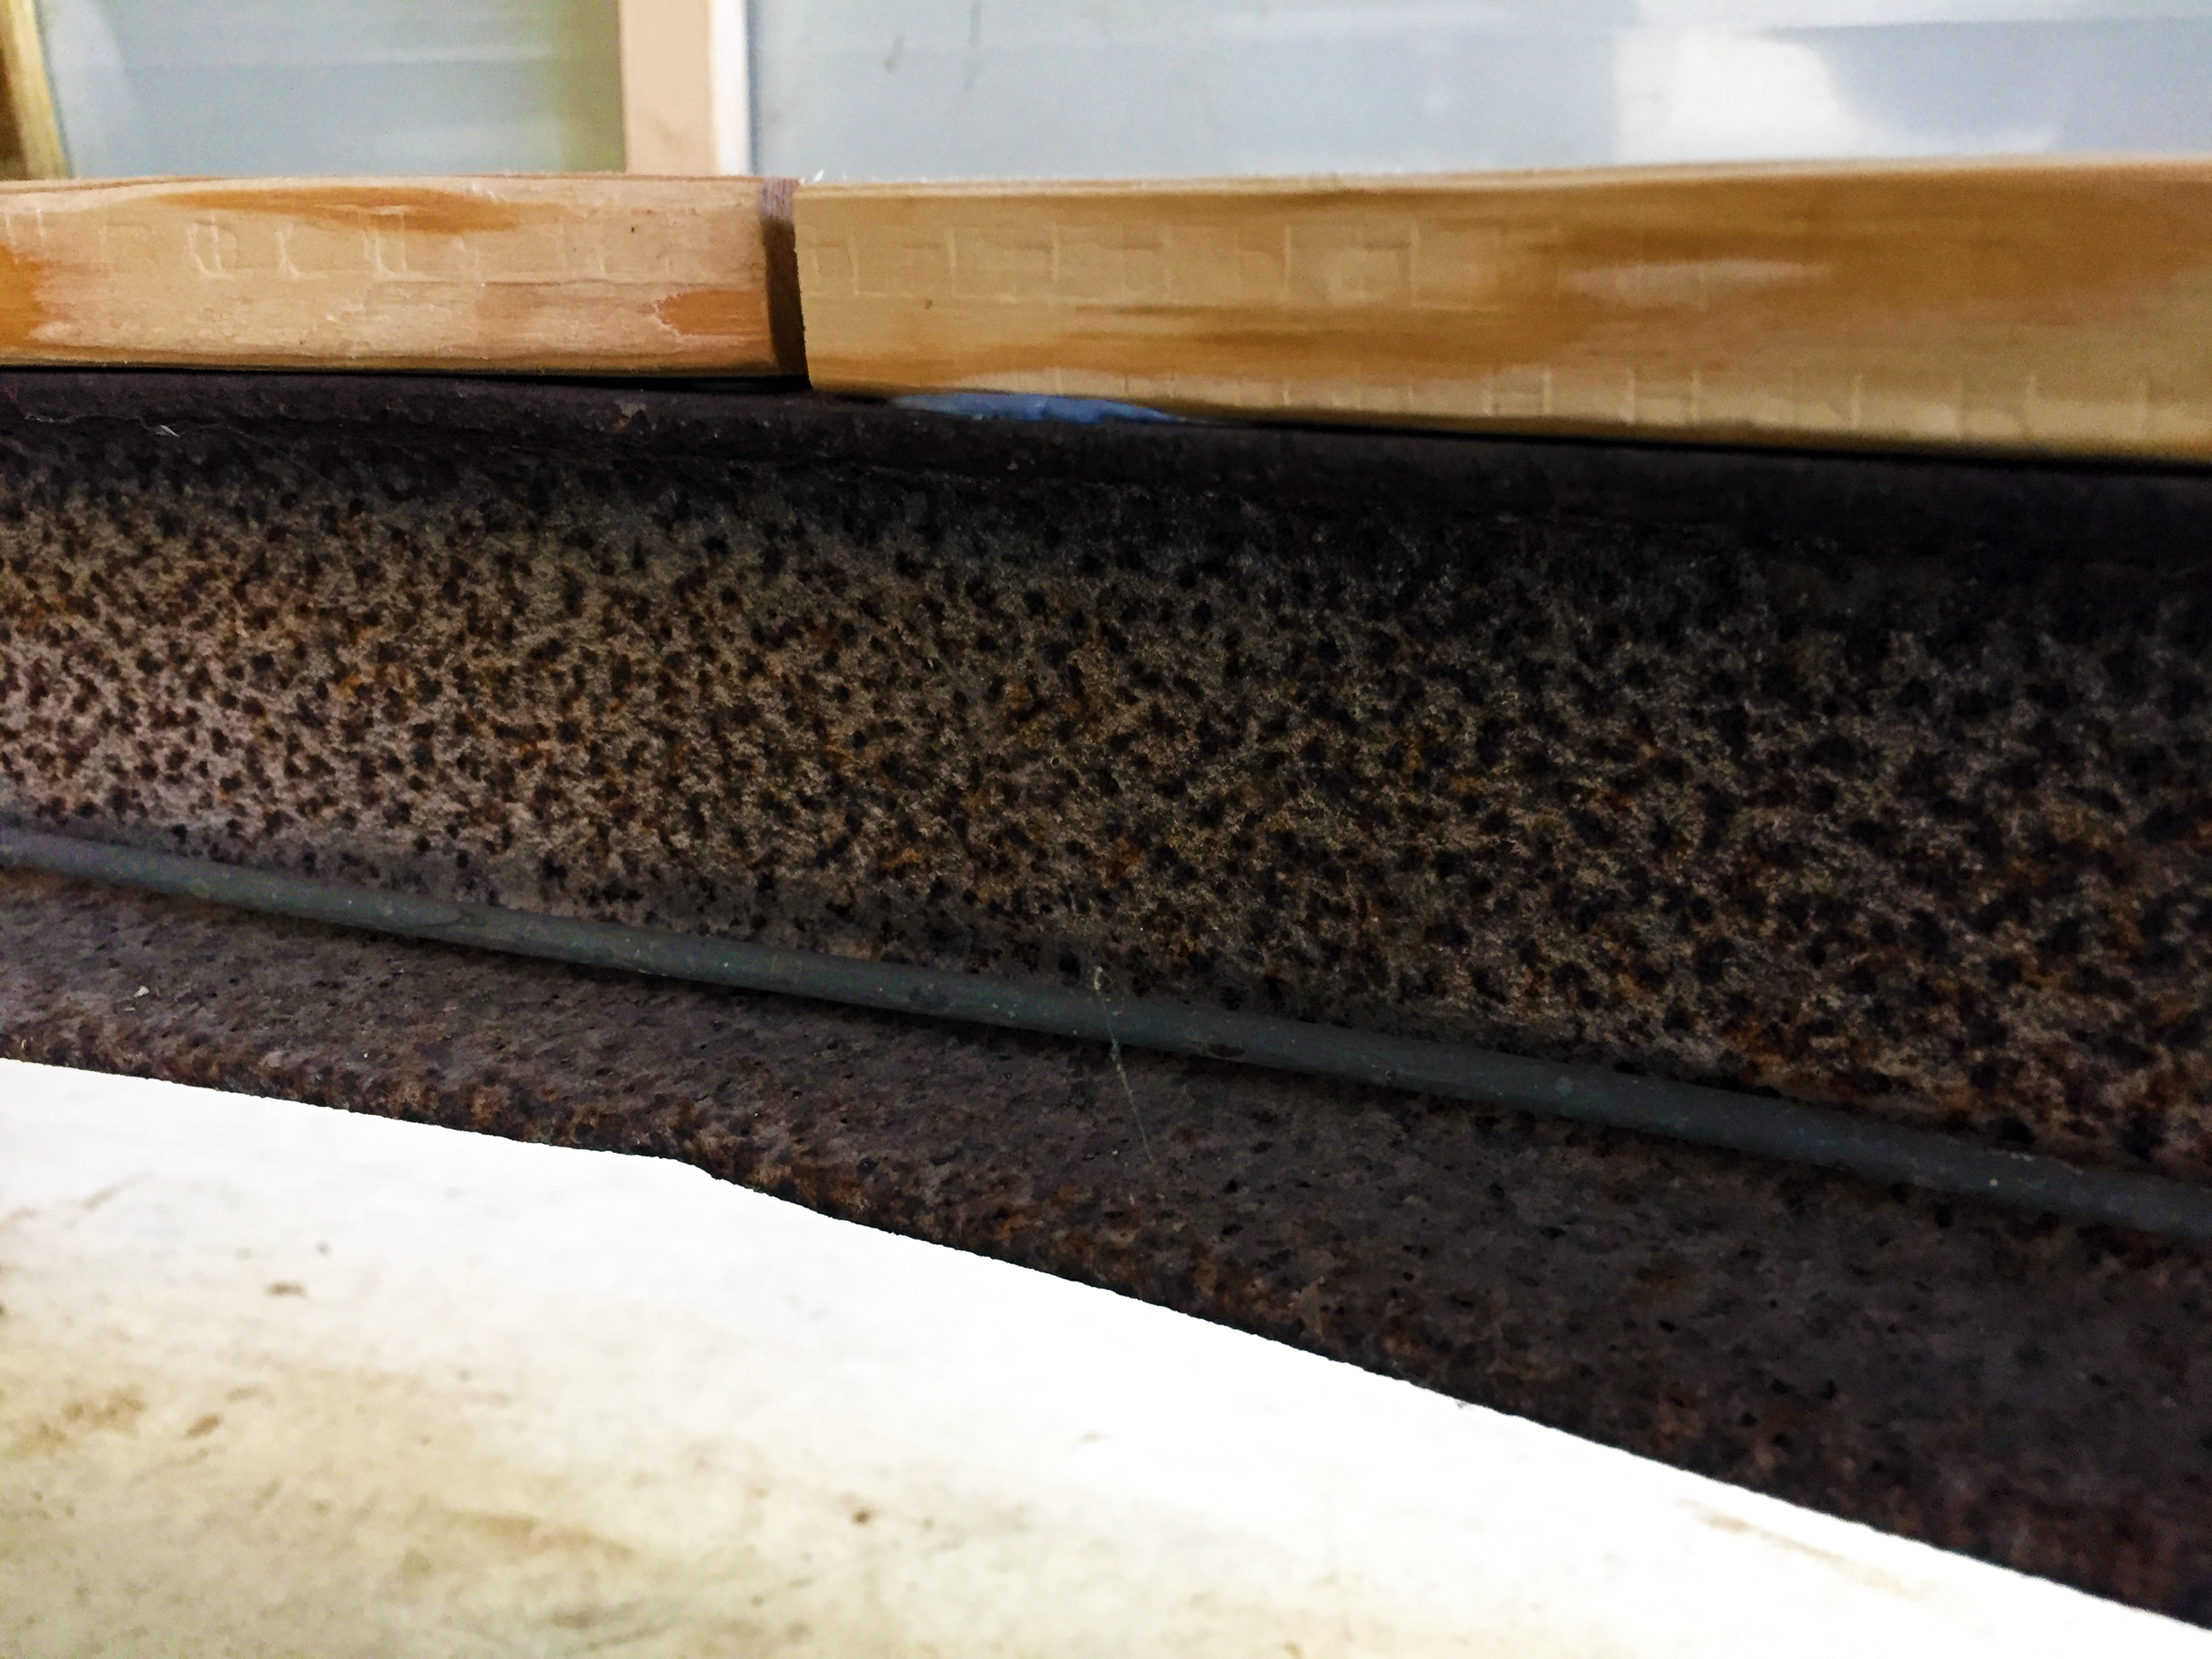
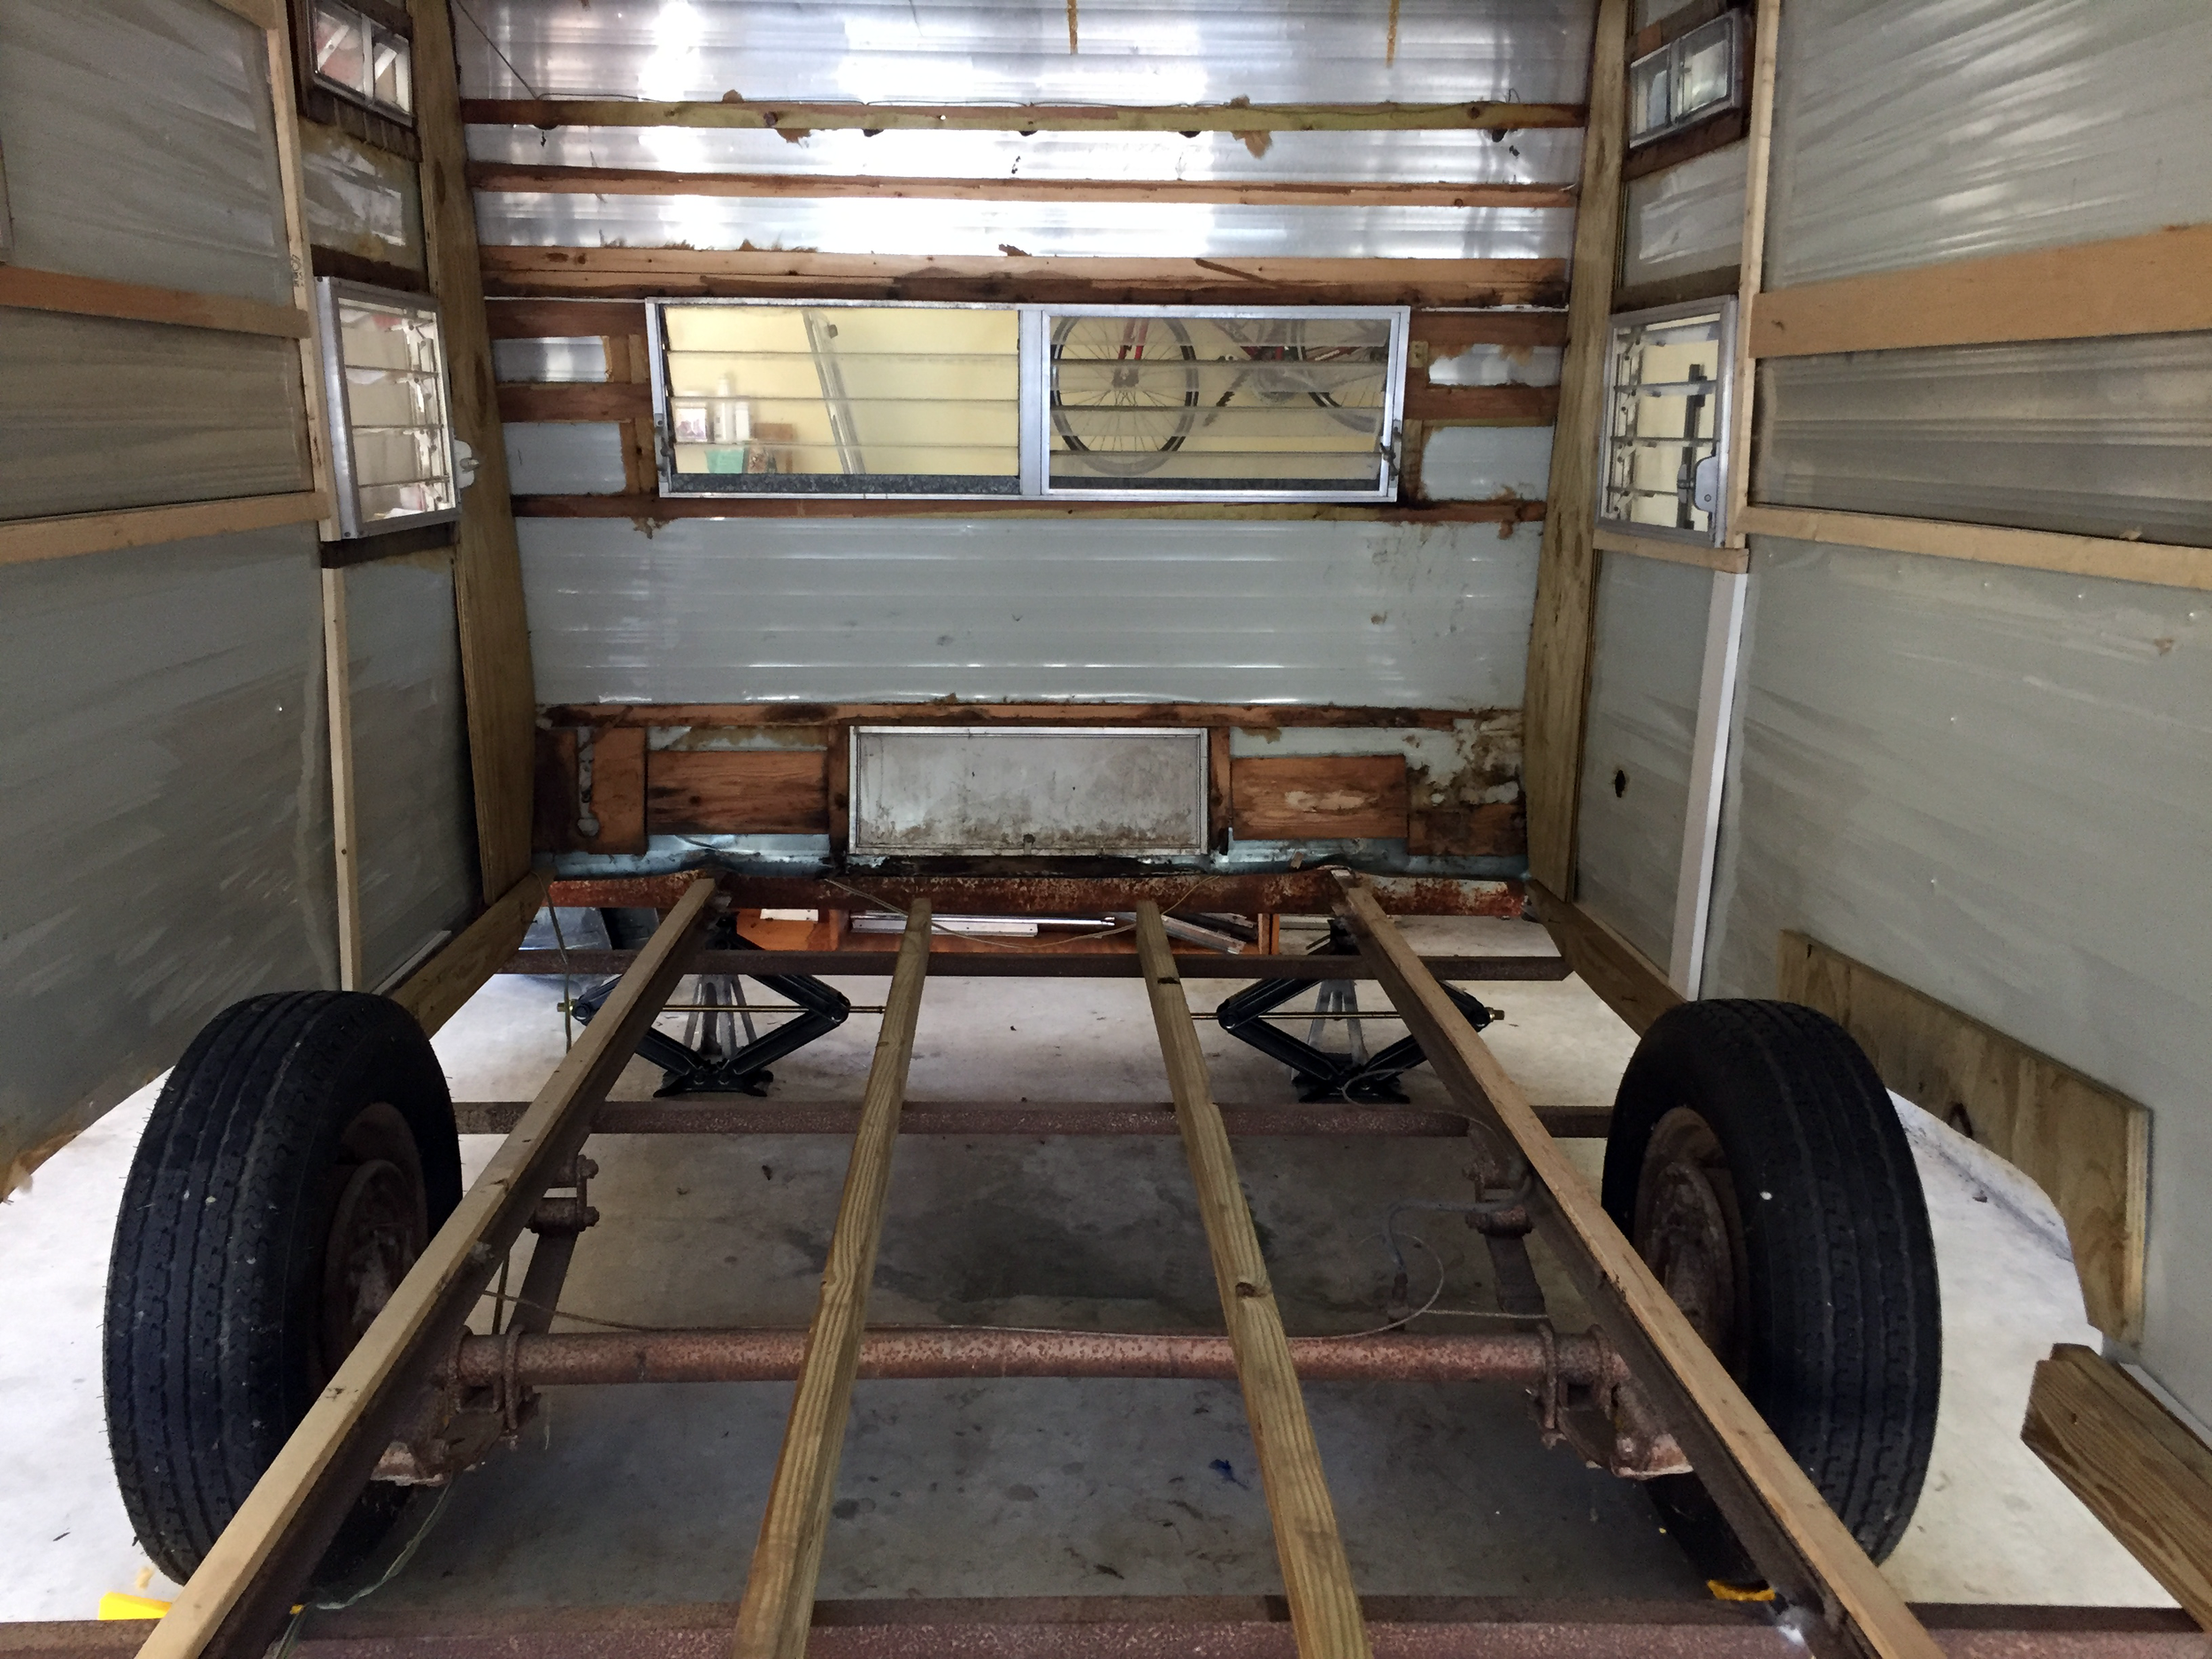
We used 3" galvanized lag screws to secure our new 2x4x12 floor joists to the angle iron cross pieces from the underside, and used Liquid Nails to glue 1x2 furring strips onto the metal joists to raise the joists the 3/4" needed to keep the floor level. To make sure the glue held, we clamped the pieces overnight in preparation to lay the subfloor the next day.
Waterproofing + installing the subfloor
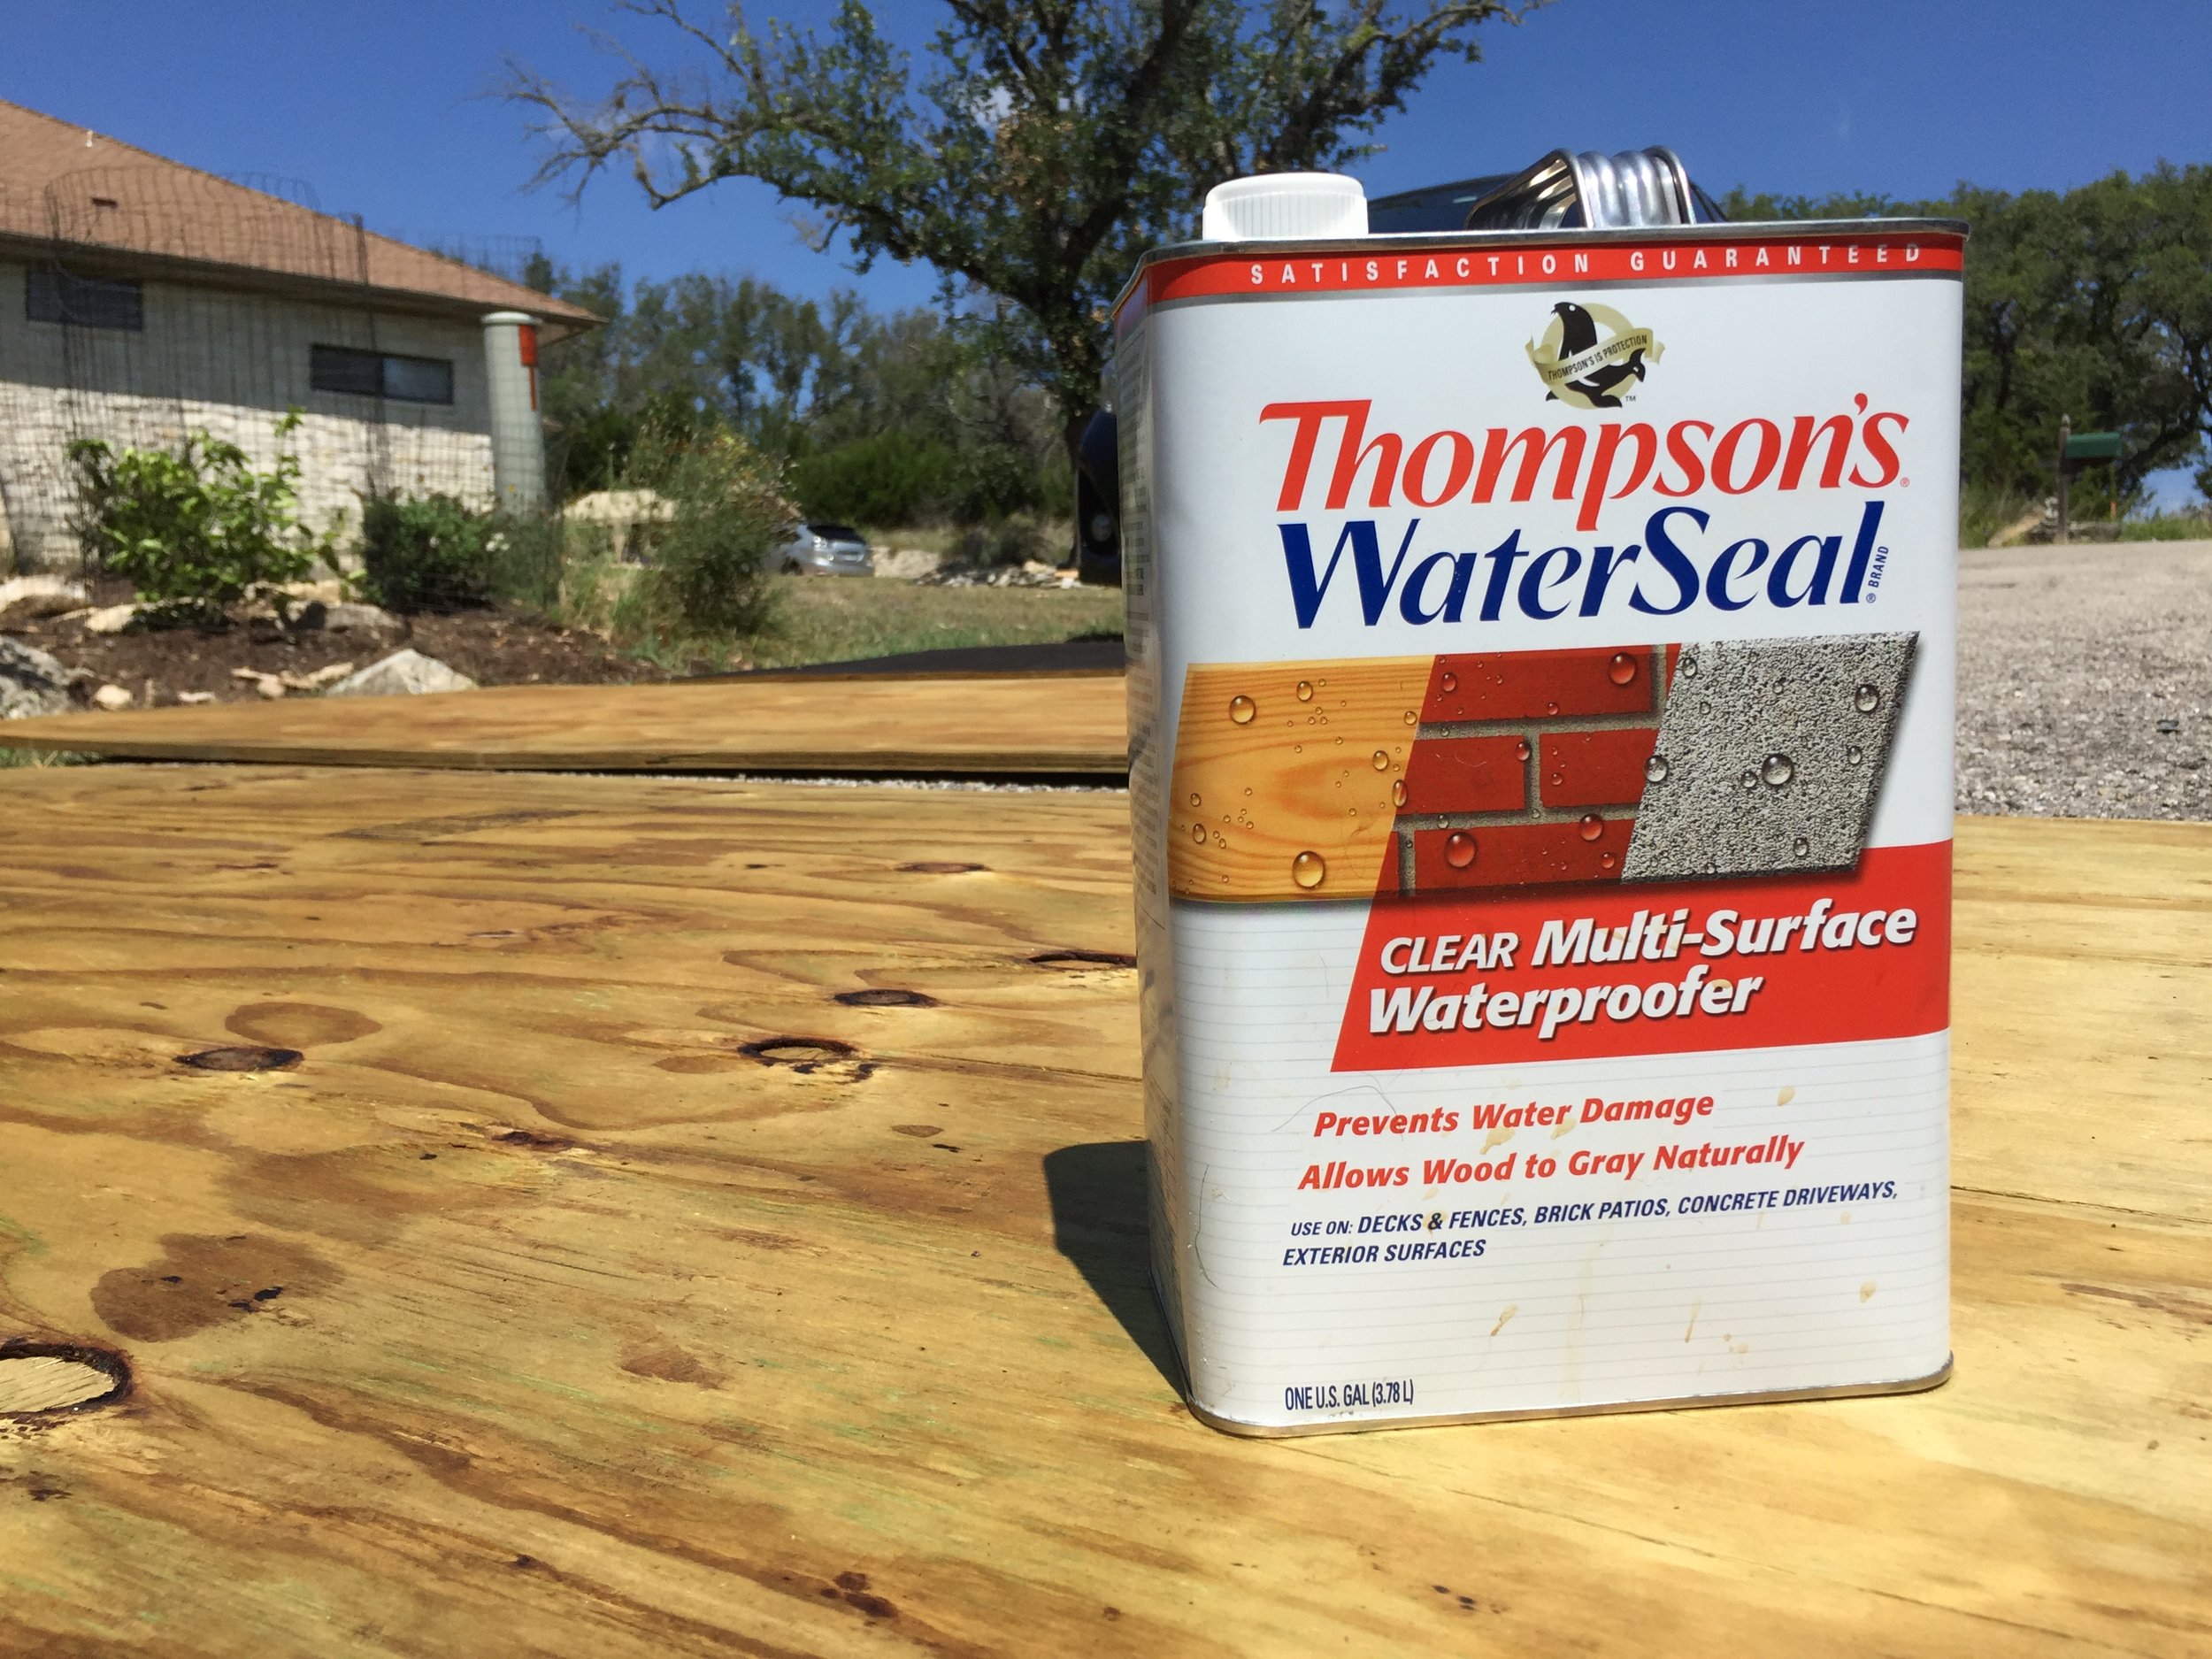
Though it was probably unnecessary, we opted to waterproof the underside of the plywood floor to help extend the life of the camper. Believe me, no one likes a soggy floor. After we tried a spray product made for automotive undercarriages (that was expensive for the quantity we needed and that we ran through almost immediately on only one board), we decided a roll on product like Thompson's WaterSeal (which we've never used before, but if it's good enough for the decks at Niagara Falls it's good enough for our little nugget) might be best for such a large surface area. Not that we plan on doing donuts with this thing through puddles, but a little extra water protection won't hurt.
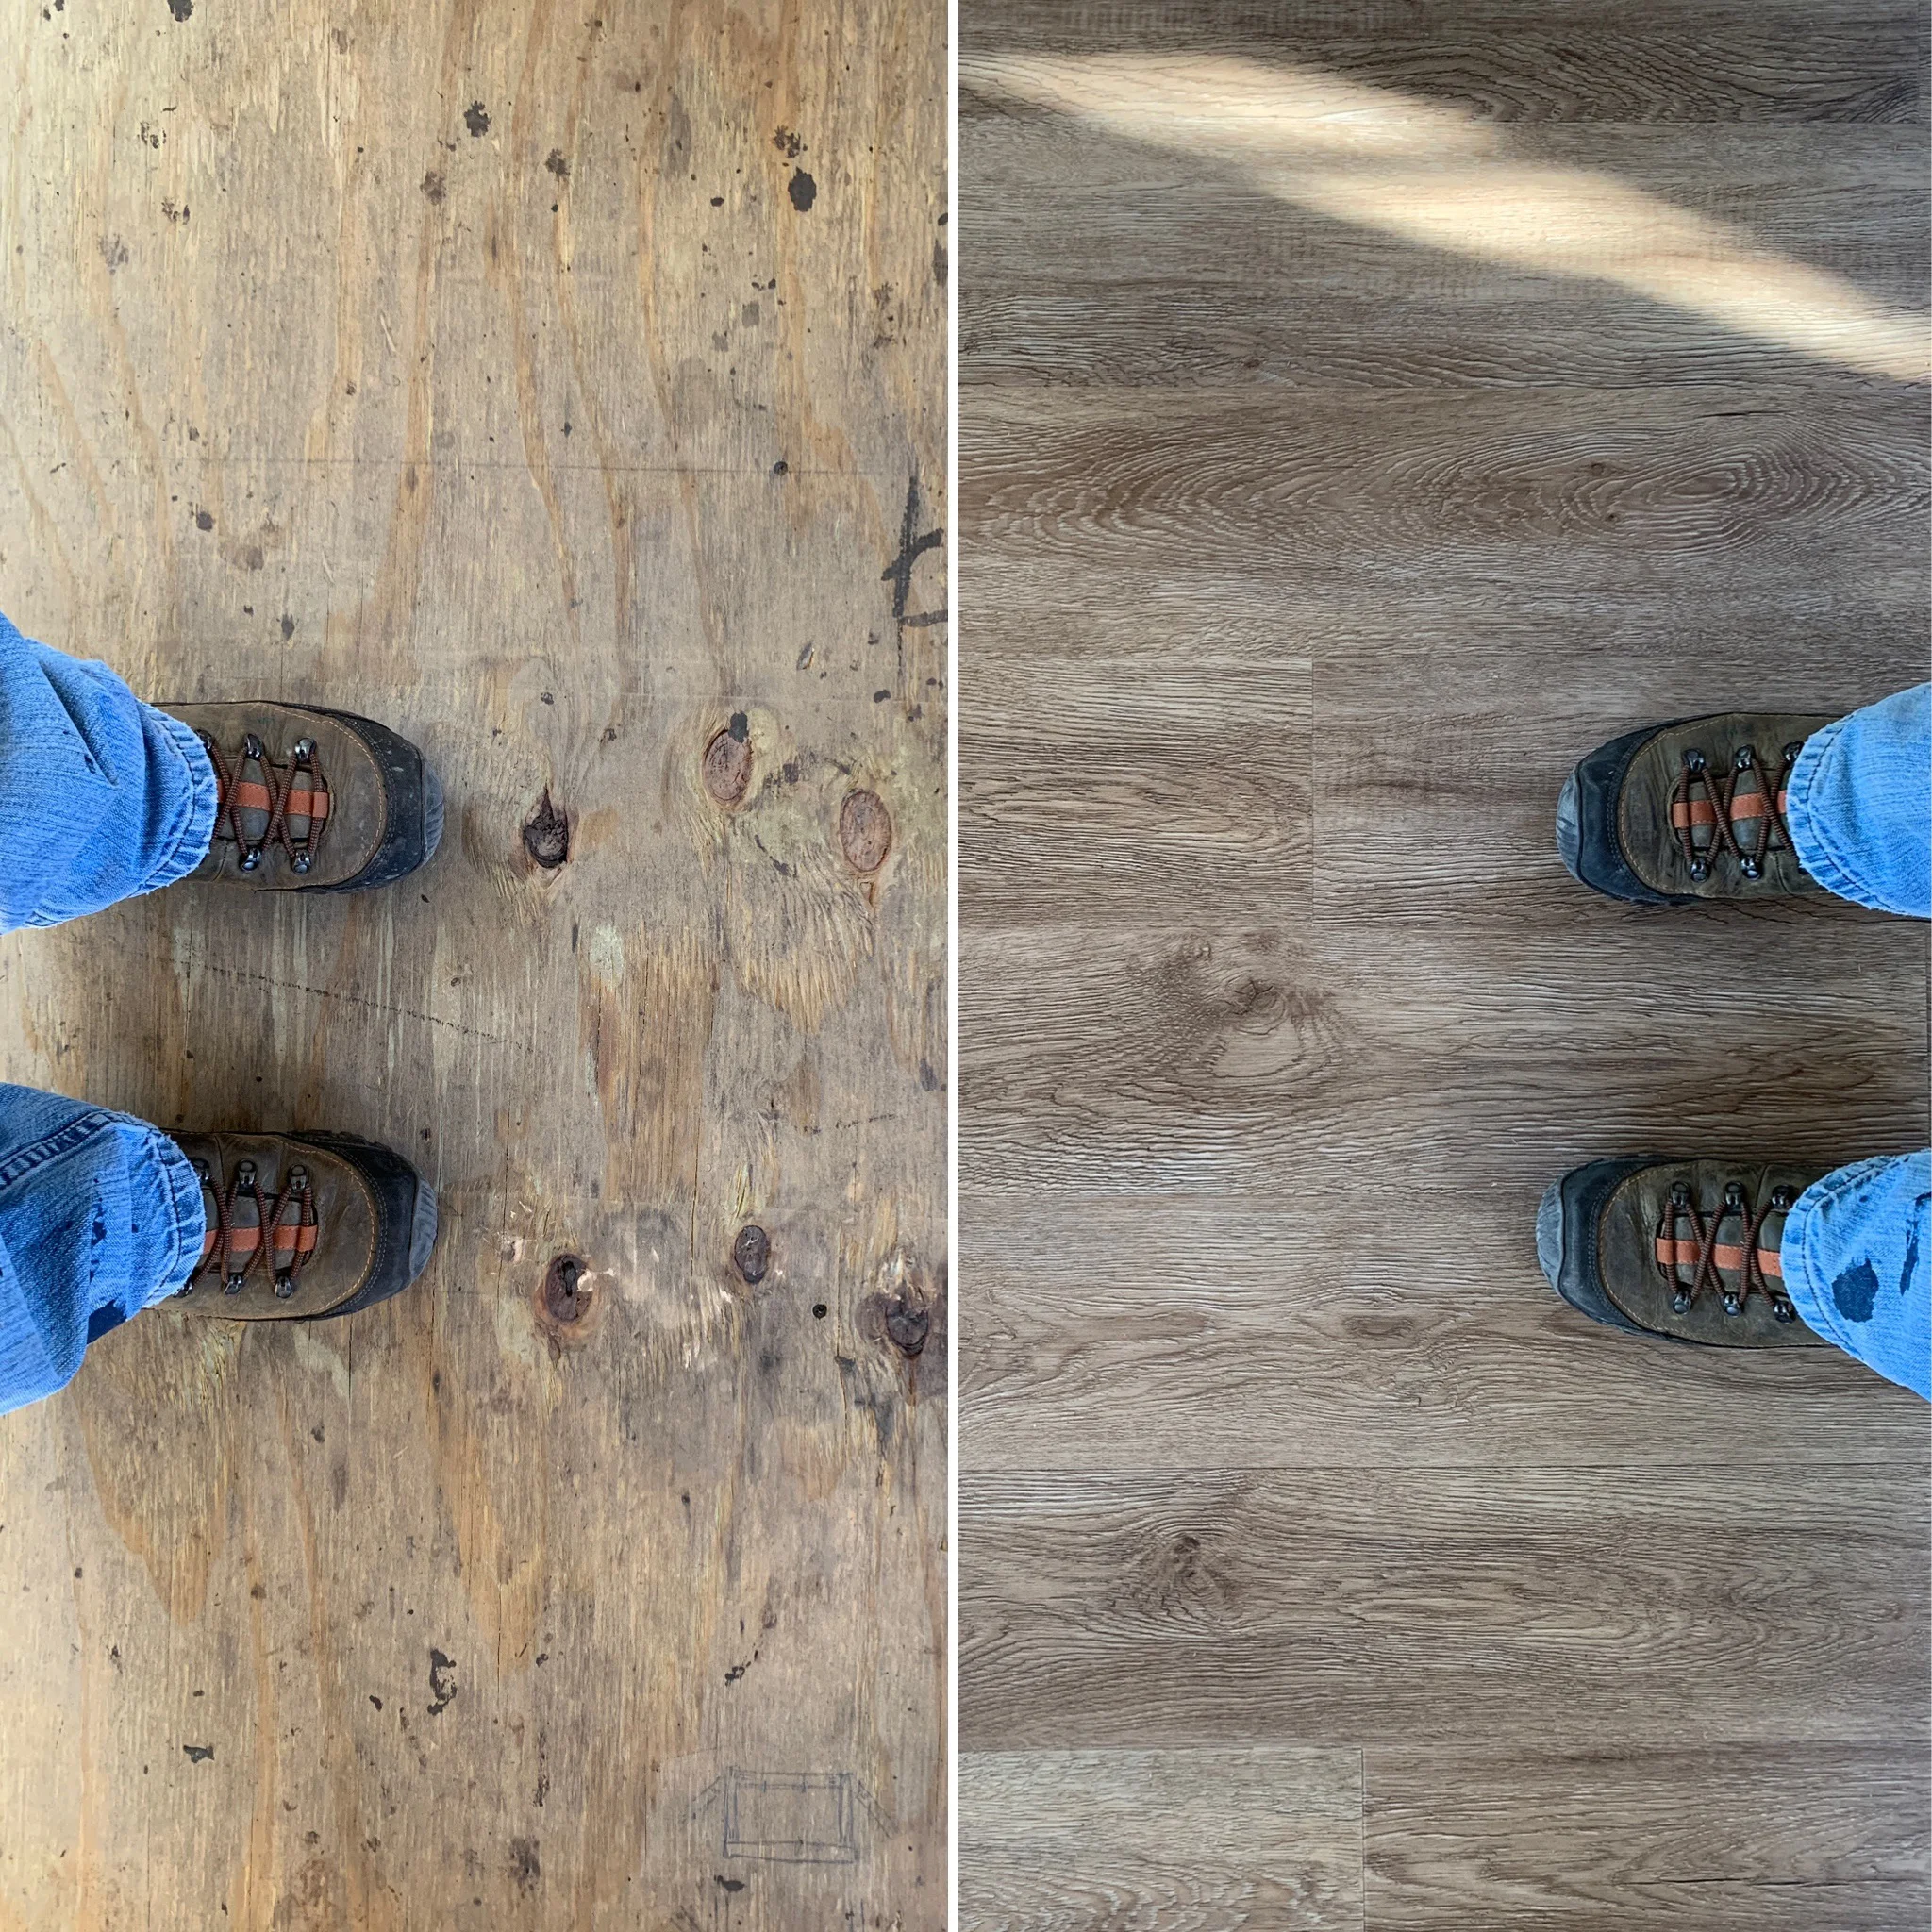
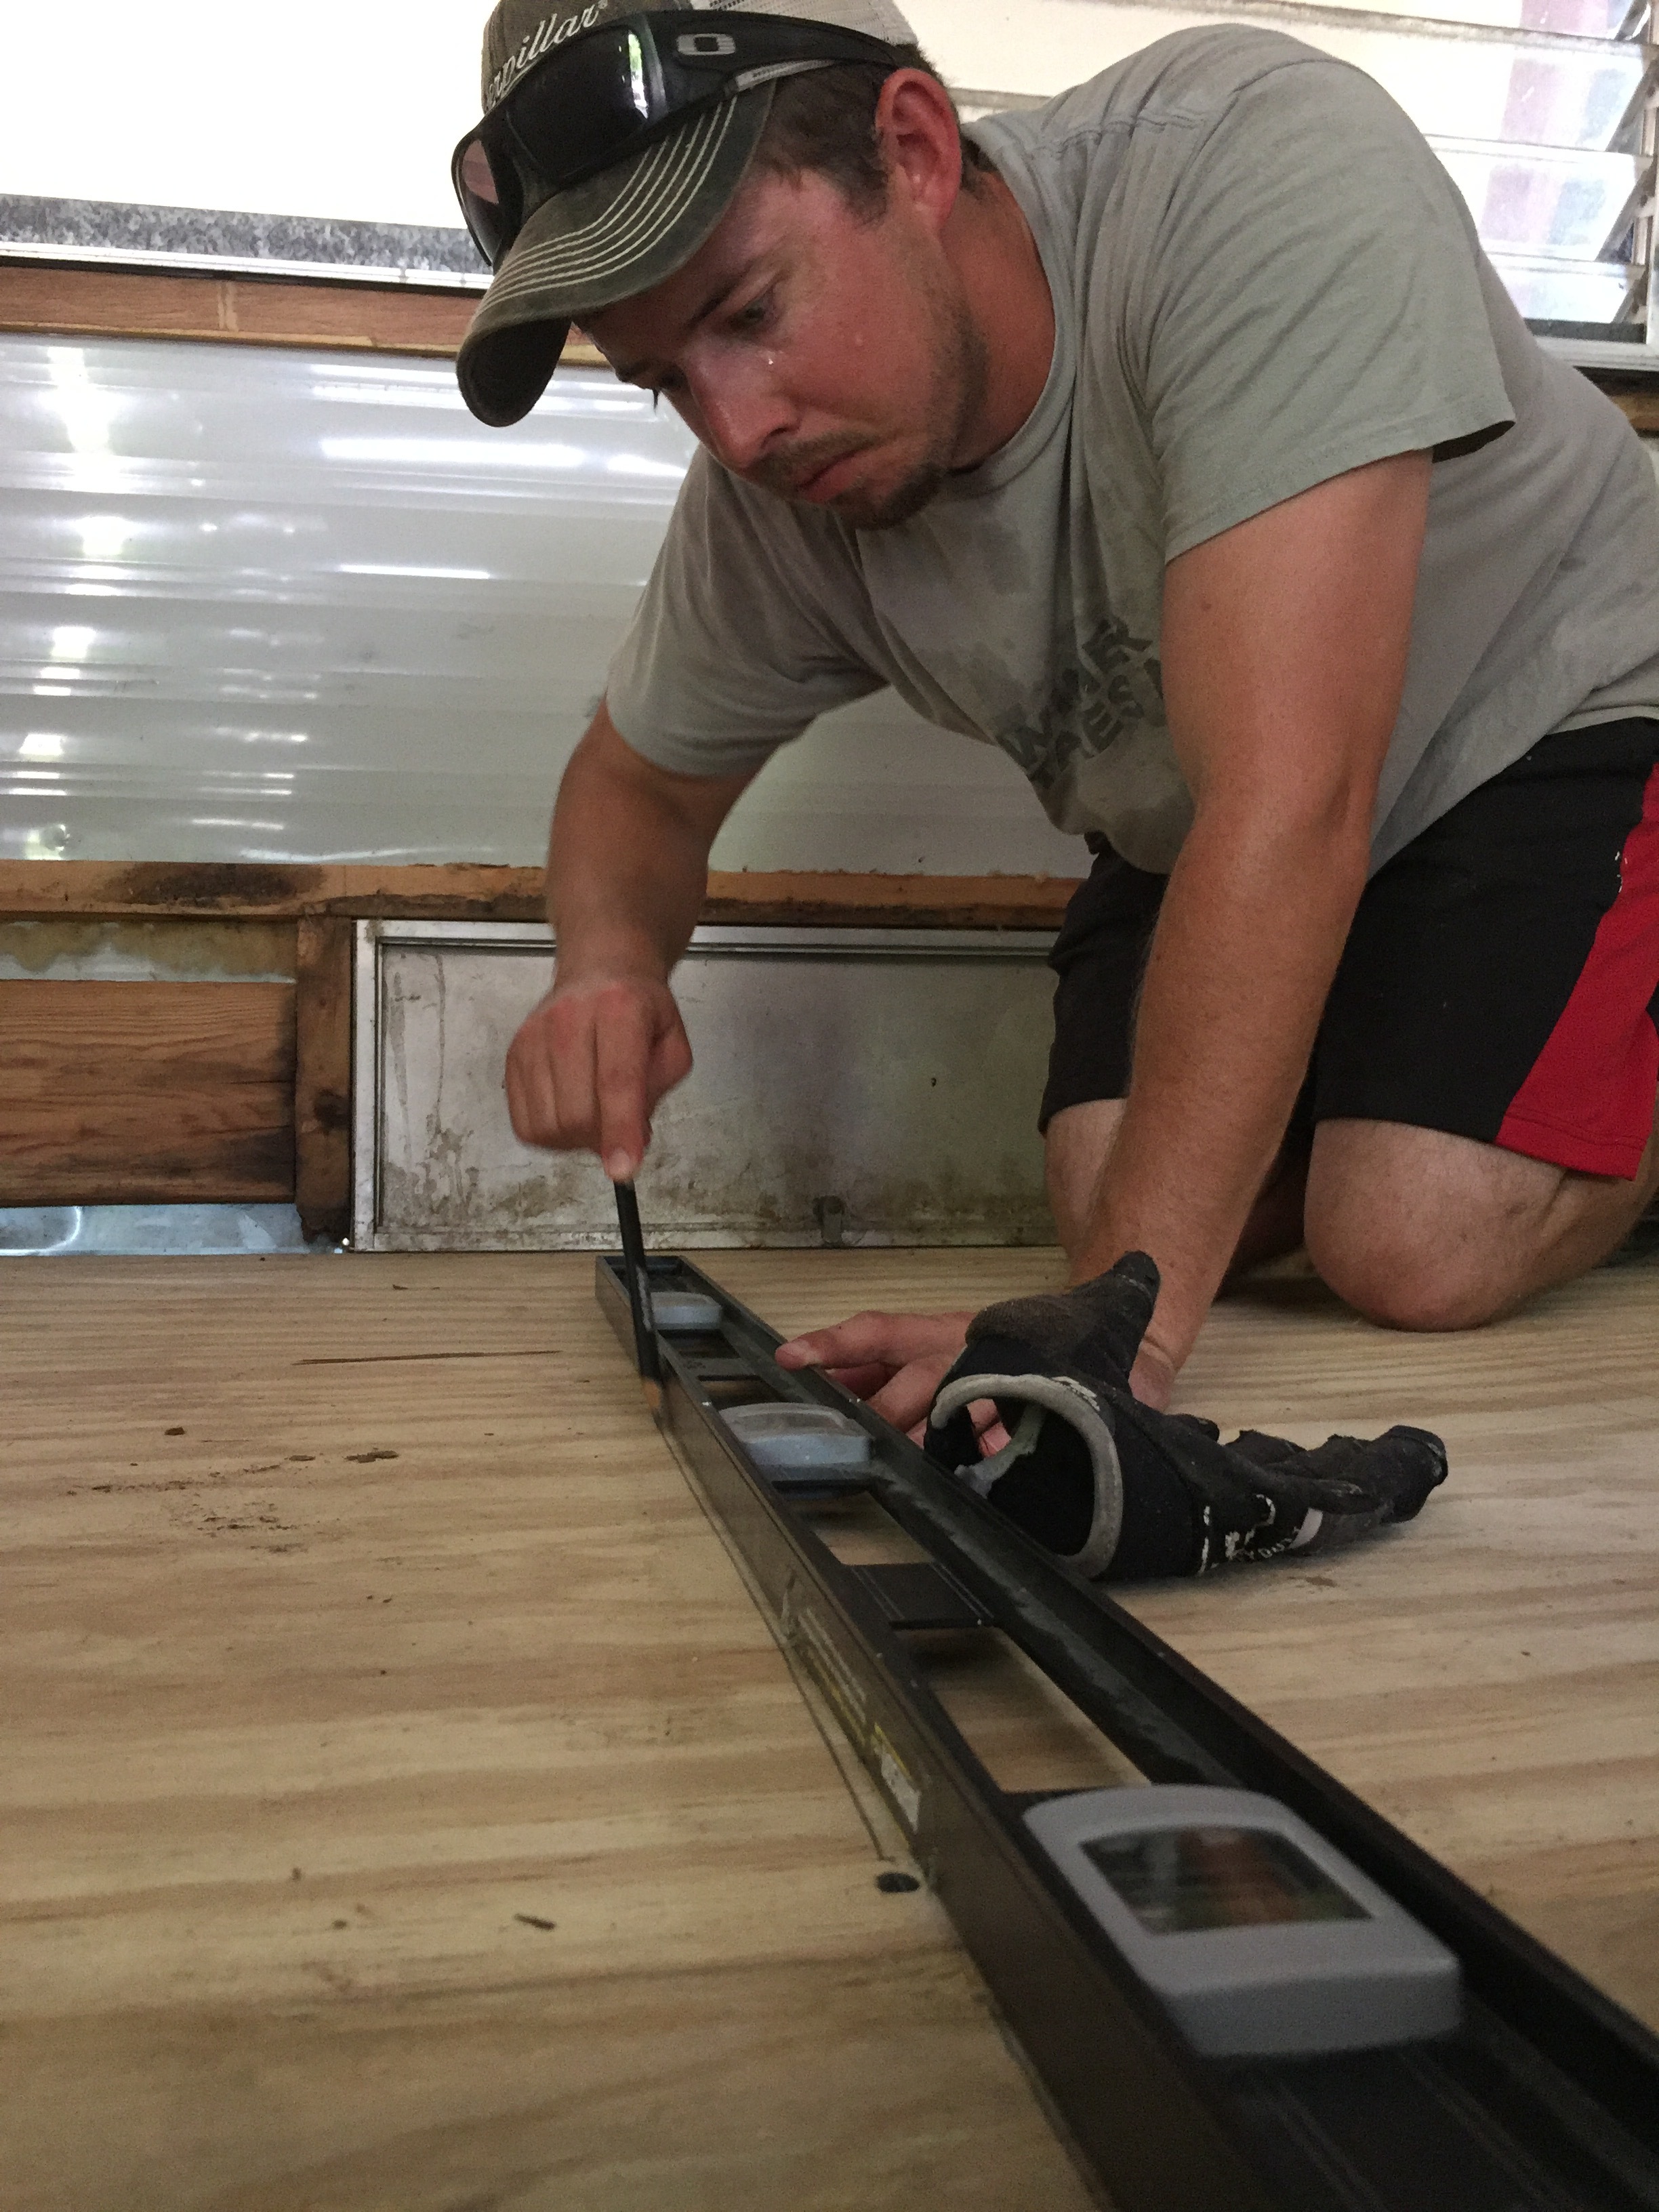
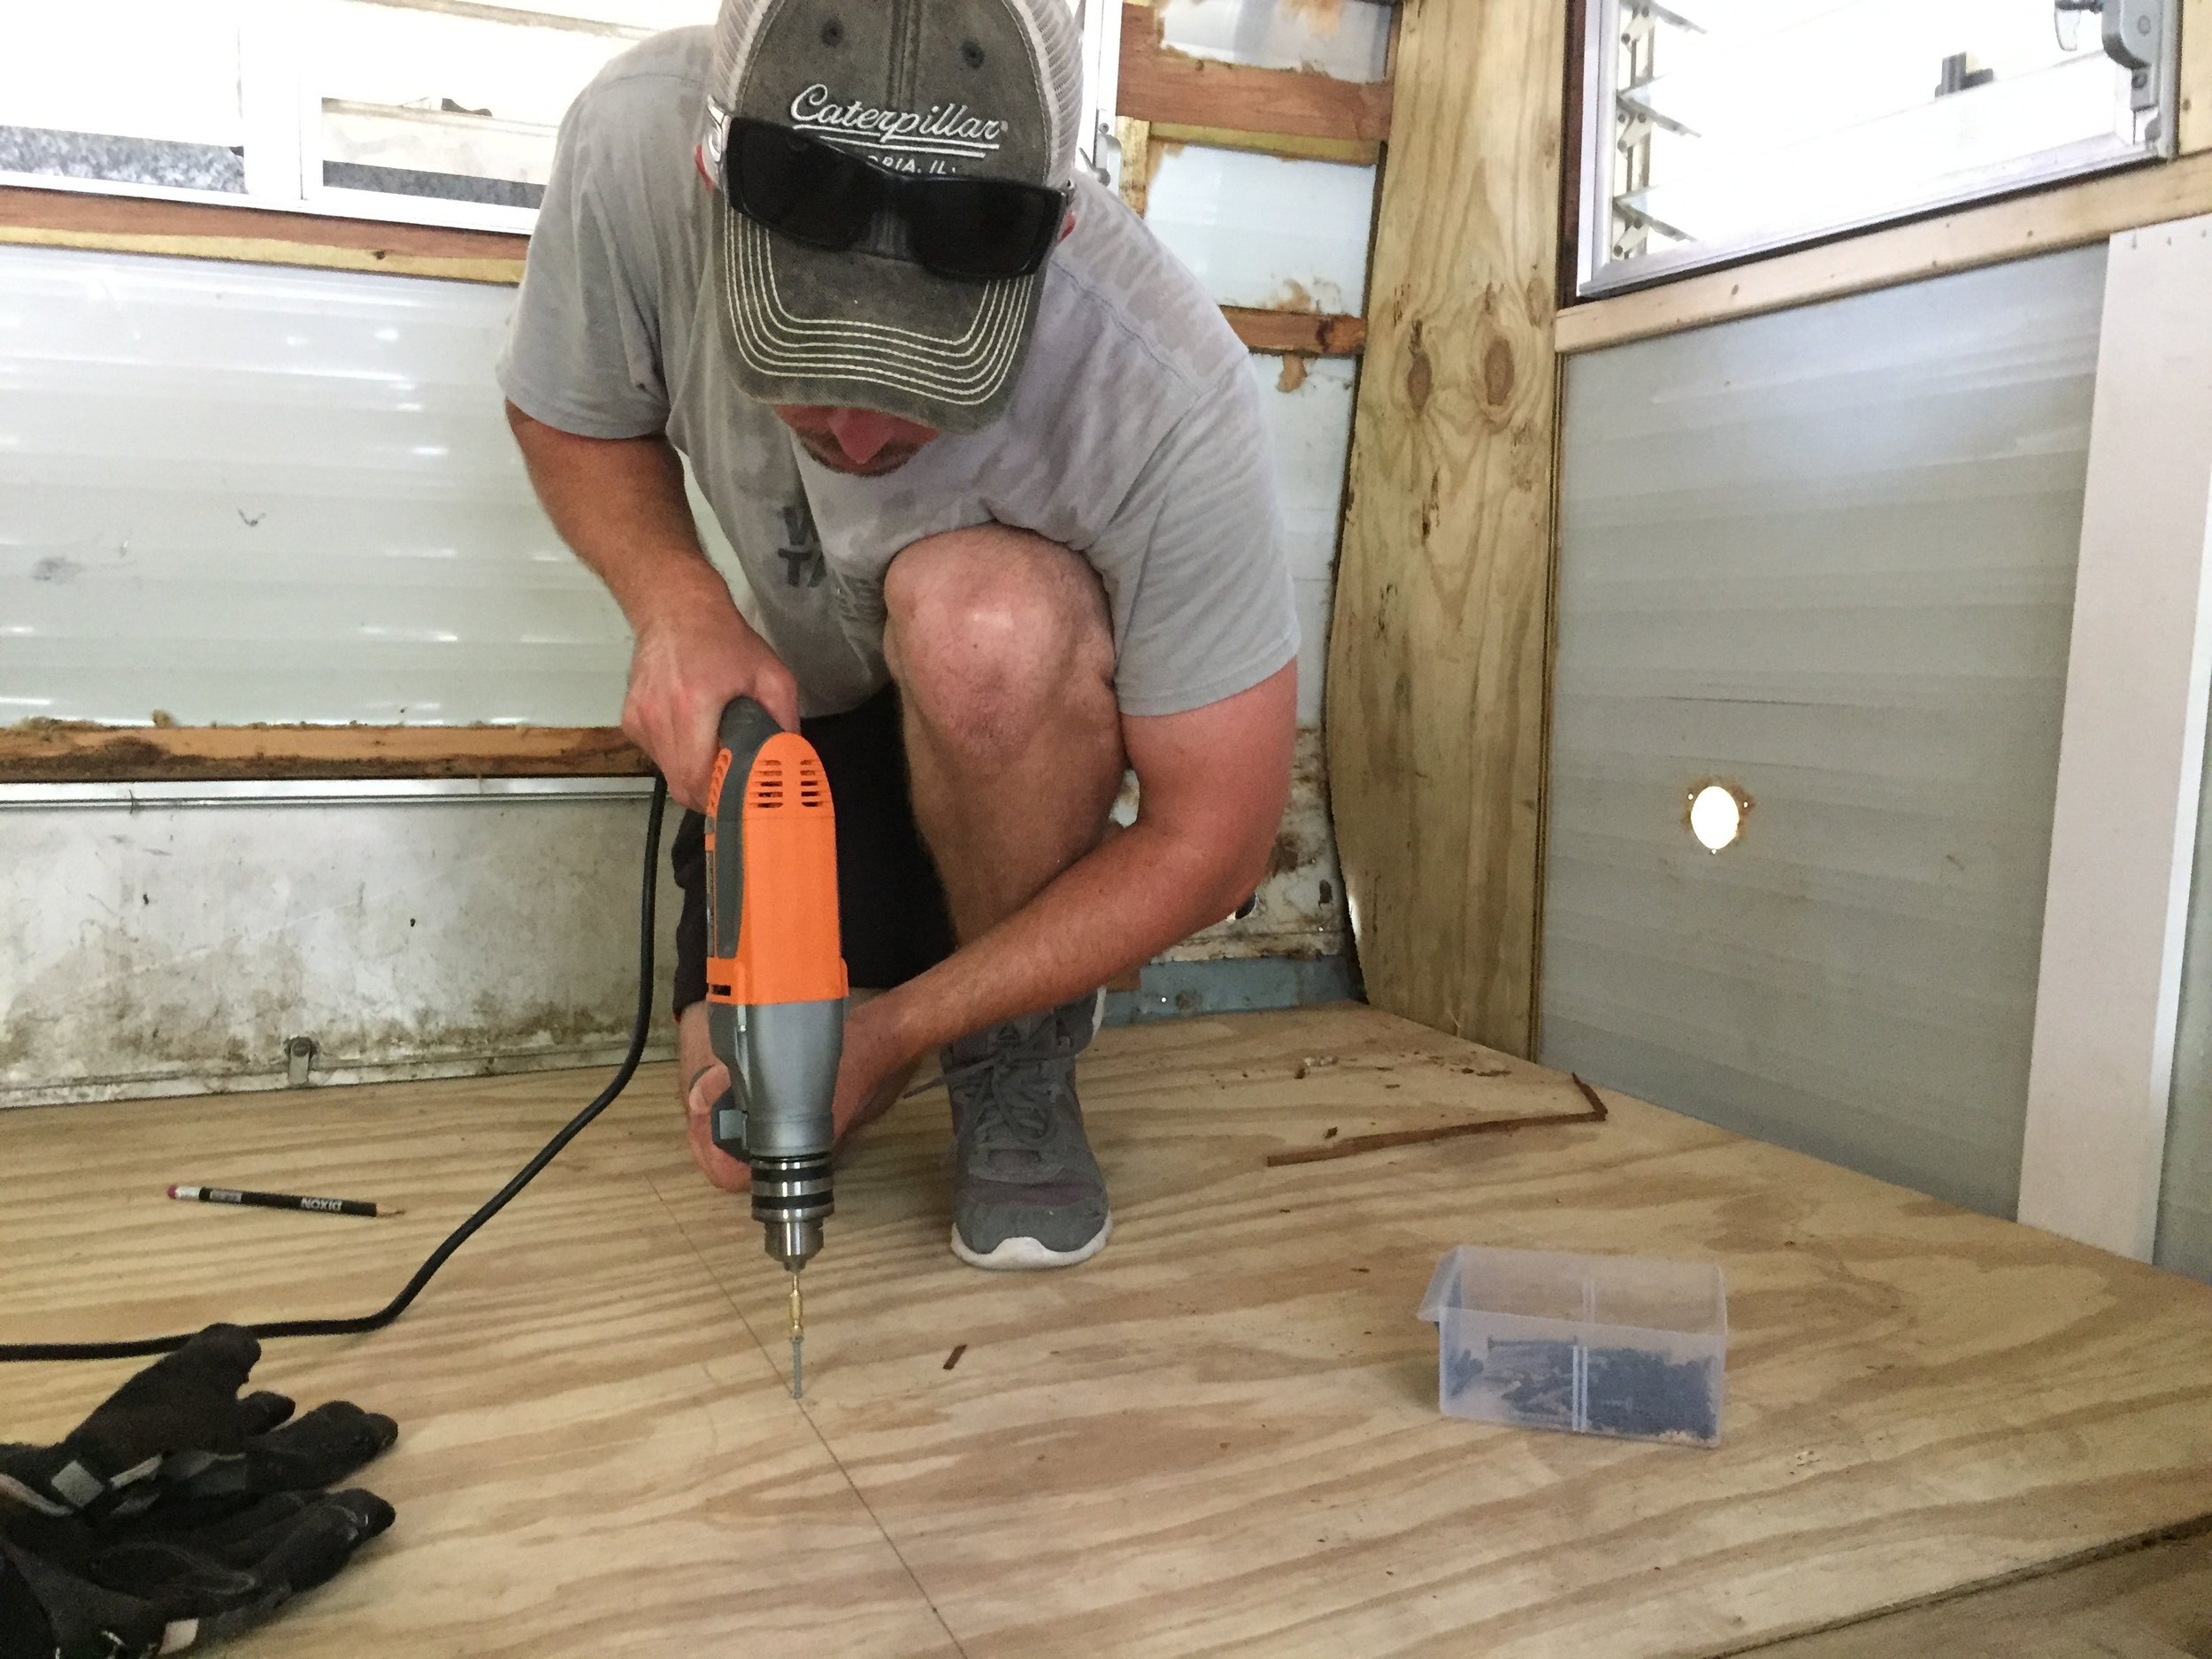
After our waterproofed floor pieces dried (super quickly in the hot Texas sun), we got to installing a total of roughly three and a quarter plywood sheets. We chose 3/4" thick 4x8' sheets of plywood and after marking out our joists, secured them using miscellaneous deck screws we had on hand from previous projects. (Functional hoarding for the win!) It's about this time that the second of our two awesome Makita drills kicked it in less than 24 hours (so sad and now added to our to-do list), forcing us to use our super heavy duty RIGID hammer drill. Talk about overkill (we could've driven those dainty-by-comparison deck screws all the way through the floor and 2x4 if we wanted to) but we were not going to pack it up for the day and finish the weekend in the middle of this project because of a little drill issue. Cue the comical photos making this look like a much tougher project than it actually was.
This subfloor install was just the thing we needed to keep up our camper morale! It may not look like much, but The Cameo feels and sounds so much better. I'm so ready to stop banging and scraping my shins while trying to high step it through floor joists (see the image at the very top of this post of my sexy legs, ouch!) and am equally thrilled she doesn't rattle and squeak something fierce every time we step through the door or sneeze too close to her. Hooray for small – HUGE – wins!!
Next step (we think): Waterproofing... the leaky roof vent, the sloppy caulk that's all. over. the. place. (We don't want to get too far on the inside until we can make sure she's water-tight on the outside.) And research... Lots of research on some stuff you can obviously see we'll want (interior walls + furniture + plumbing, anyone?), and some others we'll keep a surprise for now. We're taking the next weekend off from working on her since I'm turning the big 3-0 on Sunday, but while that's happening (yeesh!) let's see how nice and sturdy she's looking right now!

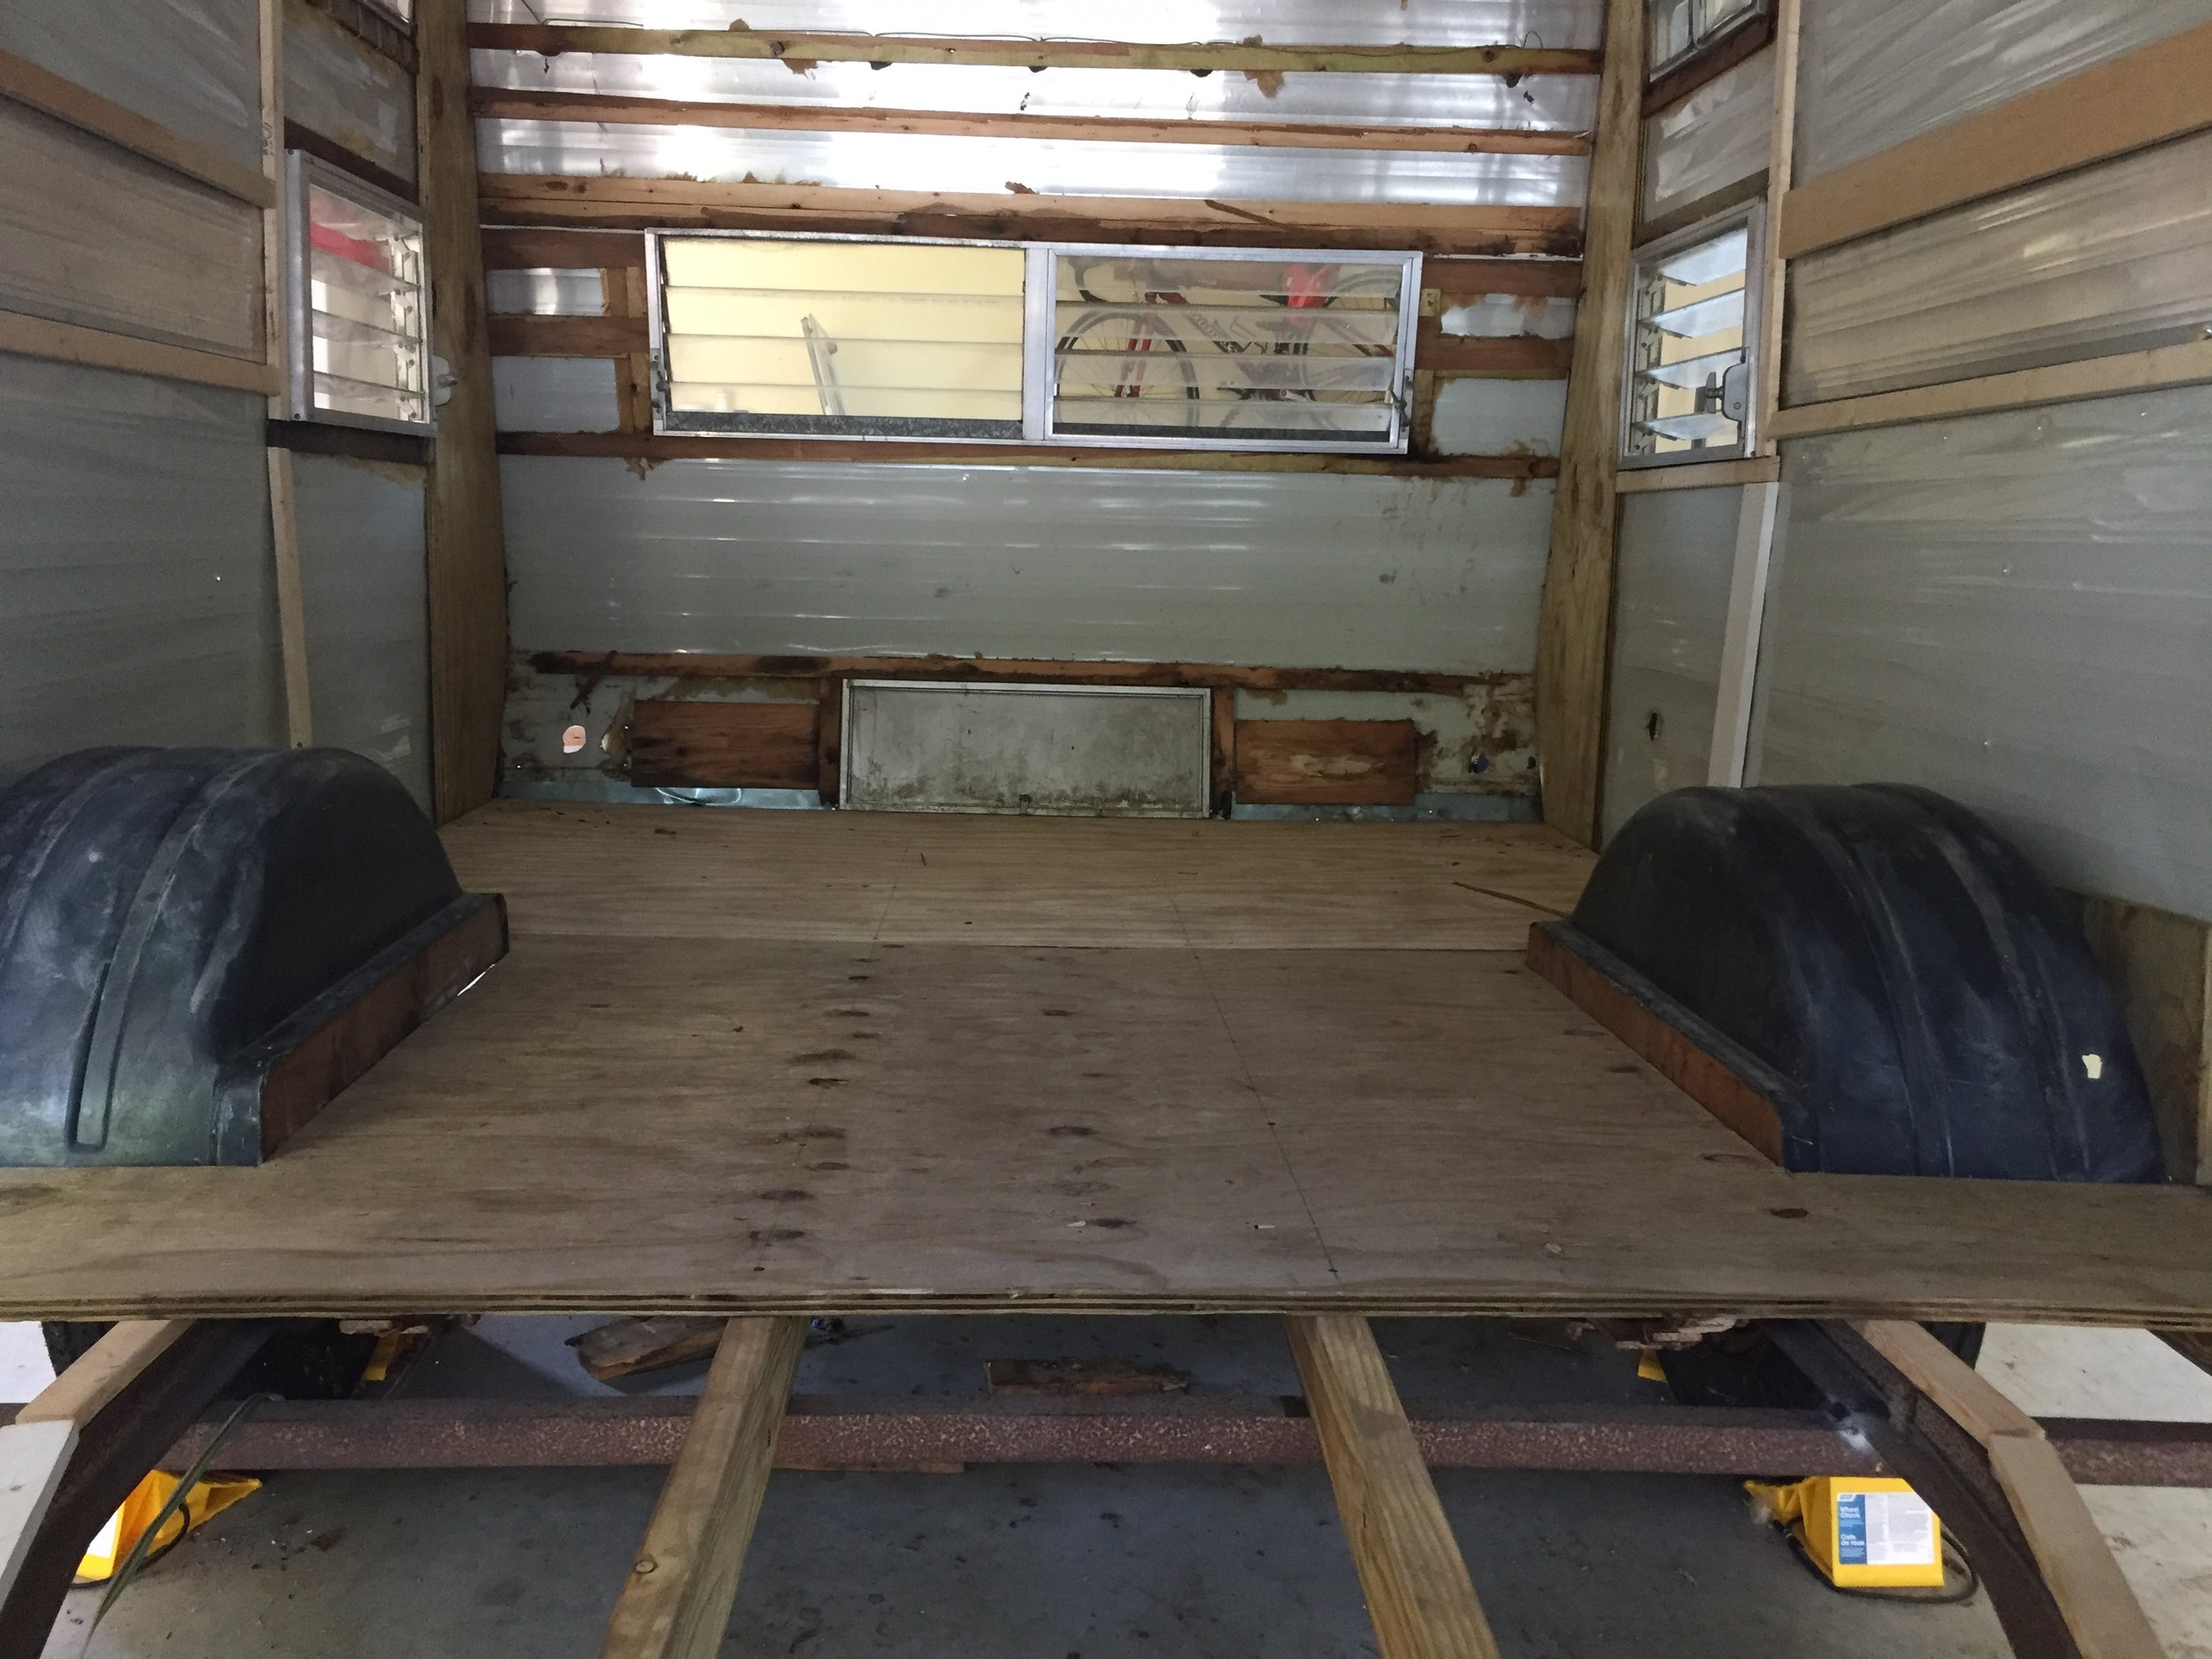
The Cameo (view from the door) after plywood subfloor install.

Back of The Cameo after plywood subfloor install.
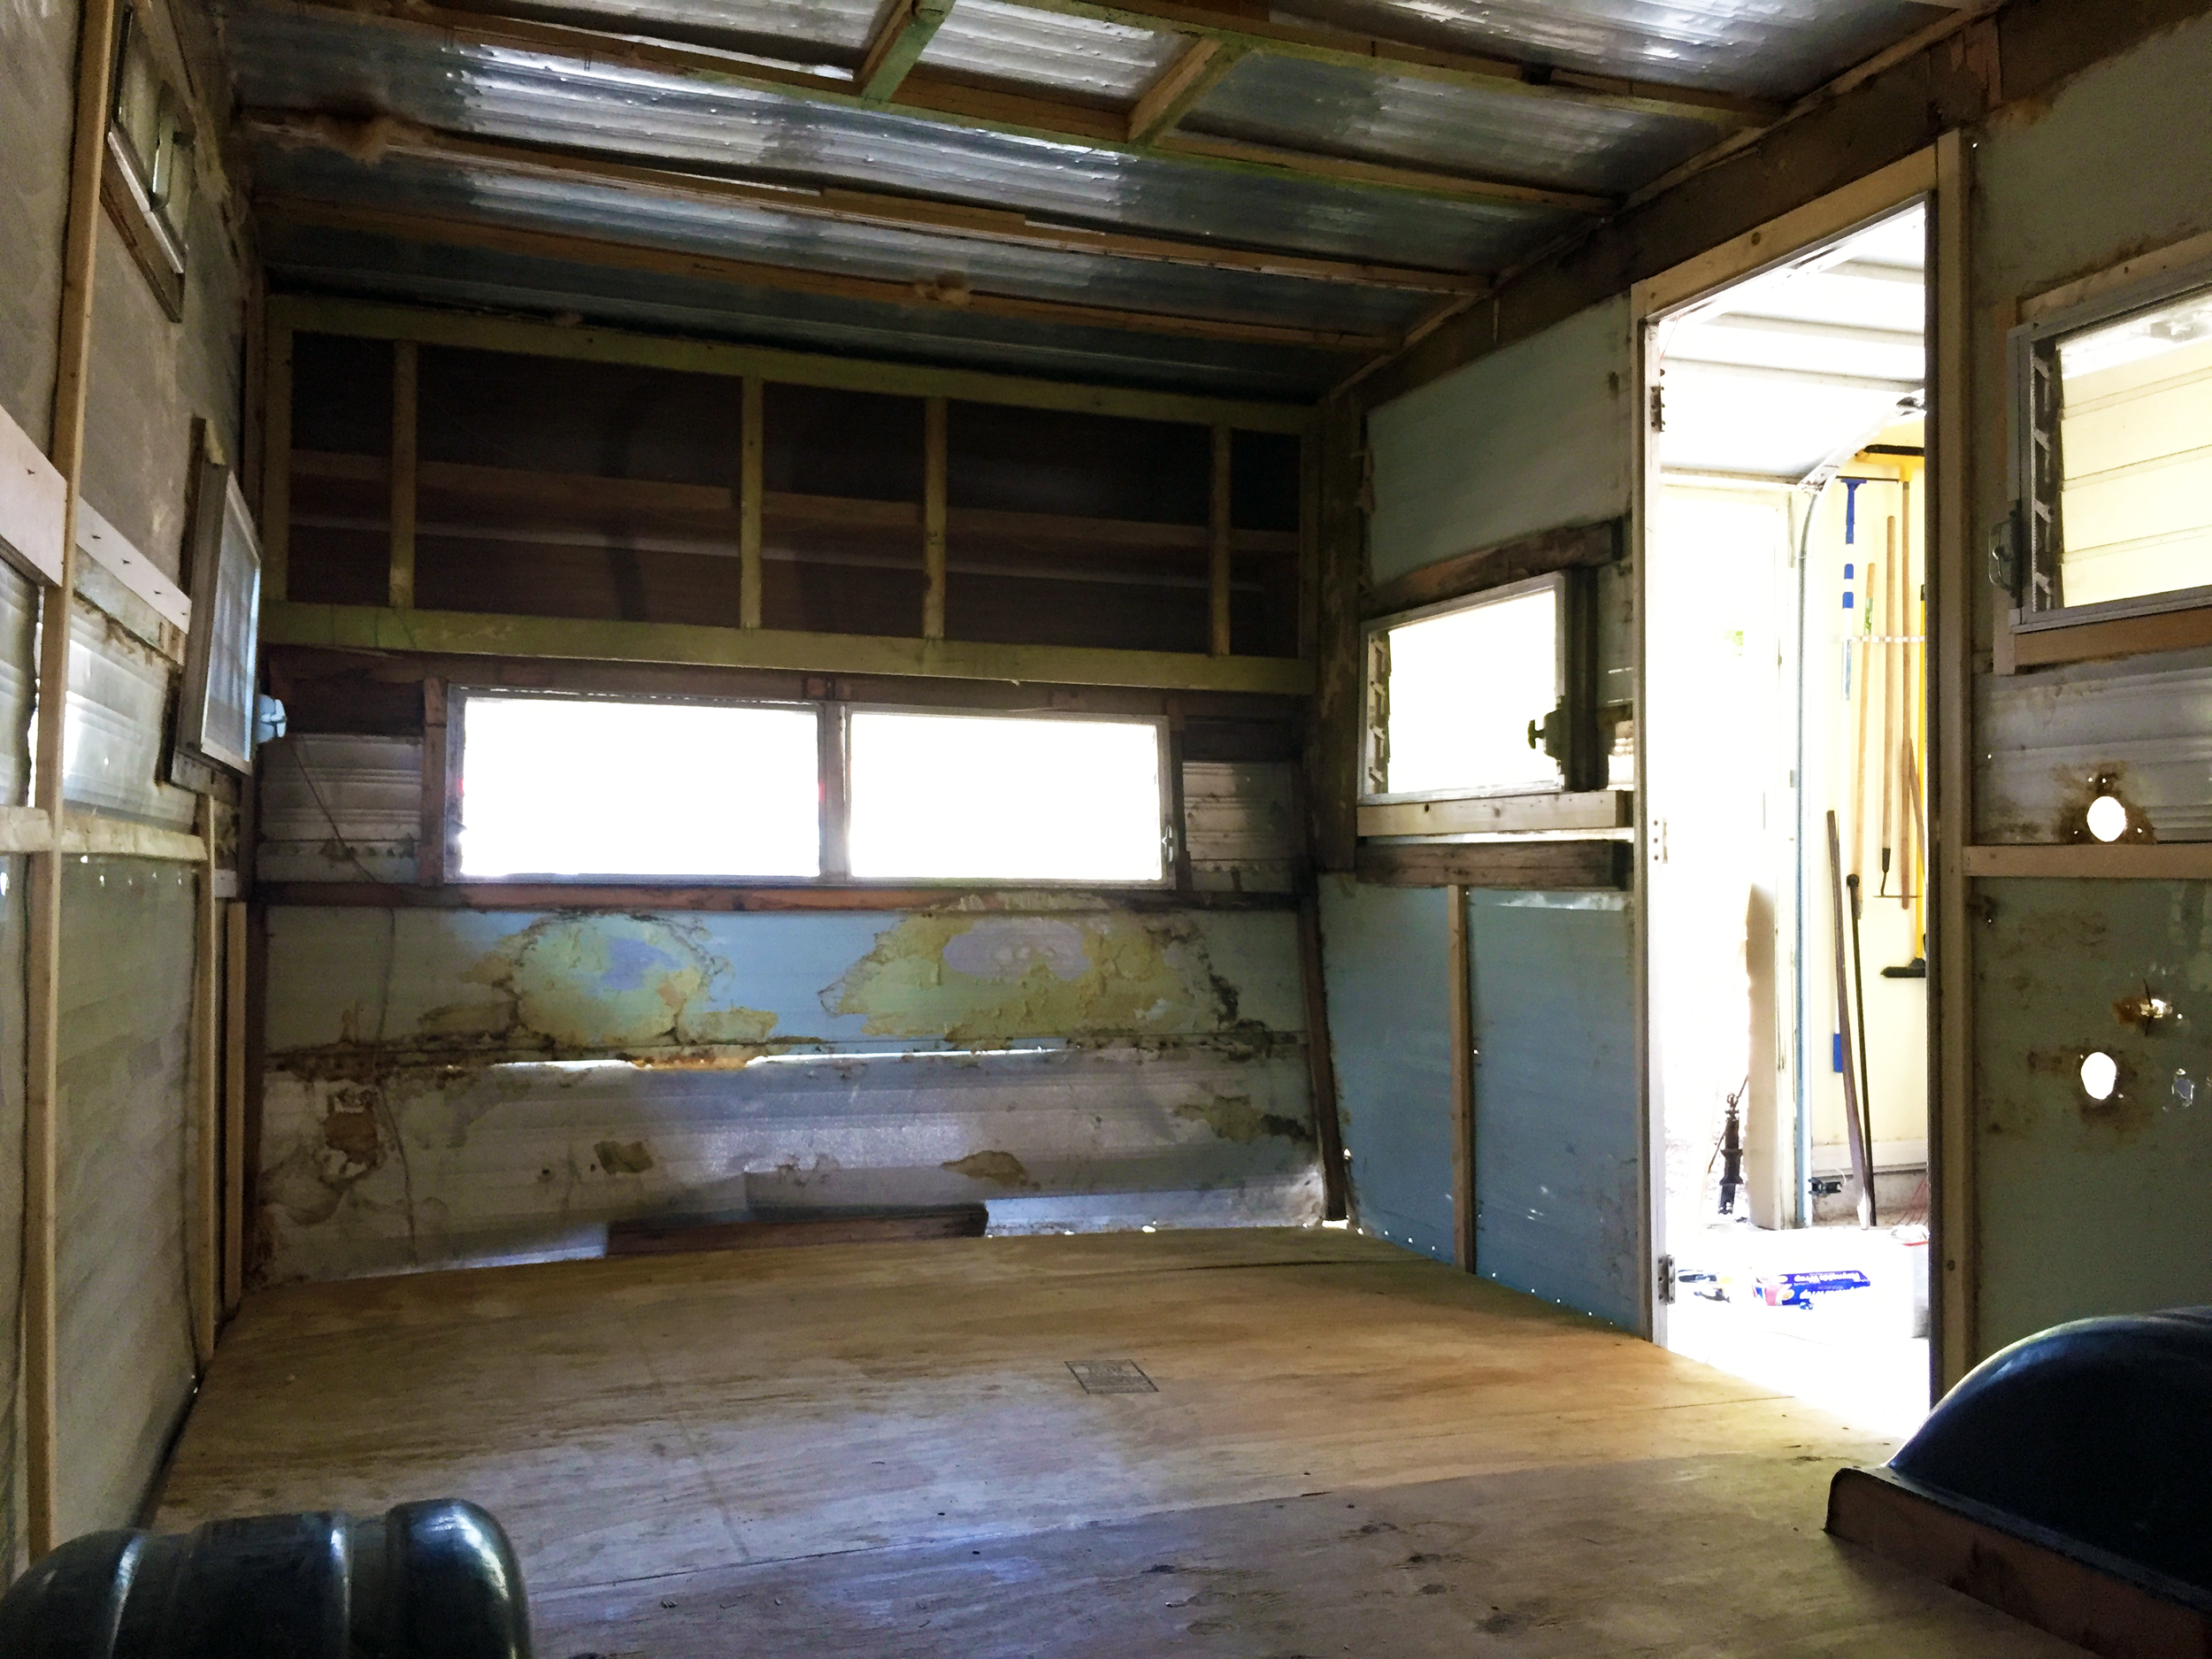
Front of The Cameo after plywood subfloor install.
A lot more to do, but are you as excited as we are that we can actually walk around on an actual floor? What part of the renovation are you most looking forward to seeing? Any questions or suggestions for us?