The Cameo Camper Renovation: Why + How We Installed Vinyl Plank Flooring
Well I guess I kind of already spoiled it with the title of this post and the ginormous photo above, but after much deliberation we decided to go with vinyl plank flooring for The Cameo. And in short, we LOVE it so far! We’re a teency bit behind on posting vs. what we’ve actually gotten done on the camper so far. (For example, we installed the flooring before we took her to the “spa” for some exterior trailer work. IN FEBRUARY. Yikes, my bad y’all. *Insert shame face here* Please forgive me...) Good news about being delinquent in this case is we’ve gotten roughly four months of use so far and it’s holding up amazingly.
Shameless plug: For real-time reno coverage (we’re currently installing our interior electrical from scratch!), follow us on Instagram.
After stalking many other campers and homes on the interwebs we began gathering design inspiration. We considered many different types of flooring including peel & stick tile in various sizes and shapes, wood laminate, linoleum... the list goes on. Plus we had a bunch of other questions like: Should we go dark or light? Patterned or solid? Colorful or neutral? So many beautiful options to choose from! How would we ever decide?
Why we ultimately chose vinyl plank flooring
To help us narrow the field, we made a list of needs/wants (which I highly recommend for any project you’re doing to help keep your 1) sanity, and 2) end goal in mind):
Needs:
Waterproof – Because we figure we’ll be in and out of this thing often and we live in Texas, where we say “Don’t like the weather? Just wait 5 minutes.” for a reason. Which brings us to…
Durable – Along with the wet, we also assume we’ll be in plenty of places tracking in dirt and rocks, plus we plan to be traveling with our two big pups, and though cute, are “the reason we can’t have nice things”. (I can’t tell you how many times this gets said each week in our house.)
Low-weight – The lower the weight (of all the materials in the camper) the better our gas mileage will be and the less wear and tear on our truck. While we don’t know what the total floor weight is, this helped quickly eliminate any kind of ceramic tile situation, which, while very durable and waterproof, would just weigh way too much.
Flexible – Being an environment that’s likely to continue to flex and change size ever so slightly as the weather changes, we needed something that would adapt well to temperature fluctuations. Not to mention we know our subfloor isn’t perfectly level, and something super rigid (like ceramic tile) would need a perfectly level, solid floor so the tile and grout don’t buckle or crack.
Wants:
Affordable – We totally understand you get what you pay for, so a certain cost is to be expected if we don’t want to replace this thing anytime soon (and we definitely don’t) however, the hubs and I aren’t made of money and appreciate a good bang for our buck. At $2.59/sq. ft., our choice hit our price point. (For anyone averse to math: $2.59 x 98 sq. ft. + 10% extra you should always get to cover boo-boos ‘n things = $279.20 + tax.)
Easy install – Sure we could’ve handled more difficulty, but why work harder when you can work smarter? This stuff went down in a snap – literally – in an afternoon and required no adhesive at all since it is designed to lock into itself and “float” on the subfloor. We didn’t even have to let it acclimate before installing (like you have to do with a lot of plank wood + wood-like floors) which is excellent if you’re impatient like me. Not to mention we thought that was an extra good sign on how it would handle expansion and shrinkage in a non-climate-controlled camper. Though it mentions using underlayment for “optimal sound absorption and moisture resistance”, we decided with the pre-installed cork back, waterproofing we already did to the underside of the plywood subfloor, and since we’re not too concerned with how loud we are to the bugs and critters underneath the camper, we thought we’d be fine skipping this step.
Really, really, ridiculously good looking – Does anyone really want an uggo floor? The stuff we found has a matte/low luster finish and a really beautiful texture to it that helps it look and feel more realistic like real wood. It feels nice underfoot (bare and with shoes), and we’re hoping the texture and matte finish will keep it from being slippery when wet and will show less wear than a smooth, glossy floor would. We chose a light-medium gray-brown color which in our experience will help camouflage dirt (and black + white dog hair) a little bit better than really dark and really light flooring does. Lastly, the pattern repeat on this particular flooring is pretty great, especially for the price. We’ve noticed generally the cheaper you go the more often your pattern repeats, which is obvious in some cases and can really be what screams “this is a cheap, fake wood floor”. Thankfully, a camper is a really small space so you probably could get away with more of a repeating pattern without it being too obvious.
Bonus stuff we also love:
A bitchin’ warranty – Fingers crossed we never need it, but our choice comes with a lifetime warranty.
Available for pickup the same day we scoped it out (with the exception of the finish piece we needed for the threshold/door area, which is NBD since we got it just a few weeks later, and it’s still not installed…)
So what awesome product checked all our boxes (and then some)?
NuCore® Driftwood Oak Rigid Core Luxury Vinyl Plank from our local Floor & Decor store.
Ripped straight from Floor & Decor’s website, this stuff offers the following:
6.5mm NuCore® Driftwood Oak Rigid Core Luxury Vinyl Plank - Cork Back looks and feels like wood and tile, but can be installed where real wood cannot. With quick and easy installation, it’s the perfect flooring option for any room! Even better, the anti-microbial coating on each plank makes it resistant to staining or odors caused by mold or mildew. With a lifetime residential/ 15 year commercial warranty, it’s sure to be a long-lasting flooring option for any space.
• 100% waterproof—Install it in virtually any room in the home (kitchens, full bathrooms, and basements).
• Install up to 6,400 square feet—No need for transition molding
• You can install it right away—Pre-installation acclimation is unnecessary.
• Pre-attached hypoallergenic natural cork underlayment for a quieter, warmer floor.
• Anti-microbial coating on top is naturally resistant to staining and odor-causing mold and mildew.
• Features a floating angle-and-tap installation method. No glue or nails required.
• Can be installed over most existing hard-surface flooring.
How we laid our vinyl plank floors
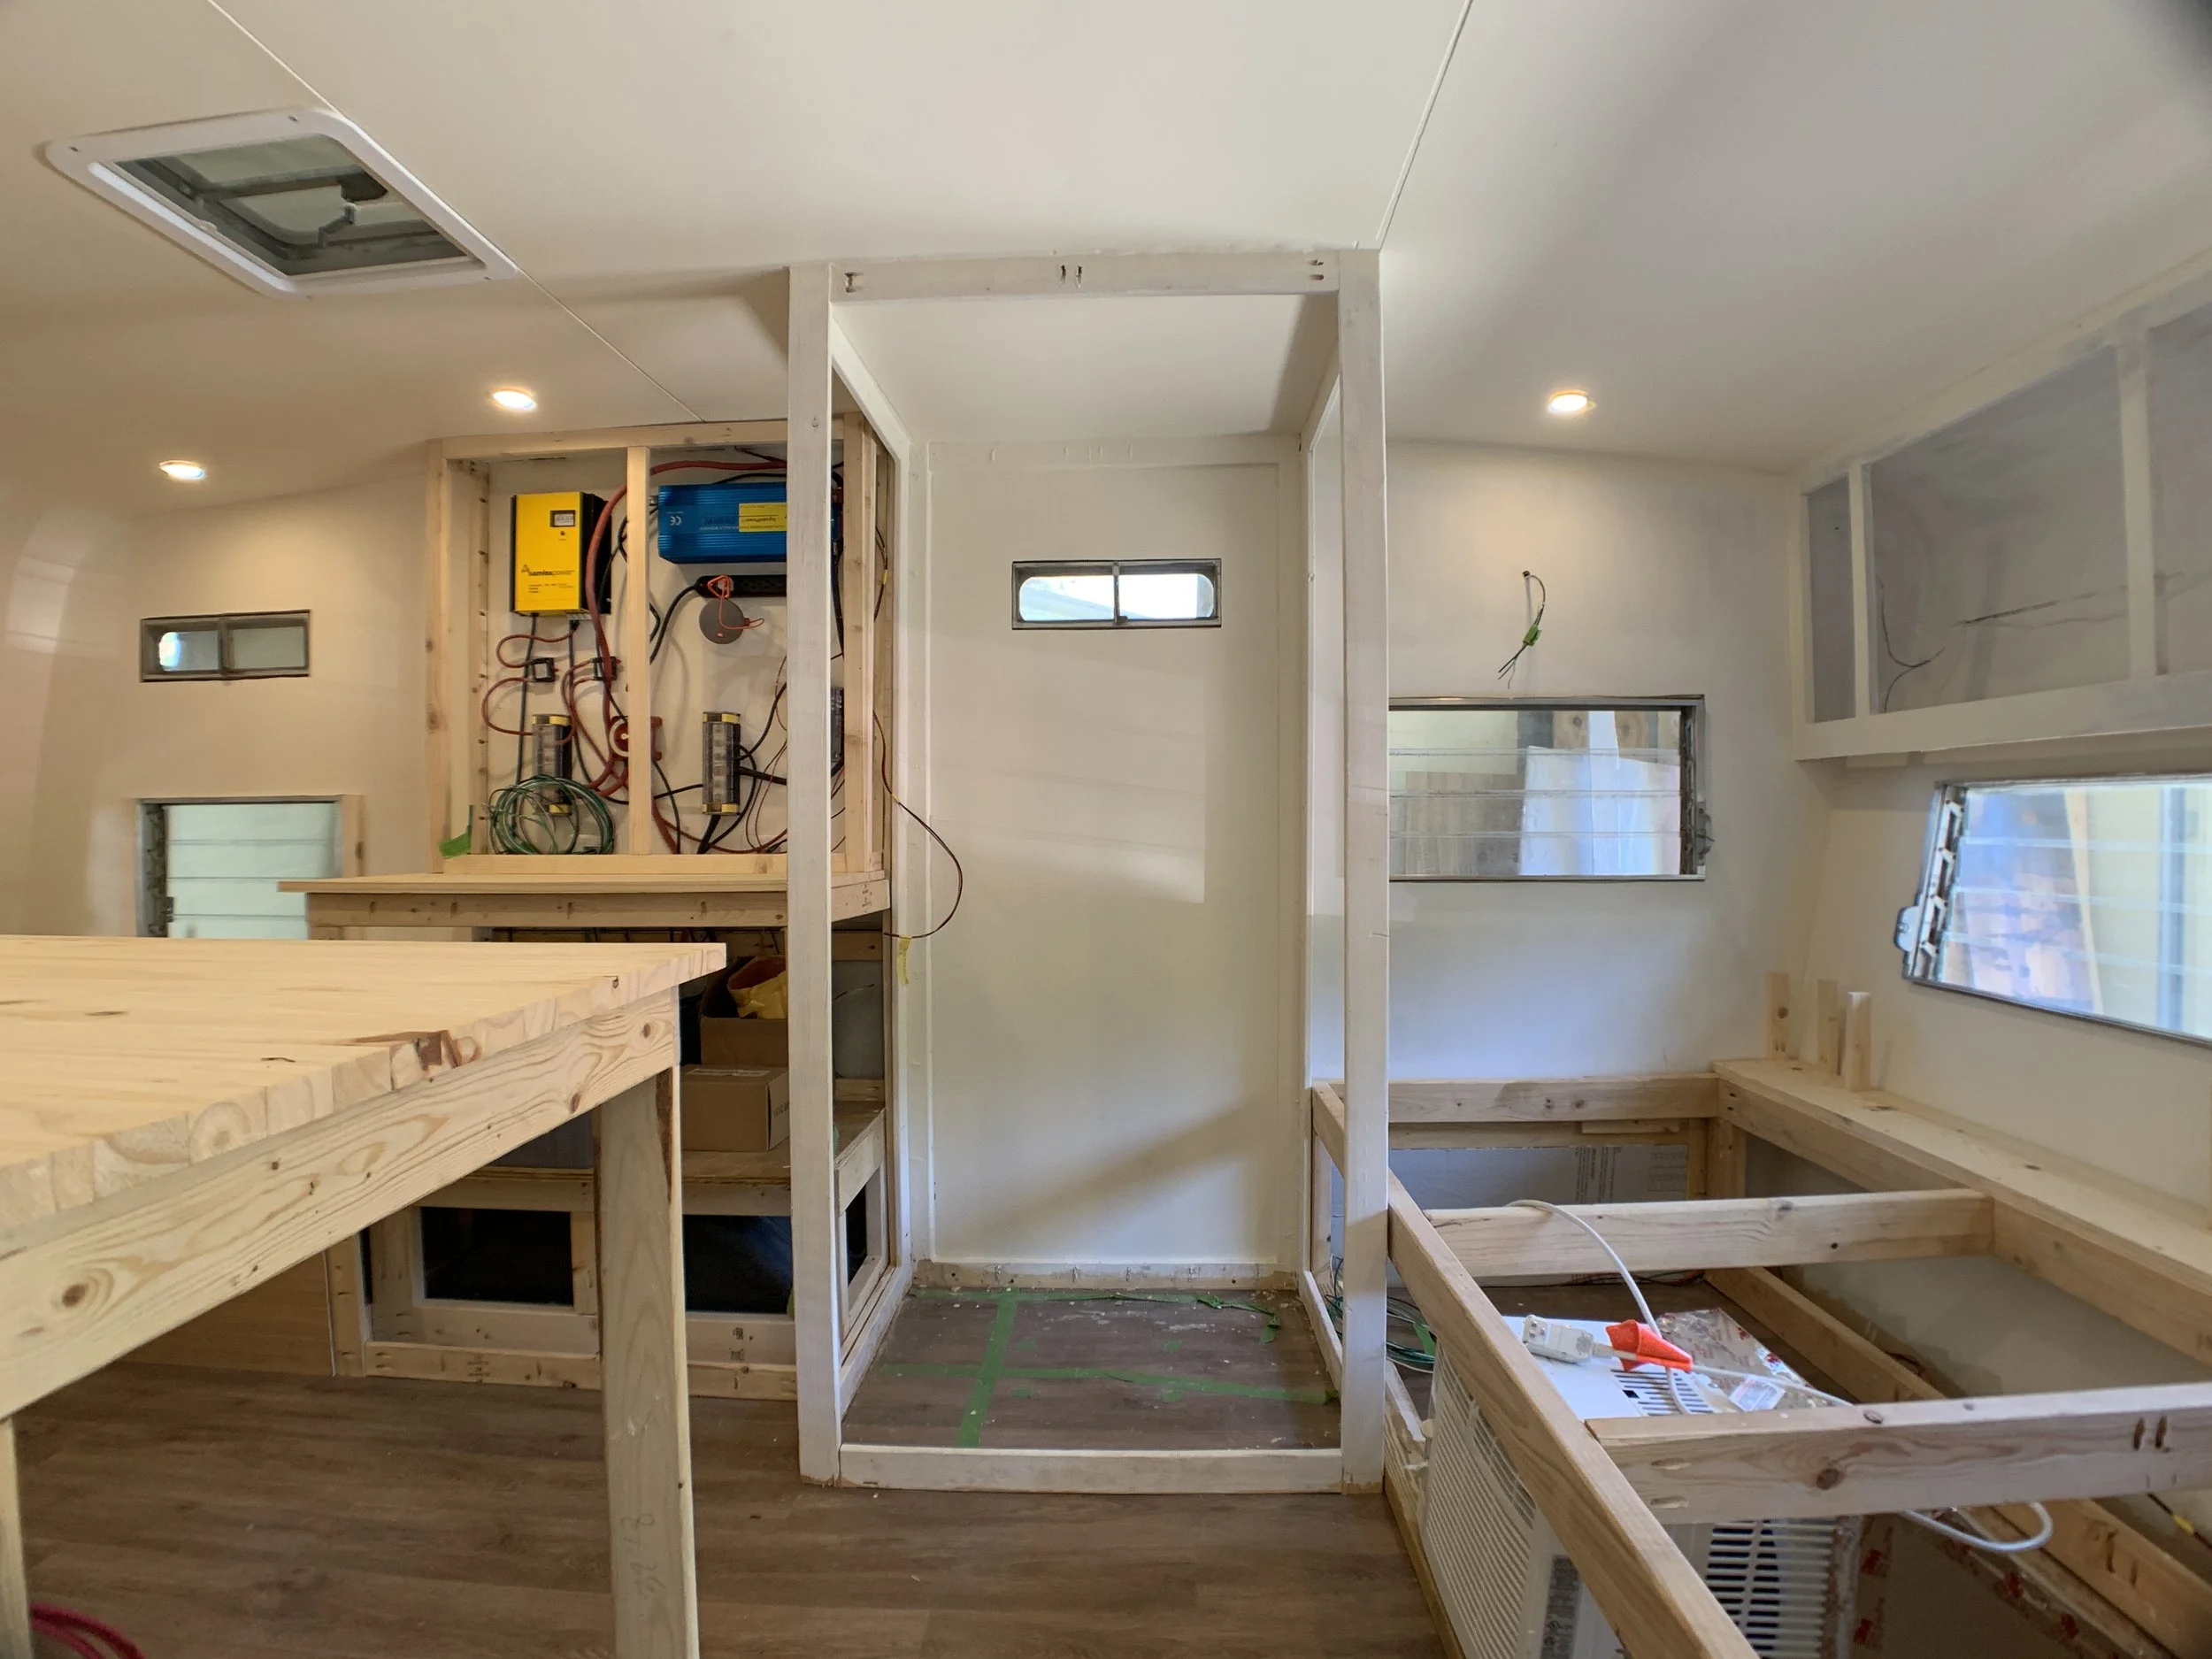
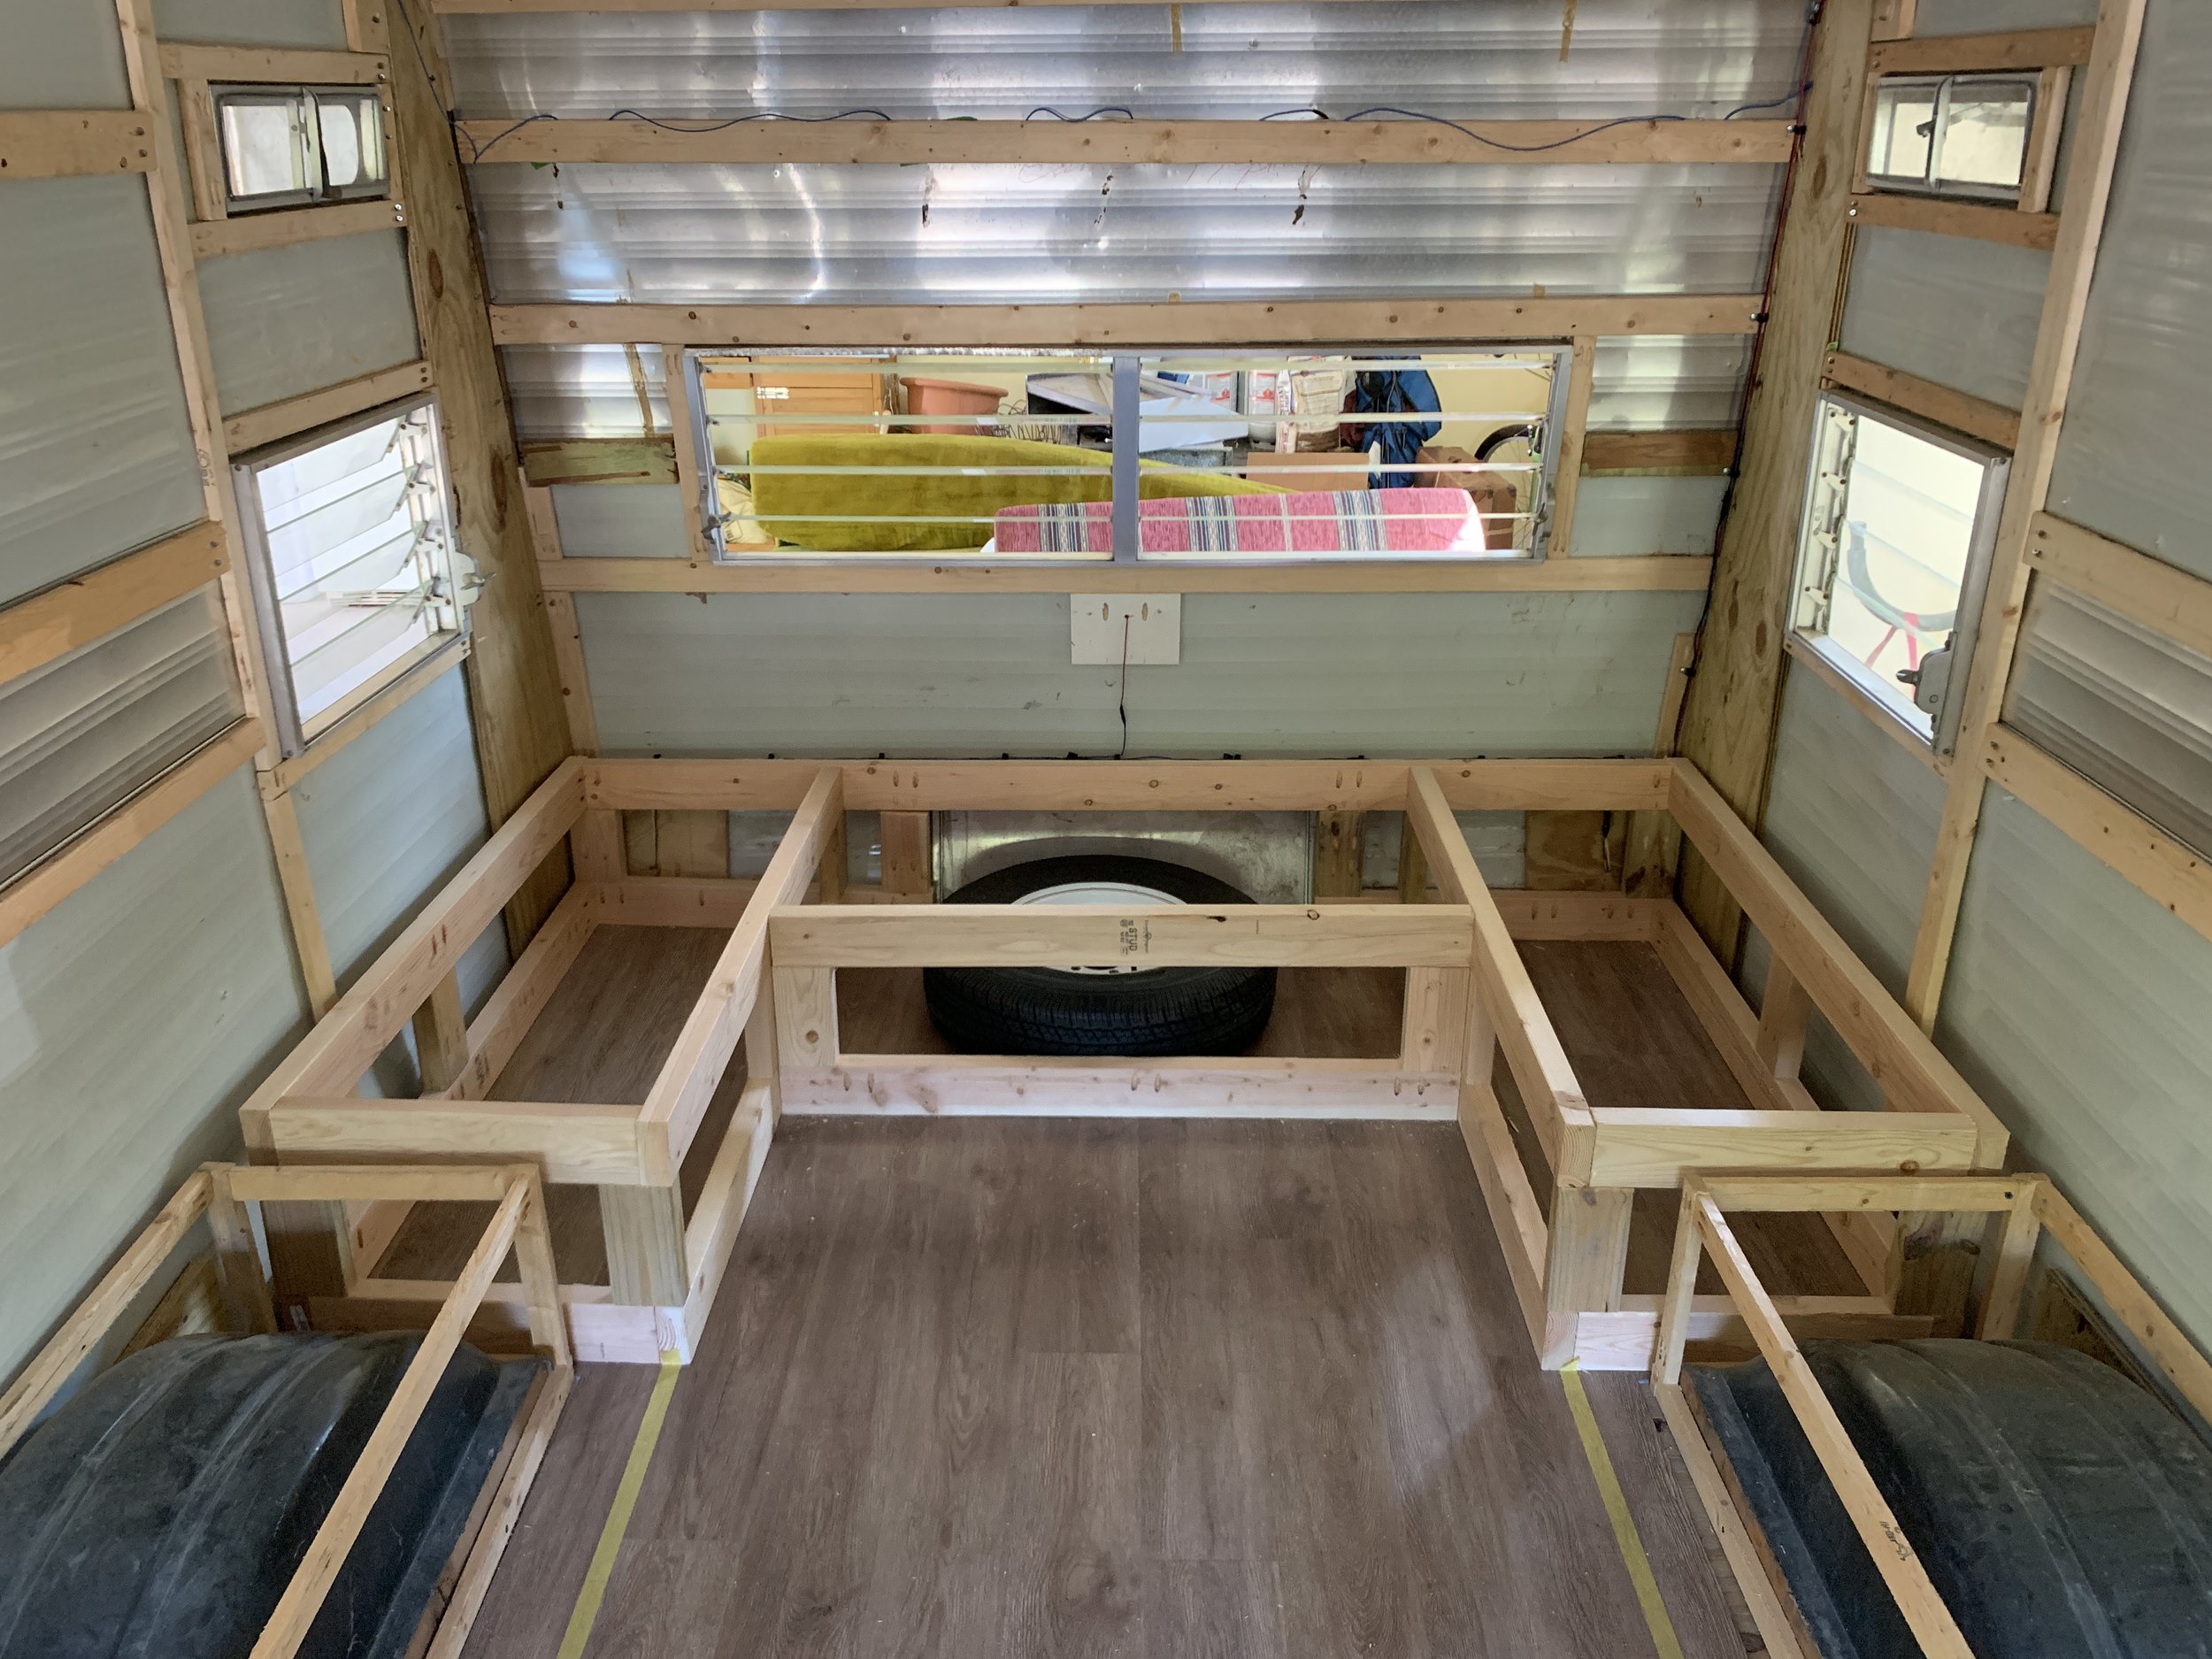
Before we actually started we decided we wanted to run our floors lengthwise (a standard design hack to “make the space feel bigger”) and wall to wall, so that it was under all of the to-be-built furniture for a handful of reasons:
Fewer awkward cuts around things
Easier to hide imperfections if our planks didn’t line up perfectly on the perimeter
Furniture might help lock it in place a little bit to further keep the planks from separating
Finished look inside of the cabinets – now we won’t be obligated to “finish” out the base of our cabinets, which will also give us a little more storage space and help keep the weight down
Separated planks by pattern
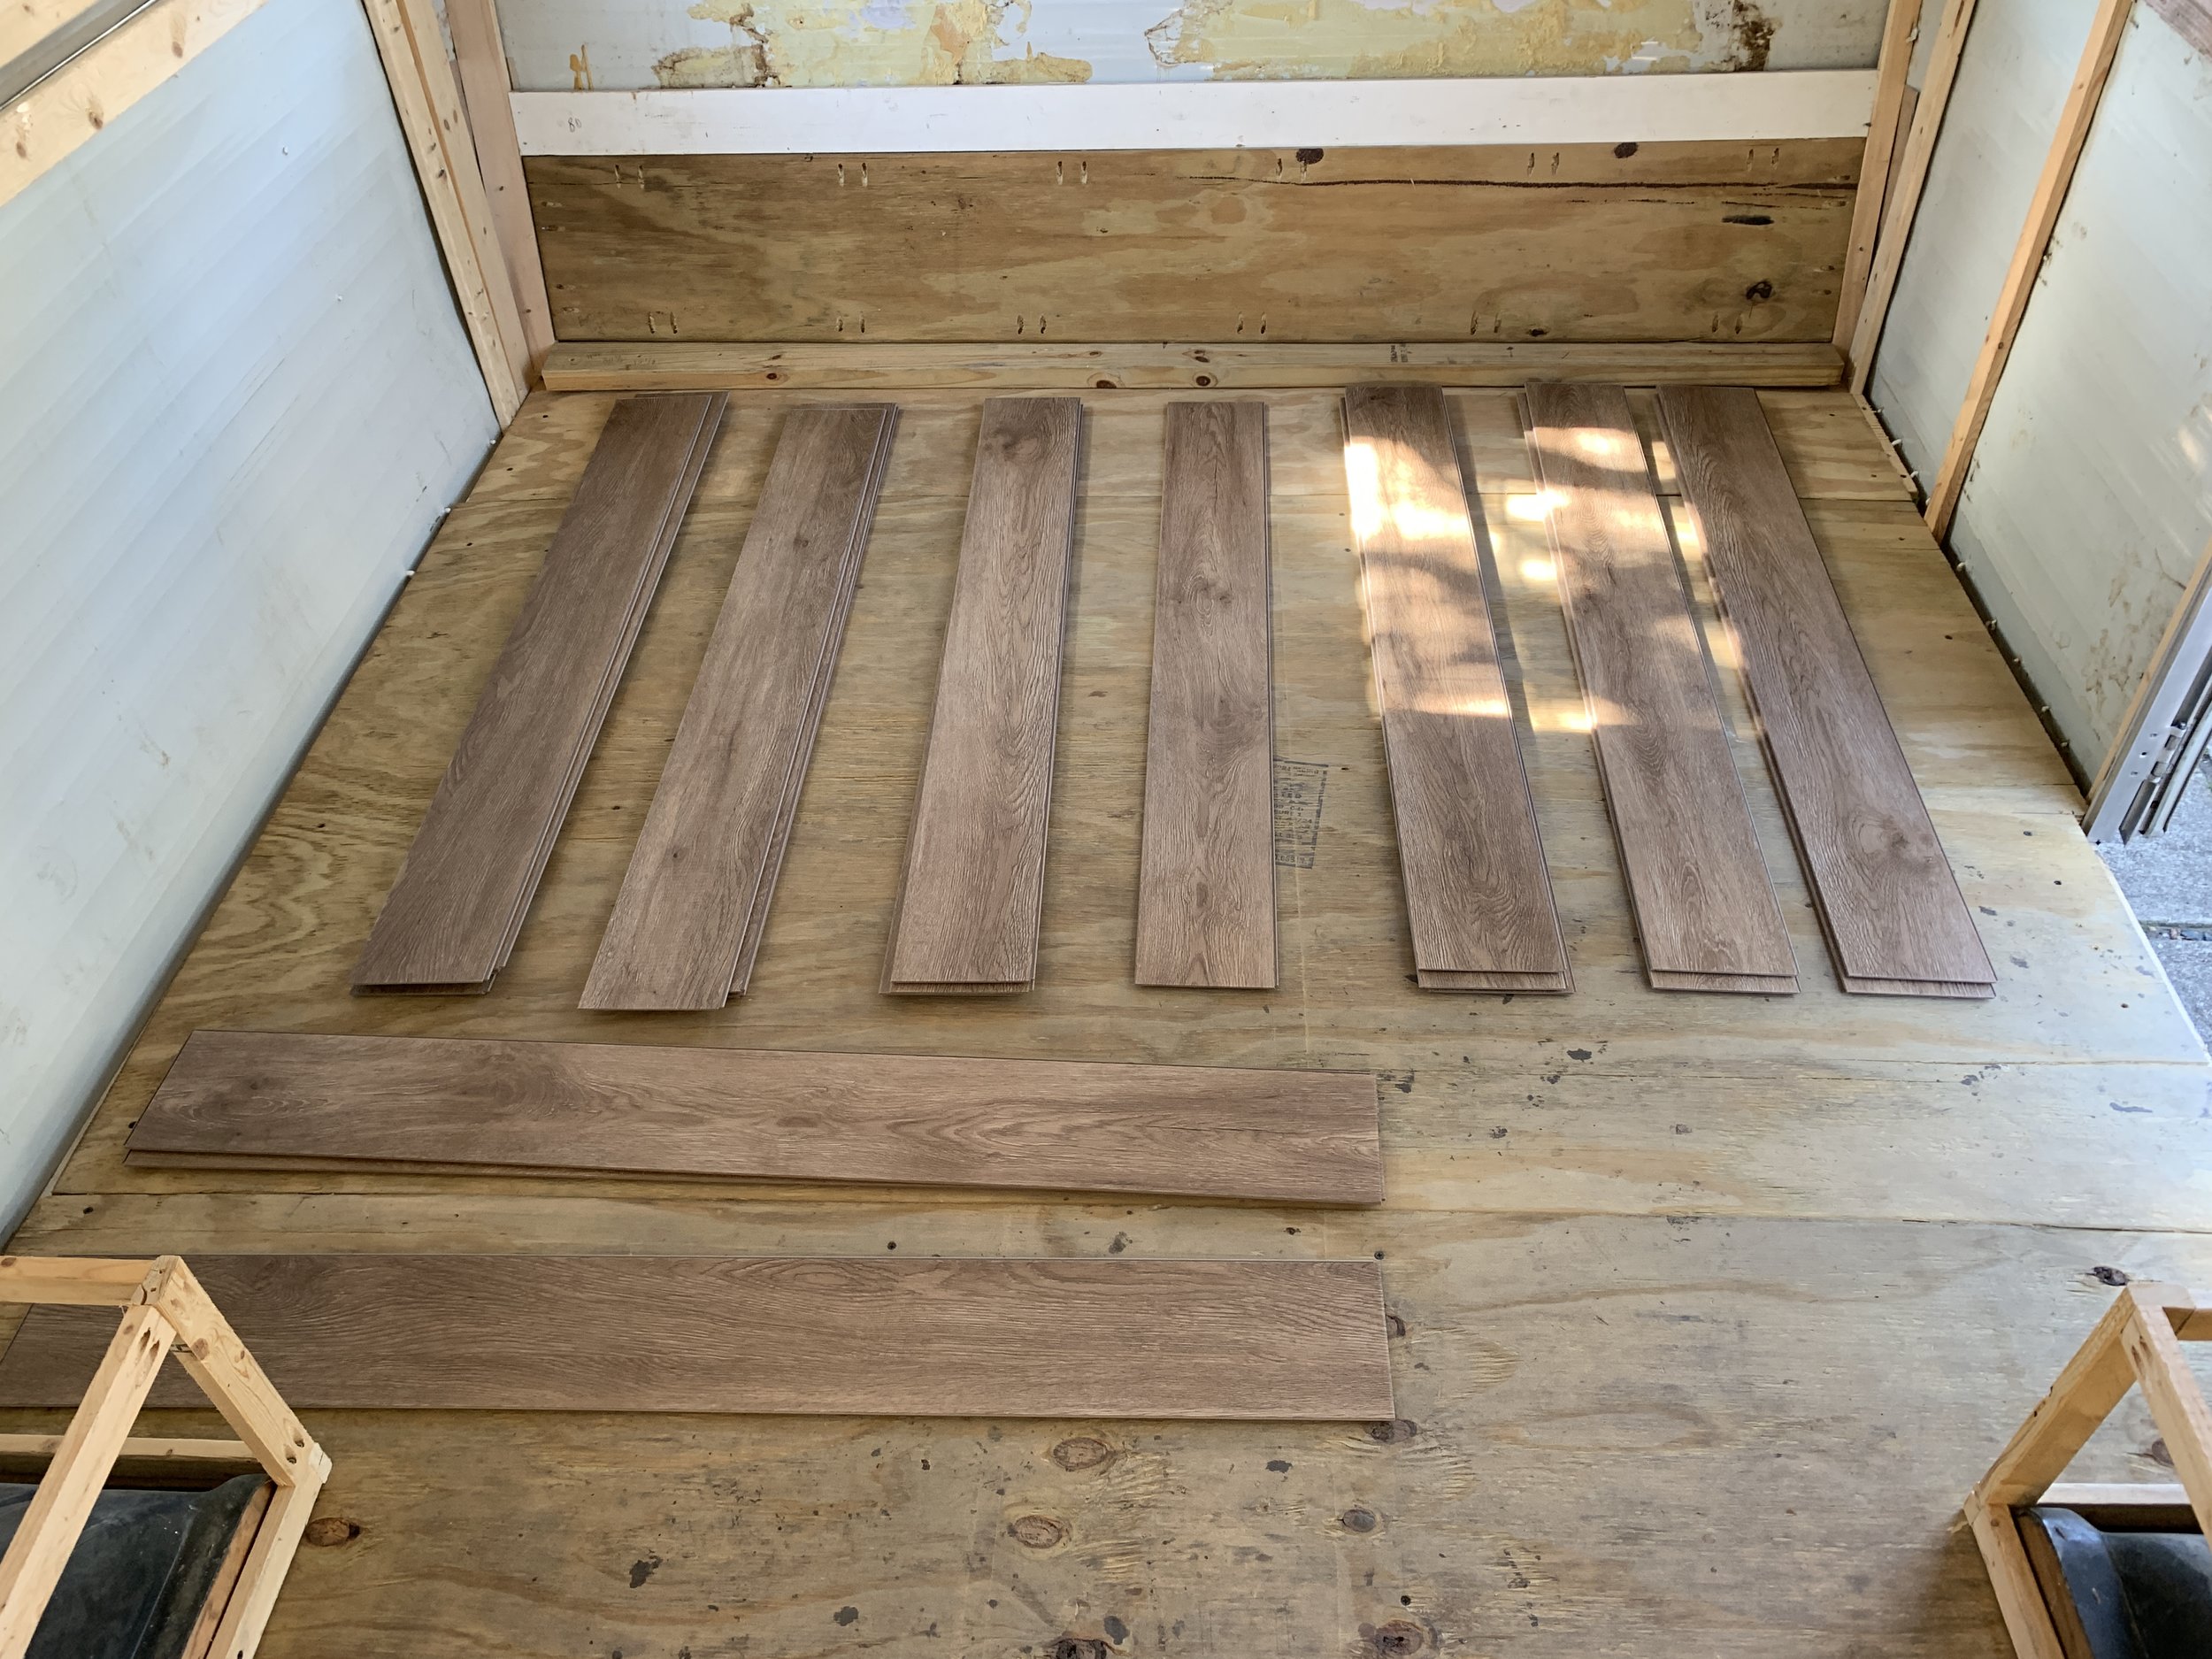
First, we opened up all but our “10% extra” box to check for color in case any of them were from a different dye lot. Once we were sure the color was correct in all the boxes, we began sorting the planks by pattern into stacks to see what kind of repeat we were looking at, and checking for any damage along the way. Thankfully, there were only two that had minor damage – one to the texture on the top of a plank, and another to a the tongue/groove area on a small part toward the end. Neither detrimental, but we set aside in case we needed them later and could use them in a way where we could cut out the affected blemishes.
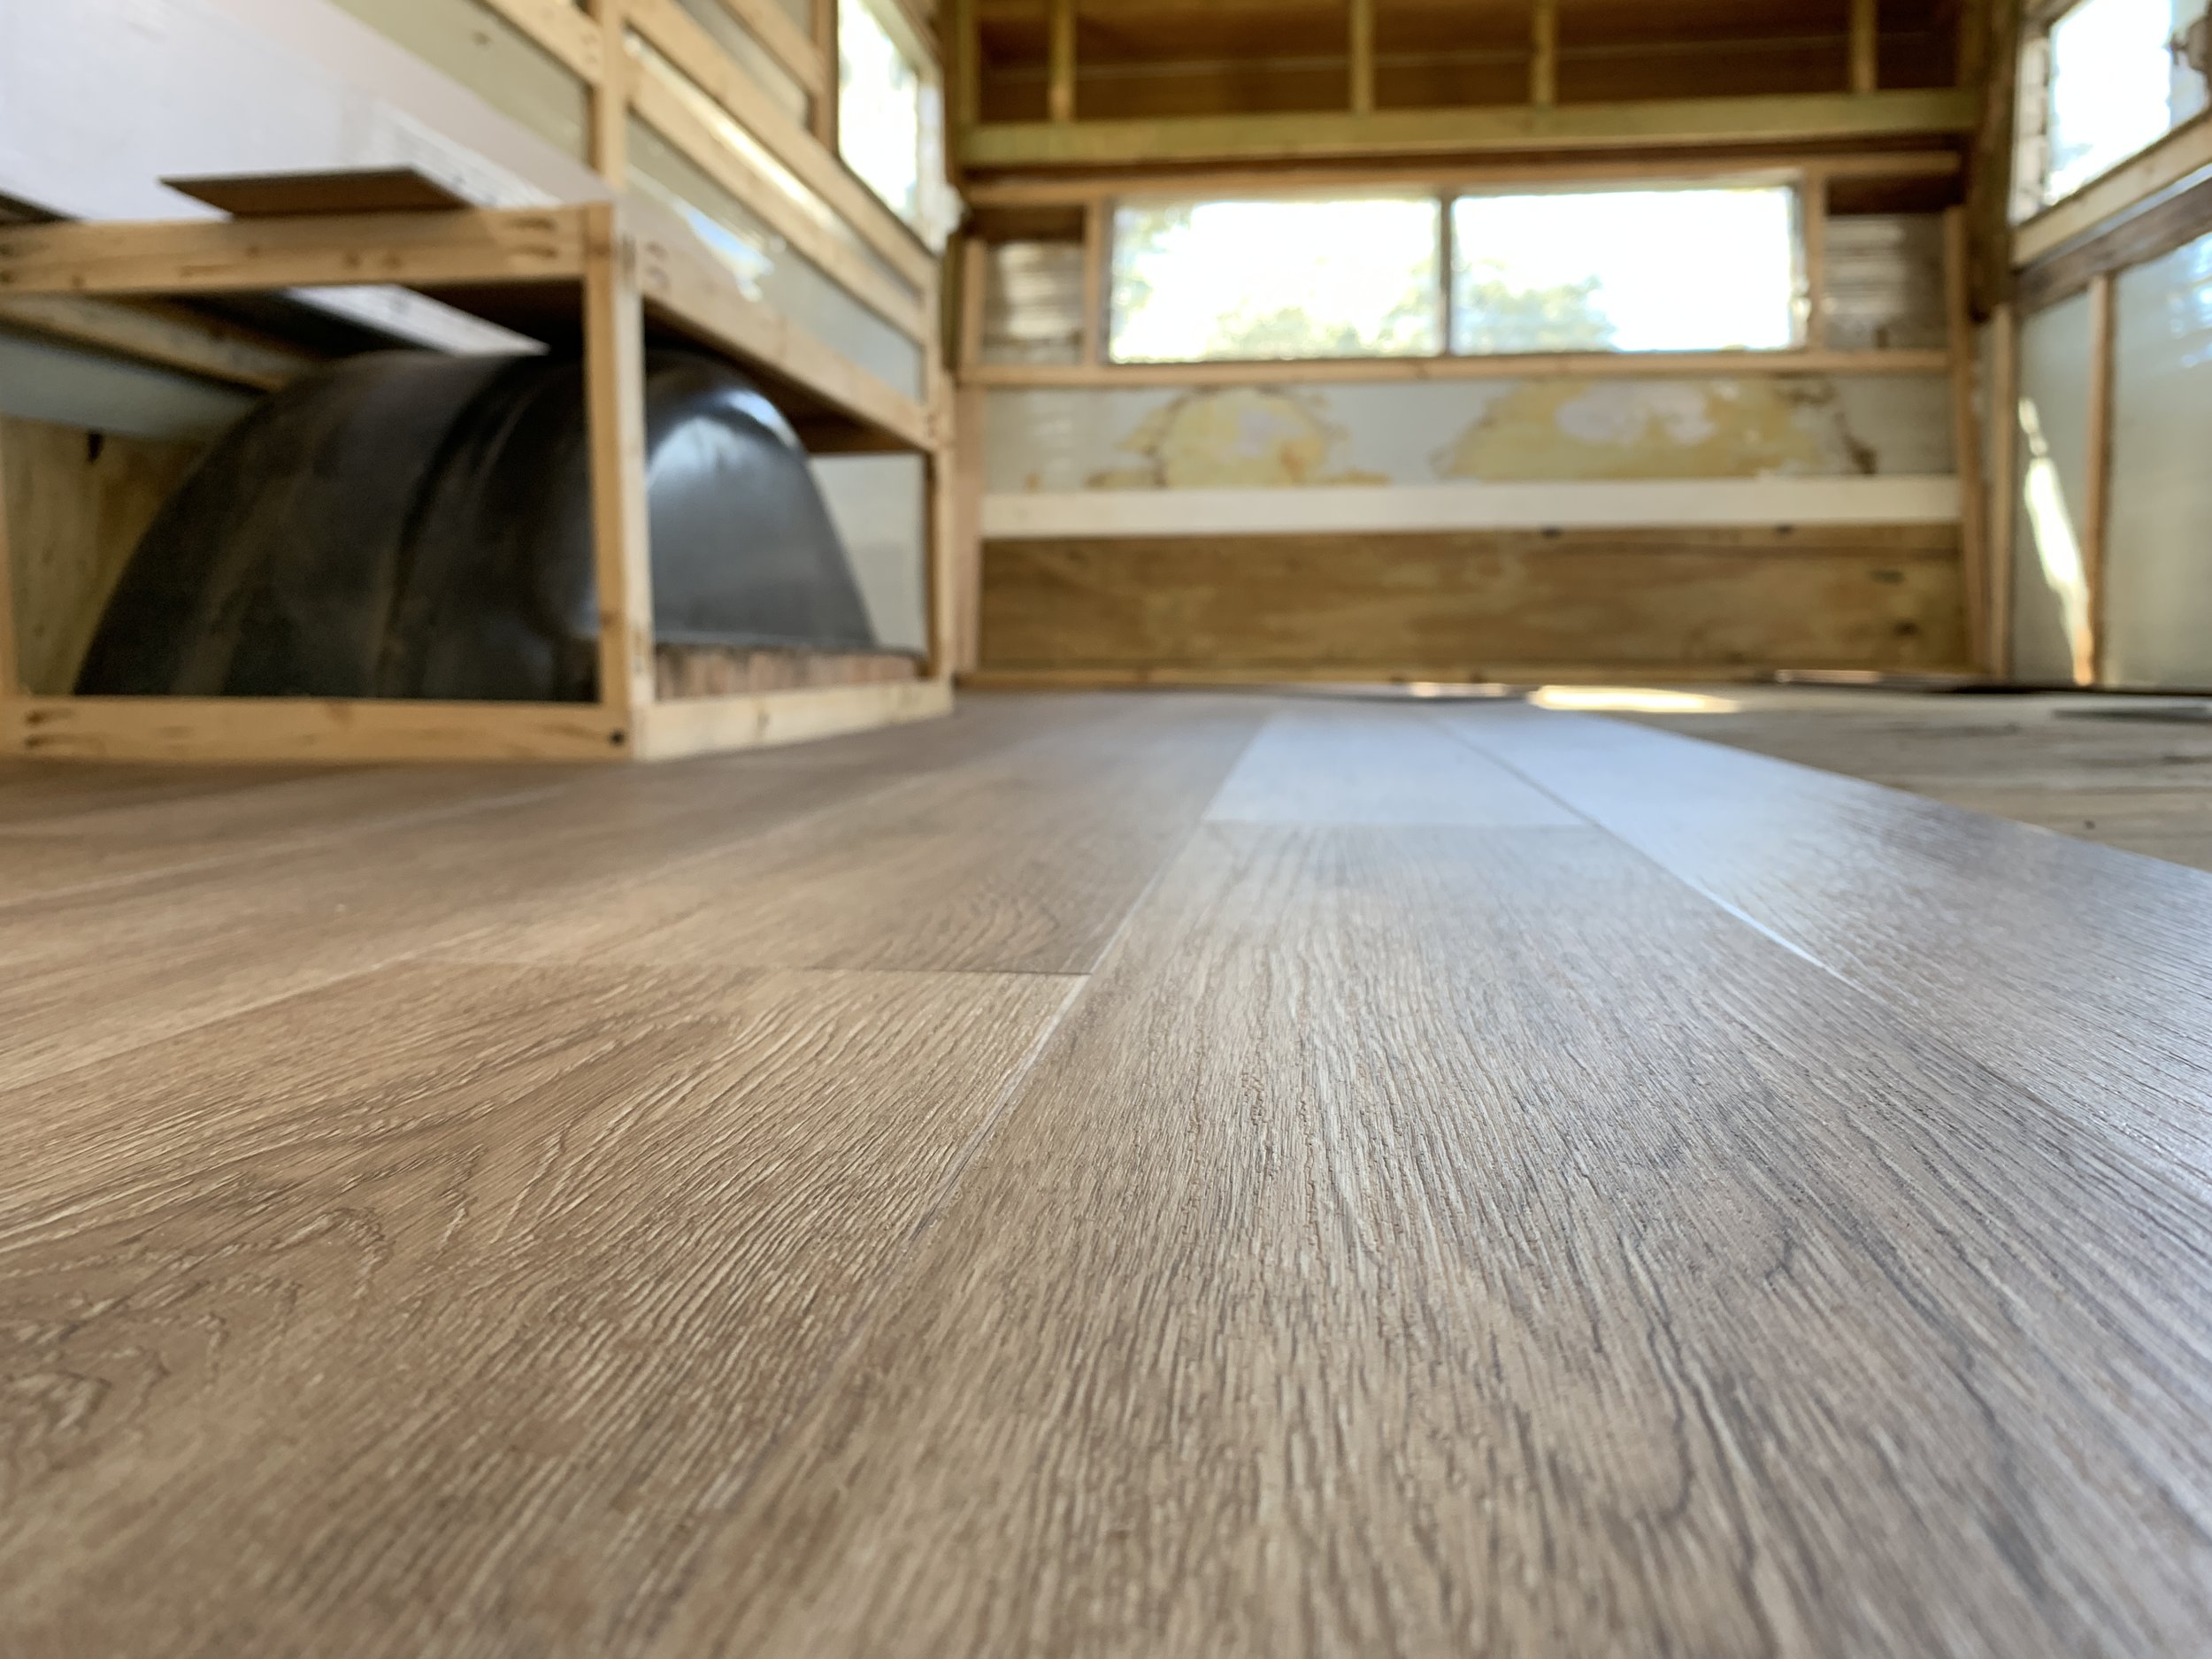
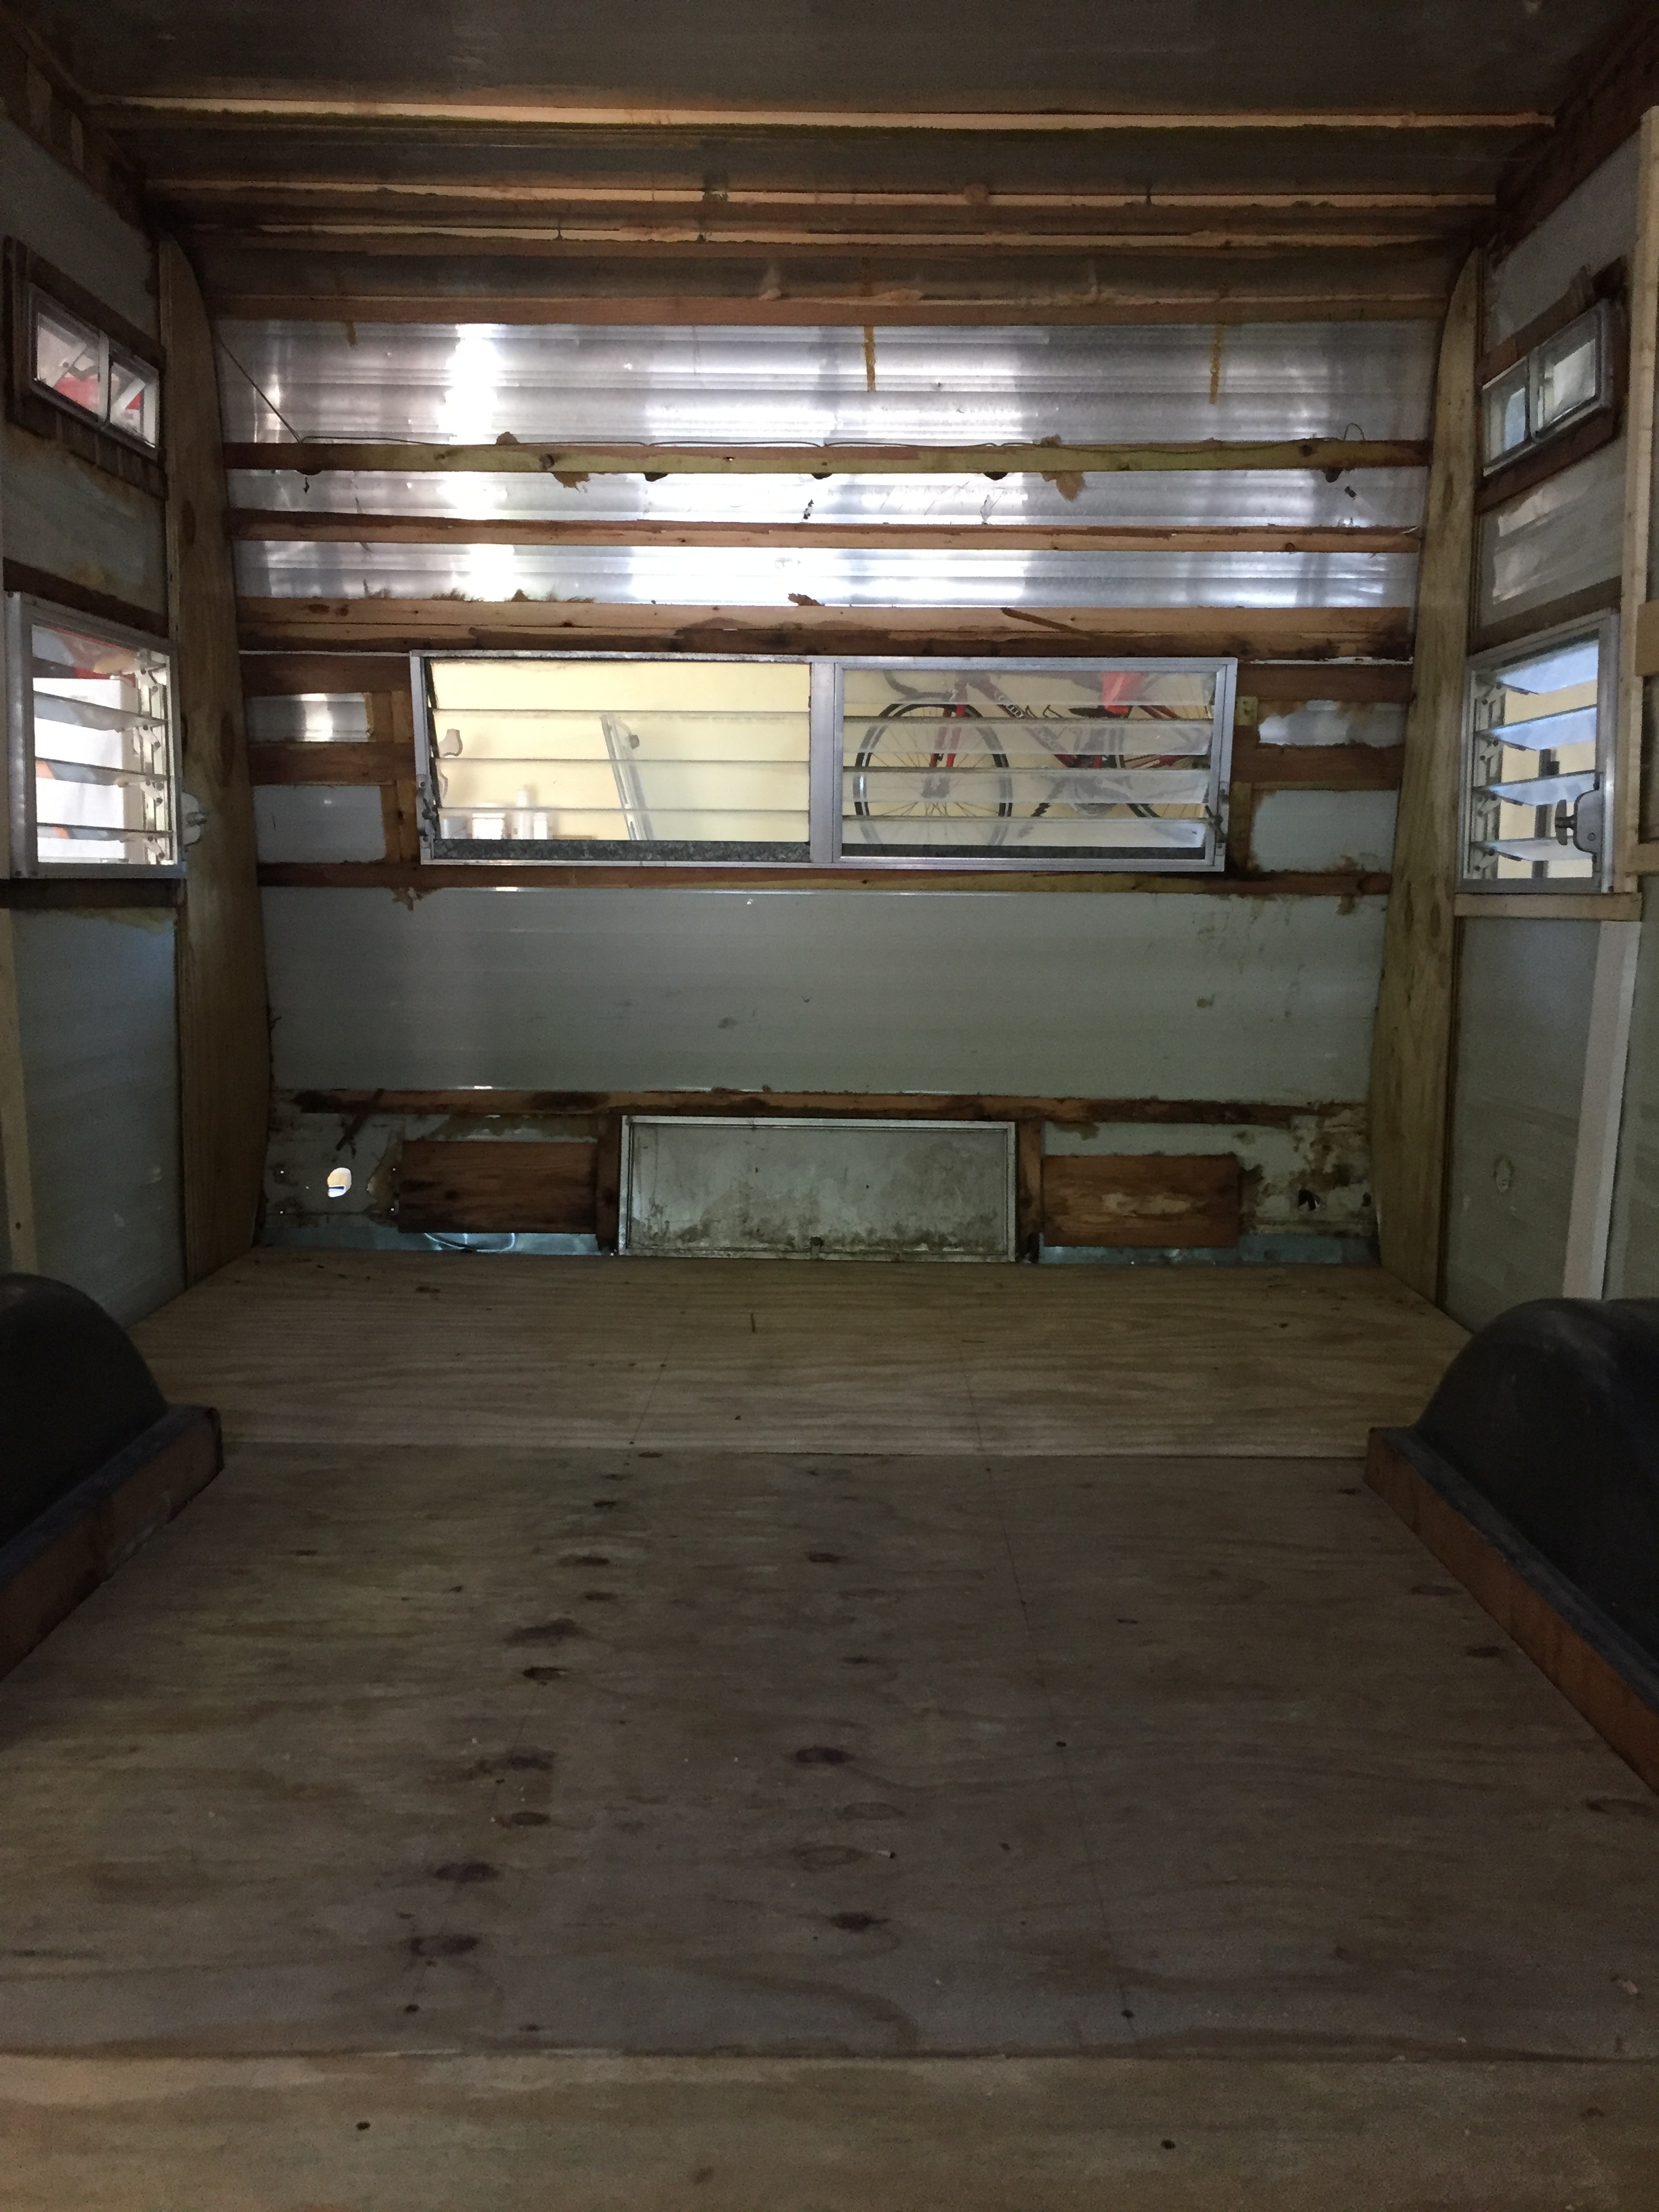
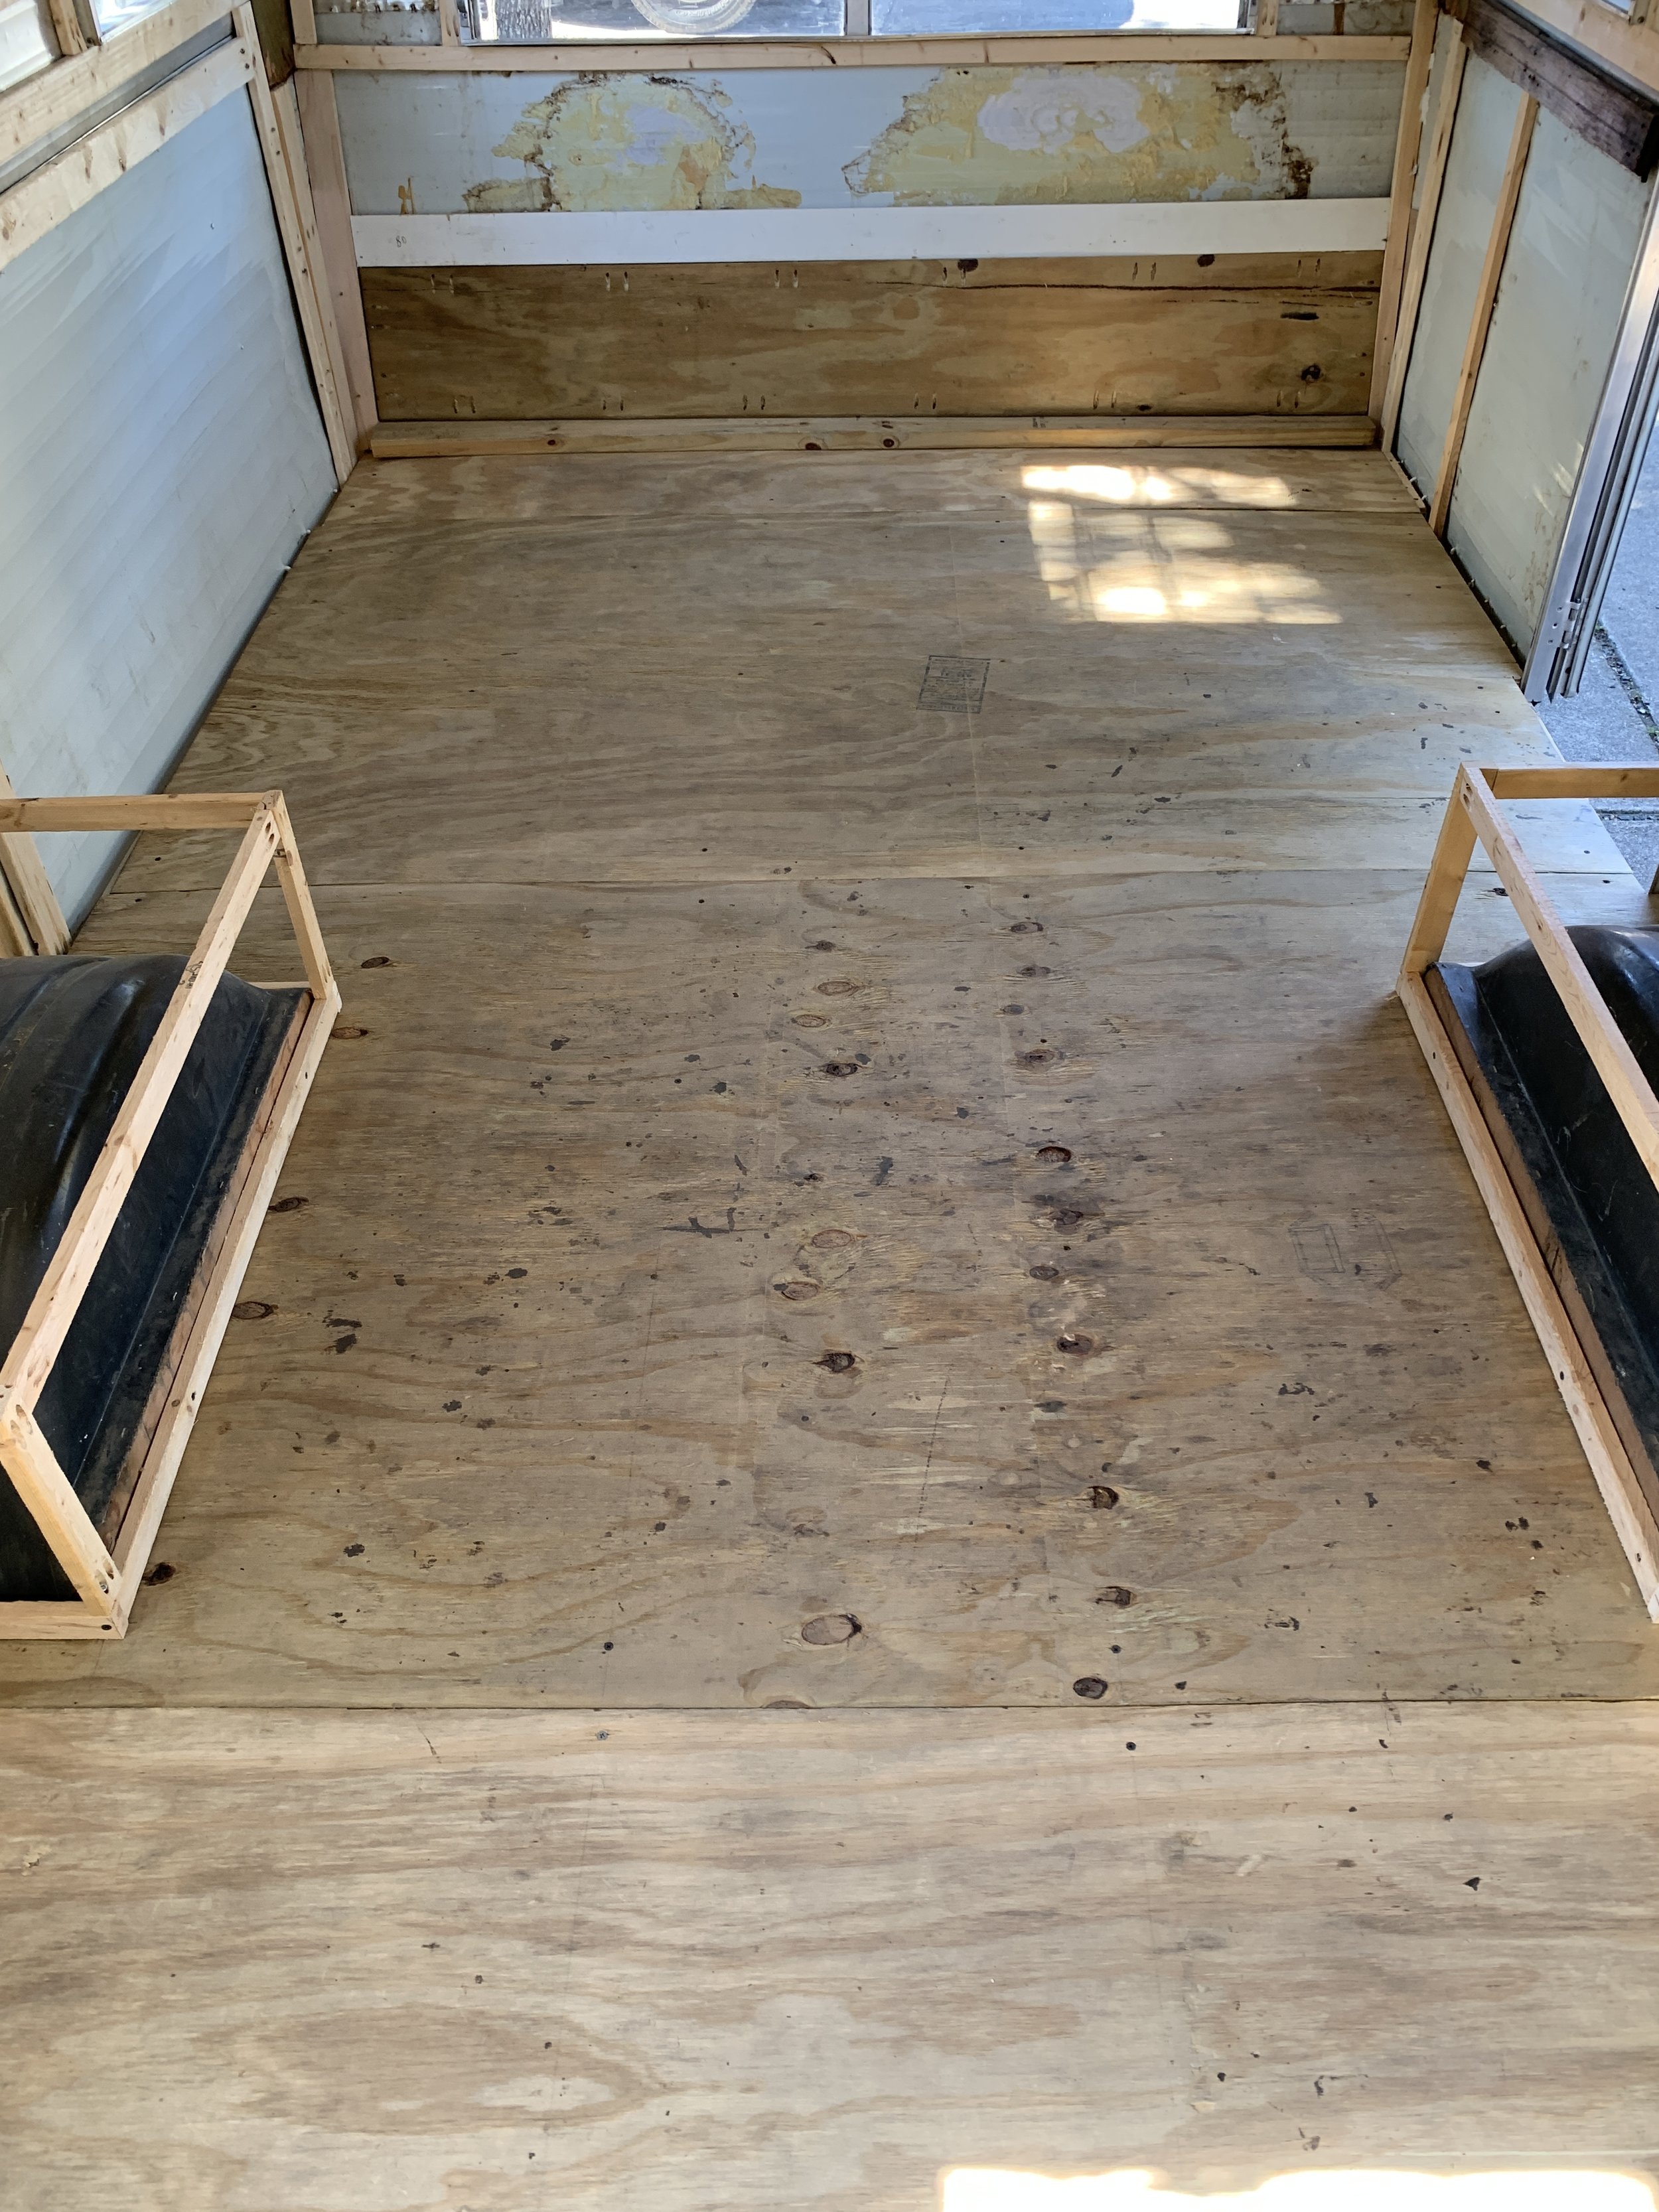
After making sure our subfloor was scraped and swept clean, we began laying floor in the back corner, opposite the door, so we didn’t lock ourself in/have to walk over laid floor as we went in and out of the camper. IMPORTANT: Make sure to follow all of the wall spacing, staggering and minimum plank length instructions found in the flooring packaging – this helps to make sure you have the right amount of space for the floor to expand/shrink with the temperature changes and keeps your floor joints strong so they don’t separate later.
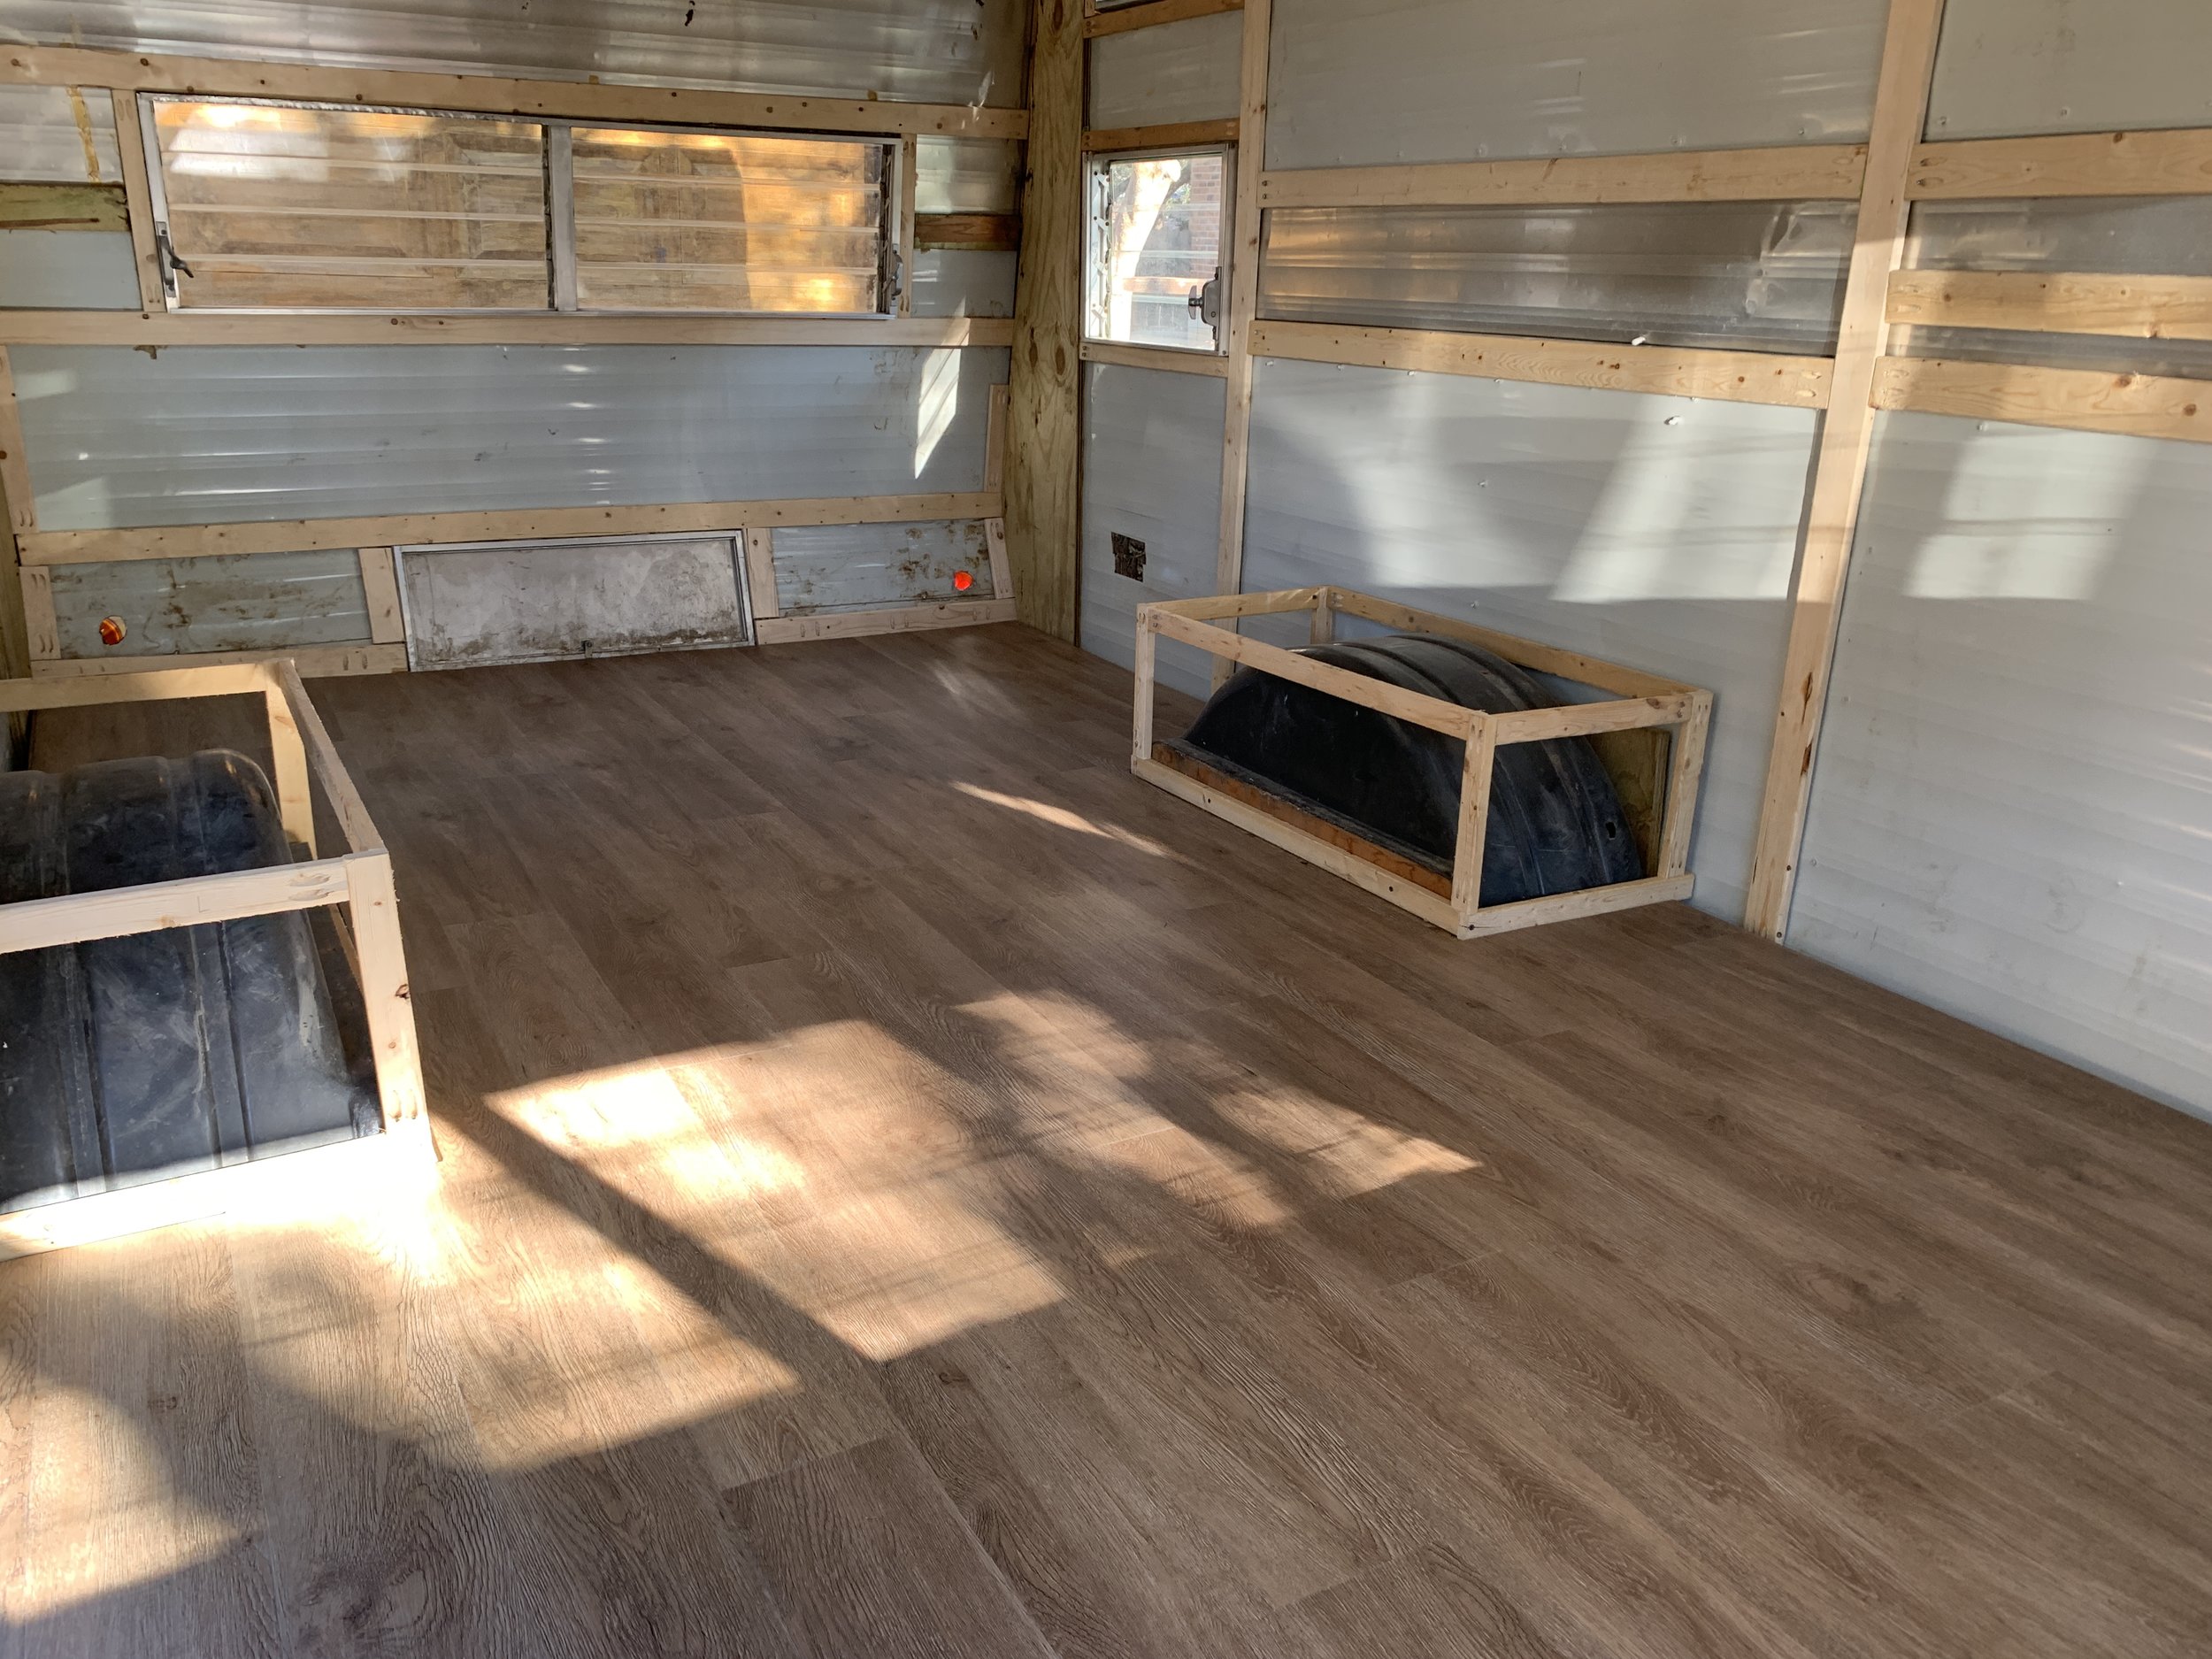
Initially (based on the tongues and grooves), we worked our way in toward the door side of the camper, before running planks toward the front. We found this was easiest for us since pretty much on plank two we had to navigate around the wheel well. Once we got our initial cuts made around the wheel well, the rest of the floor went down so quickly and painlessly.
Before we finished up at the door, we decided to leave a little note to future owners on the subfloor. Hopefully it will be many many years before it’s ever found, but I know I love to see where she’s been and wanted to help share her story with others.

Tips for laying a floating vinyl plank floor:
Cut your flooring attractive/right-side up when using a chop saw. The cut is cleaner on the top side than the bottom, so cutting finish-side-up will leave any little cut-induced imperfections on the underside of your plank.
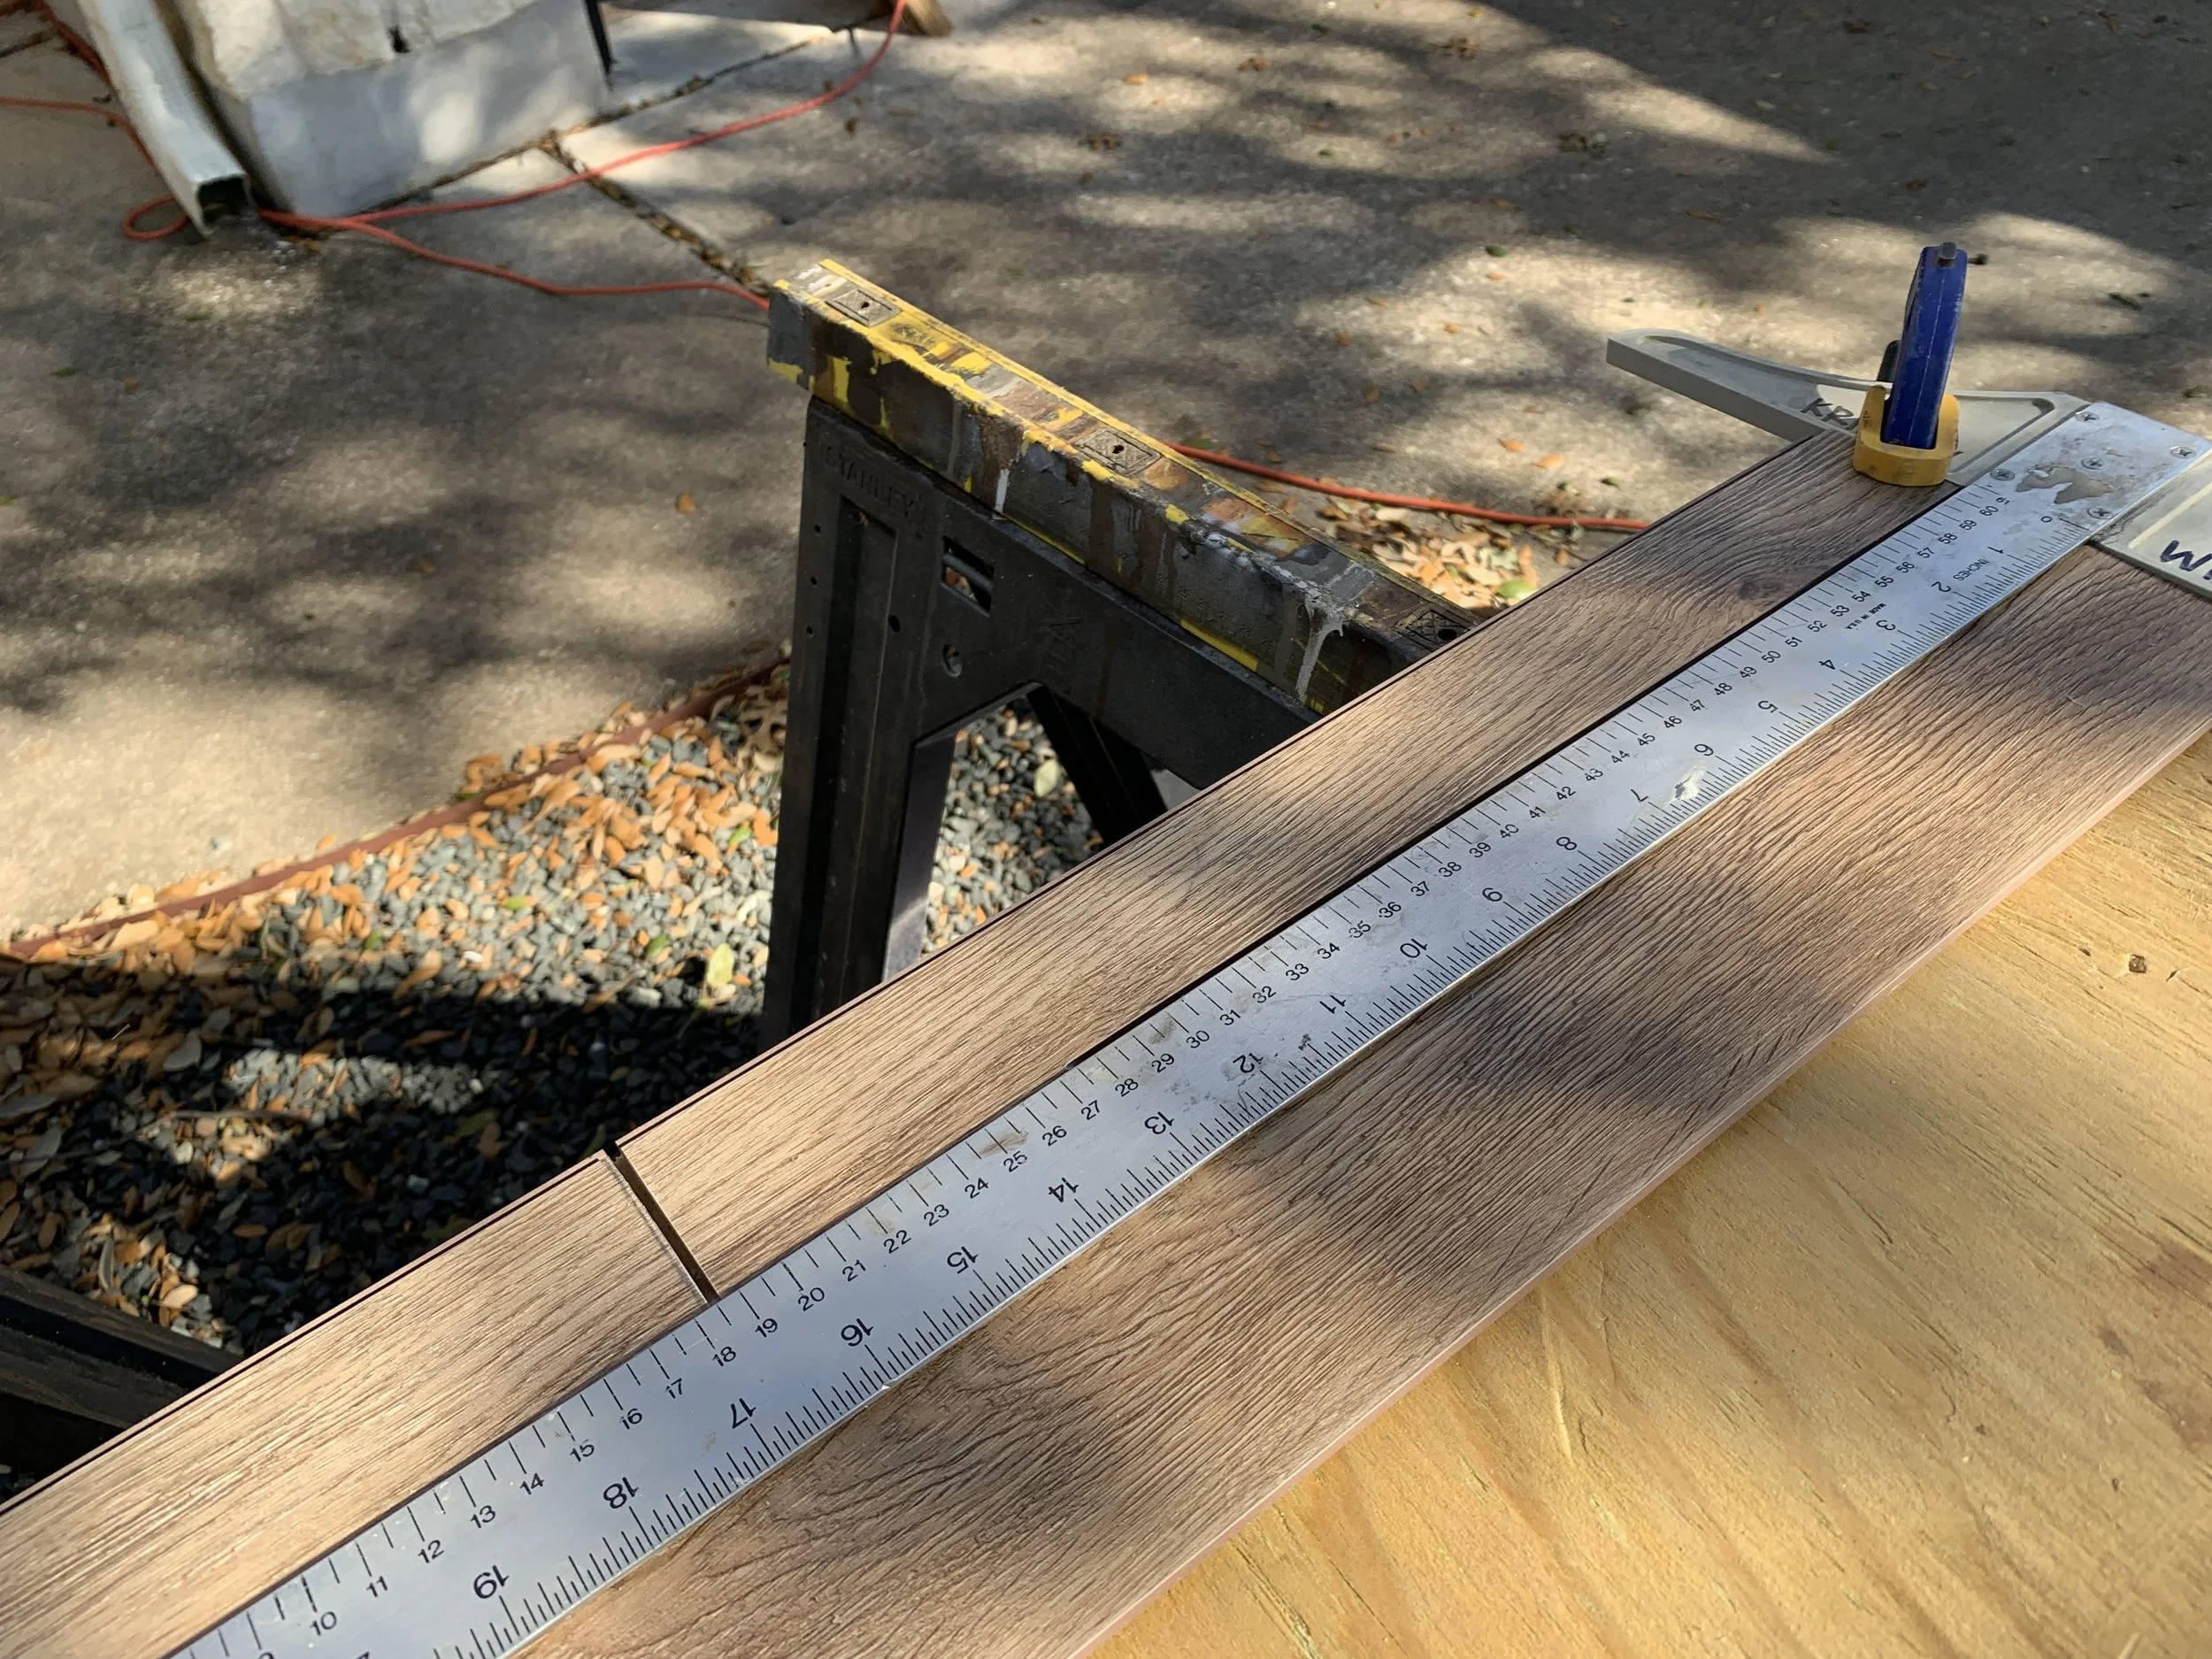
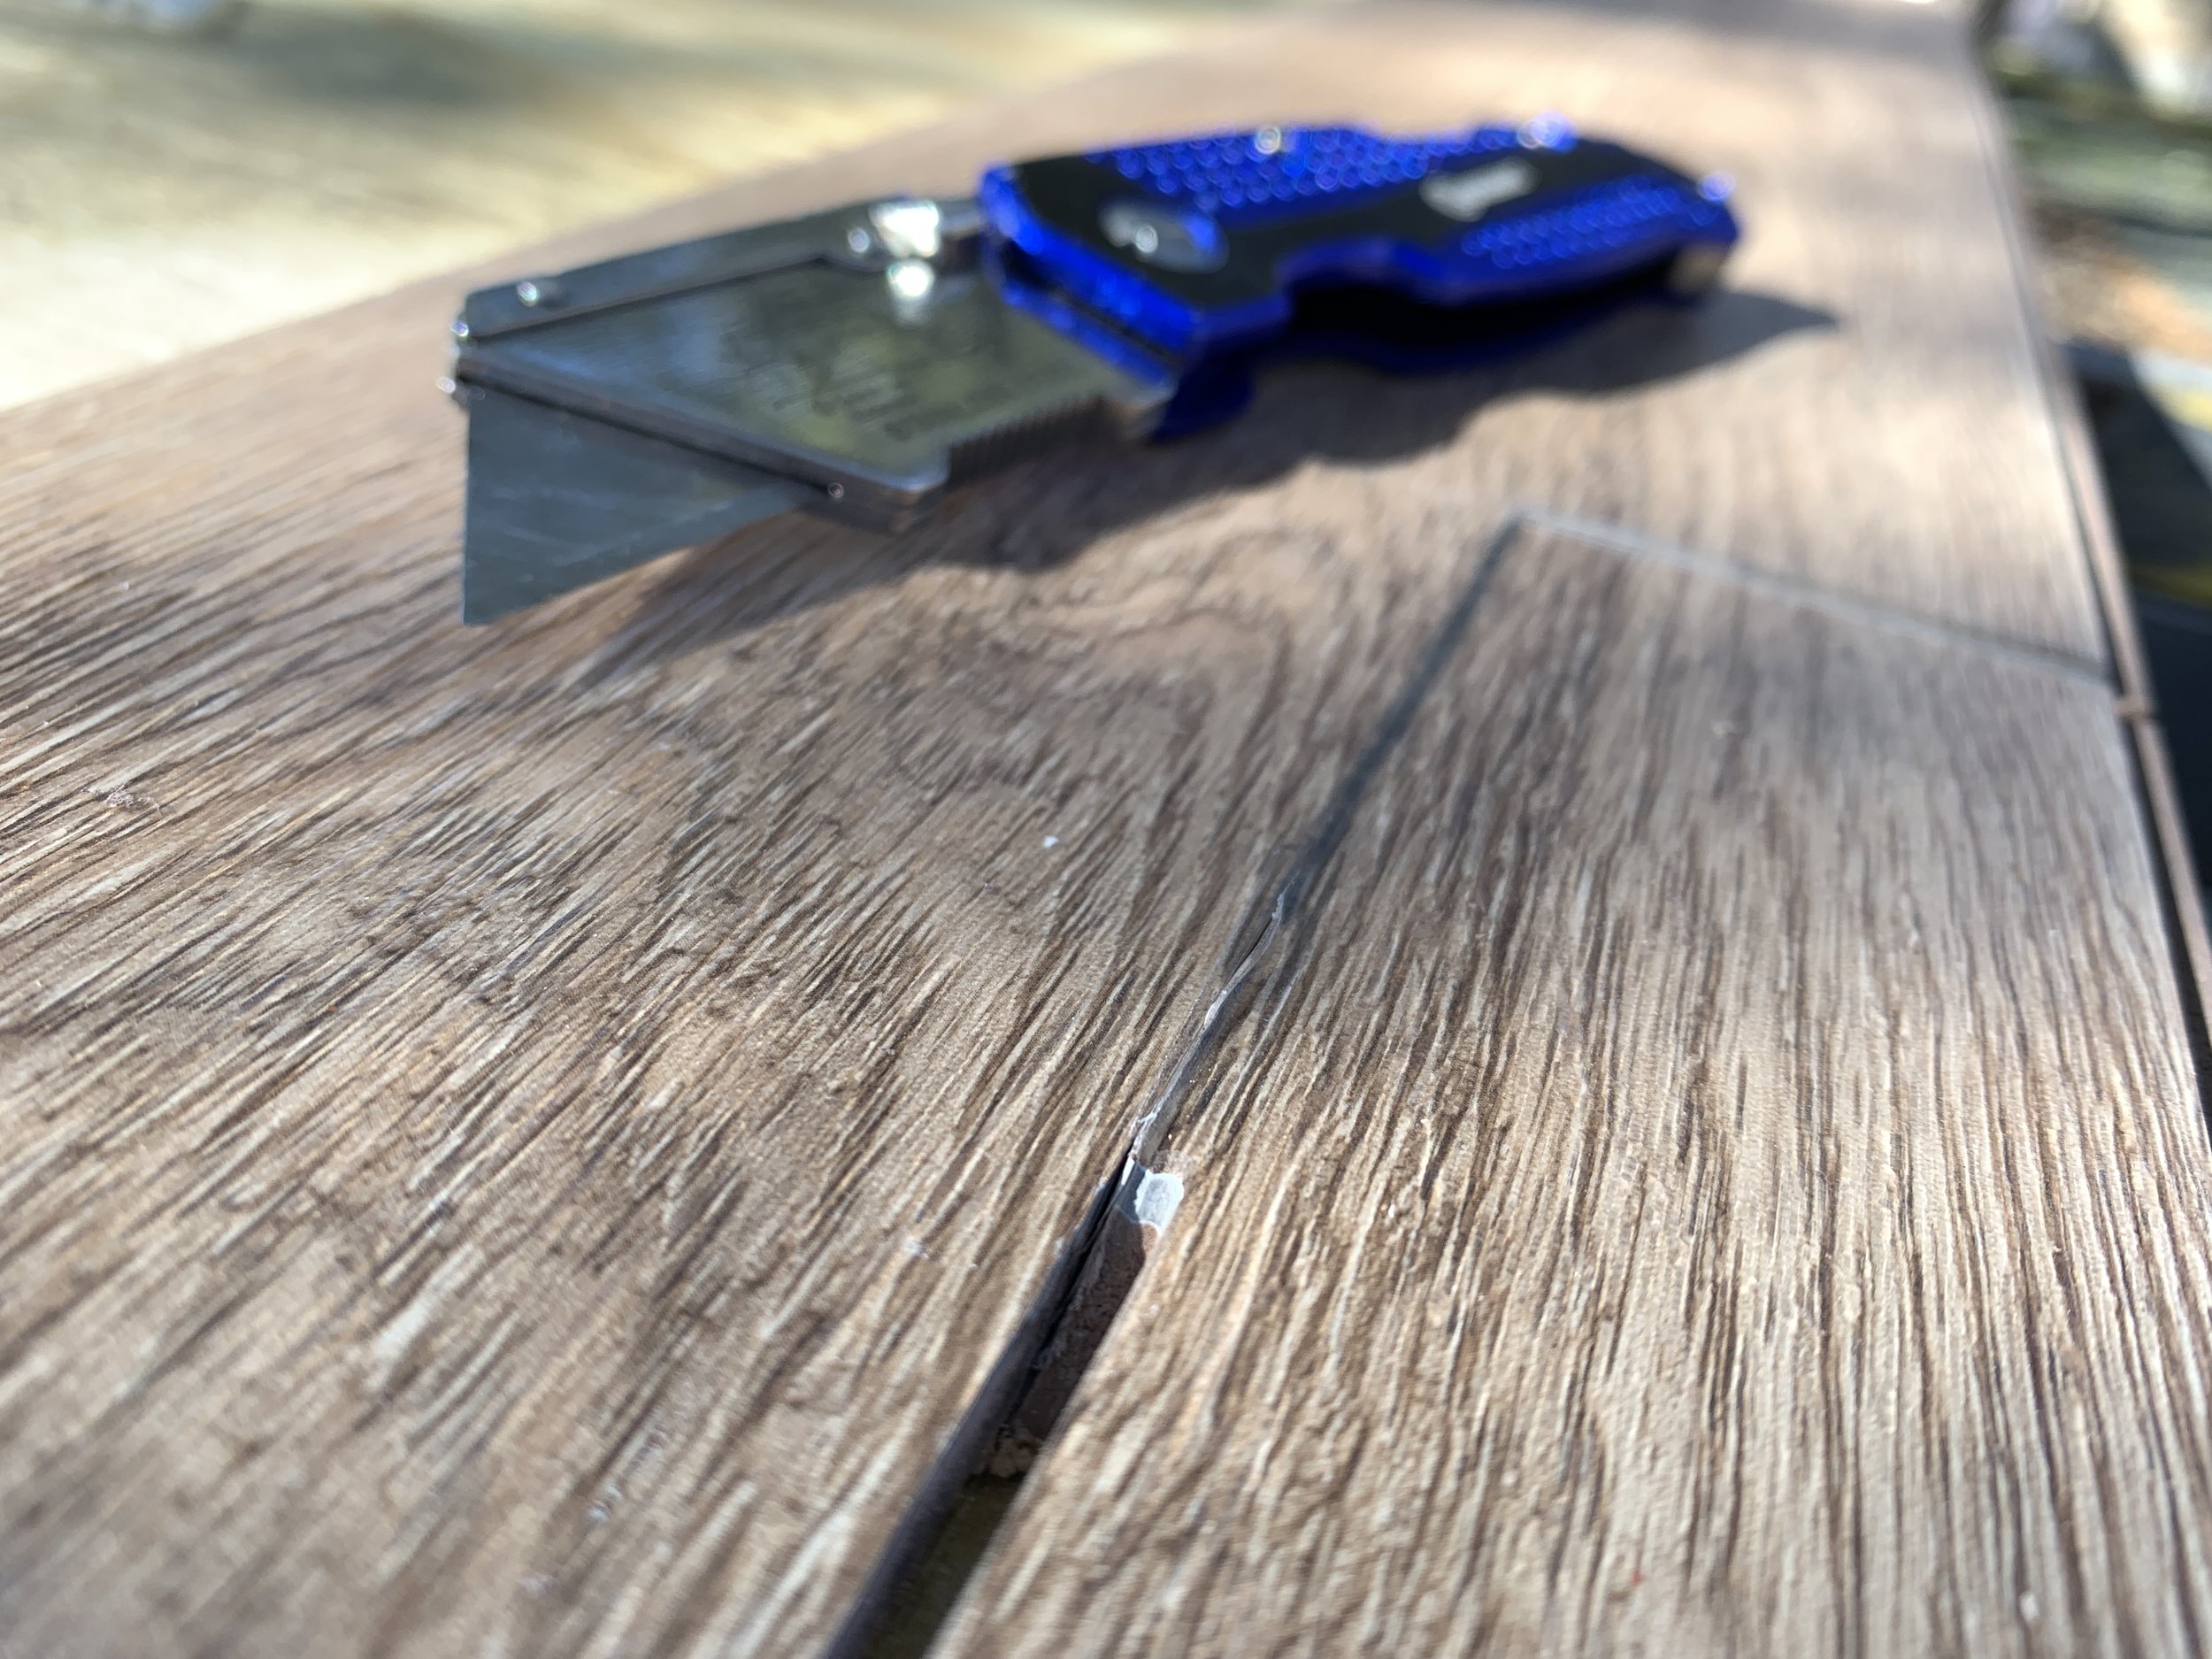
Use a box/utility knife, sometimes – To save your hands (and your sanity), we recommend using a chop saw primarily, but for those weird corner cuts/when the saw just wasn’t long enough, we (carefully) finished off the cut by scoring the plank deeply with a box knife and snapping it off. We used our trusty clamps to clamp the plank to our makeshift plywood work table and used a T-square to keep a straight edge.
Use a small scrap piece of your flooring and a rubber mallet to help gently tap your planks into place. This helps get an extra tight joint after you’ve carefully snapped in place by hand. Just give it a little tappy. Tap, tap, taparoo.


Our scrap piece of wood used for tapping the planks for a tighter joint.
Is it just me or does it look a little unfinished?
Good eye. Although 99.5% complete, we still need to install the 90-degree floor transition piece to cover up the layers of flooring at the door. Currently, our plan is to use an adhesive like Liquid Nails and our finish nailer to secure it in place. I want to install it (like, yesterday) but Nick thinks we should hold off ‘til we’re closer to the end of the renovation to help keep it damage-free as we haul tools in and out. He’s winning, for now. I can’t say it’s a bad plan, but my impatient self just can’t wait to get it done, and frankly that’s a lot of the reason this post is so delinquent. Hope y’all don’t mind a little missing trim temporarily – I’ll update this post with the details and final floor photos as soon as I wear him down and he indulges me.
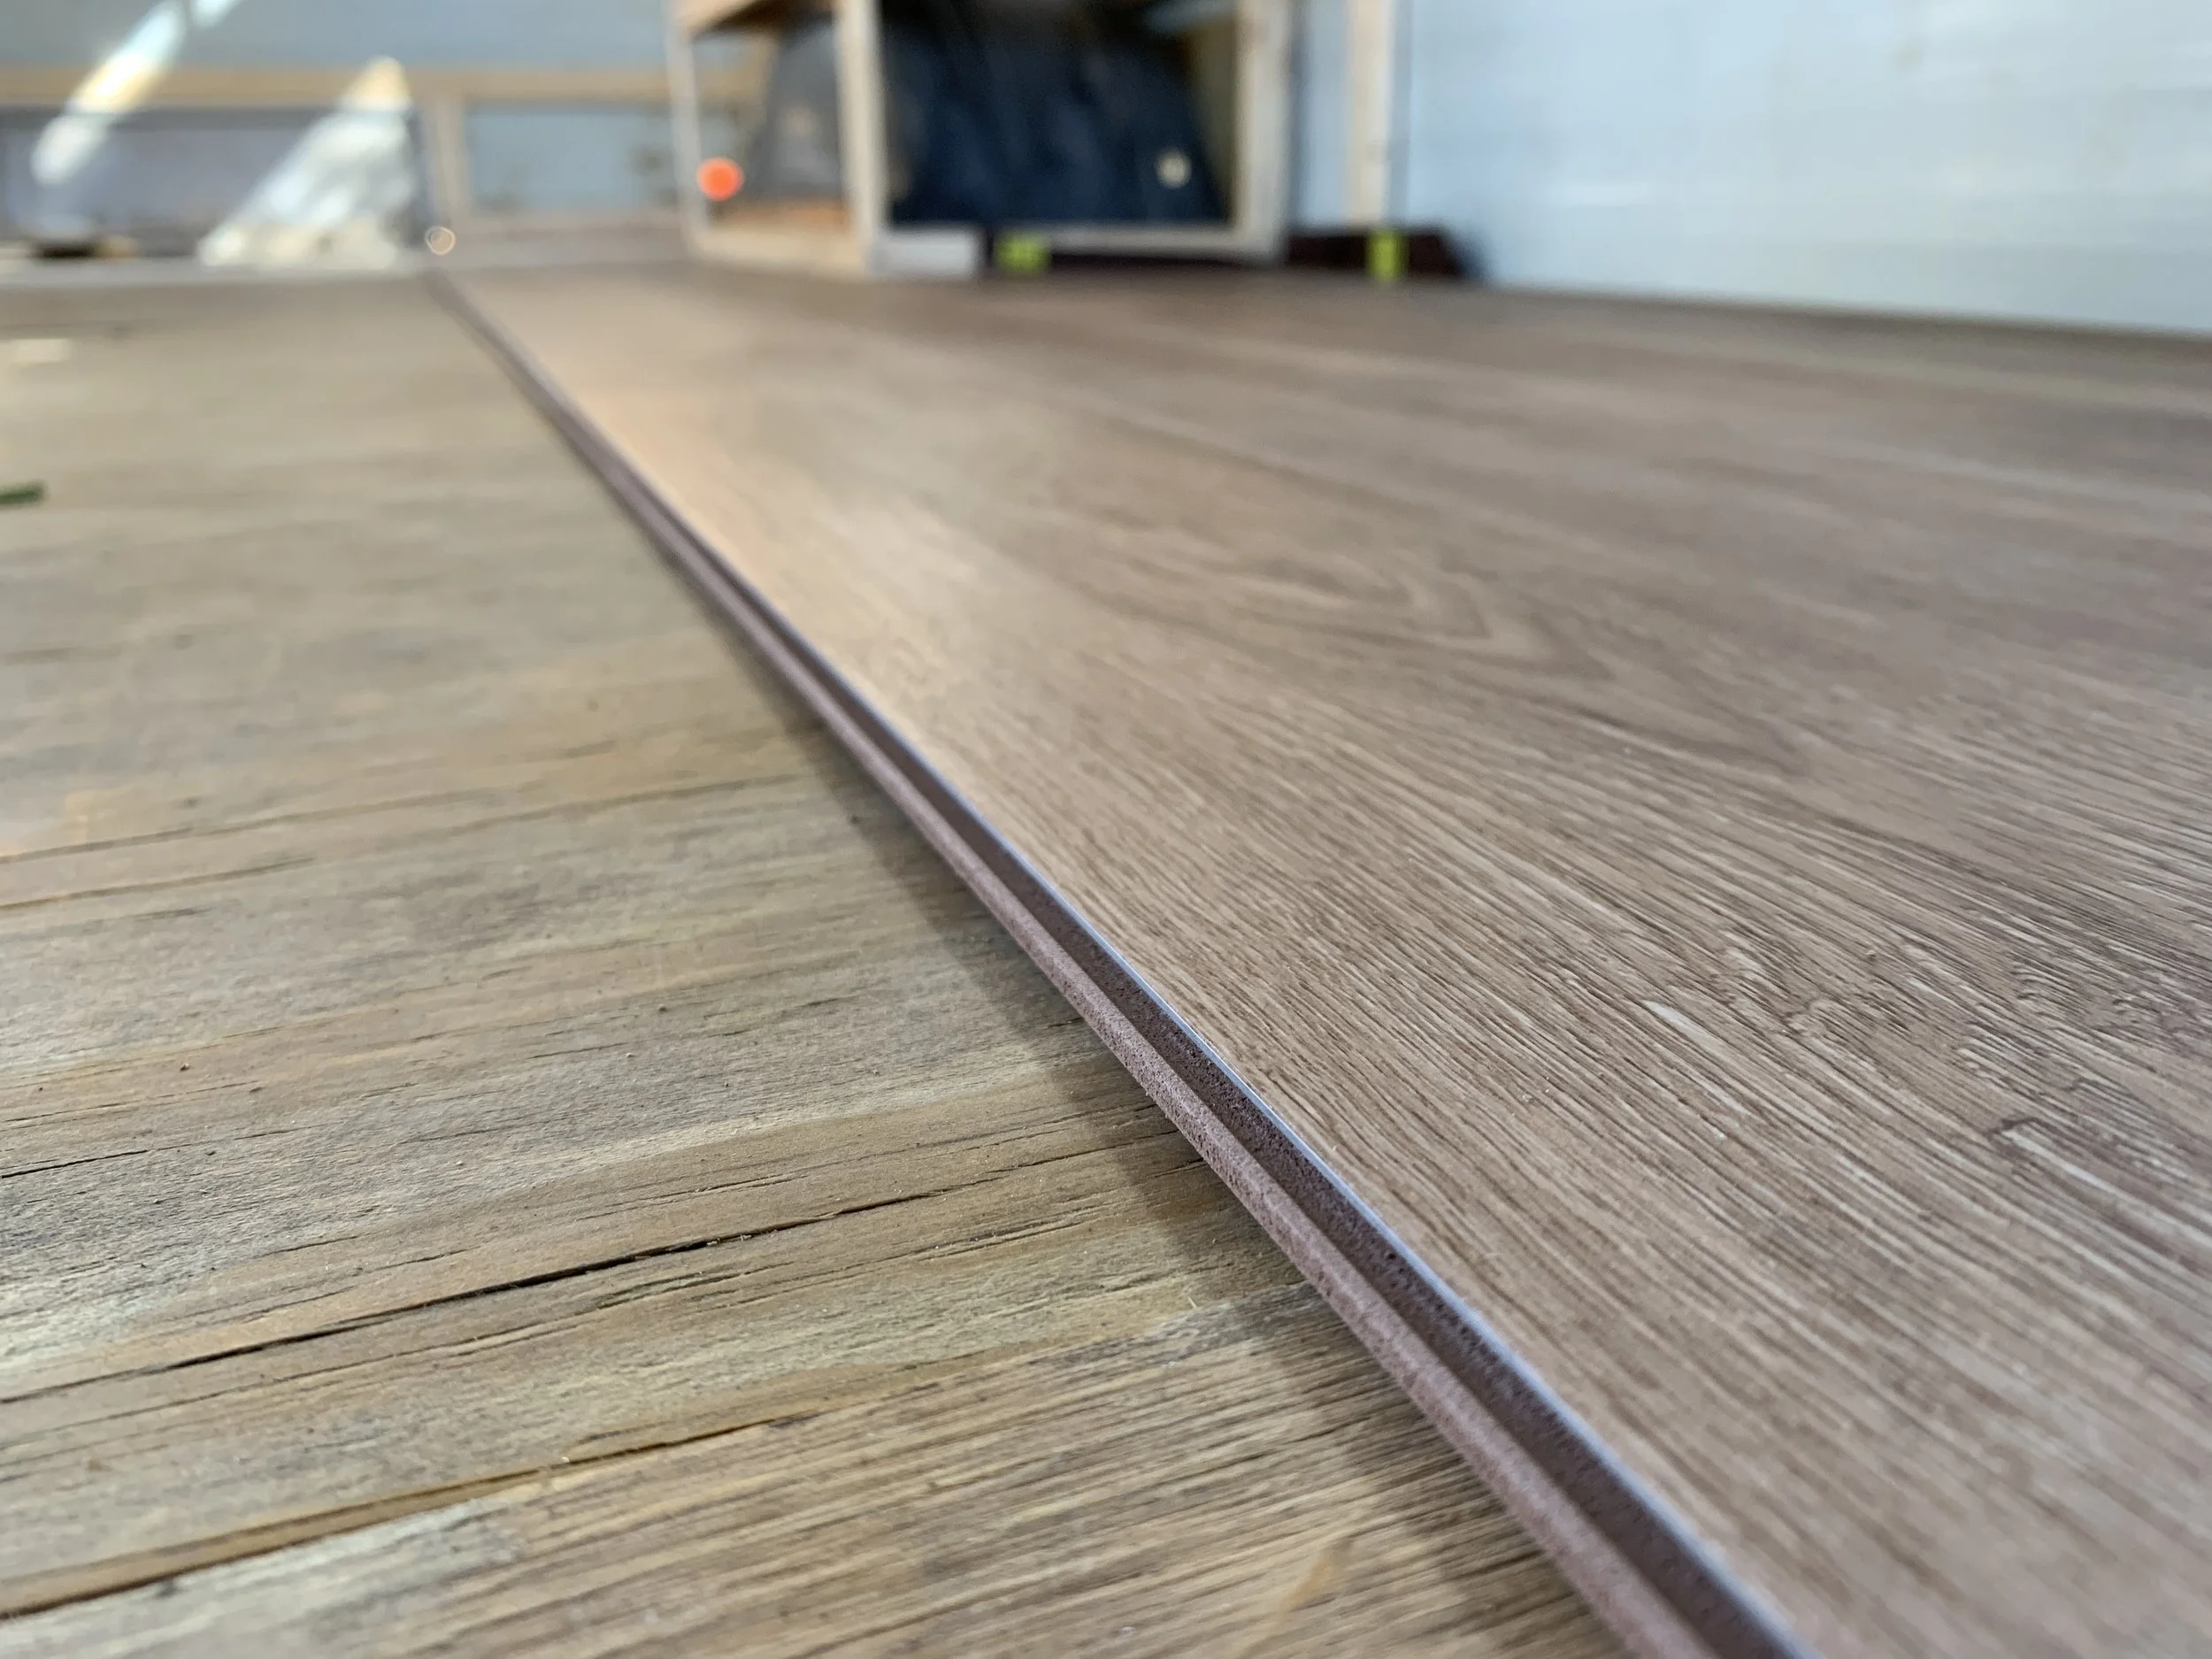
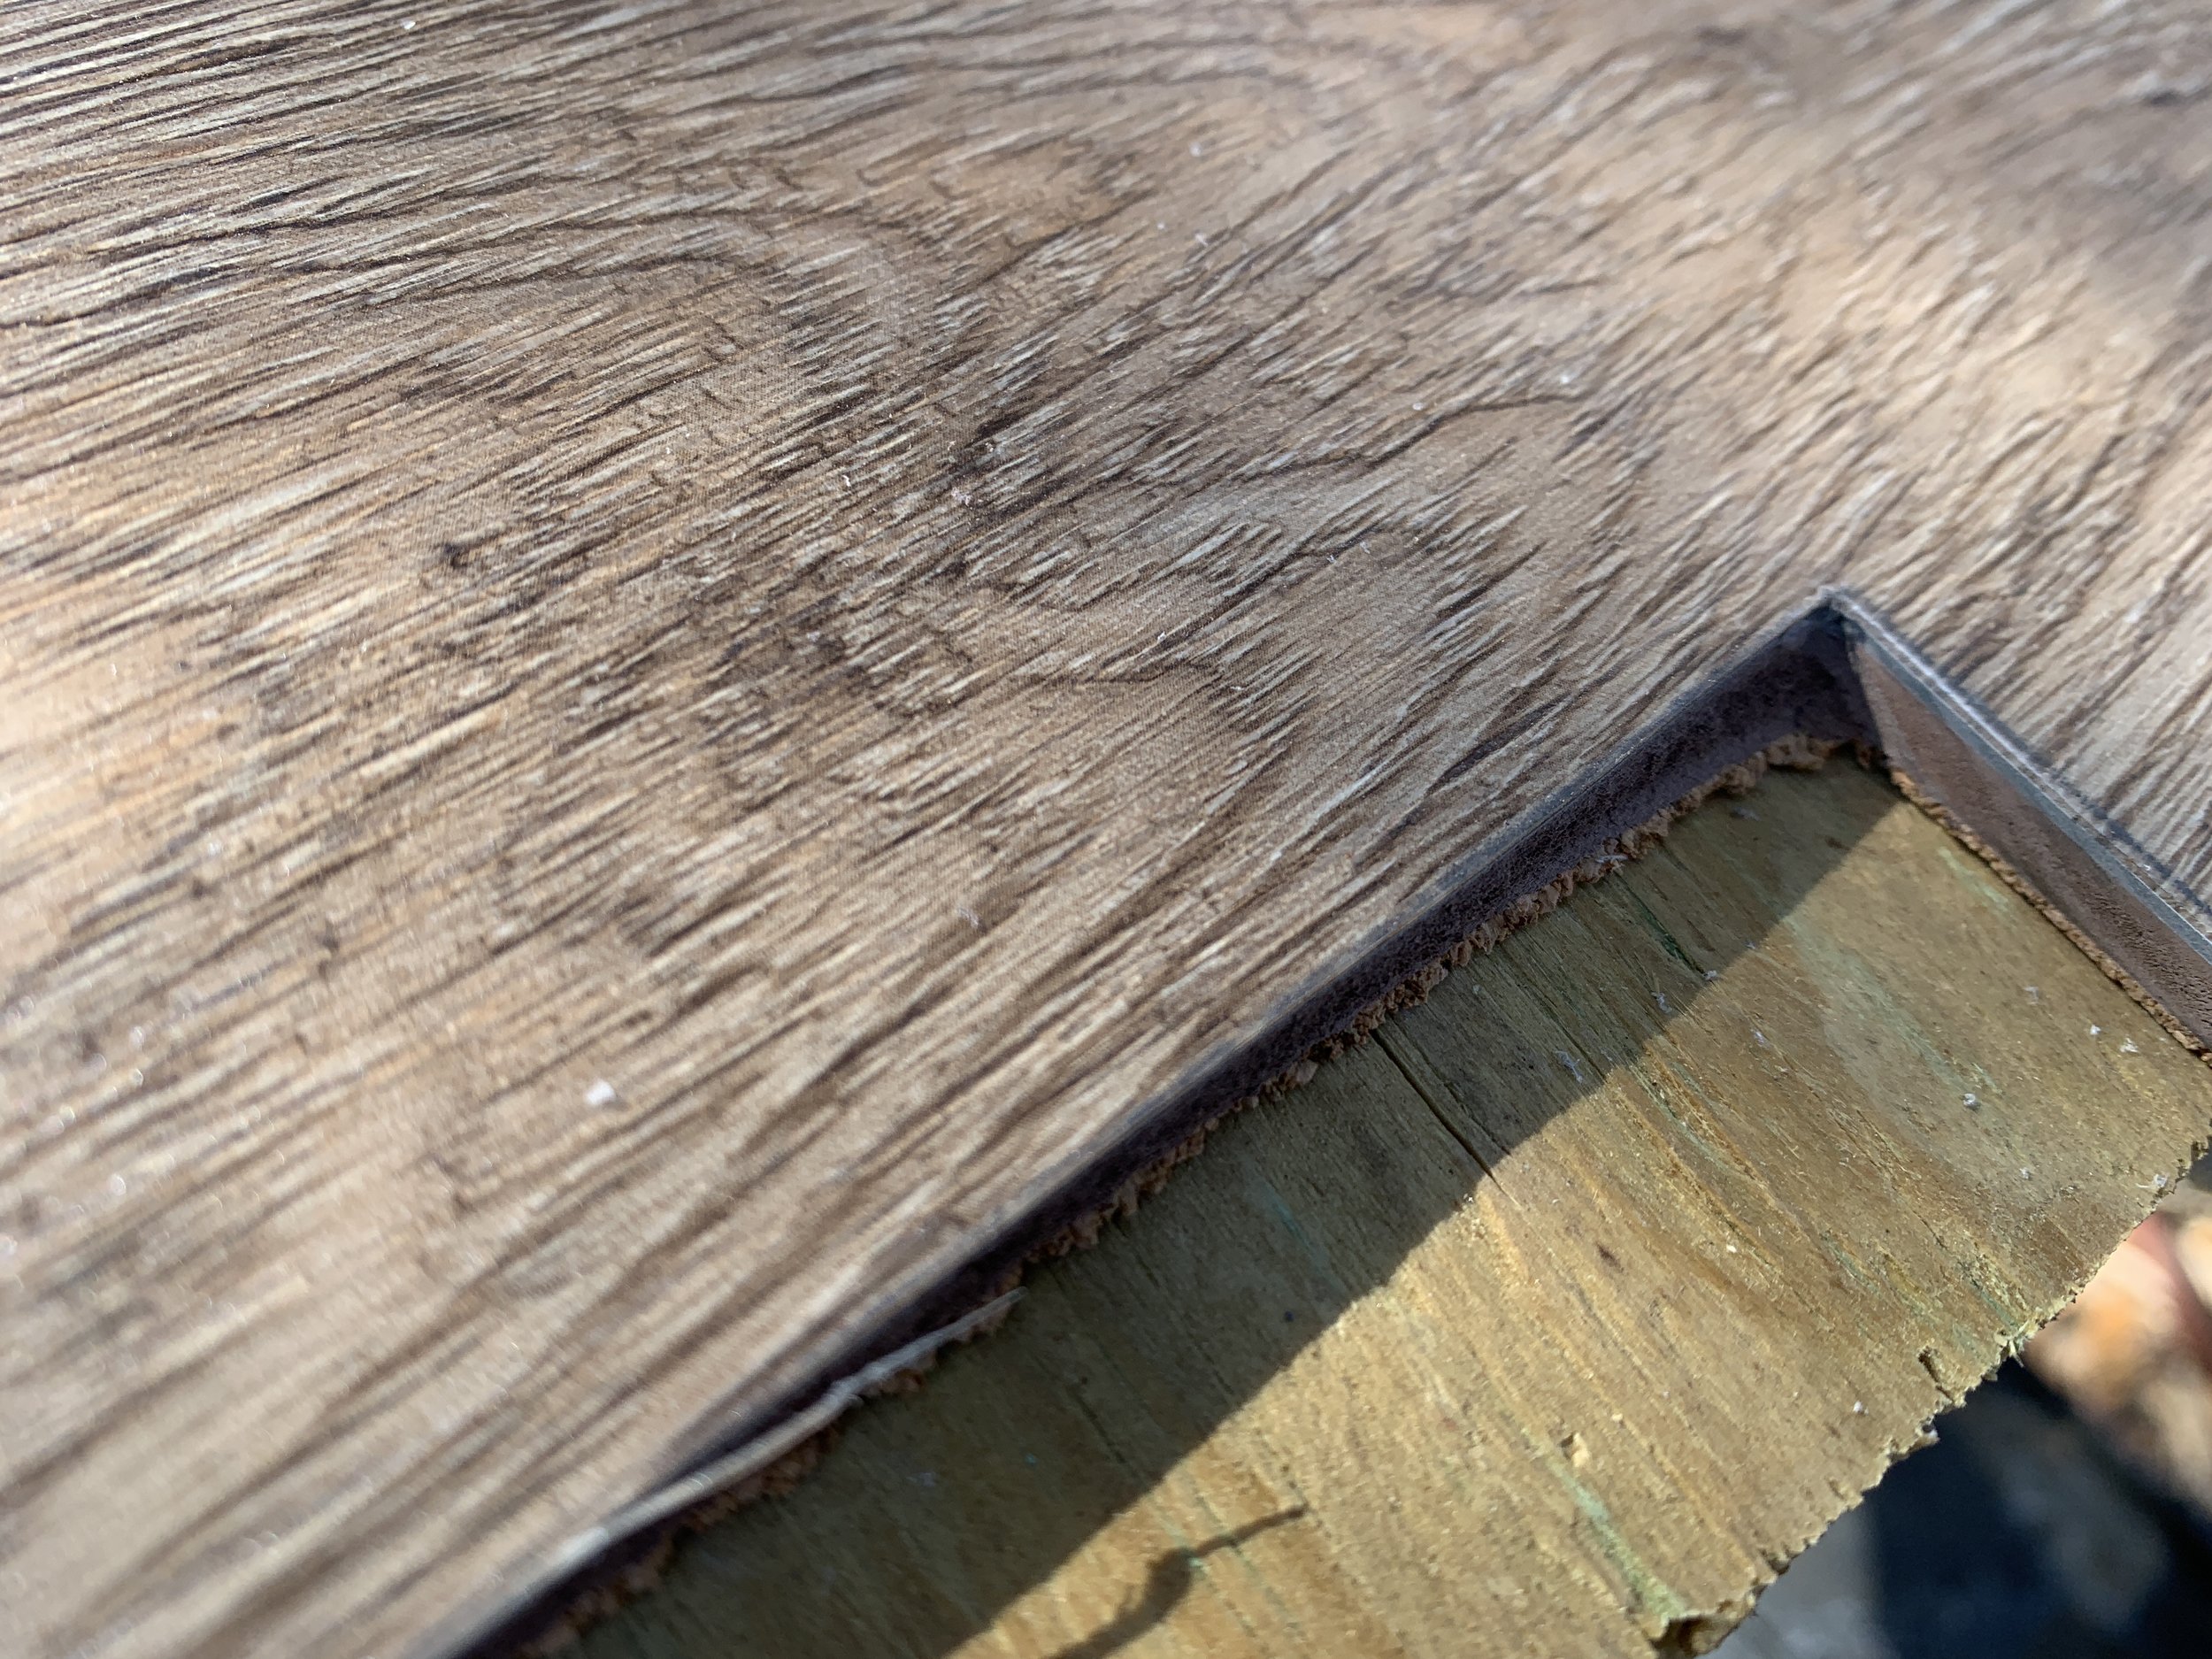
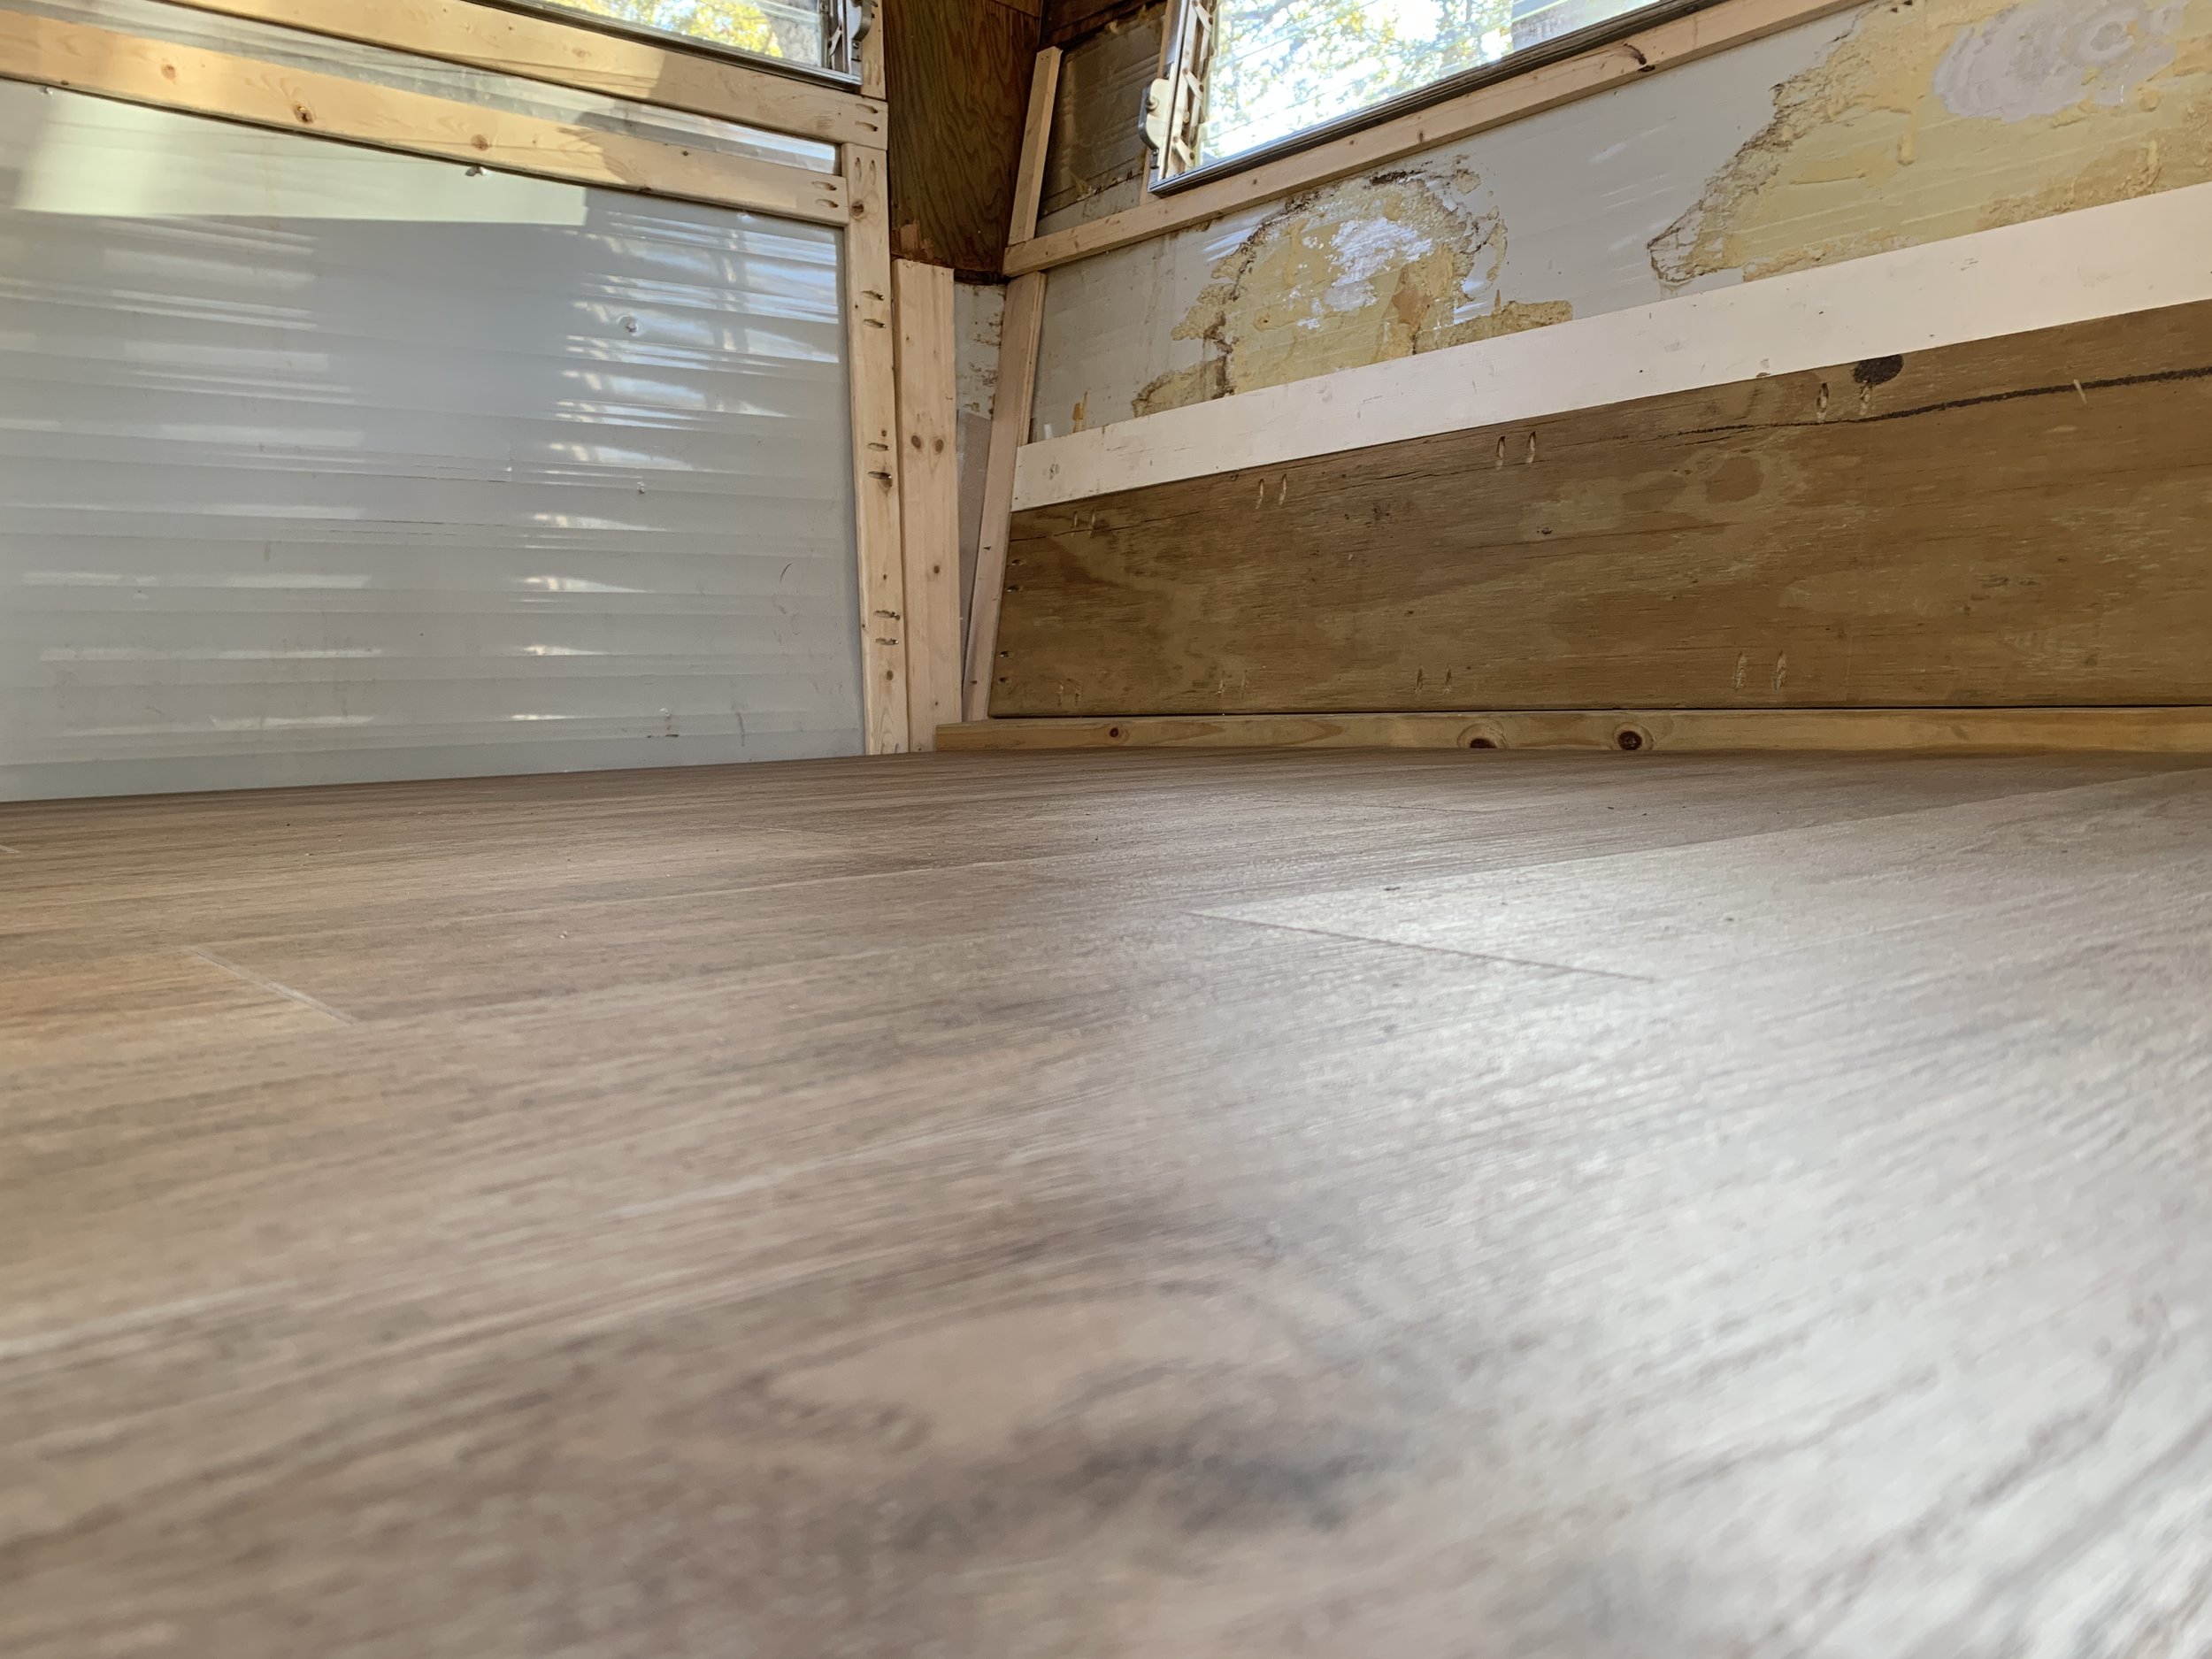
So what exactly are we looking at below? Here you can see all the layers from the doorway – starting from the top:
Layer 1: Vinyl plank flooring
Layer 2: Plywood subfloor
Layer 3: New wooden floor joist – attached to the metal trailer
Layer 4: Original floor joist – surprisingly somehow super strong. It’s basically the only one that got to stay
Layer 5 (the one painted blue on the front): New piece of wood that helped pull the flappy door wall out and into place. It’s seen from the outside of the camper when the door is shut. There are plans to wrap this in thin aluminum sheeting for added protection and waterproofing before we secure the final trim piece of flooring which will overhang all the layers.

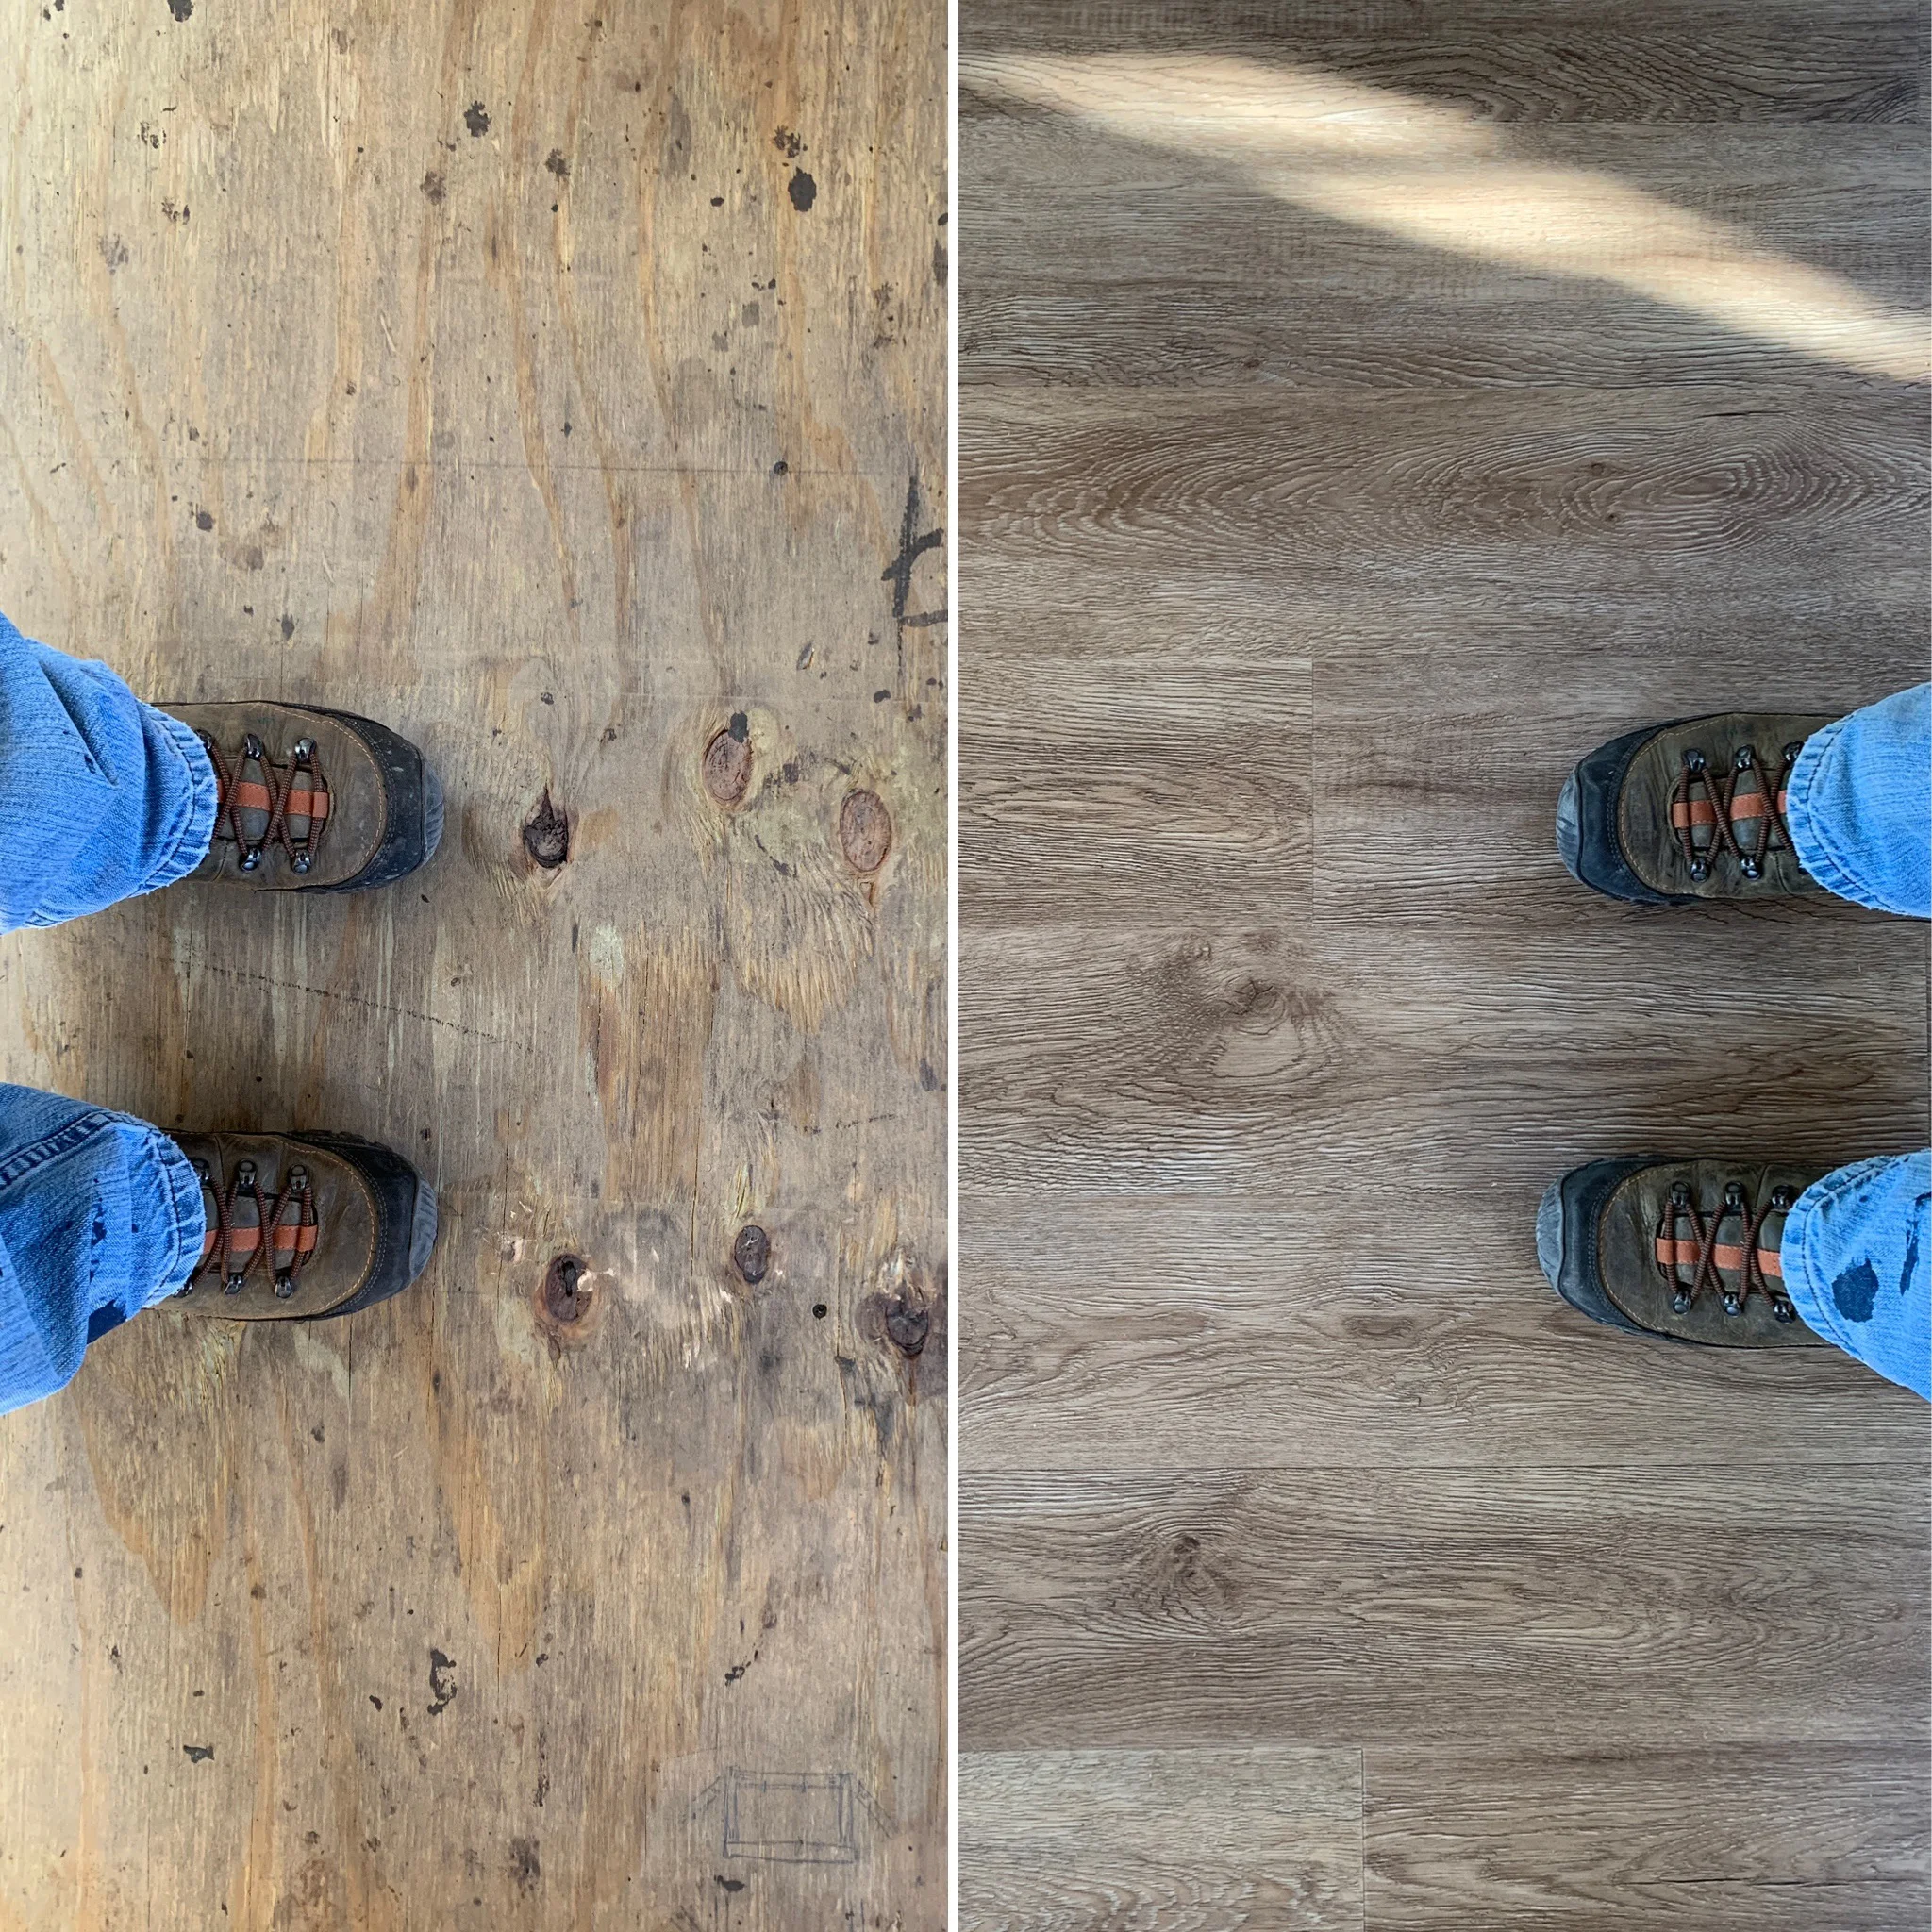
Vinyl plank floor before + after
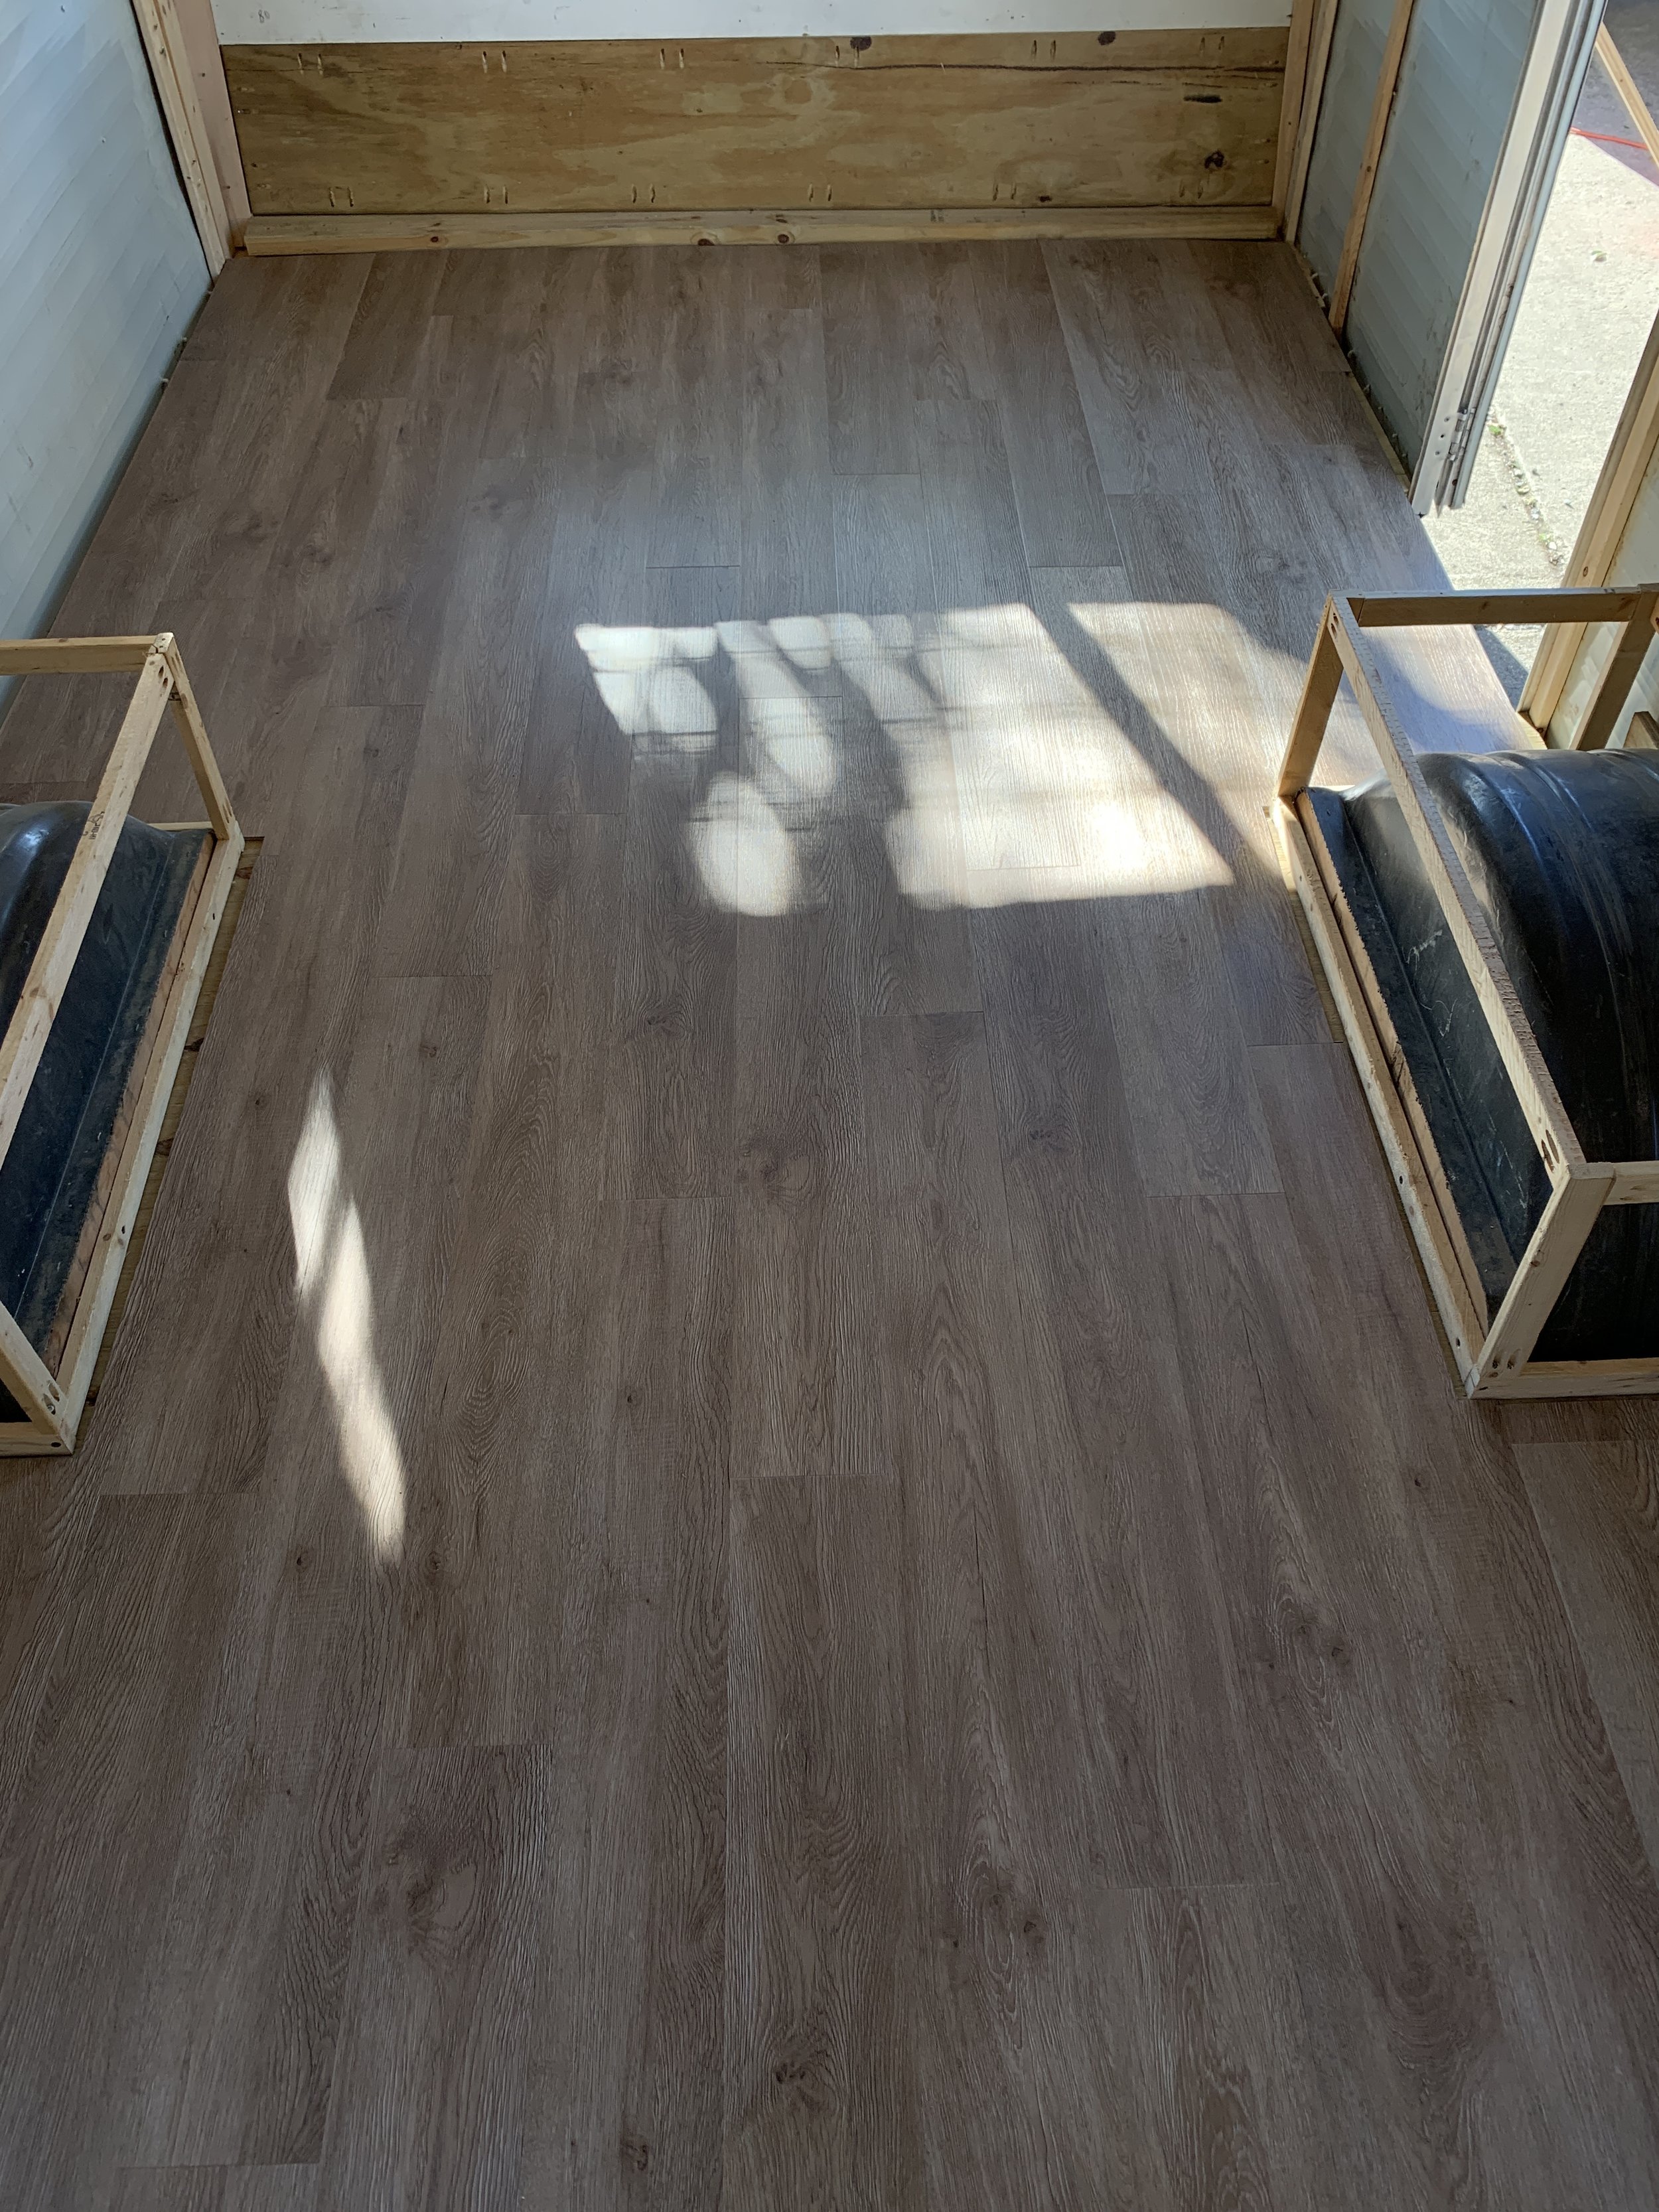
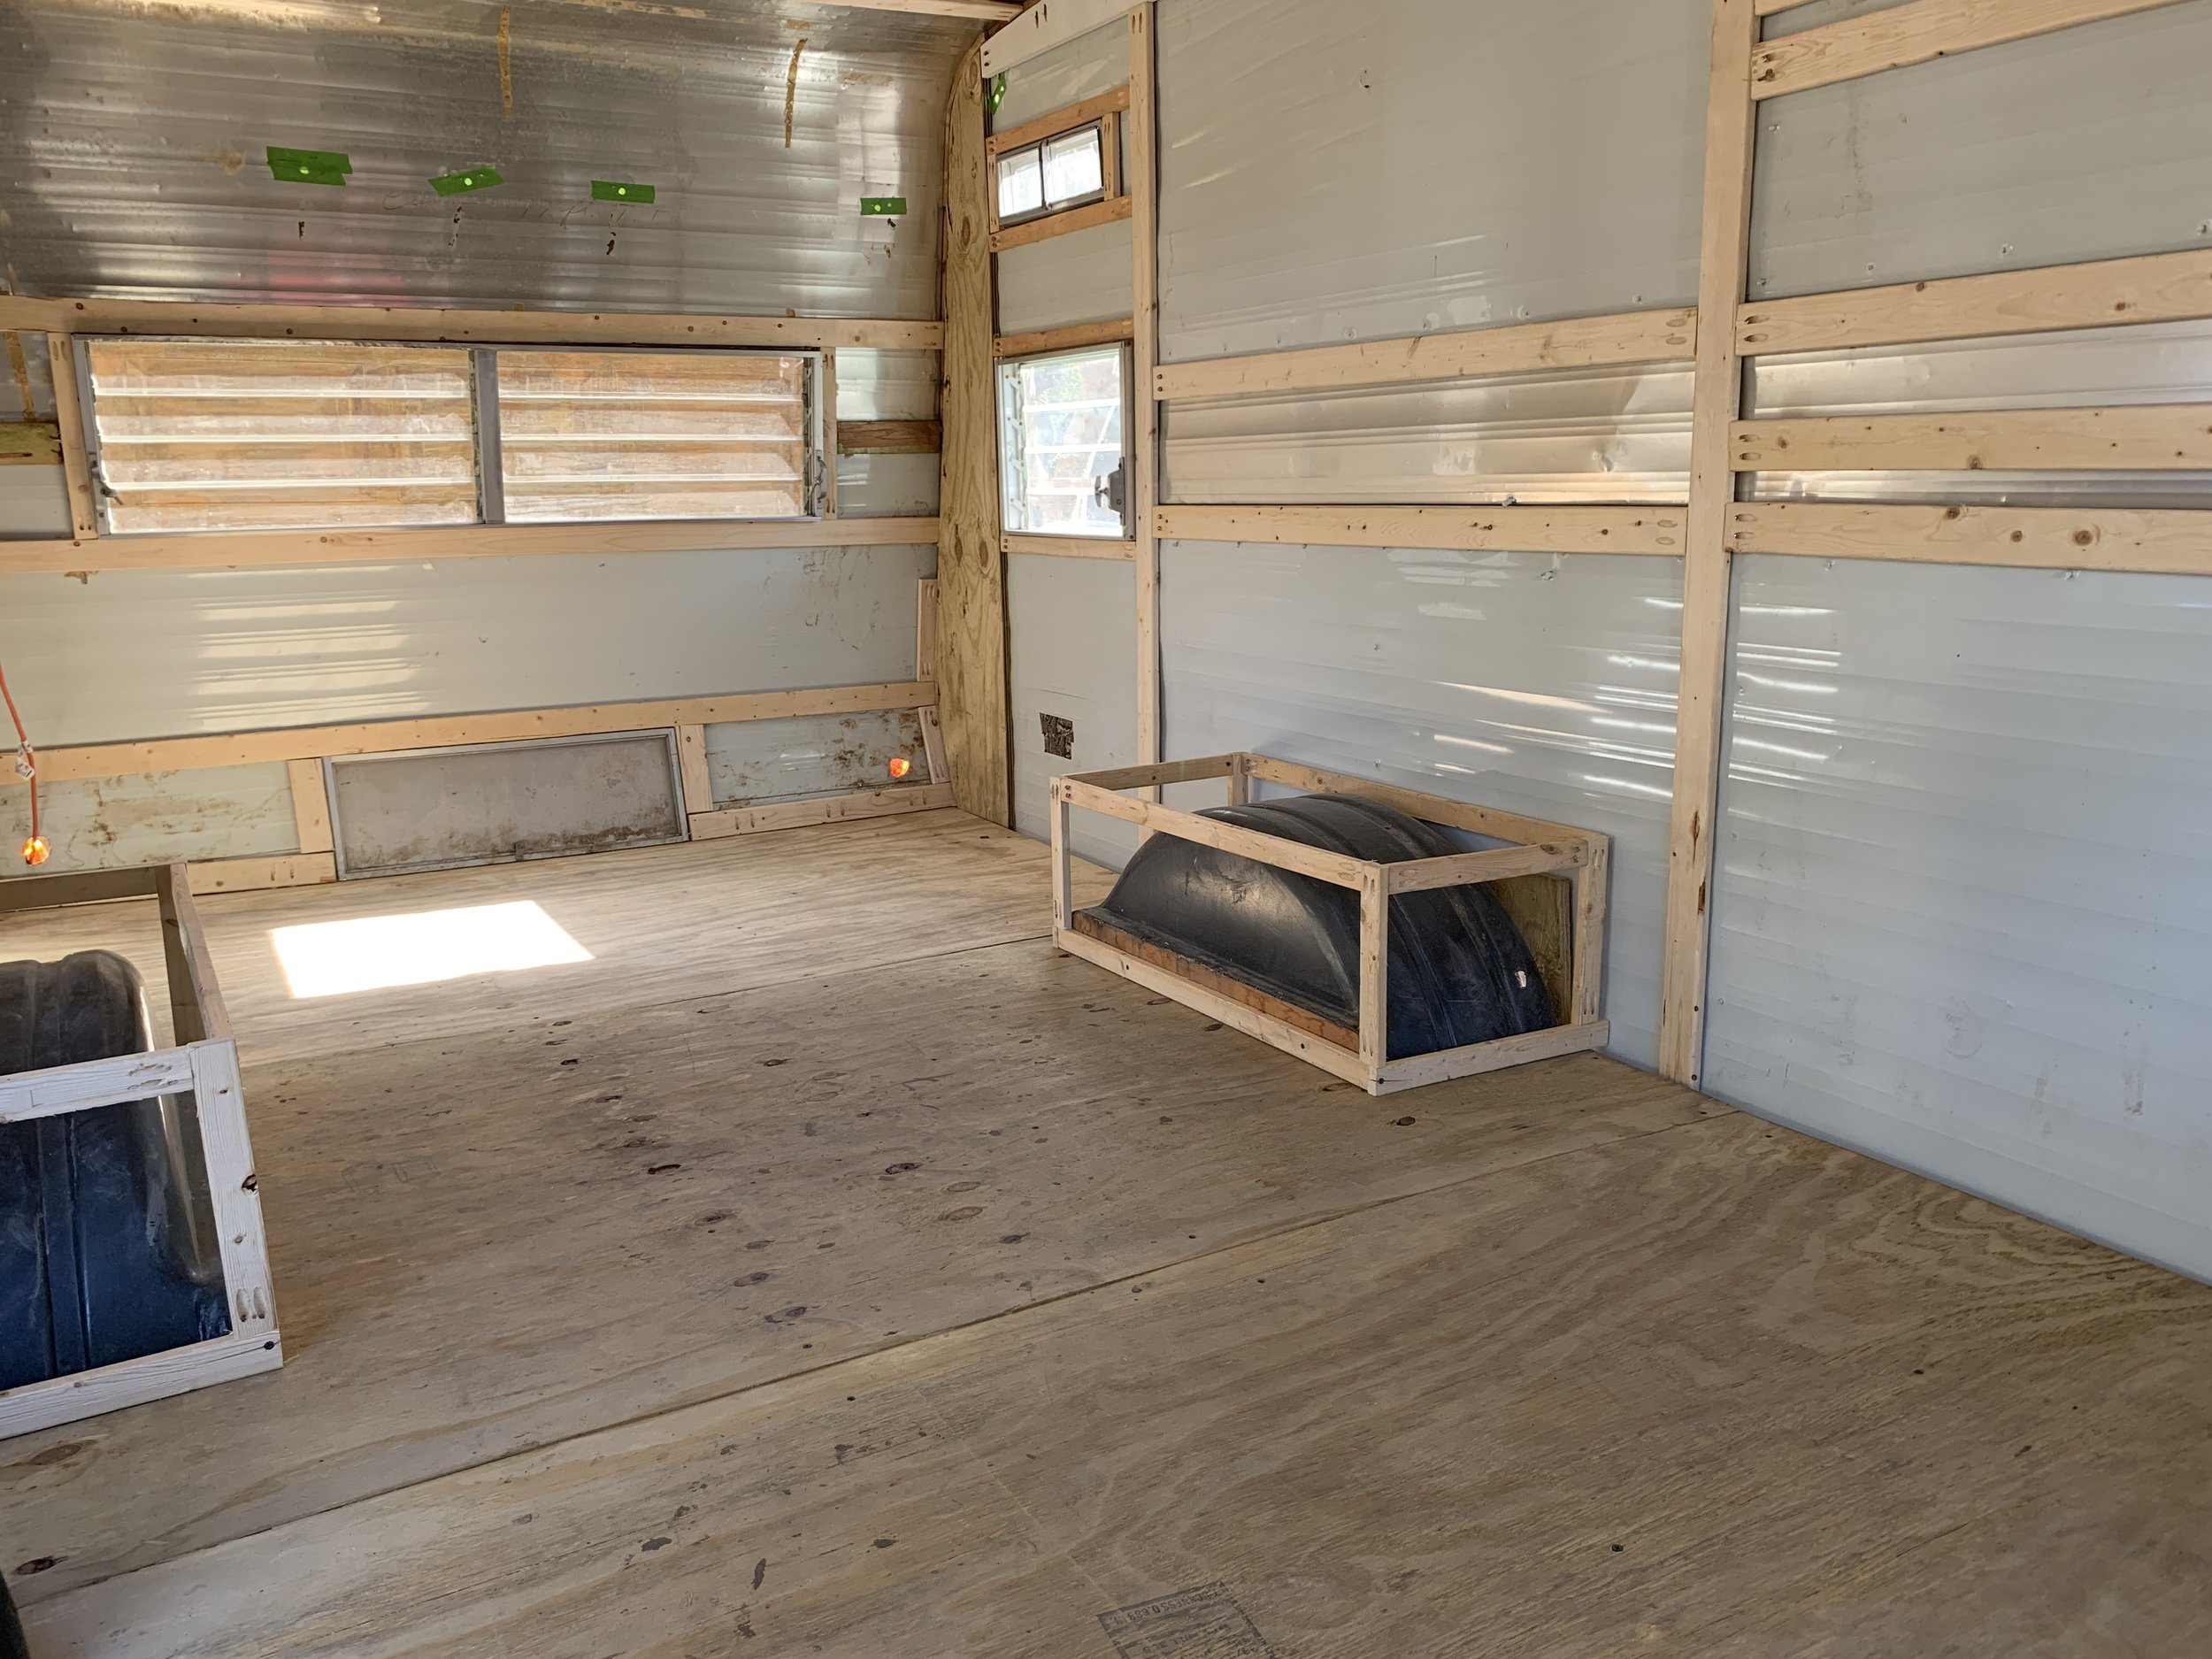
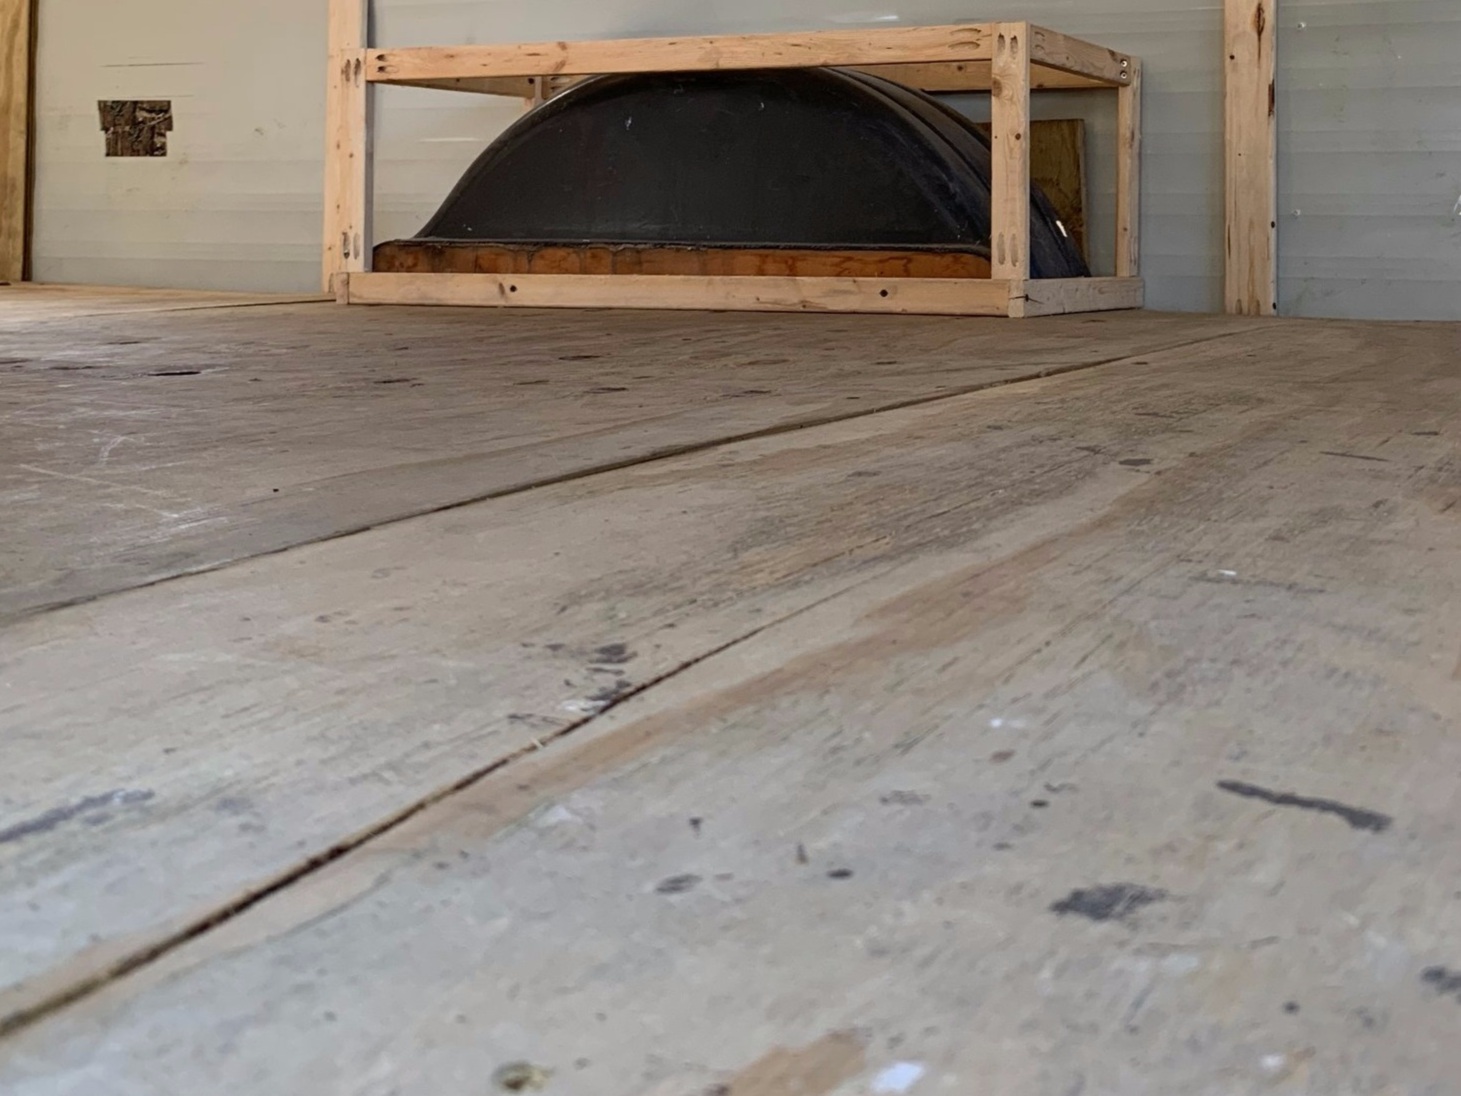
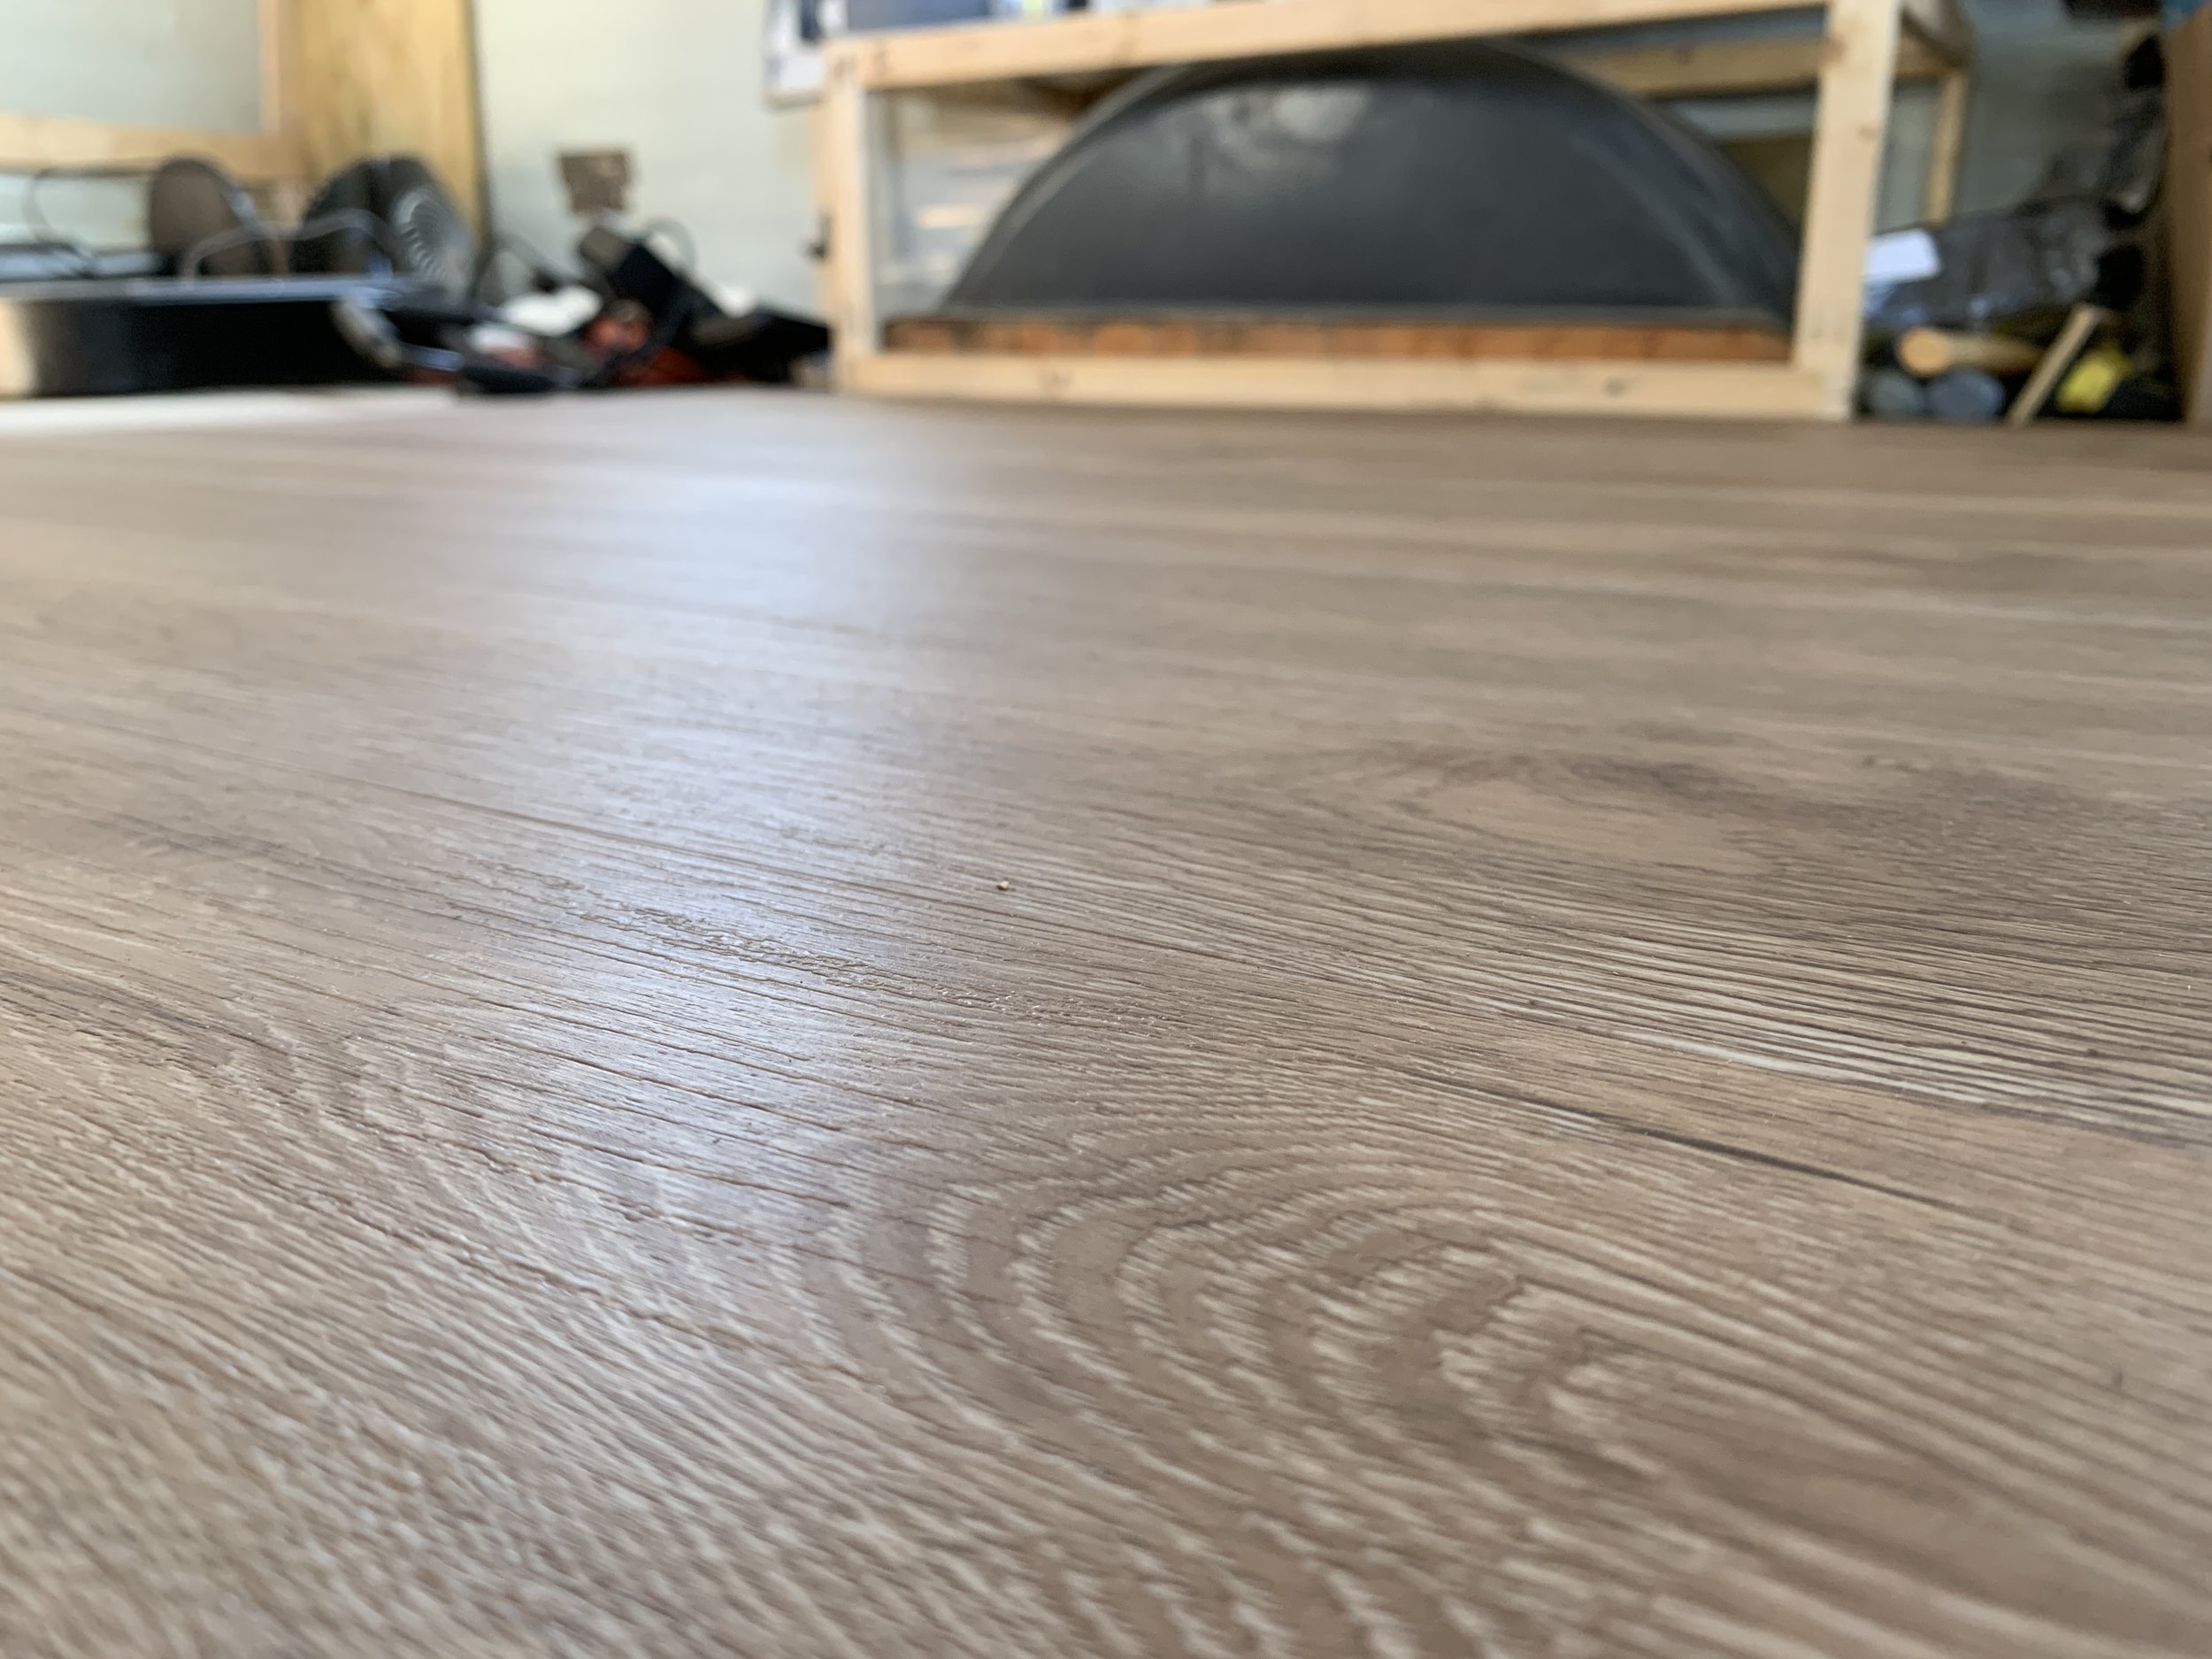
She’s come a long long way since we first picked her up…

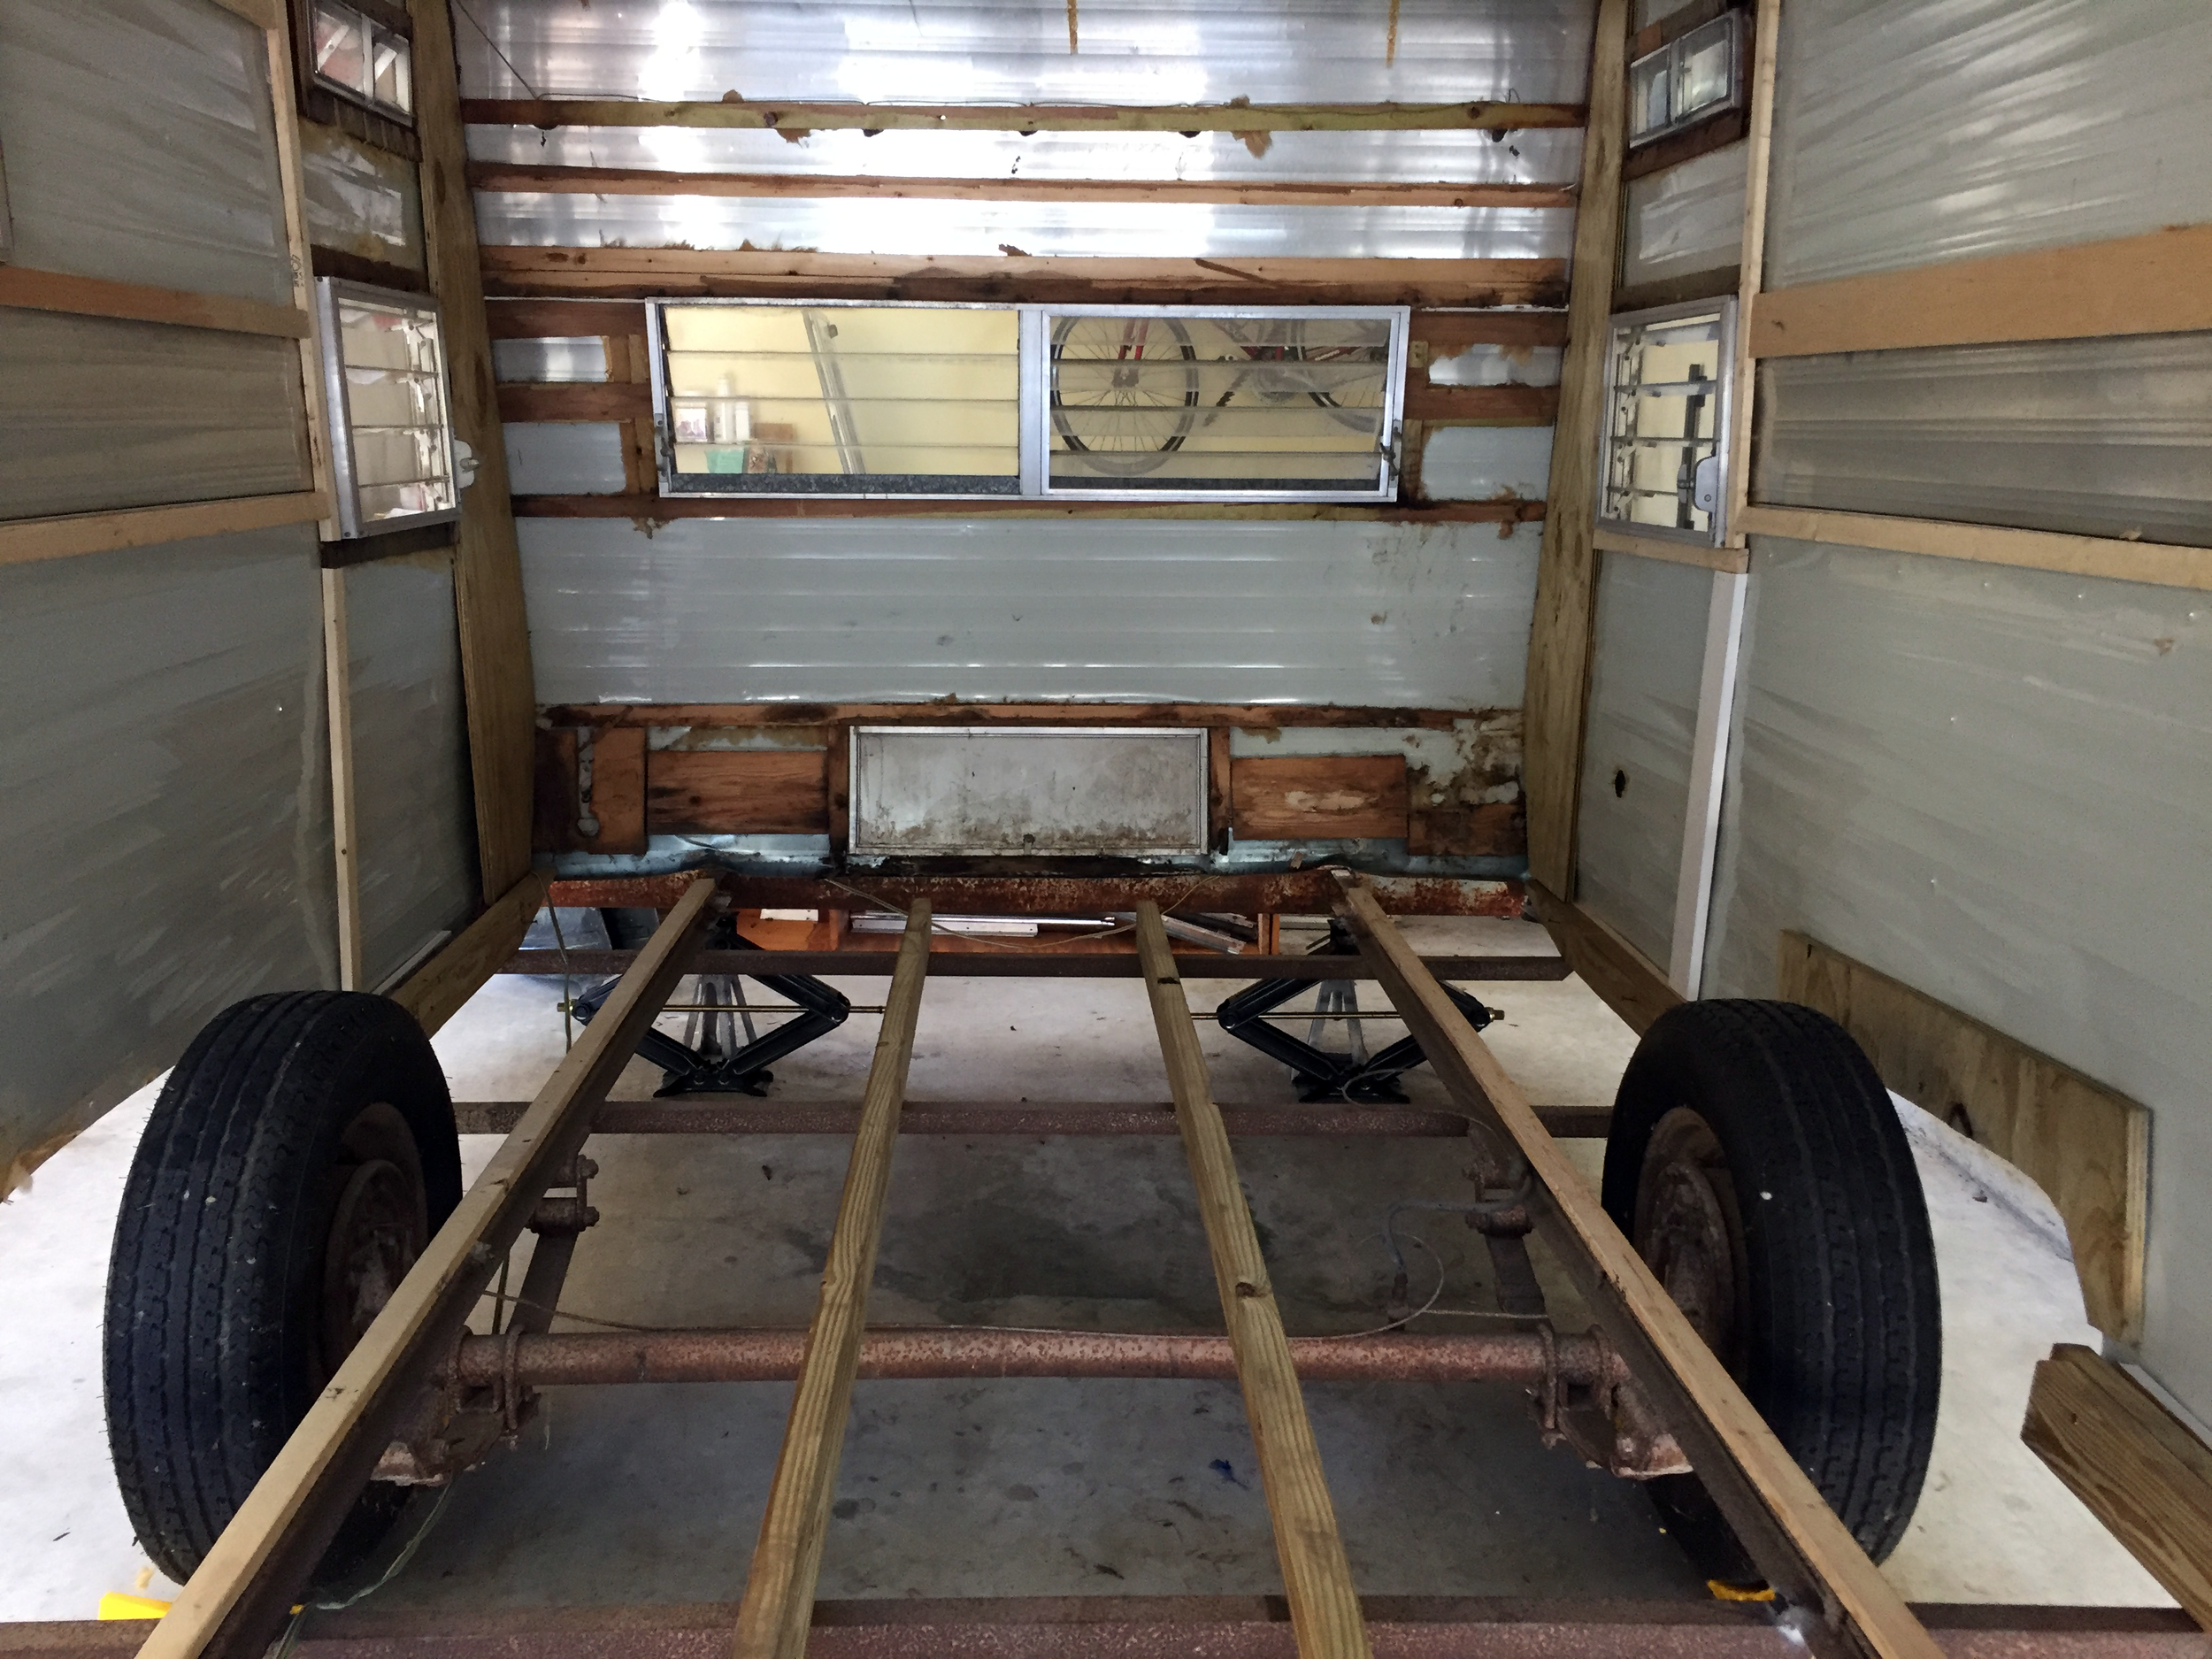
There are so many things I love about this floor, but my favorite might be how the color changes in the light. Sometimes it’s the greige color of driftwood, and other times when the sun hits it just right it takes on a warm and cozy (but very modern) honey hue.

What do you think? Do you love them? Hate them? Have questions? We’d love to hear your thoughts in the comments!